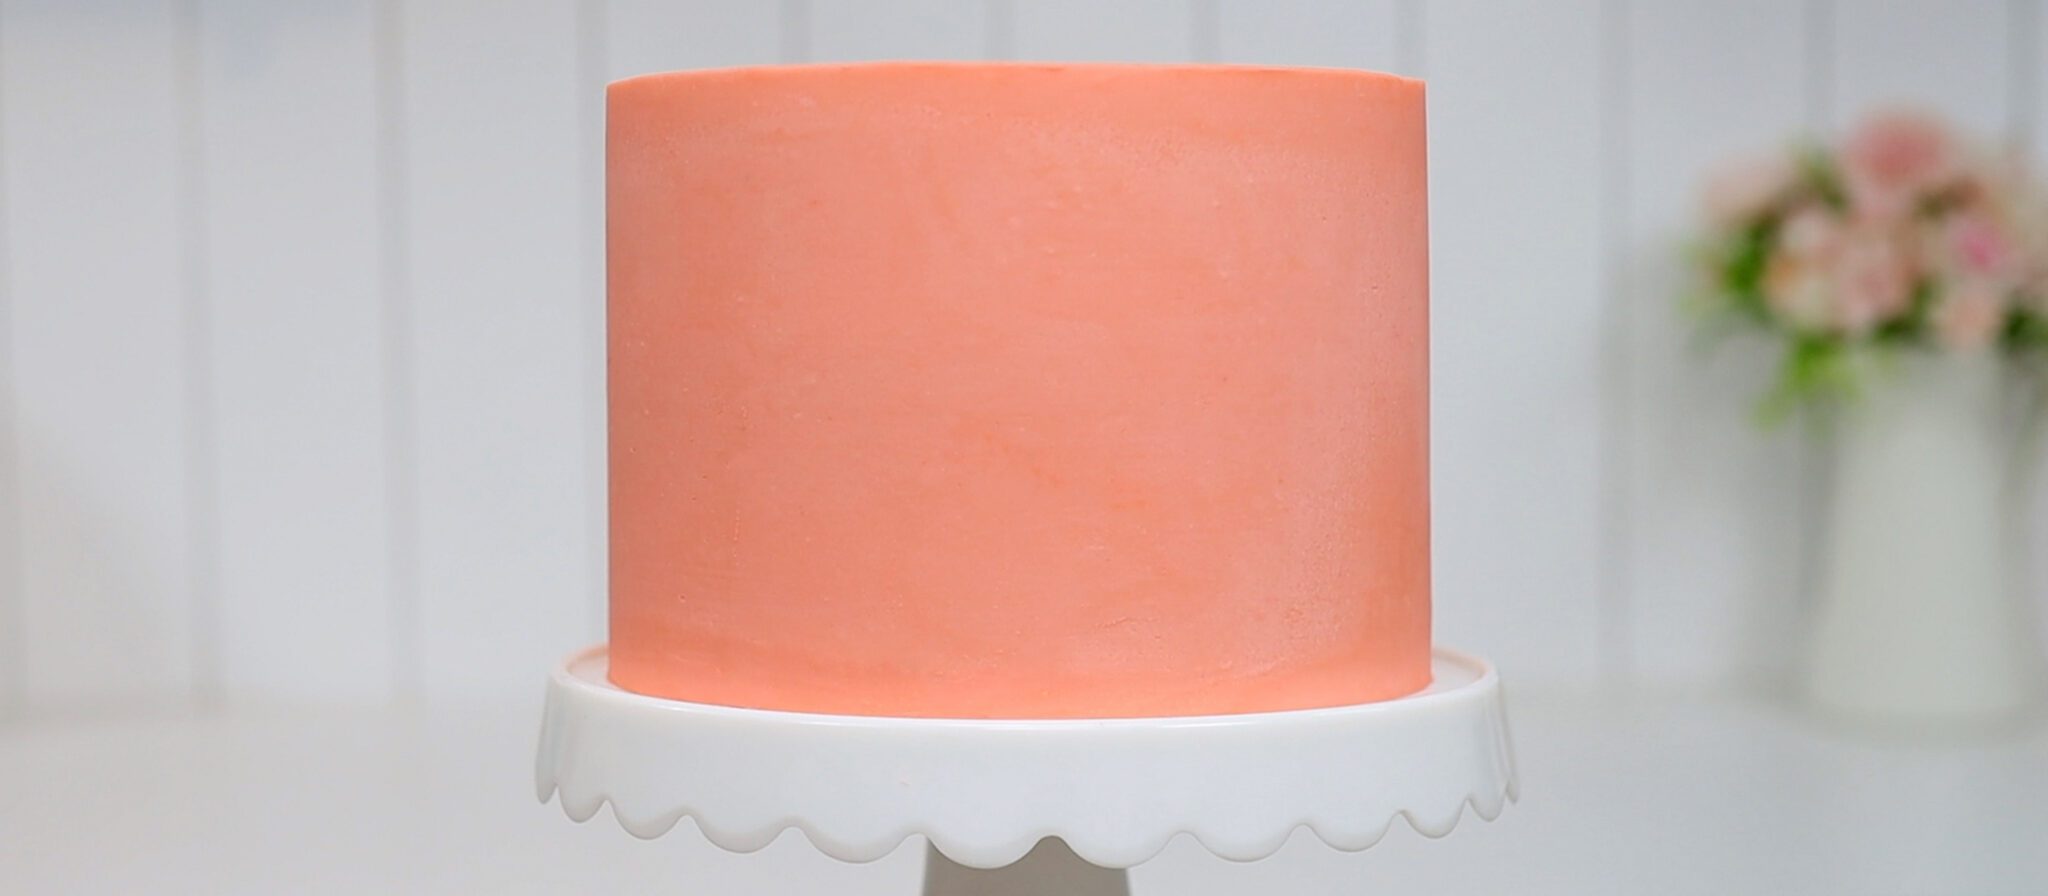
With acrylic discs you can achieve perfectly smooth frosting on cakes and a sharp edge from the sides onto the top. Acrylic discs will make your cakes look professional if you use them correctly and in this tutorial I’ll show you how.
Acrylic discs are transparent, round pieces of acrylic, which is a kind of plastic that’s very strong. They are placed below and above a cake while you spread frosting onto the cake. Those discs will guide your cake comb as you scrape around the cake to create smooth, straight sides. There are lots of little details to get right for this to work, which I'll explain next.
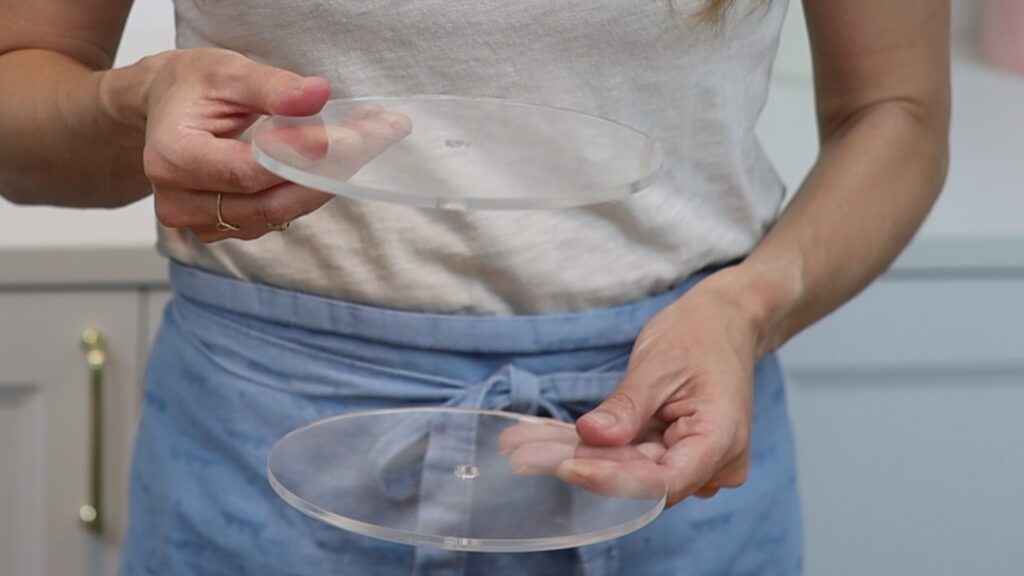
You’ll need two identical acrylic discs and they should be about 1/2 an inch wider than your cake layers.
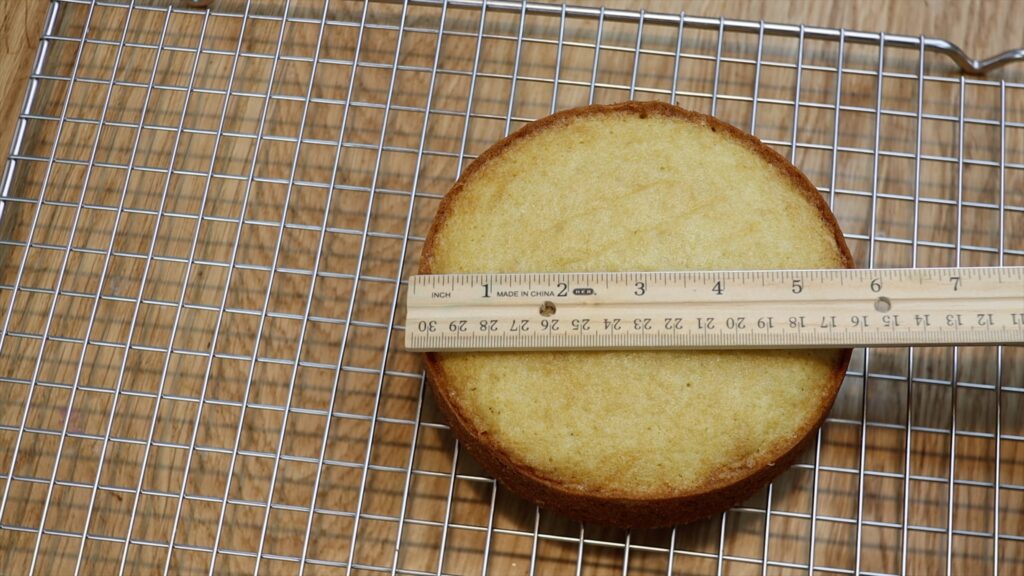
Measure the width of your cake layers after baking and cooling and then choose discs half an inch wider. This is because some cakes will shrink after baking so will end up smaller than pans you baked them in.
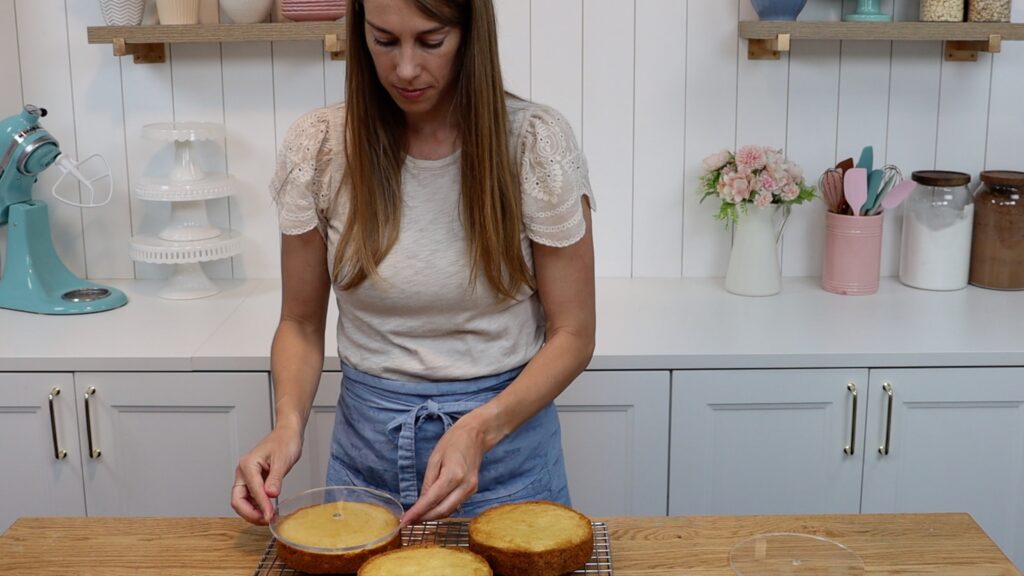
For example, this is my Very Vanilla Cake baked in six inch pans but after cooling, they measure 5.75 inches. I’m using a set of acrylic discs that are 6.25 inches wide, which is half an inch wider than the cake layers. This will leave space for a quarter of an inch of frosting all the way around the cake.
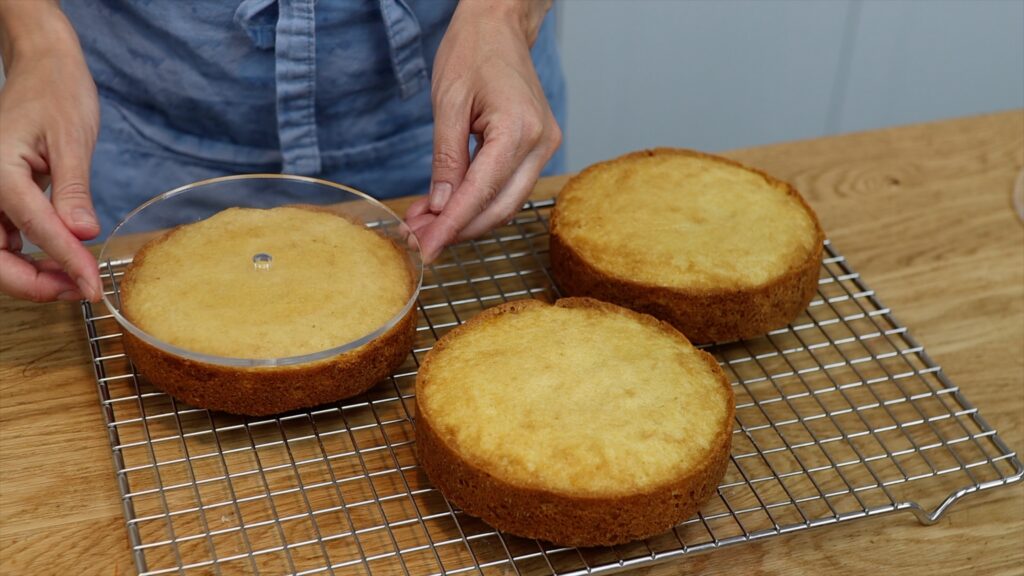
Apart from two identical acrylic discs you’ll need:
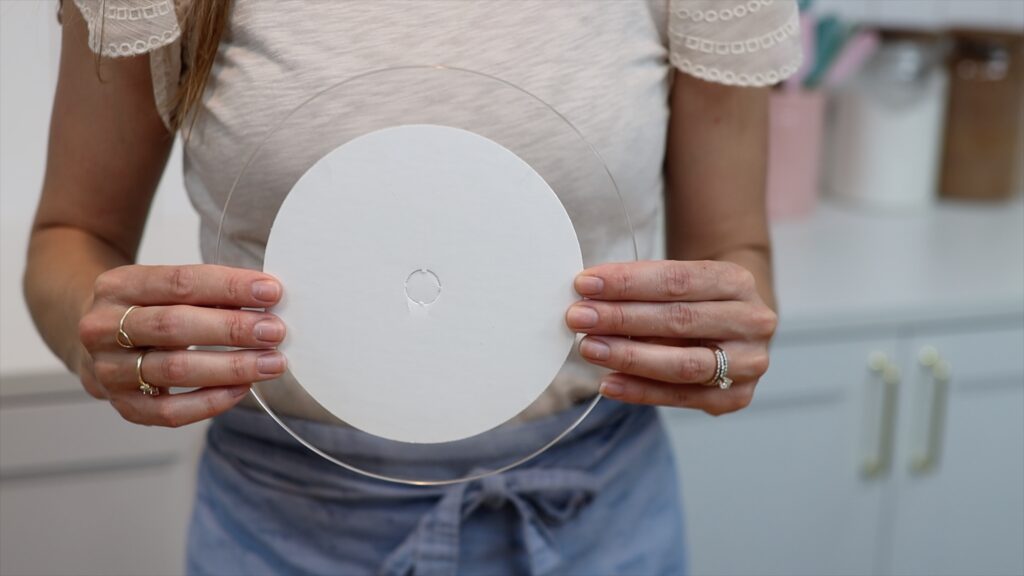
Your two cake boards should be at least 2 inches apart. You'll need one cardboard cake board that's as close as possible to the same width as your cake layers. You'll also need a larger one of any material such as acrylic, cardboard or foam core.
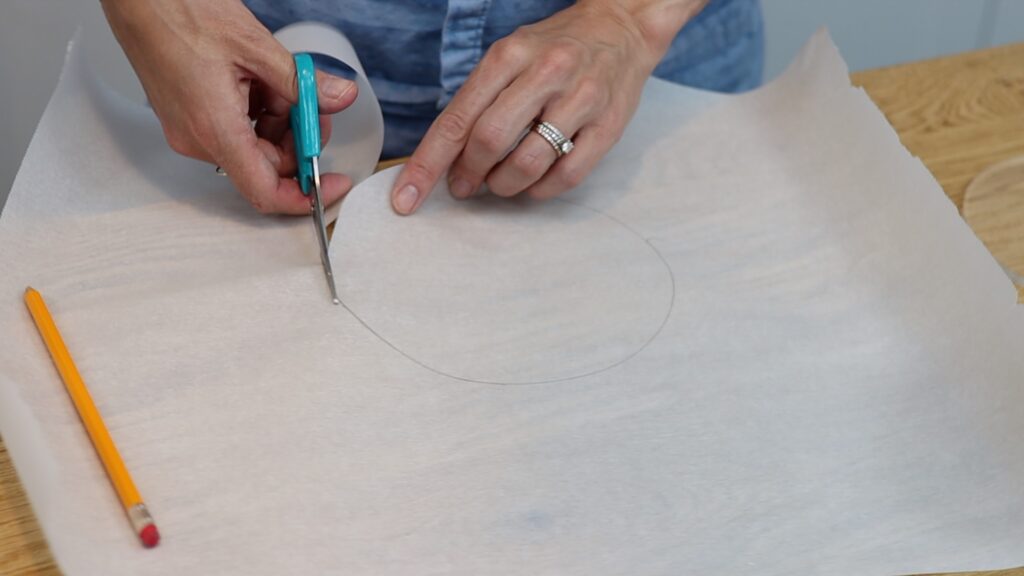
To make it easy to remove the top acrylic disc, line it with parchment paper, which is non-stick. Trace around a disc onto parchment paper and cut that circle out.
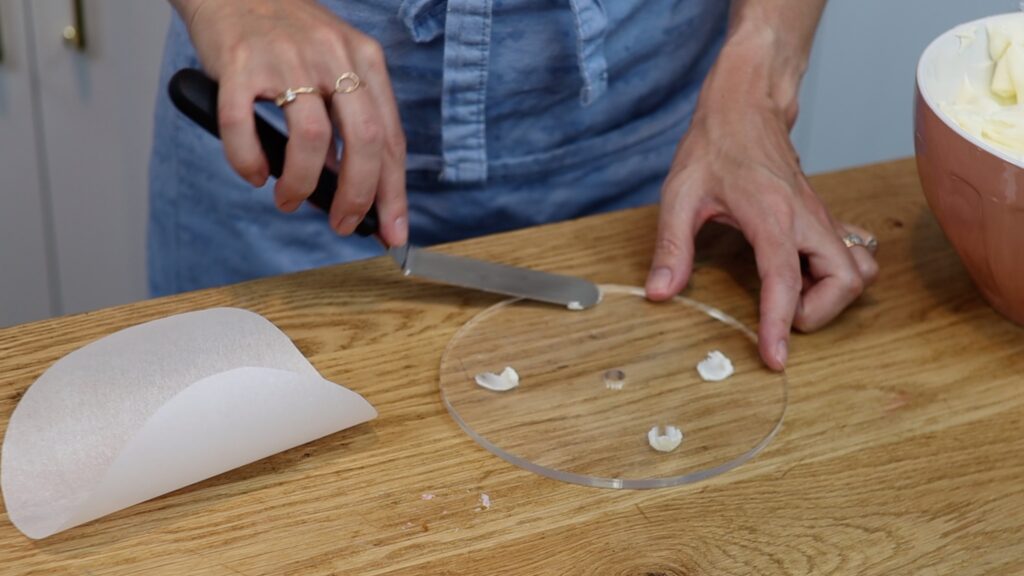
Use four tiny dabs of buttercream to attach the parchment to the disc. I recommend putting this disc into the freezer for 5 minutes to set the buttercream dots to attach the parchment securely.
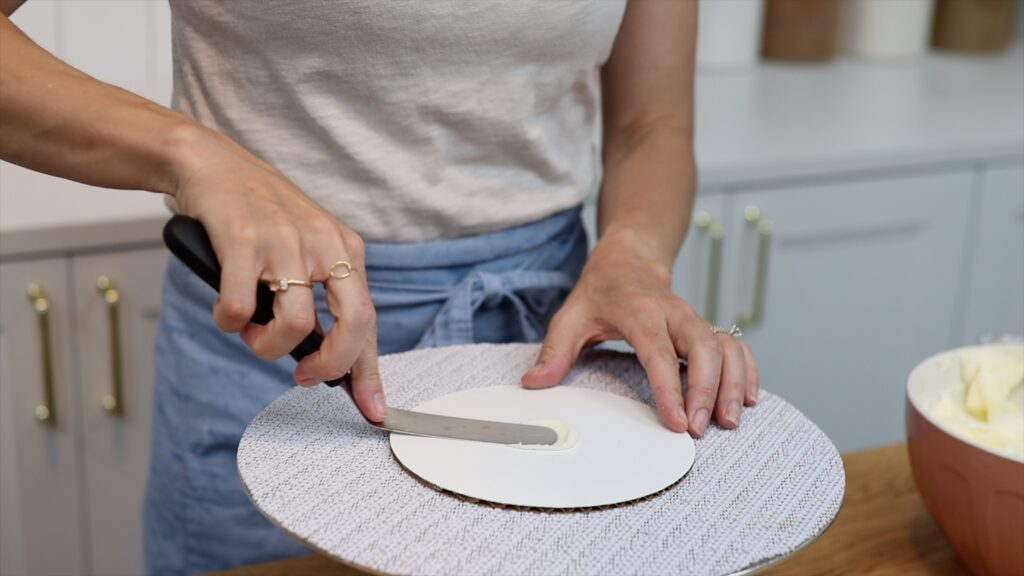
Assemble your cake on the cardboard cake board that's the same width as the cake. Spread a dot of buttercream onto the middle of the cake board to secure the first layer of cake.
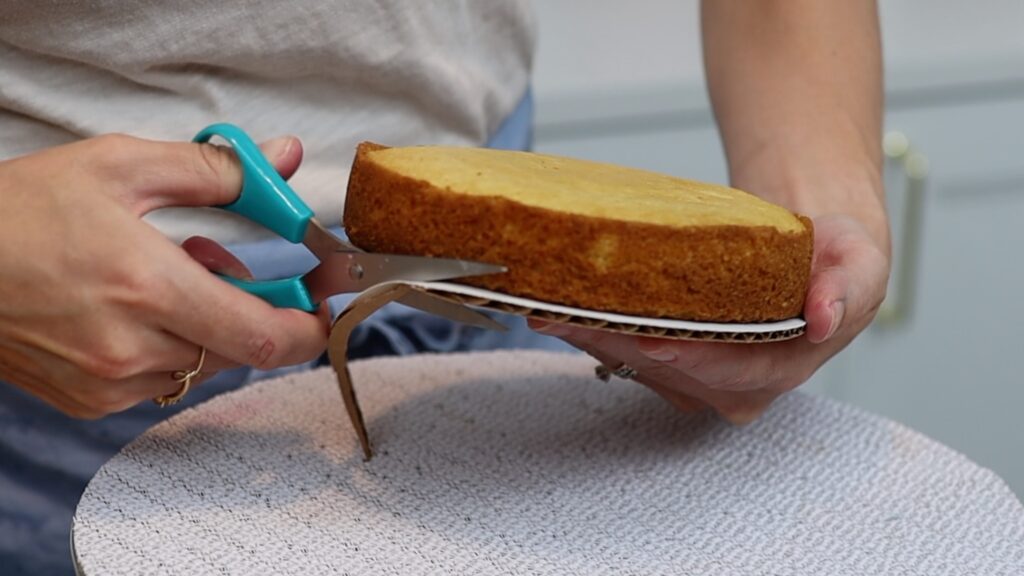
Like I mentioned, some cakes shrink when they bake and cool so they might end up being smaller than your cardboard cake board. After attaching the cake to the cake board, trim the board so that it's the same size as the cake. The sides of the board should be flush with the sides of the cake.
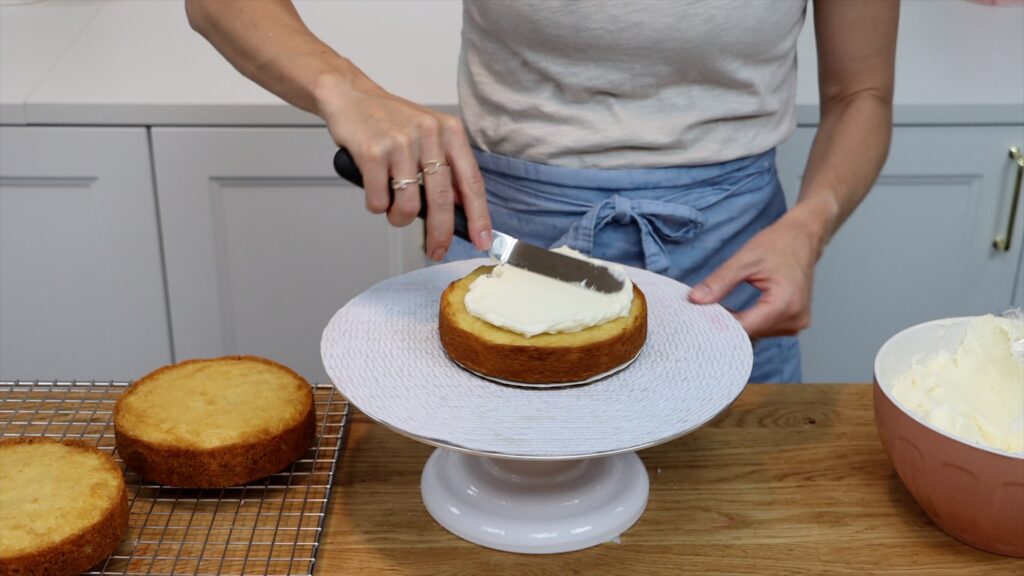
Then alternate between cake and filling to assemble your cake. I recommend chilling your cake layers for about 15 minutes in the fridge before you start. When they're cold, they're firmer and less crumbly to frost. Also, if the bottom cake layer is cold it will chill that dot of the buttercream on the cake board to set it and that will hold the entire cake steady while you assemble and frost it.
Get down to eye level to make sure each layer is directly on top of the layer below it. This will ensure that the sides of the cake are straight.
Now cover the cake in a crumb coat, which is a thin layer of frosting to trap any crumbs that come off the cake. If you skip this, you’ll have visible crumbs in the frosting on your cake. Place your larger cake board on your
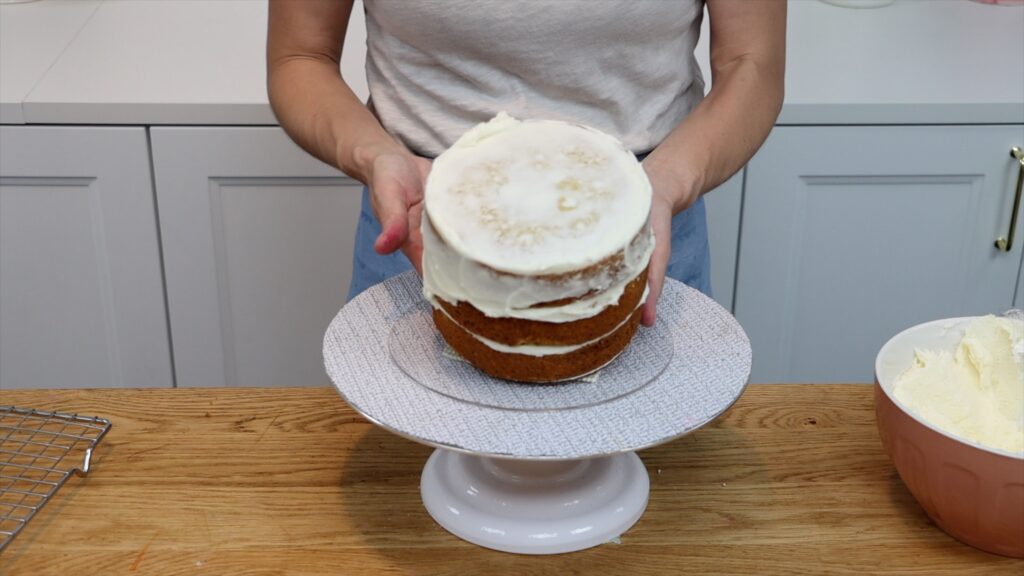
After spreading frosting over the whole cake, scrape around the cake with a cake comb to smooth the frosting a little bit. This doesn't need to be perfect! As long as there isn’t any exposed cake, a messy crumb coat is fine because it’s going to be covered up in a moment.
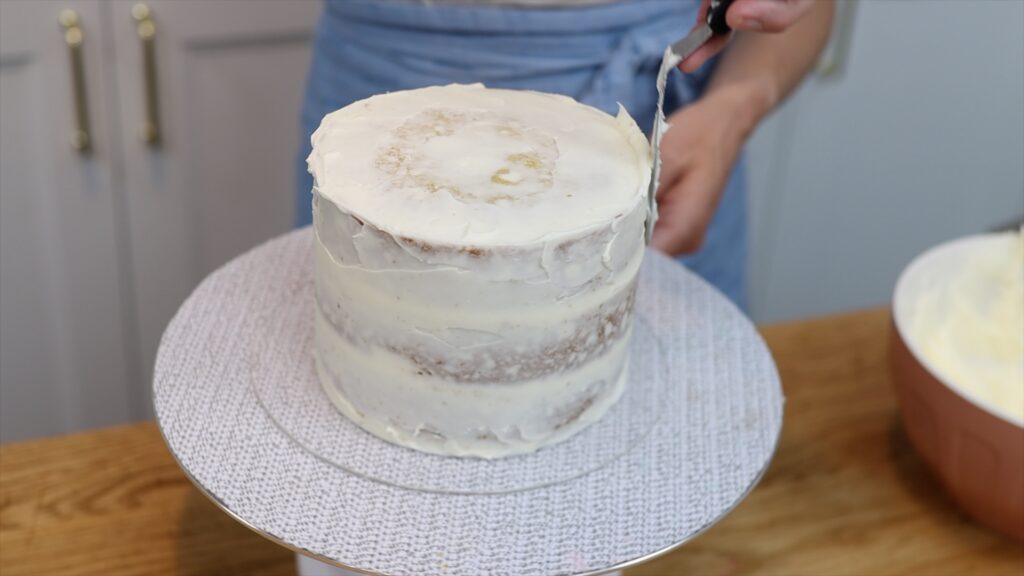
The big cake board gives you a large flat surface to rest your cake comb on as you scrape. It also stops the frosting getting all over your
Trimming the cake board earlier was important because next, the final coat of frosting will cover up both the crumb coat and the cake board underneath, so the board will be invisible.
Now put the cake into the fridge for 30 minutes or the freezer for 15 minutes to set the crumb coat.
When the frosting on the cake has chilled and it’s firm to the touch, take the cake out. Slide an
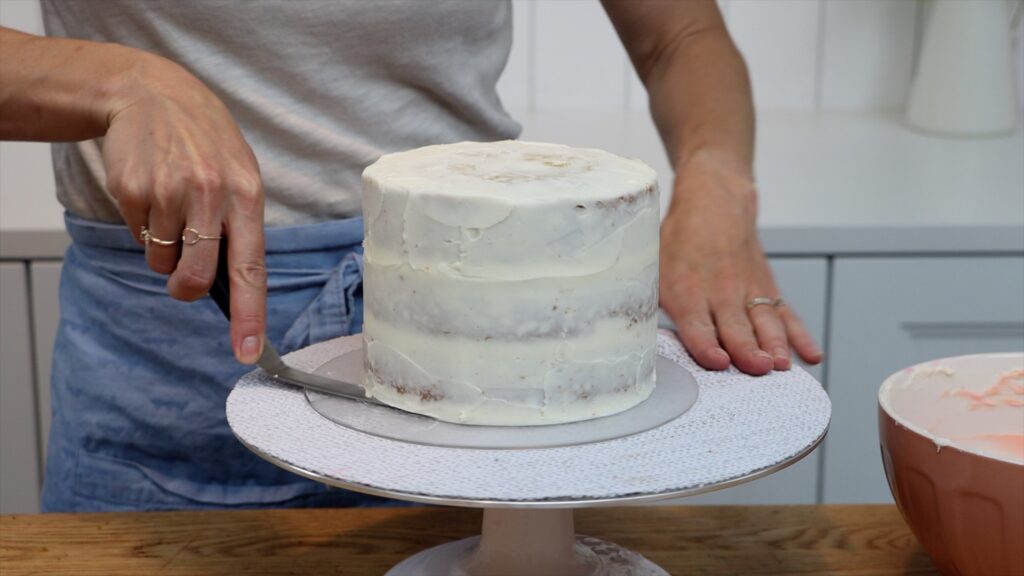
Slice all the way around the cake to separate it (still on its board!) and lift it up. Place a non-slip mat on the cake board and one of the acrylic discs on top.
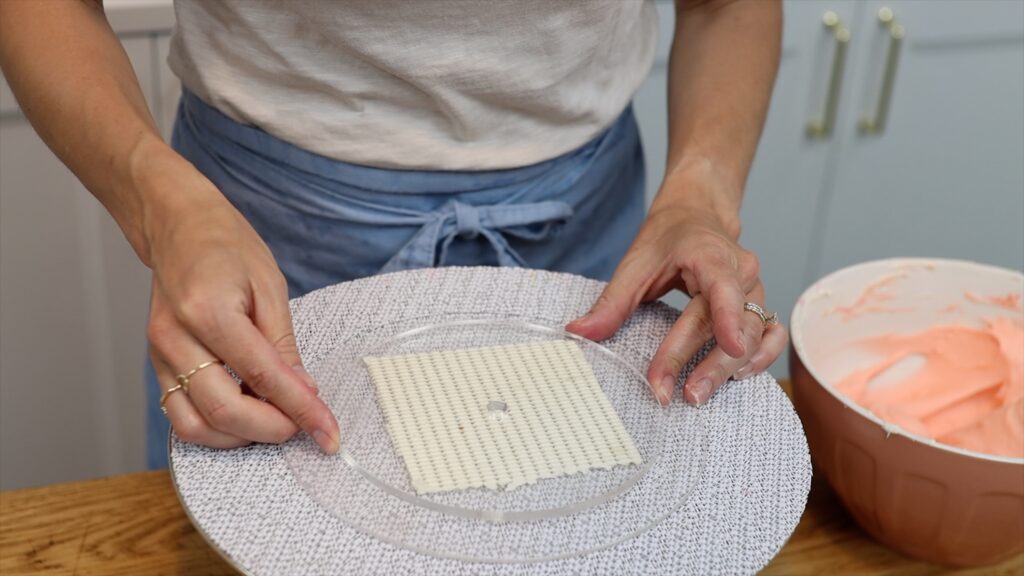
Then spread a dot of buttercream onto the middle of the acrylic disc and lower the cake back down onto that dot. Let's skip ahead to see why that dot is so important:
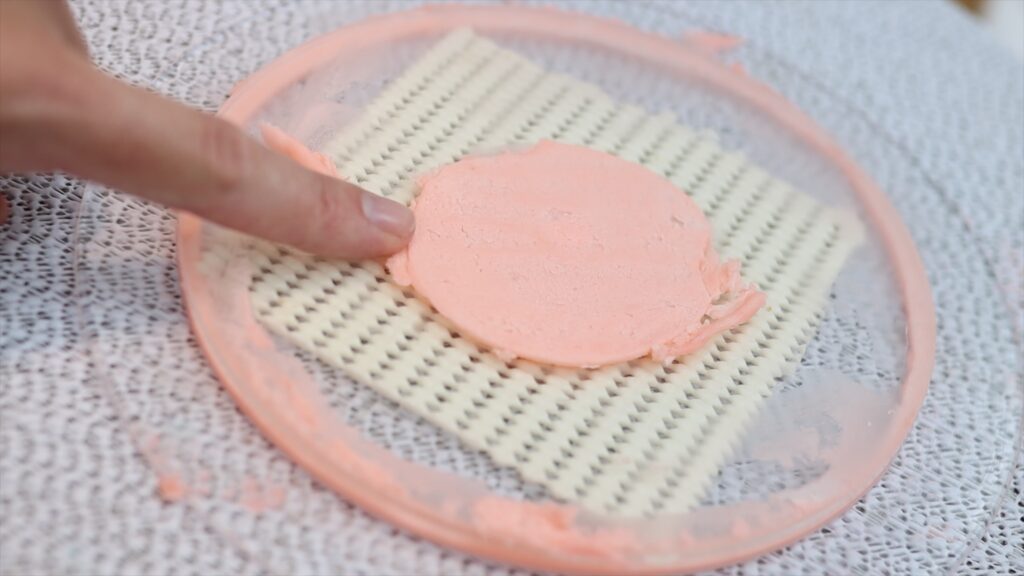
The cake will push the dot flat and the coldness of the cake will chill and set the squashed dot, which will act like glue to attach to the cake on its little cake board, so it doesn’t slide around.
After lowering the cake onto the buttercream dot, center the cake on the acrylic disc. Then spoon a generous amount of buttercream onto the top of the cake and spread it around, pushing it out over the edges of the cake. Press your second acrylic disc down onto the frosting with the parchment facing down, so it’s pressed against the frosting.
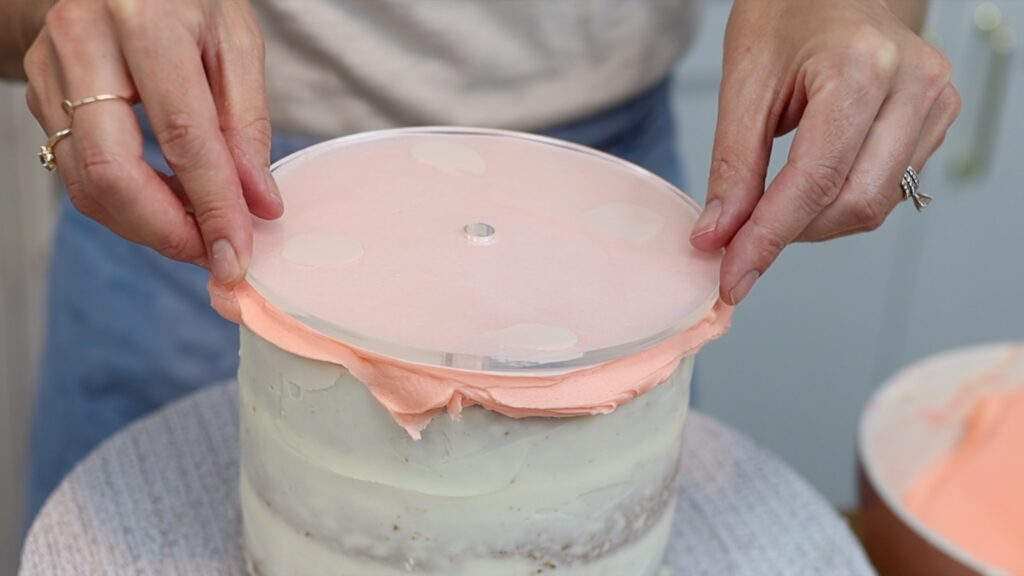
Push a cake comb sideways, making sure the bottom is resting on the big, bottom cake board so that it’s straight. It should touch both the bottom and top acrylic disc. If it doesn’t, adjust the top disc so that it’s directly above the bottom disc. Your cake comb should now touch both discs.
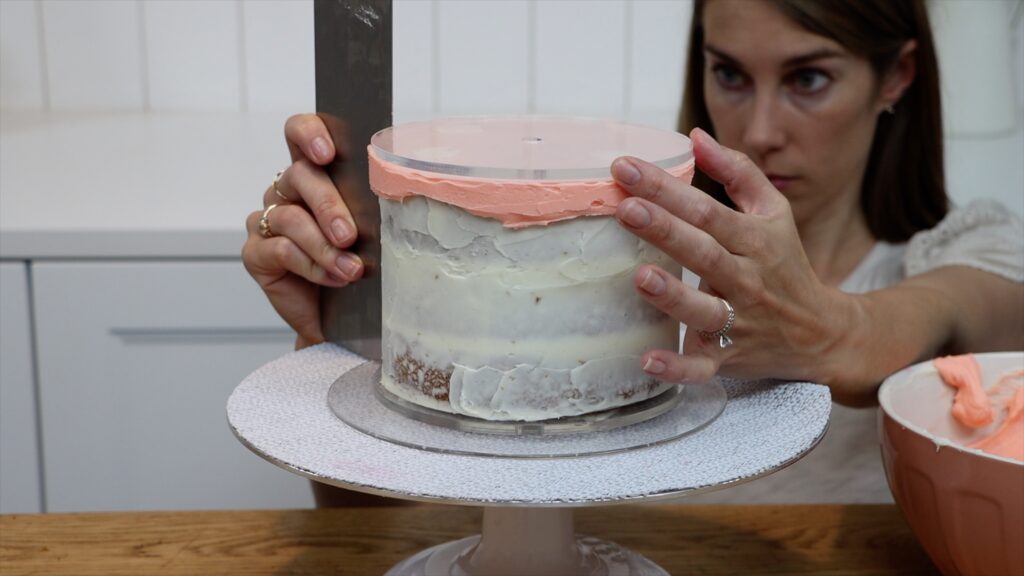
Now spread buttercream around the sides of the cake. It needs to be thick enough so that it goes up to the outer edge of the acrylic discs. Press your cake comb up against the acrylic discs and scrape around the cake to smooth the frosting.
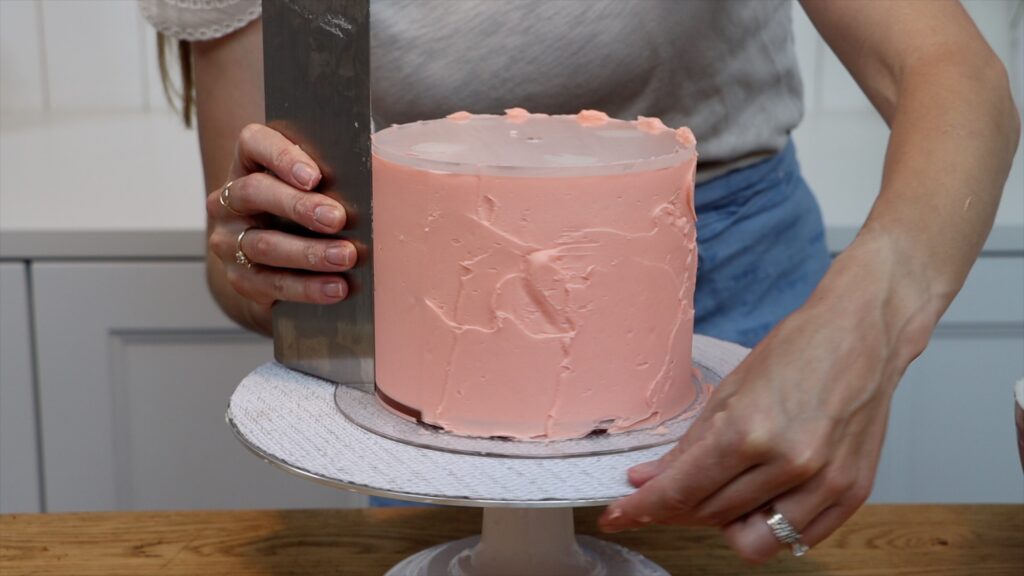
Scrape around a few times, wiping off the buttercream from your cake comb into your bowl of buttercream after each scrape. Then fill in any indents by spreading on more buttercream to fill those in and then scrape again.
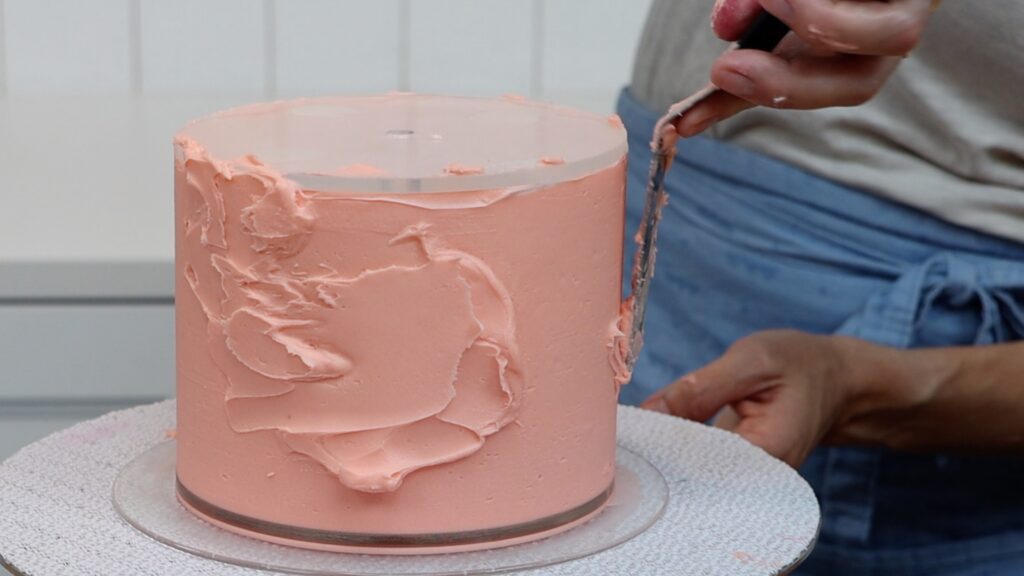
If you’re struggling to get the frosting perfect it's probably because the top disc is sliding as you press against it with your cake comb. Put the cake in the freezer for 30 minutes or the fridge for an hour to chill and set the frosting. Cover the leftover buttercream in your bowl with plastic wrap so it doesn’t dry out. Take the cake out of the fridge or freezer and spread the leftover buttercream over the frosting. Now scrape again and since the top disc is secured onto the chilled frosting, you should be more successful.
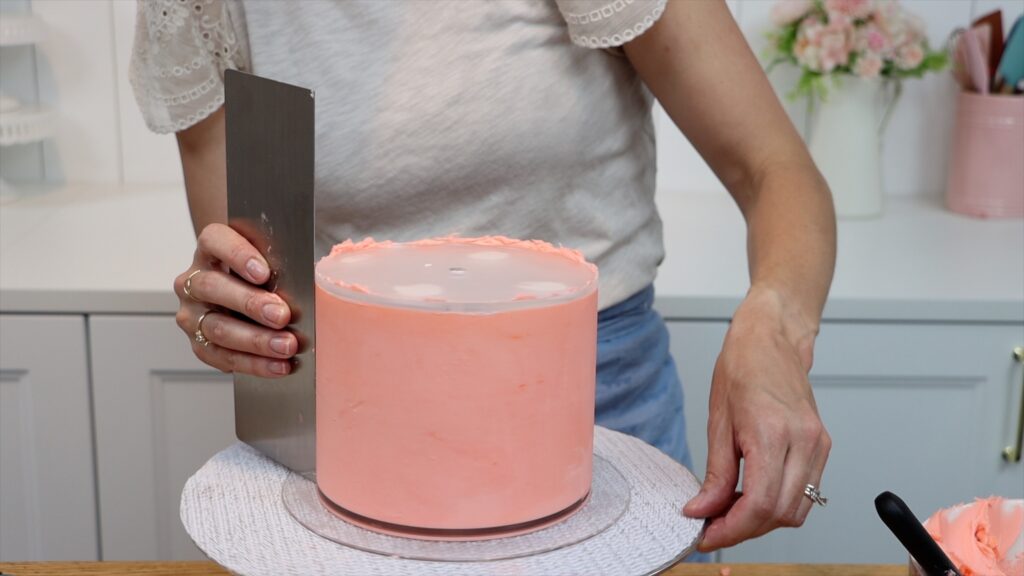
When you’re happy with the sides of the cake, put the cake in the freezer for 30 minutes or the fridge for an hour to set the frosting.
When the frosting is cold and firm, use a sharp knife to separate the top acrylic disc from the cake. Lift the disc off and then peel the parchment off, too. Don’t expect the frosting to be perfect… yet!
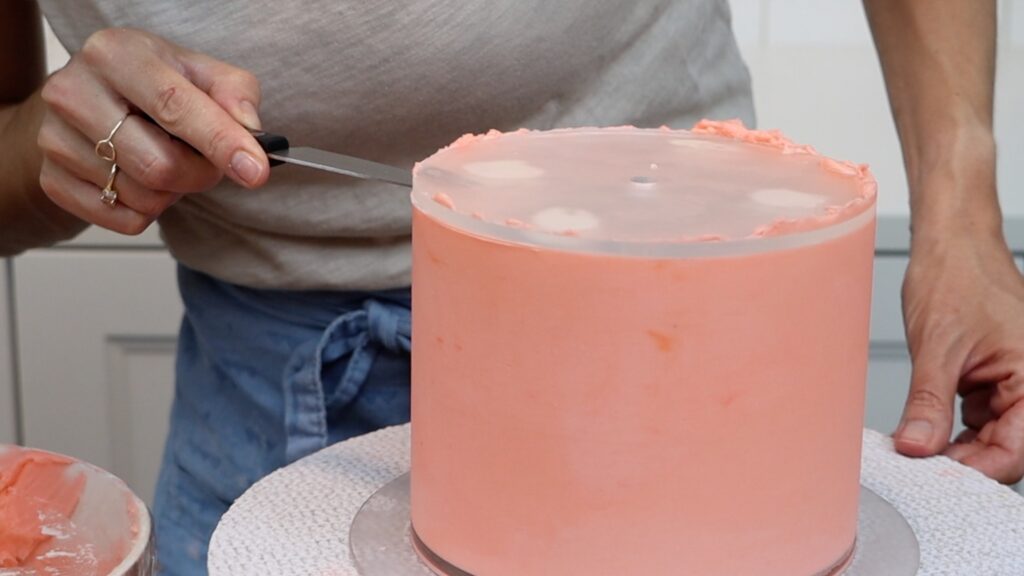
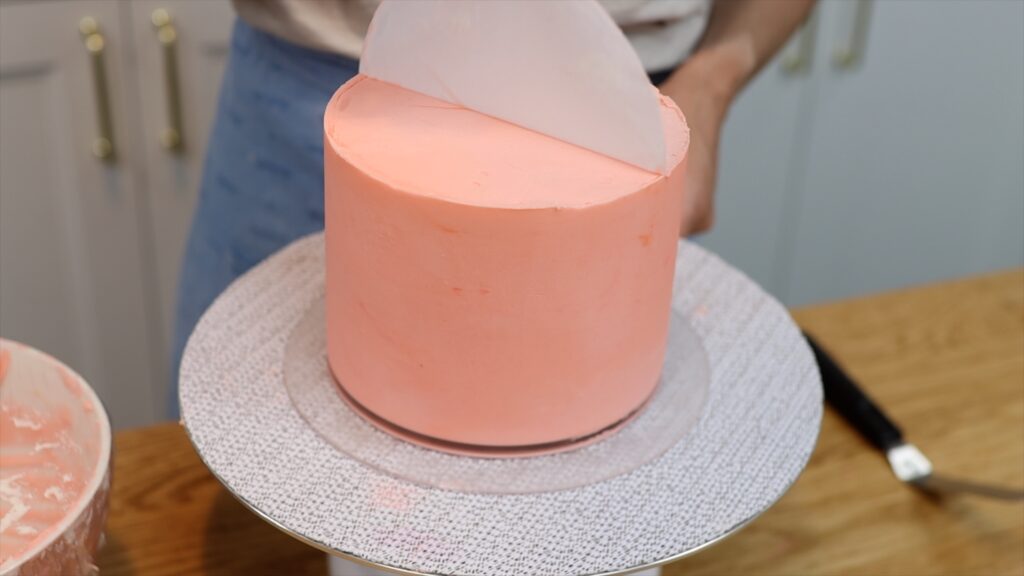
The frosting will have little air pockets or indents where the acrylic disc didn’t push down far enough to stick to the buttercream. Spread more buttercream over those areas now, scraping off the excess with your
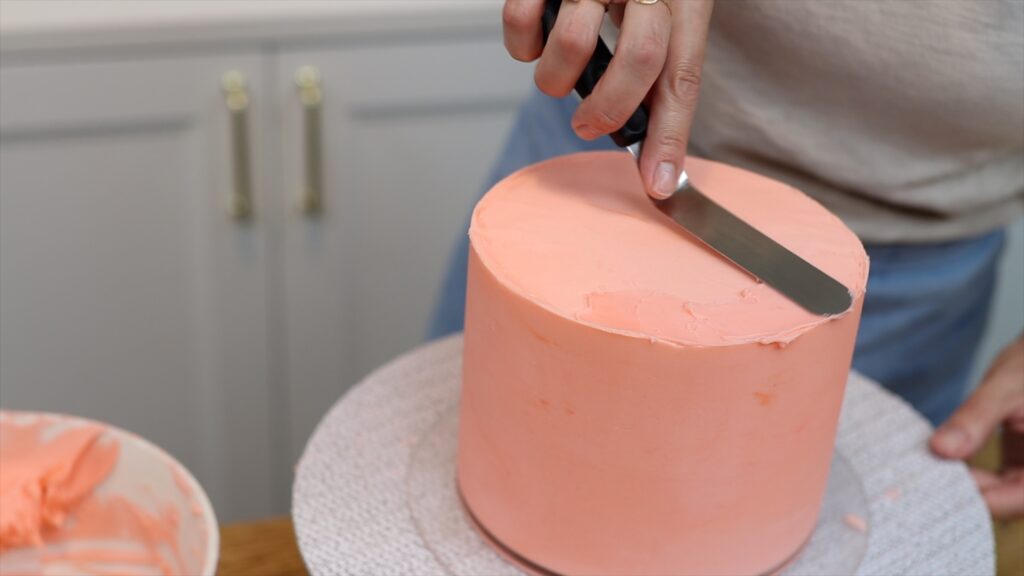
Scrape around the sides of the cake, angling your cake comb to press against only the top of the side. You'll push the fresh buttercream you’ve just spread on so that it sticks up above the top edge of the cake. Then swipe sideways with your
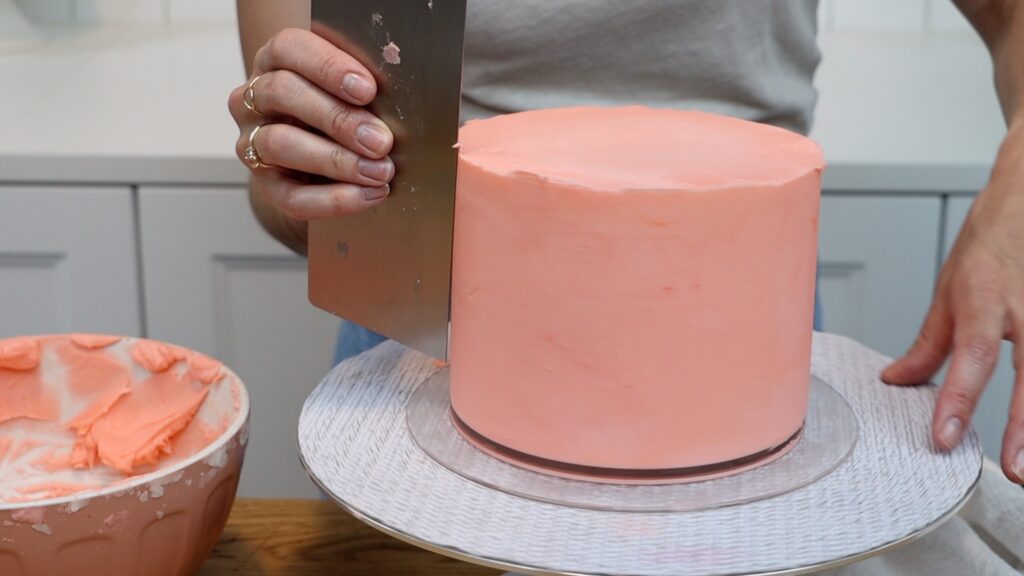
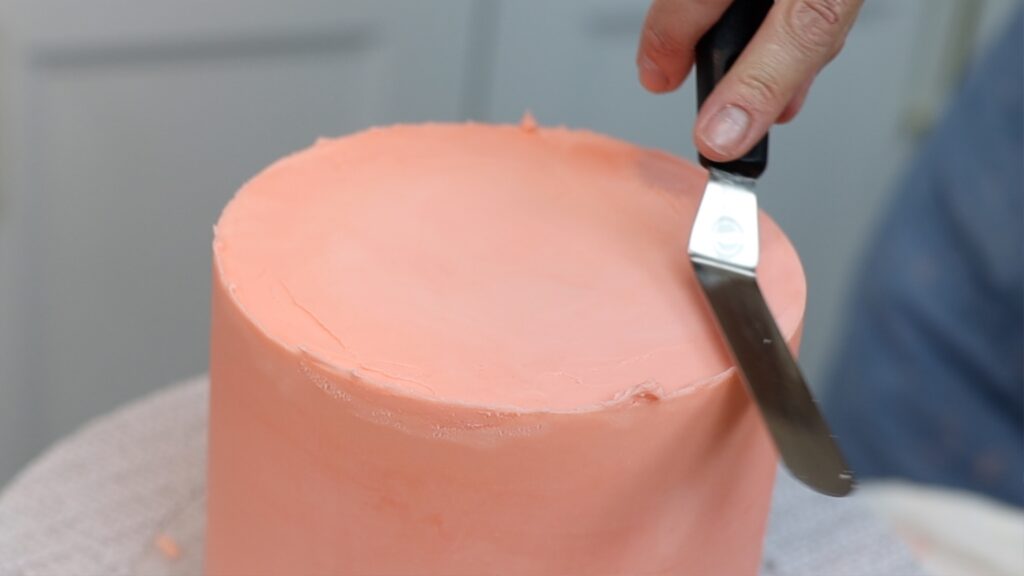
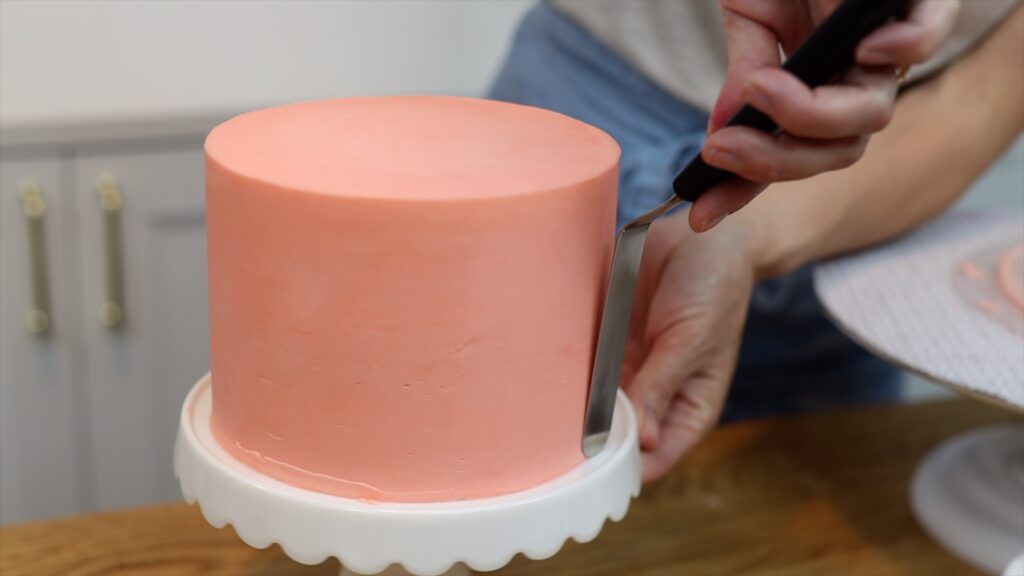
Step back and admire your beautiful sharp top edge! The cake isn't quite finished yet. To separate the cake from the bottom acrylic disc you'll need an
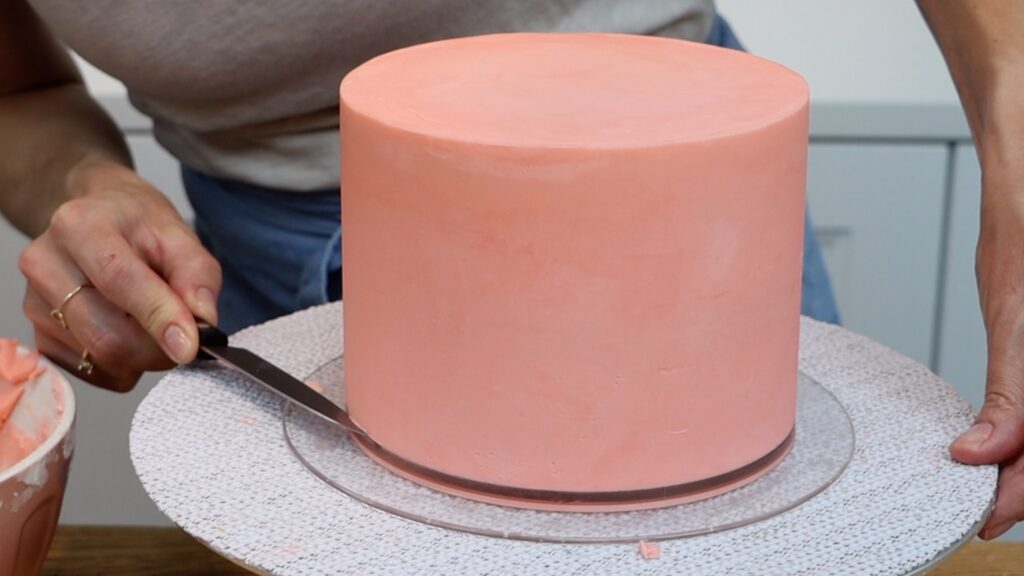
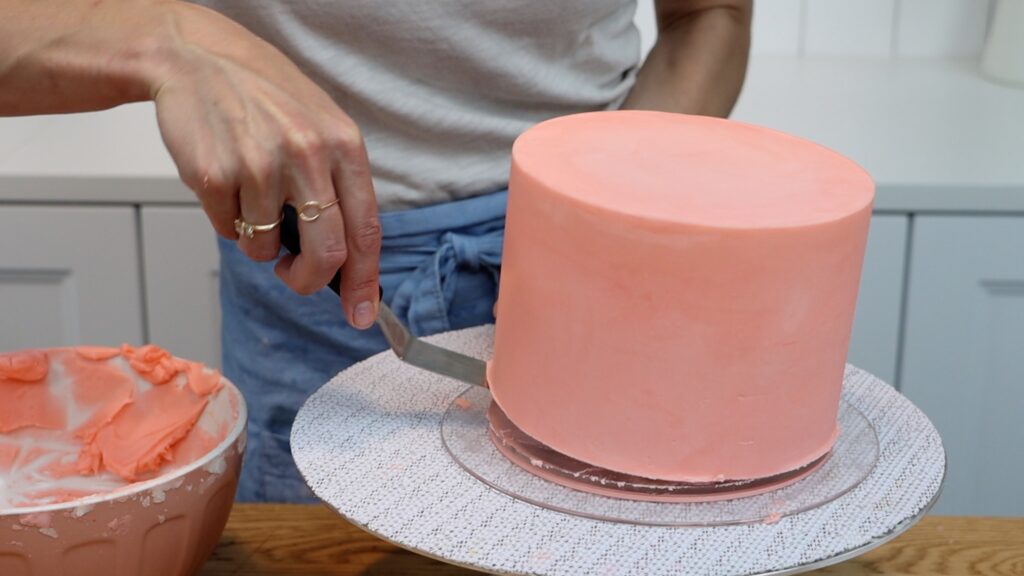
Transfer the cake onto a cake stand or cake board or whatever you want to transport or serve it on. Neaten the bottom edge by spreading gently around it with an
What do you think? Are acrylic discs worth the extra steps to get super smooth frosting? Tell me in the comments! And visit my cake school on BGB.com to learn hundreds of cake decorating techniques and designs.
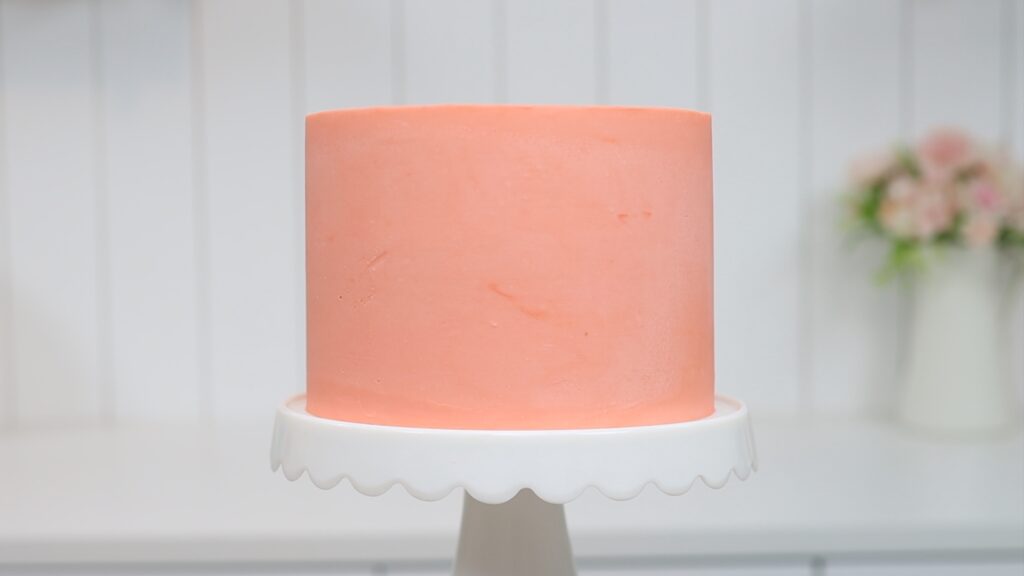
You can also watch a video of this tutorial on how to use acrylic cake discs for cakes:
