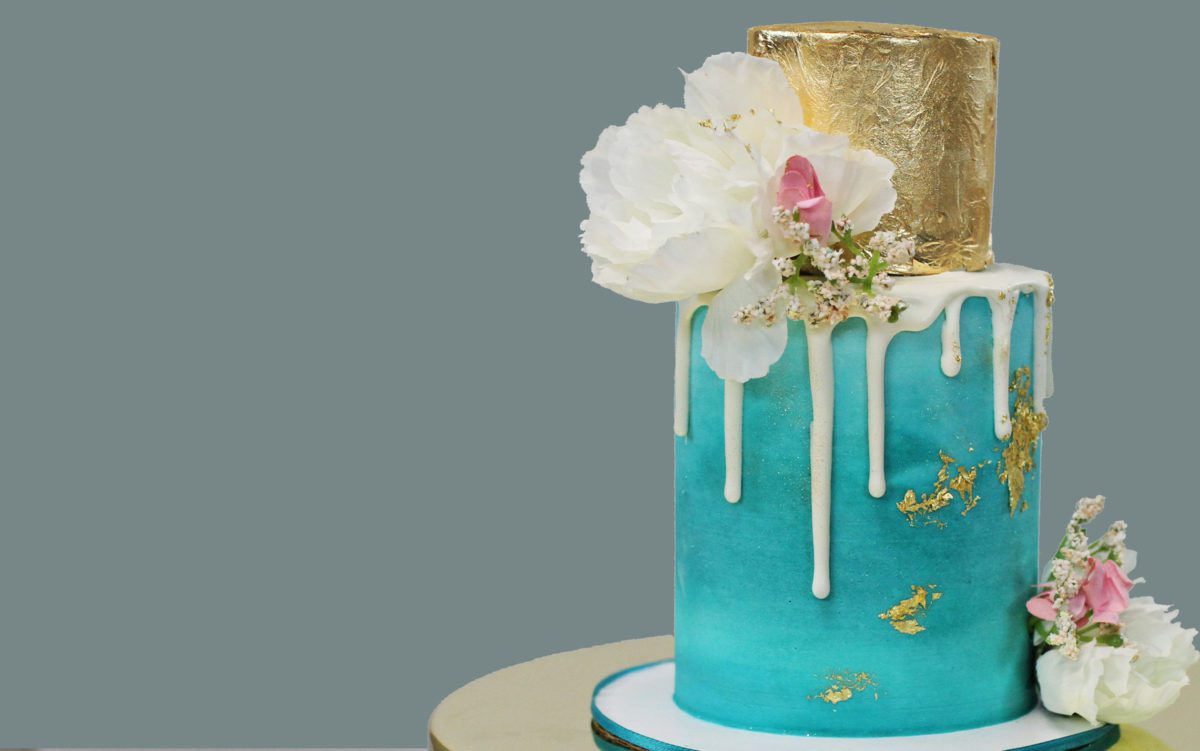
Gold leaf makes cakes look instantly classier and once you know how to use it, it’s easy! I’ll show you the basics of how to use gold leaf on cakes to decorate frosting, drips, piping, stencils, and several cake toppers. If you prefer to watch a video of this tutorial, scroll to the bottom of the page.
Let’s start with the basics. Gold leaf comes packaged within these protective sheets because it’s very delicate – don’t touch it or it will stick to your finger!
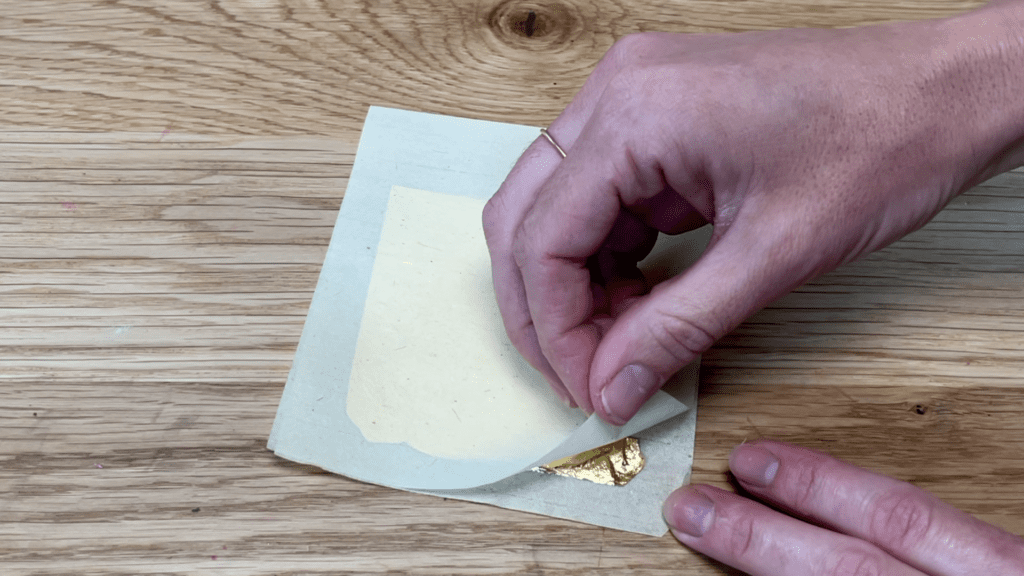
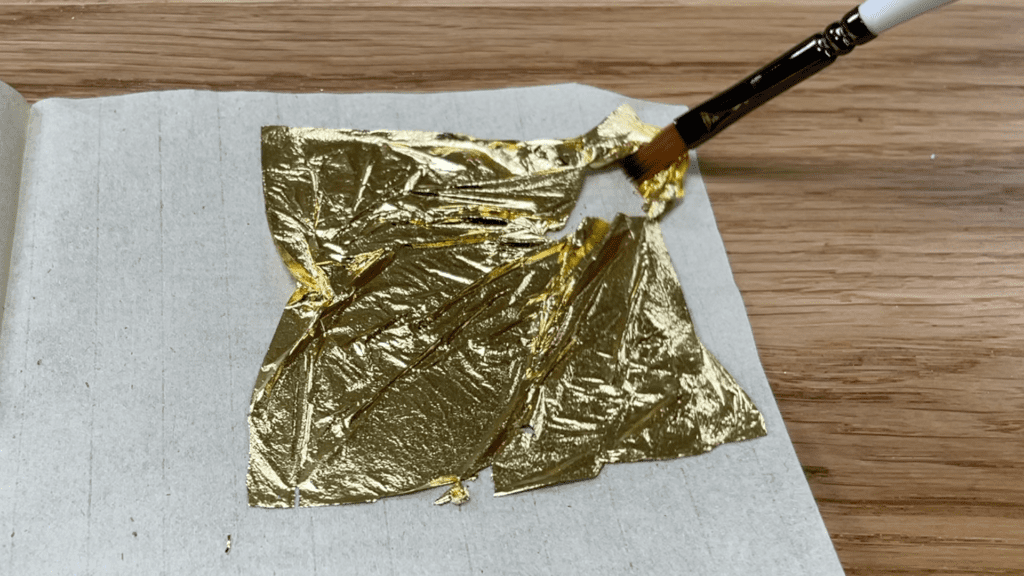
Lift gold leaf up with a paintbrush or tweezers. It will transfer easily from these surfaces but if you pick it up with your hands, the gold leaf will stick to the moisture on your fingers and it will be impossible to take off in one piece.
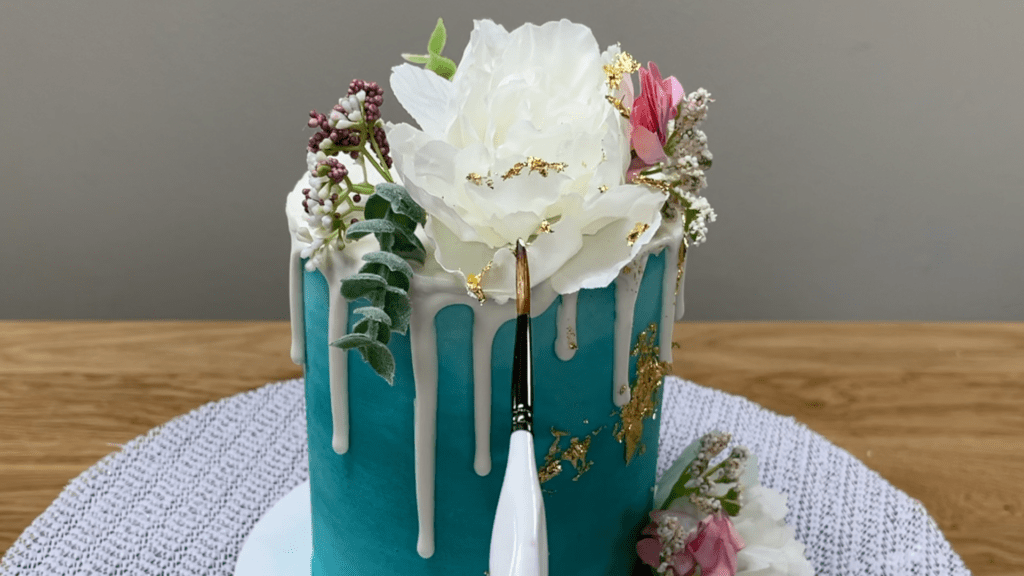
Decorate a cake with gold leaf after chilling the cake in the fridge for at least an hour to set the frosting and decorations so that they’re firm. Lift the golf leaf up and you’ll be able to press it gently against a drip that’s set, without damaging the drip.
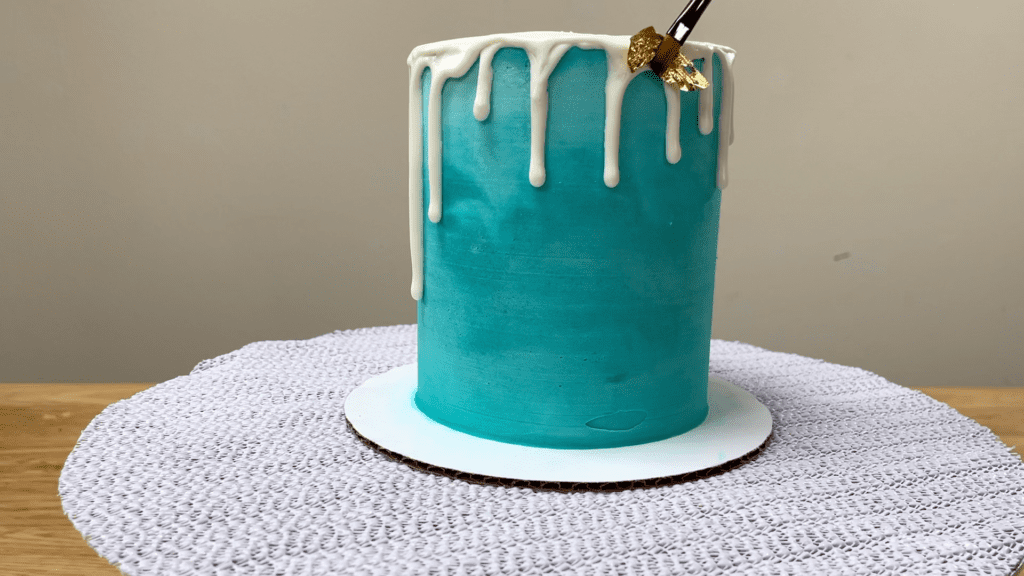
You can transfer the gold leaf onto the frosting of the cake by gently pressing it against the frosting with a paintbrush. If the frosting has set, you can push it so that lies flat and the pressure from your paintbrush won’t damage the frosting on the cake.
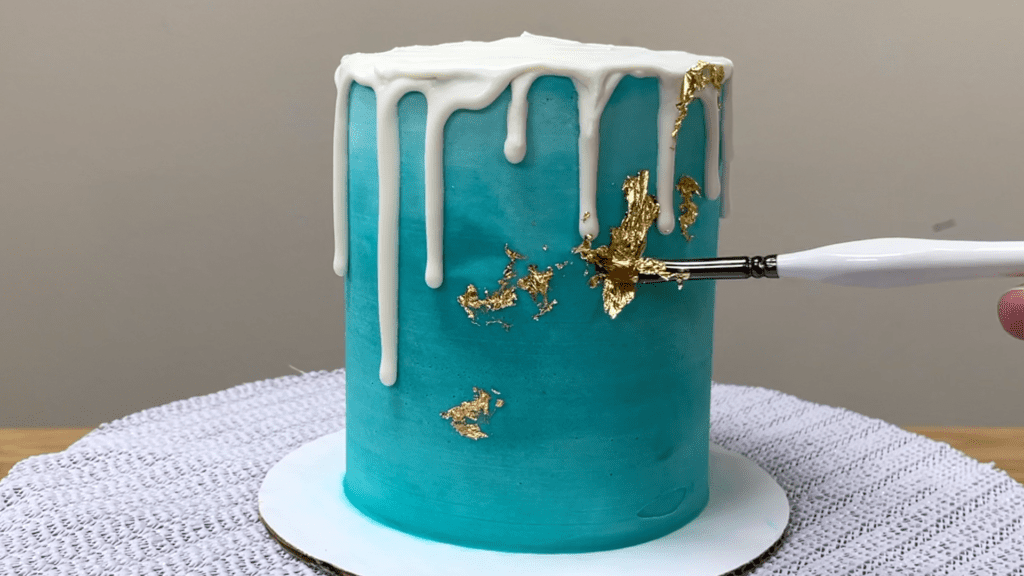
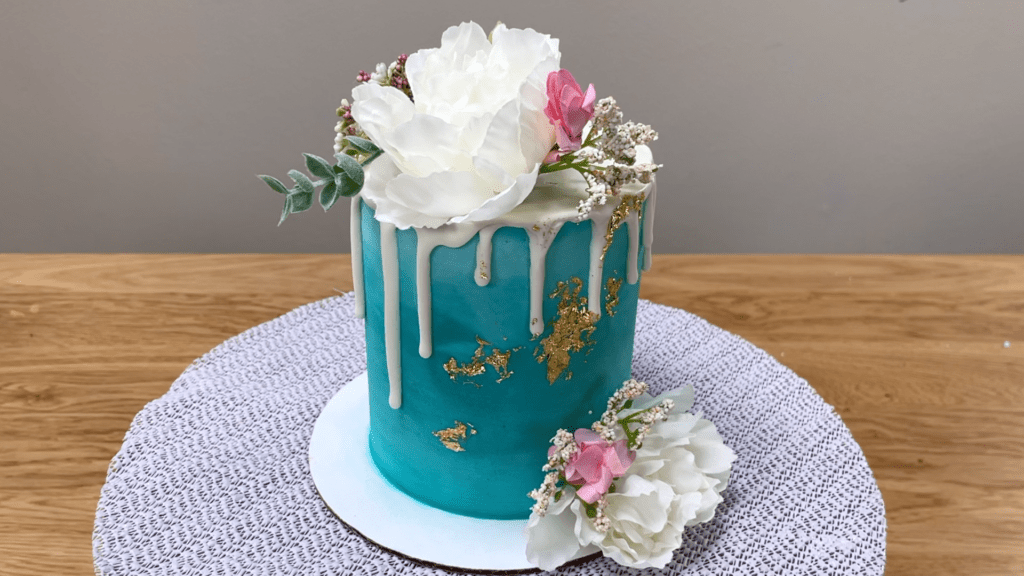
Gold leaf looks really pretty when it’s placed randomly on the cake like this, or you can be more intentional.
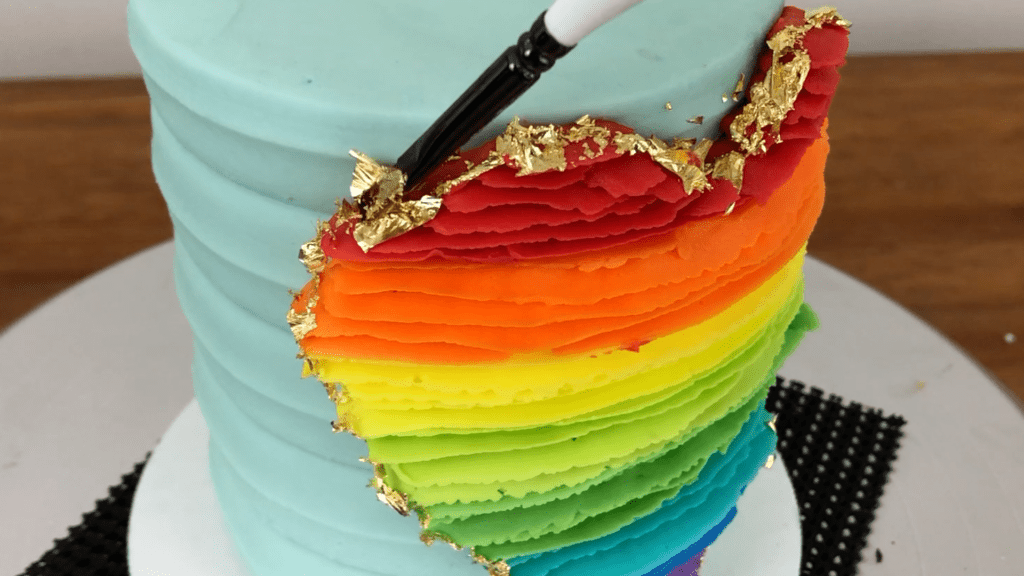
Outline piping by first letting the piping set for about an hour in the fridge so it gets hard and then press the gold leaf gently against the edge. Leave it sticking out or press it flat against the piping by dabbing it with your paintbrush.
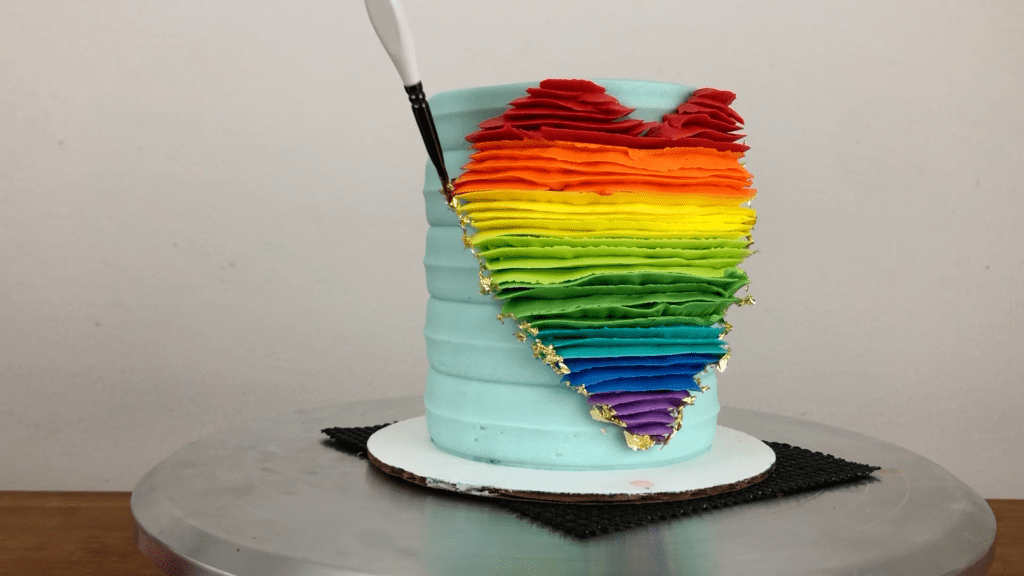
Since the piping has set, you won’t damage it as you push the gold leaf into it. Gold makes a stunning outline around the piping!
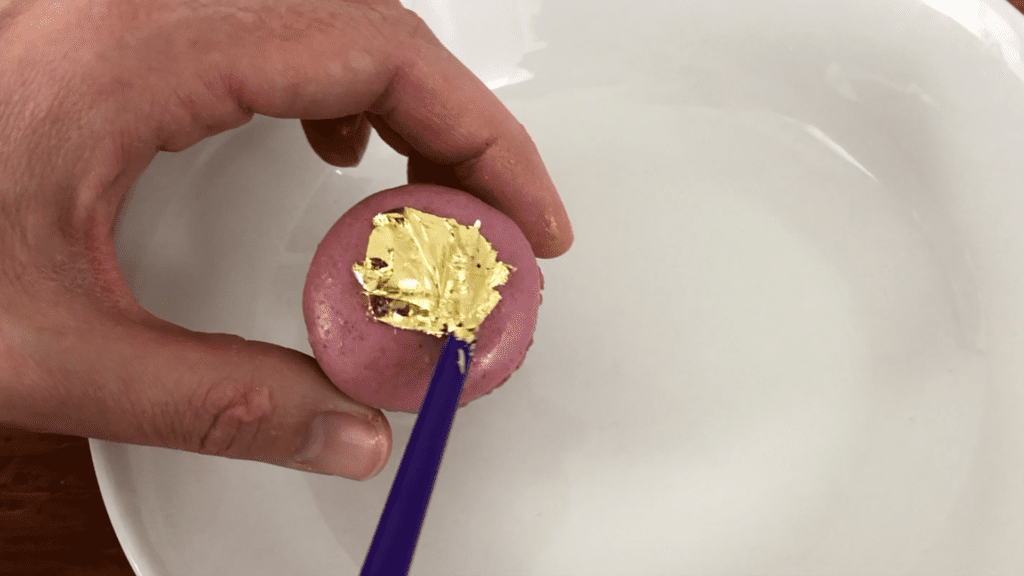
Make simple cake toppers look glamorous with gold leaf. Attach it to macarons the same way you would add it to the frosting on a cake, lifting the gold leaf up with a paintbrush and then pressing it gently onto the surface of the macaron.
Gold leaf looks beautiful on fresh fruit, too!
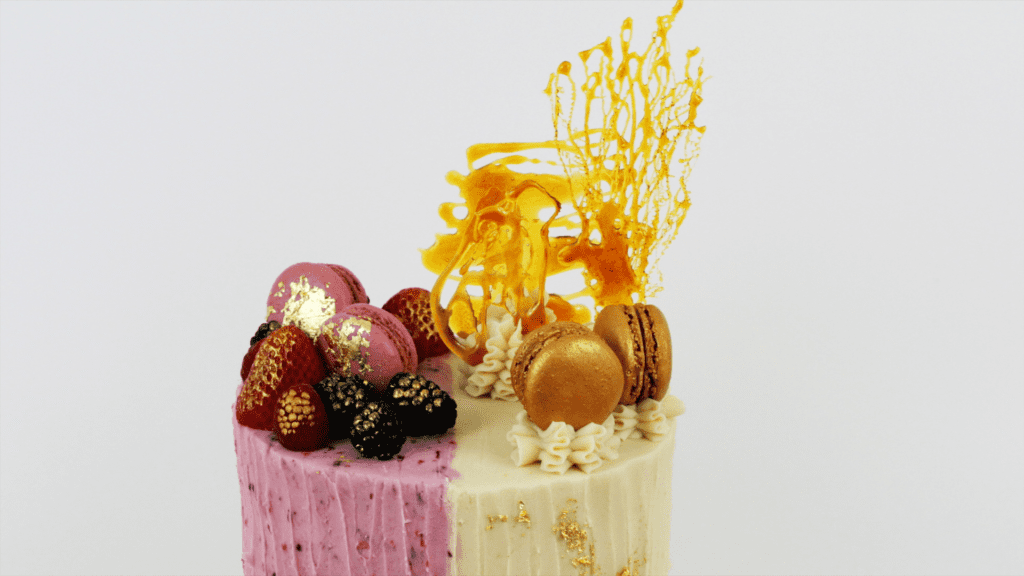
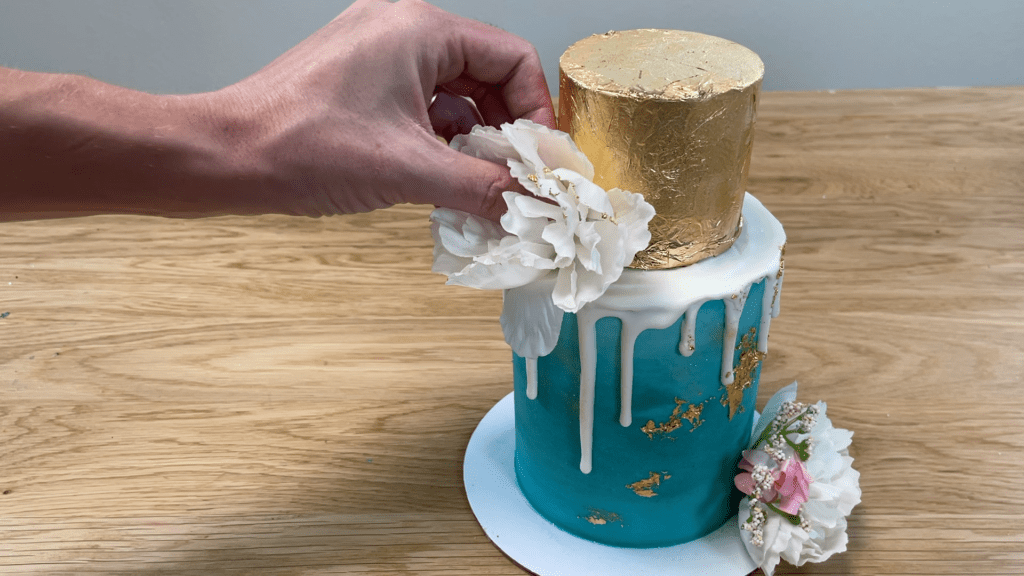
I brushed the edges of these petals with water to make them damp and the gold leaf sticks to that moisture. This makes the flowers match the gold leaf on the frosting on the cake, and makes them look fancier!
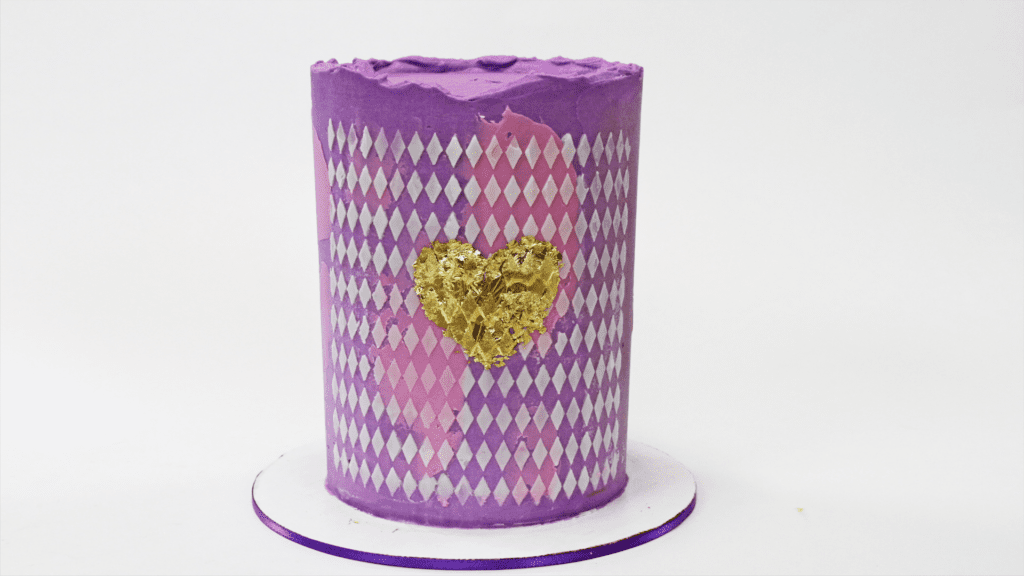
For very specific placement of gold leaf, use a stencil. After the frosting on the cake has set, brush it with a clear alcohol like vodka to make it moist so that the gold leaf will stick.
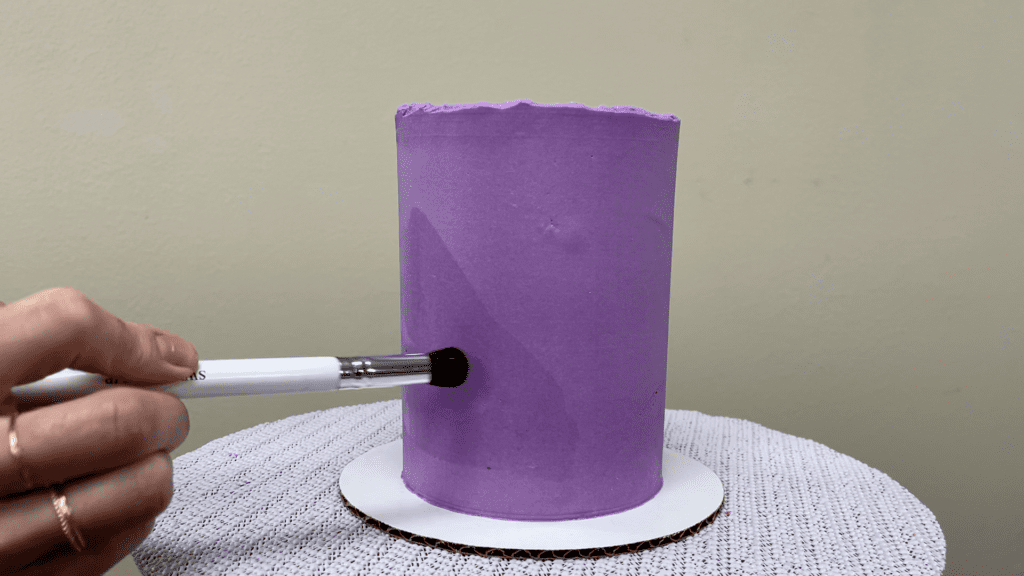
Wrap a stencil around the cake and then peel the backing paper away from a sheet of golf leaf and press the gold leaf against the stencil. It will stick to the damp frosting through the gaps in the stencil. The alcohol will evaporate and disappear within a few minutes.
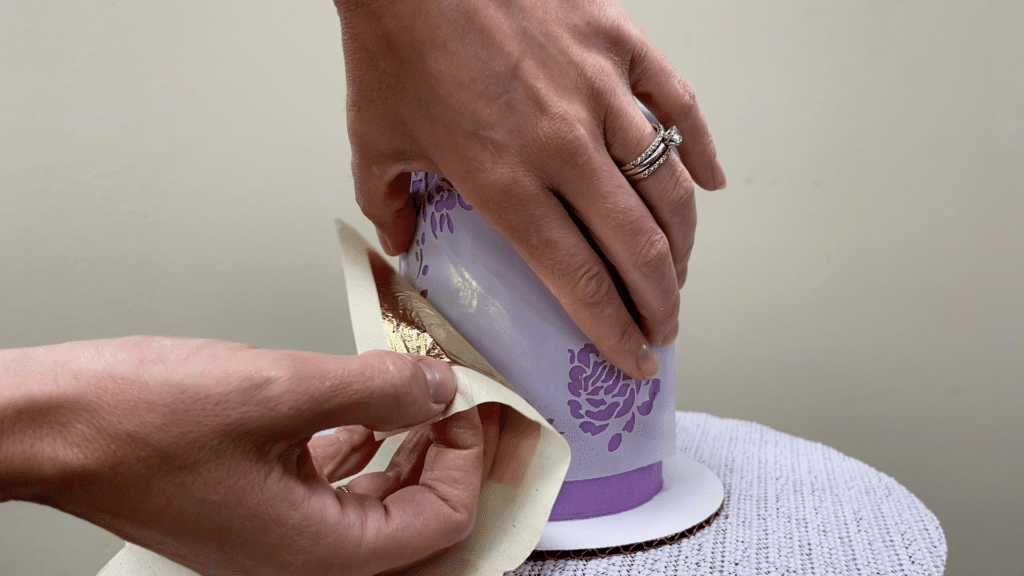
Simple shapes work best for this because details are easily lost in intricate stencils. If you don’t like the result you can brush it away with a paintbrush dipped in vodka, which will dissolve the gold leaf.
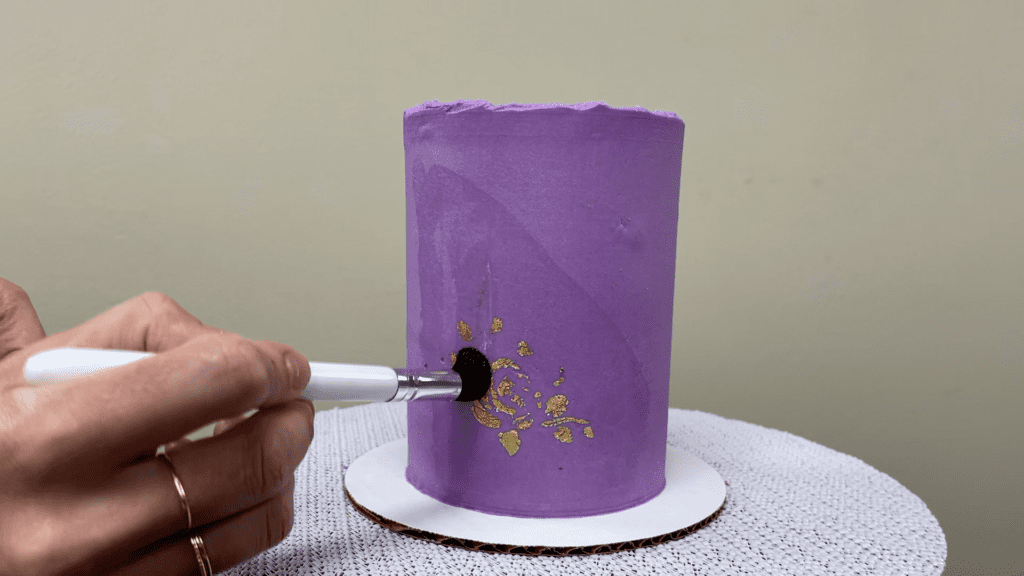
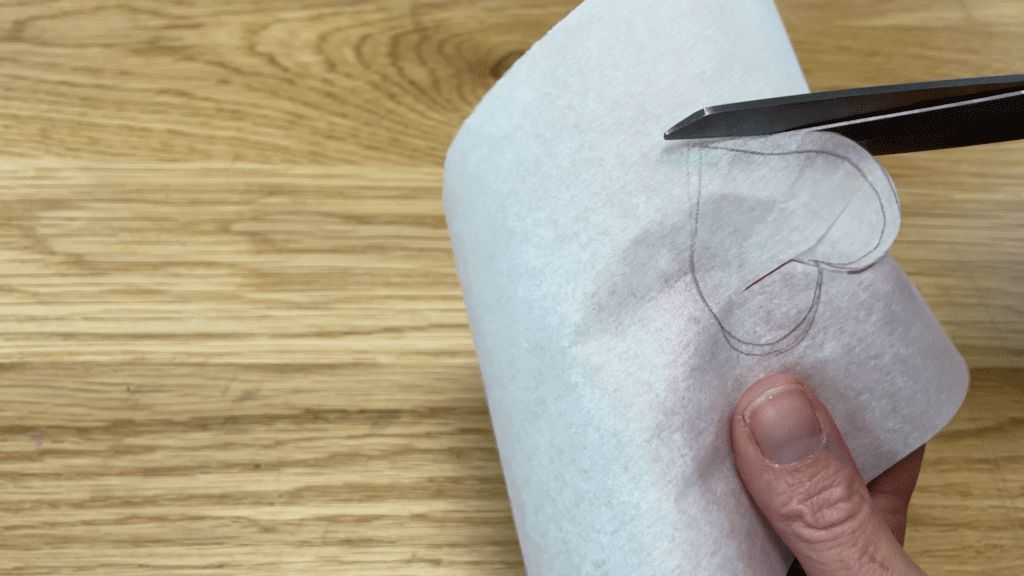
Simpler designs are more effective than very intricate designs. To make your own stencil, cut a shape out of parchment paper and leave the outline intact.
Press the outline against a cake and brush on some vodka with a paintbrush or a sponge. This will provide some moisture for the gold leaf to attach to.
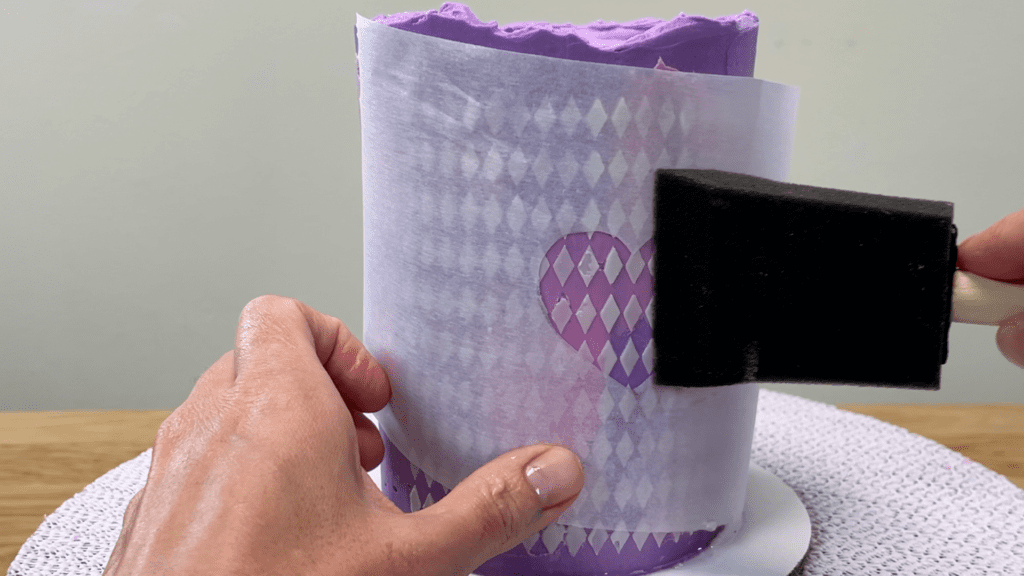
Peel one side of the backing away from a sheet of gold leaf and press the gold leaf onto the stencil, pushing through the other side of the backing so that you don’t touch the gold leaf. When you peel that side of the backing away, if there are any parts of the stencil shape that aren’t covered with gold you can try brushing gold leaf from the parchment paper surrounding it, over onto the shape, to cover it up completely.
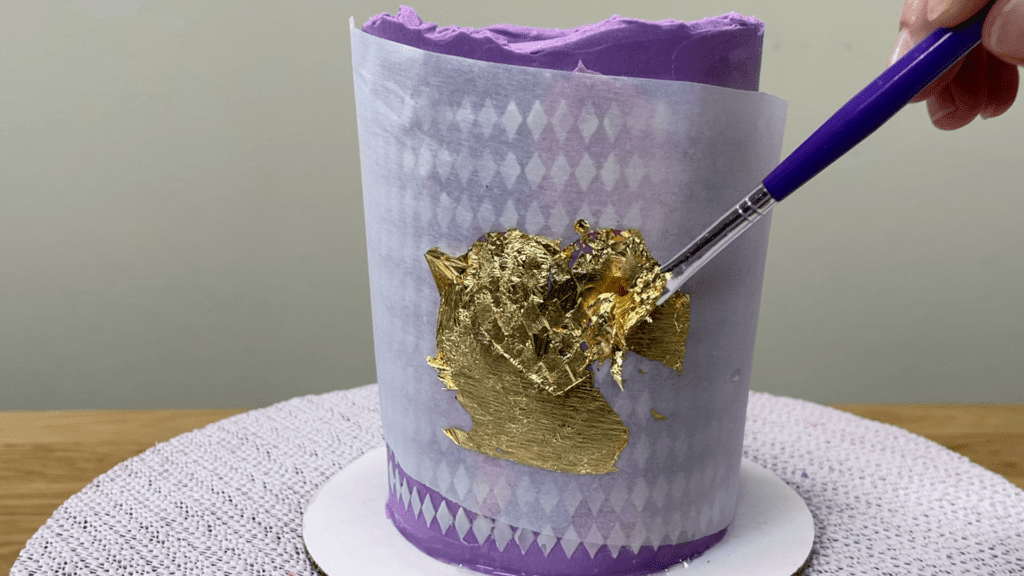
Peel the stencil off to leave your gold shape behind!
To completely cover a cake with gold leaf, let the frosting on the cake set and then peel off one side of the backing paper.
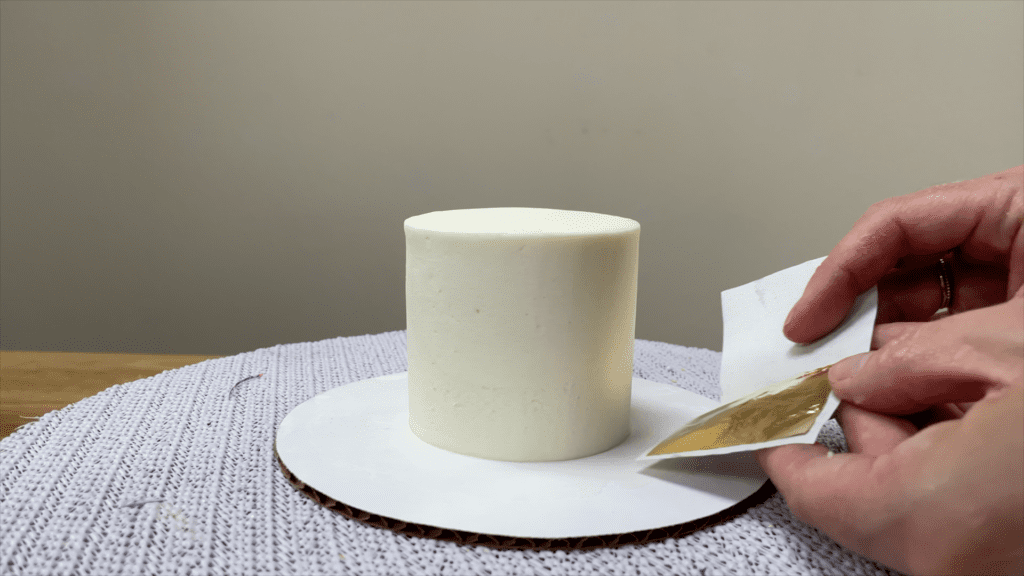
Press the gold leaf into the frosting on the cake, using the other side of the paper to press without touching the gold leaf with your hands.
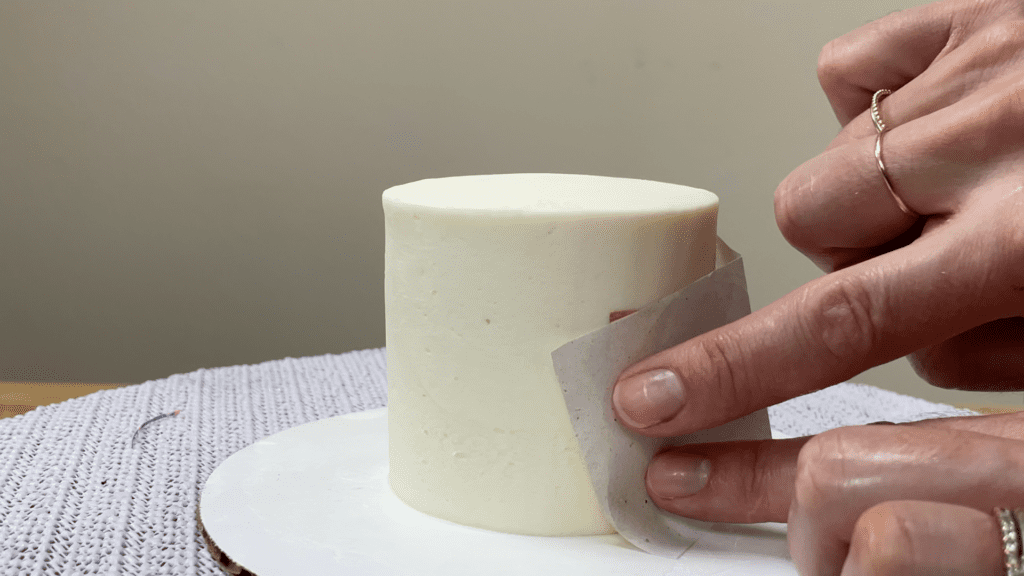
When you peel the backing paper away, the gold leaf will be left on the cake.
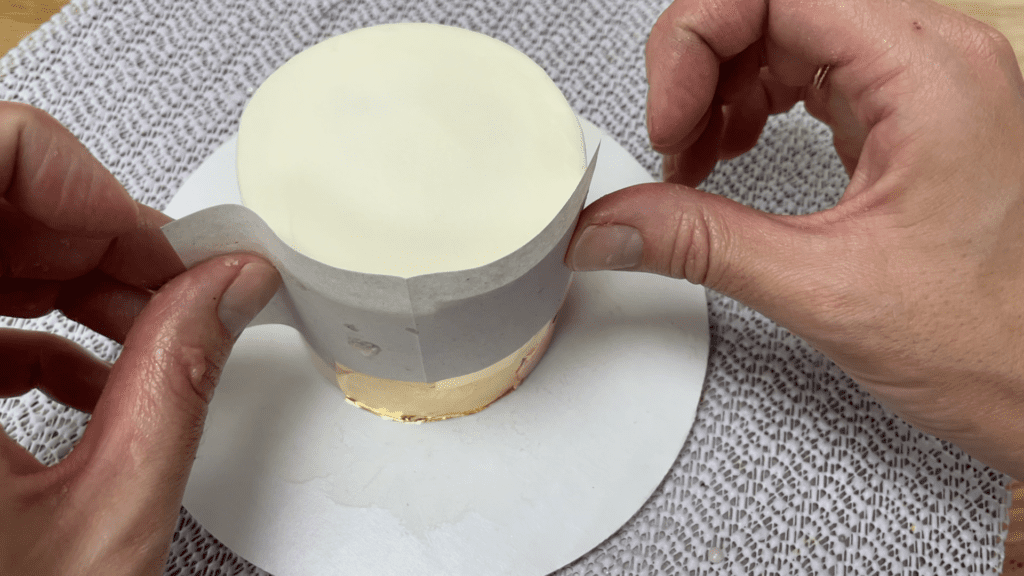
Repeat the process with several sheets of gold and they’re so thin that where they overlap they’ll blend together to form a flat layers of gold all over the cake!
I hope this tutorial has been useful! Check out my online cake school for LOTS of cake decorating courses and join my Club for access to ALL of my classes as well as live interactive demonstrations and Q&A sessions!
Here’s the video version of this tutorial:
