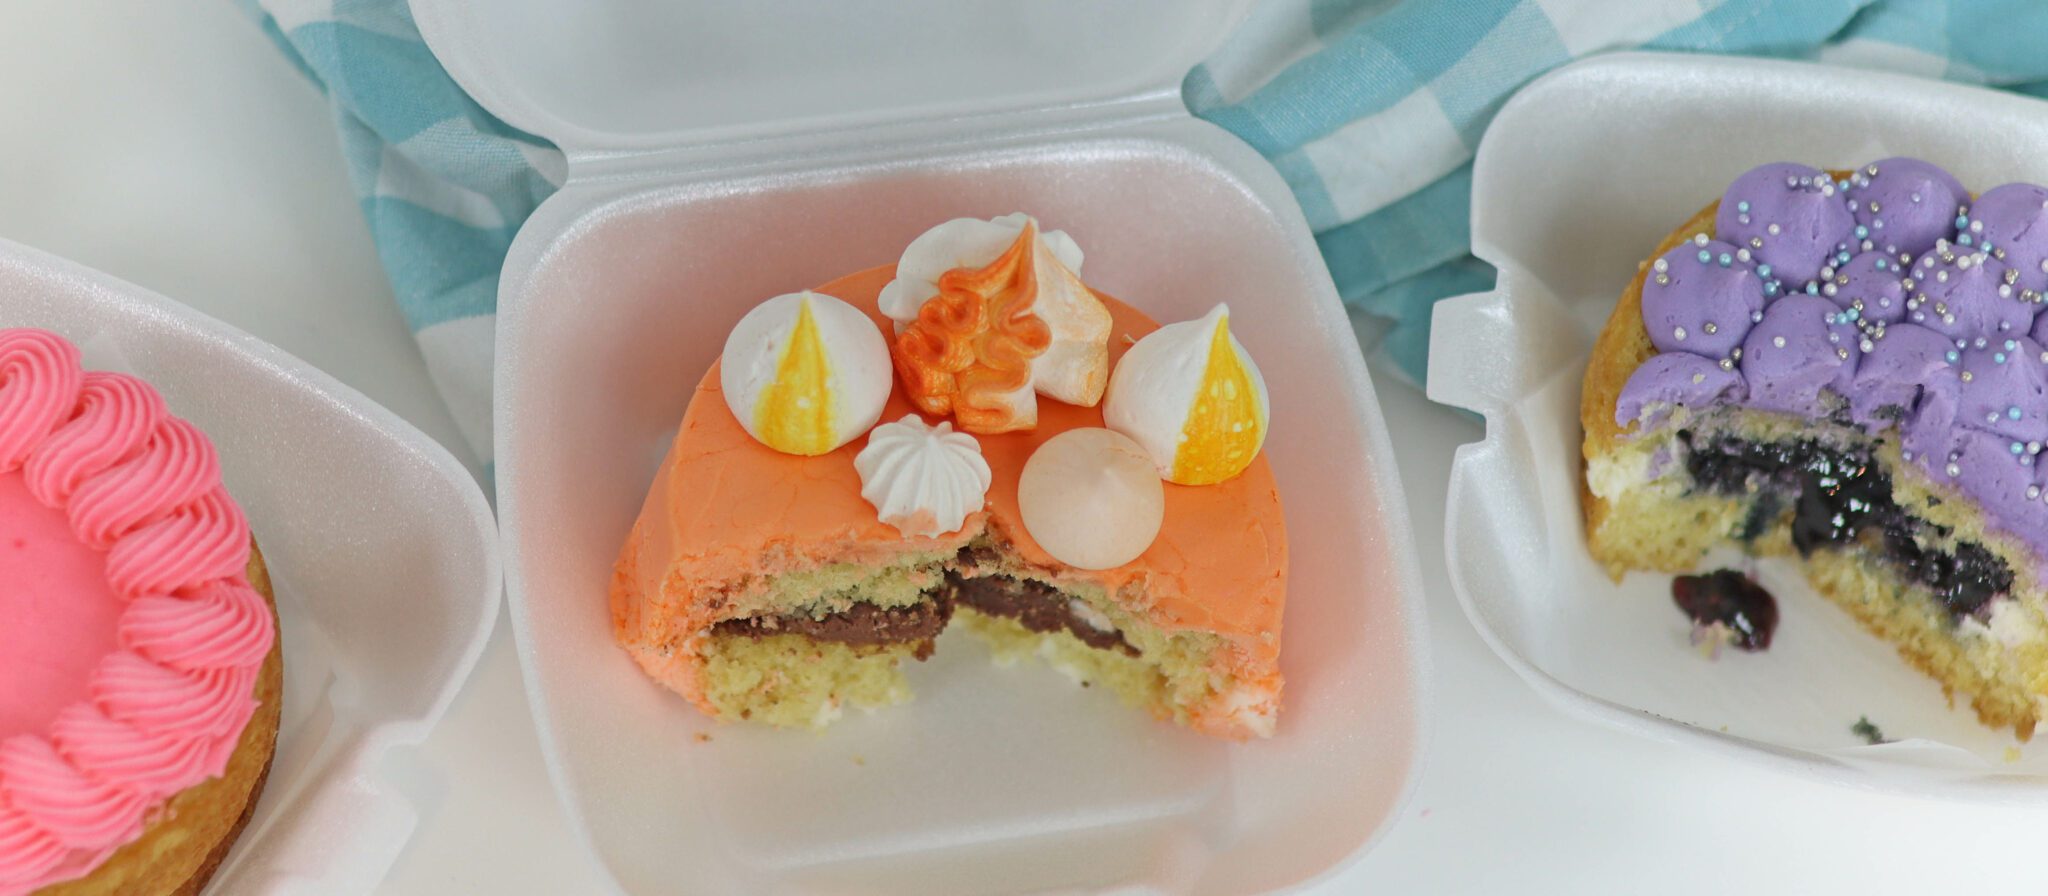
These lunchbox cakes are an adorable, delicious treat and they’re easy to make! I’ll show you how to make these with cupcakes, mini cake pans, and sheet cakes.
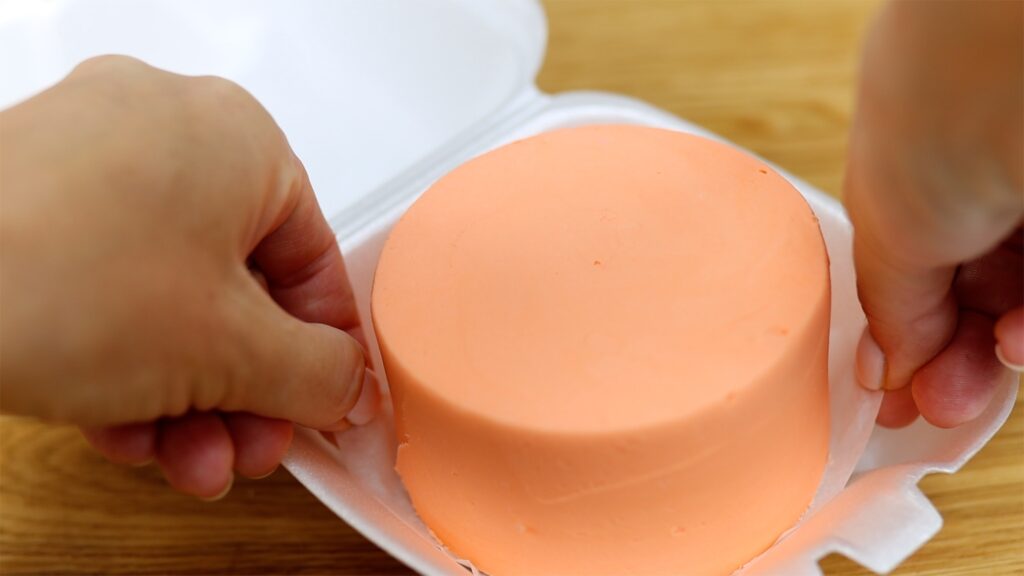
Let’s start by making a cake that fits perfectly in a bento style lunchbox. Bake a sheet cake or any other shape of cake and let it cool. Press one of the sections of a lunchbox down into it, like cookie cutter.
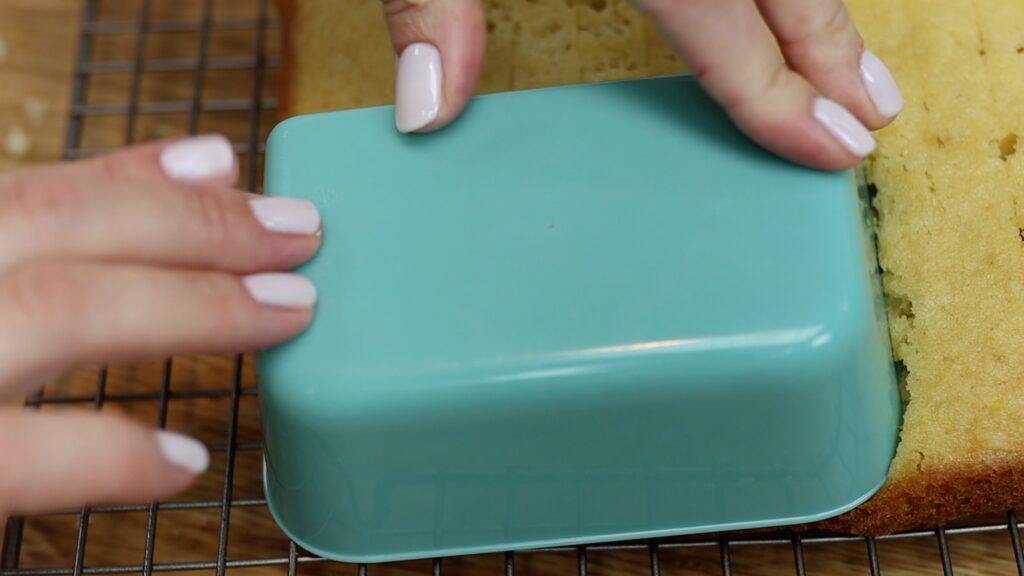
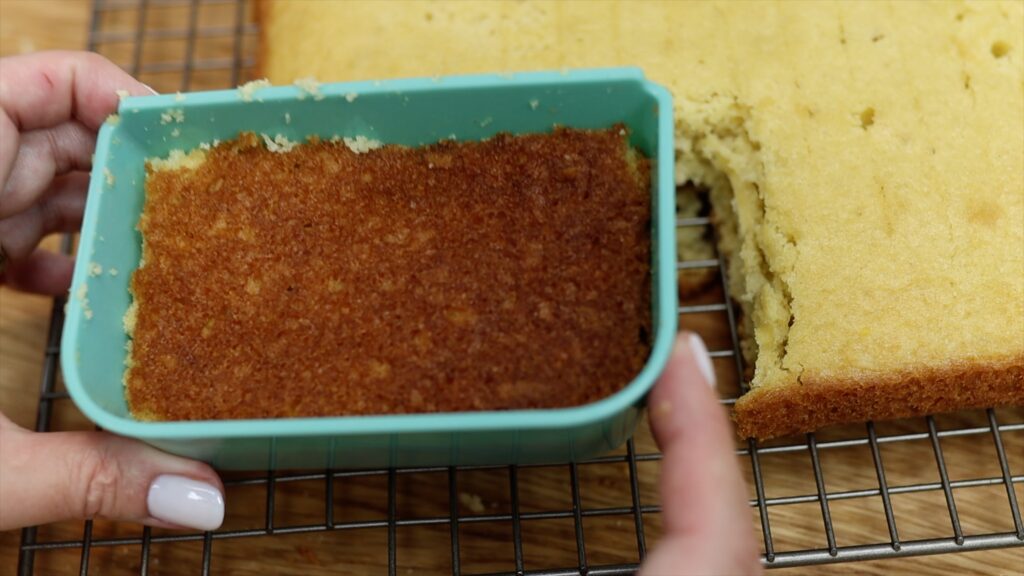
Push the cake down to the bottom of the lunchbox container and brush off any crumbs. Now it’s ready to frost and decorate!
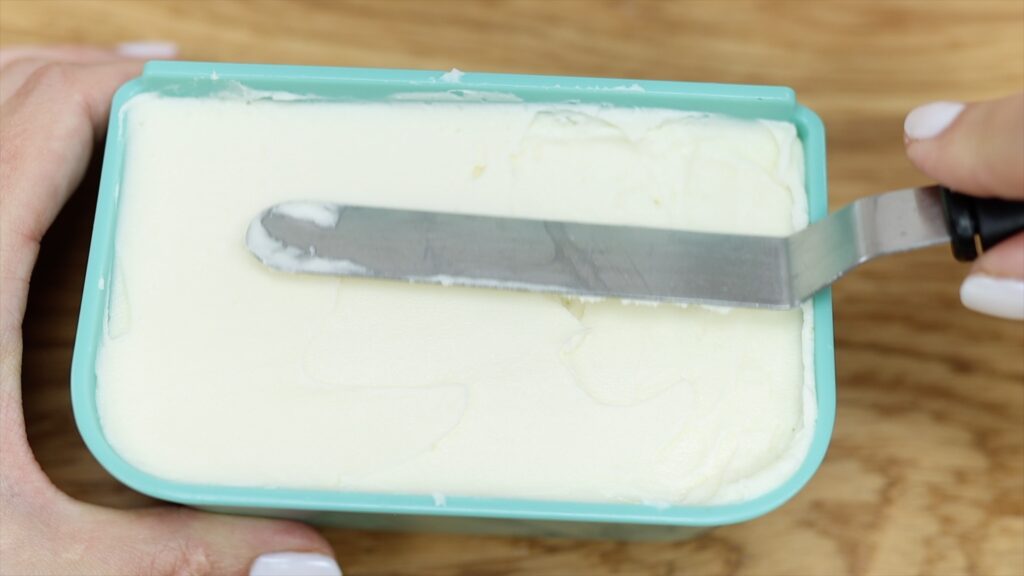
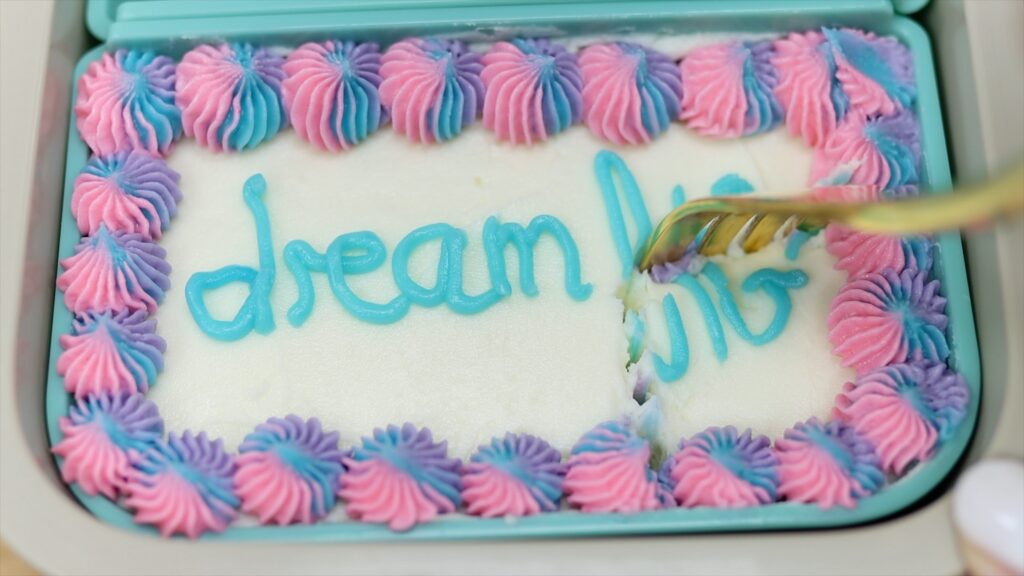
I like to pipe my 4 Minute Buttercream onto these but you can use any kind of frosting. Smooth it with an
To personalize your lunchbox cake with a message all you need is a spoonful of frosting. Put it in a piping bag with small round tip or, even easier, a sandwich bag! Cut a little piece off one of the bottom corners and then squeeze the bag to write your message.
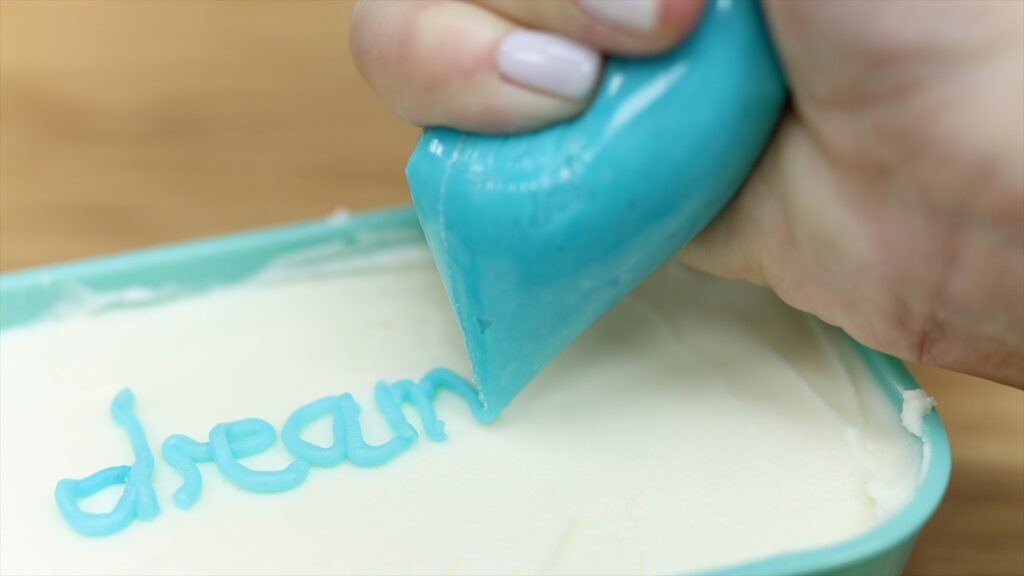
I’ll show you lots of ways to decorate these lunchbox cakes throughout this tutorial. One of my favourites is to pipe different colours of frosting onto a piece of plastic wrap.
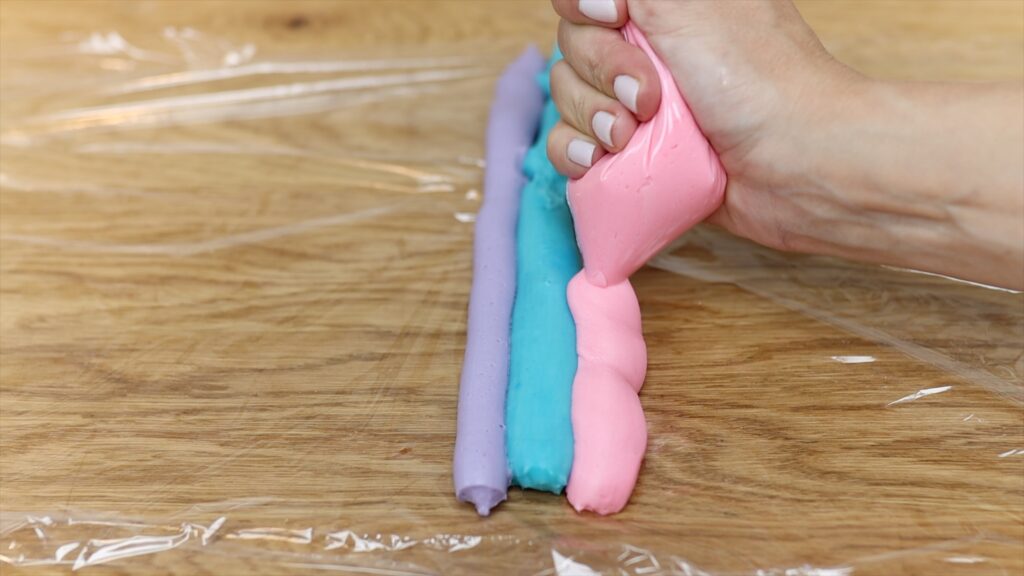
Roll it up into a log and cut off one end. Drop that end down into a piping bag fitted with a star tip and squeeze colourful rosettes all around the edge of your cake.
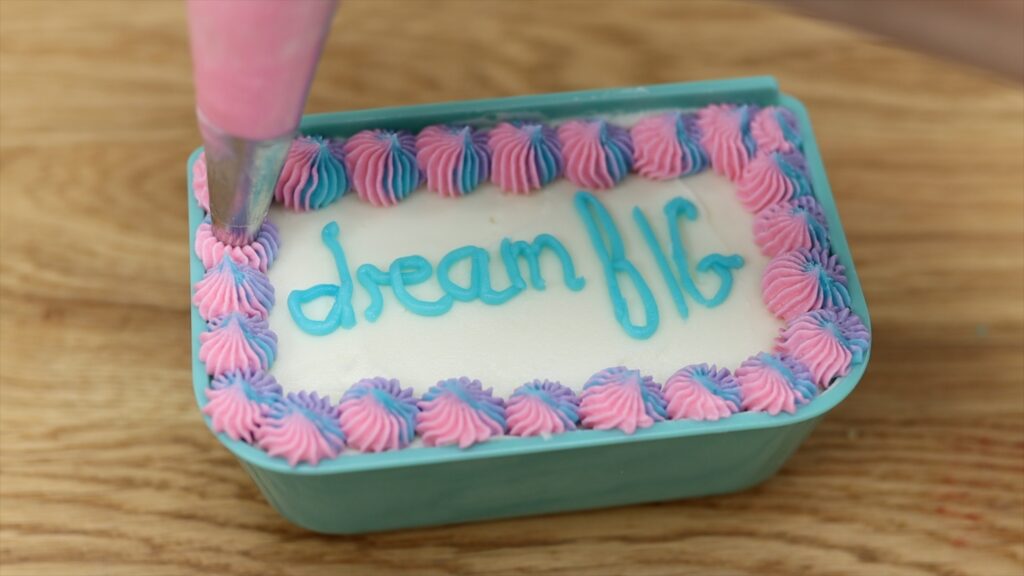
Put the container back into the lunch box, snap the lid on, and it’s ready to go!
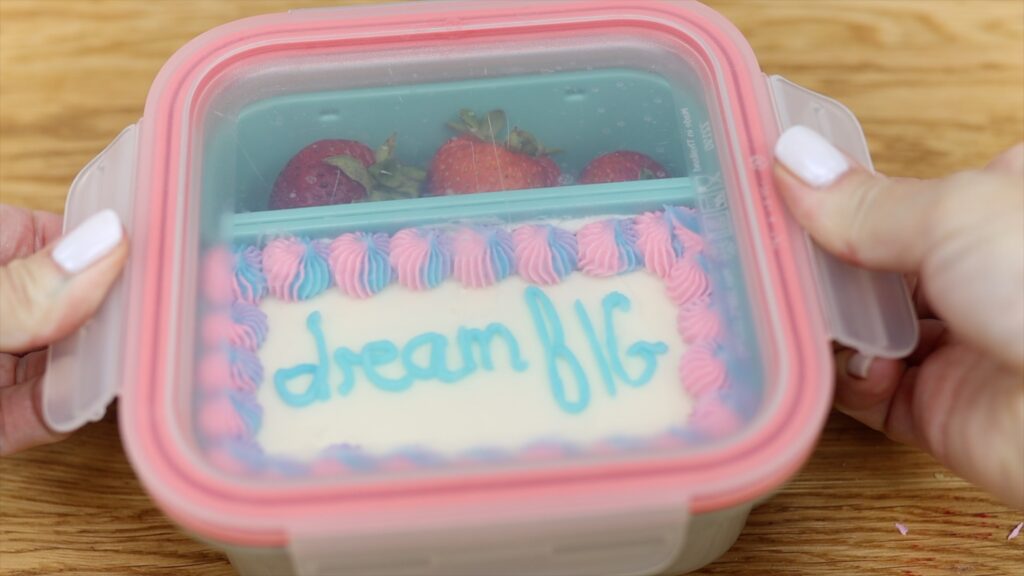
You can eat this right out of the lunchbox with a fork. It’s perfect to take to school or work or on a picnic or wherever!
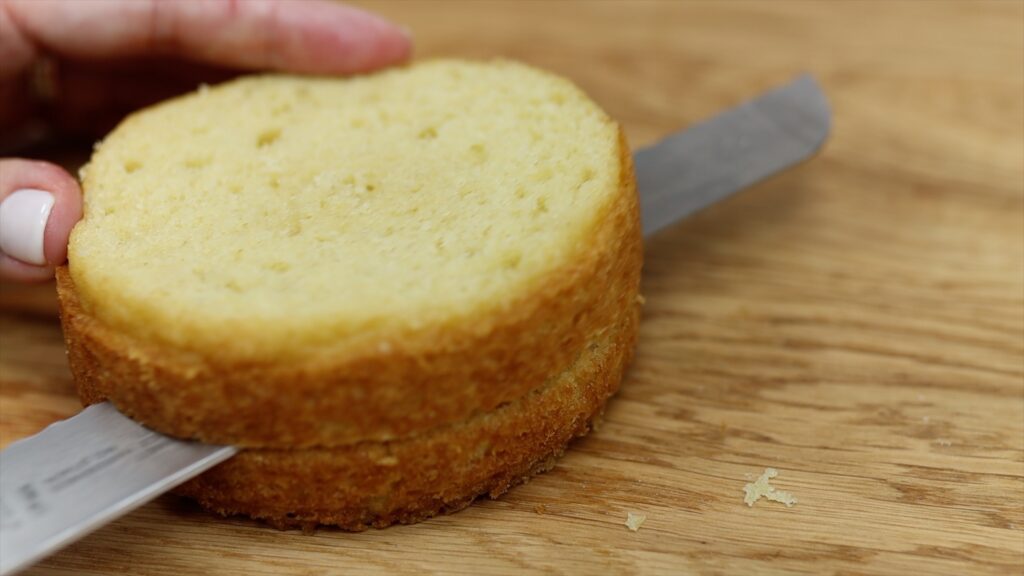
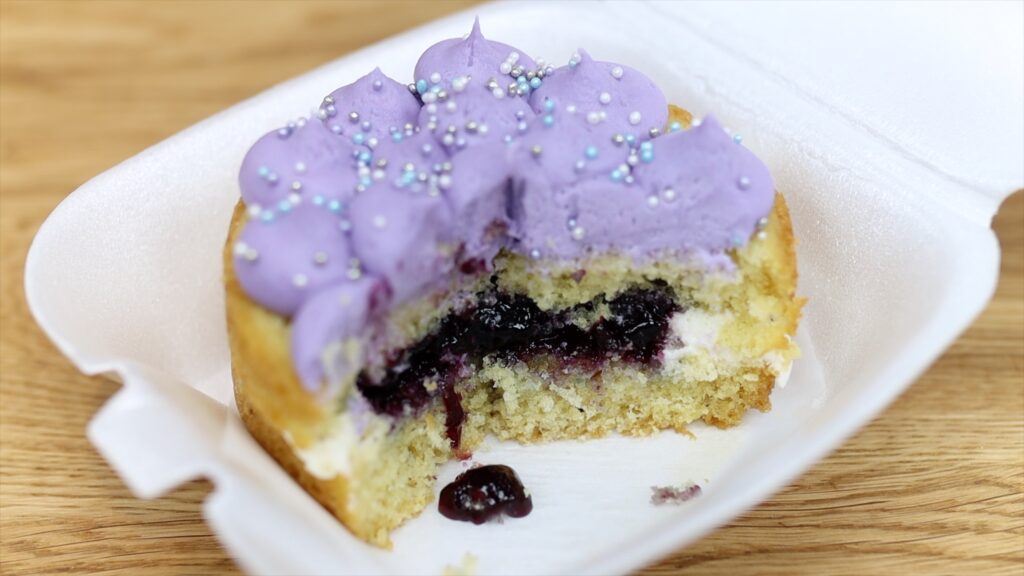
If you have 4” cake pans you can bake mini cake layers in those. Use a serrate knife like a bread knife to trim the tops off so that they’re flat. Divide the cake in half horizontally to make two layers so you can put filing in the middle.
Cut a square of parchment paper or wax paper or baking paper that’s just big enough to fit the cake. Place the first cake layer on that. For runny fillings, pipe a ring of frosting around the outer edge of the first cake layer. This is called a buttercream dam.
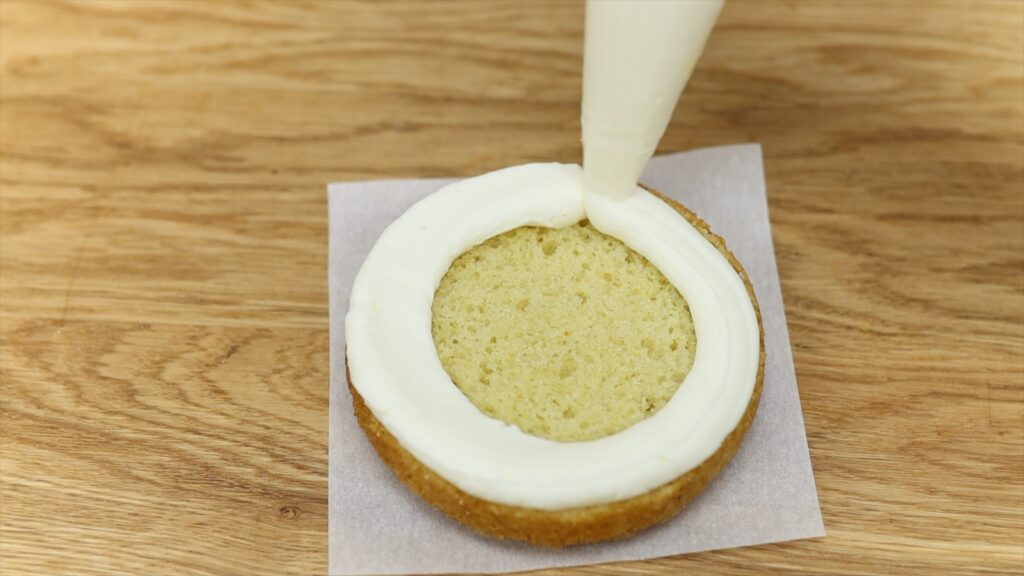
Now spoon your filling into the middle. These dams are perfect for fillings like jam, lemon curd, caramel and Nutella. Lower the next cake layer on top.
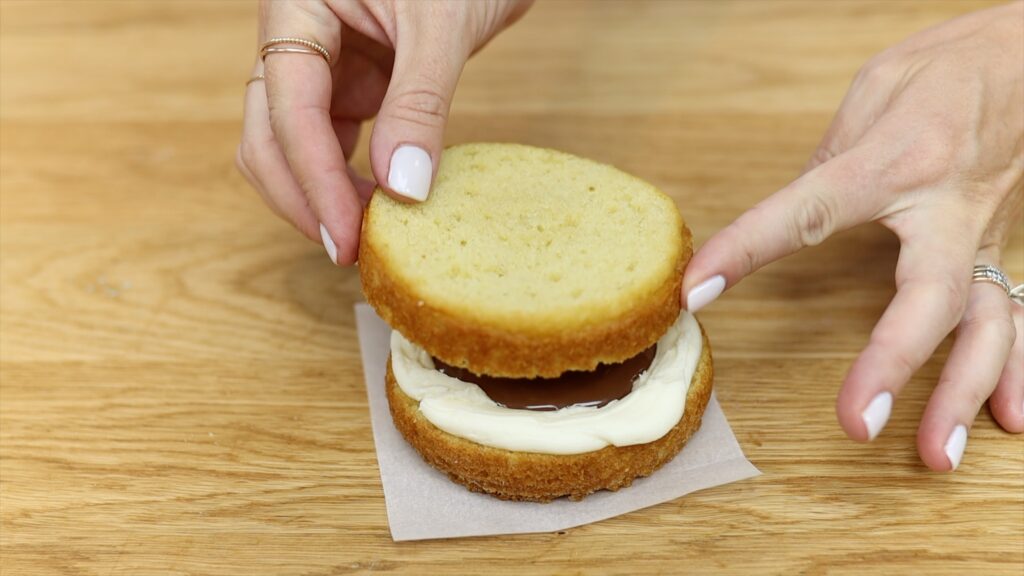
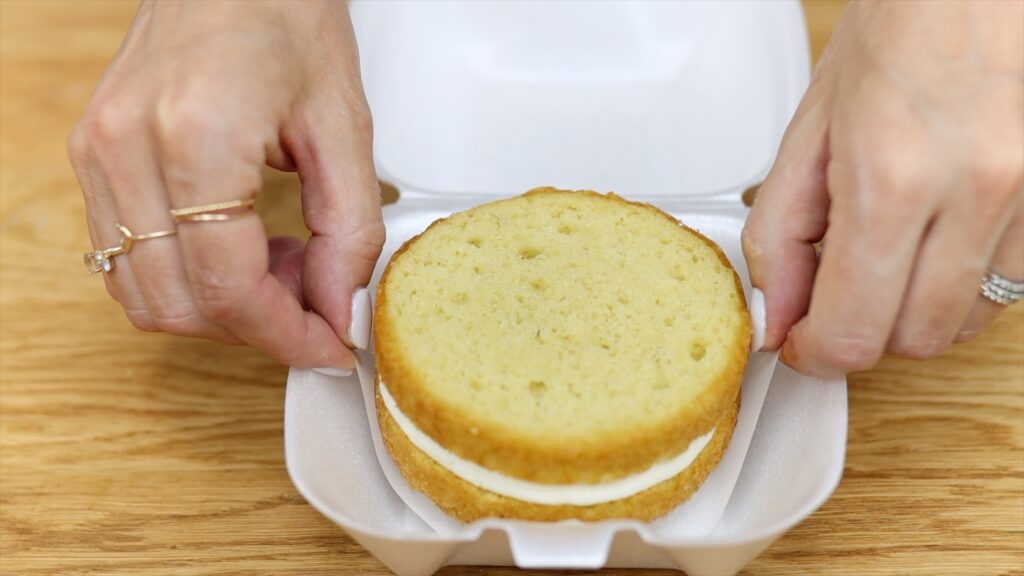
Pick up the cake by pinching opposite corners and move the cake into food container. I like to decorate these lunchbox cakes inside the container so that you don’t accidentally damage them by moving them later.
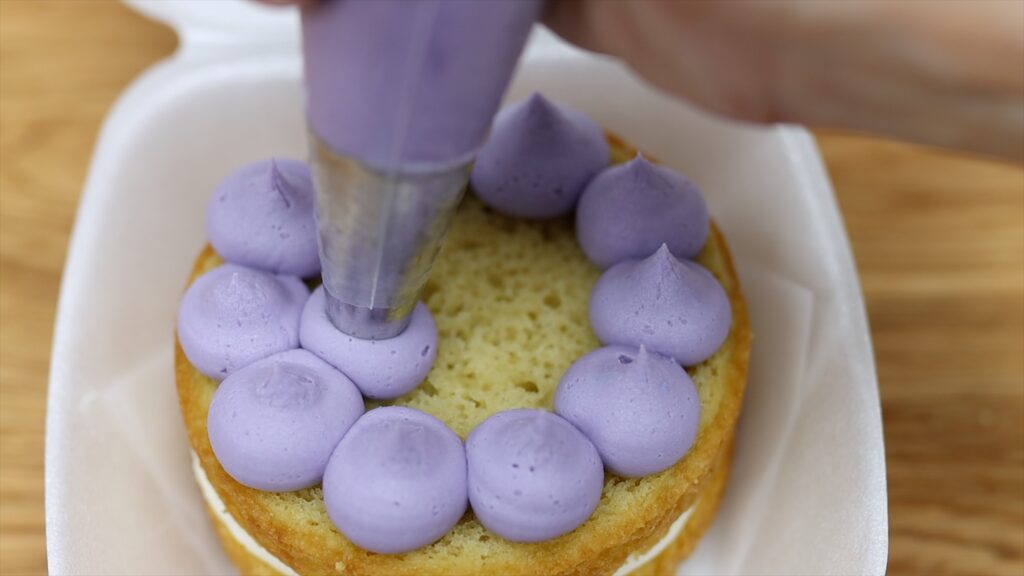
Piping is a quick and easy way to cover the tops of these cakes. I piped these rings of frosting kisses with a 1A round piping tip. Add some sprinkles to jazz it up if you like.
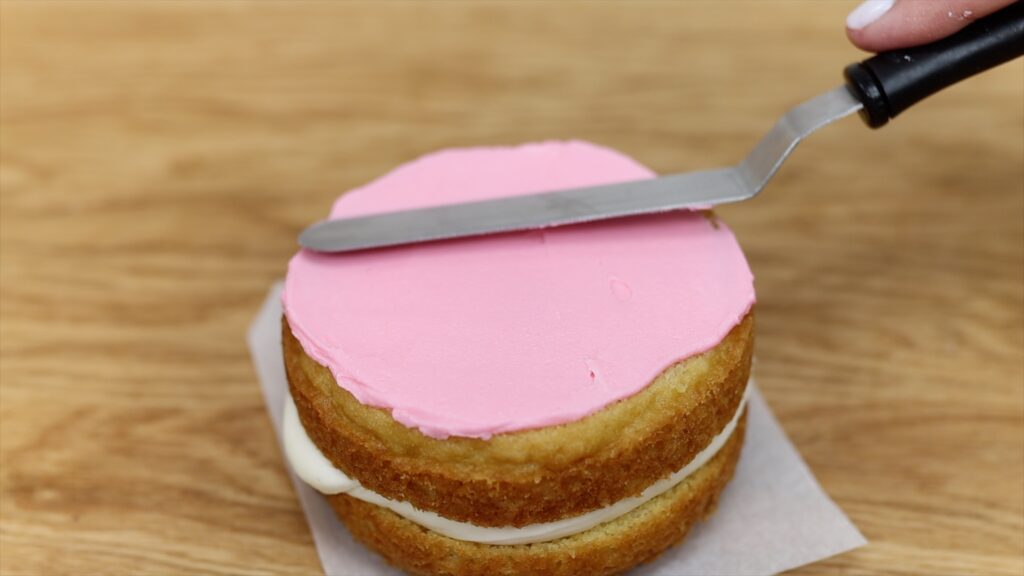
You can spread frosting to cover the top instead, which is easiest to do before putting the cake into the container.
I piped this border using an open star #32 tip.
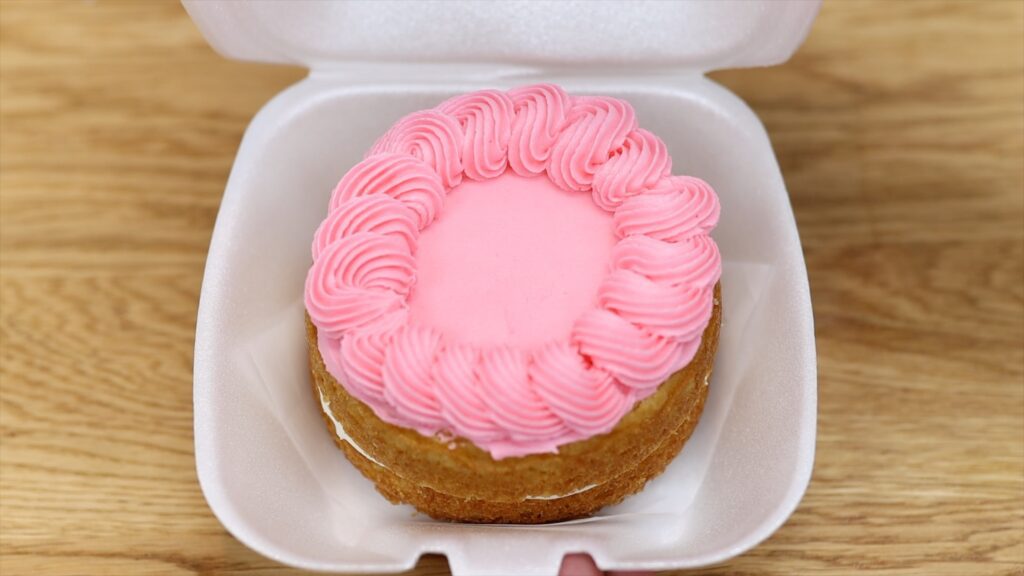
By making your cakes just big enough to fit into the container they won't slide around when you carry them. These are fun and delicious treats to enjoy anywhere!
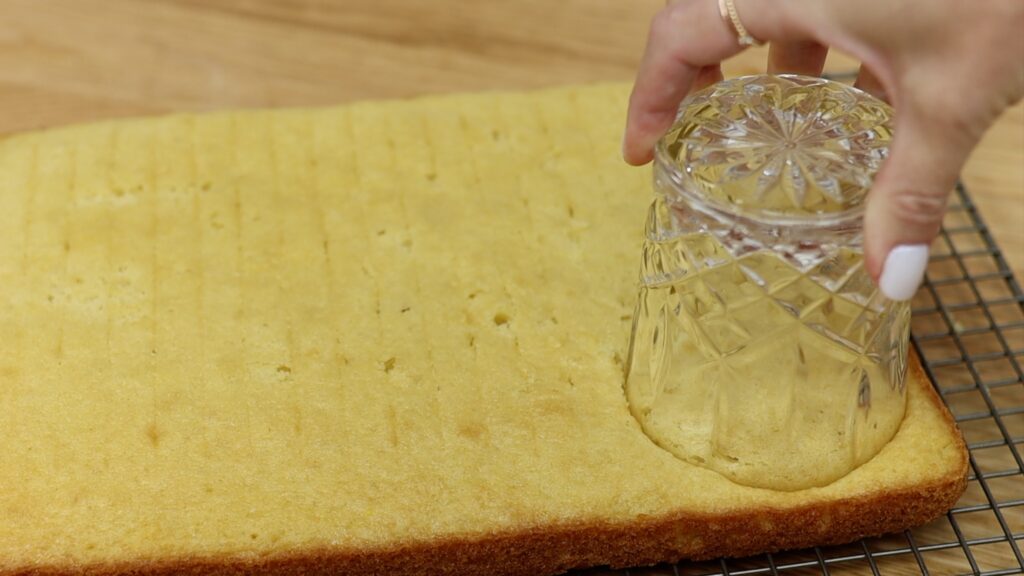
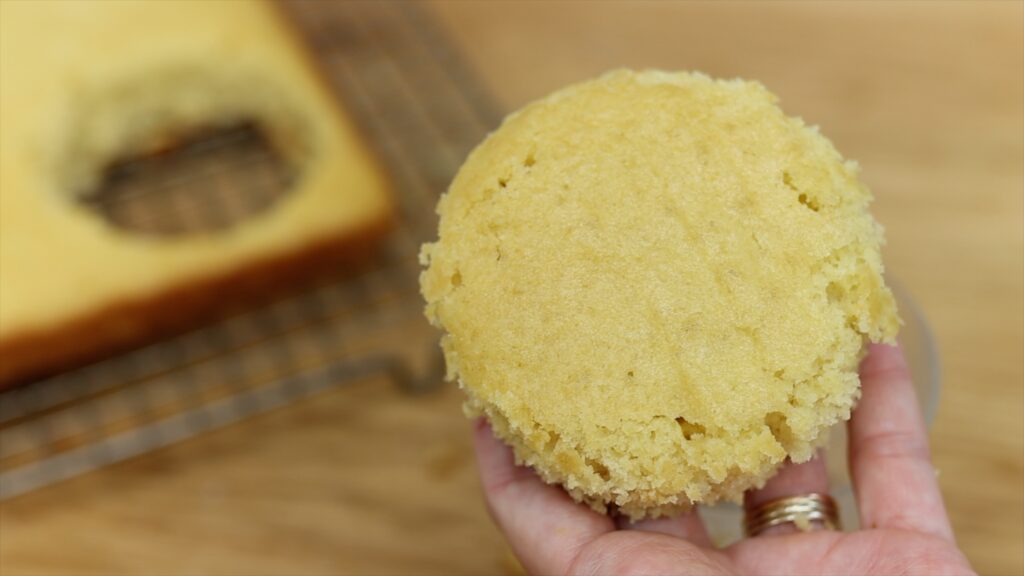
If you don’t have a mini cake pan you can bake a sheet cake or any shape of cake instead. Then use something round that’s about 4 inches wide to cut out your layers. A large round cookie cutter is ideal or even the rim of a glass will work.
You can assemble and fill these cakes just like cakes baked in mini pans. However, the edges of the cake aren’t caremelized and sealed like they are when you bake them in a pan. This means the cake won’t stay moist for as long. If you plan to frost onto the top of the cake, cut the layers out of the sheet cake as close to serving as possible. The other option is to frost the entire cake so it doesn’t dry out.
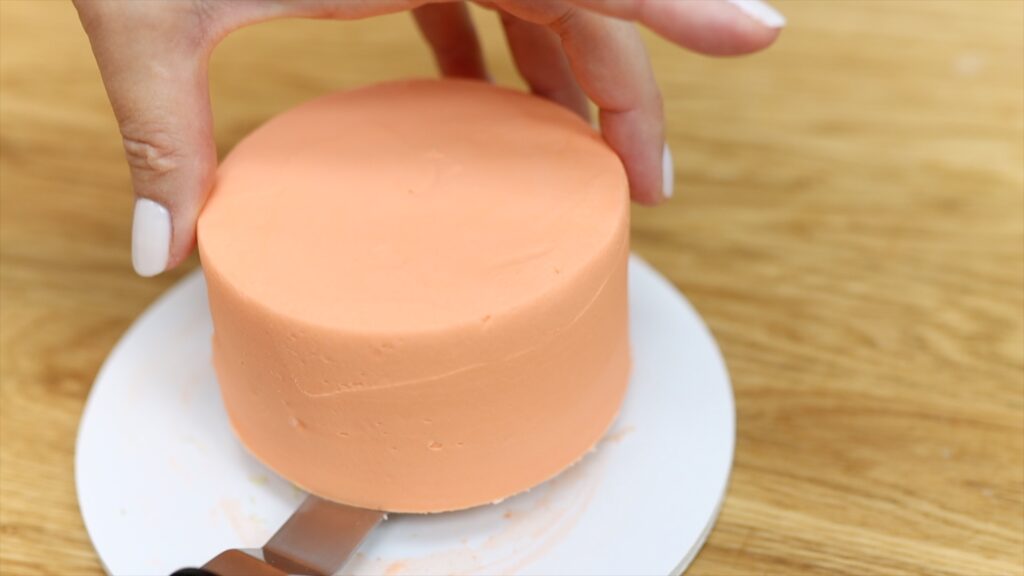
Mini cakes are tricky to frost because they’re so lightweight so they don't hold their place very well. You can attach the cake to a cake board with a dot of buttercream, which will act as glue. The put the cake in the freezer for 15 minutes. The dot of buttercream will set and hold the cake in place as you frost it. Cold cake layers are firmer and less crumbly and wobbly than when they’re at room temperature so after being in the freezer for just 15 minutes, the cake will be much easier to frost. After frosting the cake, put it back in the freezer for another 15 minutes. This will set the frosting. Then slide an
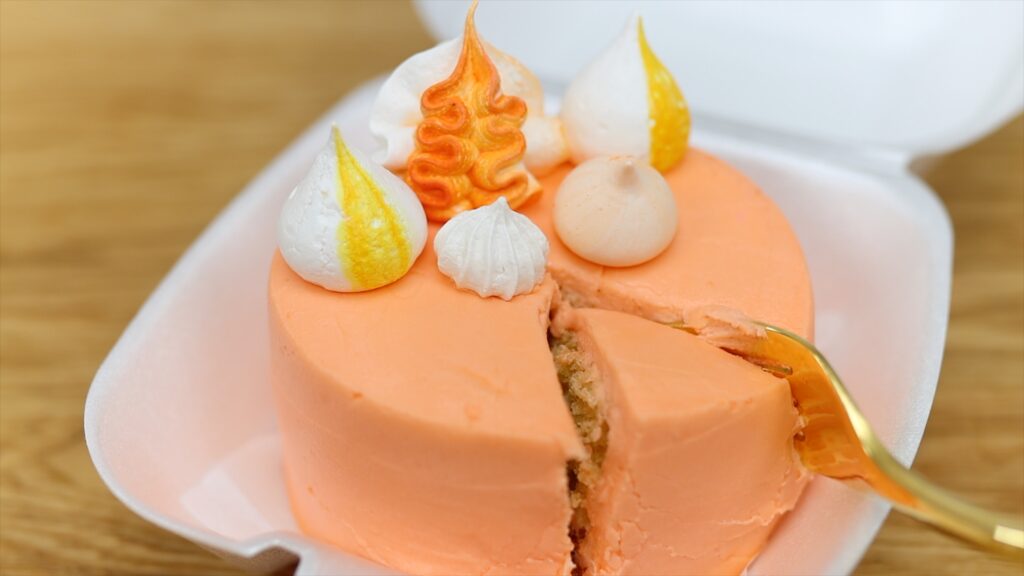
Meringues are really easy to make and they look so pretty on these lunchbox cakes! Since the cake is sealed with frosting it will stay moist for longer than naked cakes.
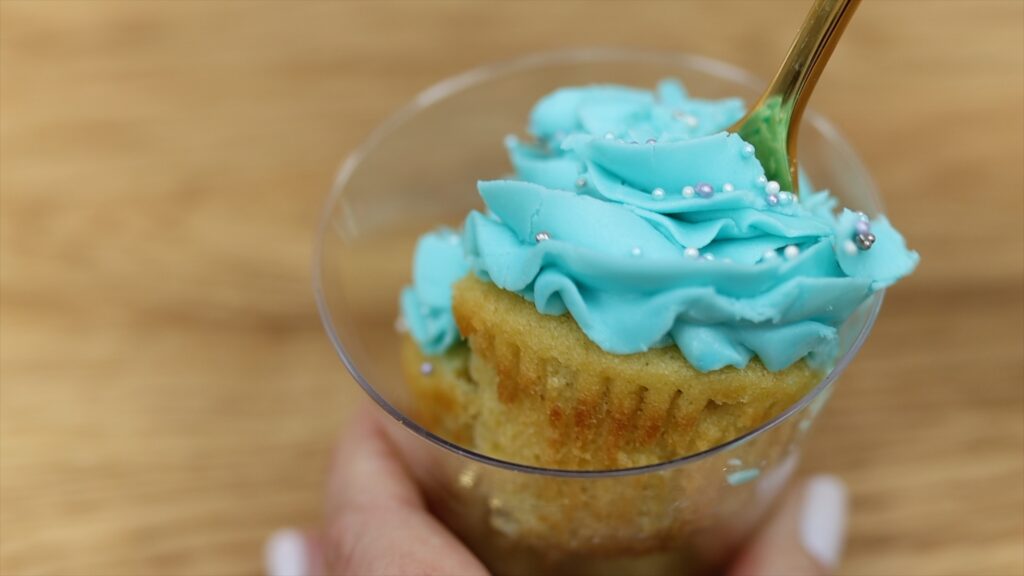
The quickest and easiest version of a lunchbox cake is to use a cupcake. Peel the wrapper off and put the cupcake in a plastic cup that's the same width as the cupcake. The cup will protect the cupcake and keep it upright when it’s inside a lunchbox.
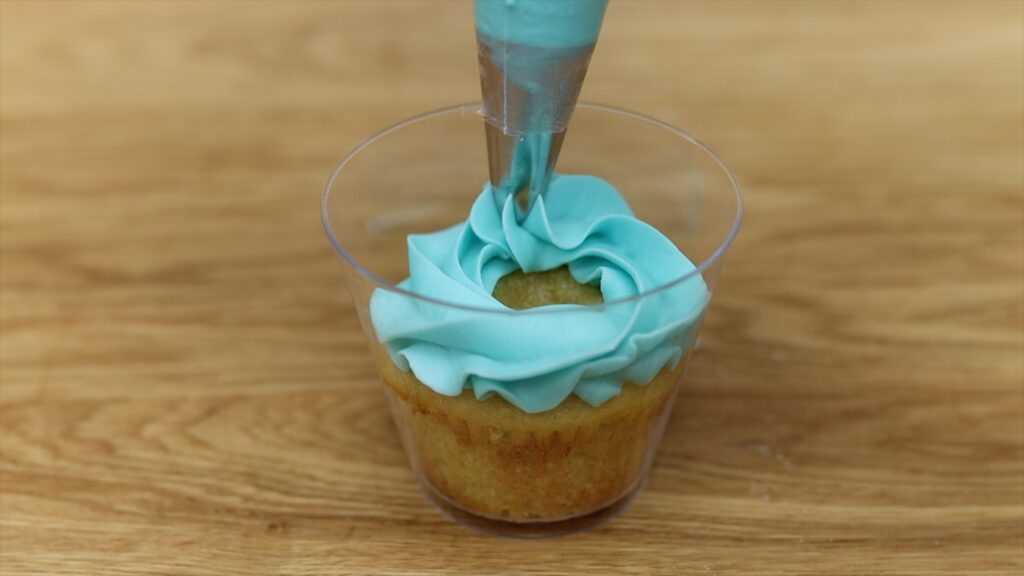
Put some frosting in a piping bag with a star tip like a 1M tip and pipe as swirl onto the top of the cupcake. Stop before the top edge of the cup so that the cup protects the entire swirl. If you want to add sprinkles add them now, while the frosting is still soft and sticky.
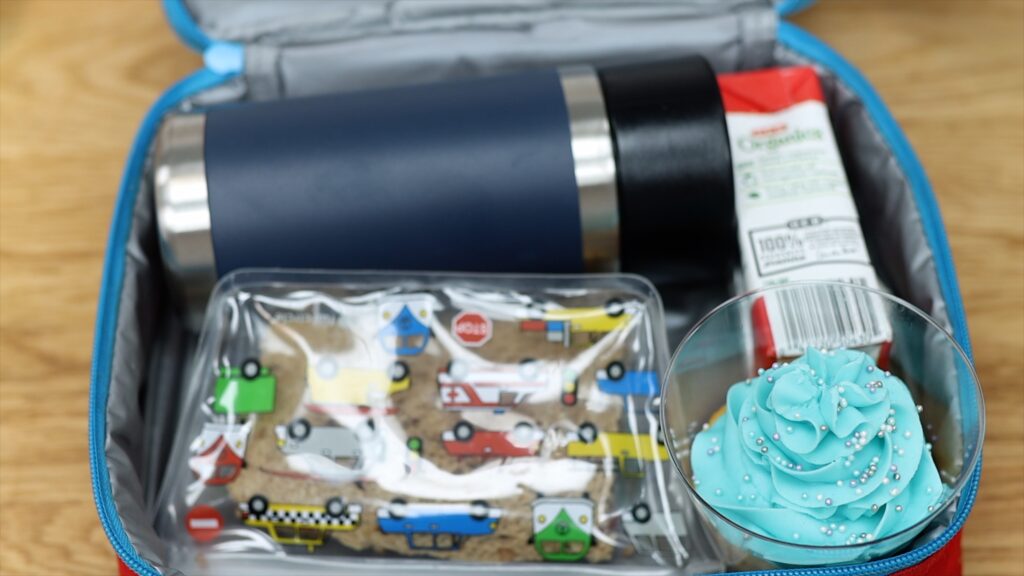
Then after packing a lunchbox, arrange the cup so that it’s surrounded by things that will keep it in place. The cup will protect those things from damaging the frosting. It also makes the perfect little bowl for this yummy lunchbox cupcake!
Which lunchbox cake are you going to make? Tell me in the comments!
Visit my cake school for online courses on hundreds of cake decorating techniques and designs and join the ClubPLUS for access to every MasterCourse, MiniCourse and Live Workshop on my cake school!
You can also watch a video of this tutorial on lunchbox cakes 4 ways:

These are adorable!! Love the idea, even for tiny cakes for dessert. Thank you!
So glad you like them!