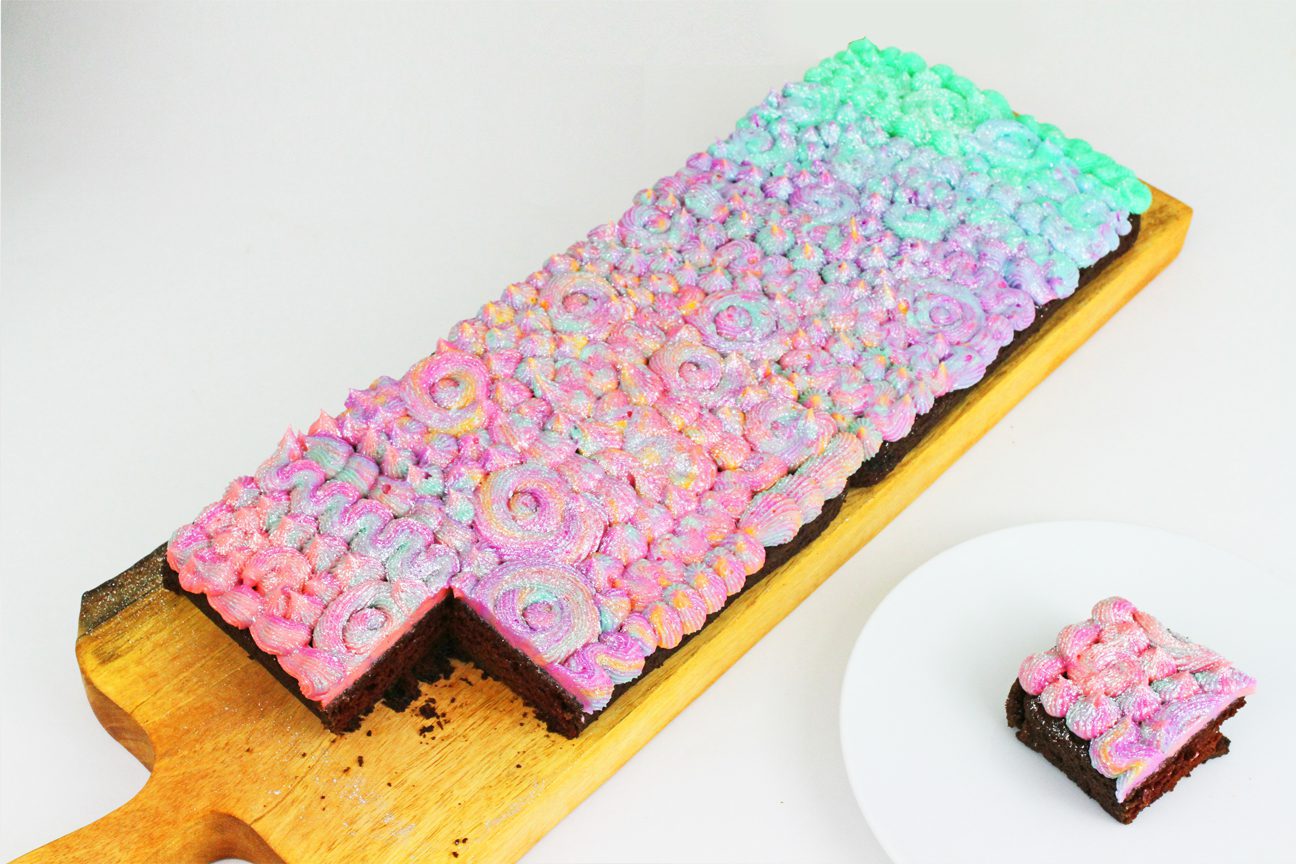
This one bag piping technique is not only very easy, requiring minimal tools and with minimal cleanup, but it also creates really striking colorful results! If you prefer to watch a video of this tutorial, scroll to the bottom of the page.
All you need is a piping bag with any piping tip, and I’ll show you a few different examples in this tutorial.
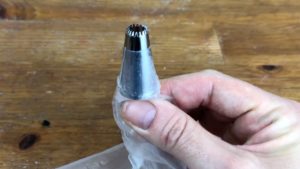
Tint your buttercream the colours you want and the first way to do this is to line them up down the middle of a piece of cling film or saran wrap.
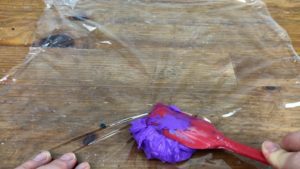
I like this method because you can see what you’re doing and it’s easier to clean the piping bag at the end but I’ll show you two other methods in a moment.
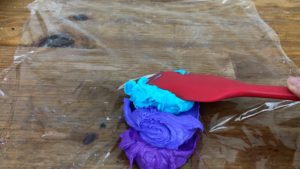
If you use the cling film method, fold the cling film over the buttercream and roll it into a log that will fit into a piping bag later.
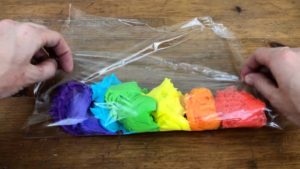
Twist the ends to hold the buttercream in place and cut off one end where the buttercream begins.
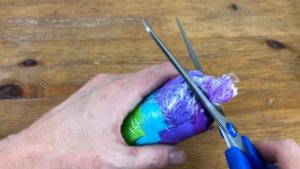
Then drop the buttercream log into your piping bag with the cut side facing downwards, towards the piping tip.

Now pipe onto your cake and as you pipe, the colours higher up in the bag will gradually push through the middle of the bag and then out through the tip at the end, so the colours will change gradually and blend slowly into each other.

I’m using a 199 piping tip for these rosettes, which are quite dramatic, gothic-like spikes. This one-bag piping technique looks really striking on this cake, as you can see different colours from the bag showing up in different parts of the same piped rosette.

If you run out of buttercream, just add more buttercream to the top of the bag and then continue piping. If you’re using a cling film log within your piping bag, make sure you pull that out before adding more buttercream, otherwise the cling film will get caught in the piping tip as your pipe the buttercream out.

I love how dramatic this cake looks, and no one would ever guess how easy it is to achieve the gradient of colours!

Now for some variations and some notes about what can go wrong and how to avoid or fix those mistakes. You can use this technique for any kind of cake, not just a round one. Here I’m going to use it for a sheet cake and it works well on cupcakes too!
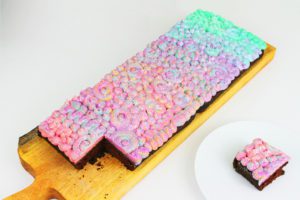
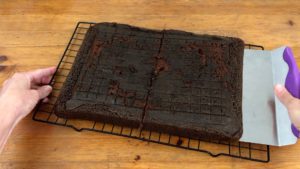
I’m cutting my sheet cake in half to make an extra long cake and arranging the halves on a board to display it.
Instead of the cling film method you can spoon your buttercream into a piping bag. It’s easiest and less messy to fold your piping bag over a glass to hold it open while you do this. Make sure you push each colour of buttercream all the way down into the bottom of the bag so that there’s no air trapped in the bag, which will cause the buttercream to spit out later as you’re piping.
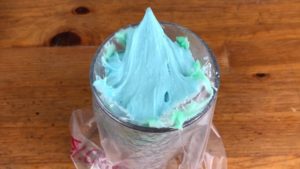
And here are my pretty pastel rainbow colours, ready for one-bag piping! By following the colours of the rainbow in order, not jumping around too much, the colours belnd into each other nicely but I’ll show you on the next cake what happens if you don’t order the colours this way.

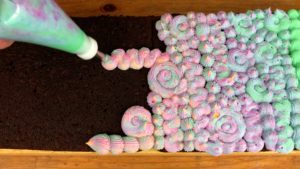
I’m starting at one end of the cake, piping with the first colour of buttercream in the bag, which is this pale green colour.
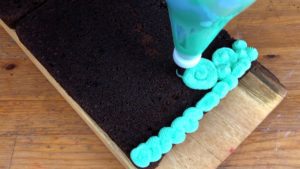
If you have too much of one colour in the bag and you want to move on to the next colour, like I want to do here, pipe some of the buttercream out into a bowl until you see the next colour coming through and then go back to your cake.
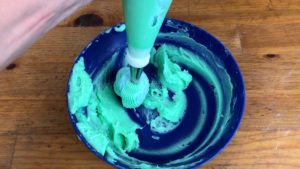
As soon as I see the blue coming through the green frosting in the bowl, I’m going back to the cake, and now the rosettes and swirls are green with some blue.
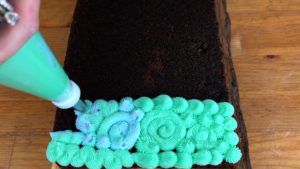
As you continue piping you’ll see the colours blend into each other, moving onto the colours higher up in the bag but still incorporating the previous colours in parts of the piping. With this technique the colours don’t pipe out individually, like they would if you used different piping bags for each color. Instead, each colour pipes through the previous colours, so they blend together gradually.
I’ve run out of buttercream some I’m folding the bag over a glass again and you can either add more of the last colour, which for me would be that pale orange, or a new colour, and I’m choosing to do a pale coral for my last colour.
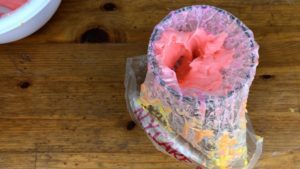
Squeeze the buttercream all the way down and because the rest of the colours are still lining the bag, when you squeeze the bag to pipe out this new colour of buttercream it’s pushing out past all of those other colours so they’ll also be incorporated in the piping of this new colour, continuing this pretty blending effect throughout the cake.

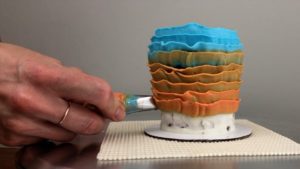
Here’s an example of when colours don’t blend as prettily together. When you line up colours in the bag that are contrasting, like blue and orange, as the orange pushes through the blue buttercream in the piping bag the colours will blend to make a sludgy shade of brown.
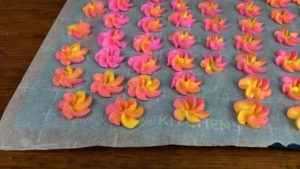
You can use this technique for other buttercream details, not just frosting a cake, like piped flowers. I’m layering my colours in the bag and since I’m not using a glass to open the bag and I’m not pushing each colour down to the bottom of the bag, the colours will blend together randomly.
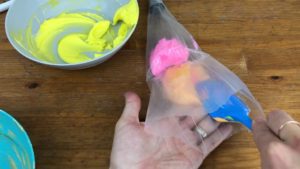
As I pipe, the first flowers are pink and the more orange and yellow comes through in the later flowers, so I could arrange these on a cake to make a cascade of ombré coloured flowers going down the side of the cake.
I love this technique because it’s so versatile so as well as being easy to do and easy to clean up, there are endless possibilities for cake designs with it! I’d love to see what you create so if you share any pictures on Instagram please tag me, @britishgirlbakes.

Here’s the video version of this tutorial:
