You can achieve endless cake designs without buying expensive tools! In this tutorial I’m going to show you five ways to use parchment paper for cake decorating.
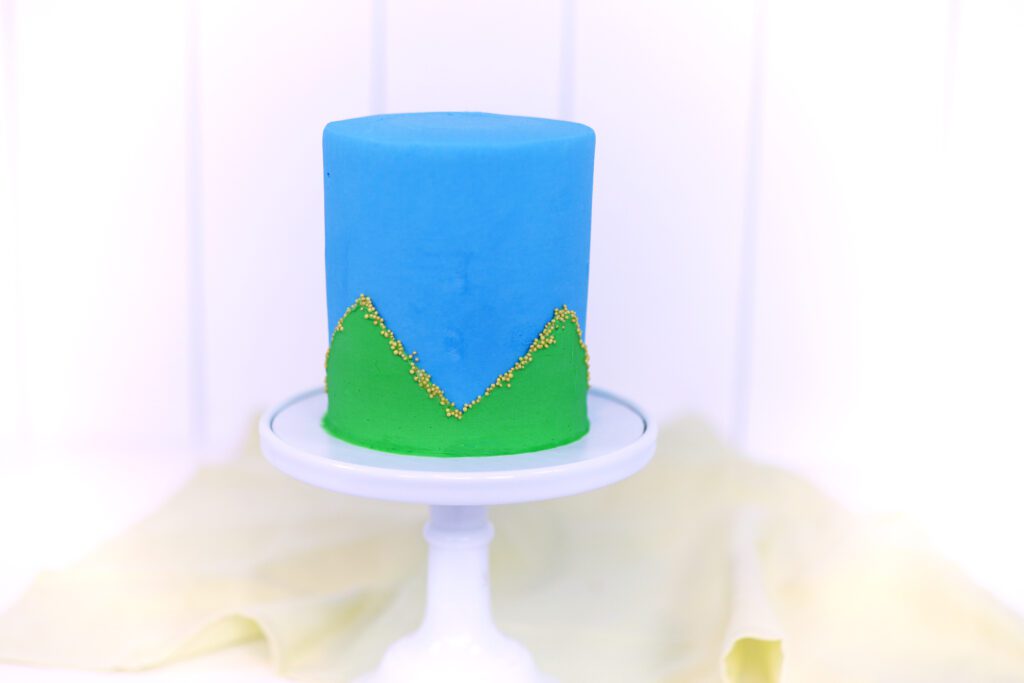
Use this technique to create perfectly symmetrical patterns like zig zags. Wrap a strip of parchment paper around a cake and draw a line where the two ends overlap. Don’t worry about the top edge yet.

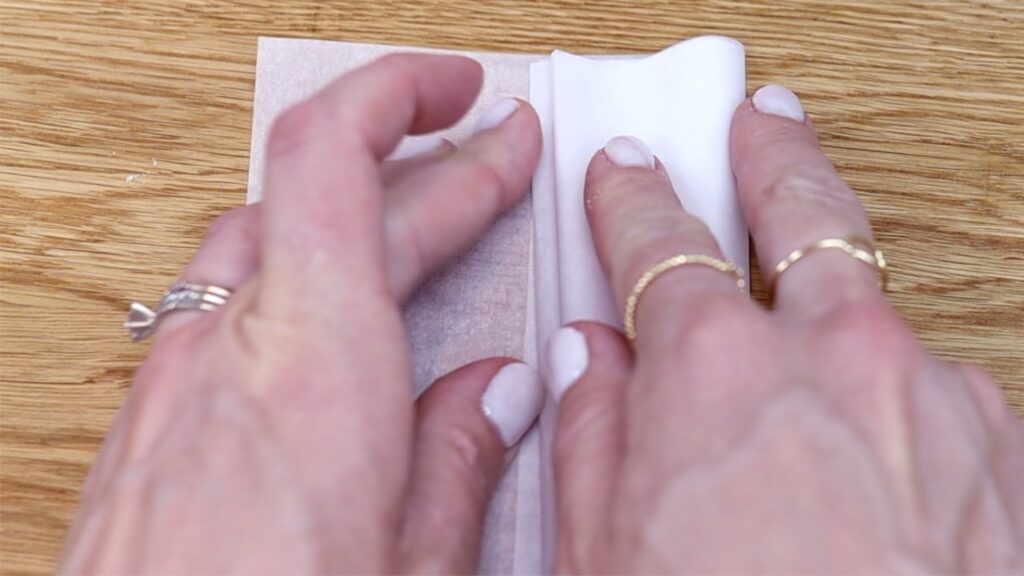
Fold the paper in half and half again until it's the width you want for each section of the zig zag. Create another fold to mark where you want the top of the zig zags to be. You can draw dots where the creases going up meet the crease along the top so that you can see them better. Then cut diagonally up from the bottom of one crease, to the top of the next. Go in one direction like left to right for now, and skipping every other dot.
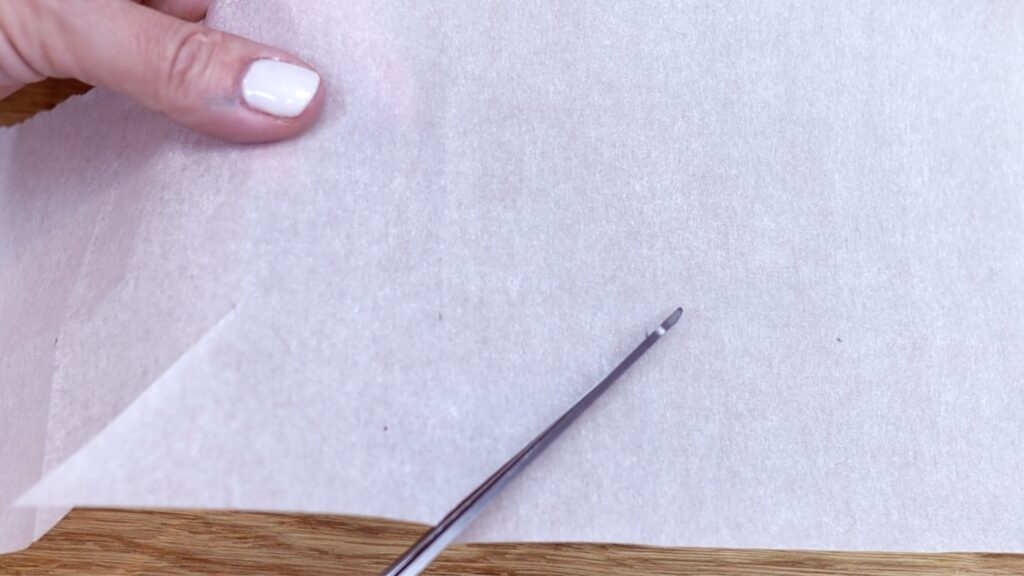
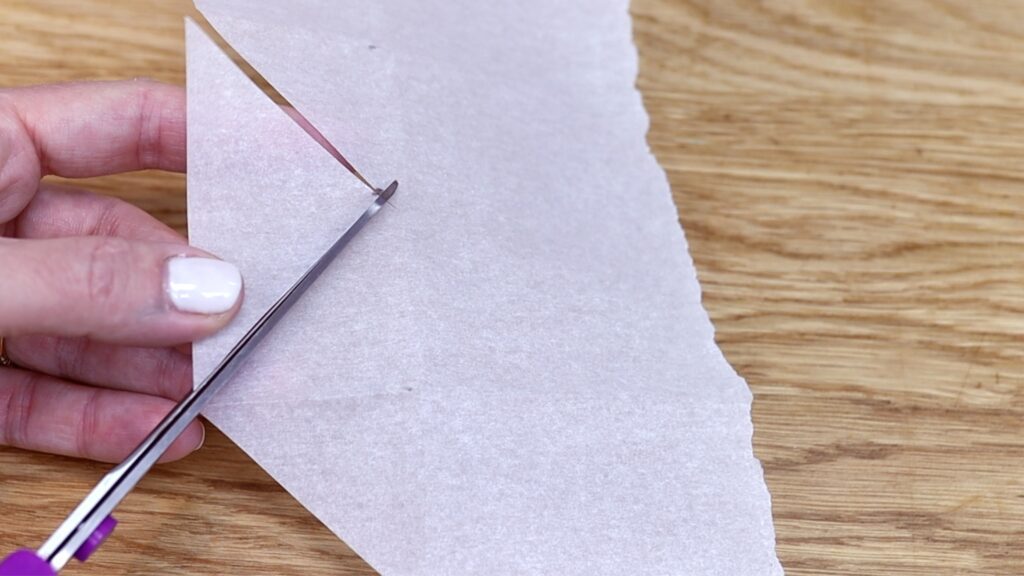
Then cut in the other direction, from the bottom of one crease up to the next dot. This will create the other side of your zig zags. This is going to be your stencil.
Wrap the zig zag stencil around your cake after the cake has been in the fridge for at least an hour so the frosting is cold and firm. After a few minutes at room temperature there will be tiny beads of condensation on the cake. These will make the parchment stick to the cake and stay in place.
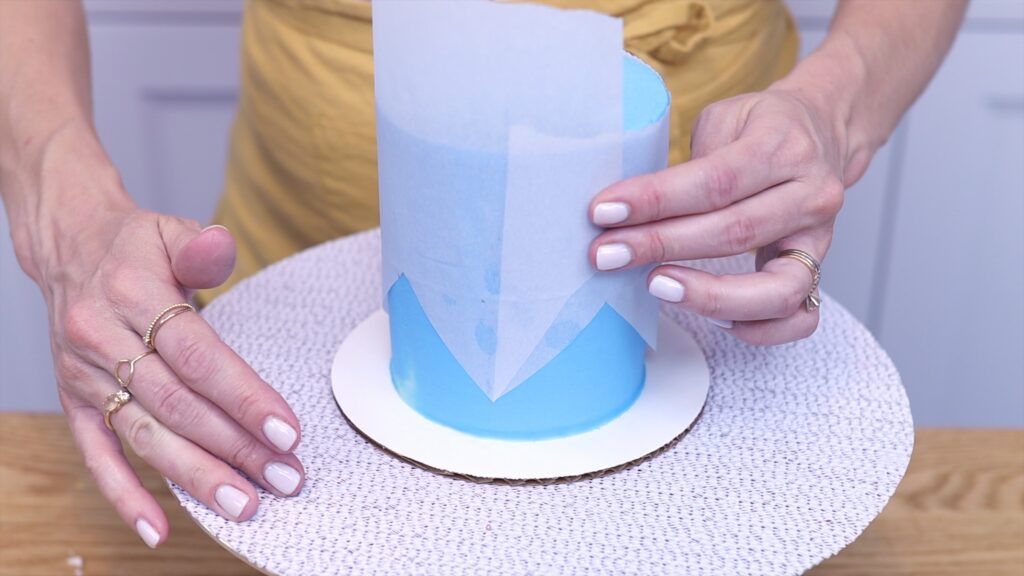
Spread another colour of buttercream over the exposed cake that’s showing underneath the stencil. Once that’s covered up, scrape around the cake with a straight cake comb or frosting smoother to flatten this buttercream.
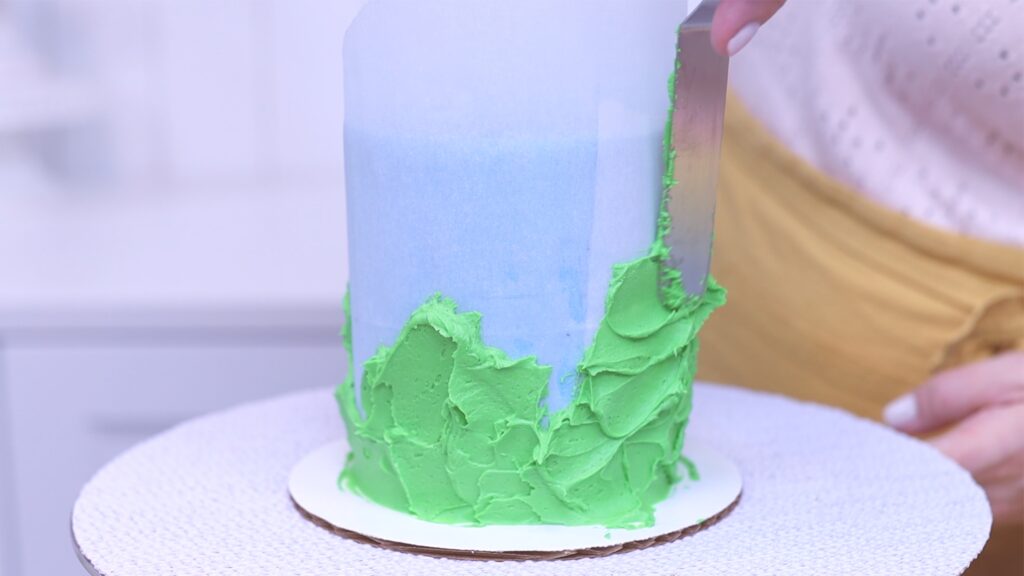
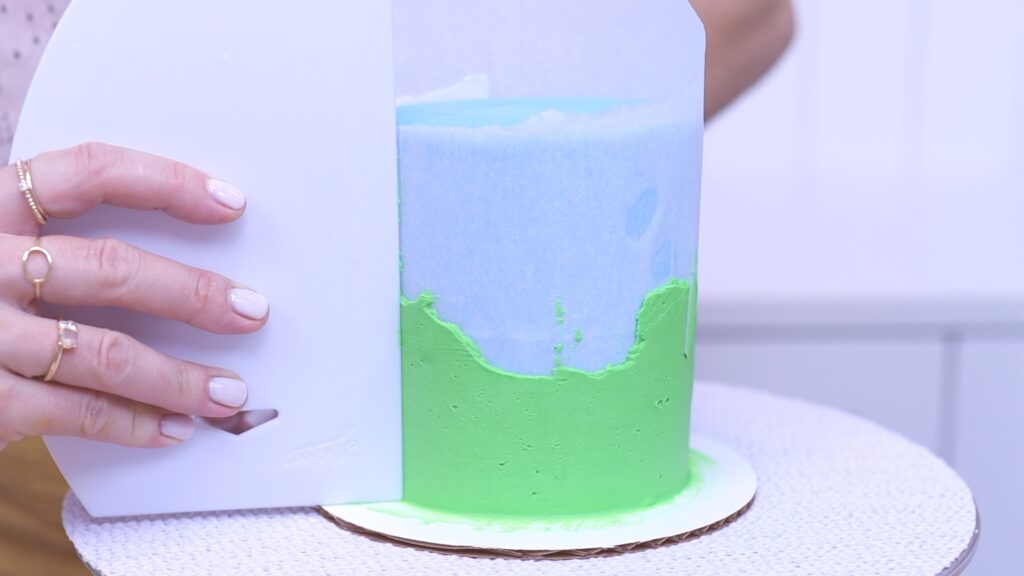
Spread more buttercream over any indents and scrape until until it’s completely smooth. Then peel away the zig zag stencil to leave the zig zag pattern behind on the cake!
If there are any smudges of buttercream on the cake you can scrape them off with a toothpick. Since the frosted cake is cold, that frosting will be so firm that you won’t damage it with the pressure of the toothpick.
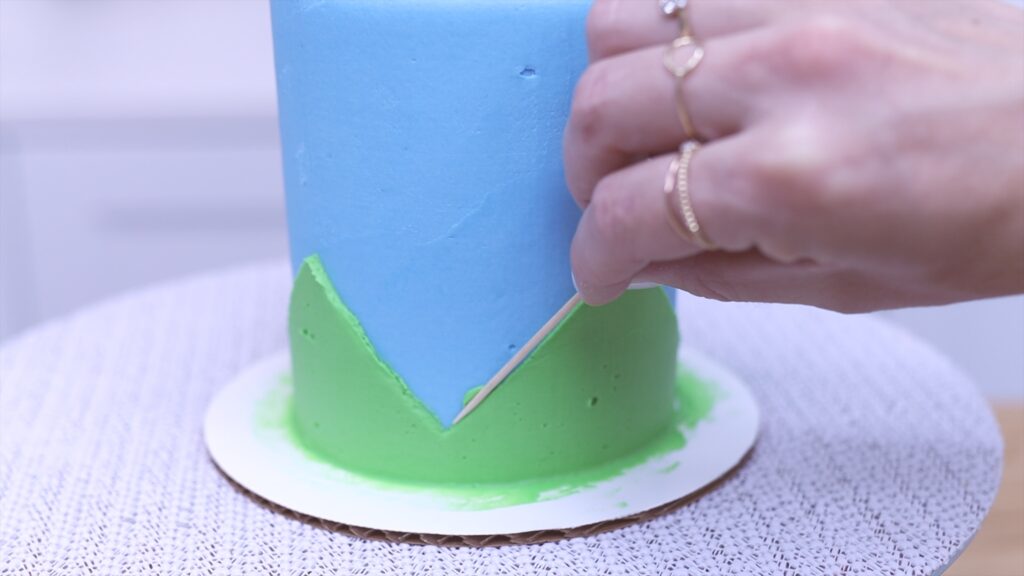
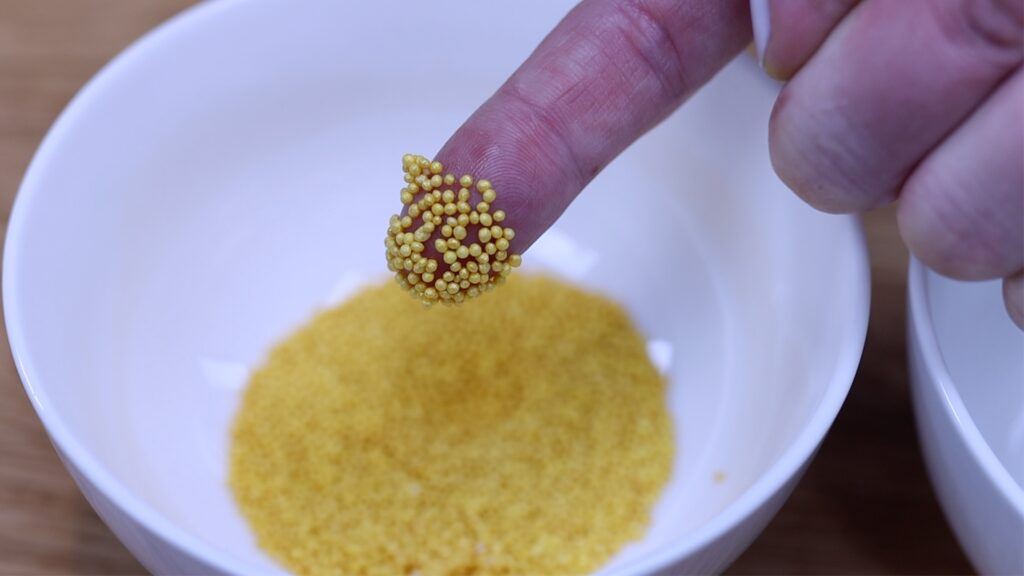
As an optional finishing touch, pour some sprinkles into a bowl and water into another bowl. Dip your finger into the water and then into the sprinkles so that they stick. Then push gently into the top of the zig zag. The sprinkles will stick to the soft sticky buttercream instead of your finger.
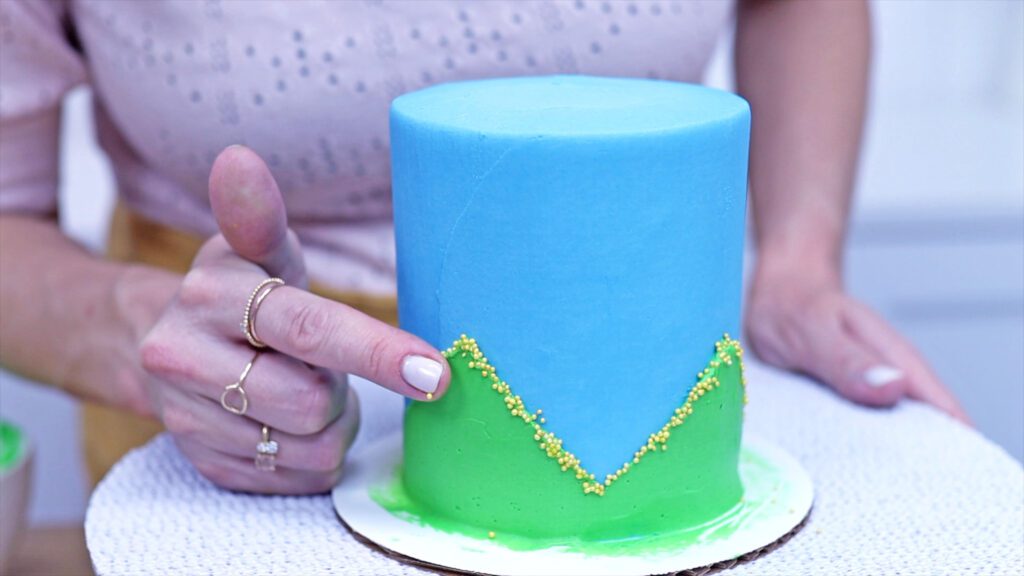
Chill the cake in the fridge for about an hour to set the zig zag buttercream. Then you can wipe the smudges off the cake board with a paper towel wrapped around your finger. Since the cake is cold you can brush right up against the frosting without damaging it.
Another fun cake design to create with parchment paper is a dotted pattern. Just like the previous pattern, wrap a piece of parchment paper around the cake to measure it. Then fold it in half as many times as you like, horizontally and vertically, to form a grid pattern.
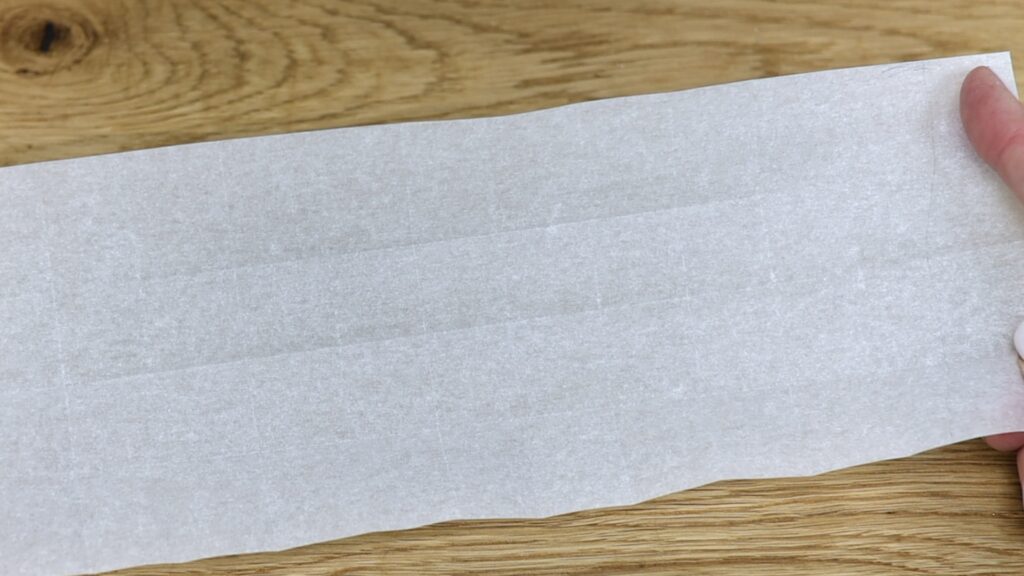
The vertical creases will meet the horizontal creases and form points, or I’ll call them joins in this tutorial. Wrap the parchment around the cake and push a pin or a toothpick through one of the joins to hold it in place.
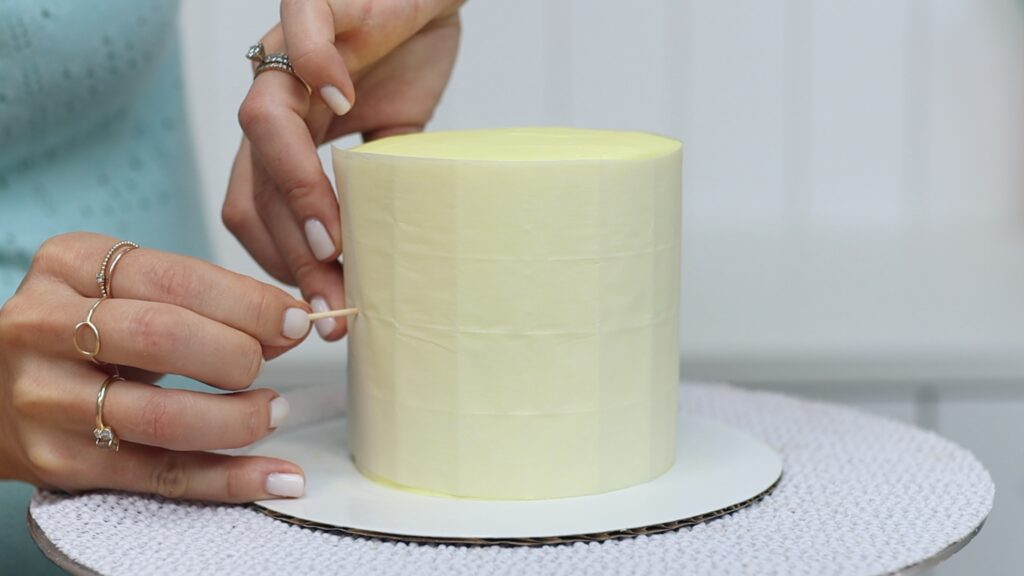
Then continue to poke a pin or toothpick through every join. Make sure you push through the parchment and into the frosting on the cake underneath. When you peel the parchment off you’ll have an even grid of dots that covers the cake.
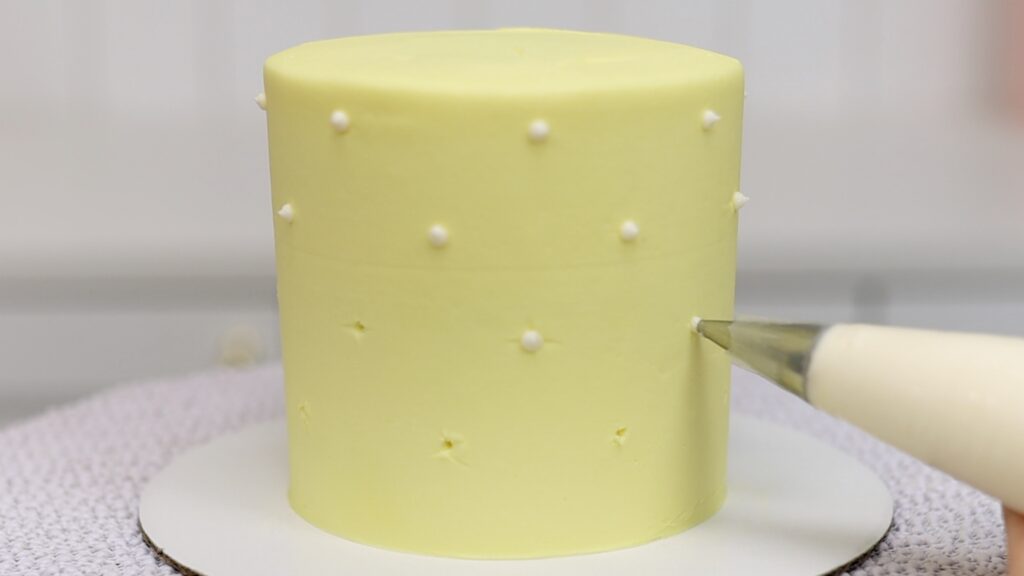
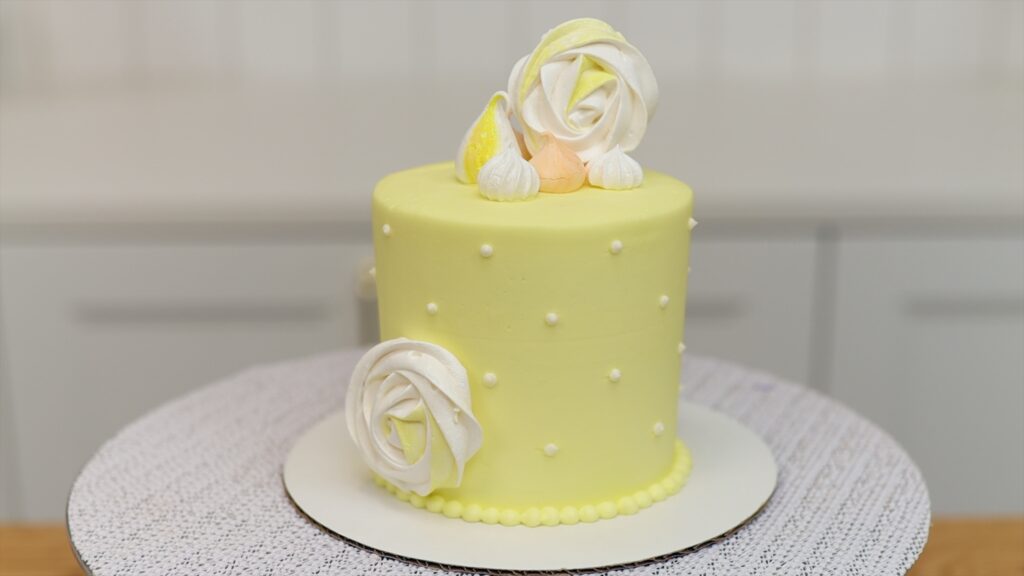
Now use a piping bag with a small round tip to squeeze little dots of buttercream onto the dots. This makes a dainty, subtle pattern that compliments any other decorations without distracting from them. I have a recipe and tutorial for these meringues for cake decorating in case you want to make your own!
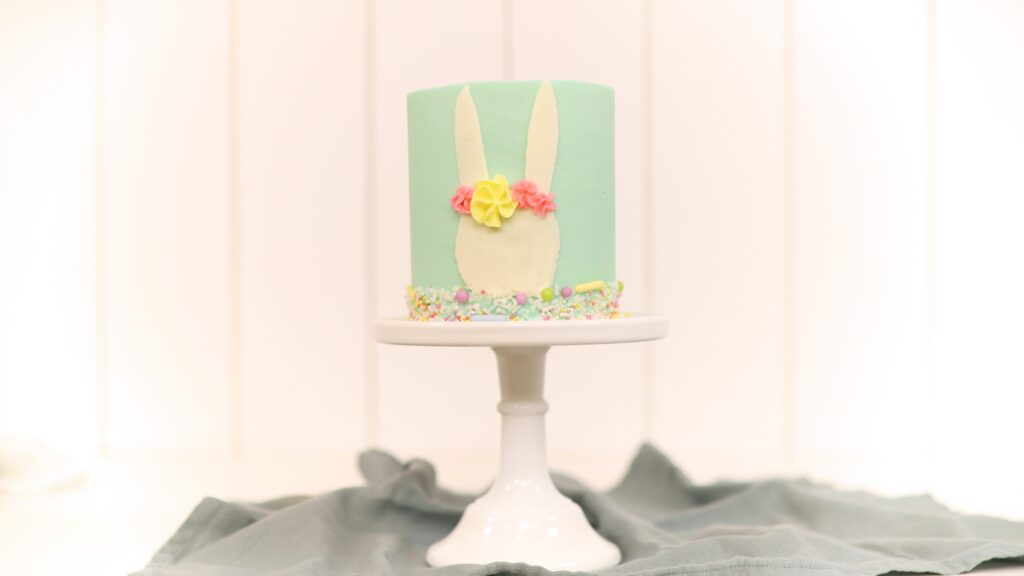
As well as patterns, you can use parchment paper for cake designs like animals. Use this technique for simple silhouettes or I’ll show you a much more detailed character in a moment. Draw or trace the outline of your shape onto parchment paper and cut it out. Wrap the parchment around the cake to use the cut-out shape as a stencil.
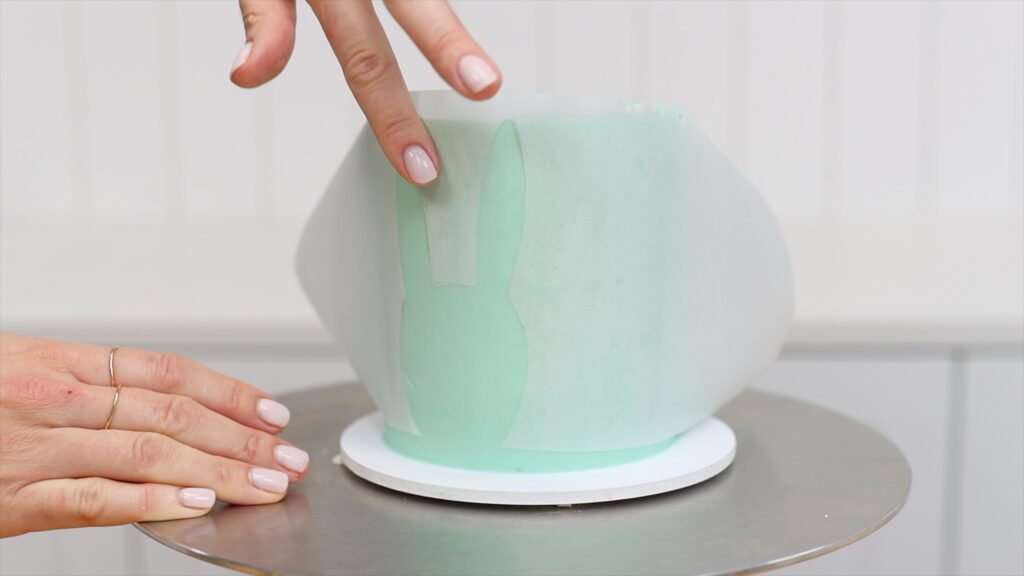
Spread buttercream over the stencil, pushing towards the middle of the shape instead of out towards the edges. This will give you the neatest outline because you won't push buttercream underneath the edges of the stencil. Scrape off the excess with an
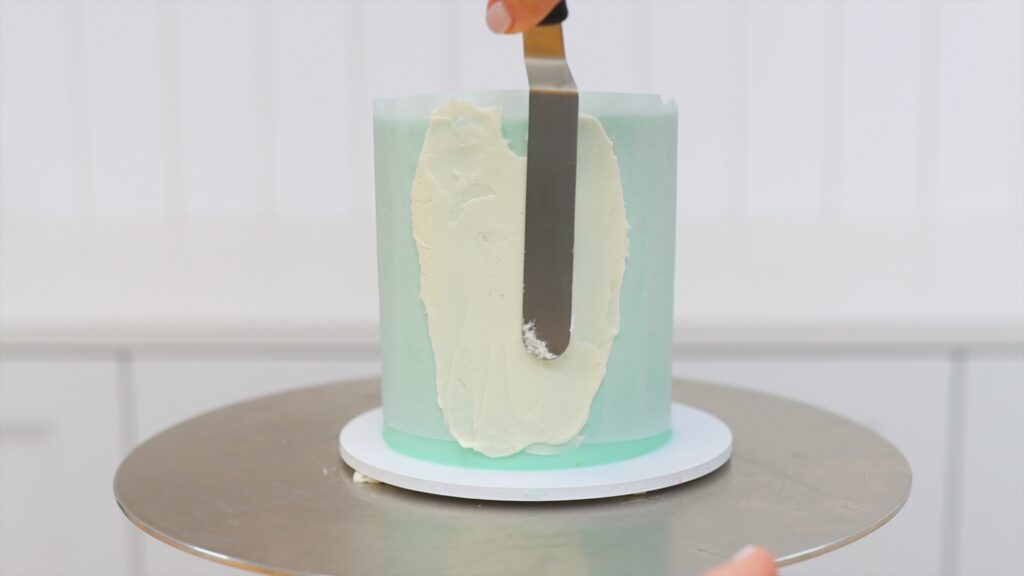
Peel the parchment off straight away, before the buttercream on the stencil sets. You'll leave a silhouette of your shape behind! To add some colour and texture you can pipe added details like these flowers.
To add much more detail for character cakes, use several pieces of parchment paper to trace an image. Only outline the details of one colour at a time. For this platypus I’m starting with the turquoise body.
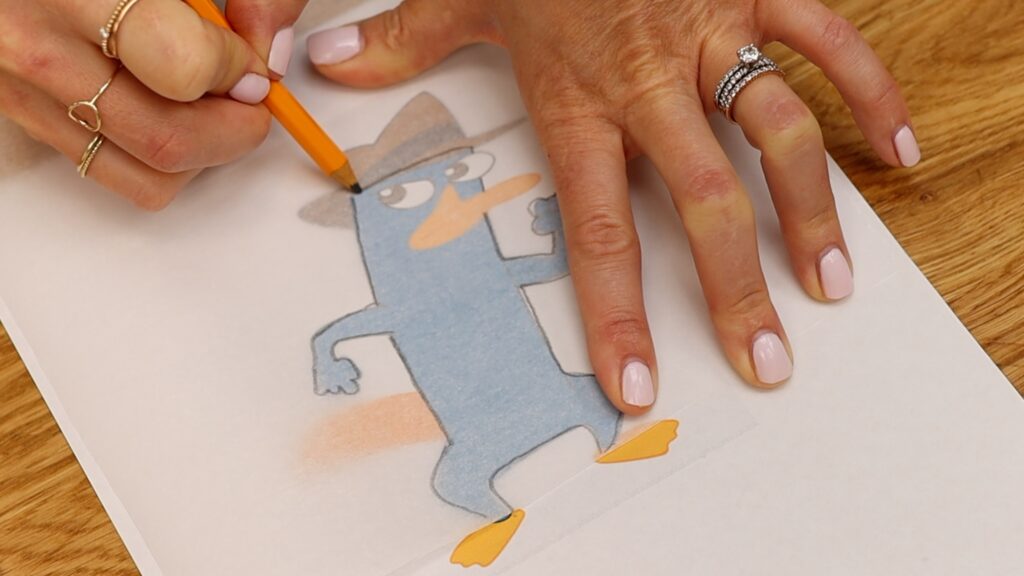
Then use a different piece of parchment to outline the details of the next colour. Repeat for all of the coloured details in your design. When you lay the parchment pieces over each other you'll see outlines of all of the details of the image.
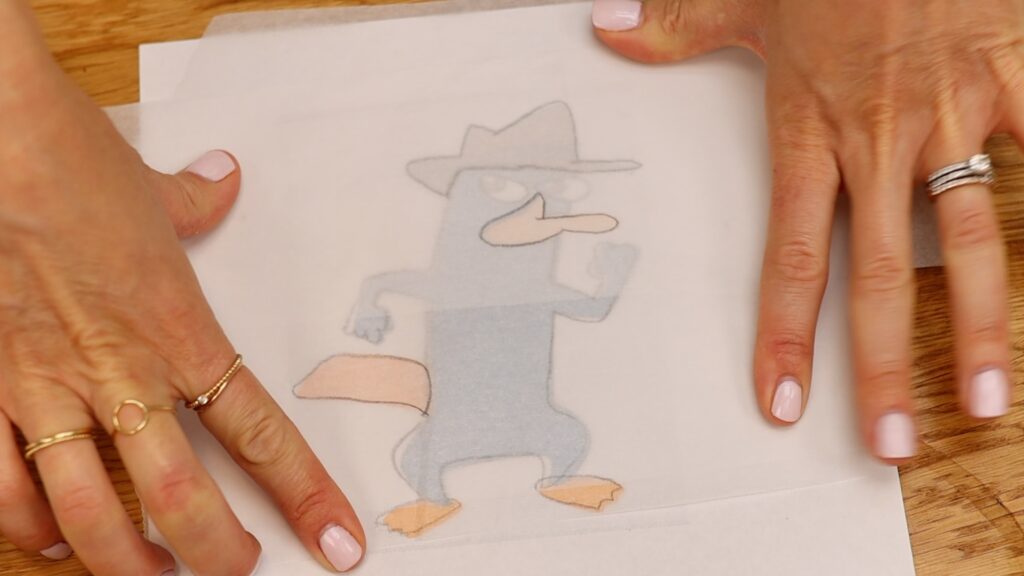
Cut out all of the details to make stencils, which you’ll use for each colour separately. Then tint your colours to create the design. I use gel colours because they're very concentrated so they make very bright and bold colours. My 4 Minute Buttercream works really well for parchment paper designs because it gets so firm when it sets.
Start with the stencil for the background colour, which is the largest block of colour. Wrap the parchment around the cake and spread buttercream over the stencil to cover the shape you cut out.
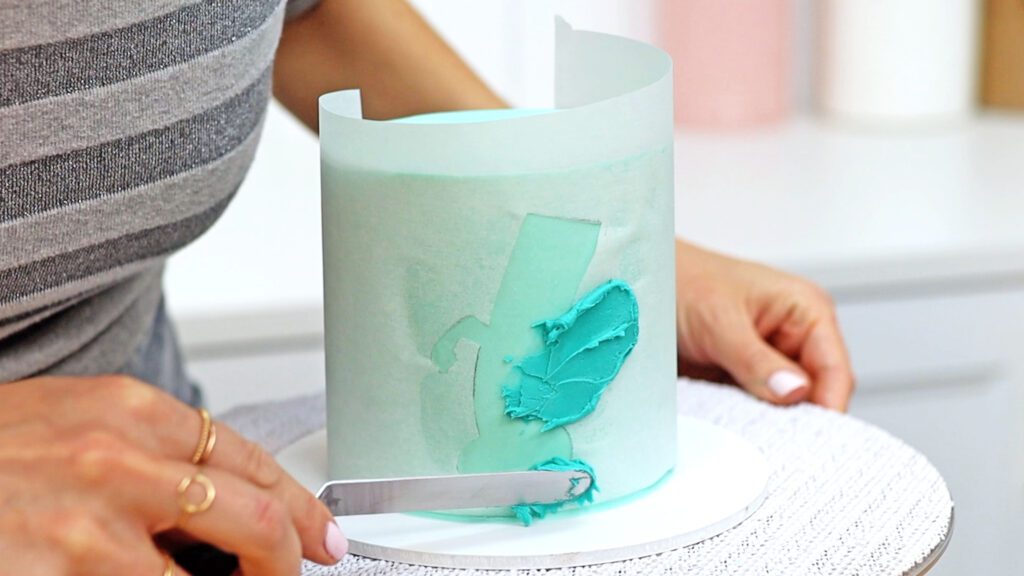
Then scrape around the cake with a cake comb to take off excess frosting. Scrape a few times to leave a thin, smooth layer of frosting behind.
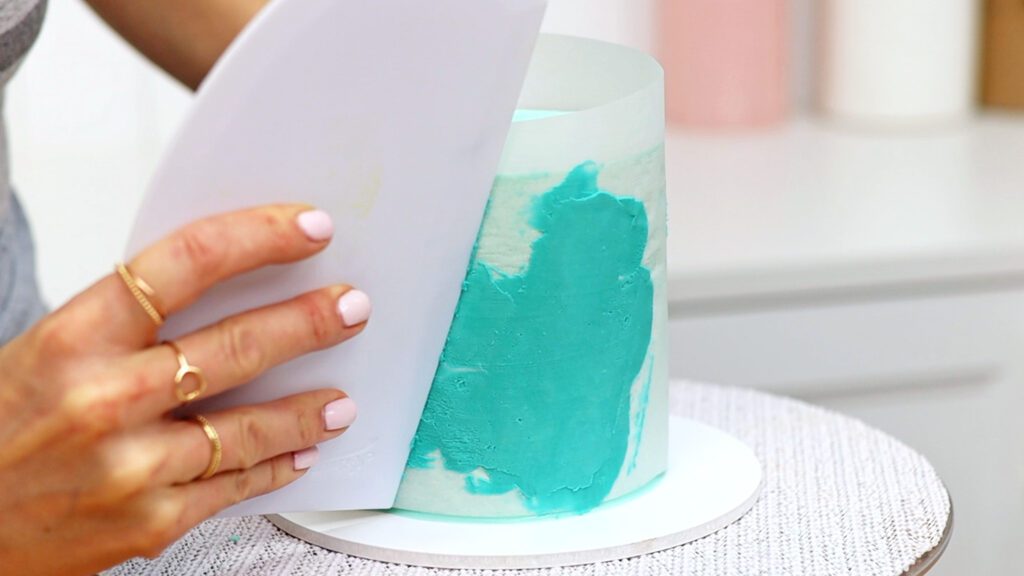
Peel the parchment away from the cake to leave your first details on the cake. Use a toothpick to touch up any smudges of buttercream around the edges of the shape. Then put the cake in the freezer for 10 minutes or the fridge for 30 minutes. Next, line up another parchment stencil on the cake. Chilling the cake sets the first stencil details so that this next stencil doesn’t damage them.
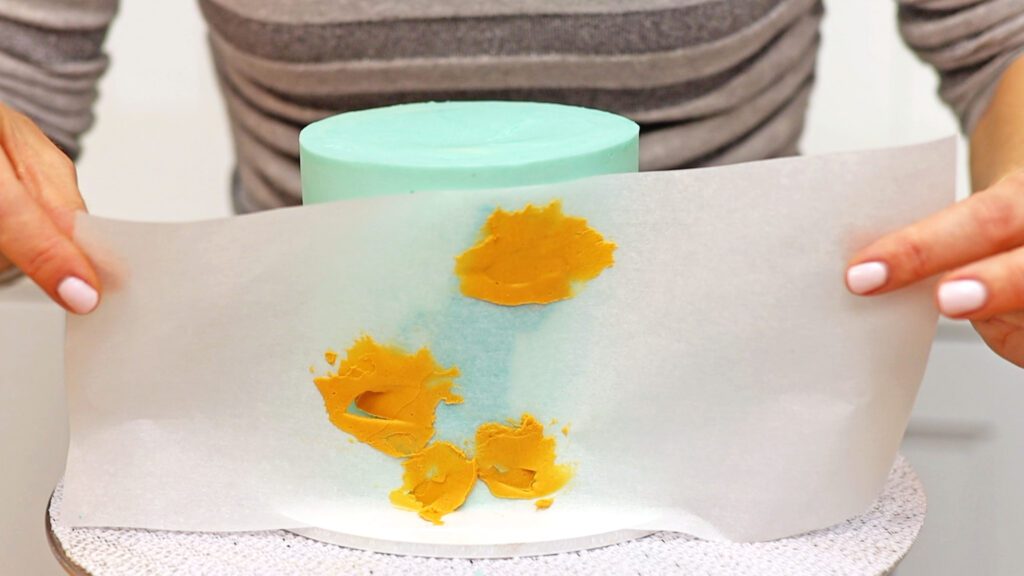
Use your toothpick or the edge of your
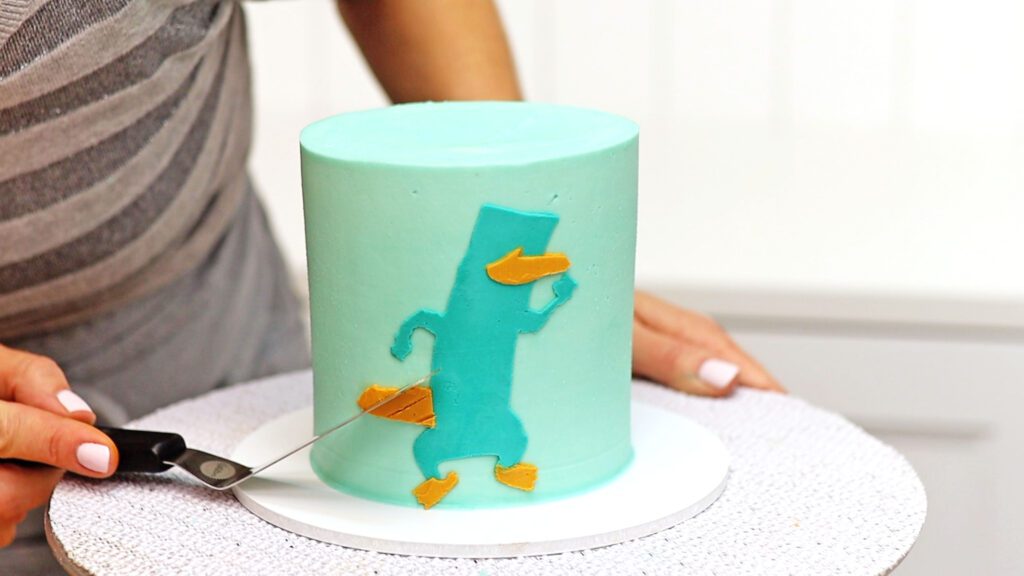
Continue with the rest of your stencils and coloured buttercream to add all of the details to your character. You'll need to chill the cake to set the buttercream between each stencil. For tiny details you might choose to use a piping tip instead of a stencil, like tiny eyeballs. I poked the piped eyes with my toothpick to expose tiny white dots in the centers.
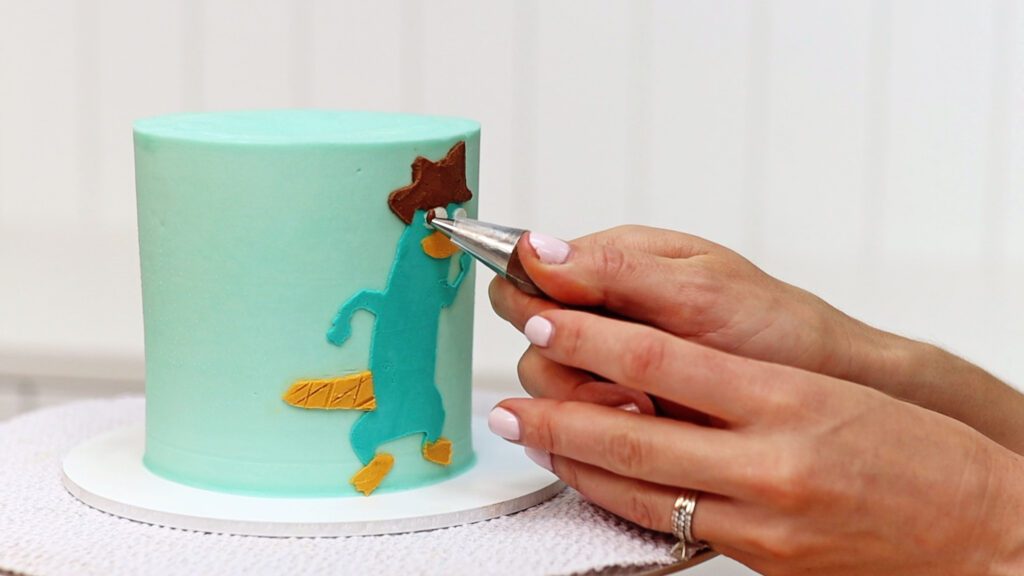
You can use your
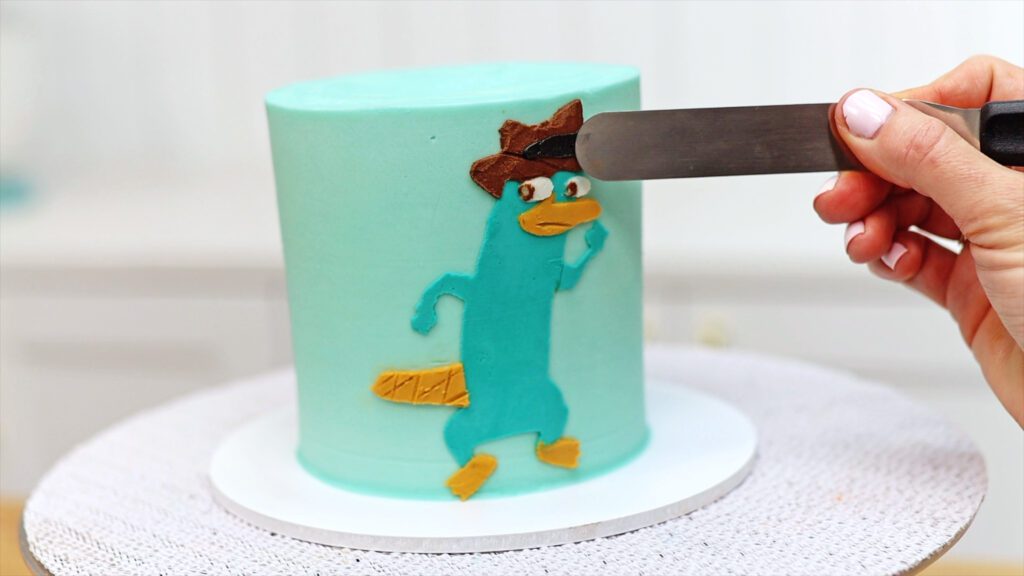
And there it is! A detailed character made with homemade parchment paper stencils!
To wrap a cake in chocolate start by cutting parchment to wrap around the cake. You can scrunch it up if you want to add extra texture. Melt any kind of chocolate chips and then pour the melted chocolate onto the parchment paper. Spread it around with an
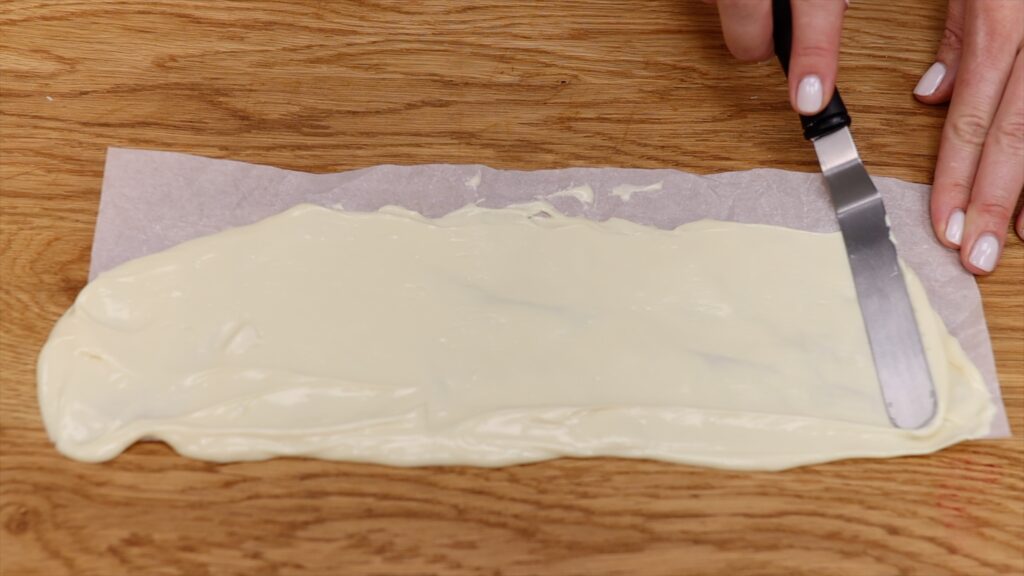
Slide your hands underneath the parchment straight away, before the chocolate sets, and lift it up. Rest the bottom edge on the cake board and wrap it around your cake. It’s easiest if the cake has been in the fridge so it’s firm and less wobbly than when it’s at room temperature.
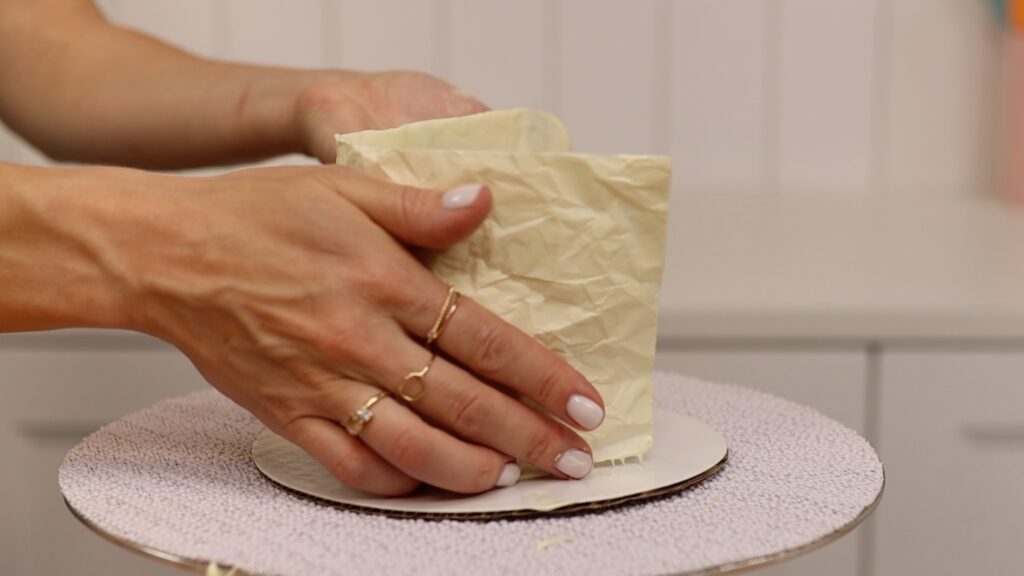
Put the cake wrapped in parchment into the fridge for an hour or the freezer for twenty minutes. This will set the chocolate and make it stronger than when it's a room temperature. Then peel the parchment off to leave the chocolate wrap behind.
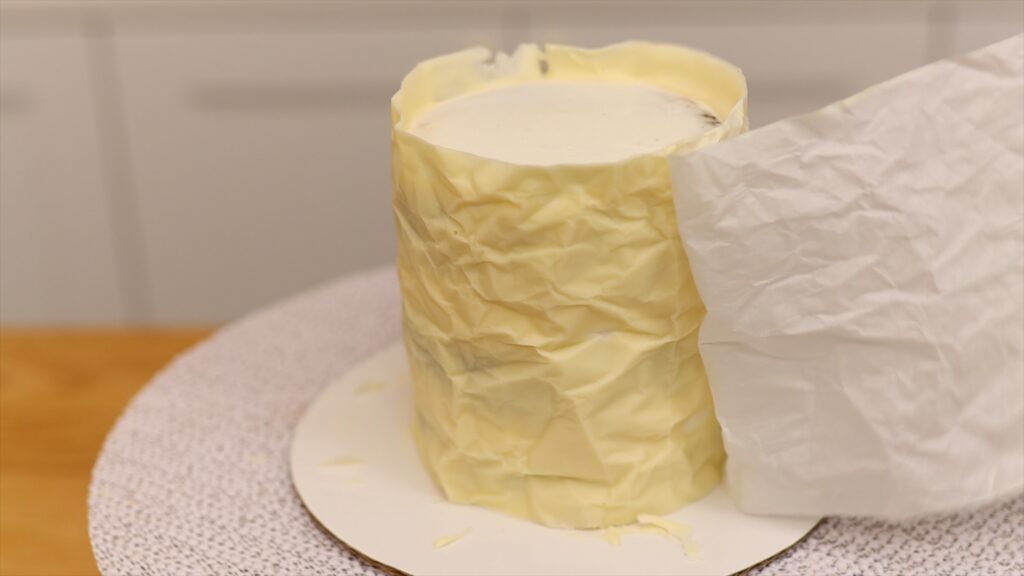
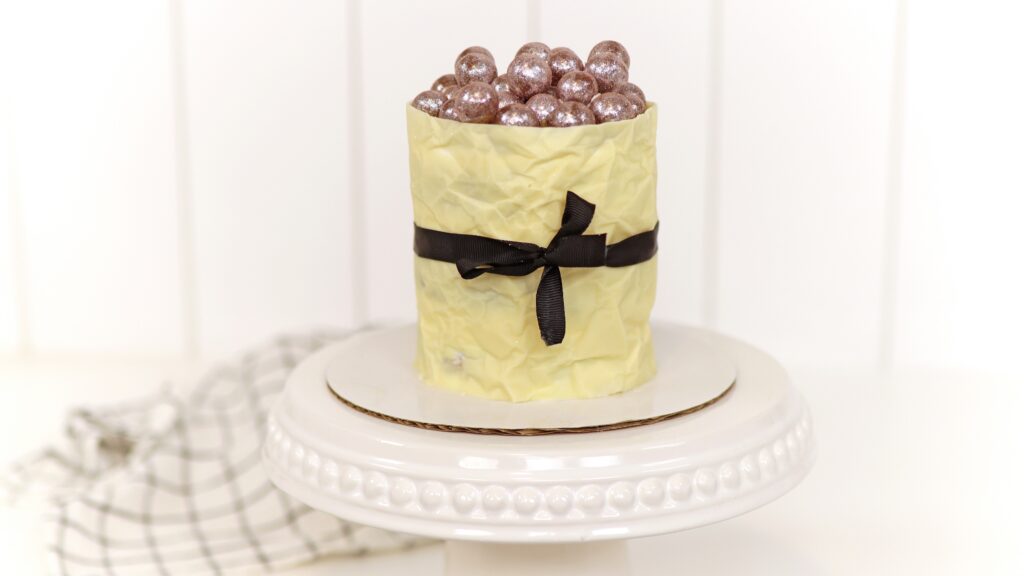
If you cut your parchment a little bit taller than the cake, you’ll have a wall to hold in any decorations like these glittery chocolate malt balls. So pretty!
I hope you’ve seen some ways you can save money on expensive cake decorating tools by using parchment paper instead! Check out my cake school for online courses on hundreds of cake decorating techniques and designs and join my ClubPLUS for access to every MasterCourse, MiniCourse and Live Workshop!
You can also watch a video of this tutorial on how to use parchment paper for cake decorating:
