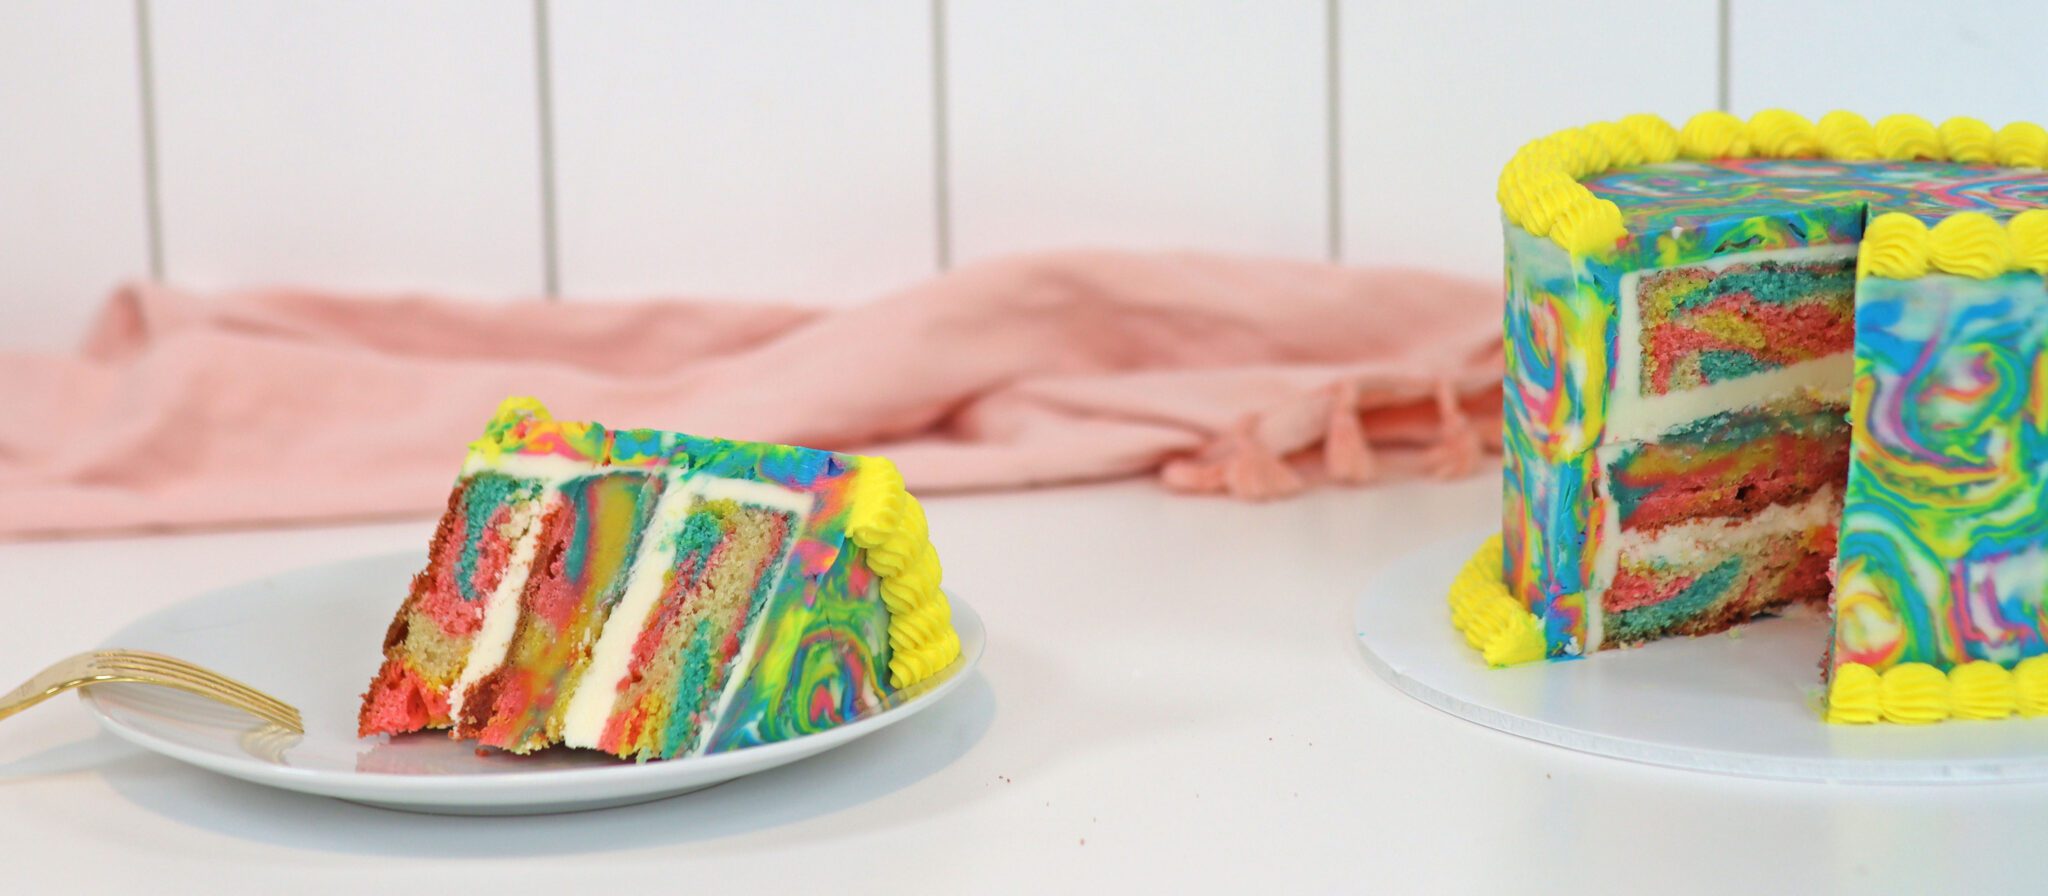
In this tutorial I'll show you how to make a tie dye cake that's tie dye both inside and out!
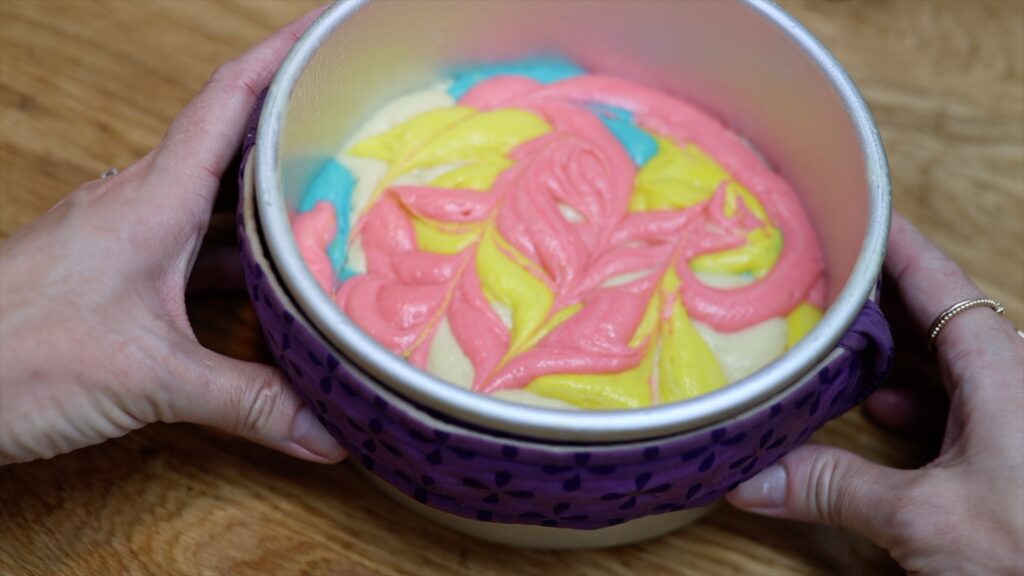
For tie dye cake batter, divide your batter into four or five bowls add food coloring to each one. I’m using four bowls, making yellow, pink and blue and leaving one bowl plain.
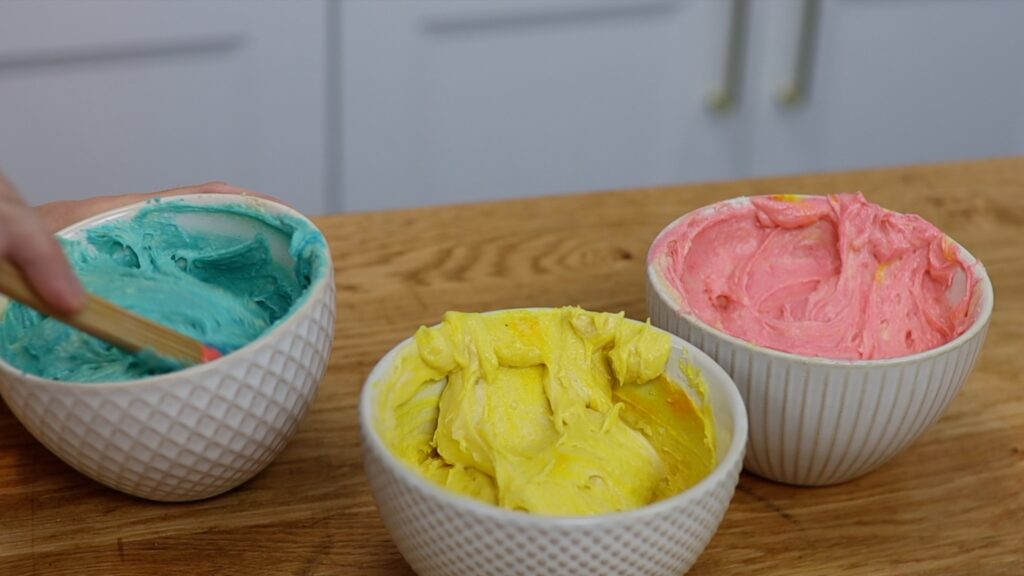
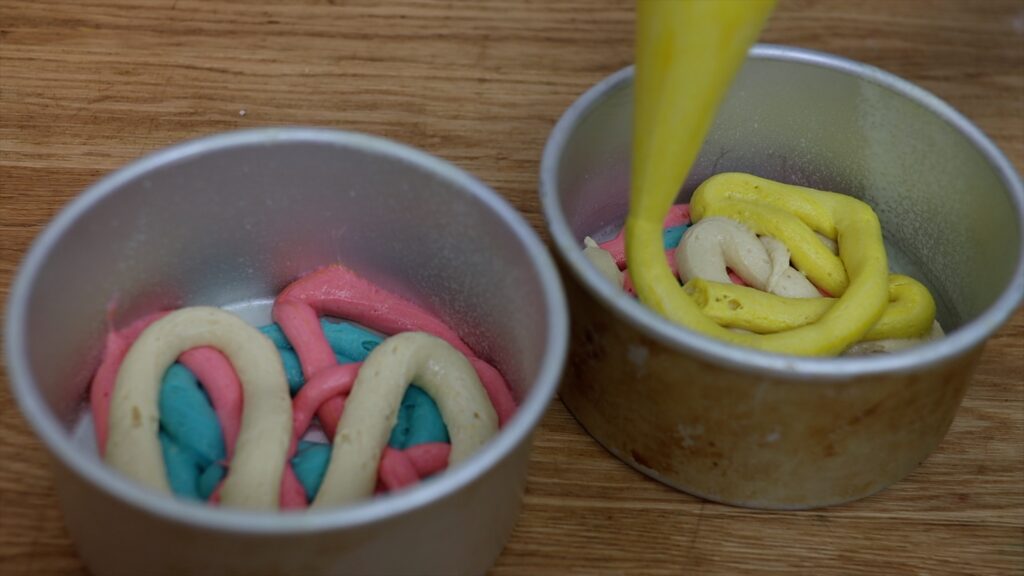
You can spoon the coloured batter into pans or scoop it into piping bags and pipe it into cake pans. Switch back and forth between the different colours, squiggling the batter to make random patterns in the pans.
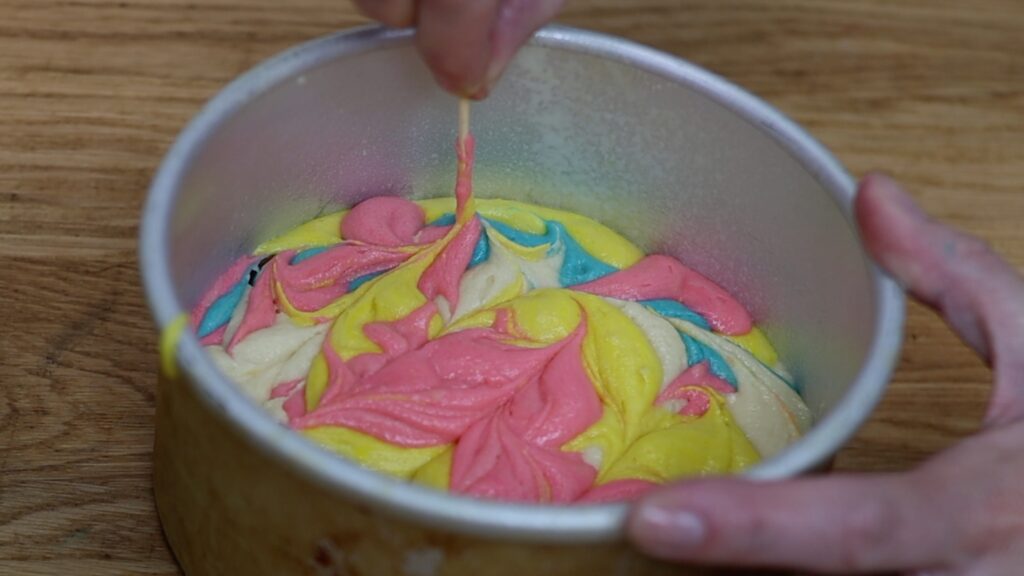
Tap the pans a few times to flatten and level the batter. Then drag a toothpick through the batter to mix the colours.
I like to using baking strips to help the cakes bake evenly and rise higher without domes. I soak them in a pan of water for five minutes and then squeeze the water out. Wrap tightly around the cake pans and bake as normal.
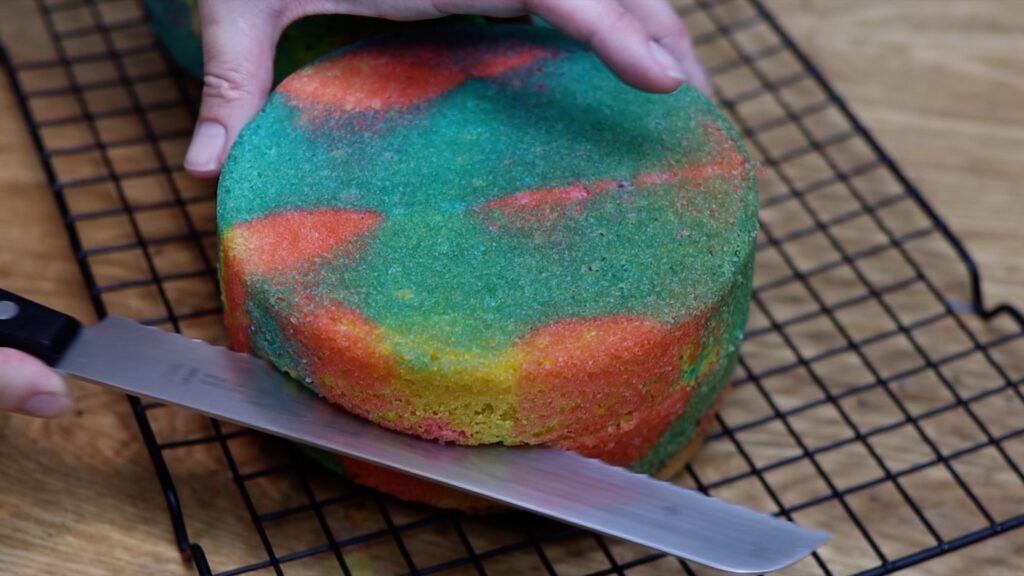
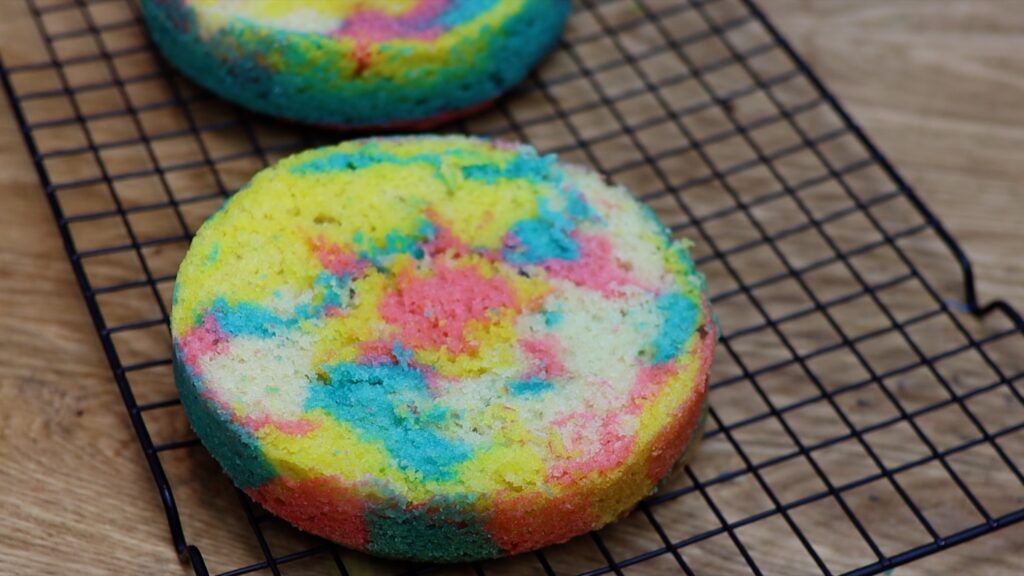
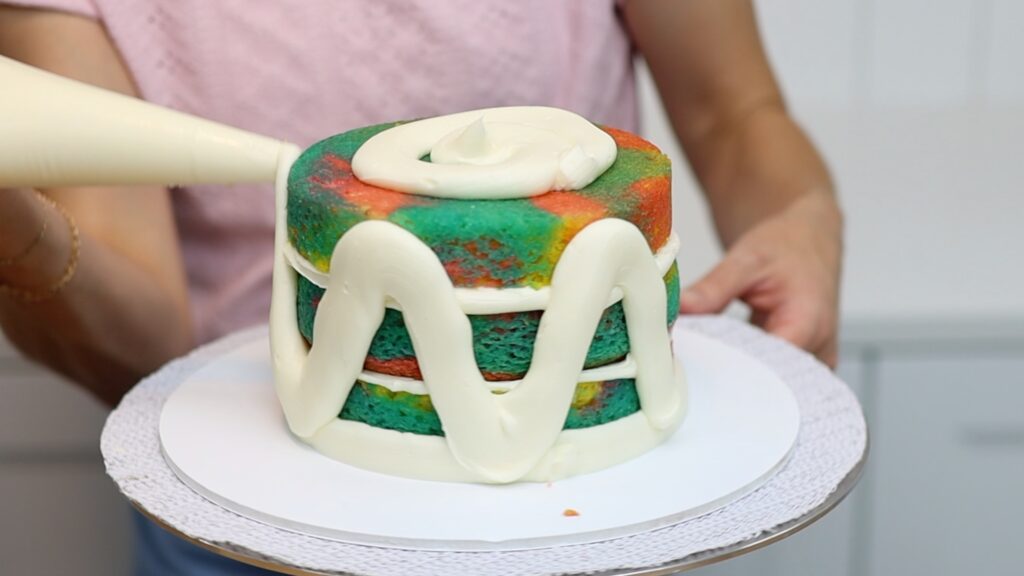
Divide the cakes in half if you want more layers. Then assemble your cake by alternating cake and filling.
To frost the cake, start with a crumb coat. This is a thin layer of frosting to trap any crumbs that come off the cake so that they don’t get into the final layer of frosting. I'm using my 4 minute buttercream.
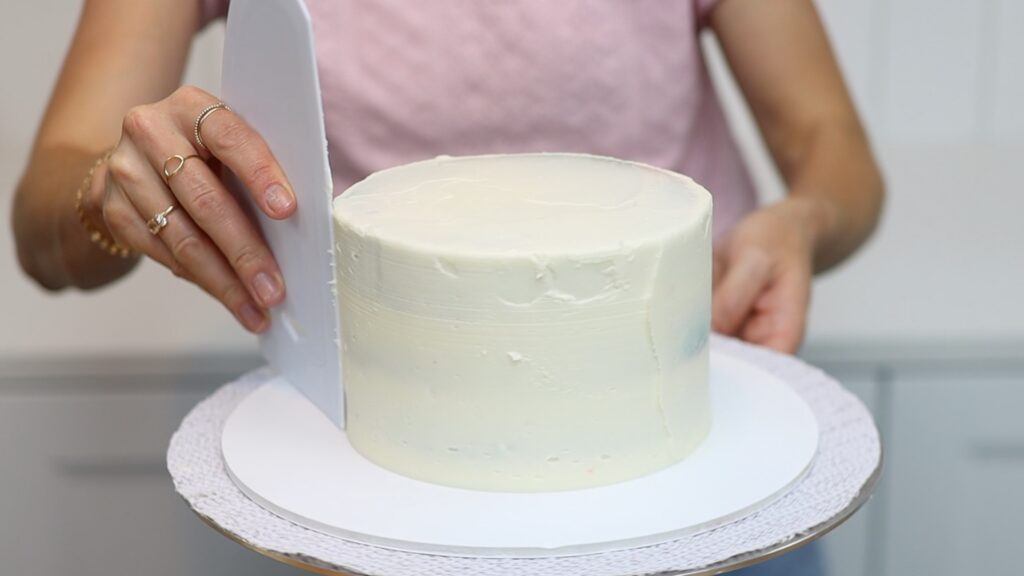
Chill the cake for about 30 minutes in the fridge to set the crumb coat. Meanwhile, tint a few bowls of buttercream the same colours as the cake batter. Line them up on a piece of cling film or Saran Wrap. You can put the colours into piping bags and pipe them in lines, side by side. To save yourself washing those piping bags, spoon the colours onto the plastic instead, like I’m doing here.
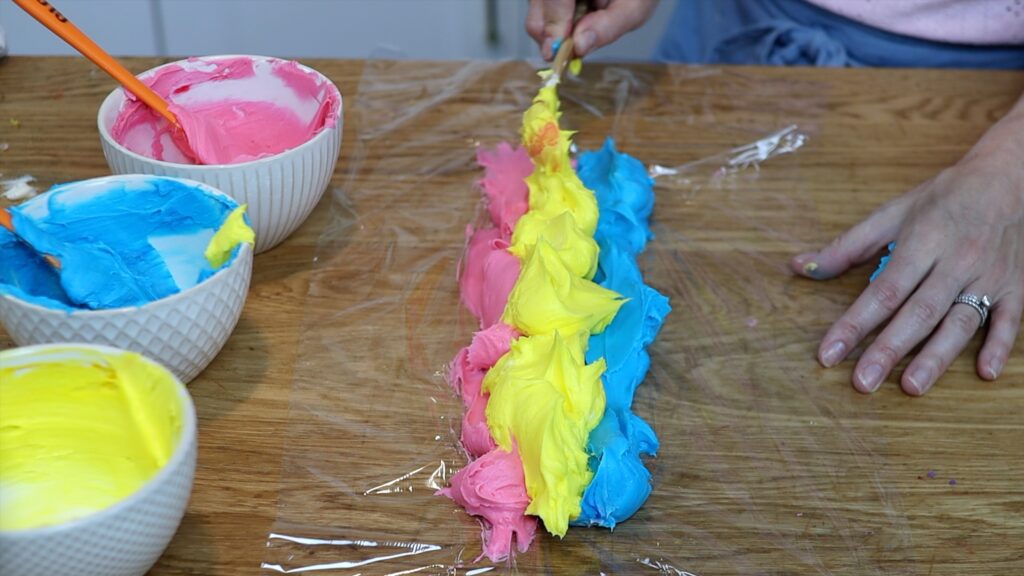
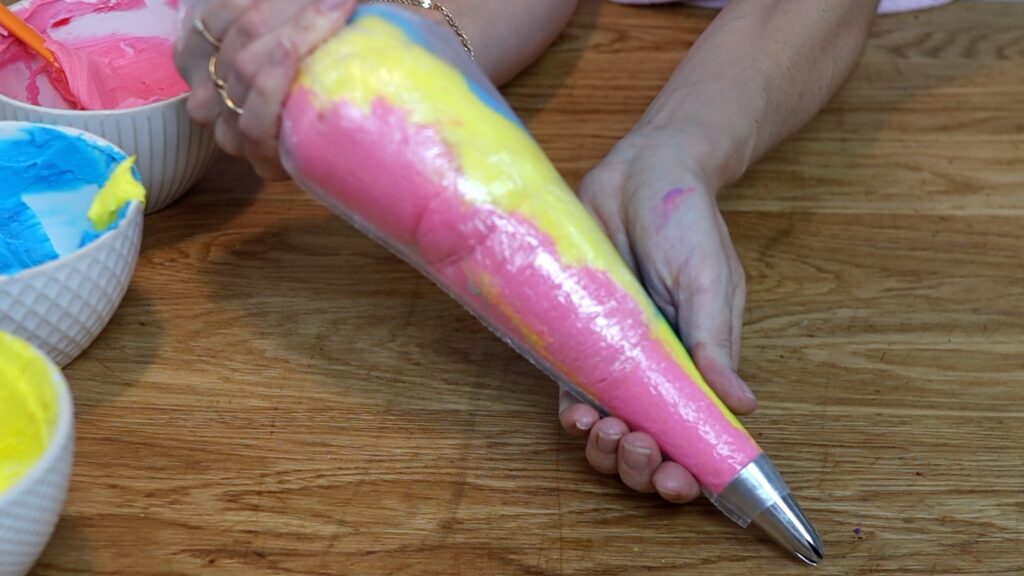
Roll the plastic wrap up into a log around the buttercream and twist the ends. Cut off one end and drop that end down into a piping bag fitted with a star tip like a 1M.
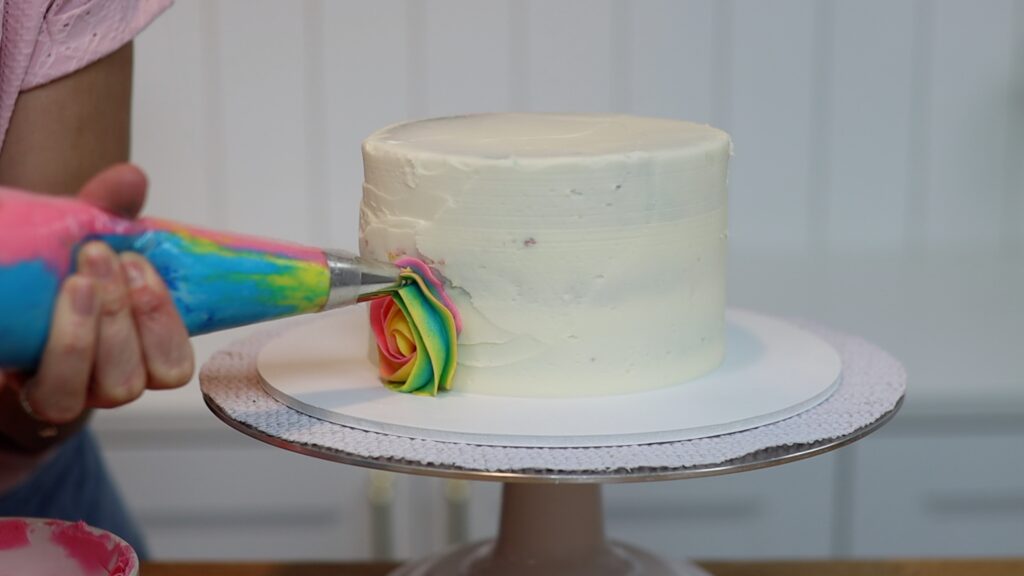
Now pipe the multi-coloured buttercream onto the cake. I’m piping rosettes and filling in any gaps by squeezing out little stars. Different piping techniques will give you different results when you flatten it next, creating a cross section of your piping. Cover the sides and top of the cake and then put the cake into the freezer for 15 minutes.
I call this technique 'facelift frosting' because you're going to give your piping a facelift! To do this, use a hot cake comb to scrape around the cake. You can heat the edge with a blowtorch, which is my favourite method because it's the fastest. Other options are to hold the cake comb under hot running water from the tap or dip it into a bowl of boiling water. You’ll question yourself after the first few scrapes because it will look like you’re destroying your piping!
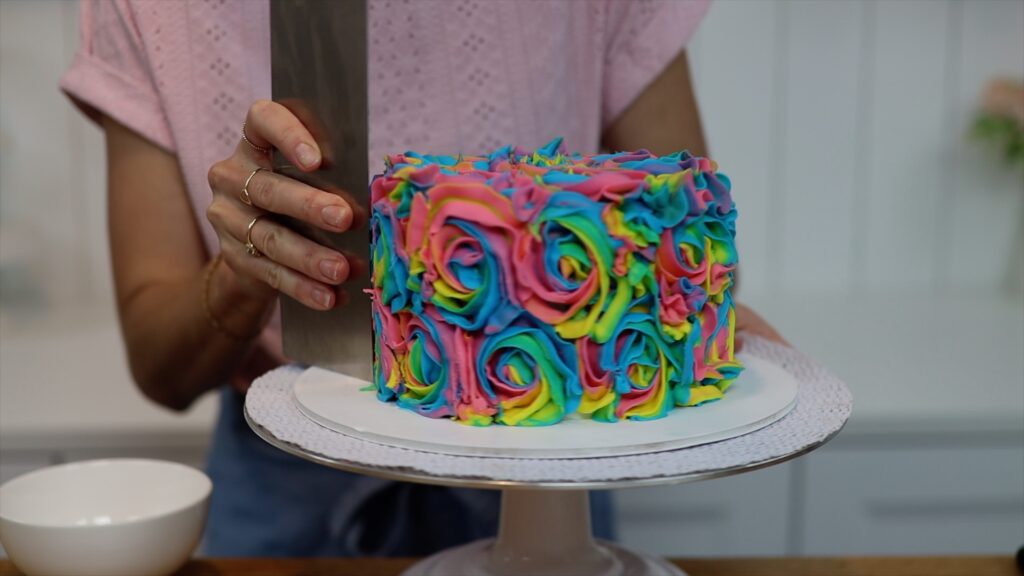
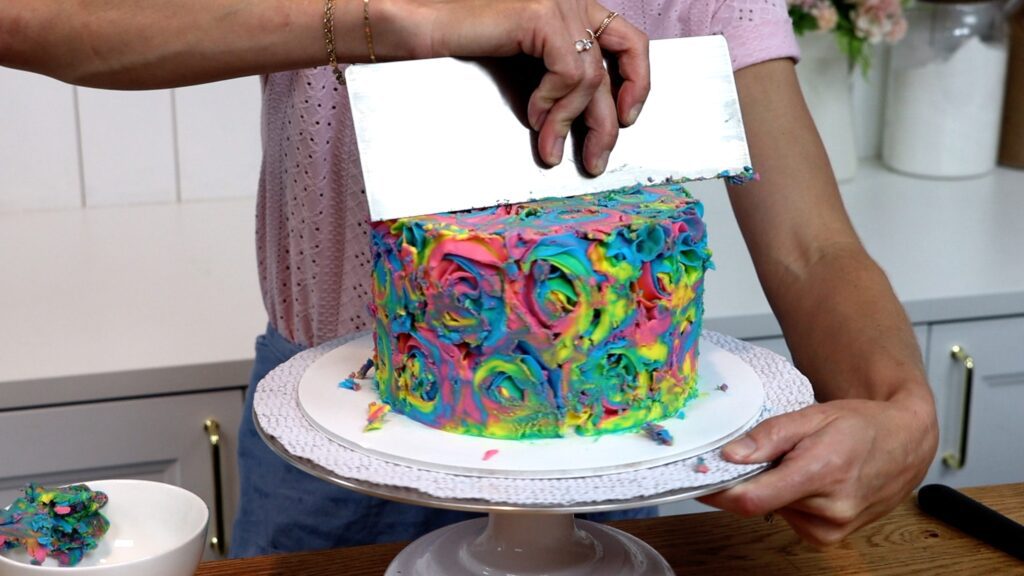
Keep scraping, re-heating your cake comb after every few scrapes. If you piped onto the top of the cake you’ll need to scrape that too. The frosting won't get perfectly smooth because you’ll have gaps in between parts of the piping. What you’re looking for is a smooth curve around the sides of the cake. The top surface should be level even though it will have lots of holes in it.
Tie dye has those white markings or creases and to recreate those, spread white frosting all over the cake. This is another part of this technique where it feels that you’re ruining the cake!
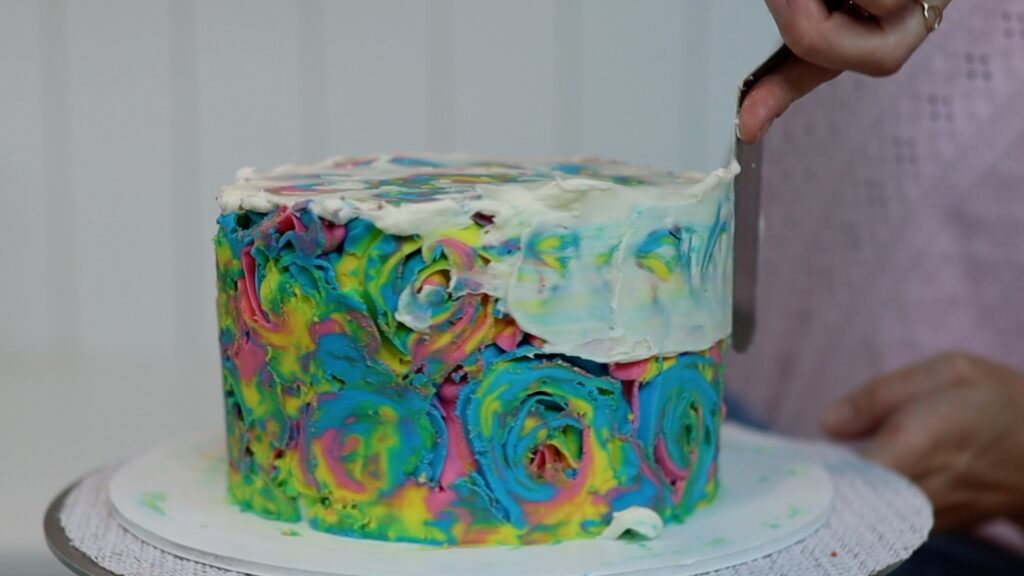
The point of this white frosting is to fill in the gaps, not to cover up the colours! So after spreading it all over, switch back to your cake comb and scrape around the cake again. You'll take off the excess white frosting and leave it only within the gaps in the piping.
The white frosting will set quickly because the coloured frosting is cold so using a hot cake comb will make this much easier. It will melt the outer layer of frosting instead of trying to scrape cold hard buttercream off the cake!
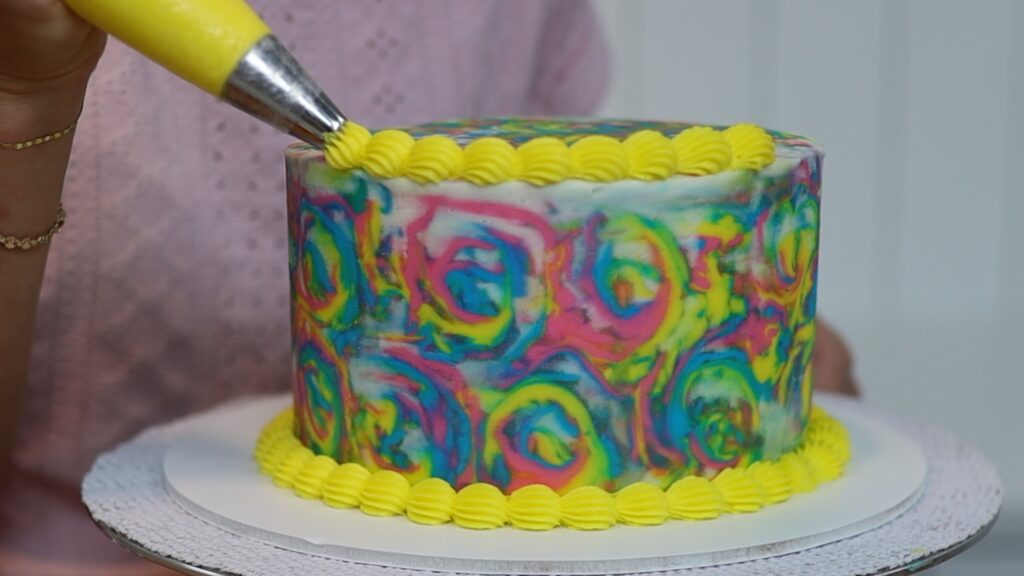
There are so many possibilities for this technique! Different piping tips and piping styles will give you very different results. There are also so many ways you can decorate it. I’m adding some neon yellow borders using a 4B star tip. It would be fun to add some peace signs or smiley faces or other hippy style decorations too!
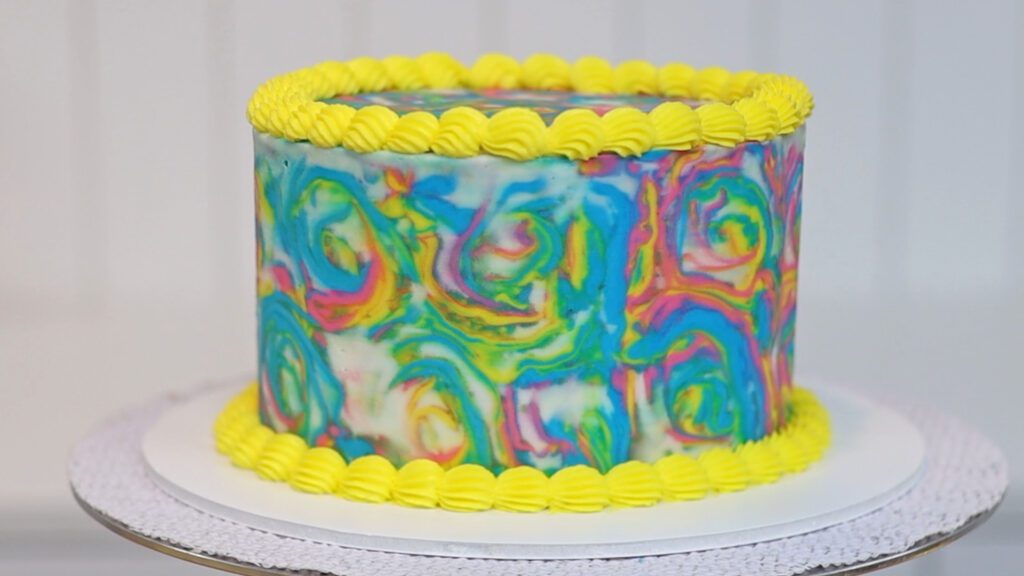
I stopped at this point because I was impatient to cut into this to see whether the inside matched the outside. Here's the slice shot - I wasn't disappointed! Bright swirls of colour, my delicious very vanilla cake layers, my creamy 4 minute buttercream… absolute perfection!
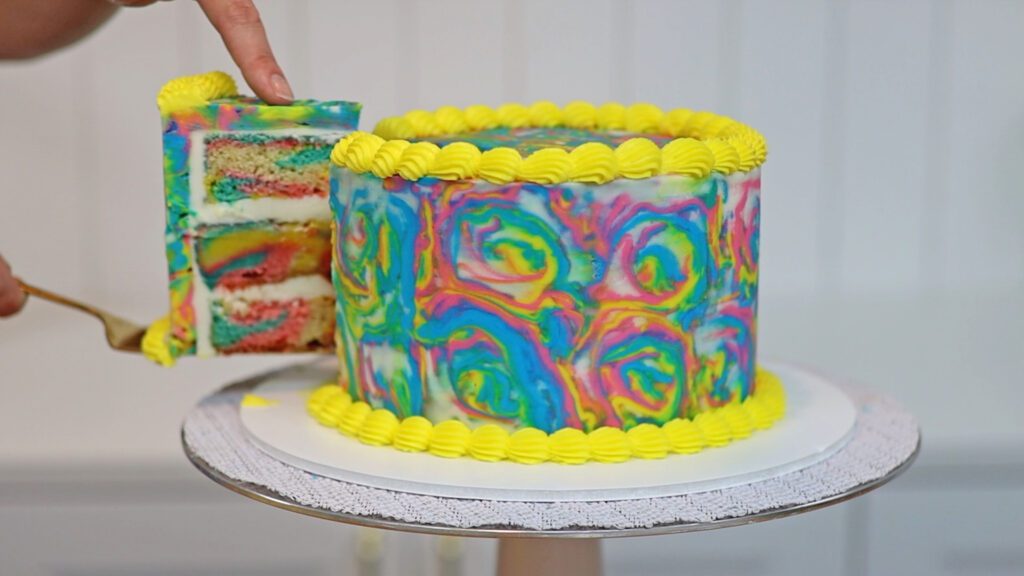
Will you try this? What other design should I attempt with this technique? Tell me in the comments!
You can also watch a video of this tutorial on how to make a tie dye cake:
