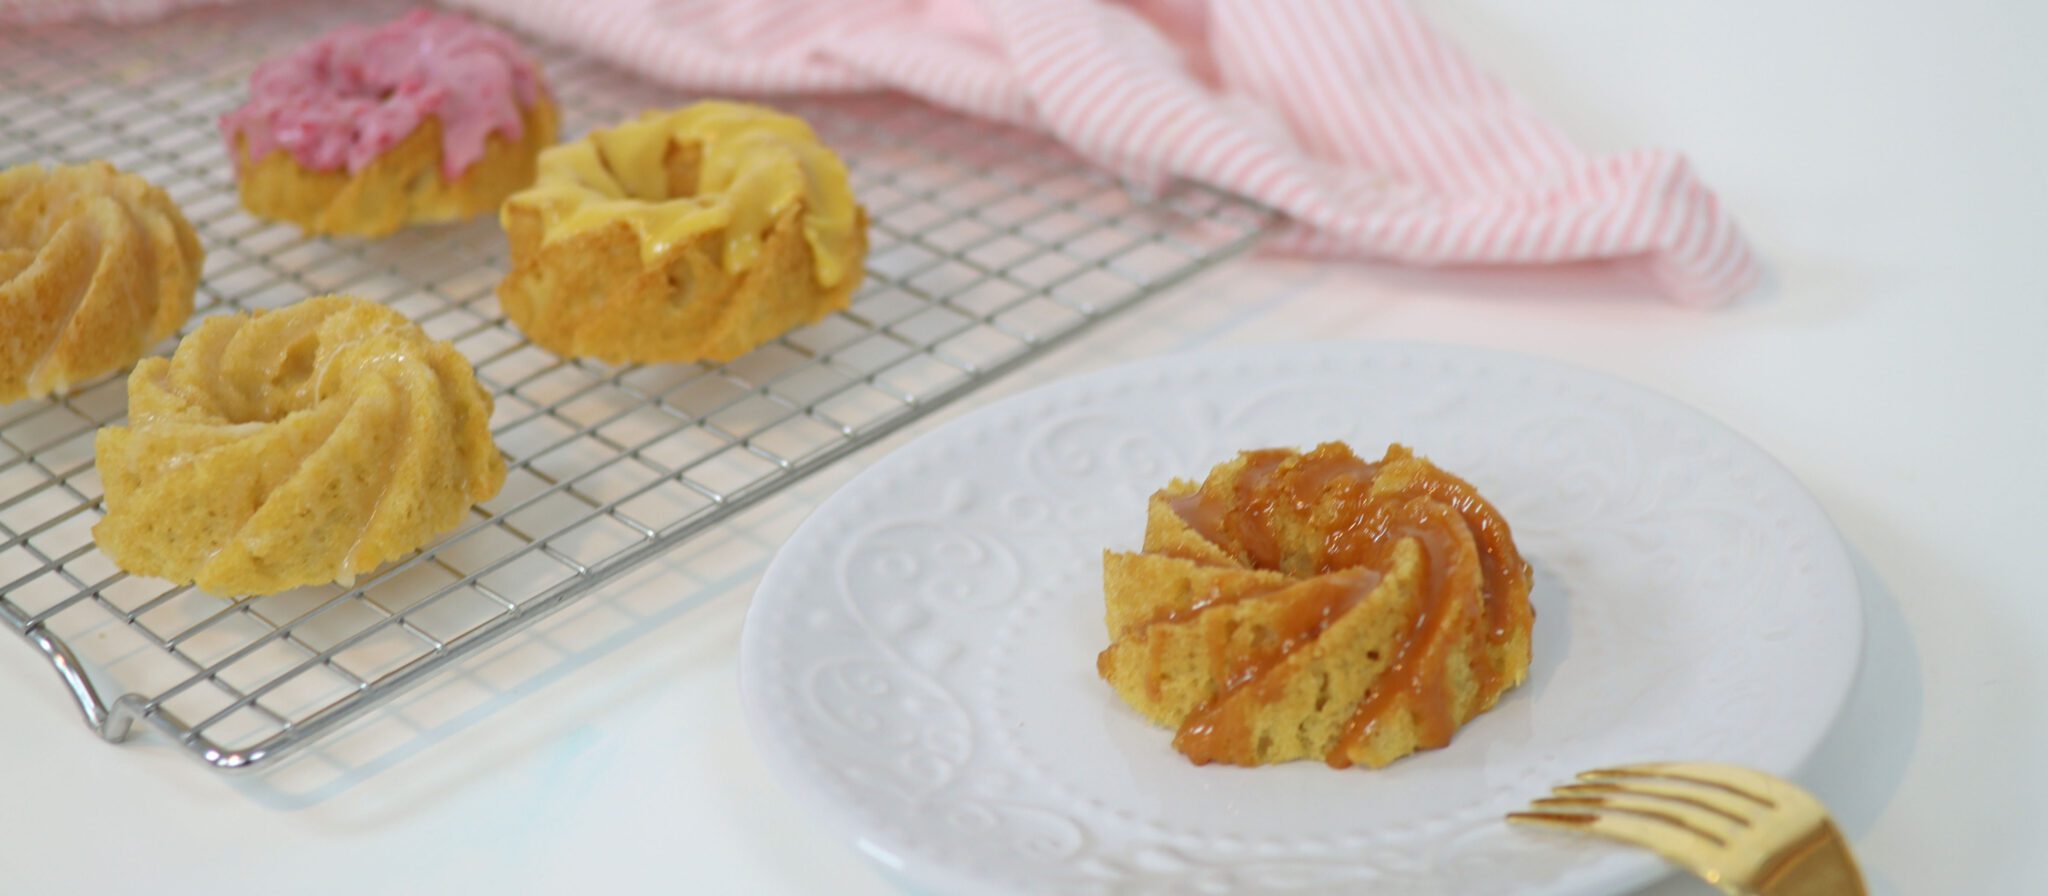
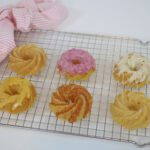
Let’s make these beautiful, soft and moist vanilla mini bundt cakes! They’re perfectly sized individual desserts that can be iced or glazed to look elegant and to satisfying any sweet cravings. There's a video of how to make these vanilla mini bundt cakes at the end!
How to mix vanilla cake batter
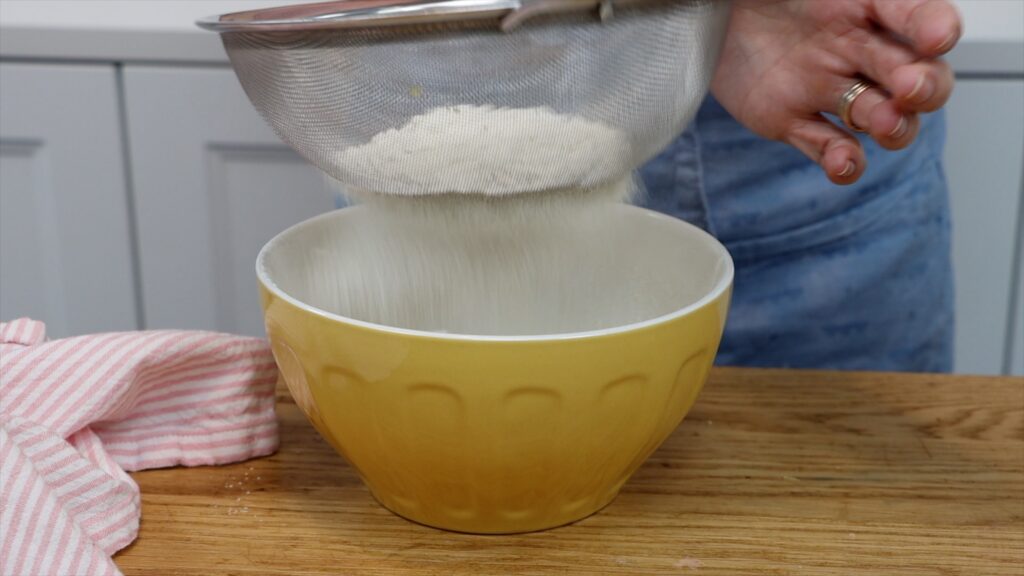
Your ingredients should all be at room temperature before mixing the batter for these mini bundt cakes so take any refrigerated items out of the fridge a few hours before baking. Sift your dry ingredients: flour, baking powder and bicarbonate of soda (or baking soda if you’re in the US). Sifting makes the cake lighter, instead of dense.
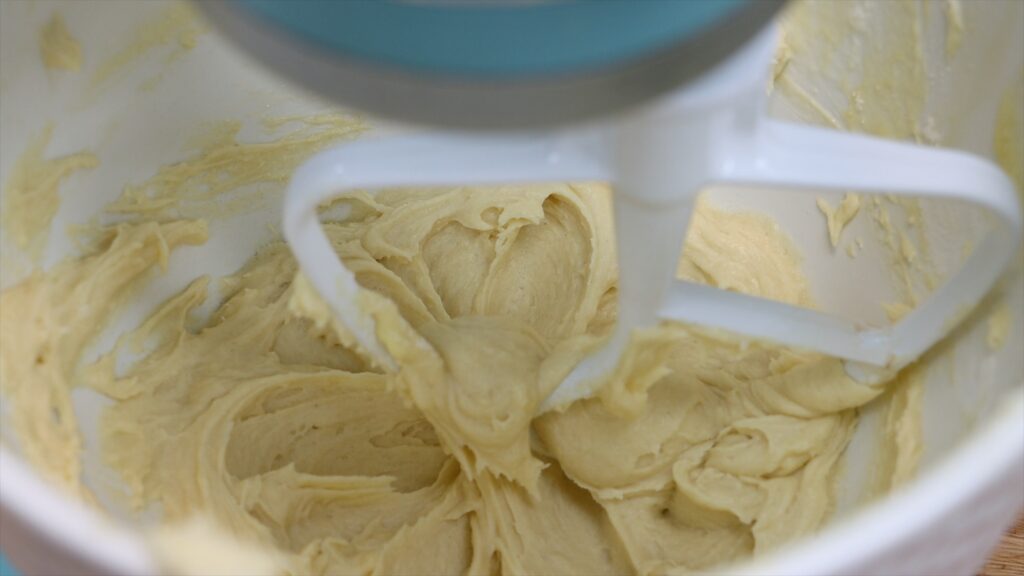
Beat butter and sugar with an electric mixer at medium speed until creamy. This takes about five minutes. The butter will become pale and the mixture will start to look fluffy.
Add vanilla and egg and mix together. You’ll notice that since this is a tiny batch of cake batter, your mixer will struggle to reach ingredients on the sides of the bowl. To pull those ingredients into the batter use a spatula to scrape around the edges of the bowl.
Add buttermilk and oil and mix those in and then add the dry ingredients you sifted. Mix on the lowest speed until you don’t see any flour in the batter. The batter will be smooth and golden and quite thick:
How to fill a mini bundt cake pan
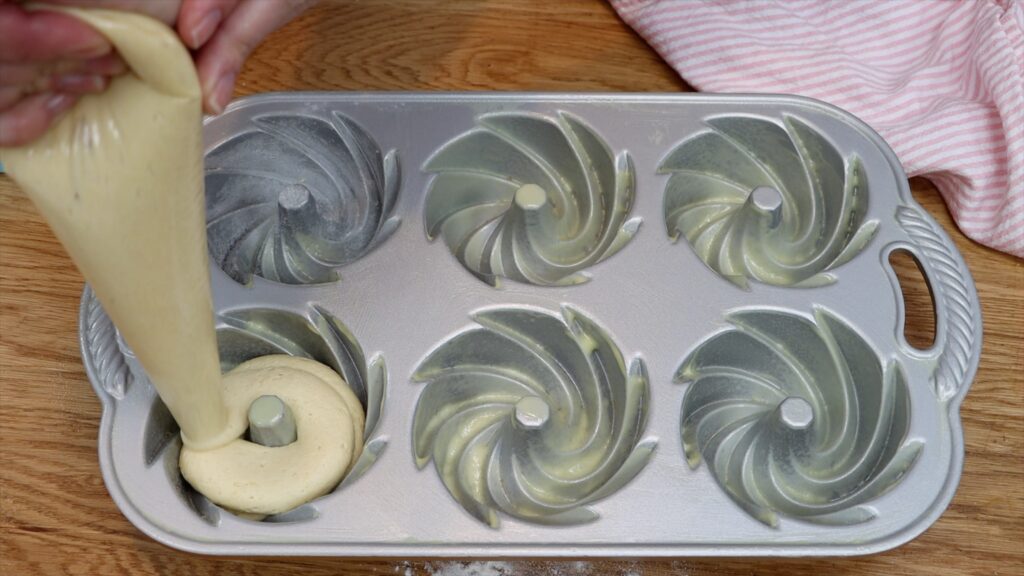
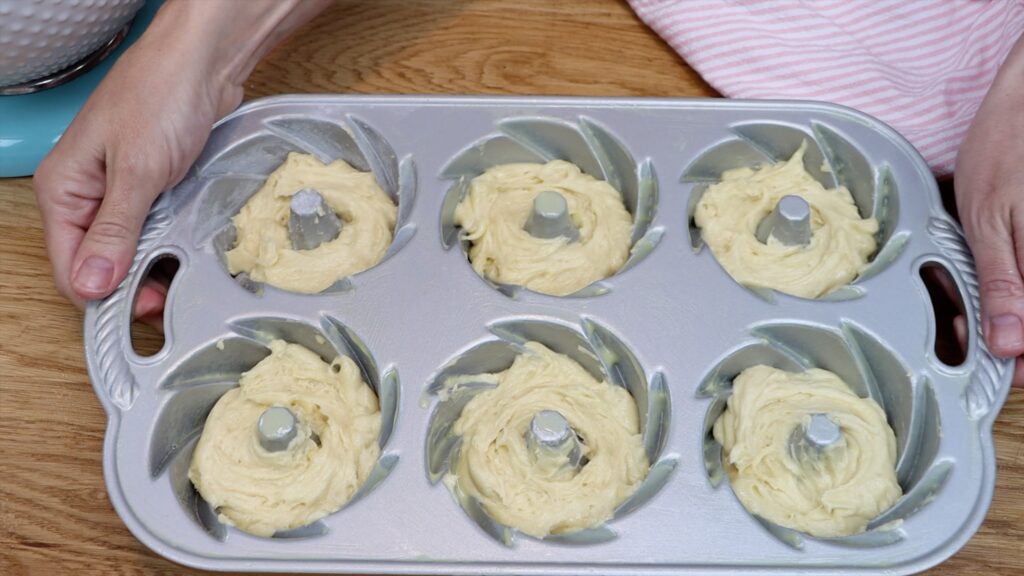
It's important to grease mini bundt cake pans to make sure the cakes don't stick. Rub each ring or cavity with the wrapper from your butter or spray the pan with a non-stick spray. I like to use a tiny but of flour to make the pan extra non-stick. This ensures that every part of the pattern comes out neatly when you turn the mini bundt cakes out. If you have it, a non-stick baking spray with flour in it is of course a much quicker option!
I like to use a piping bag to pipe the batter in to the pan. An ice cream scoop is another good option for getting the batter into the pan neatly. After dividing the batter between six mini bundt cakes it will seem like you don’t have enough batter. Only fill each ring or cavity half full because these cakes rise a lot during baking. Using this quantity of batter for six mini bundt cakes will create flat tops, which will eventually be flat bottoms! Use a toothpick or a spatula to jiggle and spread the batter so it’s level. Now let’s put these into the oven.
How to bake mini bundt cakes
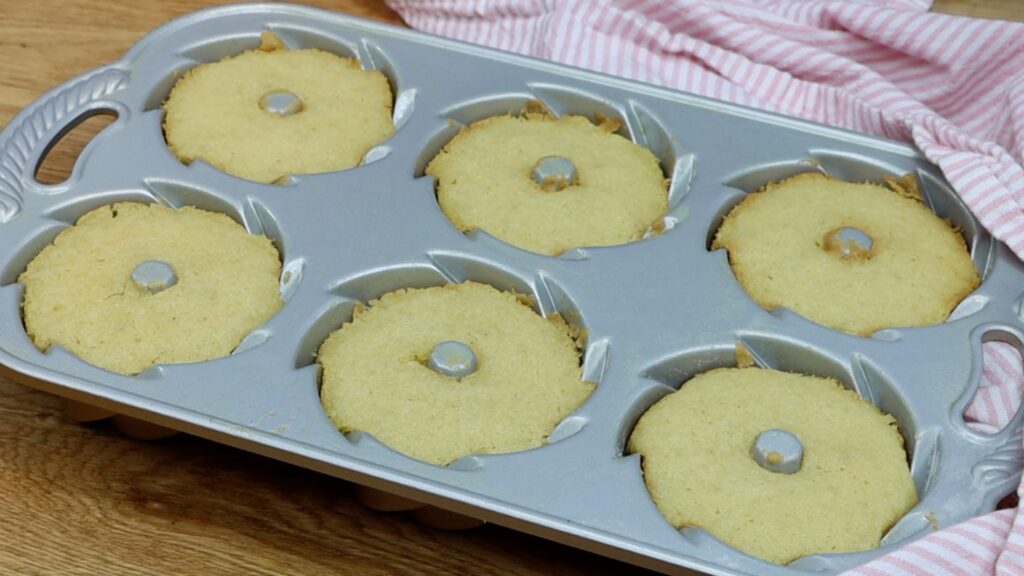
Bake these mini bundt cakes at 325F for 15 minutes. To test that they’re baked, press lightly on one and it should rise back up slowly. Your finger should leave a faint imprint in the batter, showing that they are very nearly baked. These will continue baking for a moment after taking them out of the oven since the pan is so hot. If you bake them until the cakes spring back up, they’ll be overbaked and dry.
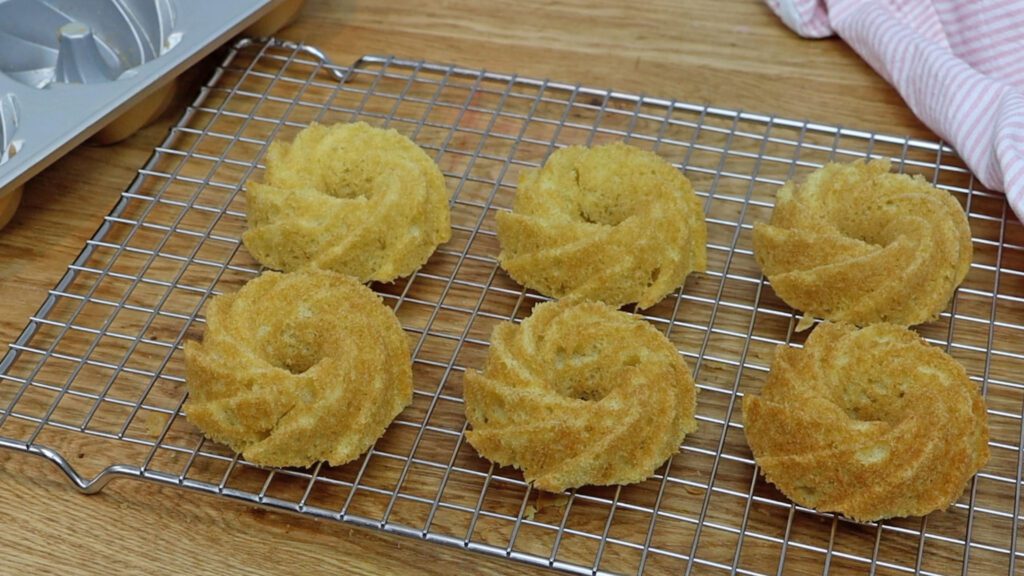
Wait five minutes for the mini bundt cakes to cool slightly, which makes the cakes less delicate. Then turn the pan upside down onto a wire rack. Holding onto the pan and the rack, tap a few times on the counter so that the mini bundt cakes come out. Look at these beauties!
Leave them to cool completely and while you’re waiting, make the topping.
Toppings for vanilla mini bundt cakes
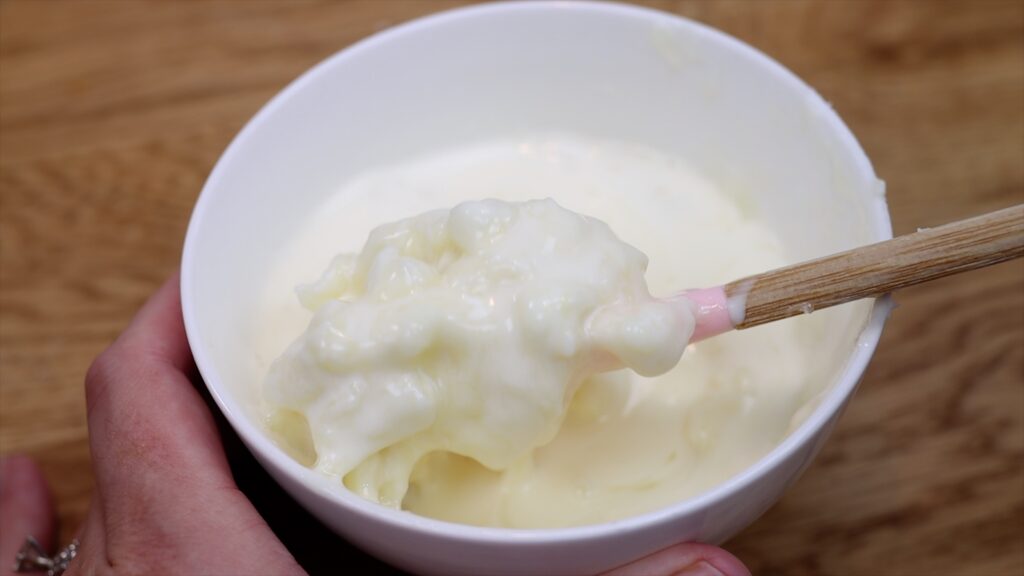
My favourite topping for these vanilla mini bundt cakes is white chocolate ganache. It's really easy to make with just two ingredients! It's also very versatile, meaning that you can add endless ingredients to flavour it.
The first ingredient is cream, which needs to have a fat content of at least 35%. In the UK this is called double cream and in the US it's called heavy cream or heavy whipping cream. Heat the cream in the microwave for 20 seconds until there are bubbles around the edges of the bowl. Add white chocolate chips or a bar of white chocolate chopped into pieces. Push the chocolate under the cream to cover it and leave it for five minutes. The cream will gently melt the chocolate while it sits. Stir it until it's smooth, which will take about a minute. You can put the bowl back into the microwave for 10 seconds if there are still lumps.
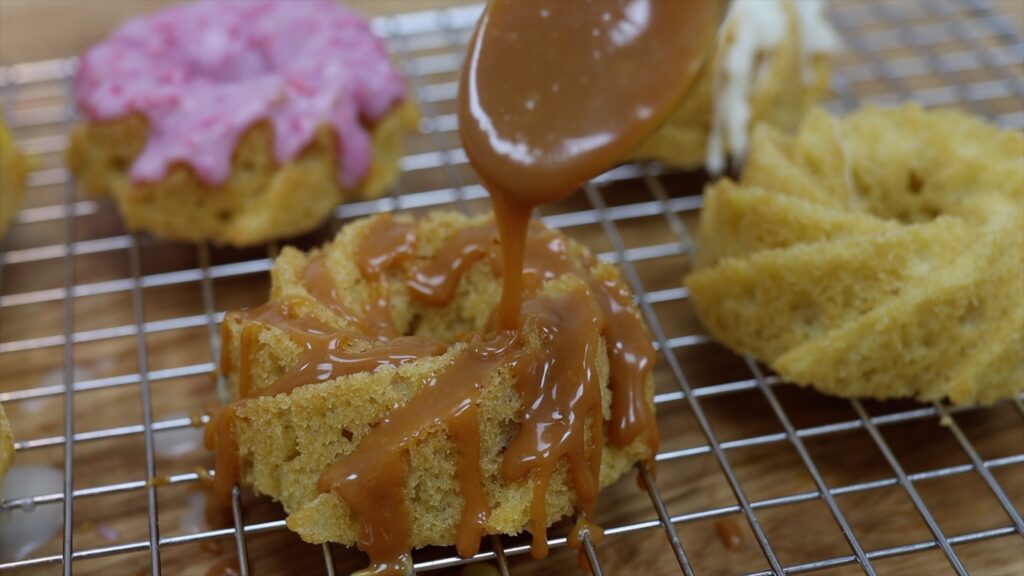
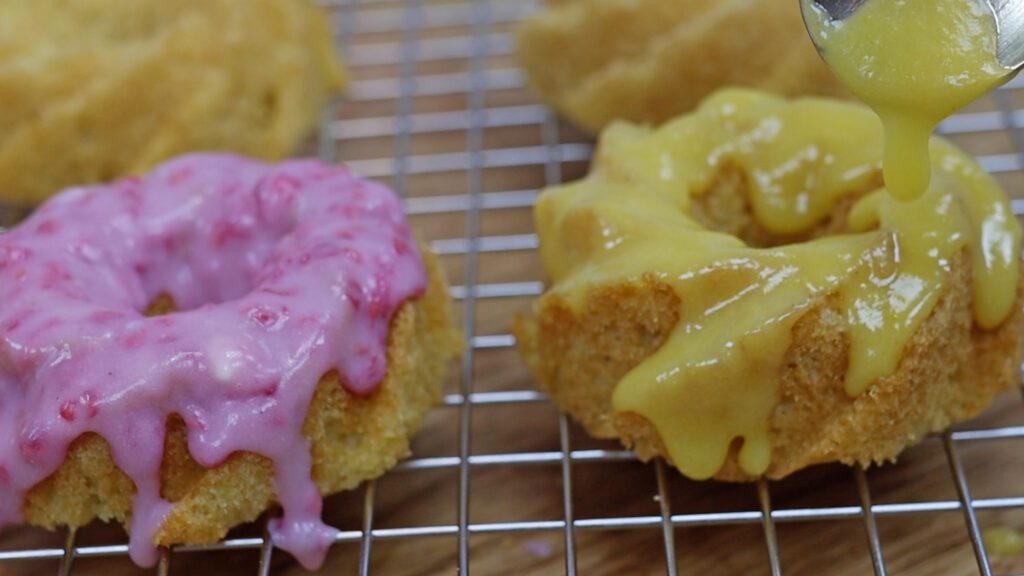
You can add all sorts of ingredients to this to change the flavour of this ganache. For fruity toppings, mash raspberries or blend mango and stir that into the ganache. Or add dulce de leche or caramel, Nutella, jam or lemon curd.
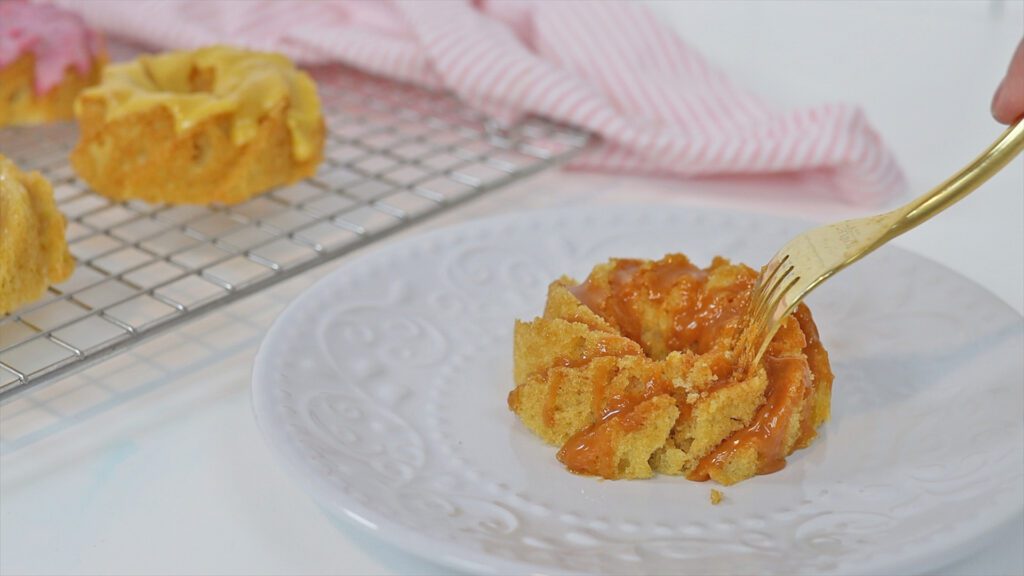
Use a spoon to scoop up some ganache and drizzle it over the mini bundt cakes after they cool. You might notice that it varies from a thick drip to being almost invisible. This is because of temperature. If you wait for the ganache to cool to room temperature, it will have thickened a lot. It will form a defined drizzle or drips on the mini bundt cakes. If you spoon the ganache over a cake while it’s still warm, it’s much thinner and runnier. A lot of it will absorb into the cake, which still adds flavour but after it cools it will look like a glaze instead, shiny but with less noticeable drips.
How to store and serve mini bundt cakes
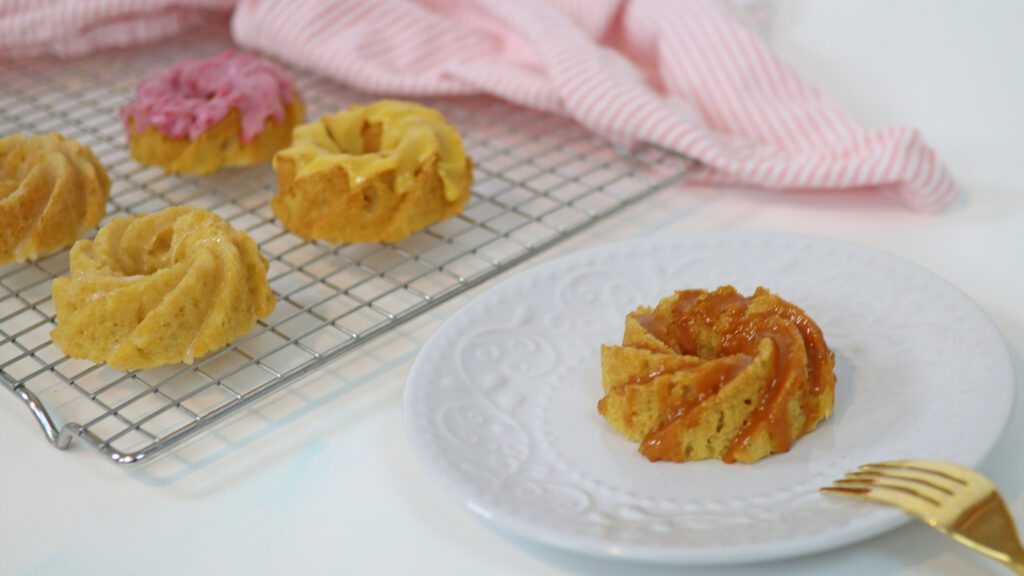
Now for the most important part: the taste test!
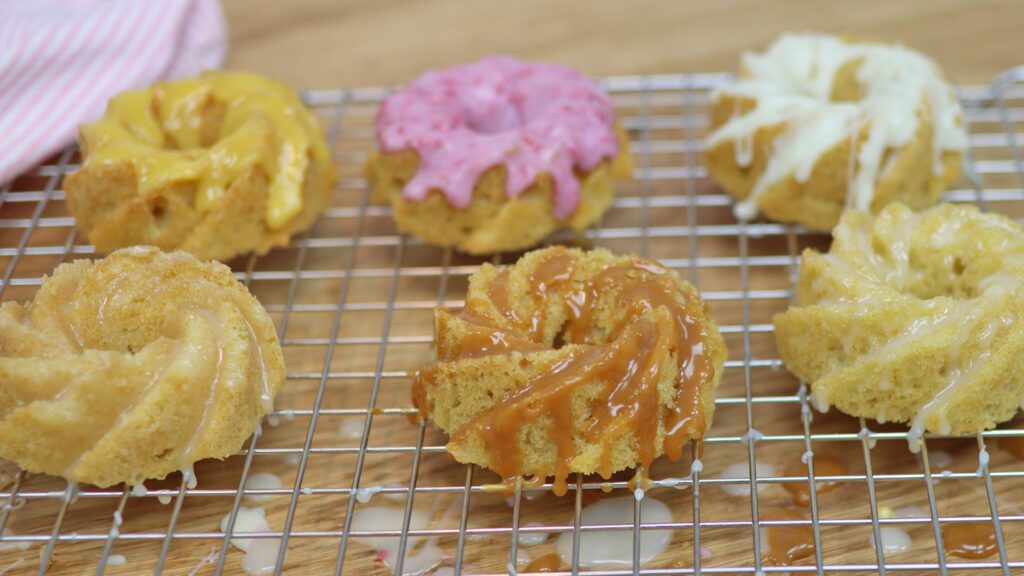
These vanilla mini bundt cakes are soft and light and moist and rich and buttery. They're everything you’d want in a vanilla cake! The ganache topping is rich and delicious on its own but also makes it easy to add different flavours with very little effort. You can flavour the entire batch of ganache or divide it between bowls and add different ingredients to each bowl, like I did.
These vanilla mini bundt cakes taste best on the day they're baked. If you want to make them in advance, store them in an airtight container at room temperature or in the fridge for up to 3 days. If you refrigerate them, take them out at least an hour before serving so that they come to room temperature.
Tell me in the comments if you’re going to make these and please leave a review when you do!
These vanilla mini bundt cakes are soft and moist and rich and buttery and everything you’d want in a vanilla cake! The ganache topping makes it easy to top them with lots of different flavours.
Ingredients
UnitsScale
For the vanilla mini bundt cakes:
1/4cupunsalted butter
1/3cupwhite sugar
1 egg
1/2 teaspoon vanilla extract
2 tablespoons buttermilk
1/2 tablespoon vegetable oil
1/2cup and 2tablespoonsplain flour (all-purpose flour)
1/2 teaspoon baking powder
1/4 teaspoon baking soda
1/8 teaspoon salt
For the ganache topping:
1/4cupheavy whipping cream or double cream
3/4cupwhite chocolate chips
Optional: 1/4cup of any other ingredient to flavour the ganache
Instructions
Using a mixer with a beater/paddle attachment, beat room temperature butter and sugar on medium speed until pale and creamy, about 5 minutes. Scrape down to the bottom of the bowl a few times to make sure no butter or sugar is stuck at the bottom.
Add the vanilla and egg, mixing on the lowest speed to combine.
Add buttermilk and oil and mix on lowest speed until incorporated.
In a bowl, sift flour, baking soda, baking powder and salt. Add the flour mixture to the mixing bowl and mix on lowest speed to incorporate, scraping down to the bottom of the mixing bowl to check that batter is evenly mixed.
Grease a mini bundt cake pan with non-stick oil spray or butter. Divide batter equally between the cake pans using a ice cream scoop or piping bag.
Bake at 160ºC or 325ºF for 15 minutes, or until your finger leaves a light imprint when you poke a cake and the cake rises back up slowly.
Leave mini bundt cakes to cool in the pans for 5 minutes before turning onto a wire cooling rack. Leave to cool completely.
To make the ganache topping, heat the cream in a bowl in the microwave for 20 seconds until bubbles form around the edges of the bowl. Add chocolate chips and leave for 5 minutes. Stir until smooth and leave to cool to room temperature.
Use a spoon to drizzle the ganache over cooled mini bundt cakes. You can flavour the ganache by mixing in up to 1/4 cup of another ingredient like mashed raspberries, blended mango, dulce de leche or caramel.
Notes
You can use salted instead of unsalted butter but if you do, omit the salt.
These mini bundt cakes taste best on the same day they're baked but you can store them in an airtight container at room temperature for 3 days.
I'm so glad you're signing up for my newsletter! You're sure to find loads of caking inspiration and learn from the tips and tricks I've discovered throughout my career!
Want to learn more?
Get immediate access to my FREE course on 10 Frosting Techniques and my newsletter with loads of caking inspiration, tips and tricks!