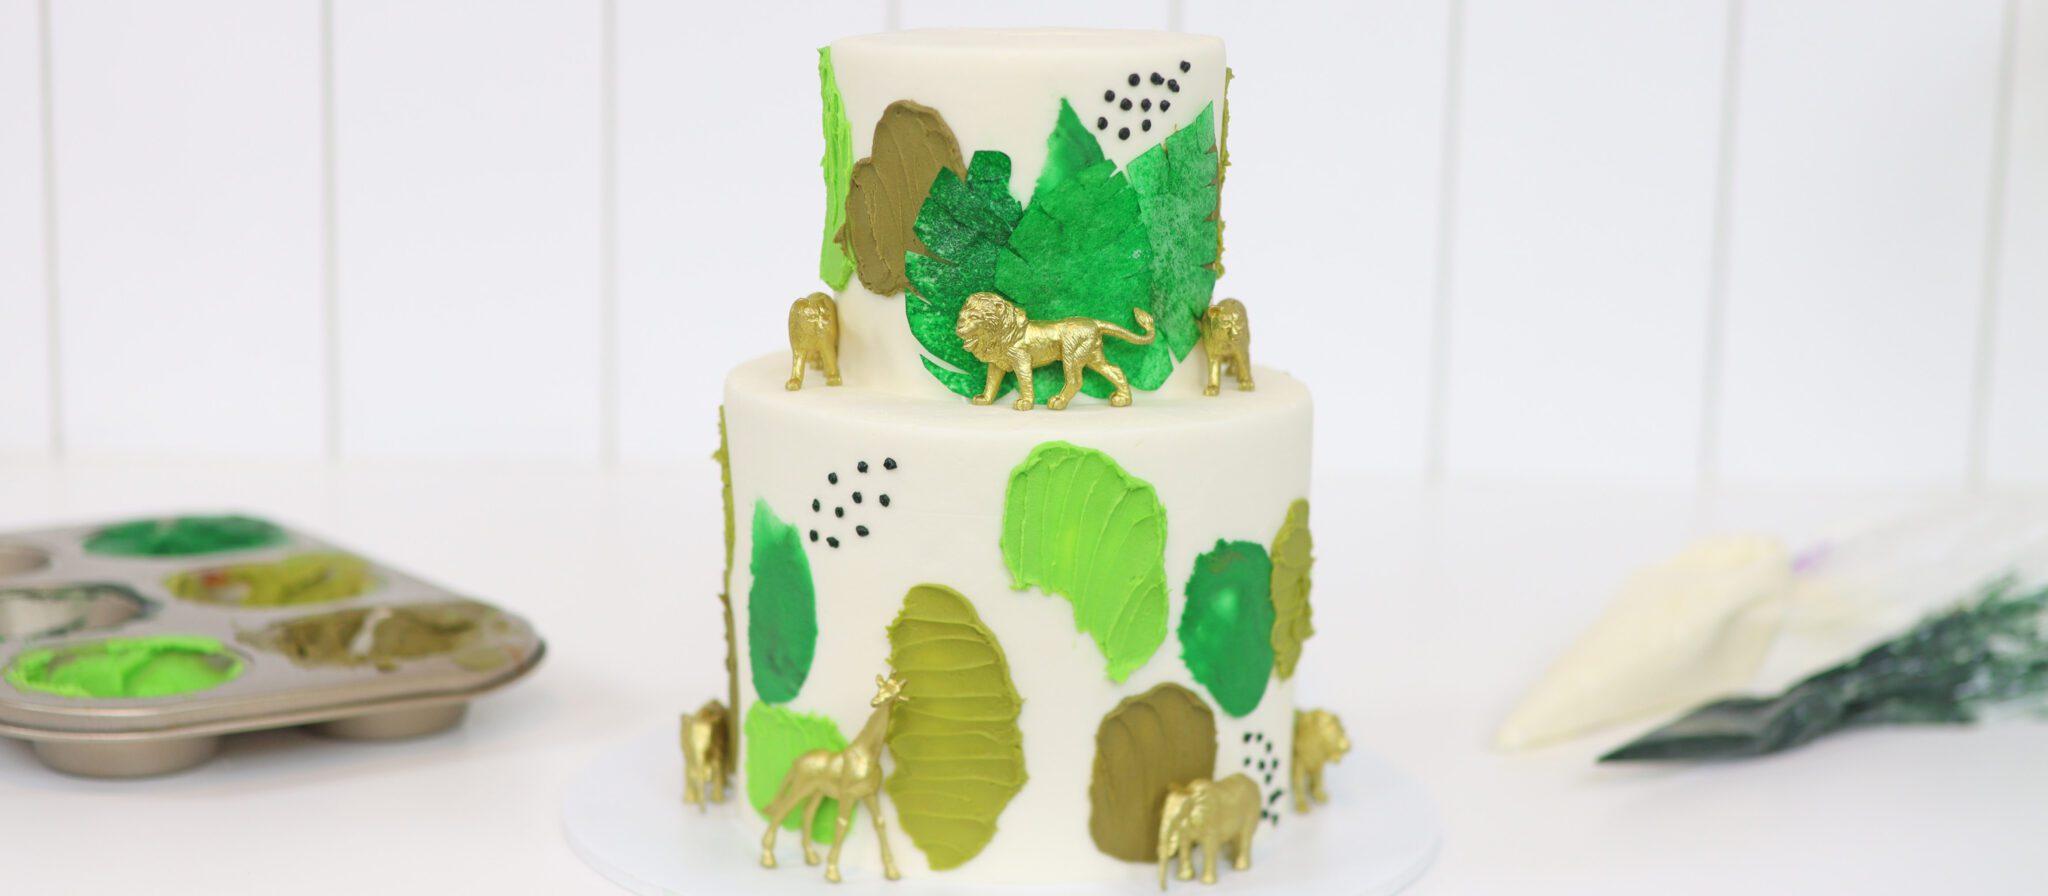
I'm going to show you how to make this fun and easy jungle themed cake, perfect for a Wild One cake or for a Two Wild birthday party.
Start with a cake board or a cake drum at least two inches wider than your cake. Attach your first layer with a dot of buttercream and then alternate cake and filling to build your first cake. Now cover it with a crumb coat. This is a very thin layer of frosting to trap any crumbs that come off the cake. It's going to be covered up so it doesn't need to be really neat. I'm using my Perfect Chocolate Cake and my 4 Minute Buttercream to fill, frost, and decorating this Wild One cake. Put the cake in the fridge to chill this for about 30 minutes.
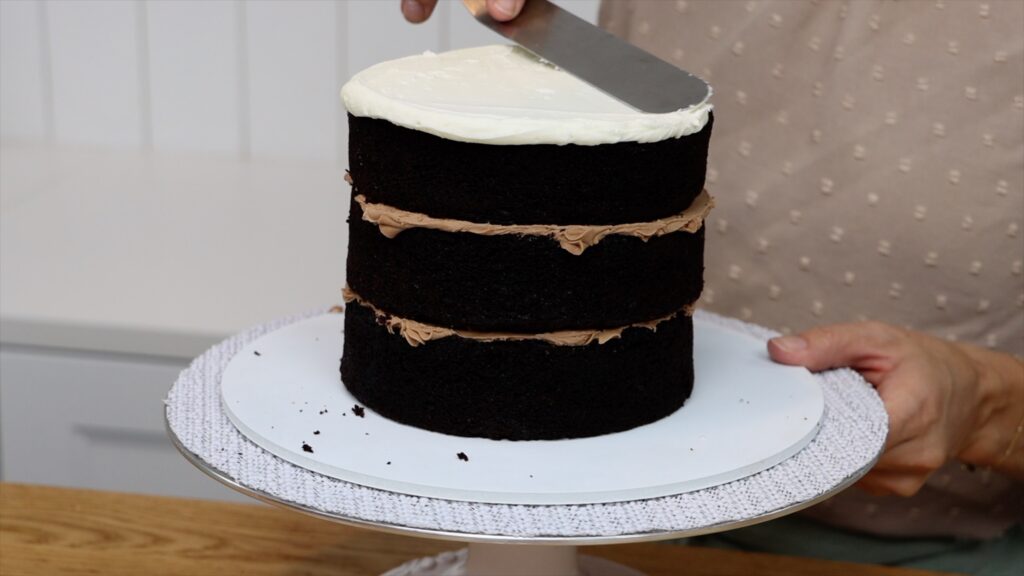
You can use this design for a single Wild One cake or a tier cake. For a tier cake, assemble the smaller cake next, which will eventually go on top of the previous cake. For this cake you'll need a large cake board and also a cake board the same size as the cake.
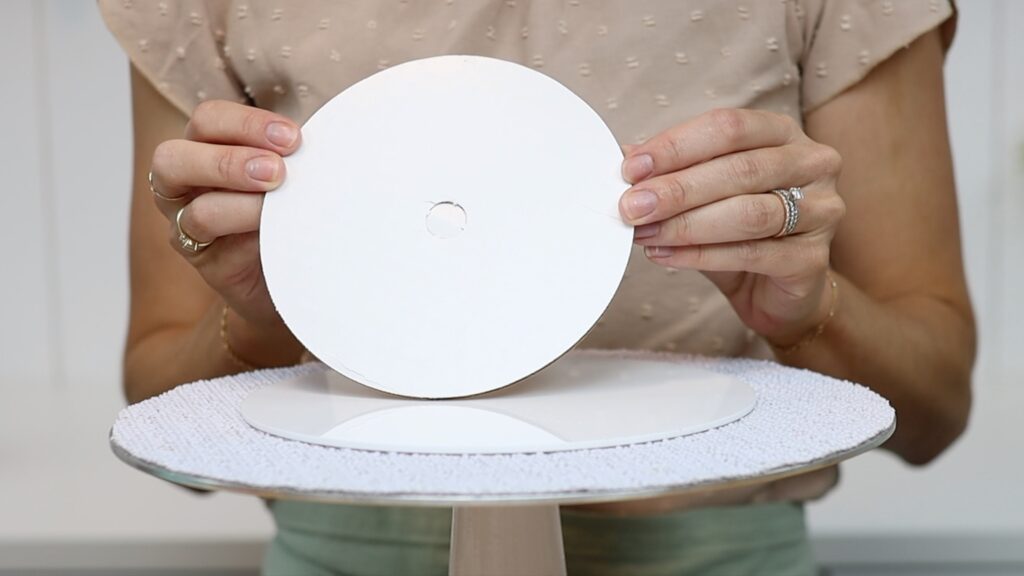
Use a roll of masking tape or a non-slip mat to attach the two cake boards together on your
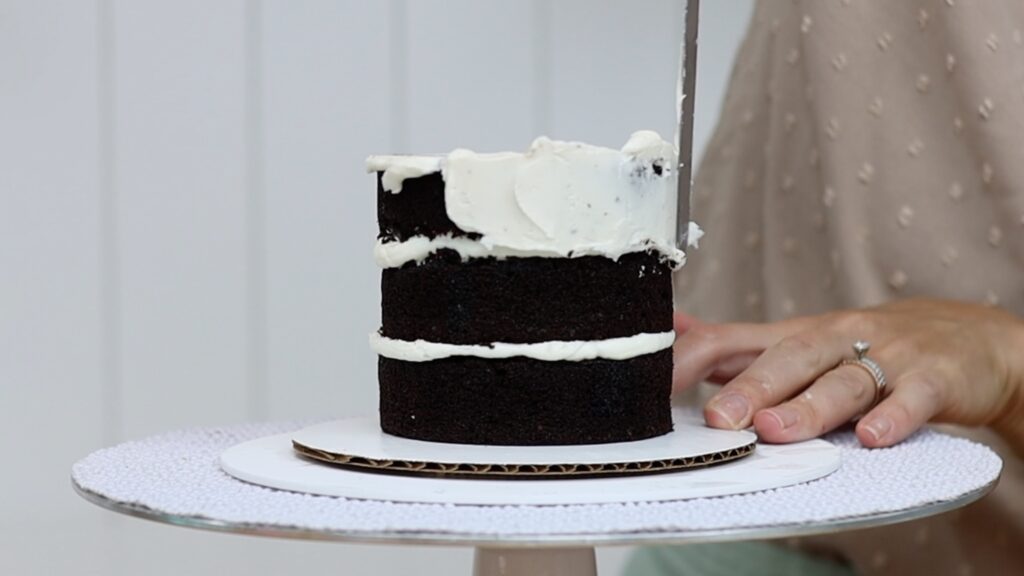
If you don't have a cake board as small as this cake (which I don't!) you can trim the cake board. It's best to trim the cake board after you've crumb coated the cake and after chilling it so that the frosting on the cake is firm and even if you touch it you won't damage it.
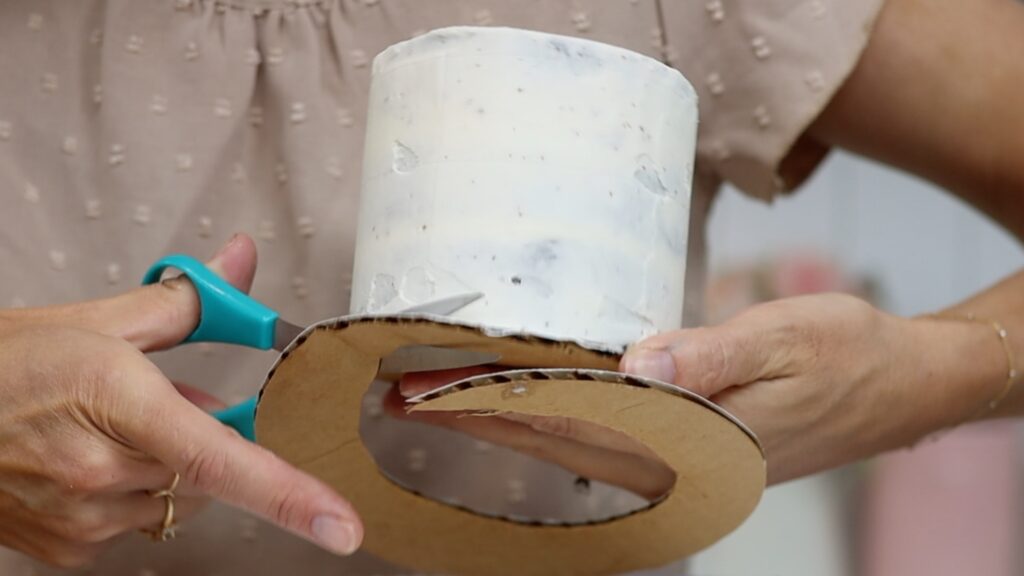
Now attach the cake on its little cake board to the big cake board. You can use your non-slip mat or if you find that the cake is wobbling around, use a dot of buttercream instead. The reason for the big cake board is to provide a smooth surface to rest your cake comb on and so that you don't get frosting on your
After crumb coating both of your cakes you'll need to give them a final coat of frosting. The crumb coat needs to set first, which takes about 30 minutes in the fridge. Once set, it traps the crumbs so that they don't get into this final coat of frosting.
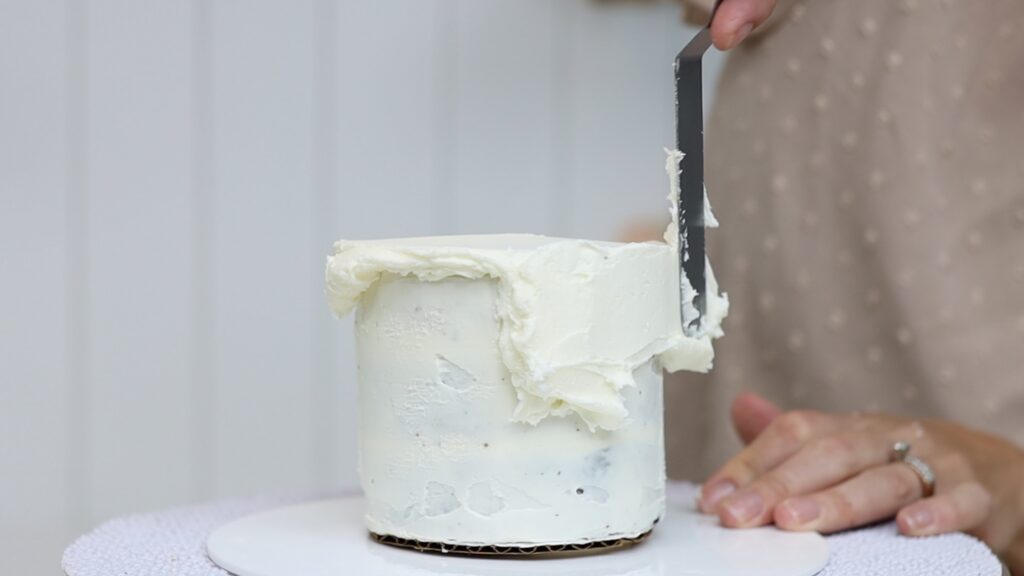
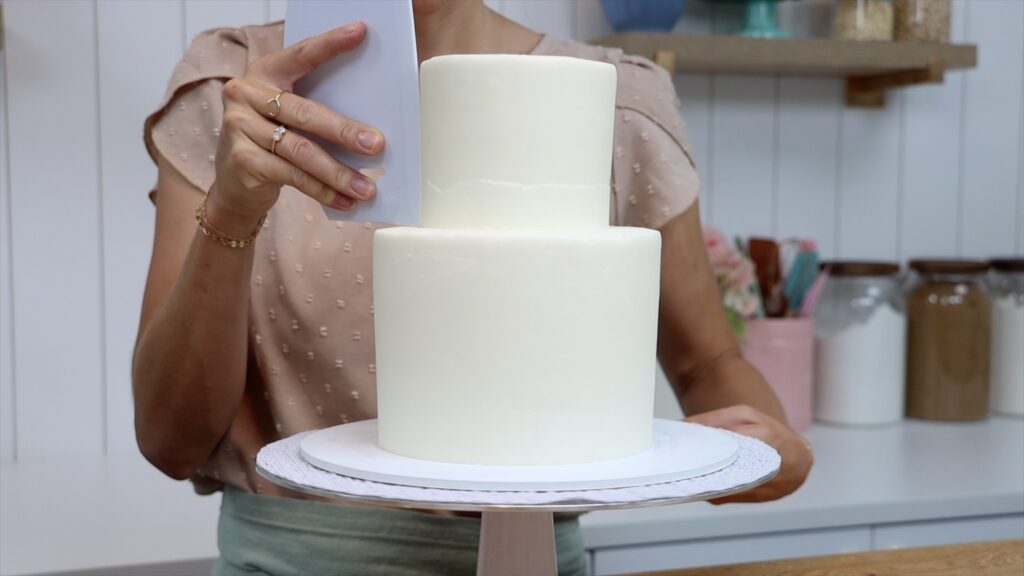
You're going to cover this cake with Wild One cake decorations but the design will look best if the cake is neatly frosted, first. Get the frosting as smooth as possible with the sharpest edge around the top of the cake to create a neat shape.
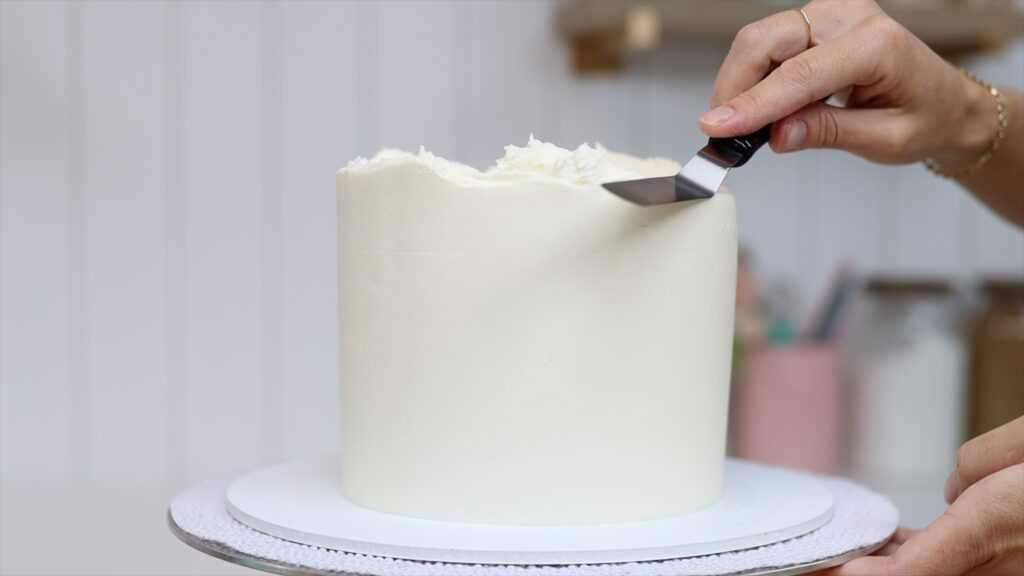
Then put the frosted cakes in the fridge for at least an hour to chill and firm up.
Meanwhile, prepare your decorations. To make leaves you'll need wafer paper, which you can cut using scissors into whatever jungly type leaves you like. A quick note about wafer paper: you'll see that there are two different sides with different textures and it's fine to colour the leaves on either of those sides.
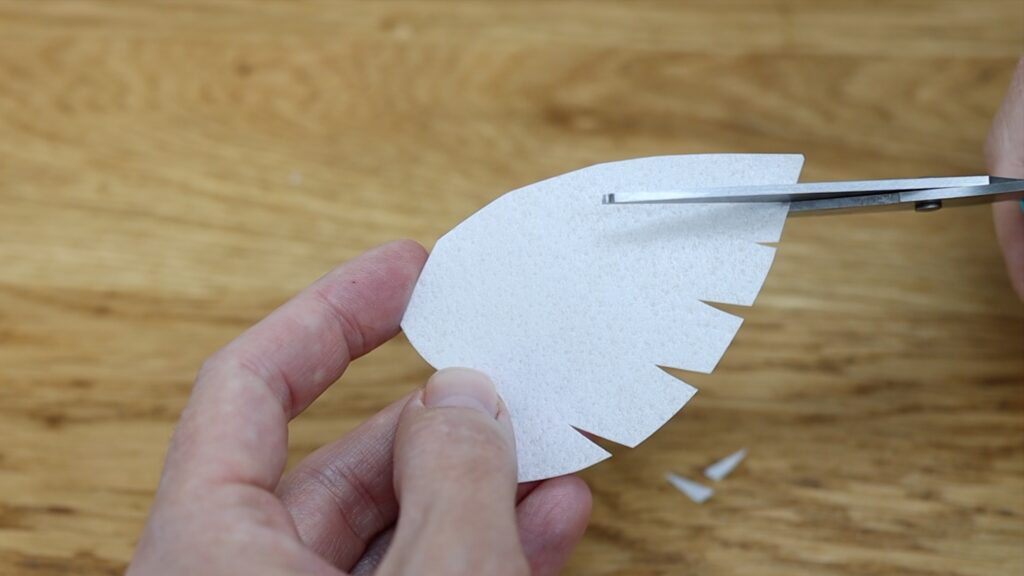
I'm going to show you different ways to colour these and tell you which way I think is best.
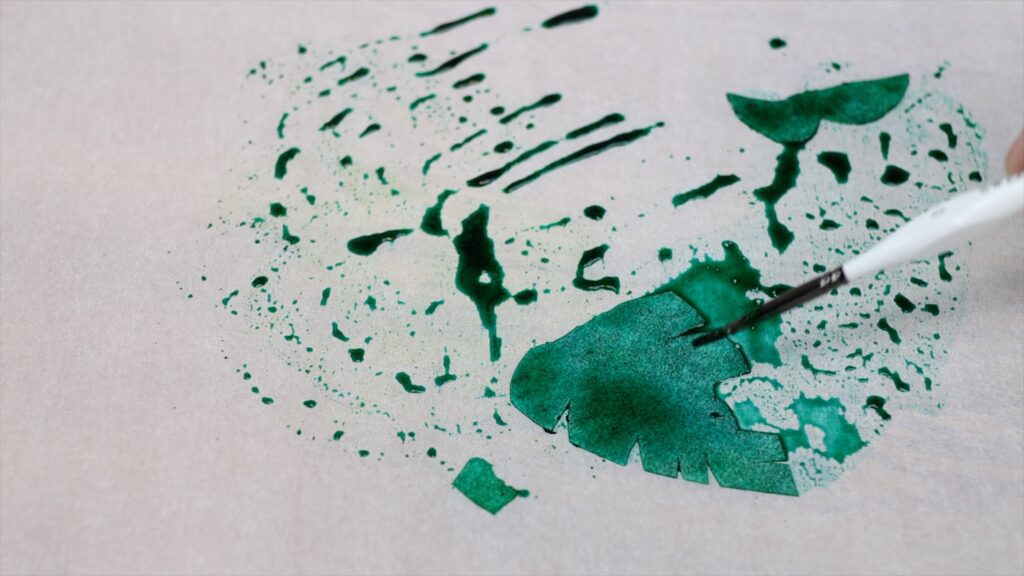
The cheapest option is to use gel food colouring that you would use to tint your buttercream. Mix it with a little bit of water or alcohol like vodka to thin it out. It's better to use alcohol than water because it evaporates more quickly so it won't soak the wafer paper. The gel doesn't dissolve very well so you'll have some clumps of colouring within the liquid. The downside to using this method is that the colours aren't as true and the wafer paper is the most likely to snap in the process. When it dries it's a little bit flexible but again is likely to snap if you try to shape it.
Glycerin really helps for effective colouring of wafer paper. You can buy it from cake shops in small bottles.
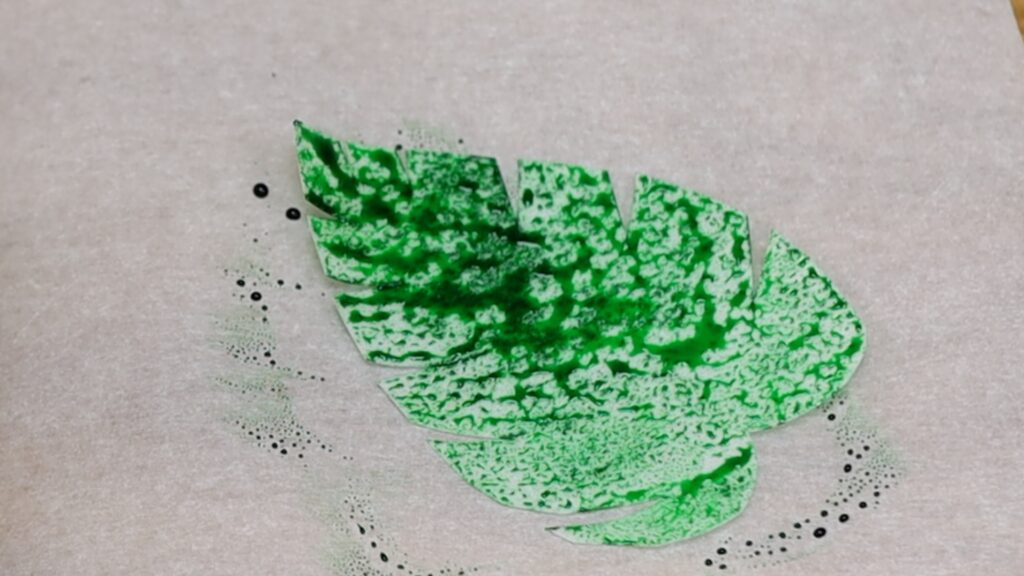
You'll see that when you add gel colour to it, it makes a much smoother liquid without any clumps. But if you spread it just like this onto your wafer paper it won't really absorb. It sits on the surface and you won't get even coverage on your wafer paper.
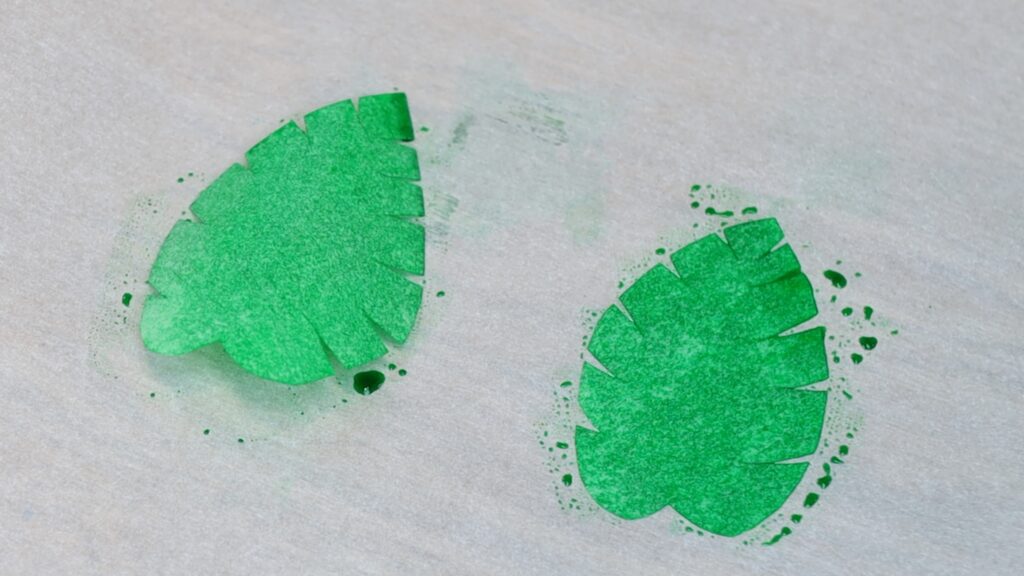
Instead of using it like this with just the glycerin and the food colour, add some clear alcohol or water. Then brush it onto your leaves and it will absorb much better. The combination of glycerin and colour and alcohol paints very evenly onto the leaves while also softening them at the same time. This makes them more flexible and less likely to break.
While the wafer paper leaves dry, stack your tier cake. Use an
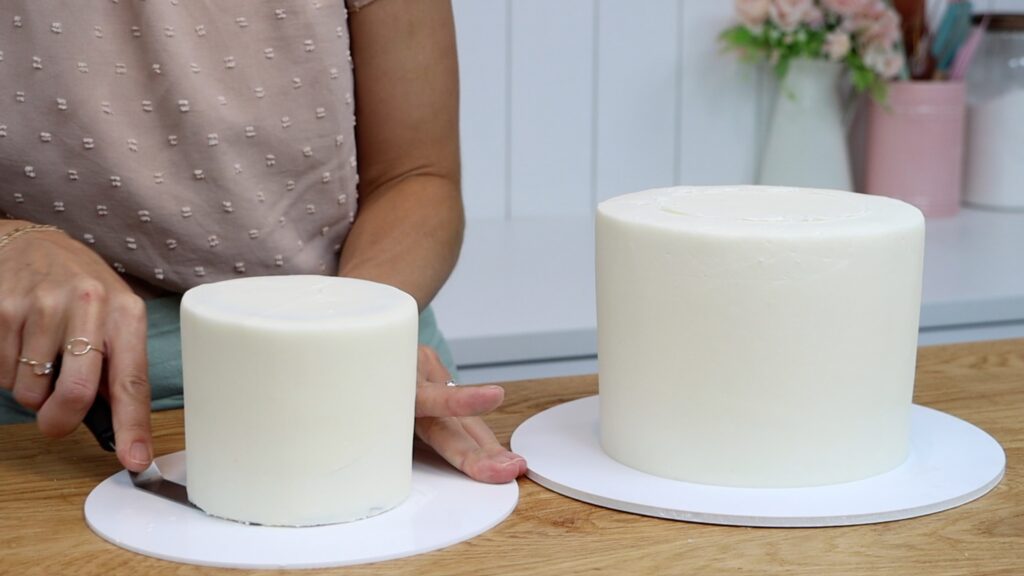
Lift it up and put it on the larger cake. Draw around it using an
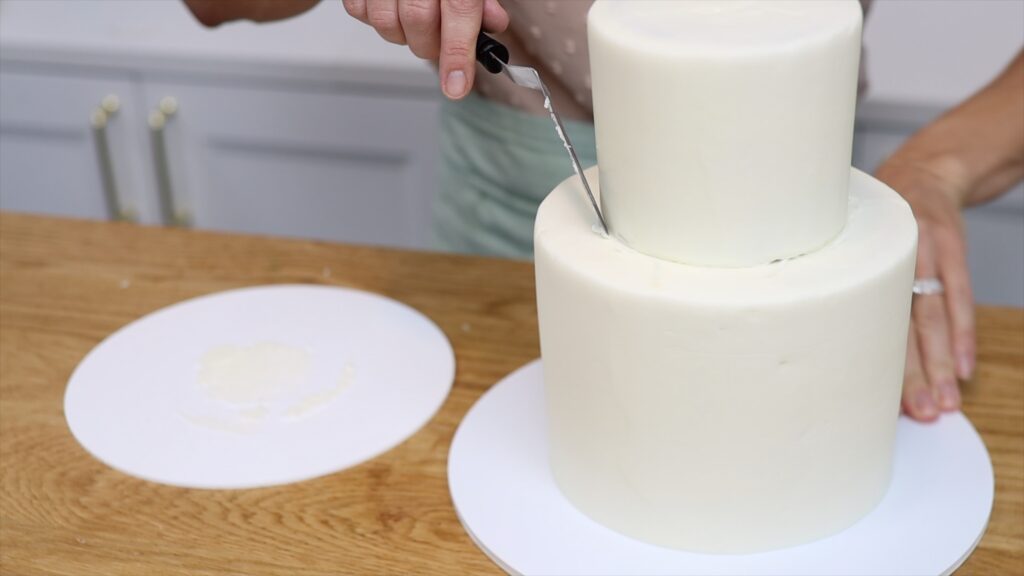
You can touch these cakes with your hands because they've been in the fridge so long that the frosting has become really firm and won't get damaged. Now you'll need some supports. I'm using boba straws which are thick, wide straws. You can use wooden dowels if you prefer. You'll need to push them in at least two inches within that line that you drew.
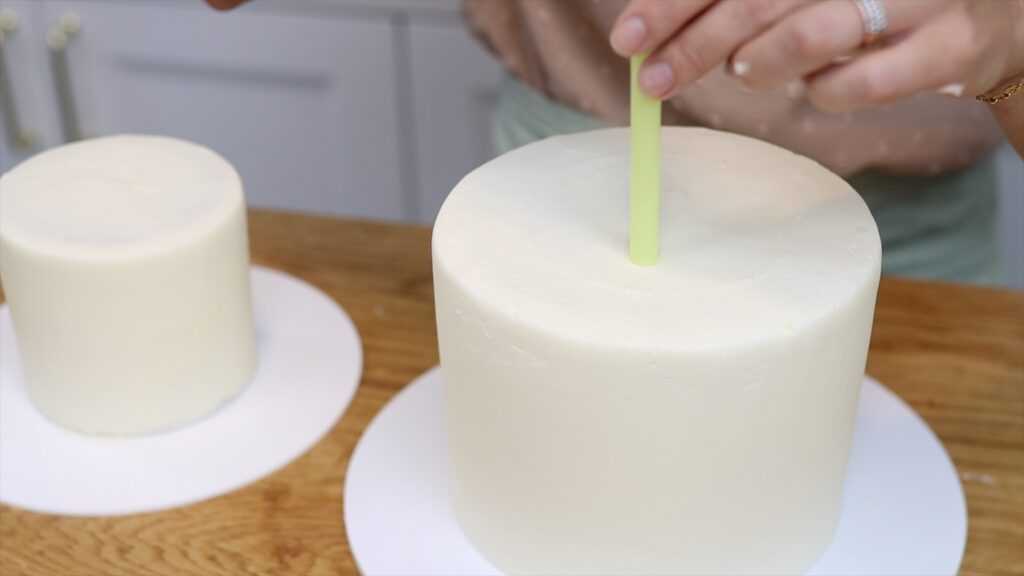
Push all the way until it hits the cake board, pinch it, and pull it out. Cut it at the point you pinched so it's the same height as the cake.
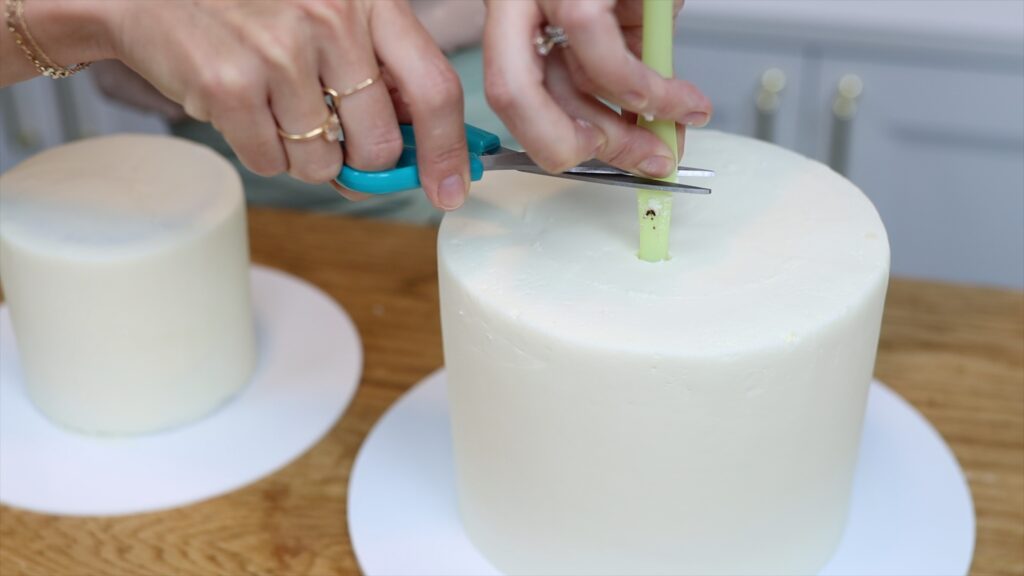
Then hold it up against your other straws to cut them all the same height.
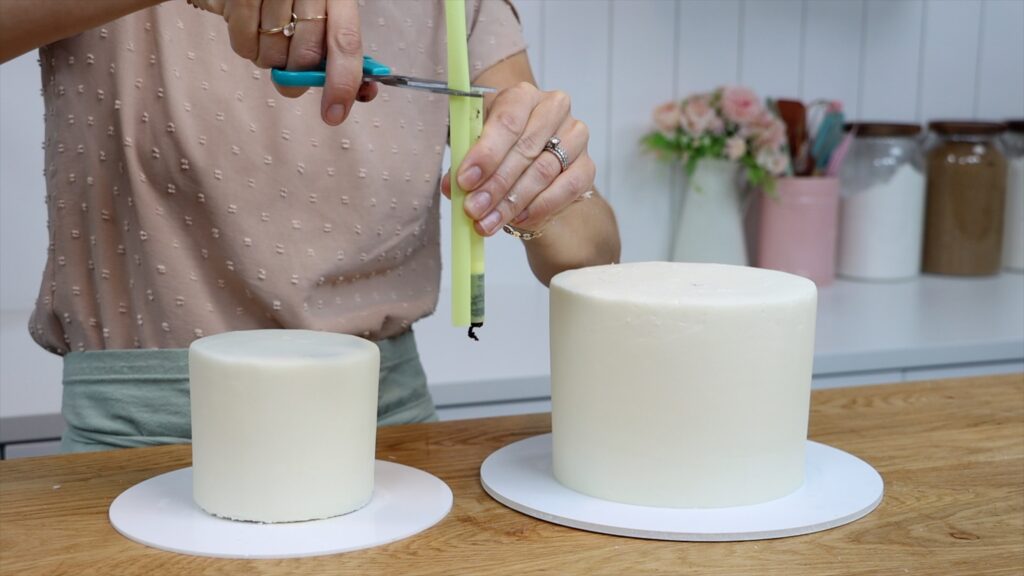
I only need three straws to support my tiny four inch cake going on top. If your cakes are larger you can use four or five or six straws. When you push them back into the cake, make sure they're all at least two inches apart from each other as well as two inches within the line you scored.
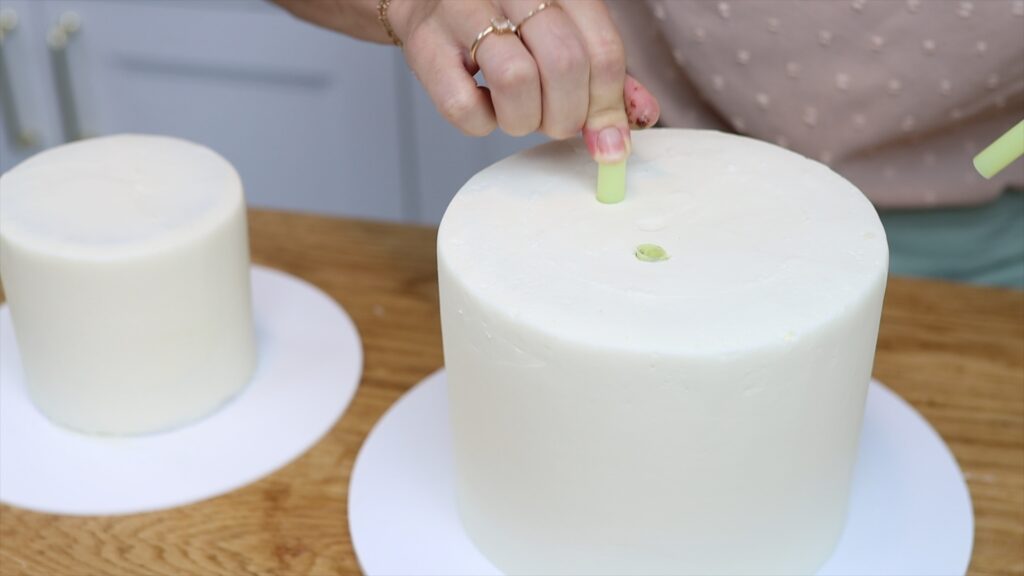
Spread some buttercream on top to cover up the straws and act as glue. Then lift up and lower your small cake on top to stack your tier cake.
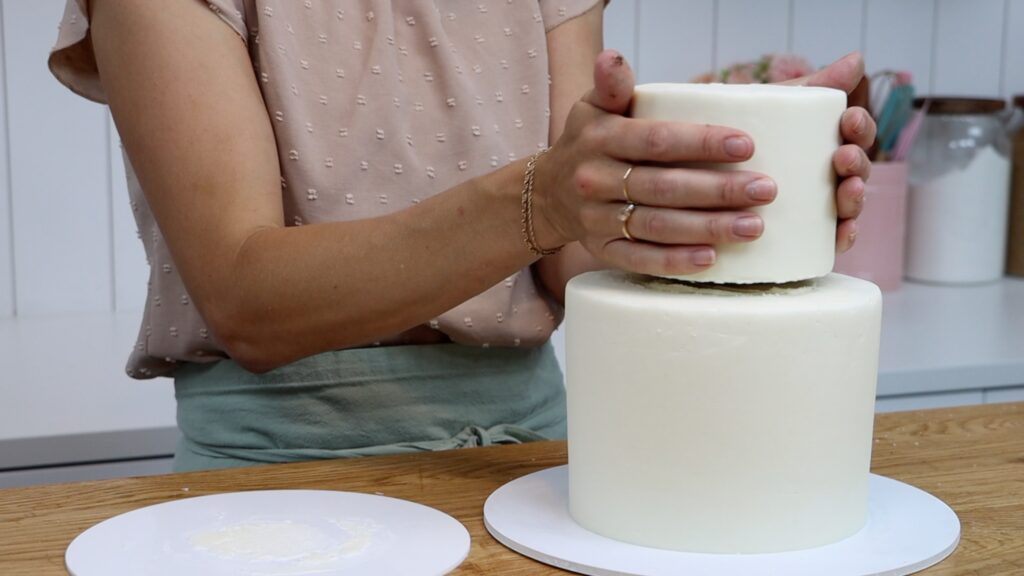
There will be a messy join where the top cake meets the bottom cake. That's very easy to cover up by piping buttercream all around the bottom of the top cake.
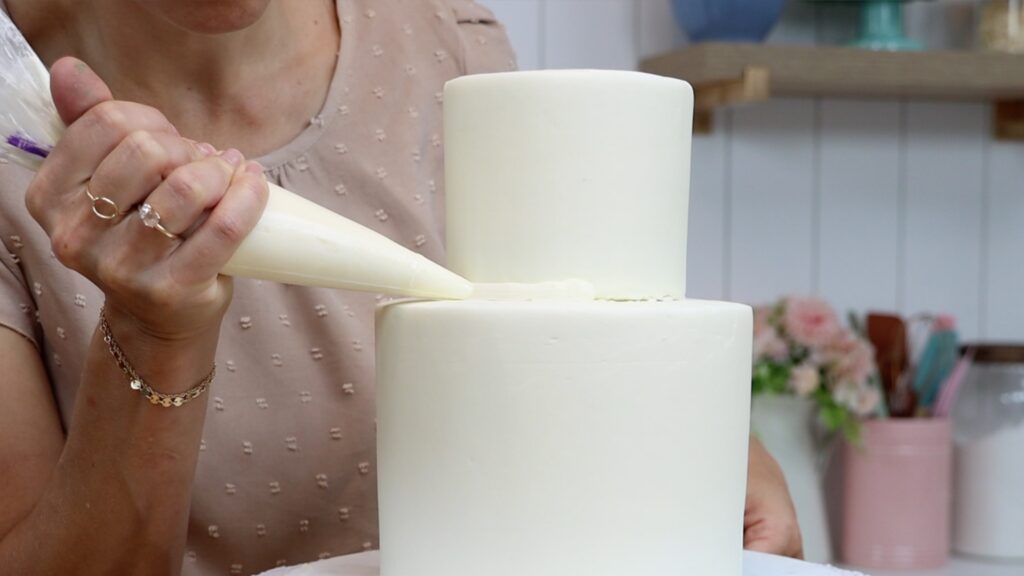
Use your
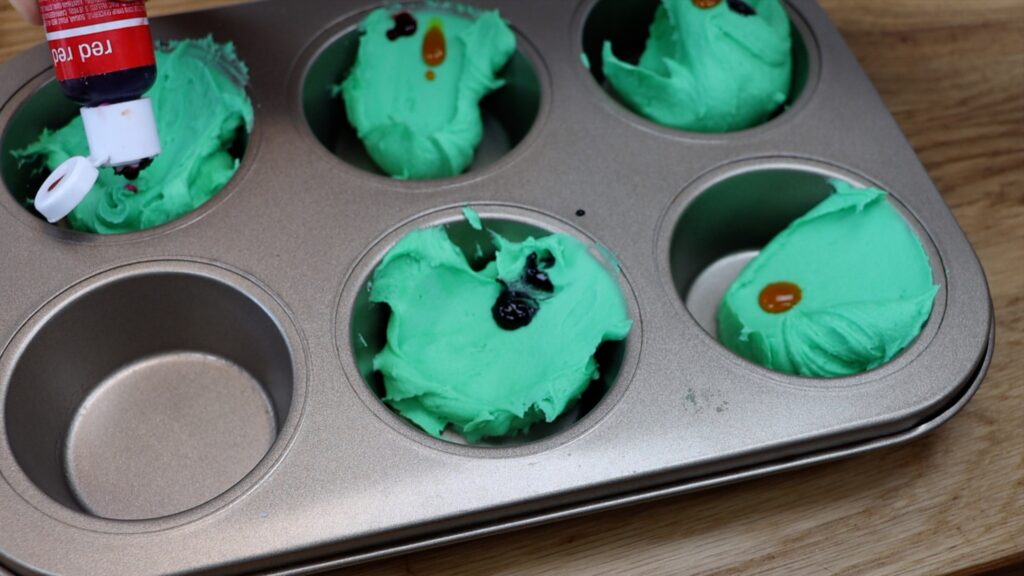
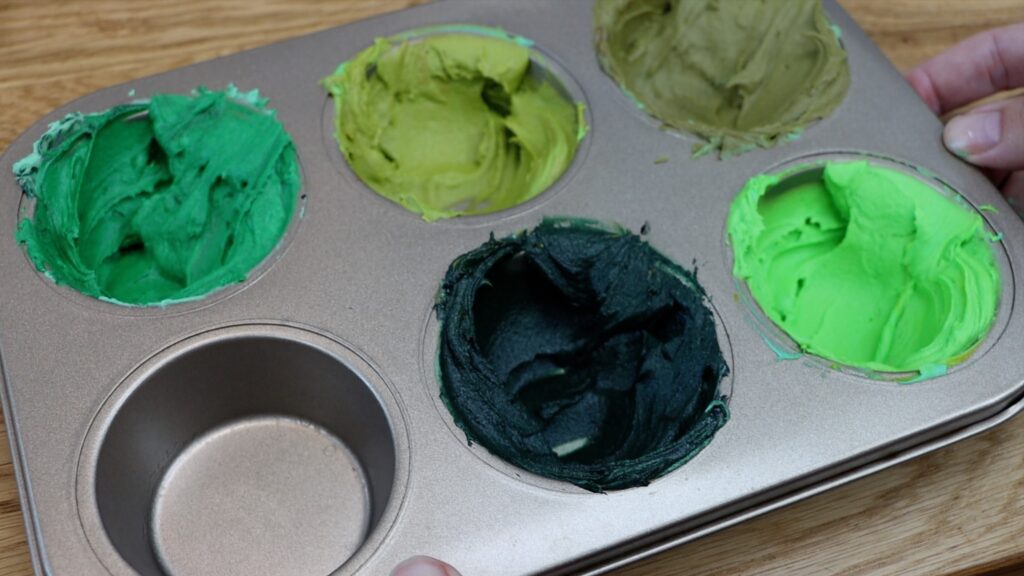
To decorate this cake you'll need several shades of green. The easiest way to do this is to mix one bowl of green frosting and then split it up into different holes of a cupcake pan. Now add different colours to each of the greens. Yellow makes green brighter whereas orange, brown or red will make it duller. Black makes it darker.
Now you'll have a jungly colour palette like this:
Choose one colour and spread blobs of it all around the cake. If you're making a tier cake, space the blobs randomly around the top and bottom tier.
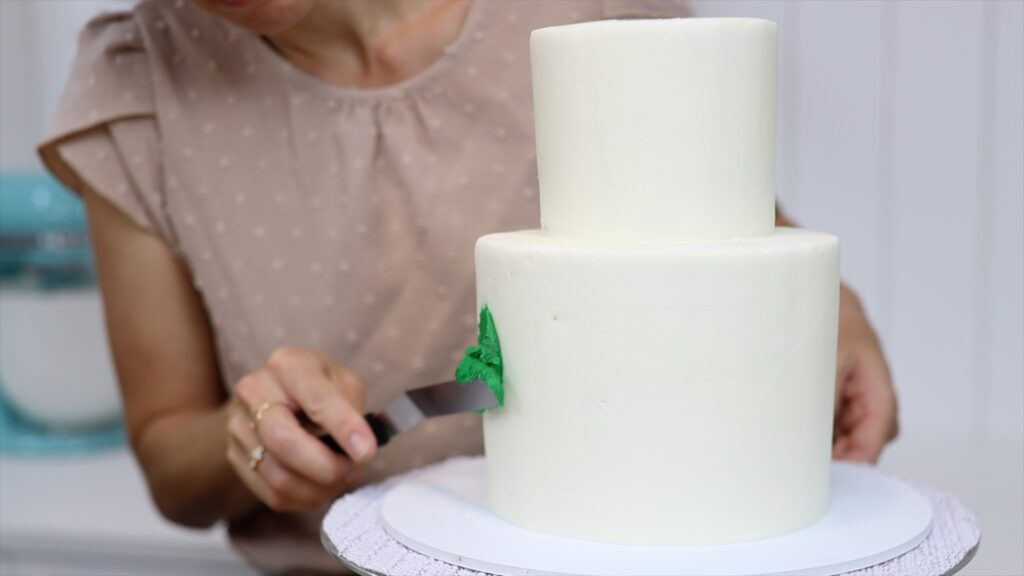
Then use a cake comb or an
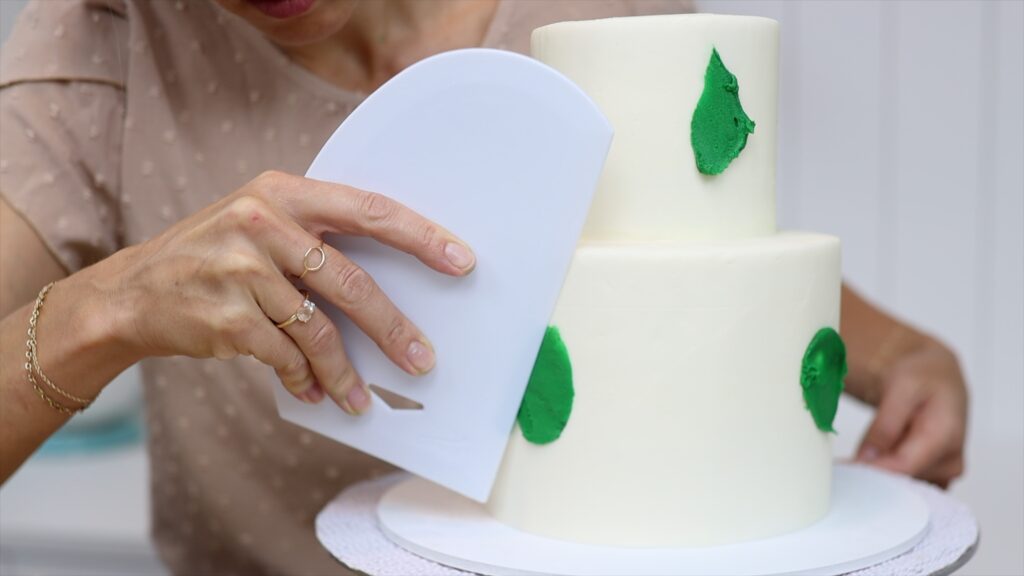
For textured patches, spread another color and then use your
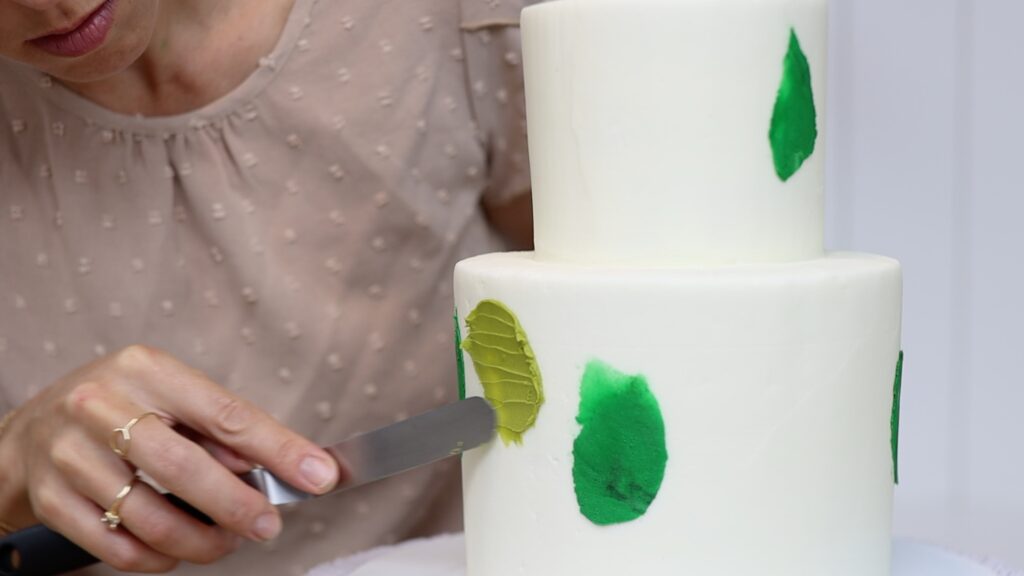
Pulling your
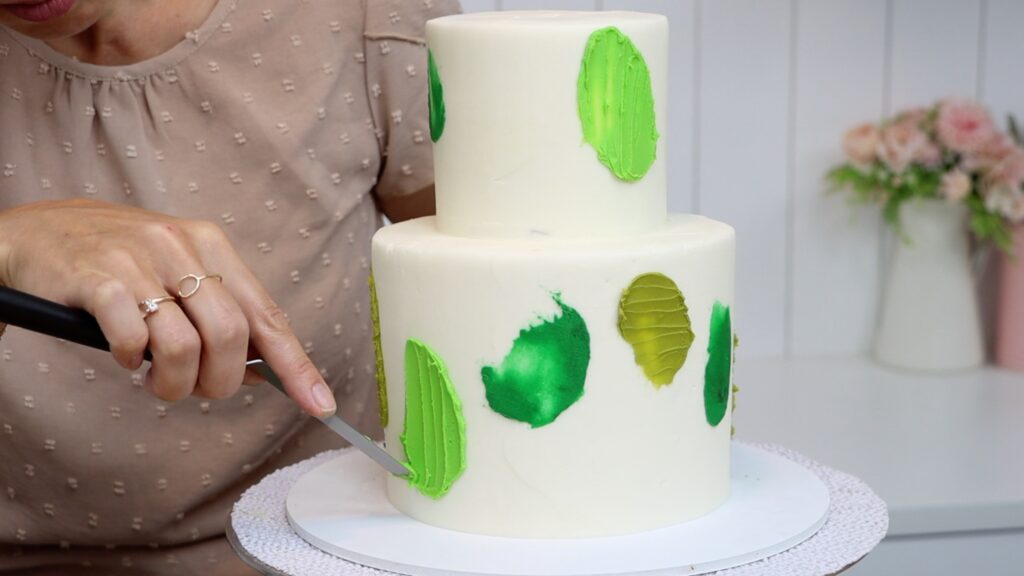
You can experiment with lots of ways to add texture. Wiggling the tip of your
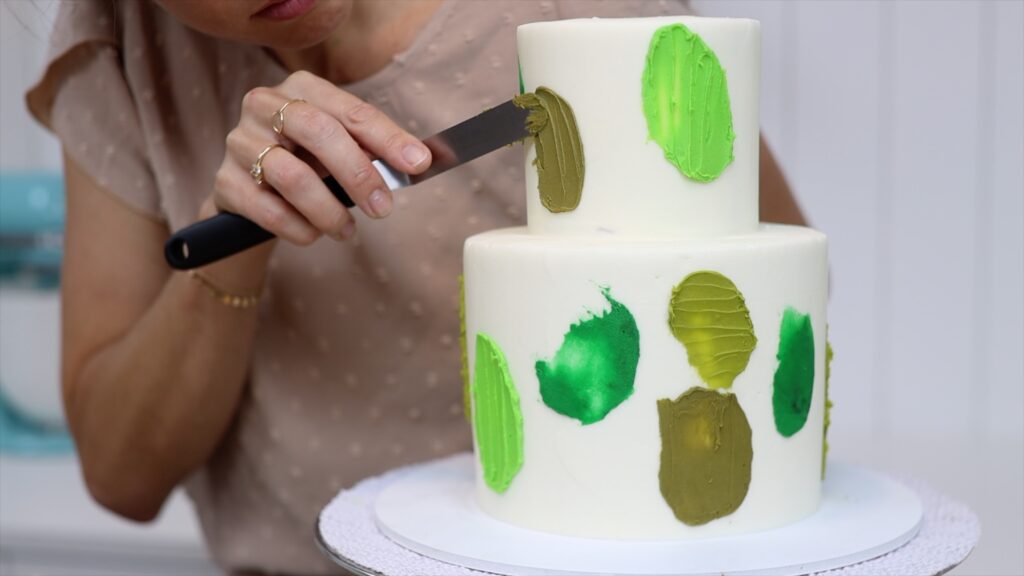
For little dots put your frosting in a piping bag with a tiny piece cut off the end. As you squeeze the bag to push the buttercream out, leave the tip of the piping bag within the dot that you're piping. This will help the buttercream spread out into a smooth round circle rather than leaving a big textured peak as you pull the bag away.
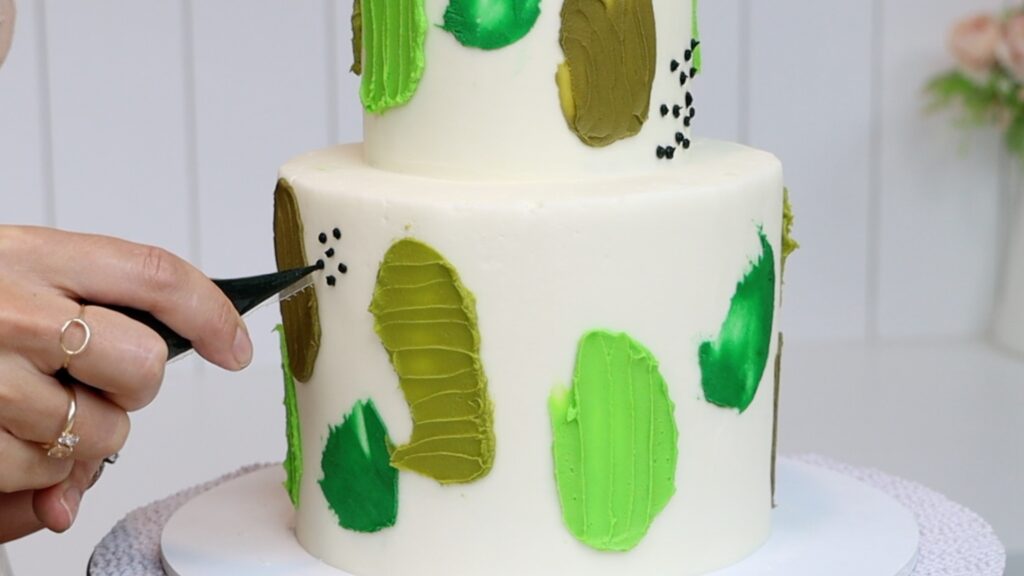
In just two or three minutes you can add lots of colour and texture to your cake with this technique.
By now your leaves will have dried. Leaves painted with just glycerin and colour will be very soft and sticky and difficult to handle. They will stick to your fingers instead of the cake. Leaves painted with glycerin, colour and alcohol are much easier to handle because they're flexible and not sticky . They will attach easily to the frosting on the cake if you push them gently.
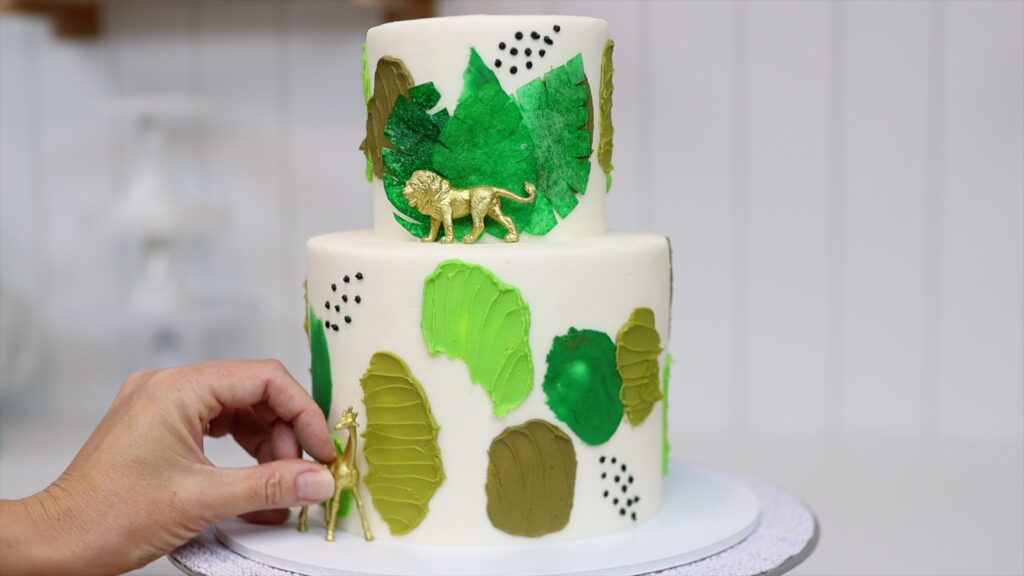
You could absolutely do the frosting details on this cake without the leaves and it would still give it a very jungly theme. I'm adding some gold animal figures as finishing touches, after washing and drying them. To attach them to the cake, push them gently into the frosting.
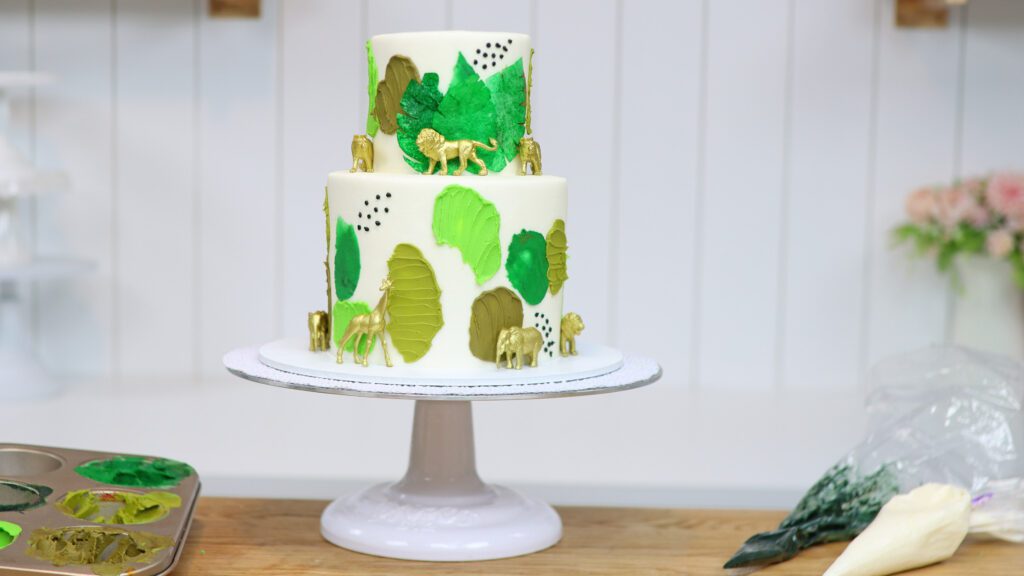
This jungle themed cake is perfect as a Wild One cake or a Two Wild cake, or for a baby shower. It has lots of colour and texture and detail that was very quick and easy to create! For more step-by-step cake decorating videos like this check out my online cake school.
You can also watch a video of this tutorial on a Wild One cake:
