You can double or triple cake recipes to make a larger cake but it's not quite as easy as that. Avoid over-baking, domed tops, crumbling cake layers and cracked frosting with these tips and tricks!
With such big layers it's common for the cake to be overbaked around the edges and still raw in the middle. To prevent that you can do three things:
Divide the cake batter between more pans so that each layer is thinner. That way, they'll cook more quickly and more evenly. For example, if you double my two-layer 8" Perfect Chocolate Cake recipe to bake a 12" cake, you might choose to bake the batter in three pans to make a three-layer cake instead of a two-layer cake.
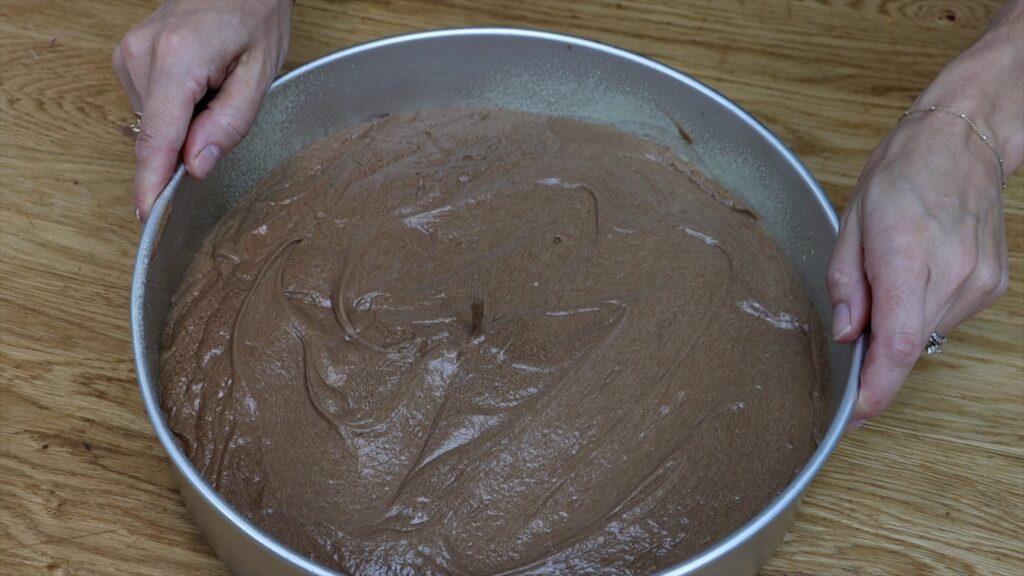
Place a flower nail in the middle of large cake pans. Flower nails are usually used for piping flowers but they're a great hack for big cakes! Turn the nail upside down so that the flat head is resting on the pan. The pin should be pointing upwards. You can put the nail in before or after adding the batter, pushing it down to the bottom of the pan.
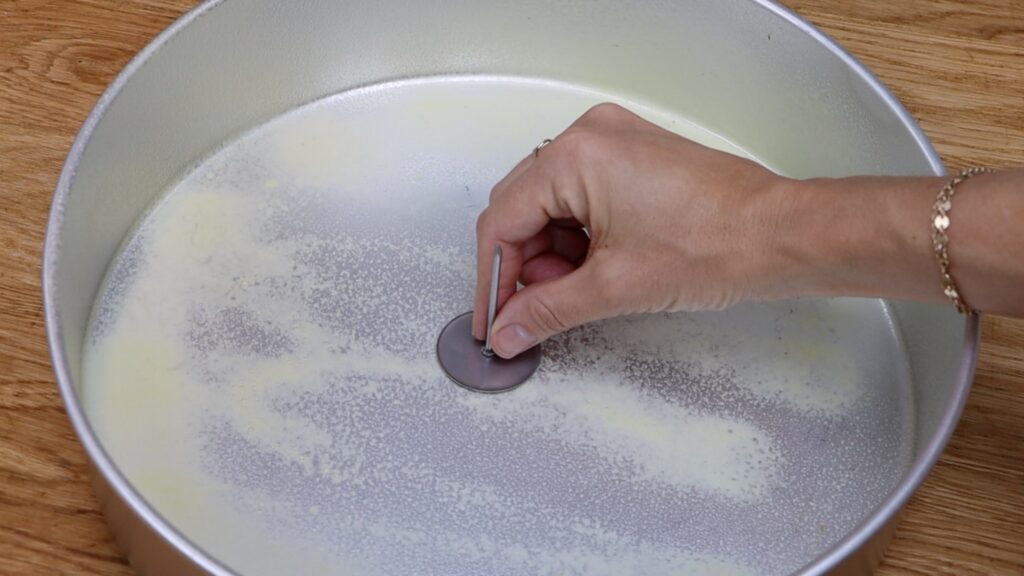
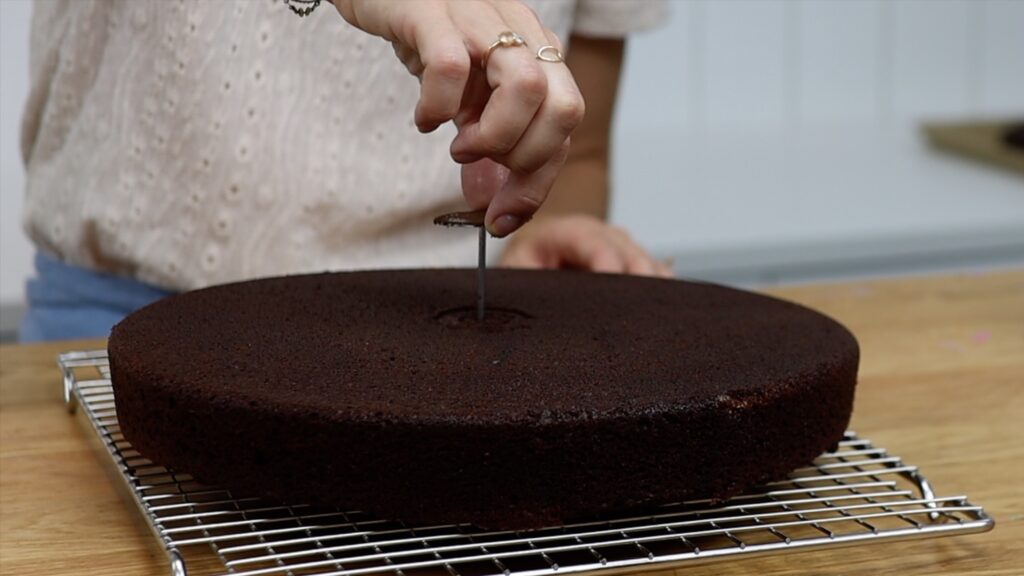
As the oven heats up the pan, that heat will pass through the flower nail up through the pin. This will help the middle of the cake bake as quickly as the outside of the cake. After baking and turning out the cake, just lift the flower nail out.
For big cakes, reduce your baking temperature by 10 or 25°. This will bake the cake more slowly and that way, it will bake more evenly.
If your cakes don't rise evenly as they bake, they'll have domed tops. When your cakes are big, levelling them means wasting a lot of cake! Prevent domes with baking strips.
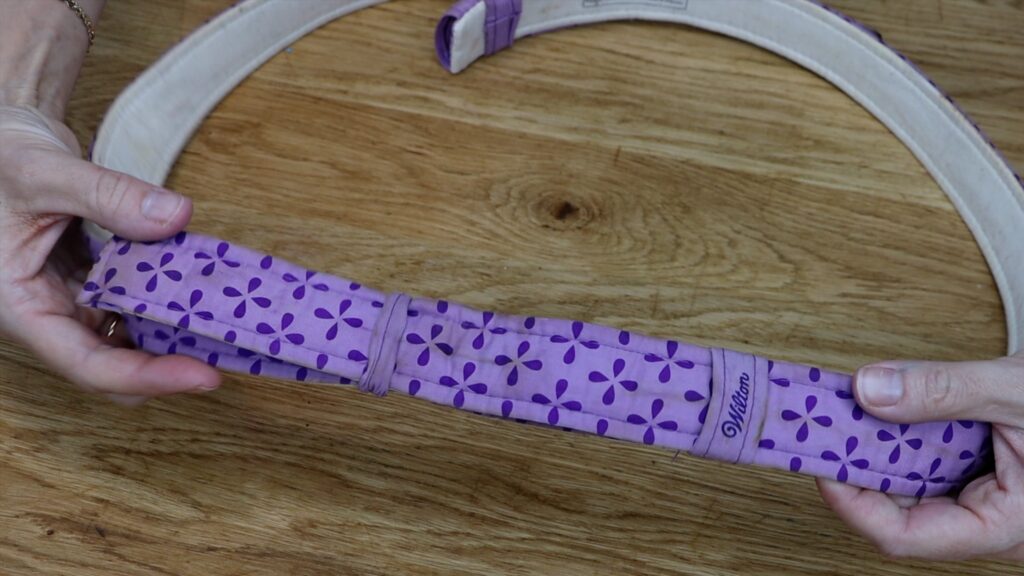
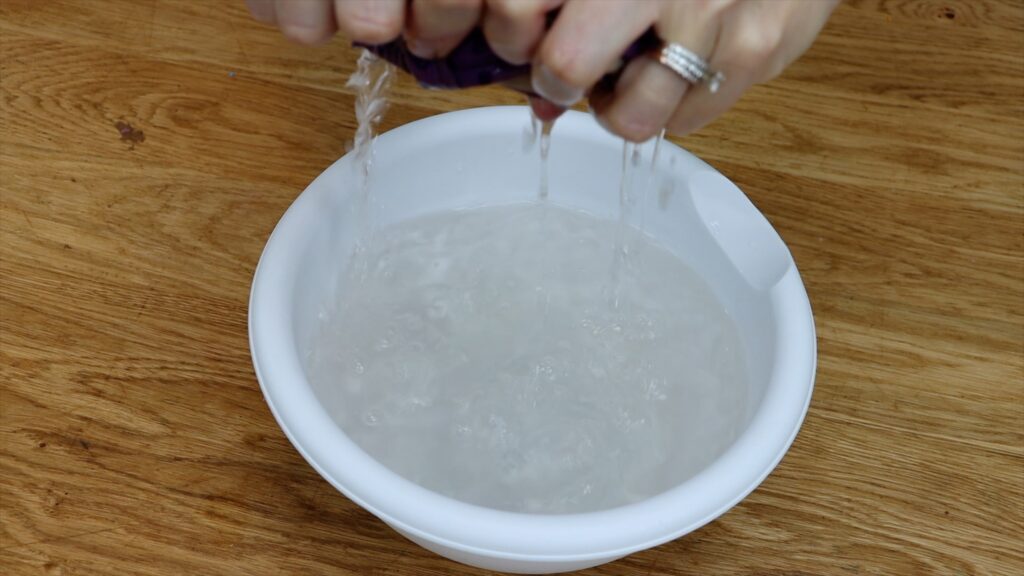
For large pans you'll need to attach two strips together, looping the end of one through one of the tabs of the other. Adjust them to fit the pan and then soak them in water for 10 minutes. Then squeeze out most of the water.
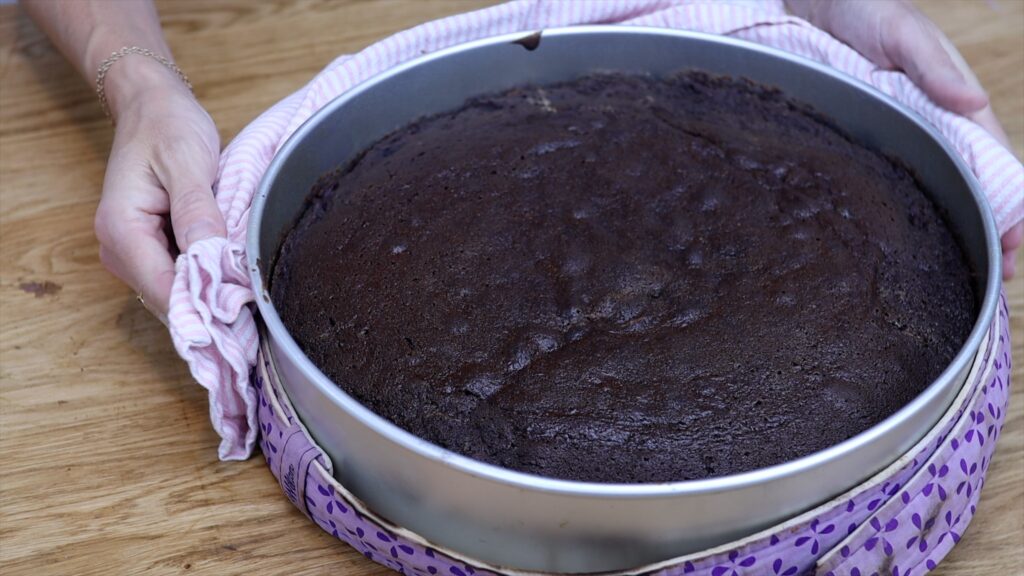
Wrap the strips around your cake pan before you put it into the oven. Baking will take about 10 minutes longer with baking strips so you'll need to adjust your baking time. The cake will rise higher and it will be evenly baked without burnt edges. For more cake tools that are worth buying, check out my tutorial on cake decorating tools that really work.
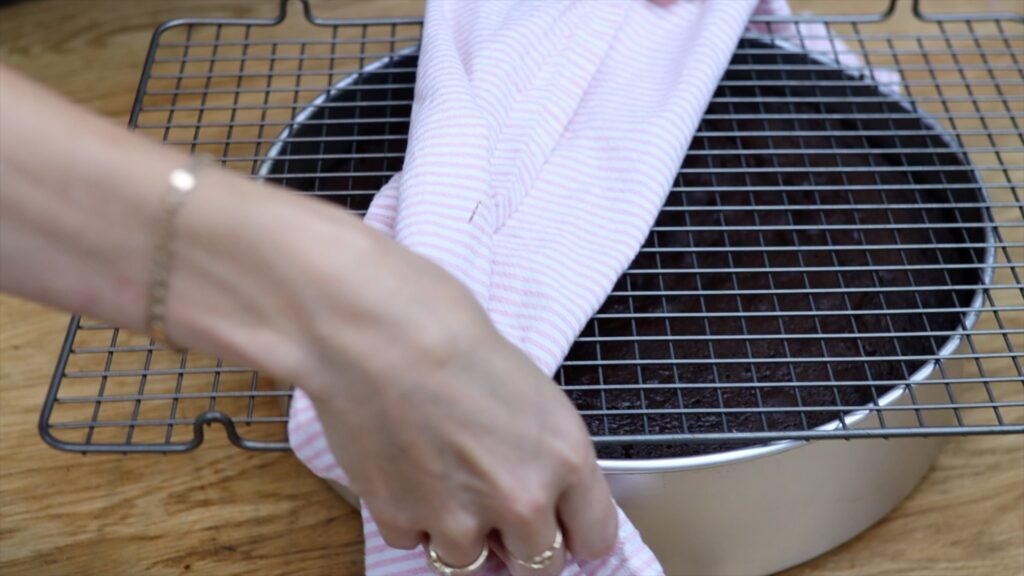
After baking small cakes it makes sense to flip the pans upside down onto a cooling rack. That would be brave (or foolish) with big cakes so instead, try this! Place the cooling rack on top of the cake pan when it's on the table or countertop. Then grip onto the rack and the pan and flip them over together. Lift the pan up and voila!
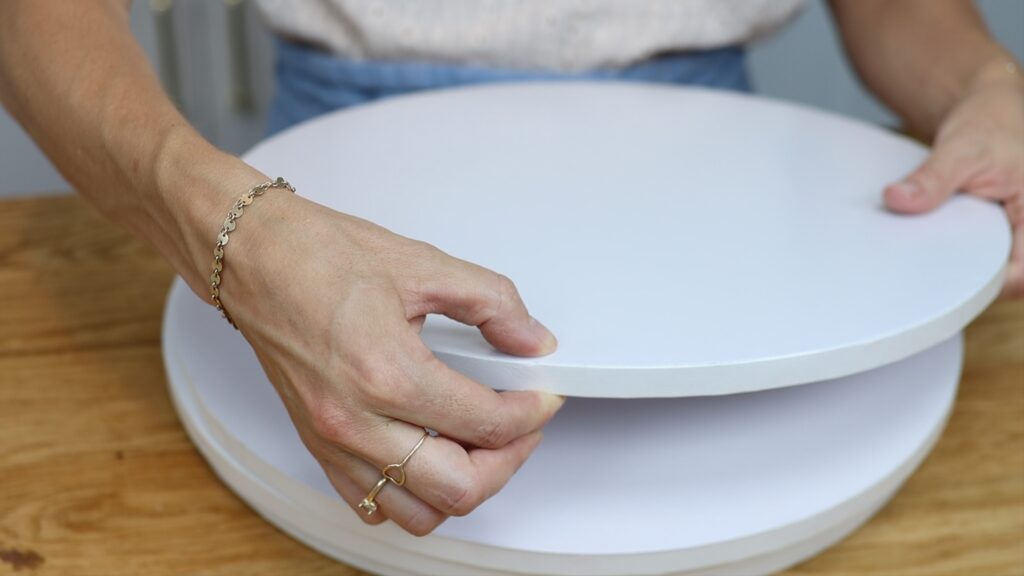
Cake boards for big cakes will have to be wider but also thicker. Use a cake drum for 10 inch cakes and bigger. Cake drums are thicker and stronger which is important because big cakes are much heavier than smaller cakes. If the cake board bends or buckles under the weight of the cake, that movement will cause the frosting to crack.
Cake layers are much more delicate at room temperature than when they're cold. When you move them from the cooling rack they'll be at room temperature so it's a good idea to use a cake lifter. These are large squares of metal that provide a big surface to support a big cake.
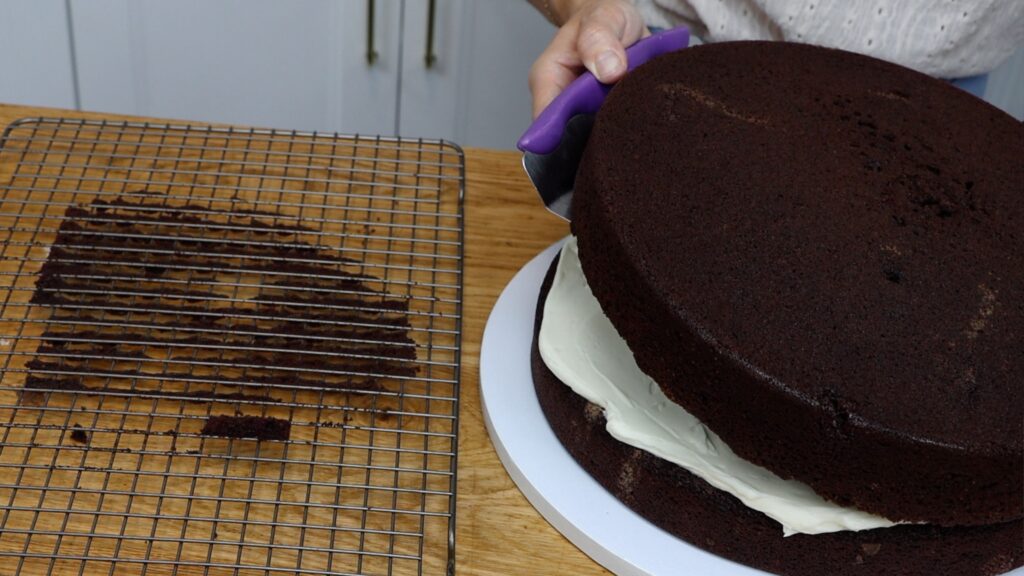
When you're spreading on your filling and later your frosting, use a long
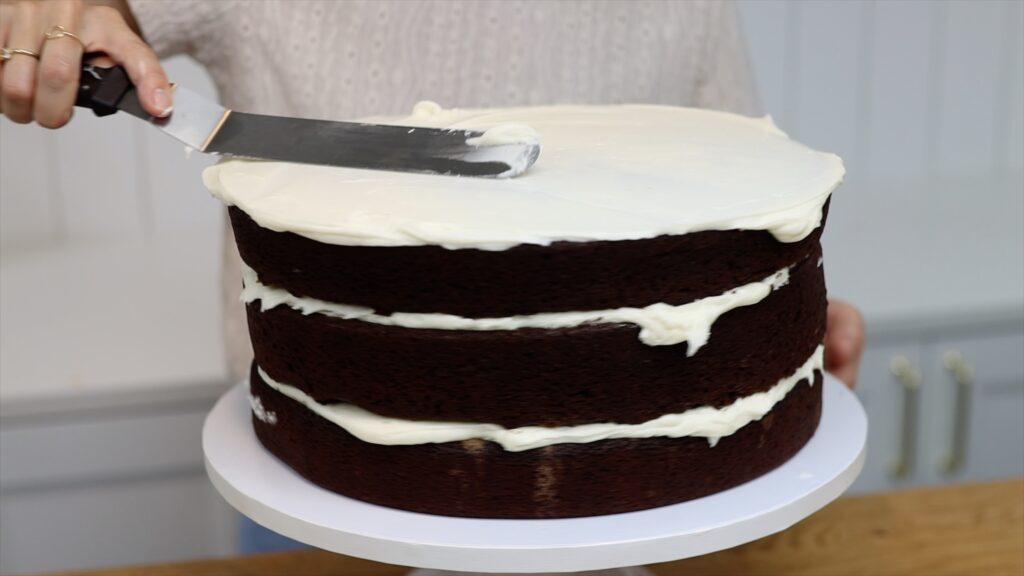
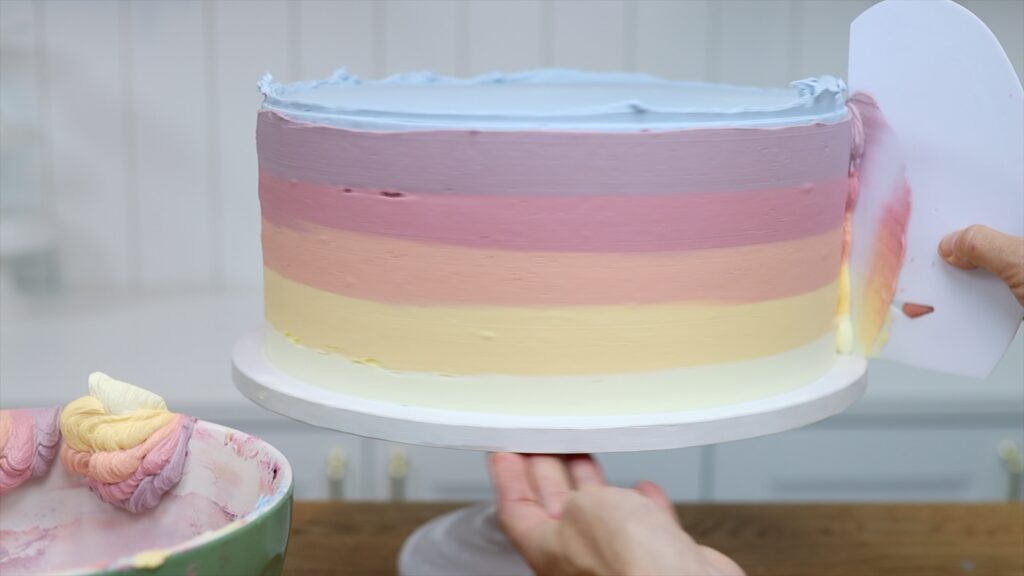
Wider cakes are usually taller, too. When frosting a big cake, make sure that your cake comb is tall enough. It needs to be at least as tall as the cake so that you can get straight smooth frosting. If you use a shorter cake comb you'll need to scrape around both the bottom and top of the sides, meaning twice as many scrapes around the cake. Another reason this isn't ideal is that when scraping around the top of the sides, it's difficult to maintain a straight angle because you can't rest your cake comb on the cake board.
After frosting the cake make sure any decorations are to scale. For example, buttercream transfers for characters will need to be much larger on larger cakes than on smaller cakes.
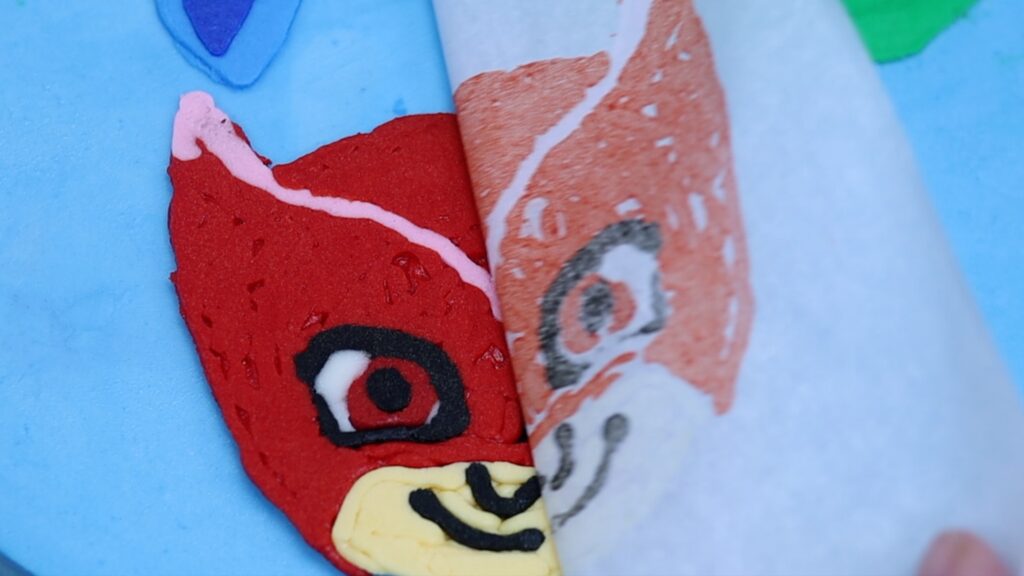
You'll need to prepare about three times as much drip for a 12 inch cake compared to a 6 inch cake. You'll need more filling and more frosting but you'll also need more buttercream for stencils and piping.
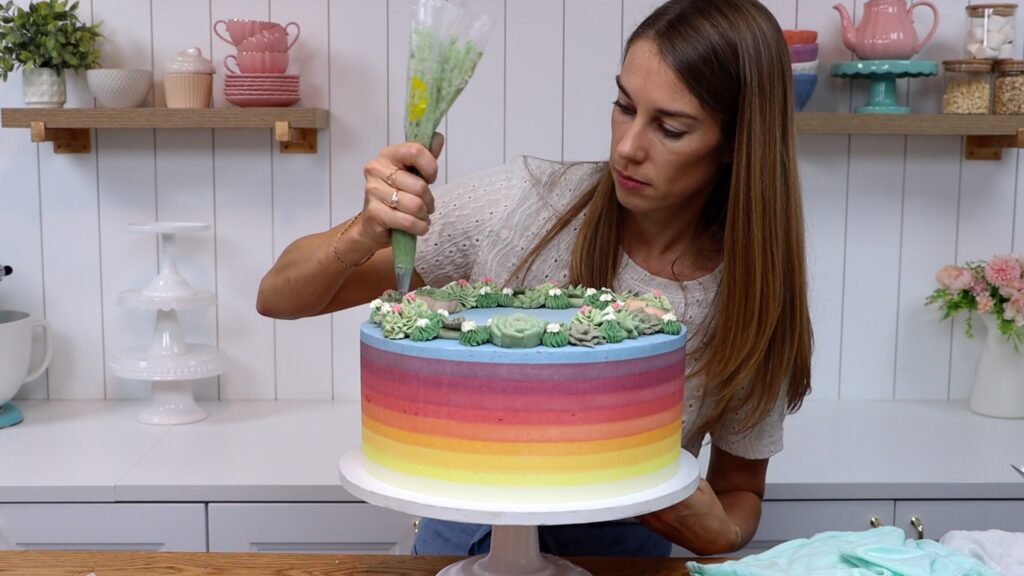
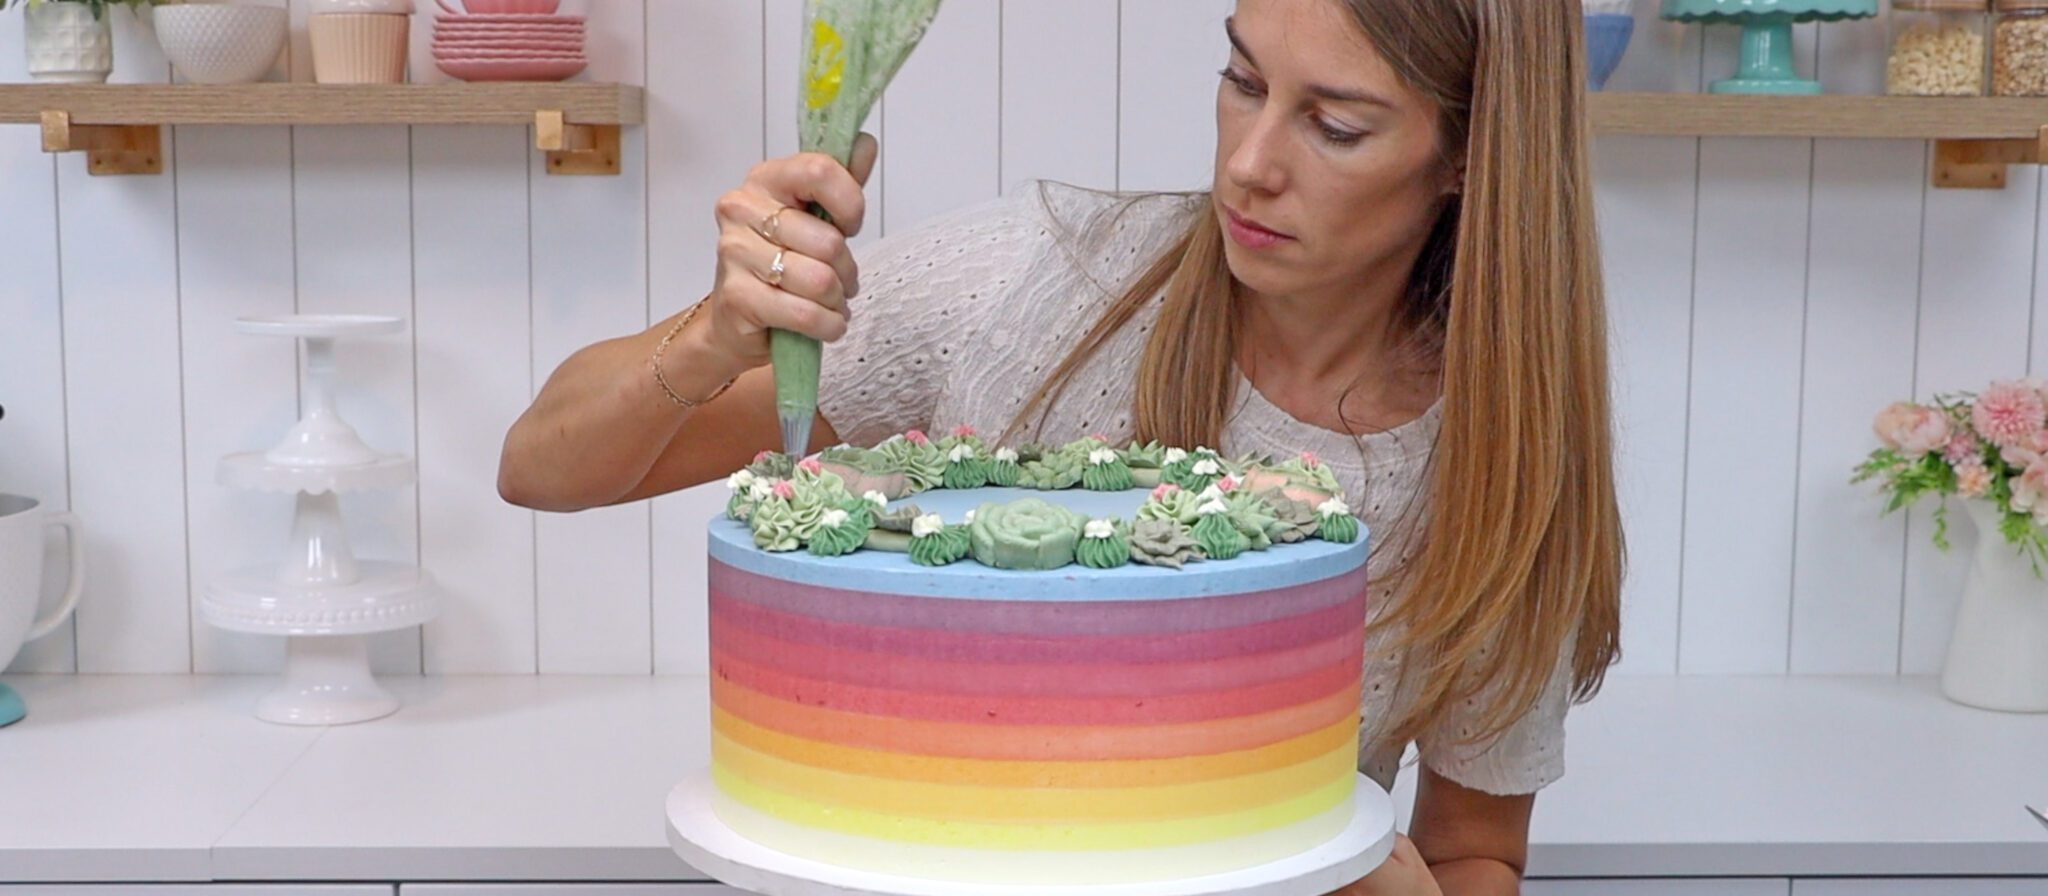
How much do you think this cake weighs? Let's have a competition! You might already know that I have an online cake school where I teach how to decorate cakes. I'm excited to share a brand new program called Layer Up, where you work through three layers to go from beginner cake decorating like perfecting smooth frosting, getting more advanced like mastering piping and stenciling and learning how to work with chocolate and wafer paper and acetate until you can make professional-looking cakes that will blow people away and if you sell your cakes, you'll be able to charge a lot more for them. So, what's the competition? Guess how much the striped cake above cake weighs! Hint: it was too heavy for my kitchen scale to handle so I used a bathroom scale instead! Put your guess in the comments and the closest guess (either on this tutorial or on the YouTube video version) will win an annual membership to my Layer Up program.
Watch a video of this tutorial on 10 Big Cake Hacks:

My guess for the weight of the cake is 60 pounds.