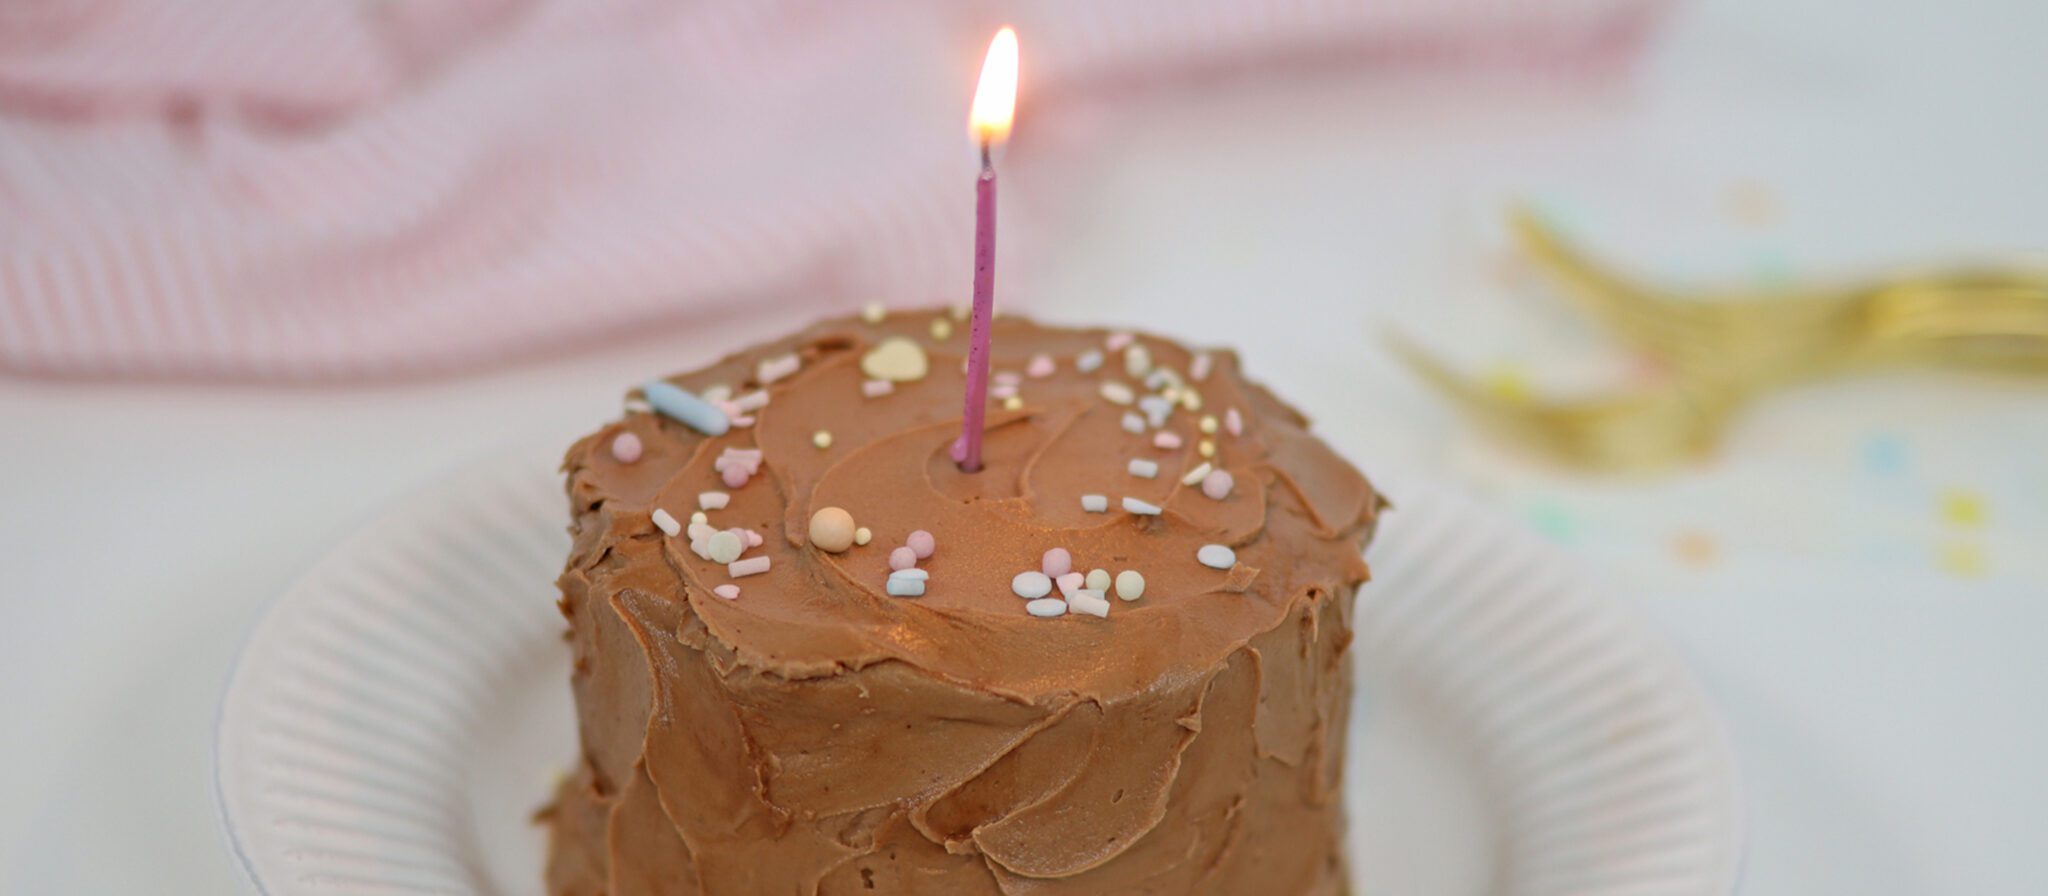
Here are 10 birthday cake ideas that everyone will love!
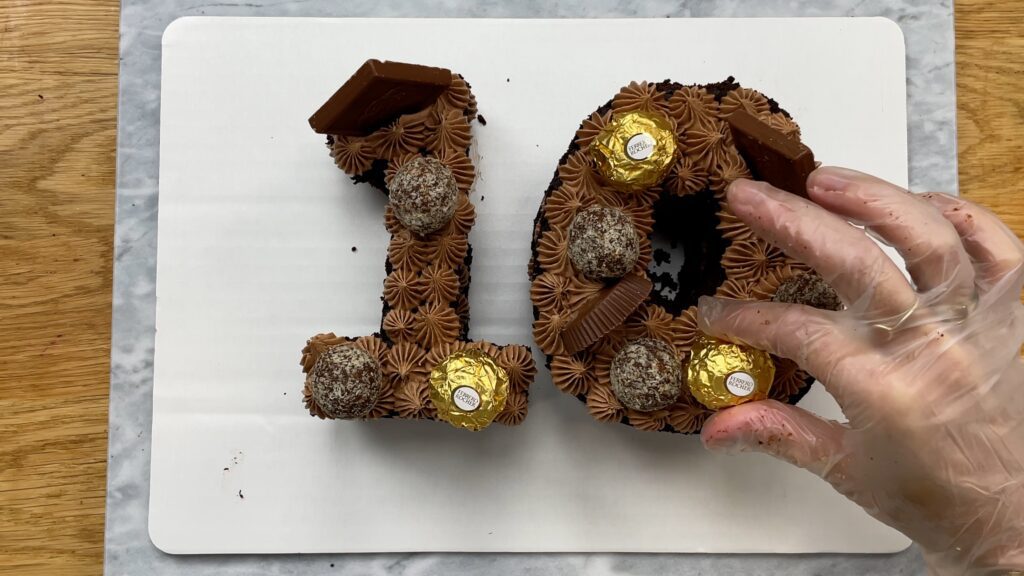
Whatever age you’re celebrating, number cakes feel personal and they’re very easy to make. Cut out the number twice, which you can do using a sheet cake or rectangular cake. Chilling the cake in the fridge before cutting it will make it less crumbly. Cold cakes are also less likely to break when you move them.
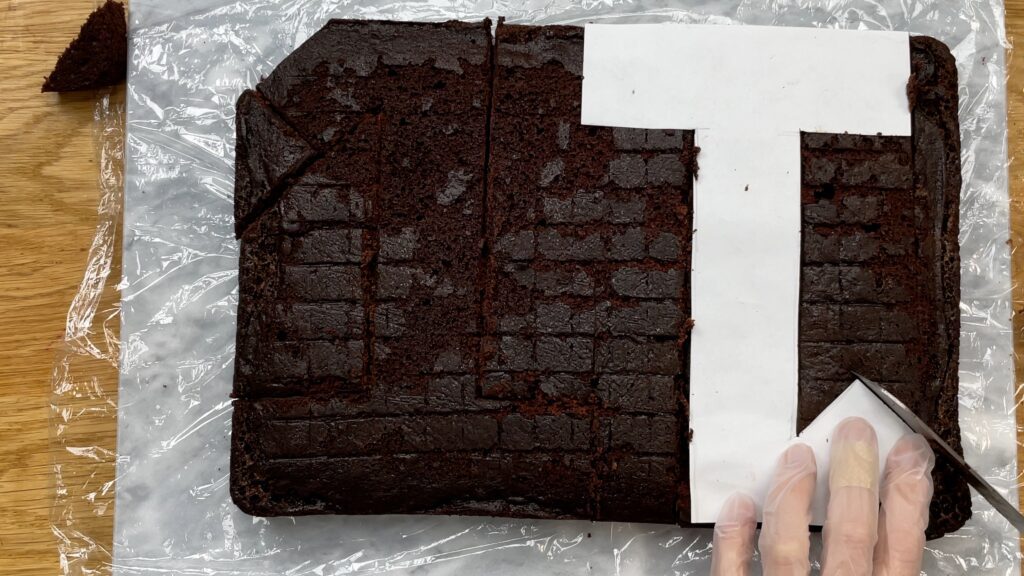
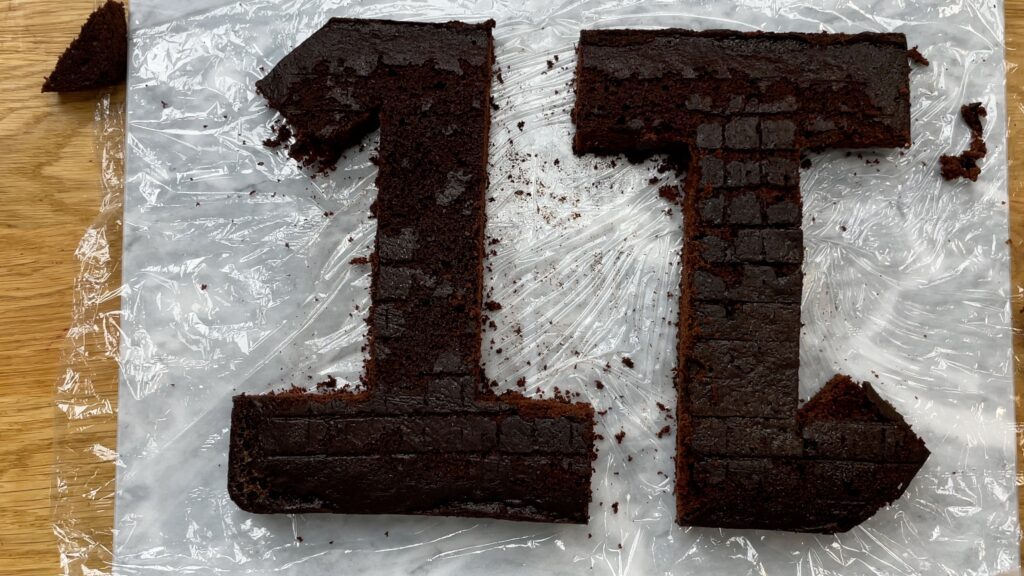
The reason for cutting out two of your number is so that you can layer them with filling in between.
I recommend using a stable buttercream like my 4 Minute Buttercream as the filling because the top cake won't crush it. You can spread or pipe it onto the bottom number cake.
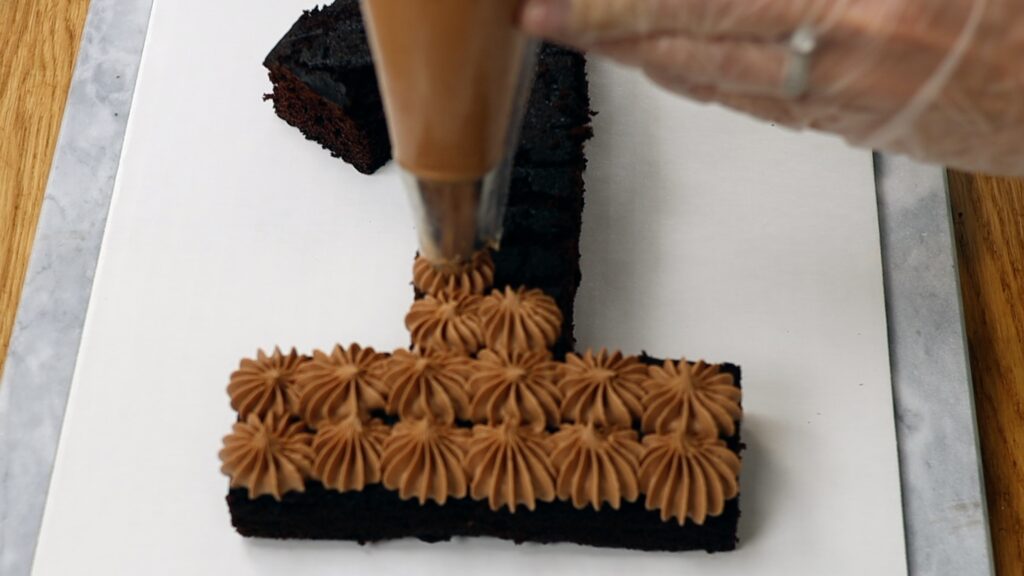
The easiest way to decorate a number cake is to cover the top with piping too. Then add candies or chocolates or flowers or any other toppers.
Alternatively, frost the cake with smooth frosting, cover it with sprinkles, or choose a theme.
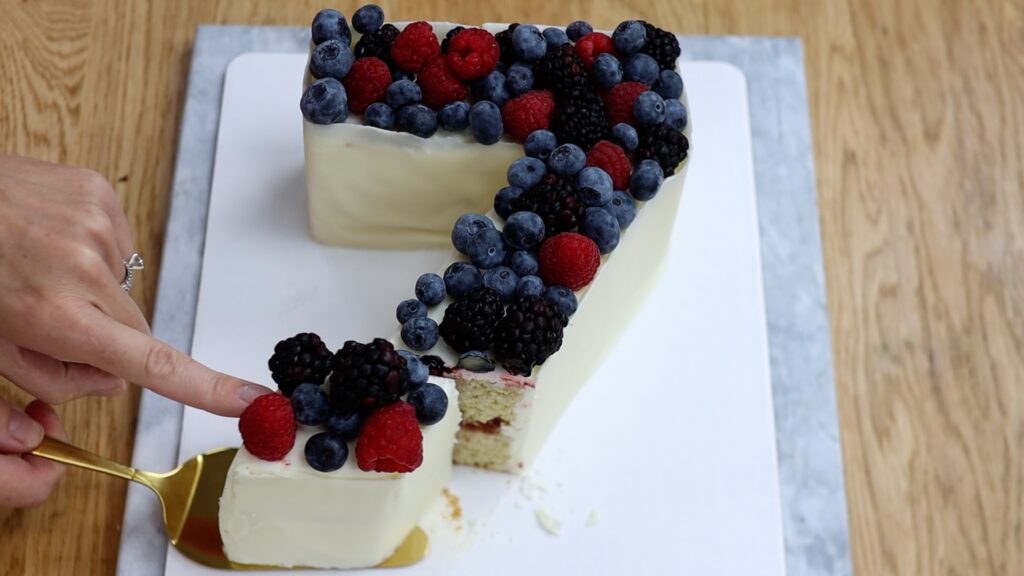
And of course if age is a sensitive issue you can make a humorous 21st birthday cake! For more tips on number cakes check out my tutorial on 10 number cake hacks.
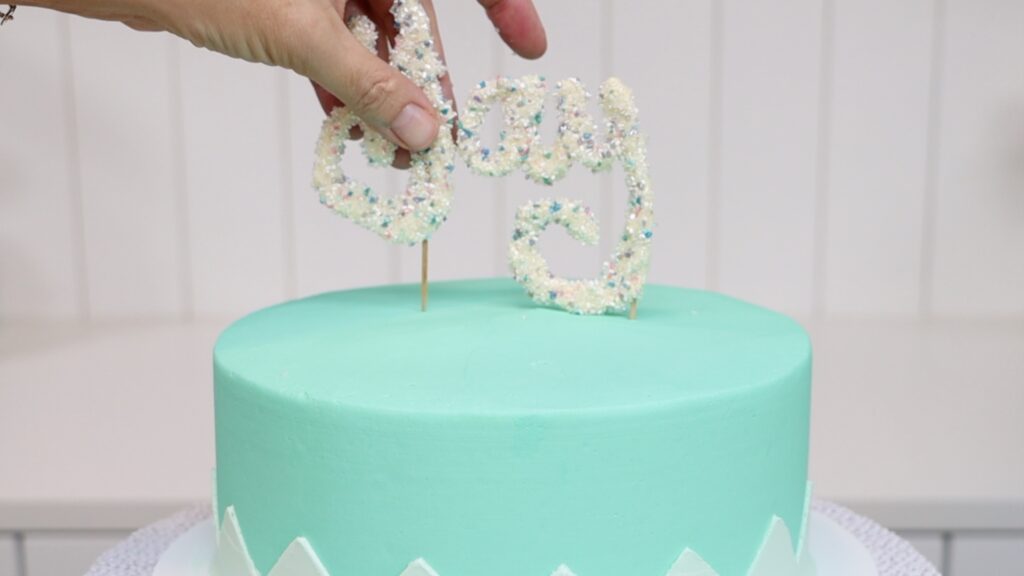
With a few chocolate chips you can make your own birthday cake toppers. Melt the chocolate in the microwave at 80% power for 30 seconds at a time so it doesn’t burn. Then use a sandwich bag to pipe the chocolate into whatever shape you like. Try a number, Happy Birthday, or a celebratory message like 'yay'!
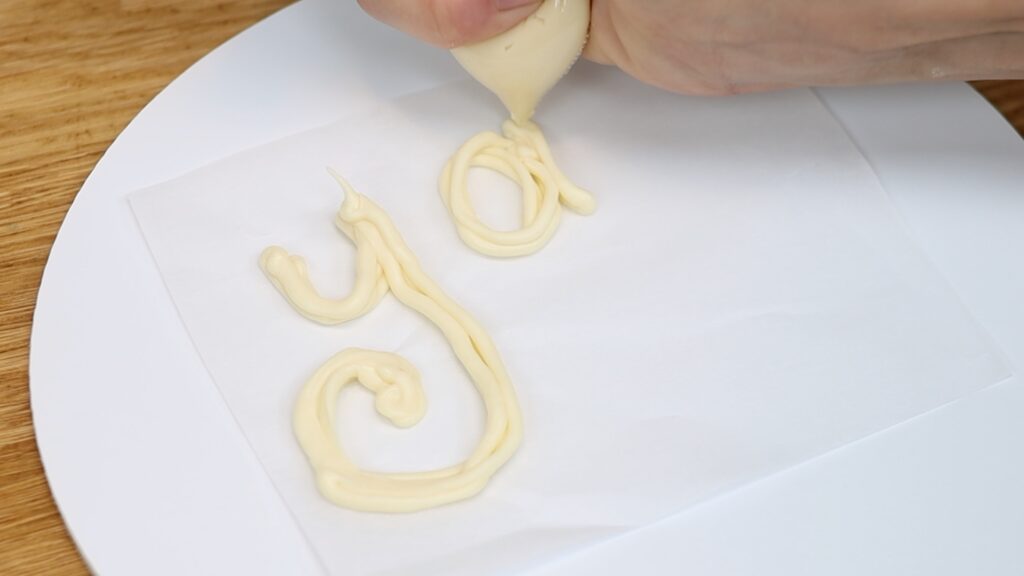
Pipe onto parchment paper or wax paper or baking paper so the chocolate doesn’t stick. Push toothpicks or paper straws into the chocolate before it sets, which you’ll poke into the cake later.
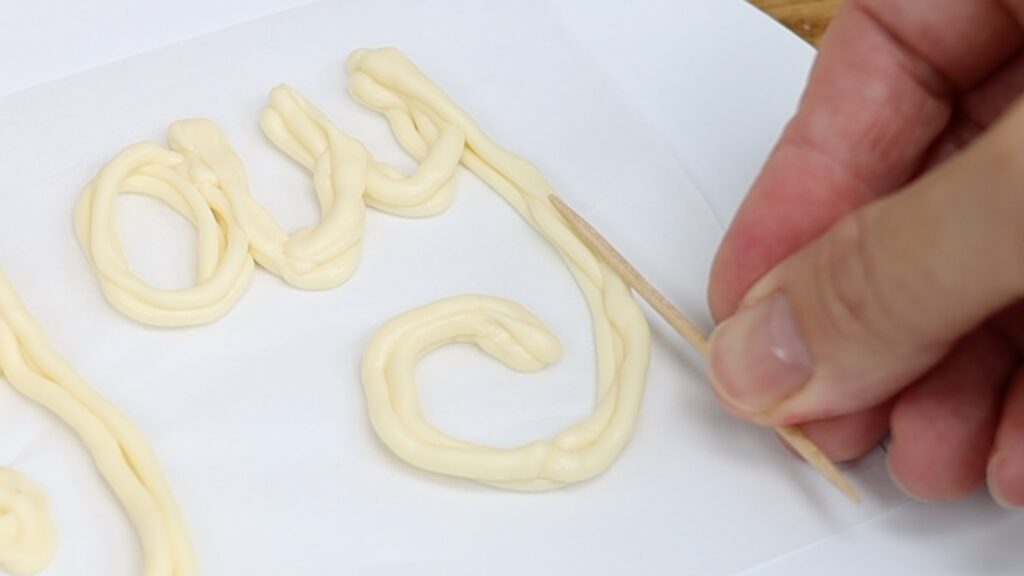
You can pour sprinkles over the top to make it colourful. Do this straight after piping the chocolate, while it's still soft and sticky.
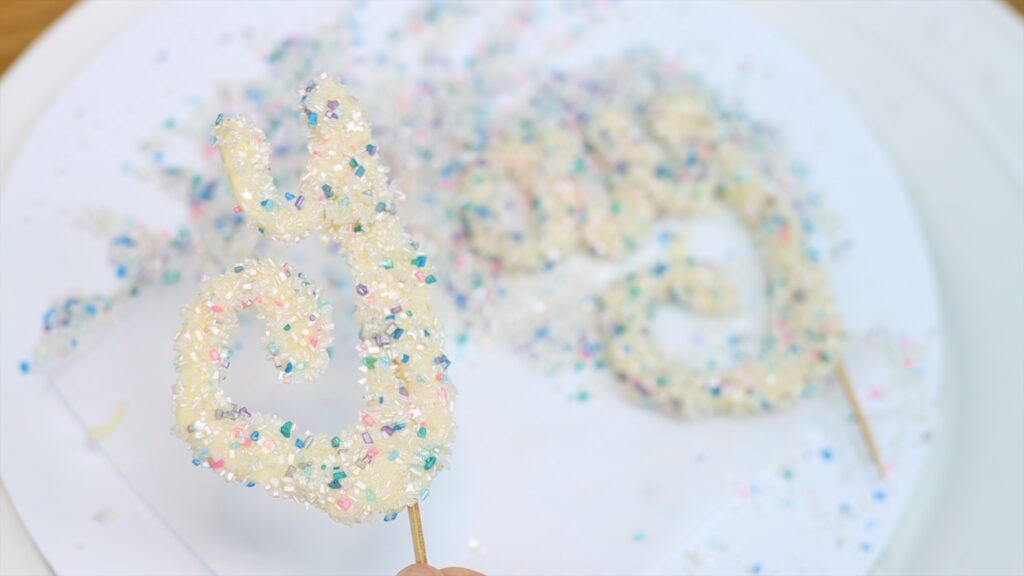
When the chocolate sets, after about 10 minutes in the freezer, pick the topper up and push the toothpicks down into a frosted cake.
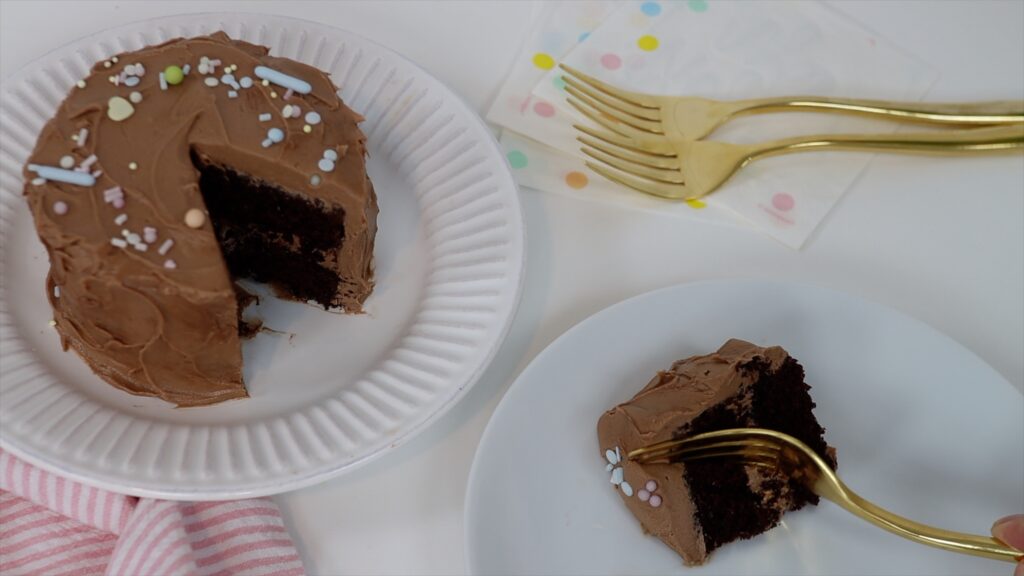
For a small celebration, make a mini cake. These are the perfect size to enjoy with a partner. I use 4 inch pans for my mini cake layers.
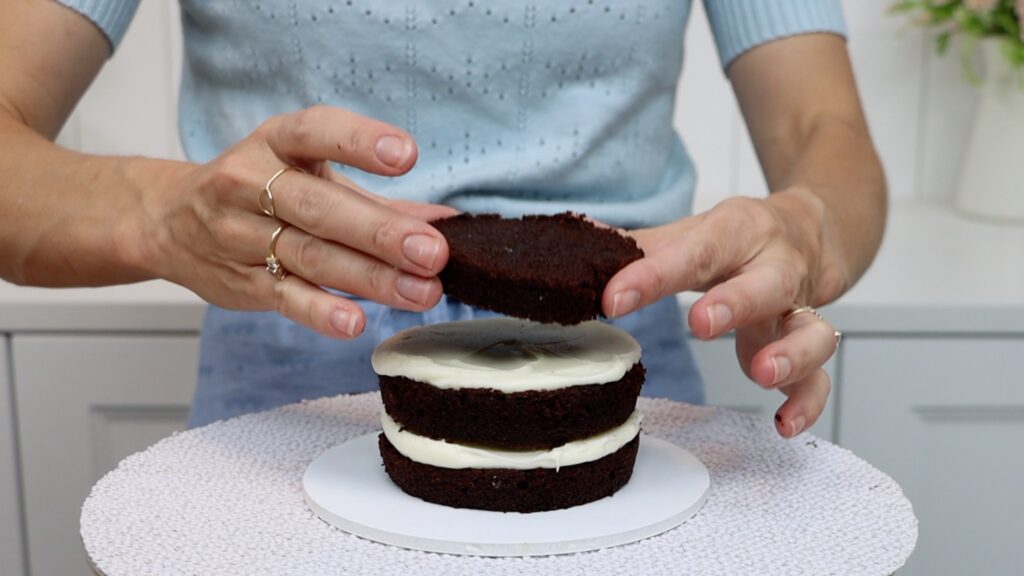
If you don't have small pans you can use a round cookie cutter instead. Push it into a larger cake to cut circles out and use those as your layers. There are lots of tricks to frosting mini cakes and I share all of those in my tutorial on how to frost mini cakes.
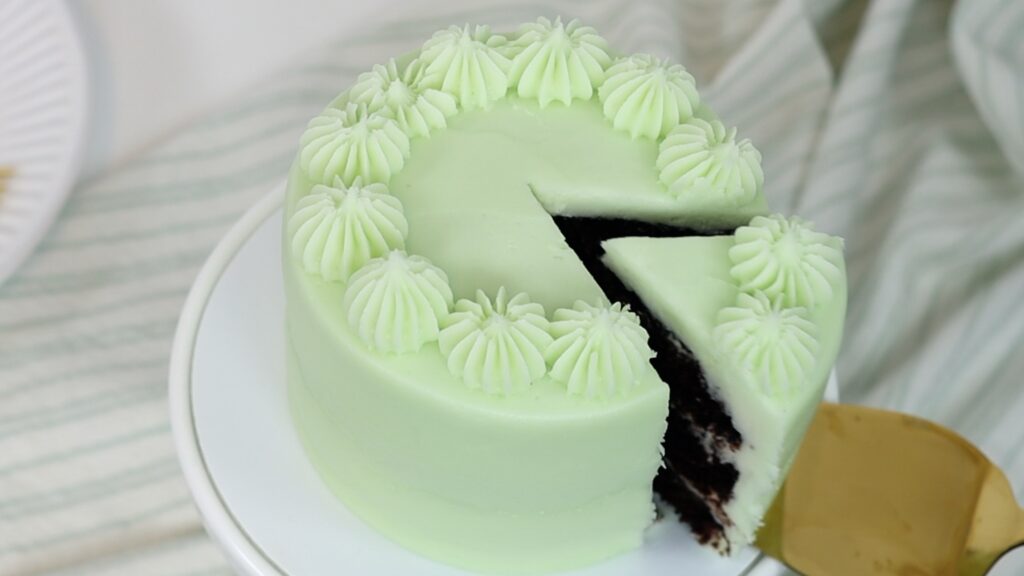
You can cut these just like a full size cake, or dig straight into them with a fork. If you're looking for a mini cake recipe, try my small batch chocolate cake!
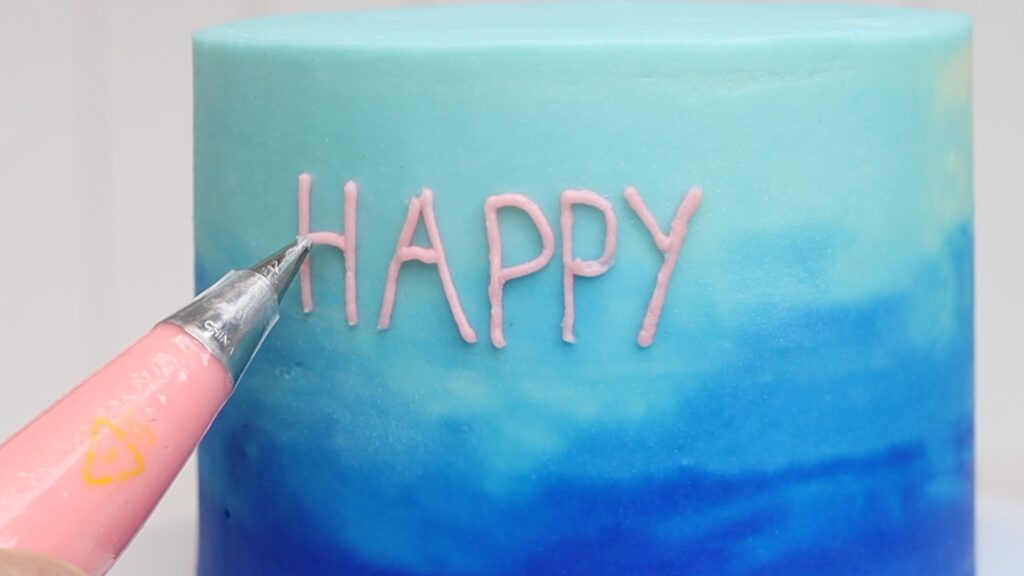
Turn any cake into a birthday cake by simply writing Happy Birthday on it! You’ll need a small round piping tip like a #3, with a piping bag. You can pipe the words with straight lines, which I find the trickiest because my hands are so shaky.
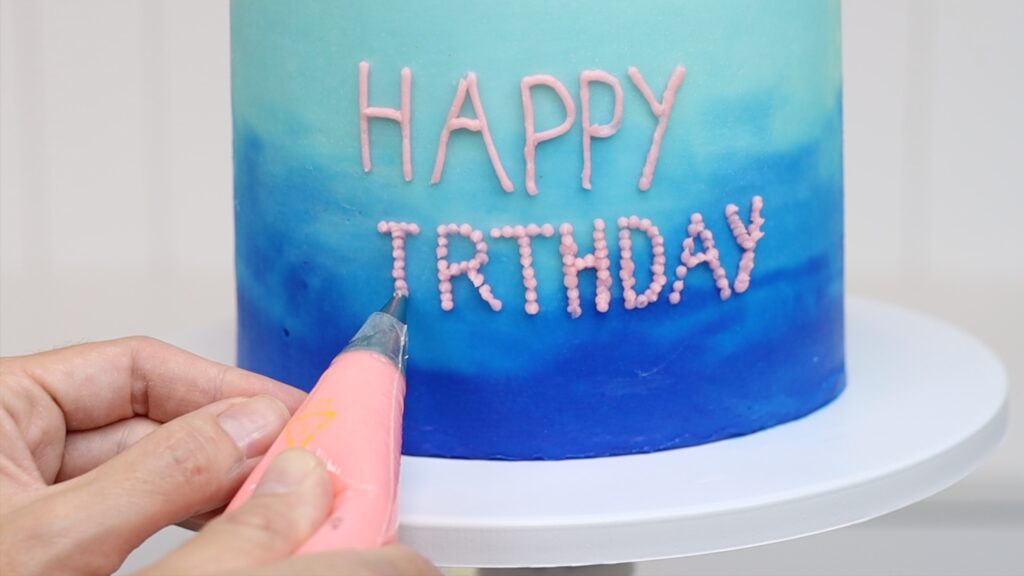
Or pipe lots of little dots to form the letters of the words, which is much more forgiving. You can do this on the top of the cake or on tall cakes you may have more space on the sides.
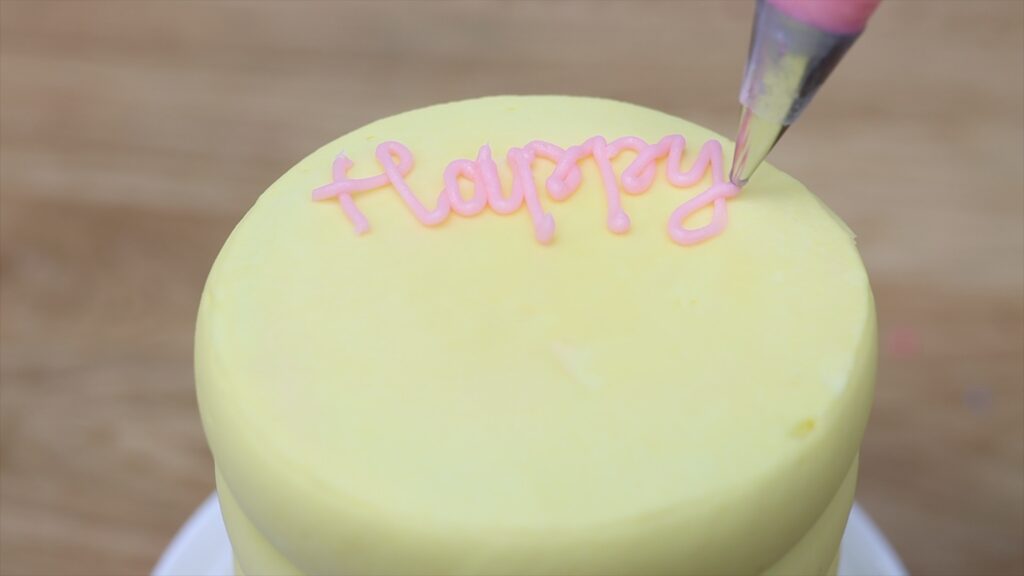
For cursive writing, the top of the cake is definitely easier! I suggest writing or printing your message first so that you can hold it beside your cake as you pipe the letters. This way you'll make sure the letters are all the right size and that the whole message will fit, centered, on the cake.
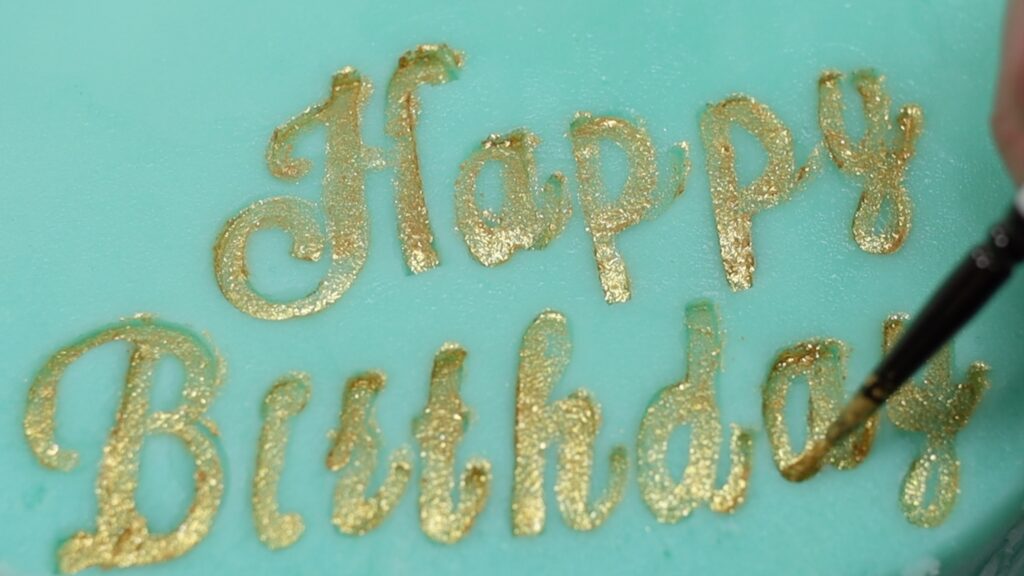
If you’re not confident piping a message onto a cake, you can buy letter embossers instead. Push them into frosting after it's set to leave an imprint of the message.
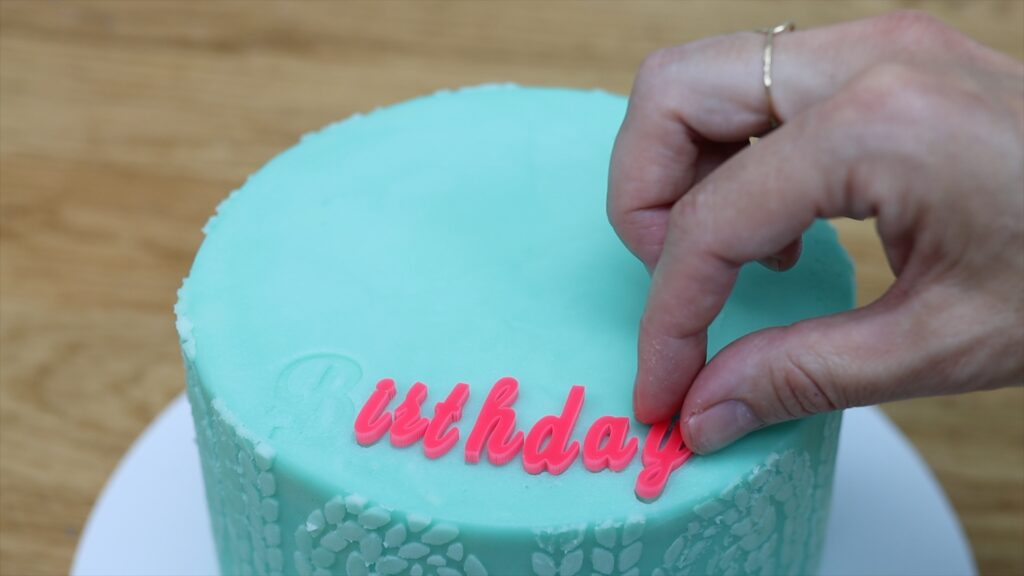
Then you can paint the letters with metallic paints to make them stand out. These are made by Sweet Stamp and you can use my code BGB10 for a discount!
If you don’t have enough celebrations in your year, add a half birthday to them! Half birthday cakes are easy to make by cutting round cakes in half and layering them to make a semi-circular cake.
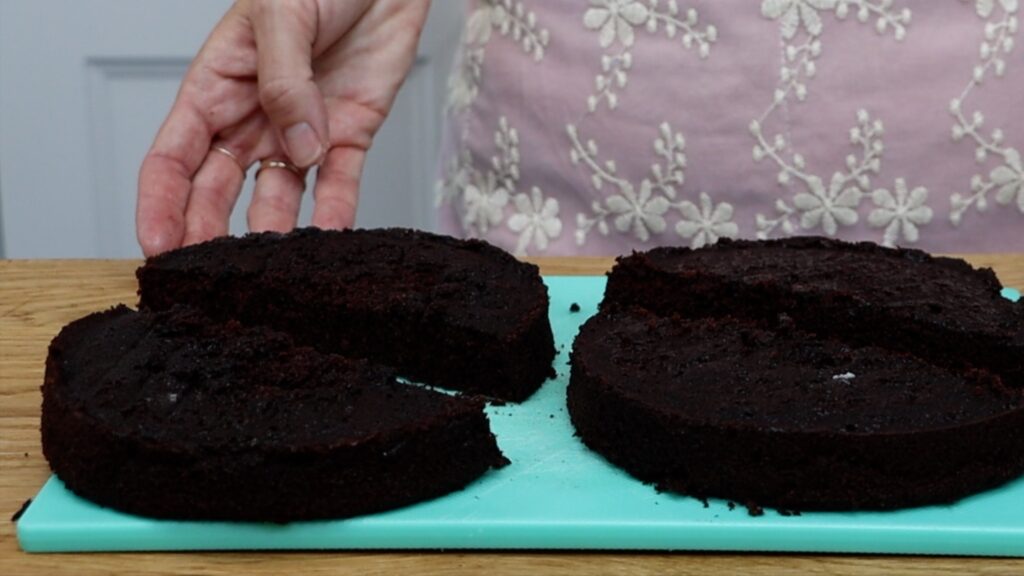
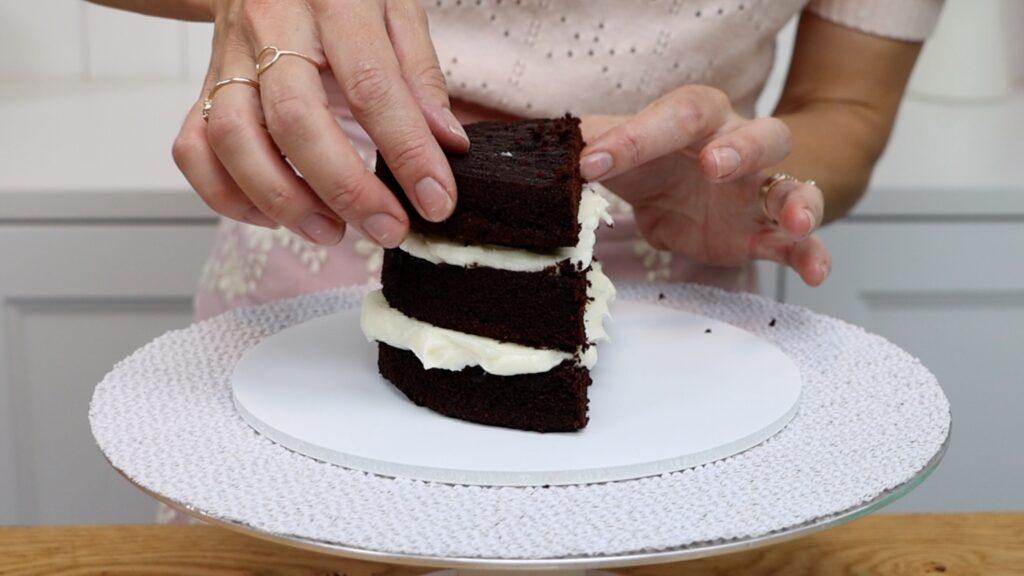
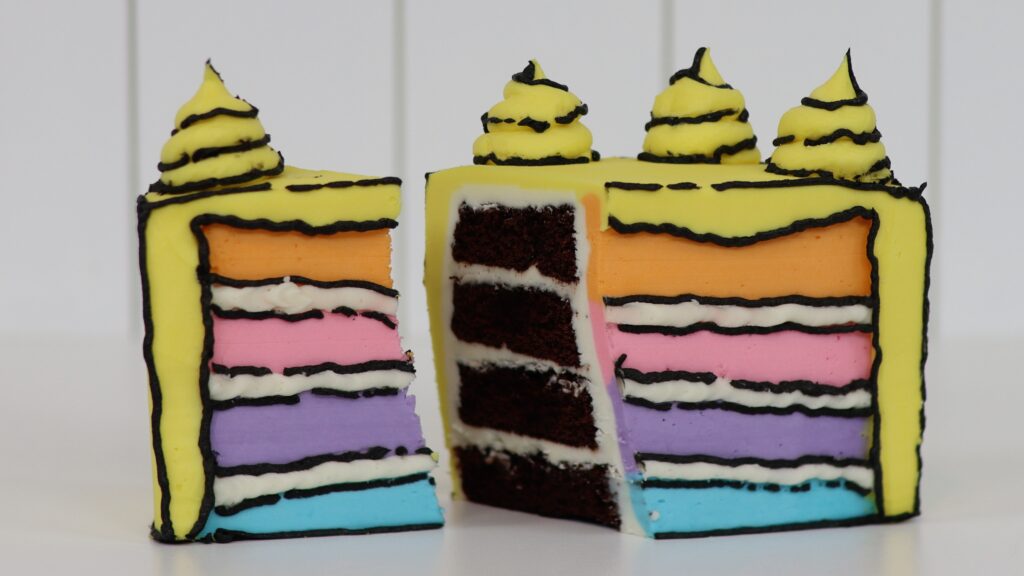
Then you can frost and decorate them however you like. Cartoon cakes are fun and trendy at the moment. The idea is to make all of the details on your cake flat to create a 2D effect.
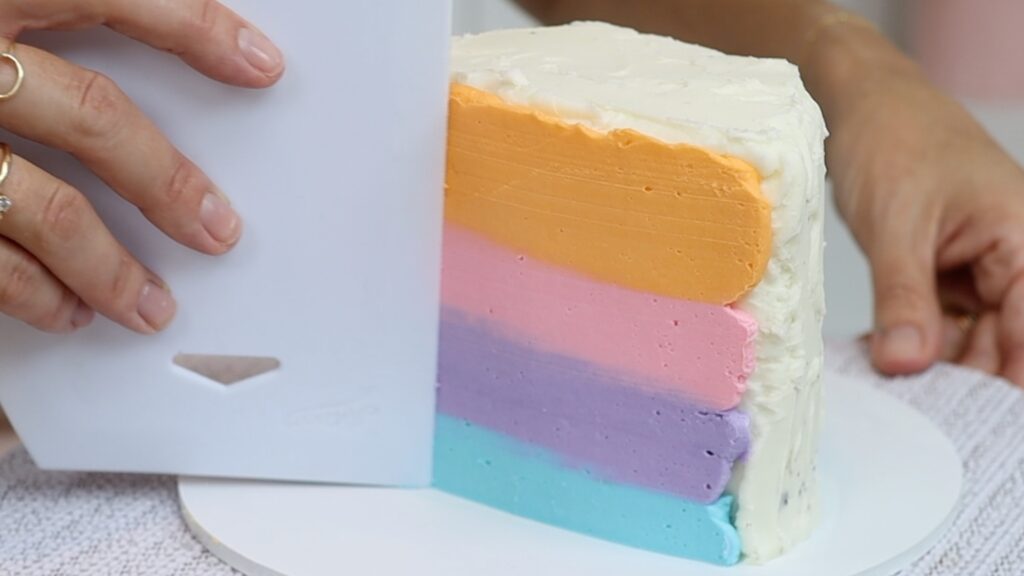
Then give them a thin black outline, breaking the line ocassionally to give make it look like a cartoon drawing.
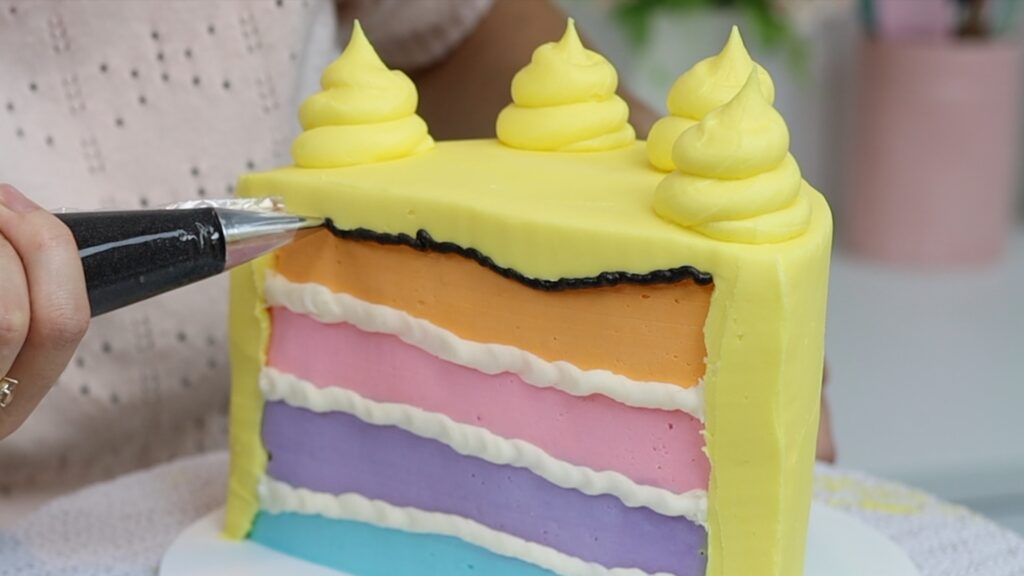
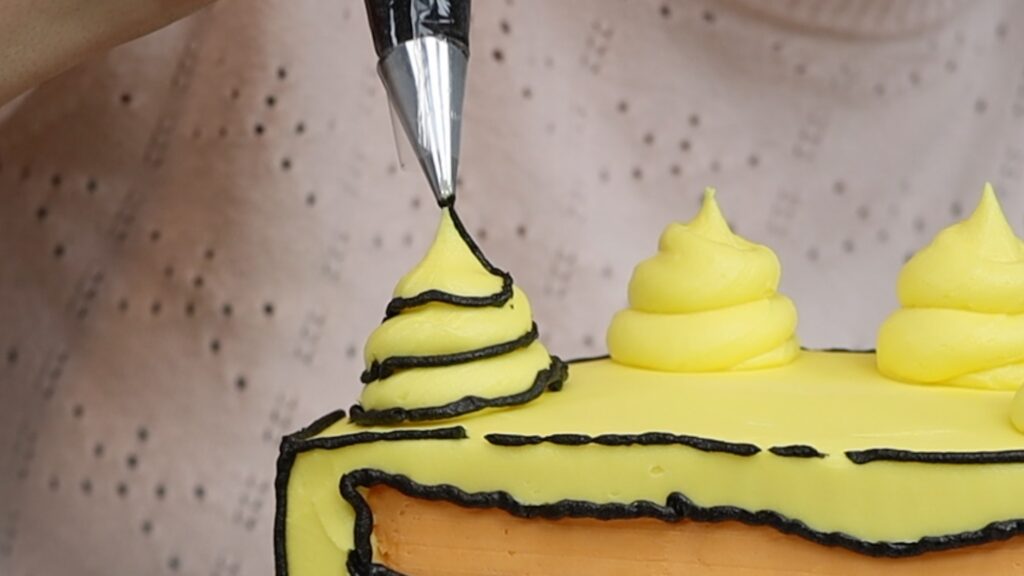
When the cake is finished, it will look superimposed or like it’s been drawn onto your background! For step by step instructions on how to make this cake, see my tutorial on how to make a cartoon half birthday cake.
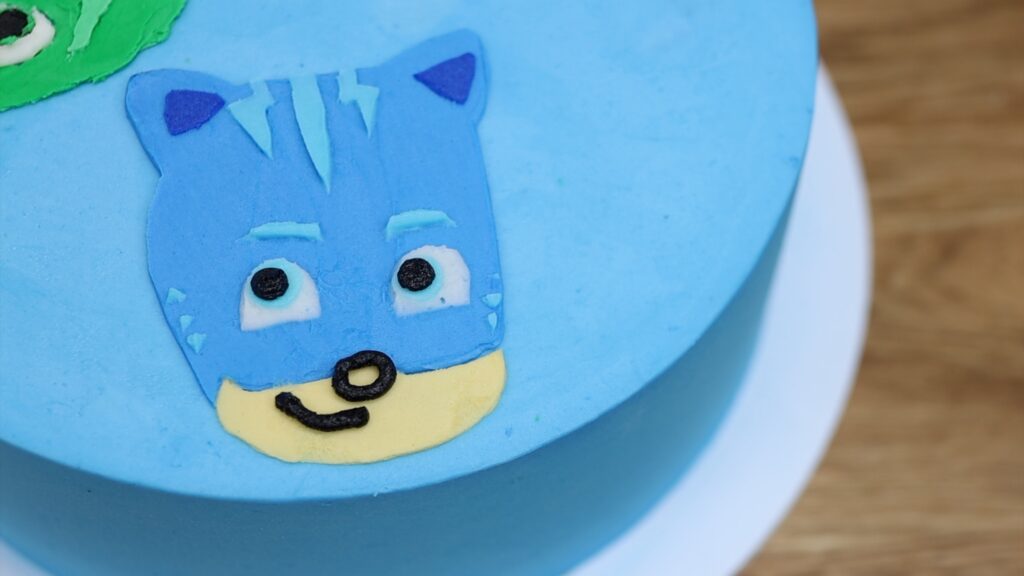
For children’s birthdays or really at any age, you can create a character on your cake using homemade stencils. For the most accurate characters, print out your character the size you want it to be on your cake. Trace the details of each colour onto a different piece of parchment paper or wax paper.
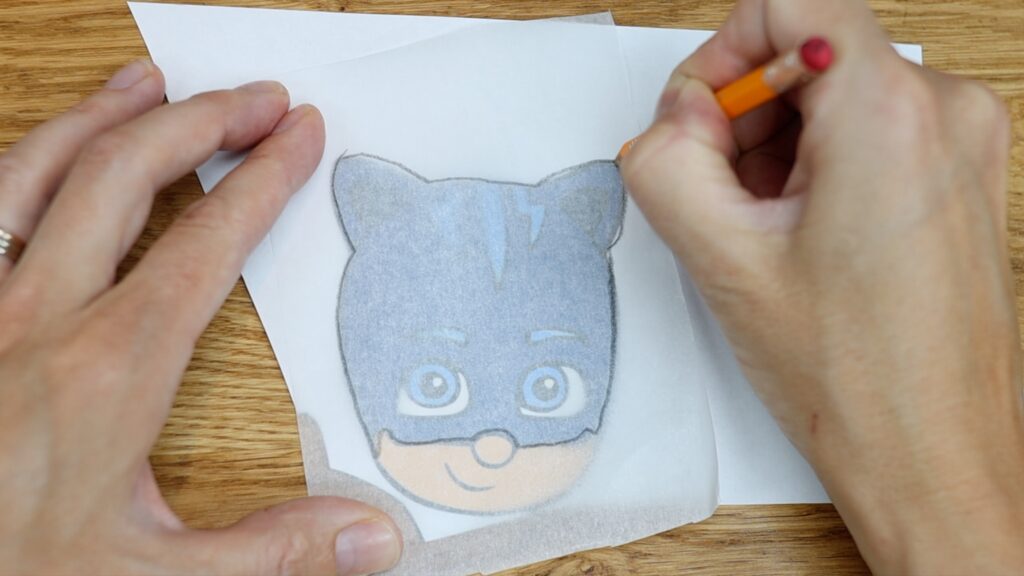
Then cut the details out to leave the surrounding paper intact, which you’ll use as stencils on your cake. The frosting on your cake needs to be cold and firm so put it in the fridge for at least an hour before you start.
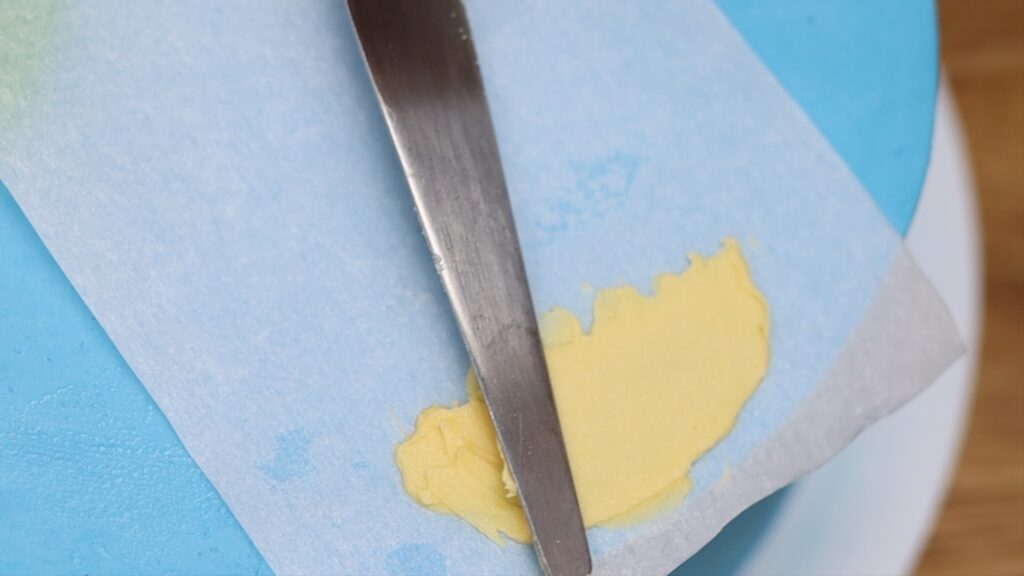
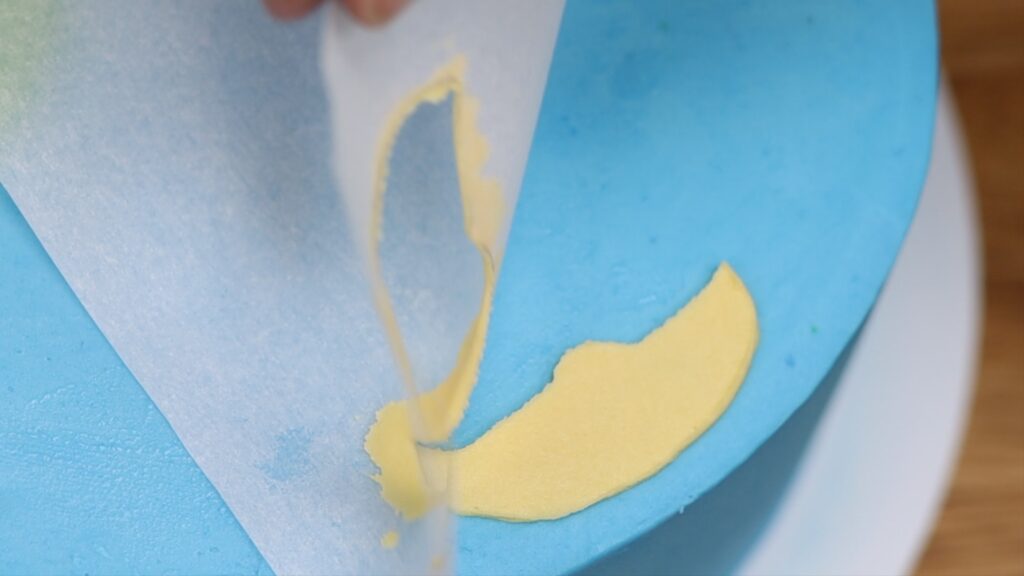
After each colour you stencil onto the cake, put the cake in the fridge for 30 minutes or the freezer for 15 minutes. This will set that colour before placing the next stencil on top. Because the details are cold, you won’t damage them with the parchment.
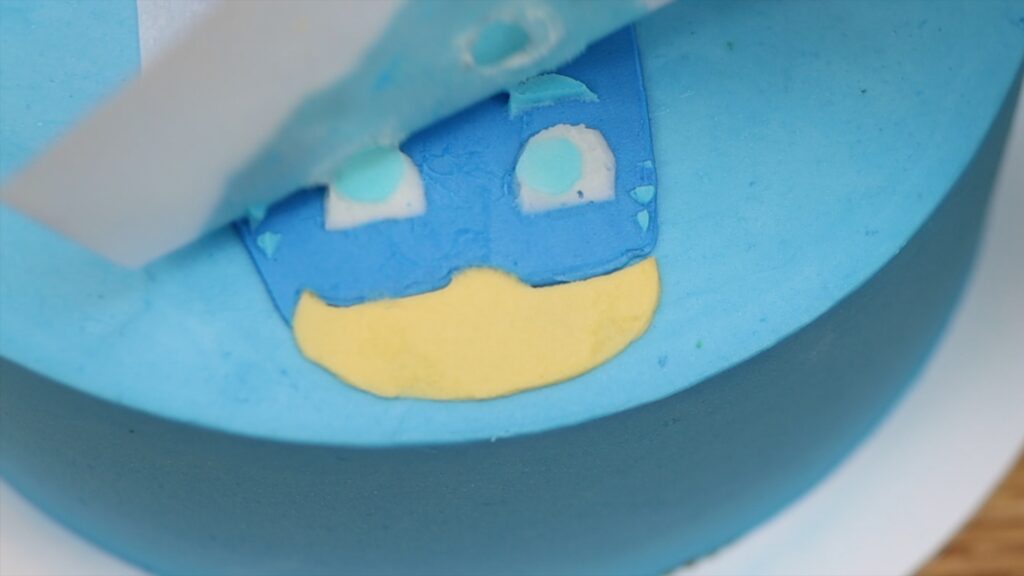
You can add small details like the facial expressions by piping them on at the end. This is such a simple and effective AND affordable way to create any character you like on a cake!
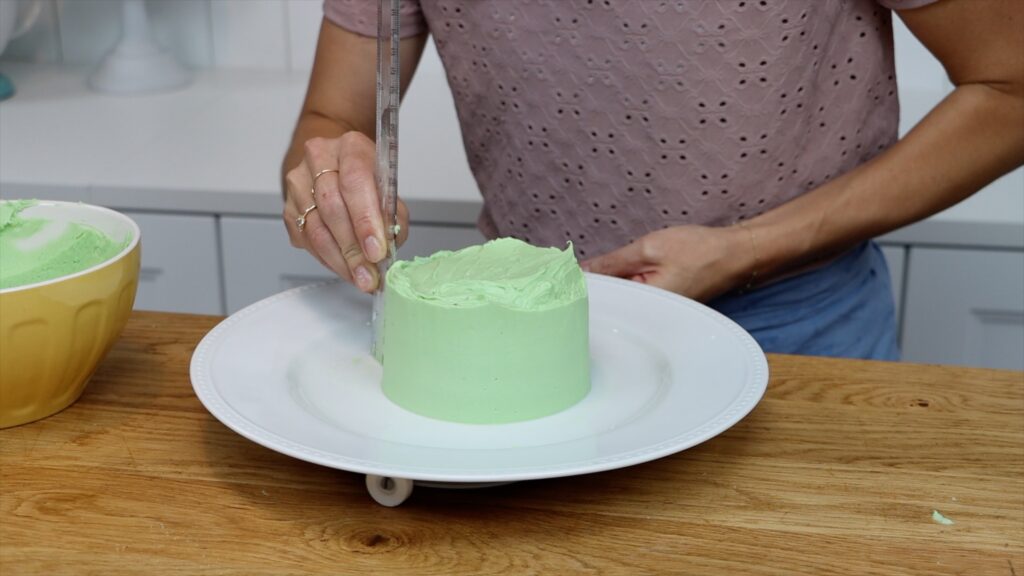
If you don’t have any cake tools at all, you can make a cake with super smooth frosting by using just a plate, a ruler, and the wheel from your microwave! Check out my tutorial on how to make a cake with no tools to see how!
How can you make a cake if you have no time to bake? Try a cake makeover! Buy a cake from a grocery store or supermarket and then jazz it up.
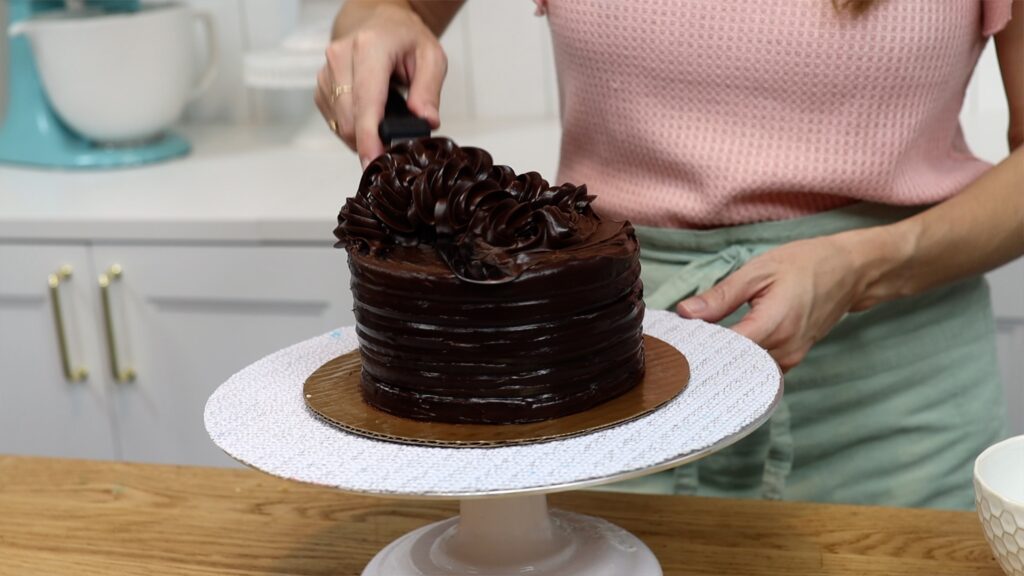
Scrape off any of the decorations you don’t like and if you want the cake to be taller you can stack two on top of each other. Use a straw or dowel through the middle to keep it standing straight, so it doesn’t lean.
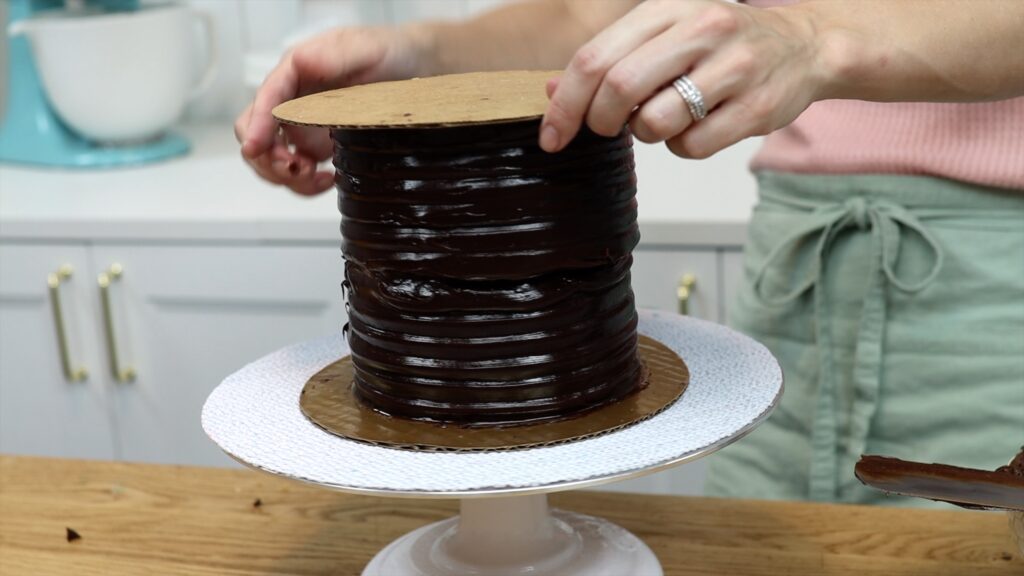
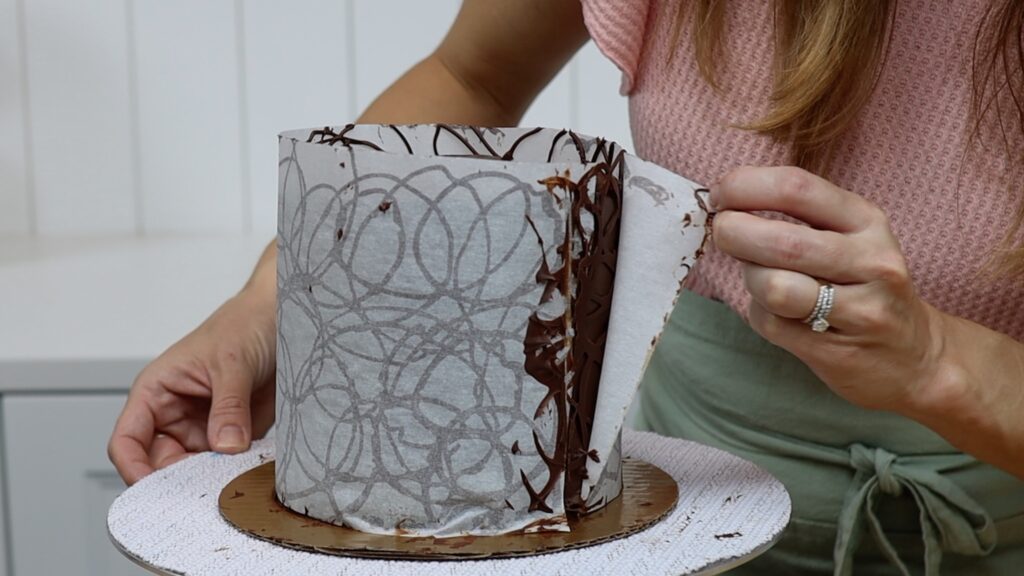
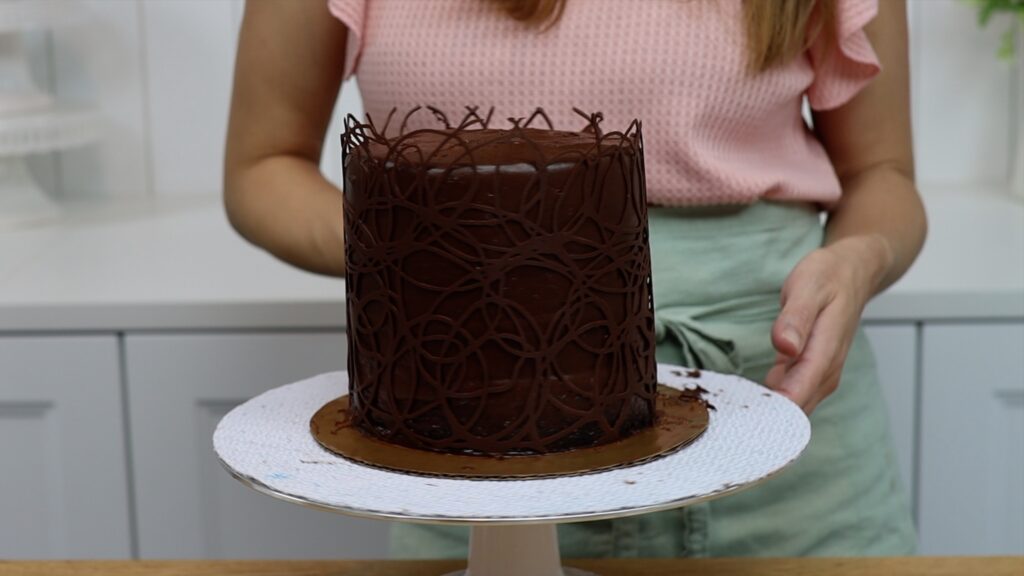
You can scrape off the frosting and re-frost it if you like. Add your own decorations like this easy chocolate wrap or chocolate collar.
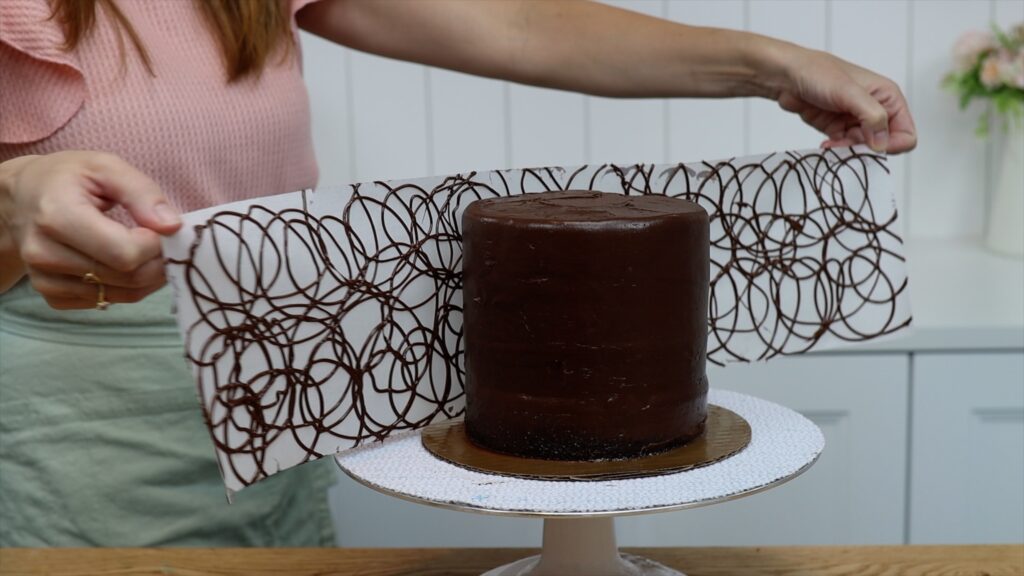
The trick here is to put the cake in the fridge for an hour to set the chocolate before you peel off the paper.
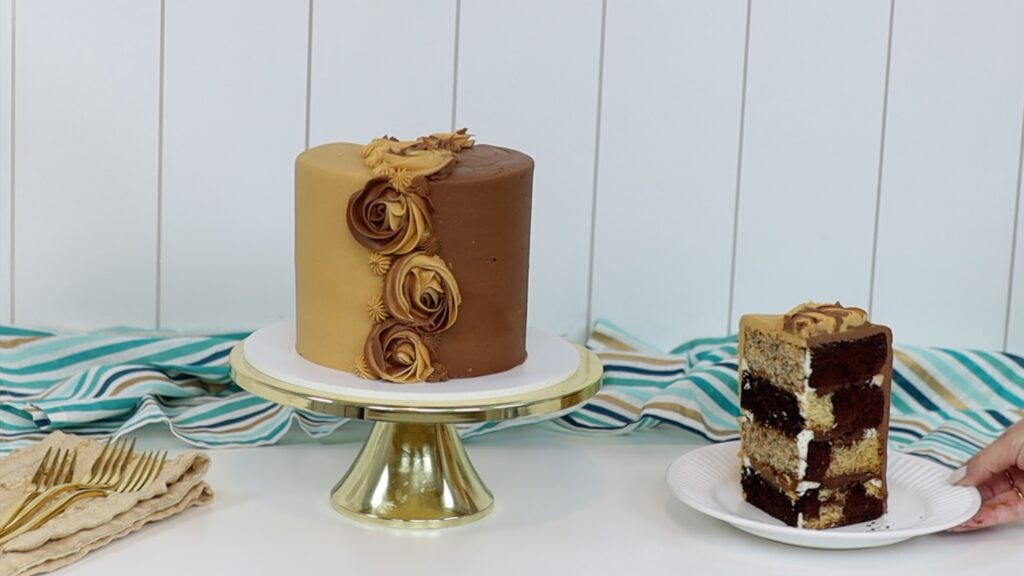
Offer 2 flavours with just one cake, which is great for joint birthday celebrations. Cut your cake layers in half and attach two halves, one of each flavour, by piping or spreading buttercream down the middle.
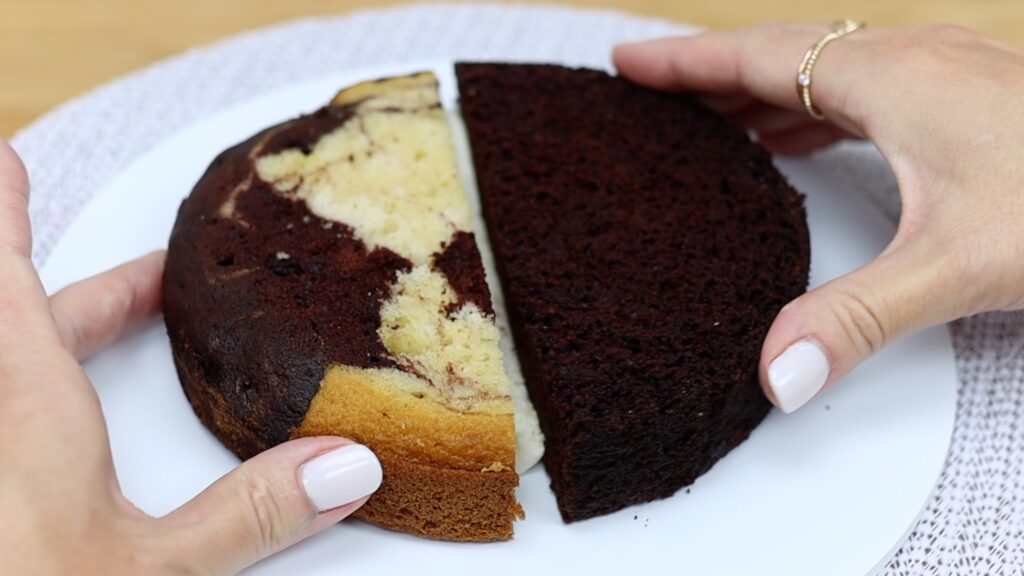
Add different fillings, piping a dam around each half of cake to keep the fillings separate.
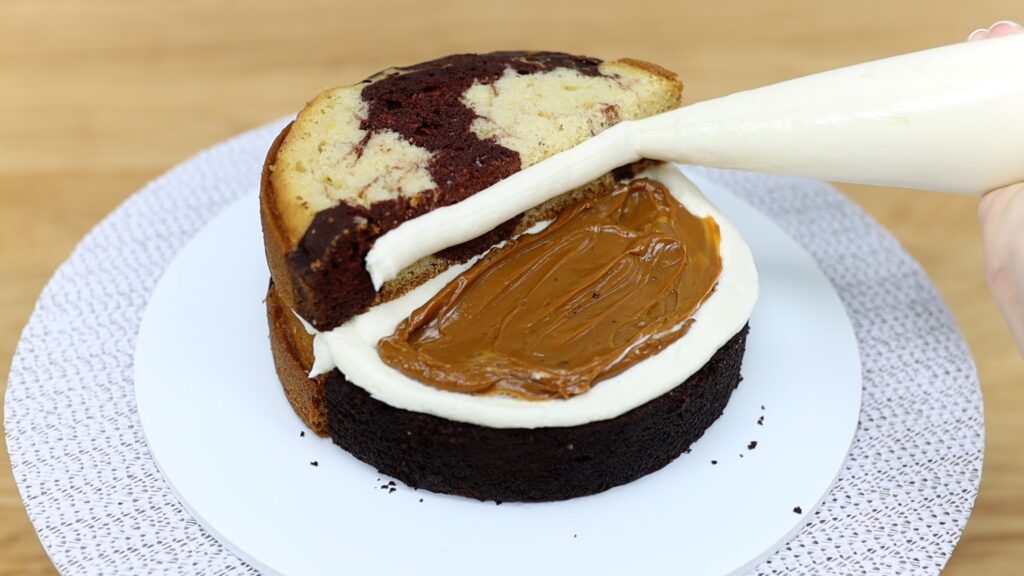
Use different flavored frostings as well, which is easier than it might seem! Cover up one half of the cake at a time with parchment paper and then frost the other half. This will keep each flavour on just one half.
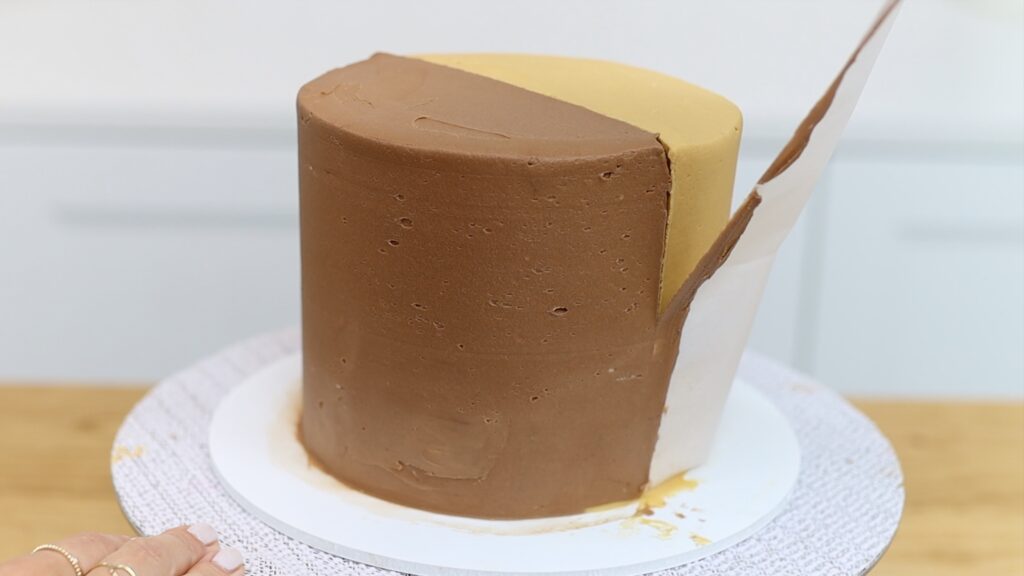
Remember the crumb coat, so that you don’t get any crumbs in your final coat of frosting. Use the leftover frosting of both flavors to pipe swirls down the middle to cover up the join between the two flavours.
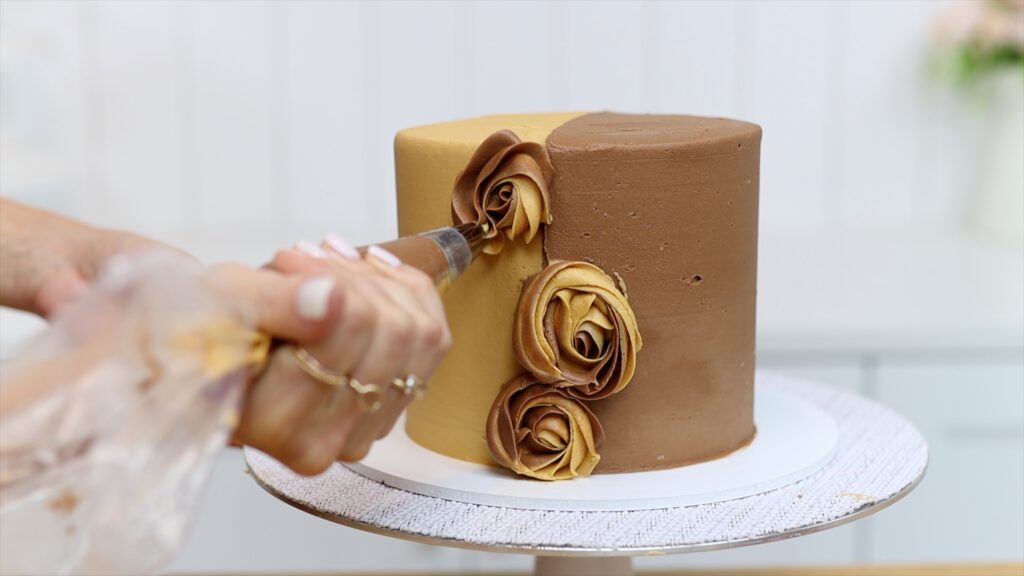
You'll find step by step instructions in my tutorial on Half and Half Cakes. With this technqiue you'll make a unique cake with two flavors for everyone to choose between, or of course they can try both!
Just because you’re travelling somewhere for a birthday, doesn’t mean you can’t take a cake with you! Bake and assemble your cake at home, using fillings that don't need to be refrigerated.
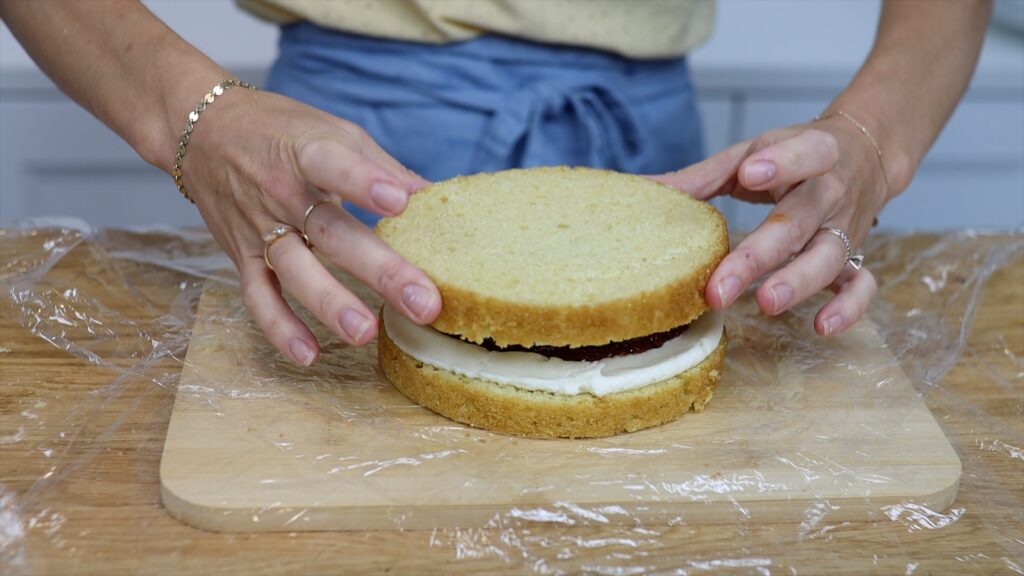
It's quickest to assemble the cake on a piece of plastic wrap. Then wrap the plastic around the cake and put it into the pan you baked it in.
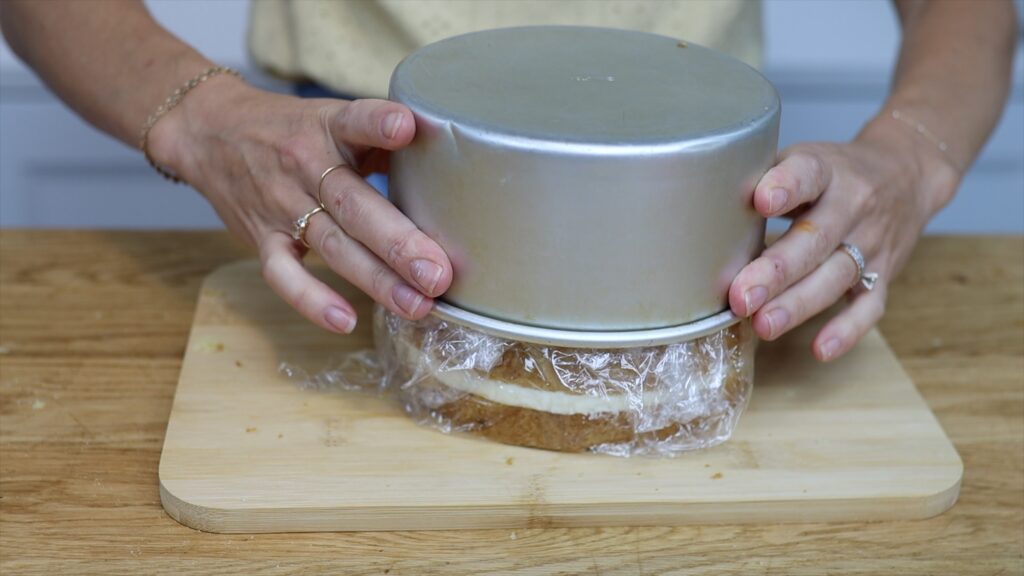
You might need to use two pans if it's a tall cake like this one. Fill any empty space in the pan with a piping bag of frosting and a kitchen towel.
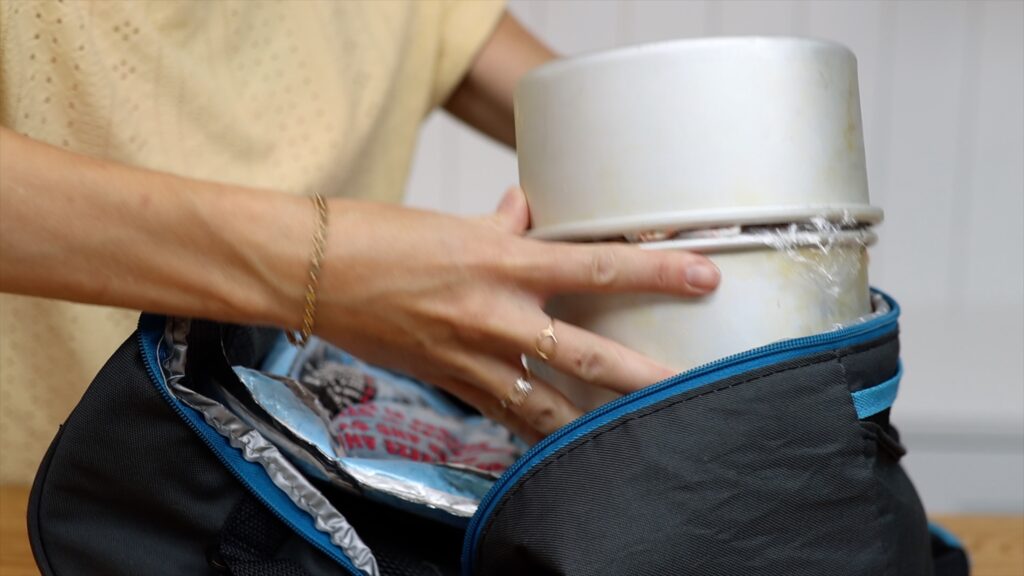
Put this into the freezer for up to 2 months, until you travel. Then put it into a cool box with an ice pack so that it thaws gradually while you travel. I’ve taken cakes like this on airplanes and cars across the country!
At your destination, take the cake out of the pans and put it on a plate. Now add any details you like using your piping bag.
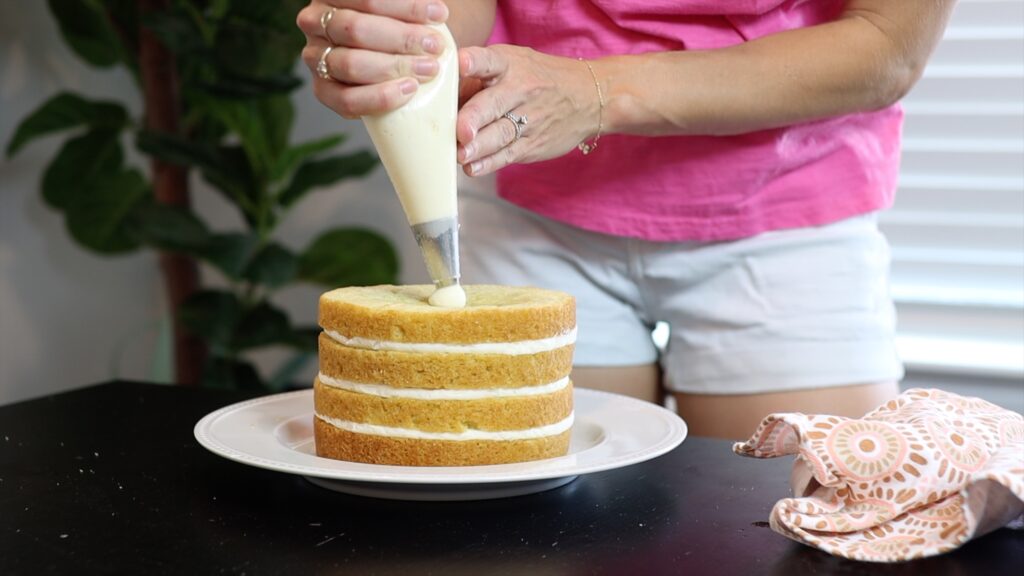
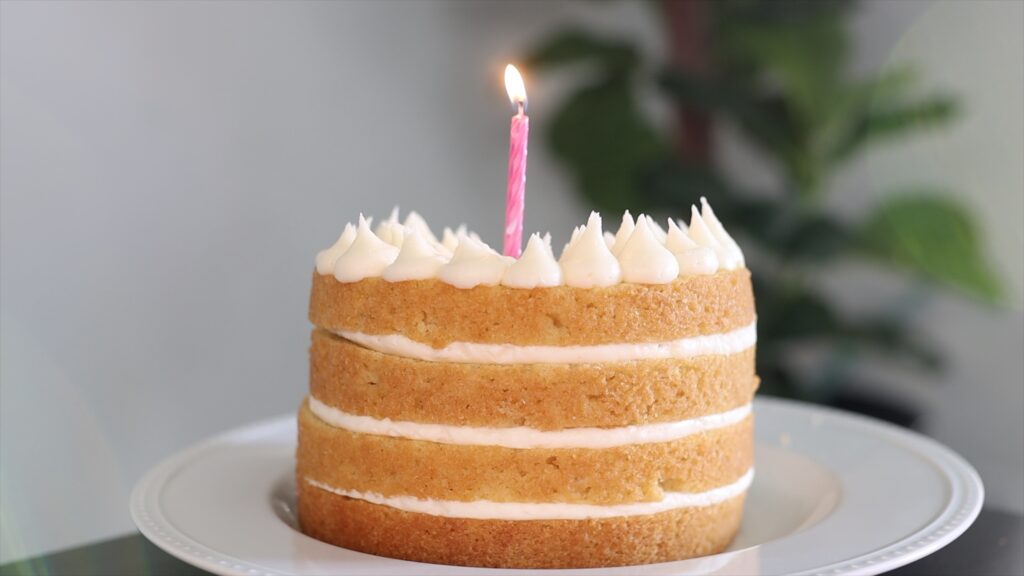
Add a candle and you have a very well-travelled birthday cake!
I hope you’ve seen some ideas you’d like to try! For more cake decorating designs and techniques visit my cake school.
You can also watch a video of this tutorial on 10 birthday cake ideas for everyone:
