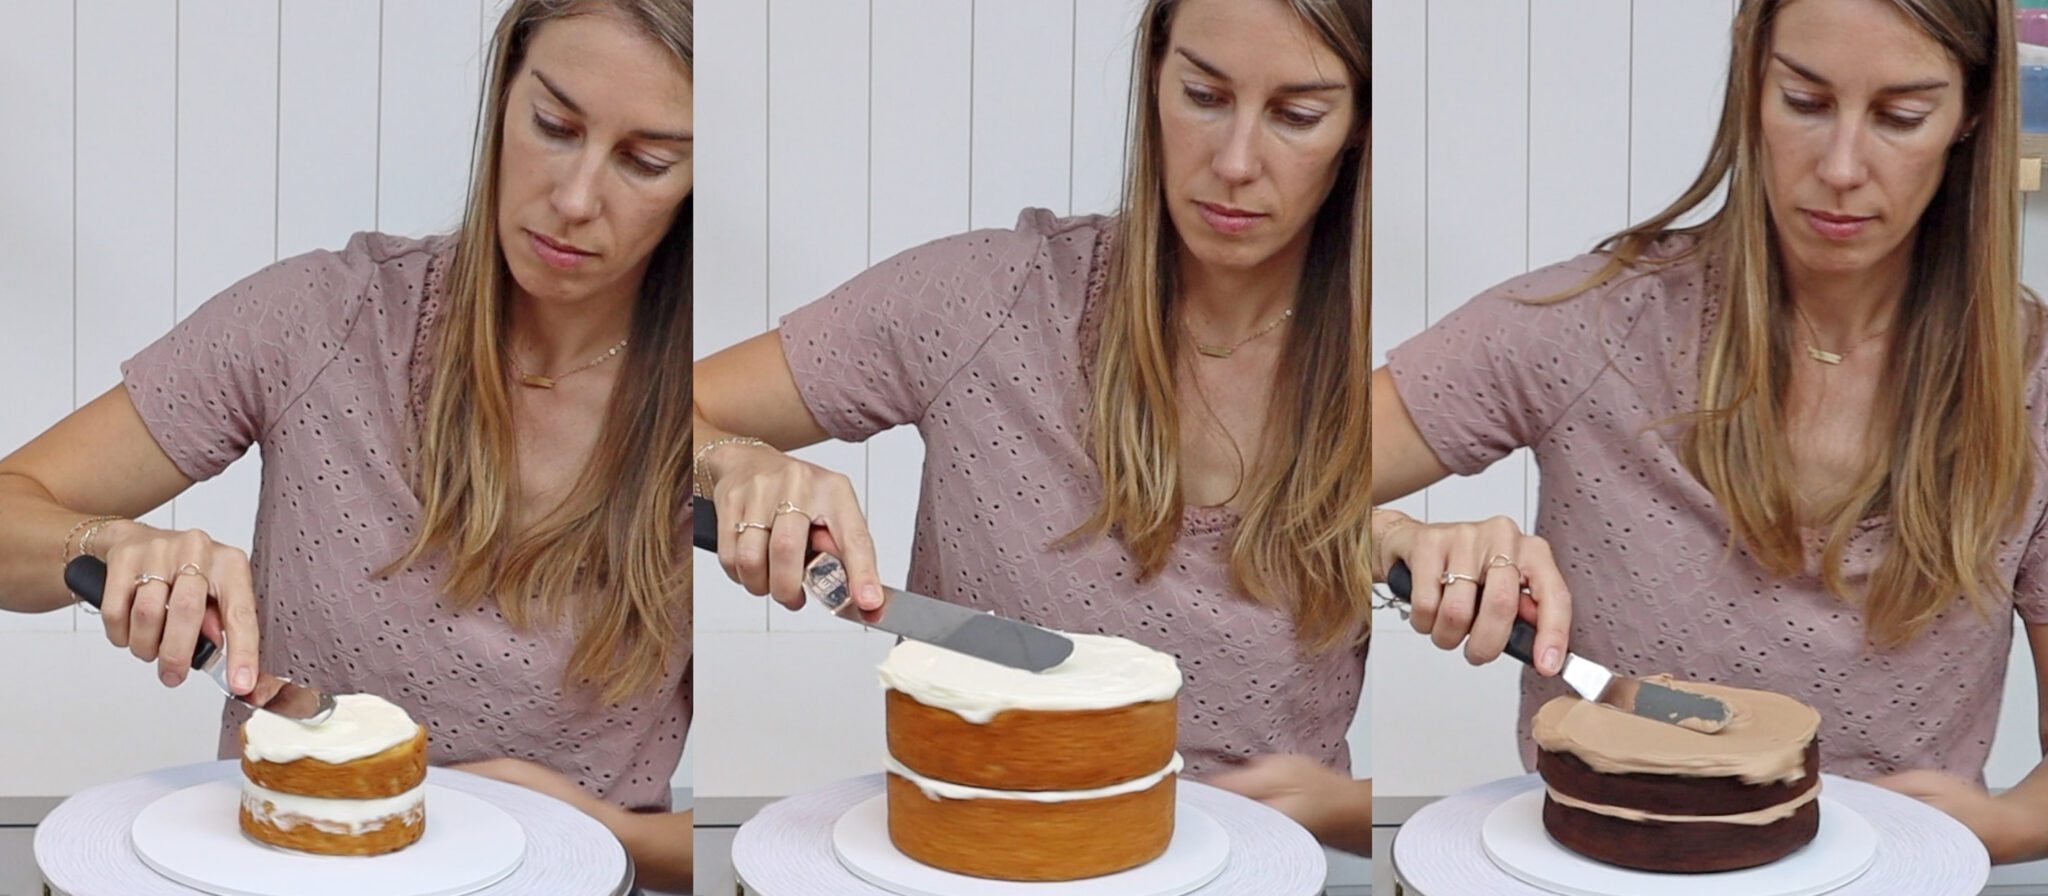
These 10 cake hacks to save time will make it less stressful and less time-consuming to make a cake, frost it, and decorate it!
Save time when you’re making several cakes by doing the same stage for every cake. Then move onto the next stage for all of the cakes.
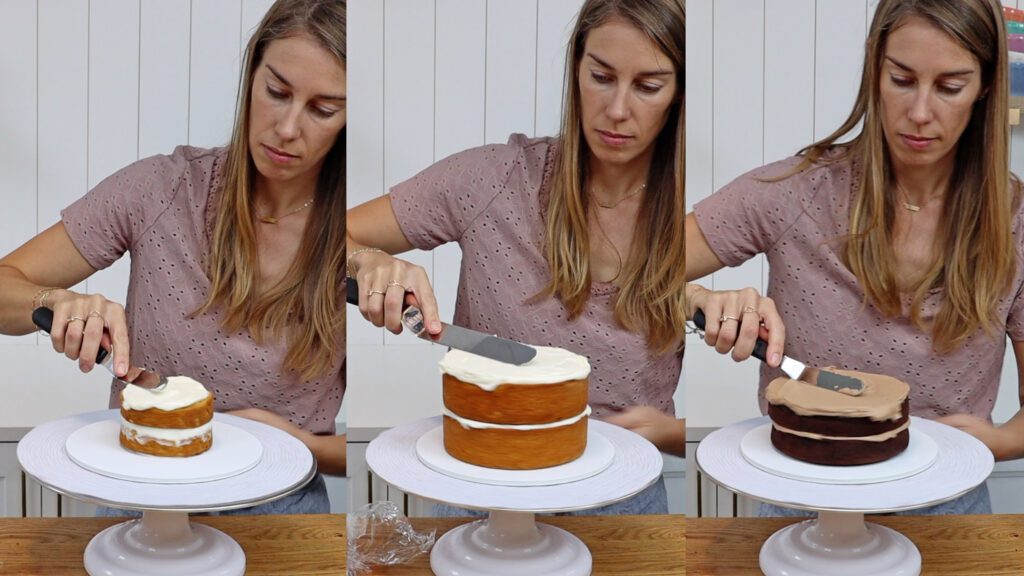
The first step would be to bake all of your cake layers and make all of your fillings and frostings. I make almost every filling and frosting out of my 4 Minute Buttercream! It can be flavoured with all sorts of ingredients like cream cheese, melted marshmallow, or chocolate.
Then assemble every cake and then crumb coat every cake. This way you’ll work much faster because you take out and put away the tools for each stage only once. Also, when you're in the swing of frosting a cake you’ll frost the second cake much faster. And the third cake even faster!
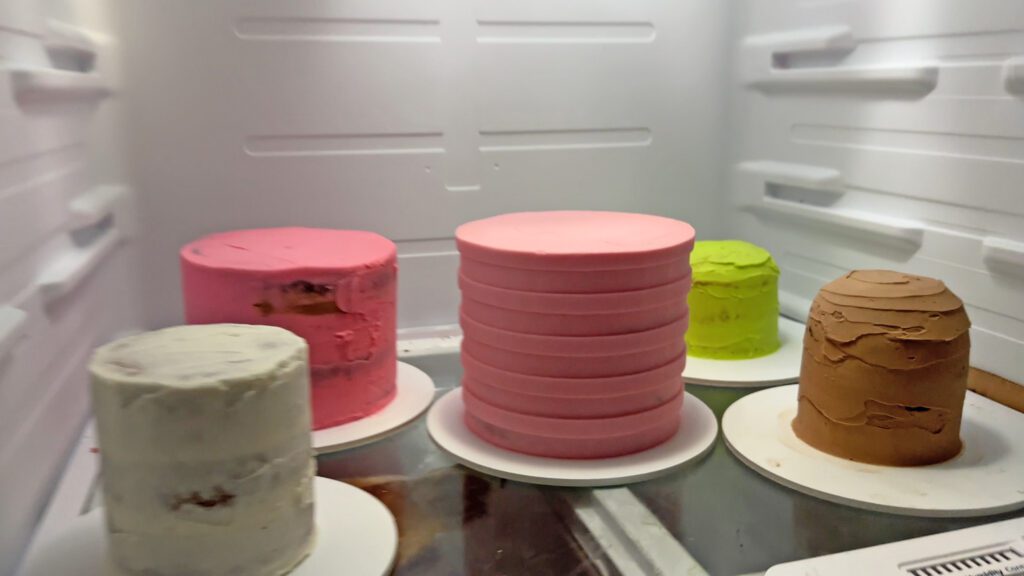
While some cakes are in the fridge to set the crumb coat, frost another cake so there’s no waiting time. Finally, final coat every cake one after the other, before you do the decorations for every cake. You’ll save so much time this way!
To make different colours of frosting, start by spooning some buttercream into a separate bowl. Tint it the lightest colour you’ll need. Frost your cake and then add more gel to the leftovers to make the next colour.
In the photos below, I started with pale pink buttercream for a striped cake. Then I added more pink to frost the next cake. Finally, I divided the leftover dark pink buttercream between two bowls. I added purple to one and black to the other, to make ombre frosting.
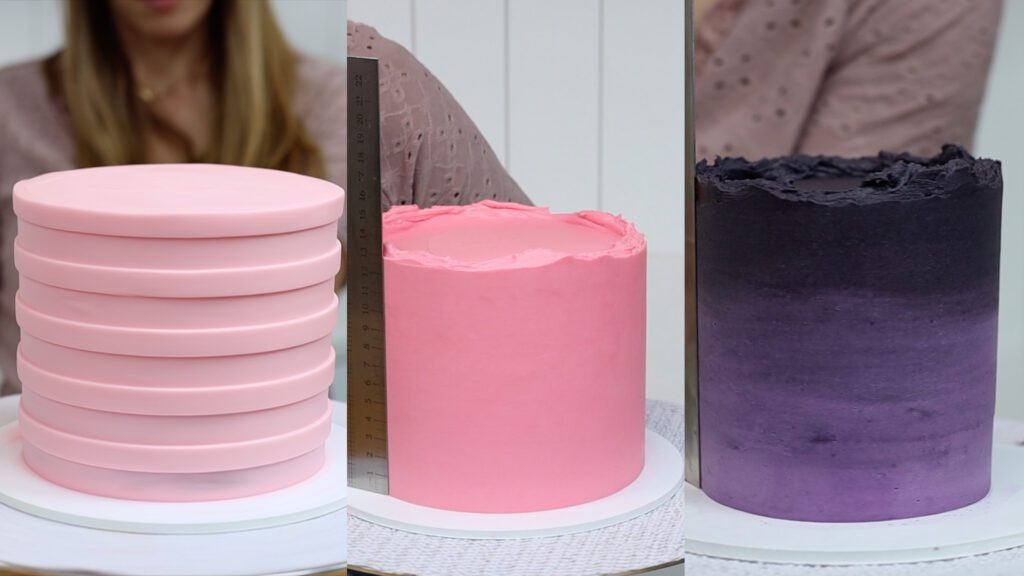
By getting darker each time, you save time by not needing to wash bowls or spatulas.
Here's another tip for buttercream. Don't try to guess exactly how much you’ll need of each colour because leftovers are ok! So if in doubt, make a little bit more that you think you'll need. It’s difficult and time consuming to try to tint more buttercream to match a colour you’ve already used. On the other hand, having leftovers is actually a time saver!
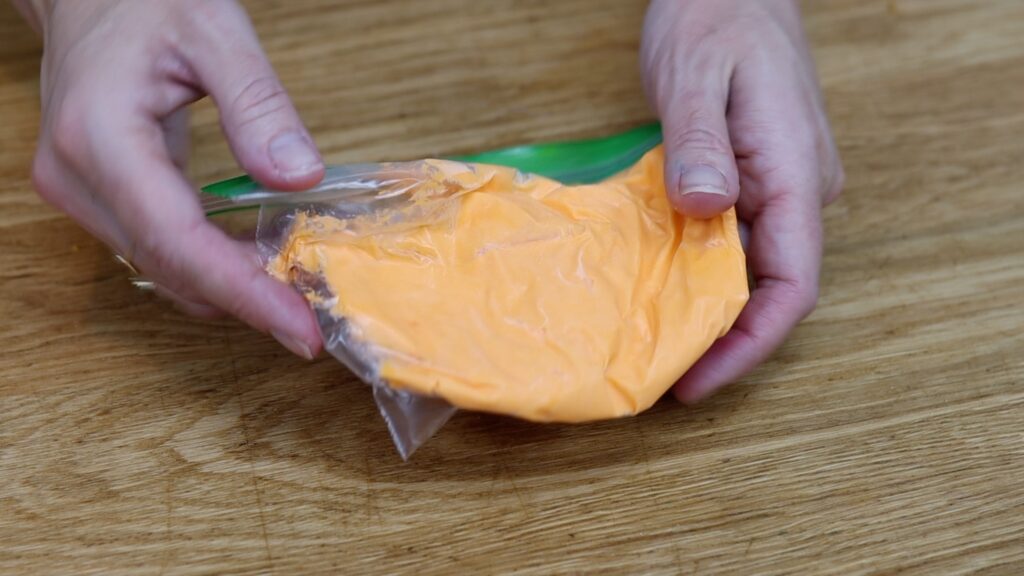
Leftovers will save you time when you make your next cake in the future. Freeze leftover buttercream in a sealed bag like a ziplock bag for up to 2 months! To thaw it, take it out the night before and by the morning it will have come to room temperature. Cut a corner off the bag and squeeze the buttercream into a bowl. Add more colour if you want to re-tint it. Then stir it quite aggressively to knock out any air bubbles, which tend to appear when the buttercream changes temperature. Now this leftover buttercream is ready to use for your next cake!
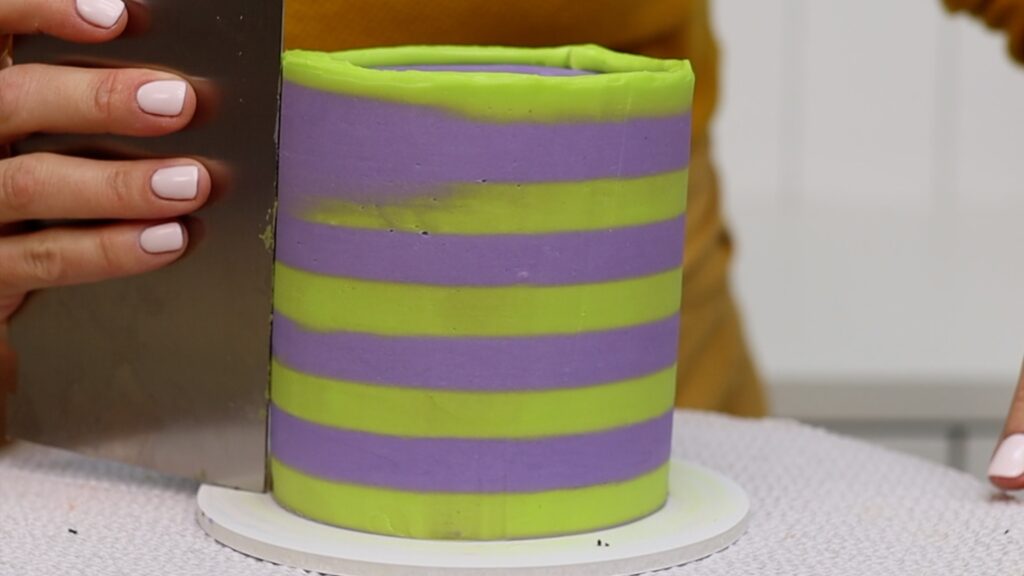
Don’t rush any part of making a cake. You’ll have to scrape and start again! Save time by taking your time to do it carefully and neatly the first time.
For example, I didn’t chill this cake for long enough before adding the neon green stripes. The purple stripes didn’t set properly and they blended into the green stripes to make a mess. I had to scrape the cake and start again. I would have saved time by not rushing.
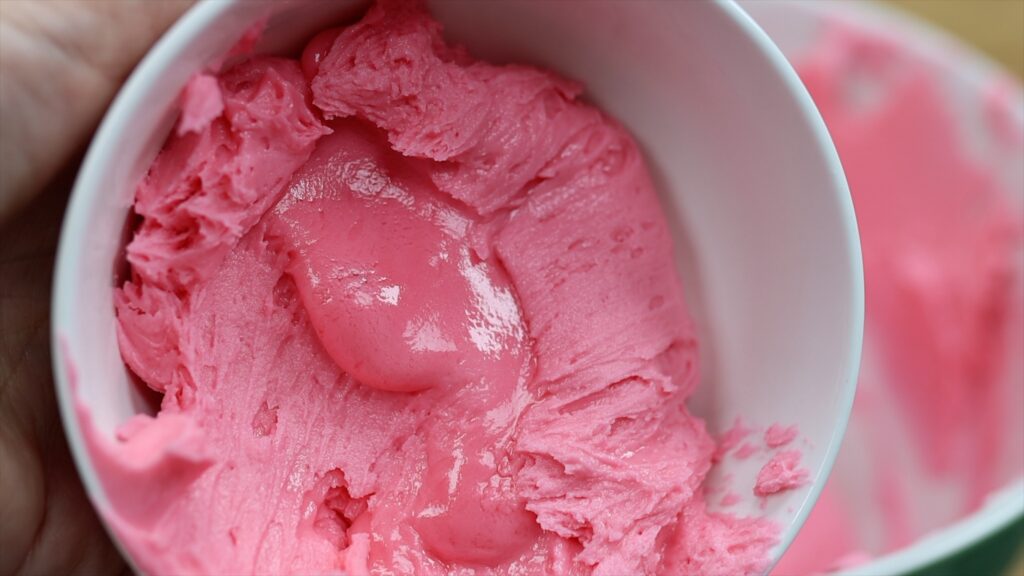
If you notice your buttercream is the wrong consistency, don’t try to frost the cake. You’ll spend a lot more time trying to get it neat! Instead, fix it now. If it’s too stiff, scoop up a third of the buttercream and microwave it for 10 seconds. The butter will start to melt, like this:
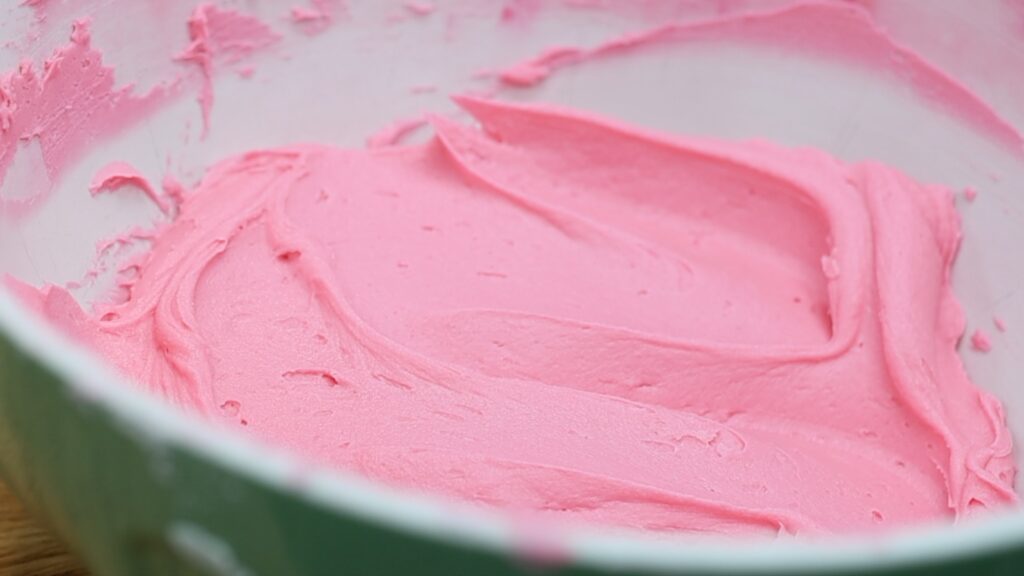
Stir this back into your main bowl of buttercream and after mixing, it will be smooth with no air bubbles. It will spread onto the cake like a dream!
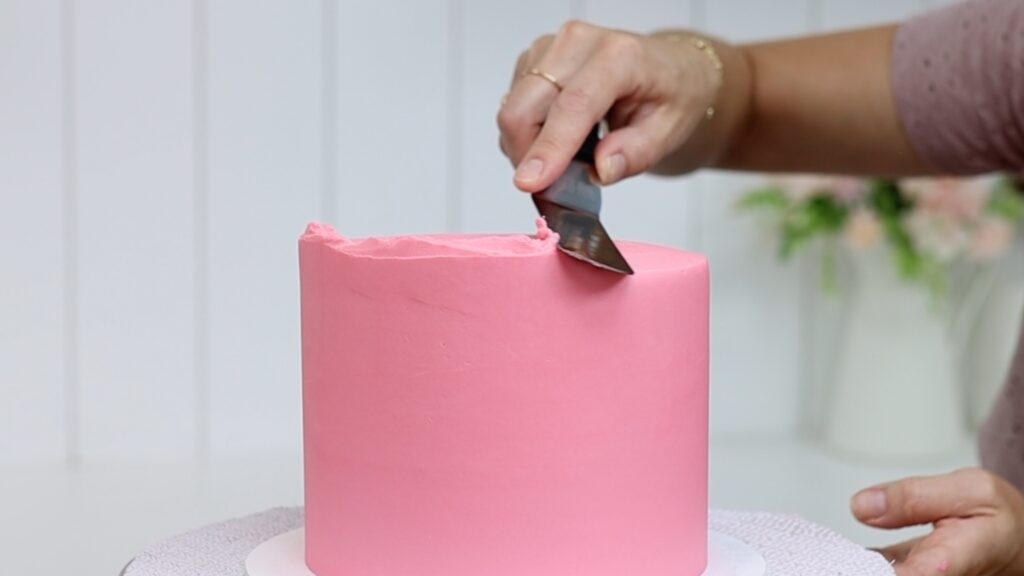
Use the right tool for each step of making a cake. For example, a tiny offset spatula is great for mini cakes and stencils. But to frost a 6 inch cake, the same spatula will take forever!
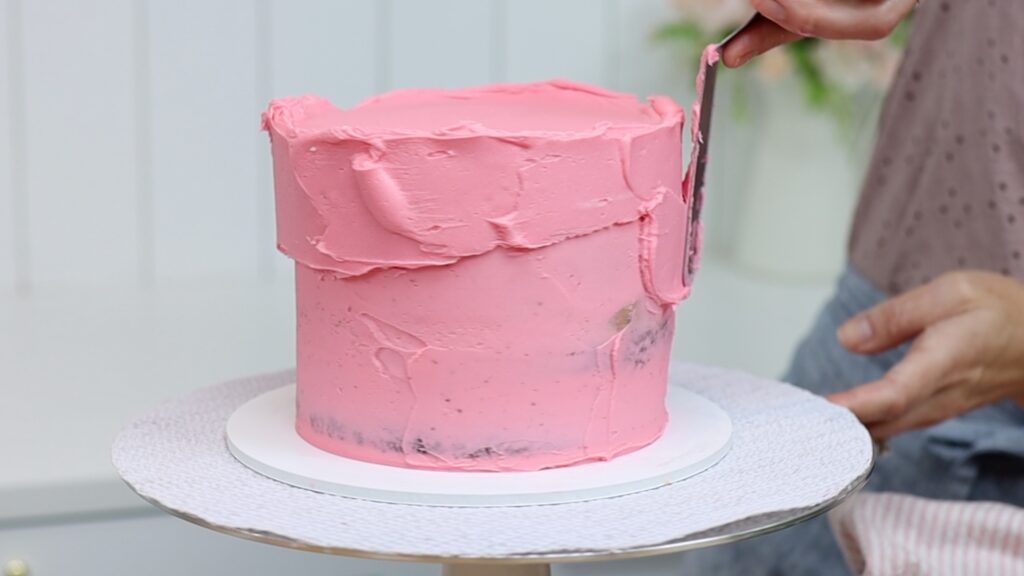
Switch to a bigger offset spatula and finish in half of the time.
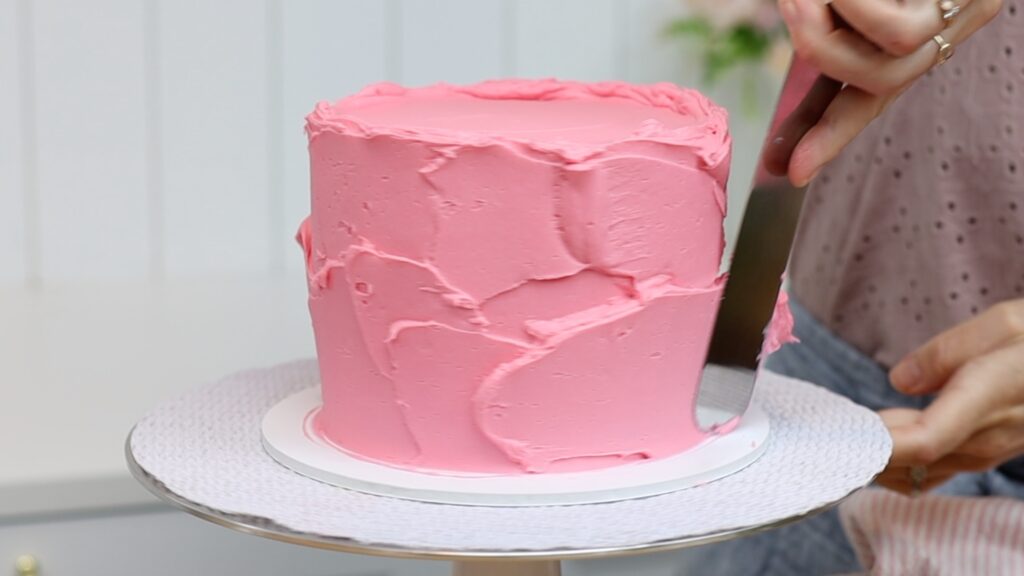
Using the right tool will also make your cakes neater. For example, this little
When you’re working on a cake, set a timer and challenge yourself to finish a step within that time. You’ll find yourself focusing all of your attention on the cake while that timer is running. Without the timer you might check your phone messages, email, water the plant, start the laundry, and so on.
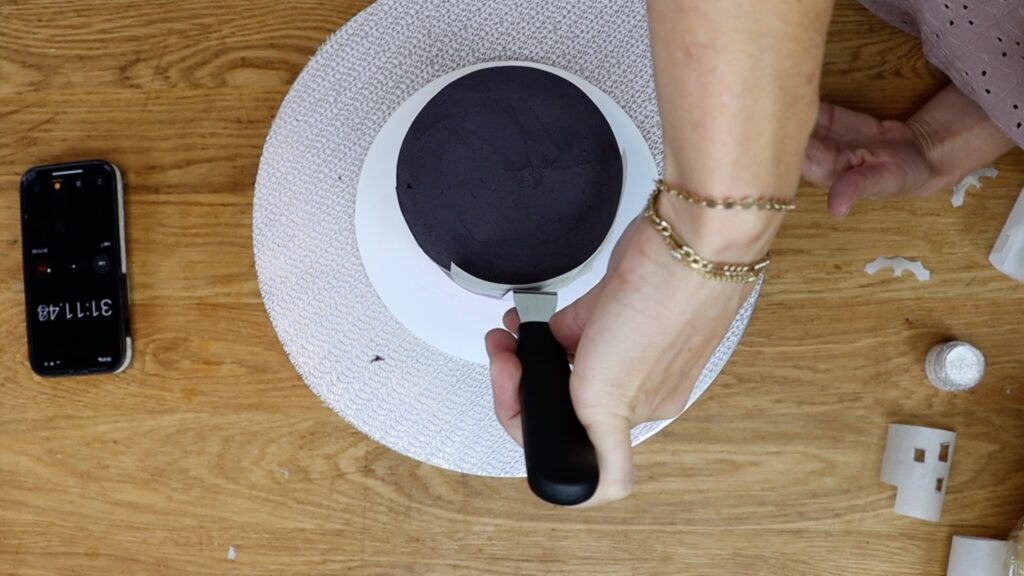
I find a timer most effective when there are several stages to a decoration. For example, to frost a cake, re-tint the leftover buttercream, make stencils, and add edible glitter. With multiple steps like these, the timer pushes you on to the next step without pausing for a distraction. I don’t recommend timing a single step, like piping. The timer will make you rush and the decorations won’t be as neat.
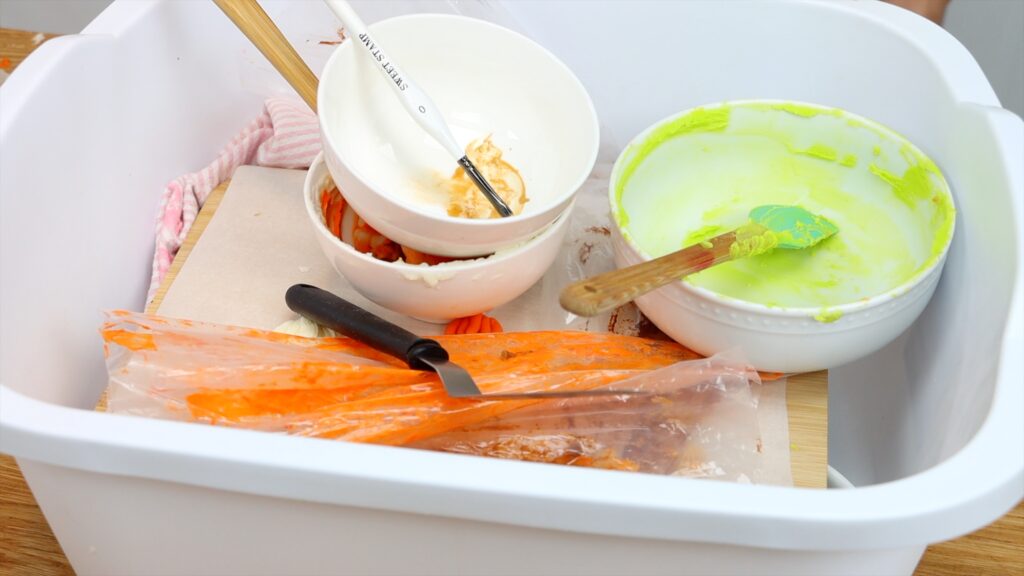
These cake hacks to save time are useful if you make cakes far away from the sink and rubbish bin or garbage. Use a “dirty” and “throw away” tub or bowl to tidy up as you go. This will avoid a huge mess to clean up at the end of the cake decorating process. Throw piping tips, spatulas, bowls, and anything else dirty into one tub to later carry to the sink. Into the other tub, toss anything that you'll throw away later. With a clean workspace you'll make cakes faster and also reduce clean-up time.
For baking, my mum taught me to take out all of the ingredients before you start. This way you know that you have everything you need. But I don’t do this for cake decorating because there are so many “waiting periods”. While the buttercream is mixing, while the frosting is setting in the fridge or freezer, while an ingredient like melted chocolate or a drip is cooling before you can use it… These are perfect windows to find whatever you need for the next stage of your decorating process. Here's an example of what this might look like:
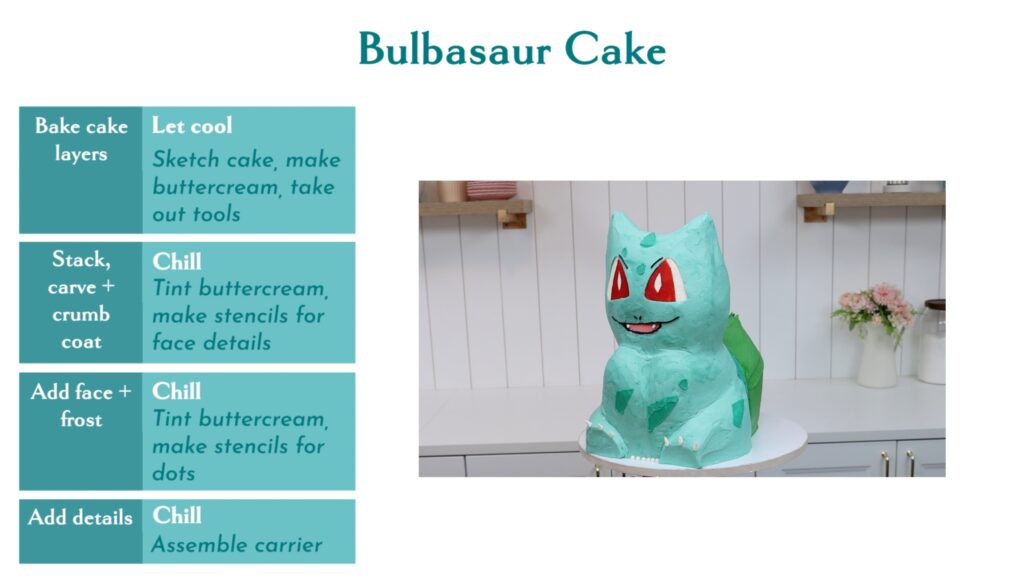
I think the most efficient way is to plan your strategy ahead of time. Make a list of the steps for your cake and include any pauses or waiting periods. Also include what to do in those pauses. This way you'll be as productive as possible and decorate your cake as efficiently and as possible.
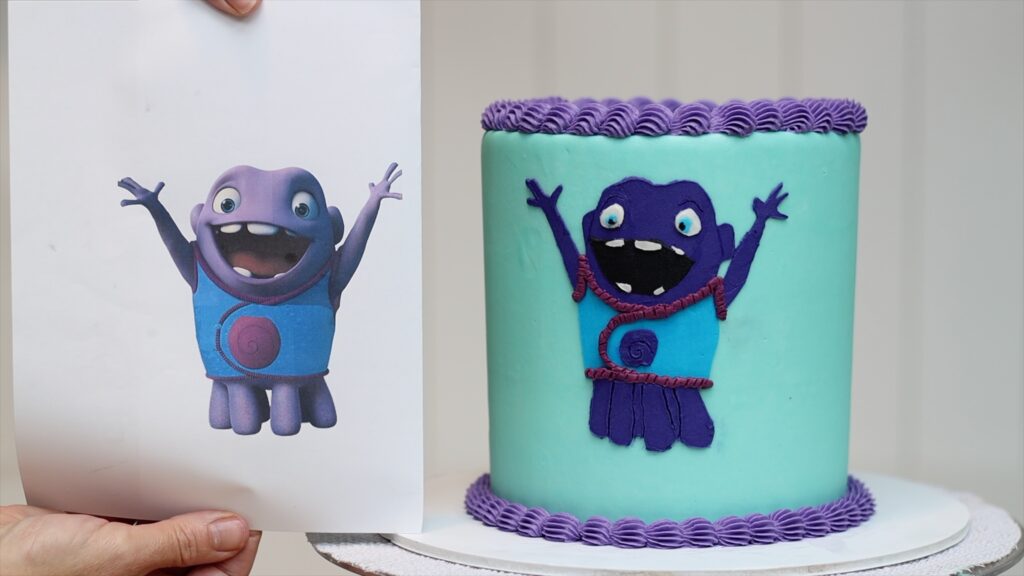
There are several options for character cakes and some take longer than others. You can sculpt a cake, which is the most time consuming option. Or you can use layered stencils to make a flat image of the character. This also takes a long time because you have to chill to cake in between each colour. Check out this tutorial on how to make character cakes with layered stencils, like on the cake below:
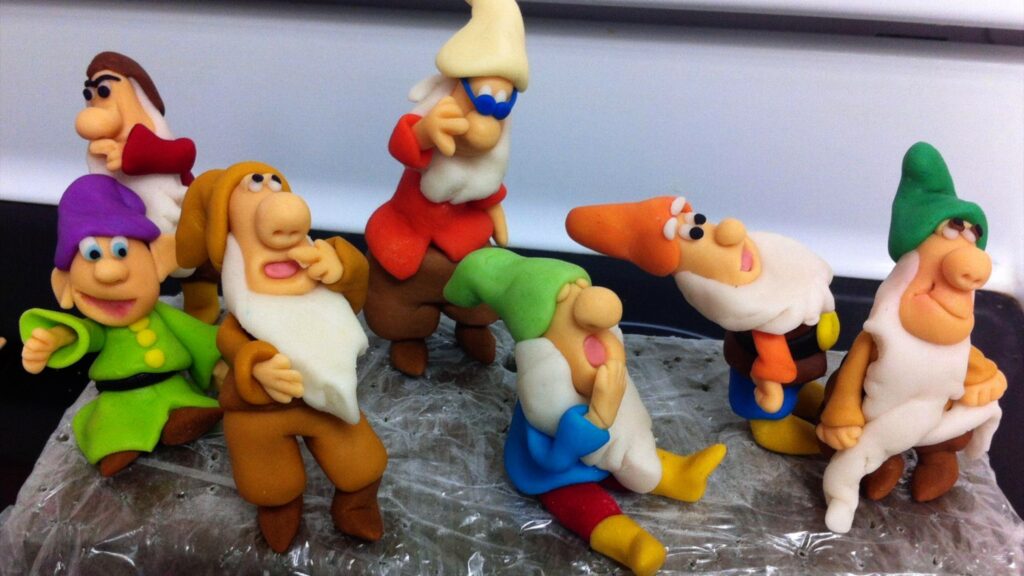
Another time consuming option is to make fondant figures. The process is fun but tedious and will almost always take longer than you expect!
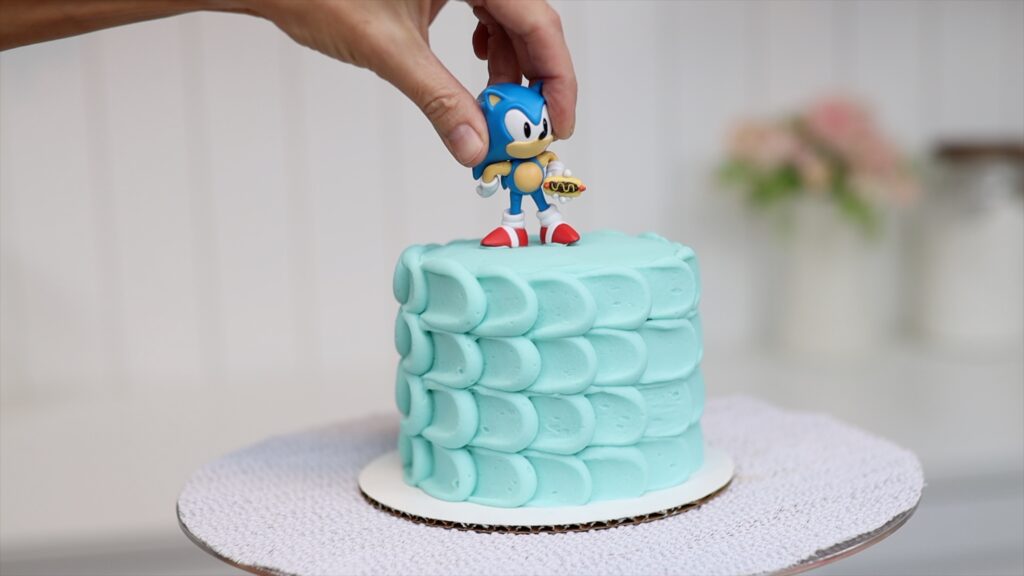
To save time, use toy figures as cake toppers. Spread buttercream or melted chocolate as glue to attach figures to buttercream frosting. This is the quickest option and honestly, the toy topper will probably have the best resemblance to the character!
Save time in the days before a cake is due by preparing part or of the cake in advance!
You can bake cake layers up to two months in advance. After they cool, wrap them in two layers of plastic wrap like cling film or Saran Wrap. Then freeze them for up to two months. Move them to the fridge the night before you’re ready to assemble and frost and decorate your cake.
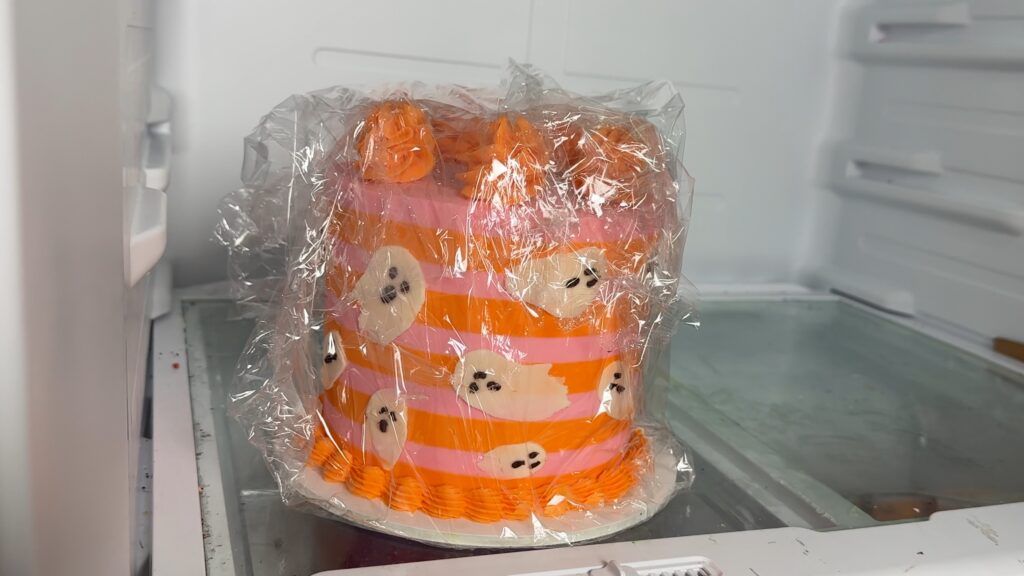
Or make and frost and even decorate your cake and then freeze it. Put it unwrapped into the freezer for an hour to chill and set the frosting and decorations. Then wrap it in two layers of plastic wrap and then put it back into the freezer. Move it to the fridge to thaw gradually the night before you serve it. Then two hours before you serve it, take it out and unwrap it straight away. It's important to unwrap it while the frosting is still cold and firm so you don’t damage it.
When a previously frozen cake comes to room temperature it will taste just as good as if you’d baked it that day. Let’s do a blind taste test! One of these forks has a piece of cake that I baked and frosted this morning. The other has a piece from a cake that’s been in the freezer for a few weeks. I put it into the fridge last night and it's been sitting on the counter for about two hours. Both cakes are now at room temperature. Which tastes better?
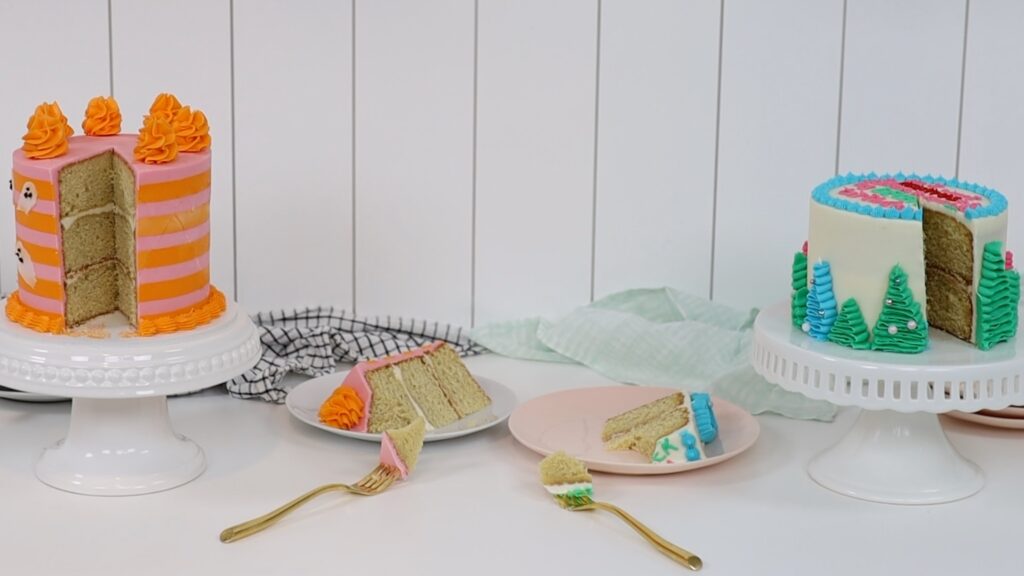
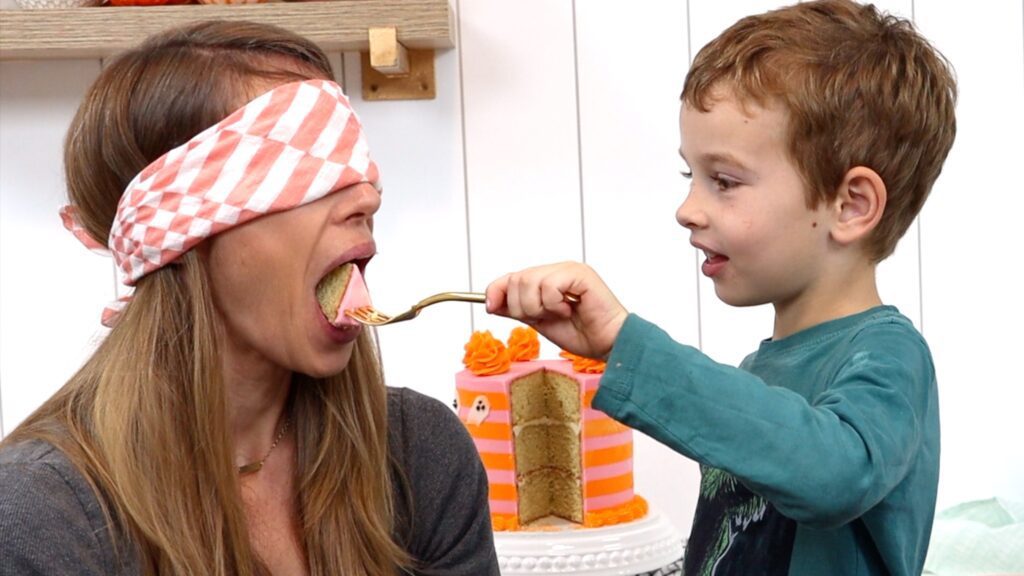
My sons volunteered to help me with the taste test. They fed me (blindfolded) each piece of cake. I honestly couldn't taste the difference between the two pieces!
I hope these 10 cake hacks to save time will help speed up your cake decorating. For more tips and tricks, visit my cake school where you’ll learn hundreds of cake decorating techniques and designs.
You can watch a video of this tutorial on 10 cake hacks to save time below:
