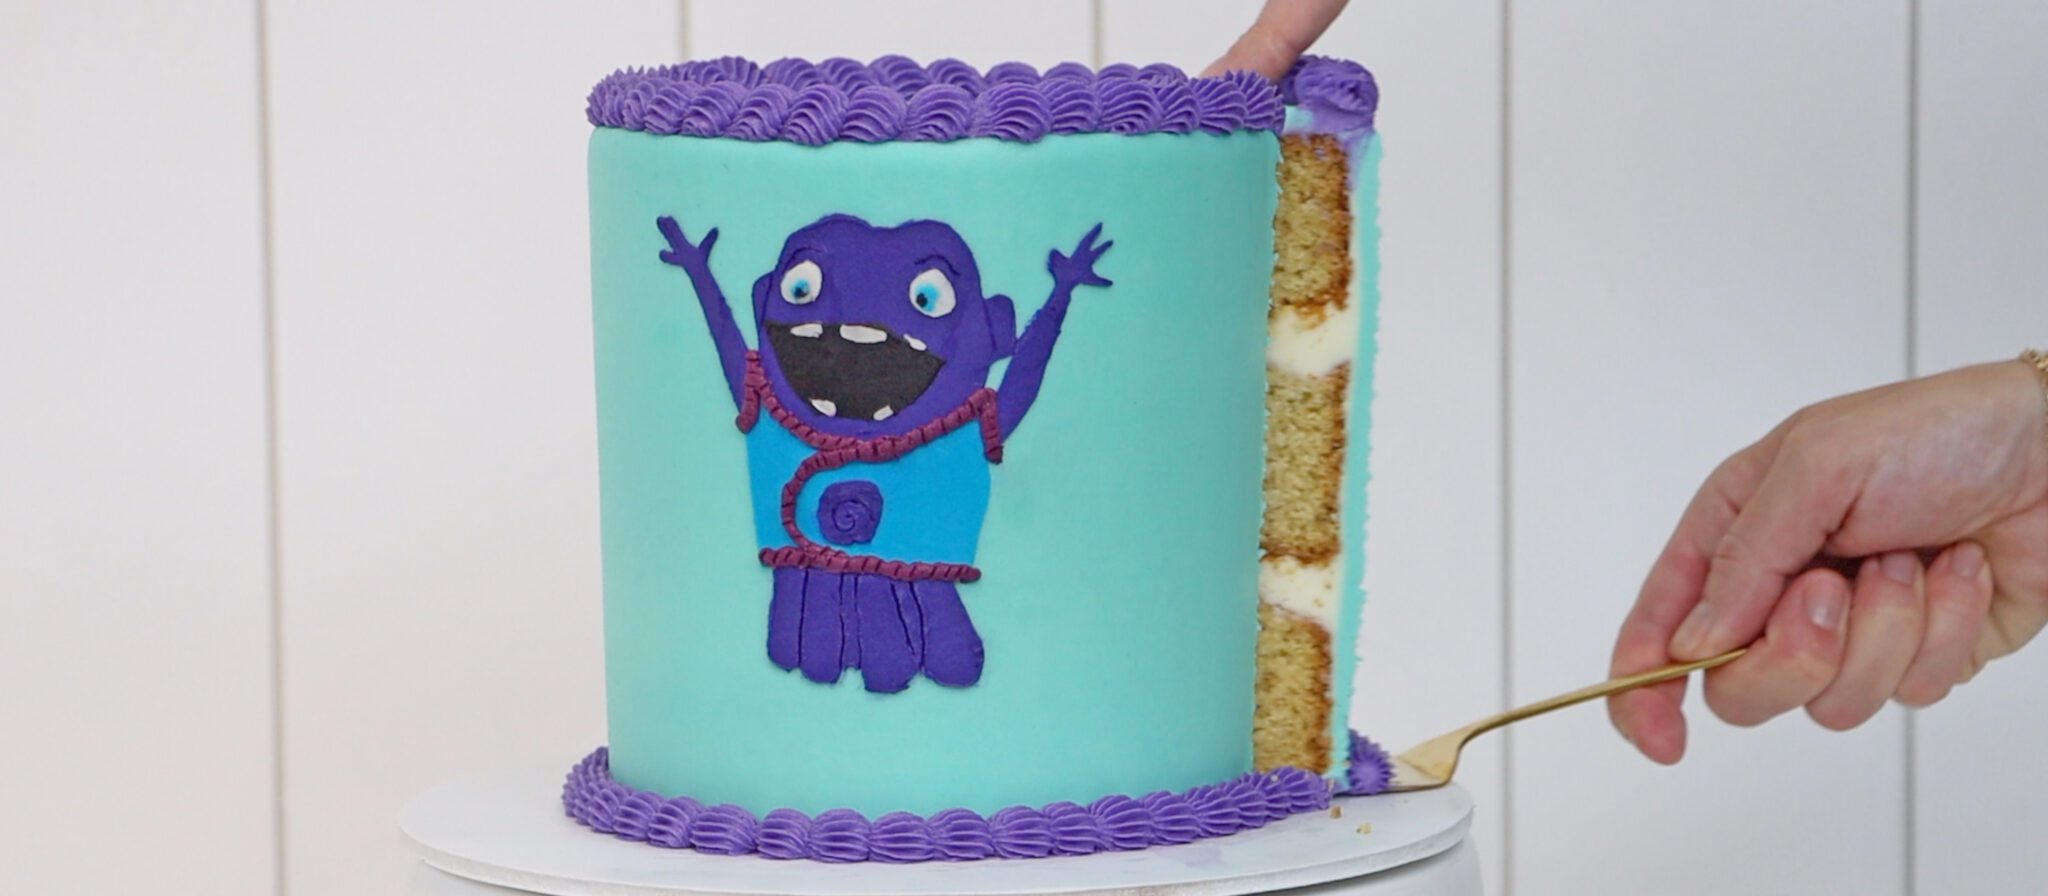
Use homemade layered stencils to make edible versions of your favourite characters with this easy, inexpensive cake decorating technique!
Stencils allow you to create almost flat patterns and designs on cakes. For characters, by layering stencils you can create all of the details to scale. The technique is cheap because you can make the stencils yourself using parchment paper or wax paper. The steps are easy to follow and can be used for any character design! The cake does need to be chilled in between stencils, which adds to the total time required.
Buttercream transfers can be used for character cakes too. The details tend to warp when you press the transfer against a cake, whereas stenciling is more accurate. Also, with buttercream transfers small air bubbles are common on the surface of the character.
I’ll use the alien Oh for this tutorial, from the movie Home. Print your character out whatever size you want for your cake. This is a tall 6 inch cake and my character is about 5 inches tall. Spoiler alert: here's the finished cake!
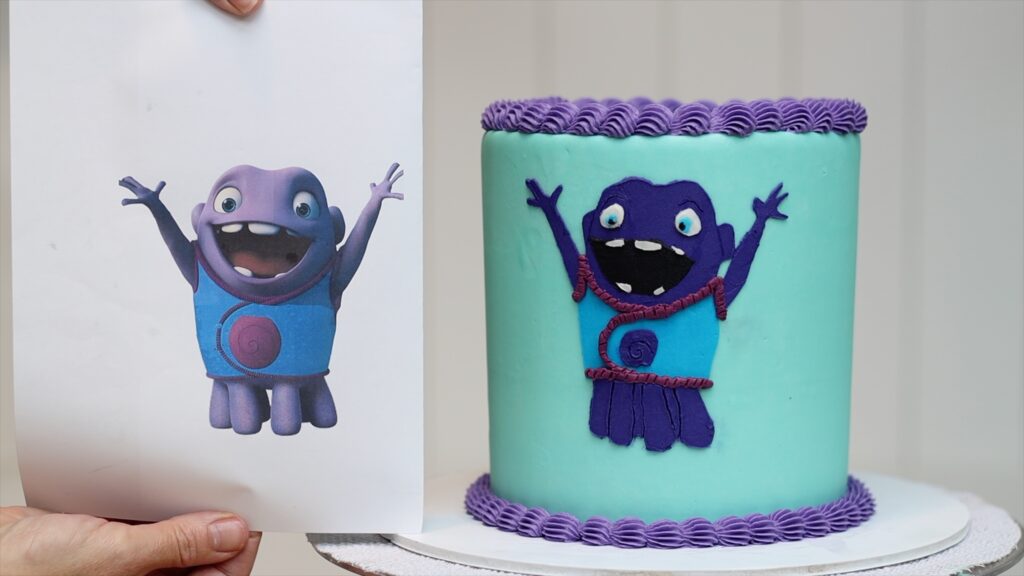
To replicate the character on the cake, you’ll need stencils for each colour of the character. I’m starting with the blue vest, outlining it with a pencil onto parchment paper. You can use wax paper instead - anything non-stick that you can see through.
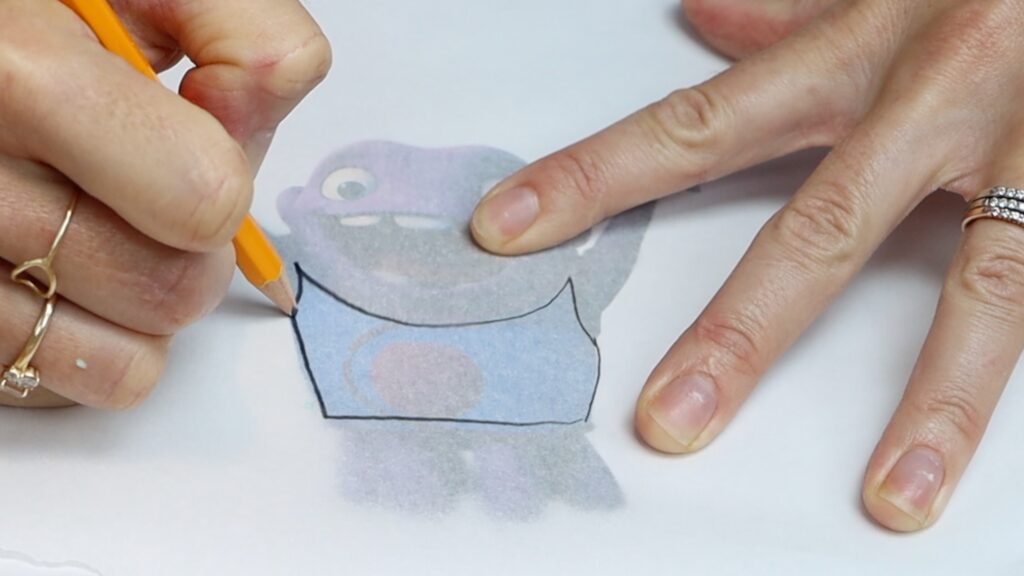
On another piece of paper, or a different part of it, outline all the parts of the next colour. I'm outing the purple parts: the legs, arms, head, and circle on the vest. You only need to draw around the outer edge of each part, ignoring any details within it.
Continue with the rest of the details, making a separate stencil for the details of each colour. For my character, the grey mouth is one stencil and the white eyes and teeth are another.
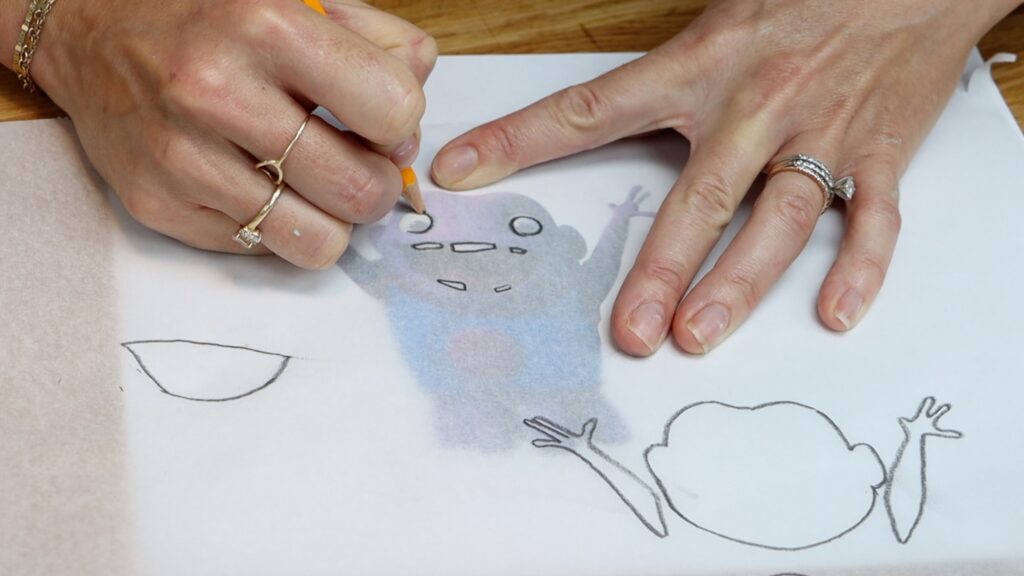
When you finish, you'll have a different stencil for each of the colours. If you’ve traced everything onto the same piece of paper, cut them into separate stencils now. Leave at least an inch of paper around the details of each stencil so that you have room to spread your buttercream without going over the edges of the stencil.
Cut all of the details out, leaving the surrounding paper intact. I snip the middle of each shape and push one scissor blade through that and then cut around the outline.
Your cake needs to be in the fridge for at least an hour before the next step. The frosting should be cold a firm. This technique only works with frosting that sets when it gets cold, like my 4 Minute Buttercream. Your first stencil should be one of the background colours that’s going to have smaller details on top of it.
For simple stencils with just one shape, press the stencil against the cake with your fingers. Hold it in place while you spread frosting over it. The frosting you spread will hold the stencil in place while you cover the shape.
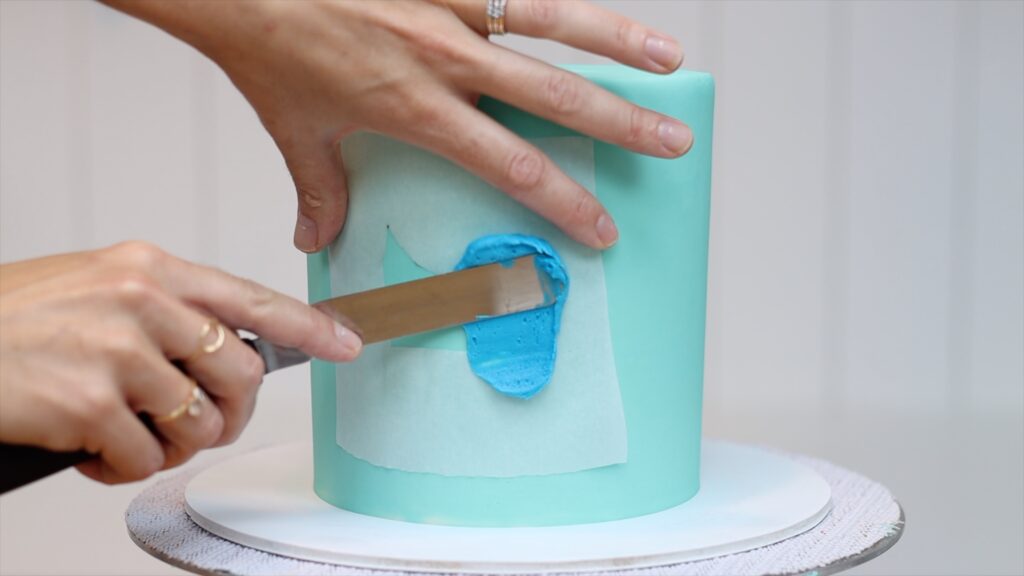
Then scrape sideways to take off the excess frosting to leave a thin, smooth layer behind.
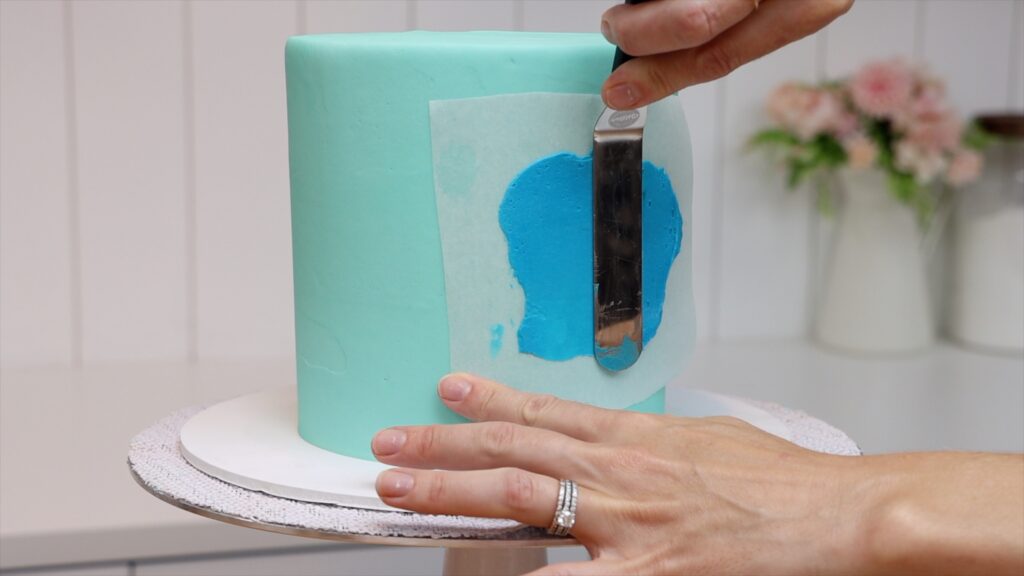
Peel the stencil off straight away and you’ll have that shape on your cake! Now put the cake in the fridge for about 15 minutes to set this shape. Then wrap your next stencil around the cake, lining it up over the details already on the cake.
For stencils with several shapes, it’s best to pin the corners of the stencil against the cake. It will take longer to spread buttercream over multiple details and using pins gives you more time to do this. If you press the stencil with your fingers instead, the warmth of your fingers will melt the frosting and you'll leave fingerprints behind.
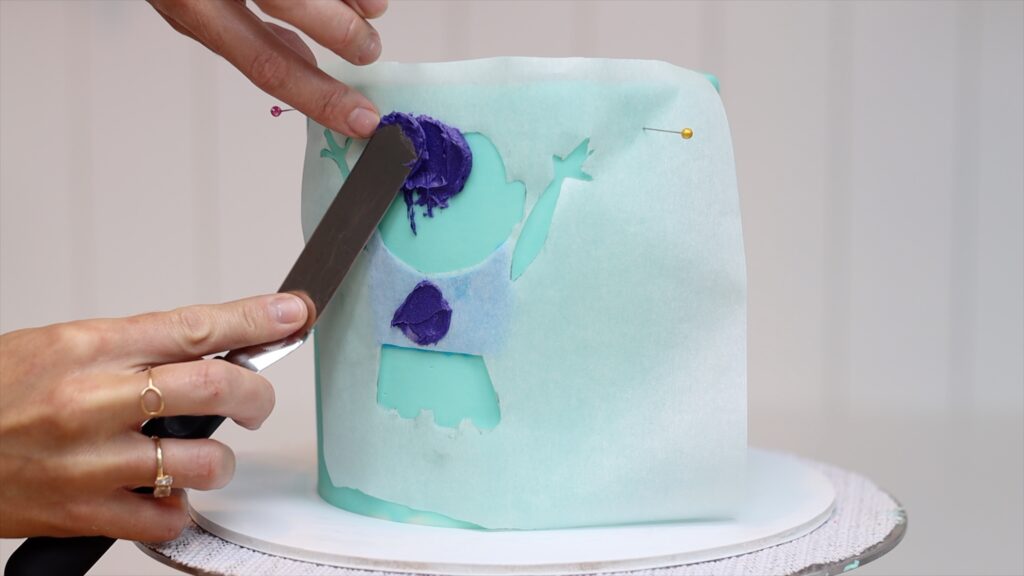
The stencil needs to be pulled tight so that it’s pressed flat against the frosted cake. It it's loose, it will move around as you spreading frosting over it. Those movements will cause smudges of colour on your cake.
Scrape over the stencil a few times with a spatula to smooth and flatten the frosting you spread on. Spread more frosting over any indents or shallower areas and then scrape again. For the best results, you need the frosted details to be really smooth.
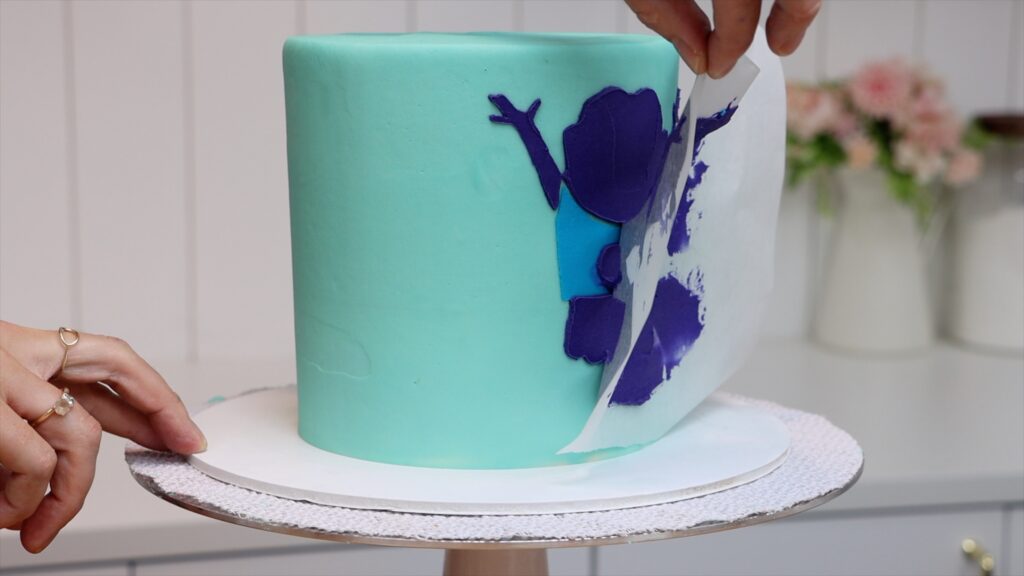
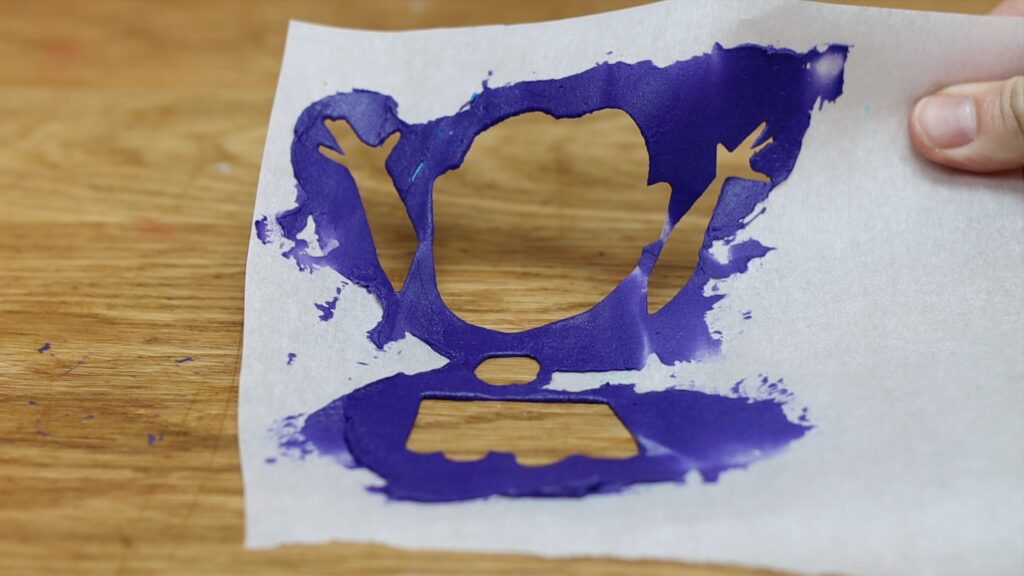
When you peel the stencil off you’ll have another layer of details of the character on your cake. The stencils look quite fun after using them! You could wipe the buttercream off and re-use the stencils if you wanted to make this character again.
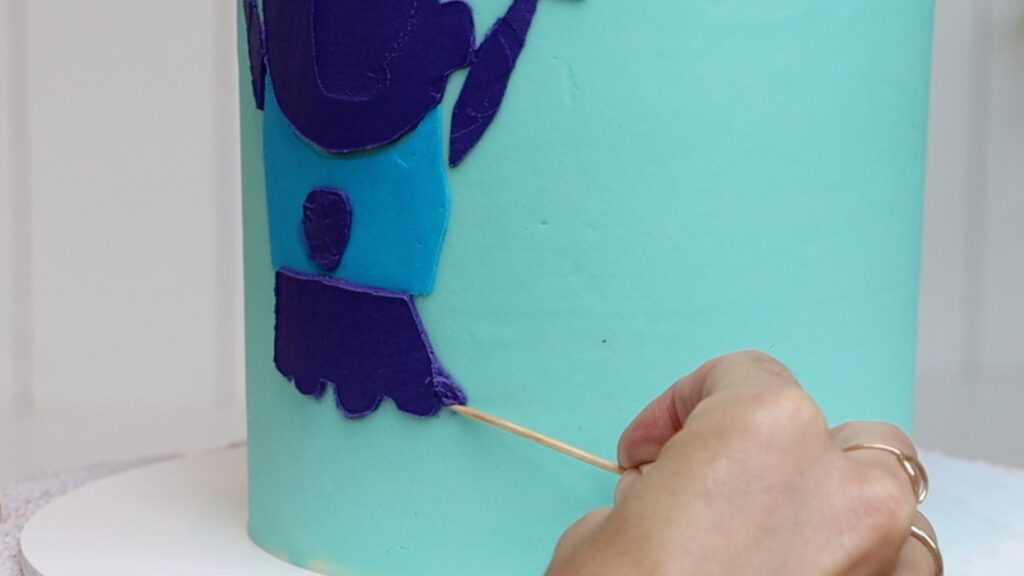
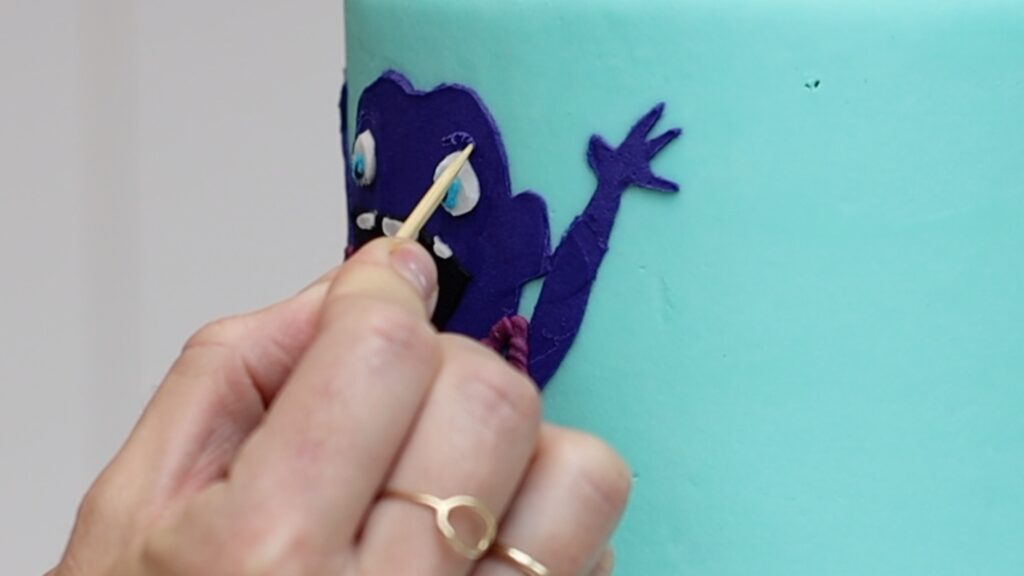
If any of the layered stencils move while you're spreading frosting over it, it will smudge onto the cake. The circle on the alien's blue vest has smudged on my cake and so has one of the legs. These smudges are easy to touch up with a toothpick by scraping off the smudged colour.
The thinner the layer of frosting you leave behind on the stencil, the neater it will be. Peeling the stencil away from a thick layer of frosting is almost always messy! Thick buttercream will pull away with the stencil and leave uneven texture around the edges of each shape.
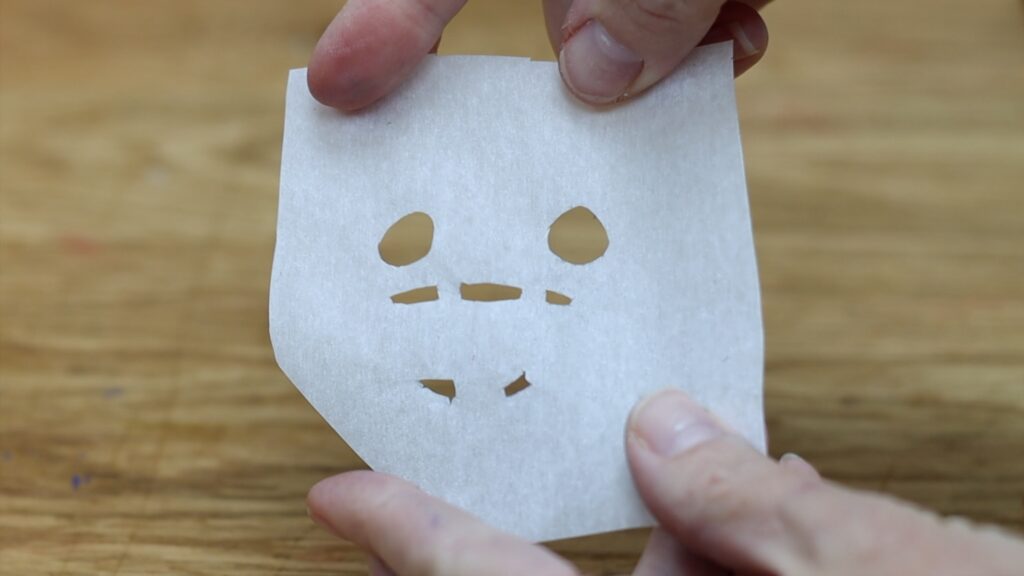
It can be tricky to cut out small shapes like these eyes and teeth. It’s useful to have a really small pair of scissors, like sewing scissors, to angle the blades around the curves. If curved shapes like circles are cut with little jagged lines, that jagged shape will transfer onto your cake. Taking your time to cut the shapes out neatly is really worth it for this technique.
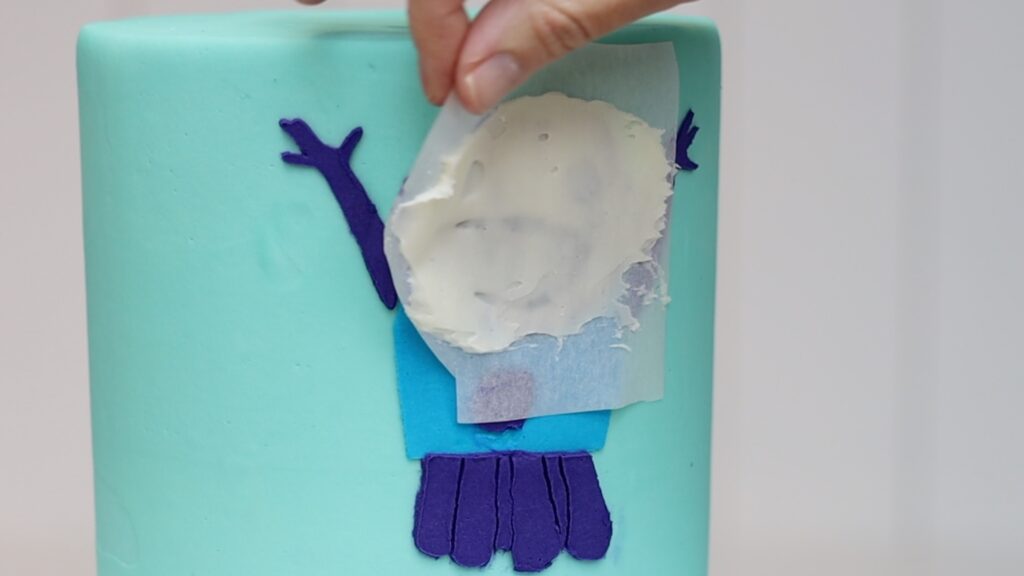
For white shapes, the frosting might need to be thicker than normal. You’ll see any darker colours underneath through a thin layer of white frosting. If the thick buttercream pulls away with the stencil, use a toothpick to smooth those edges.
Layered stencils are excellent for creating smooth, flat details. For texture and dimension, pipe some details onto the cake too. This works well for fabrics like the ribbing around this vest.
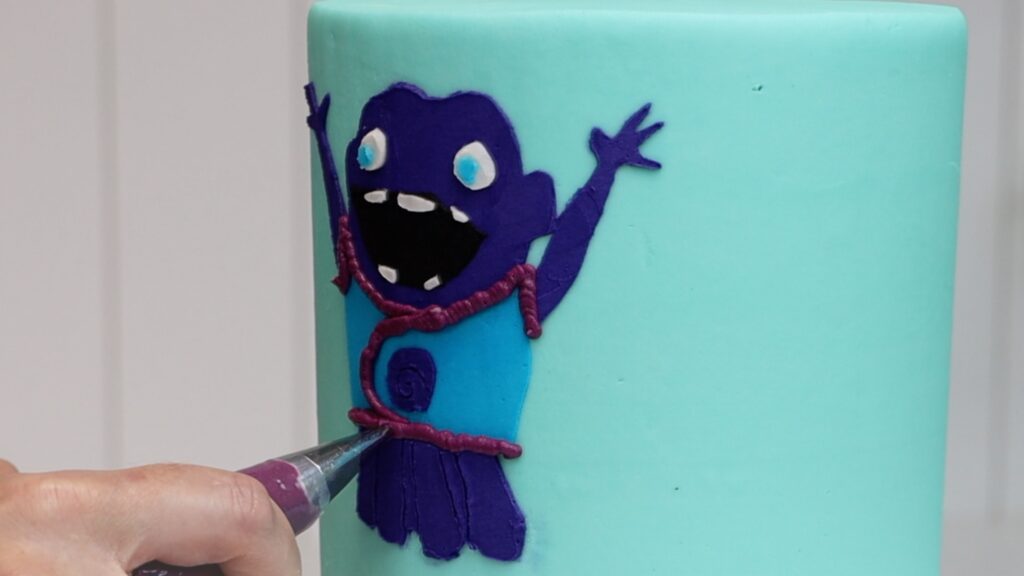
I don’t recommend piping on details like the eyes or teeth. Those look better when they lie flat against the cake.
For very thin details like eyebrows, use a toothpick to scratch them into the buttercream. You can also use toothpick to add texture to buttercream, like on the purple ribbing on the vest.
Add characters made with layered stencils on top of any flat frosting, for example ombre frosting or buttercream stripes.
If you plan on piping onto the cake, for example a buttercream border, do that after creating the character. If you pipe first, you might knock the piping with your stencils and damage it.
I used a 4B open star piping tip to pipe the borders on this cake:
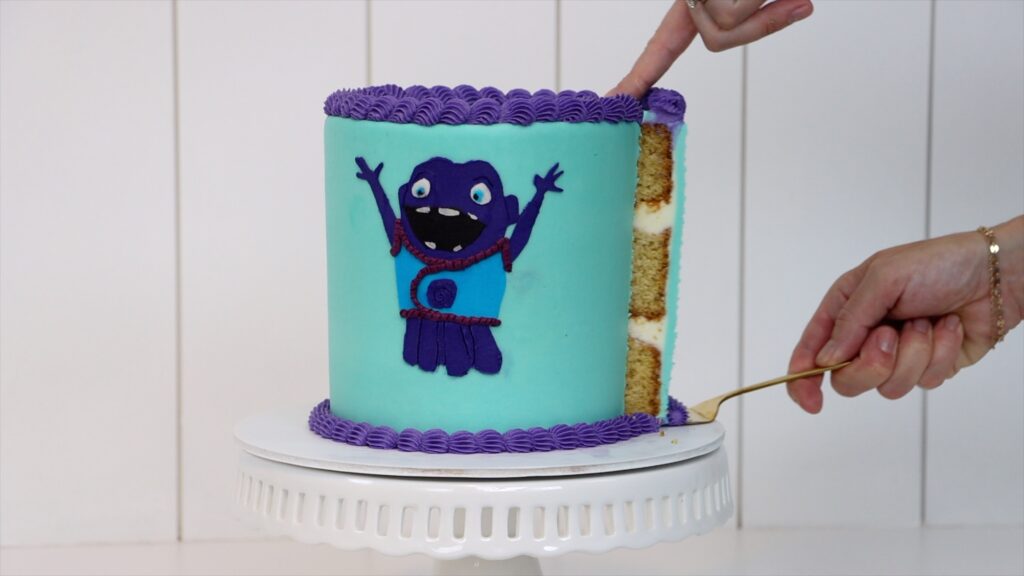
By using layered stencils you'll have a delicious edible character that looks exactly like the original!
Tell me in the comments which character you’d like me to do next!
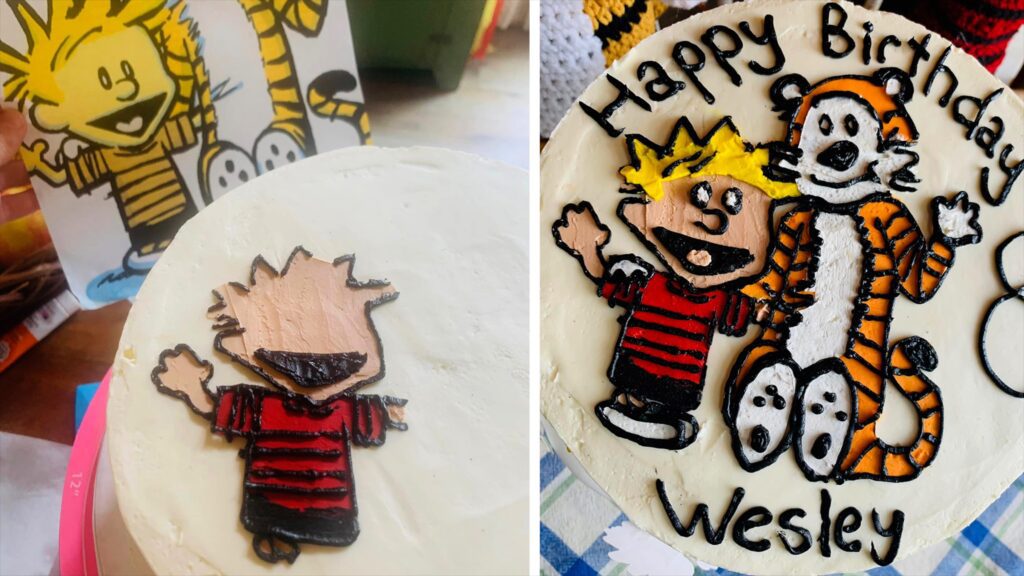
Here’s a Calvin and Hobbes cake made by Chelsea of Generation Bakes, one of my cake school members, using this same layered stencil technique. This is one of the many techniques in my online program called Layer Up, where you work through three layers (or levels) of video modules to take your cake decorating skills from beginner to professional. Start your 7 day FREE trial of my All You Can Cake membership, which includes access to everything on my cake school, to try it out with no risk!
You can also watch a video of this tutorial on how to make character cakes with layered stencils:
