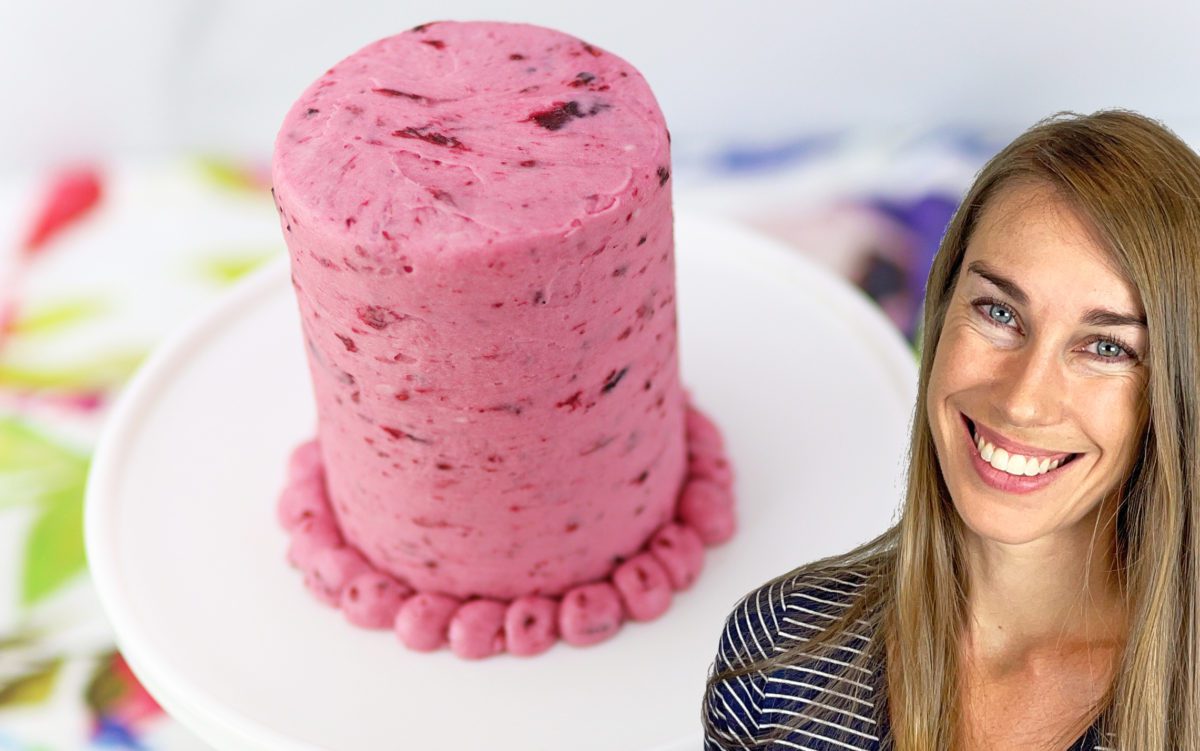
There are a LOT of cake decorating tools available but here are my 10 absolute must haves, which you’ll get the most out of because you can use each one for several different decorating techniques.
If you prefer to watch a video of this tutorial, scroll to the bottom of the page.
#1
Starting with the basics, an
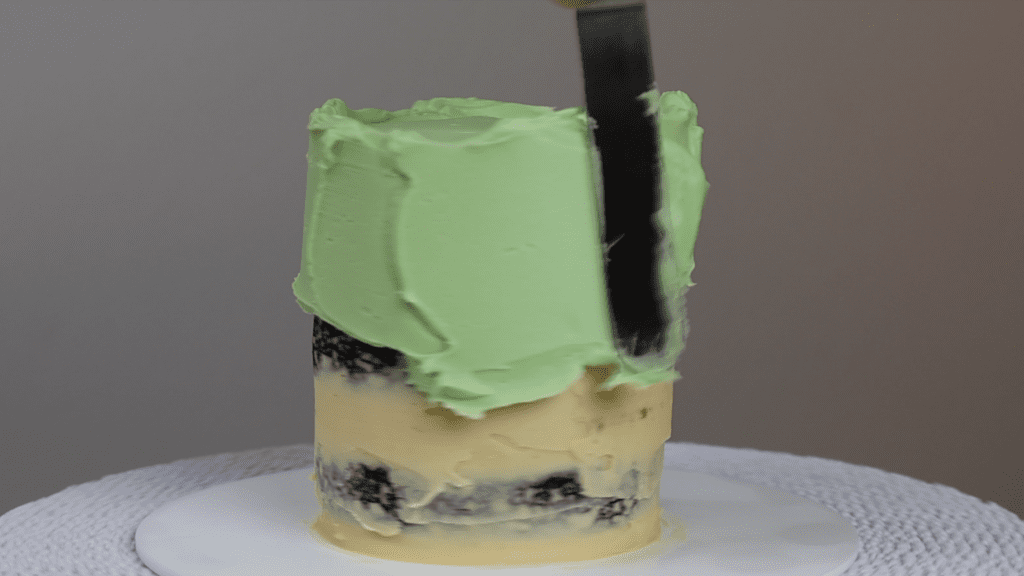
It’s also the quickest way to tidy up the top edge of a cake to get nice sharp edges, by pushing sideways from the outside of the cake towards the middle and swiping away to leave neat edges behind.
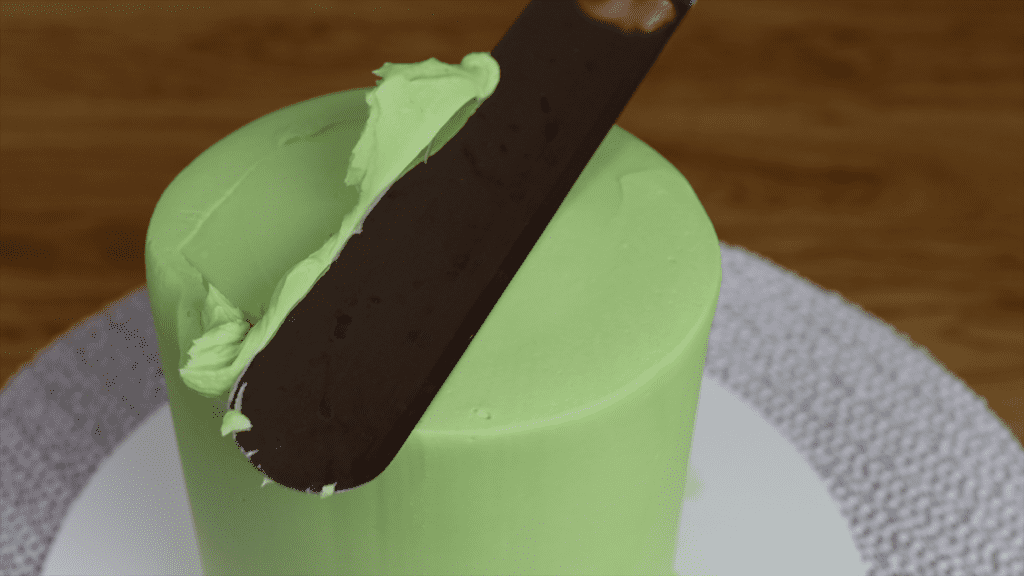
You can use it to to decorate a cake too, creating texture in the frosting by pressing the tip into the frosting and spinning the cake to create grooves around the sides or “swoosh”ing it upwards to create vertical texture going from bottom to top.
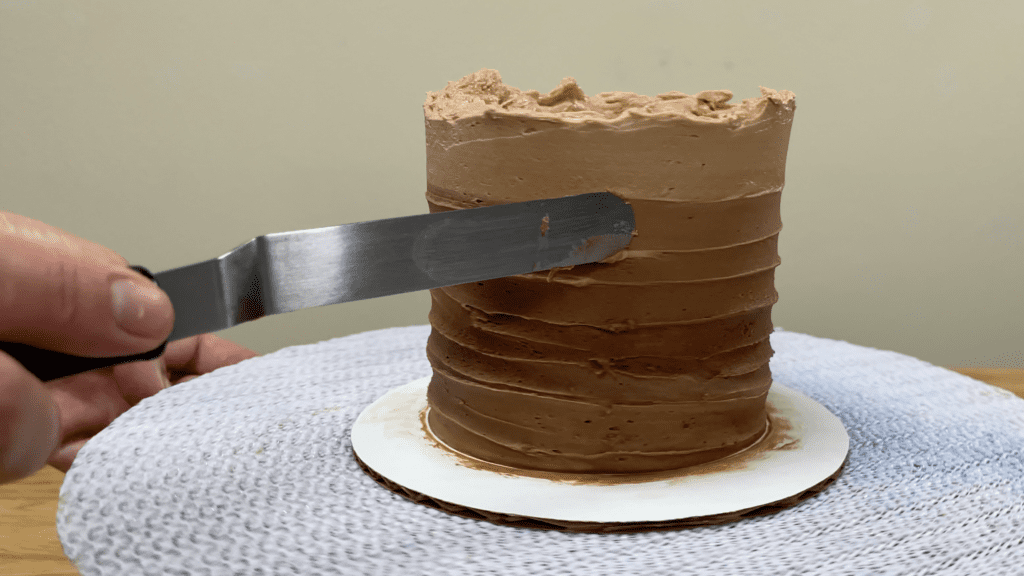
Use it to apply colours to the cake in a painted style, using a small amount of frosting on the tip of the
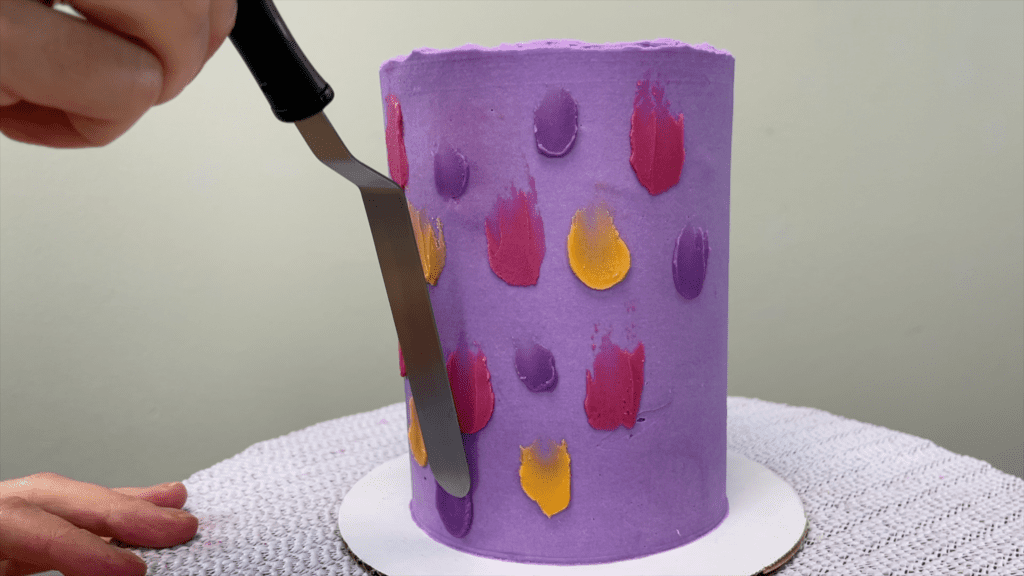
An

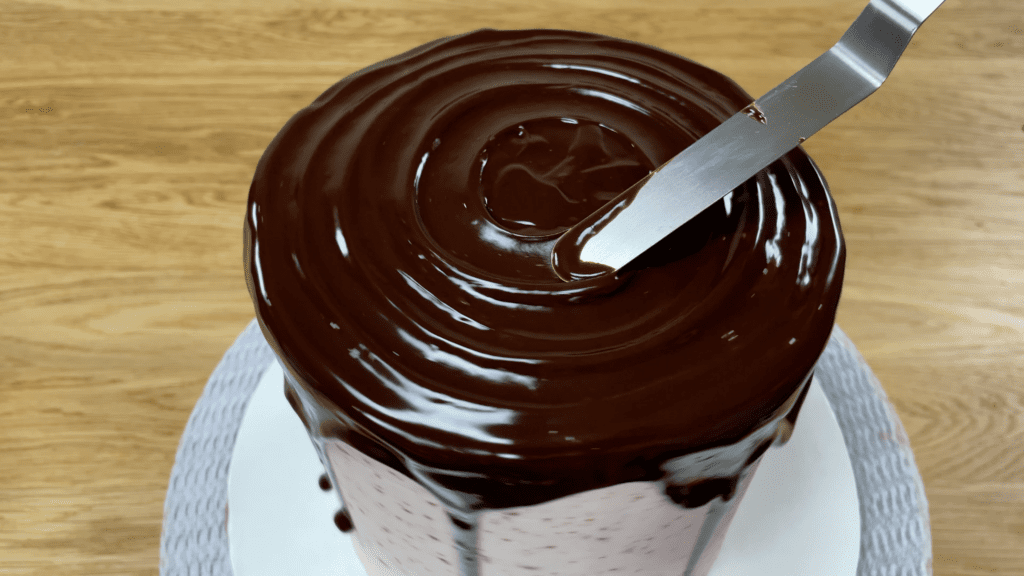
If you’re a fan of drip cakes, an
#2 Cake Scraper
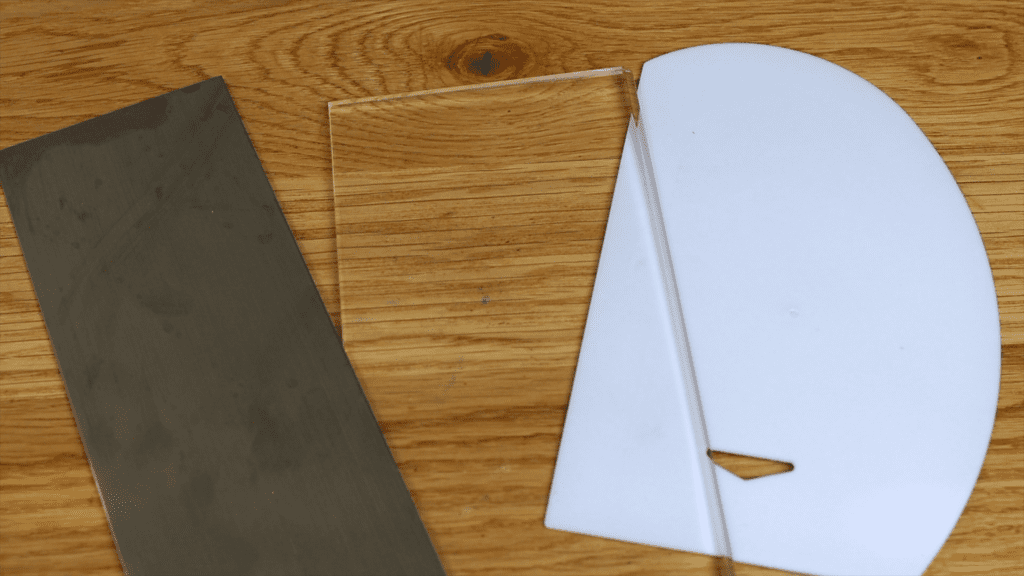
A cake scraper is another basic tool that’s an absolute essential if you want to get smooth frosting on your cakes, and they come in different materials like plastic, metal and acrylic. Can’t choose? Check out my tutorial on the best cake scraper!
#3
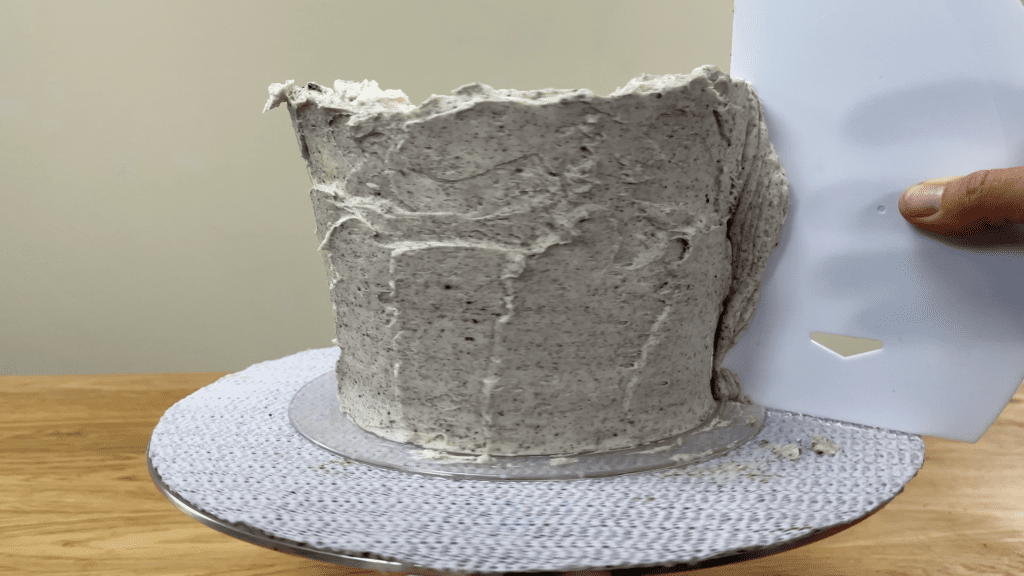
As you’ve seen with the cakes so far, having a
#4 Piping Bags
Piping bags allow you to apply frosting quickly to a cake, whether that’s by piping the filling onto each cake layer or piping it around the sides of the cake before you smooth it.
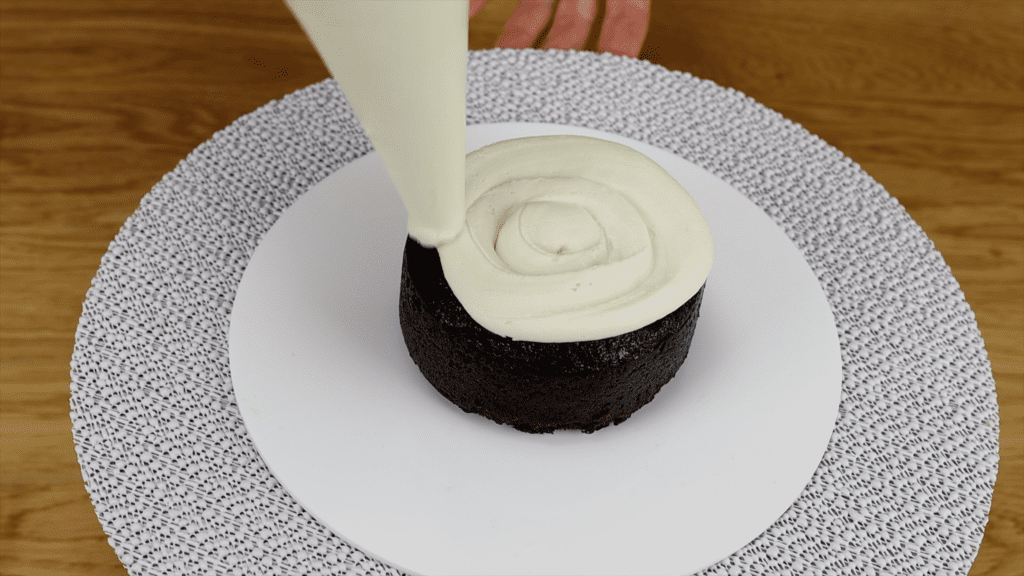
This is especially useful for mini cakes, which are very lightweight and wobbly so you’ll find it much easier to pipe the frosting onto the cake, than spreading it one with an
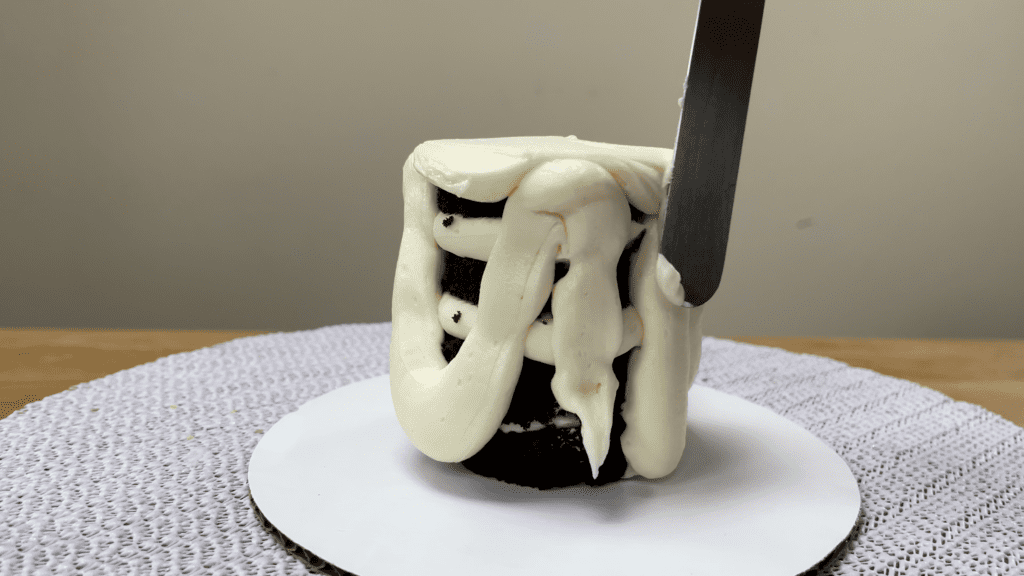
You can also use piping bags to create stripes on a cake without needing a striped cake comb.
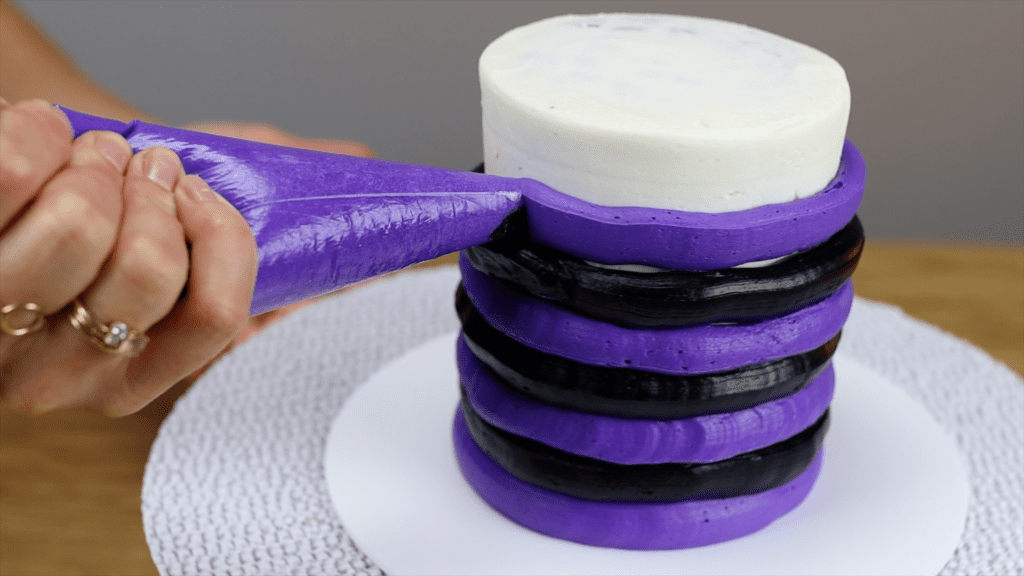
#5 Piping Tips
Adding piping tips to piping bags will give you a whole new range of possibilities for cake decorating. A 1M tip is my go-to tip and it pipes beautiful swirls onto the top of a cake.
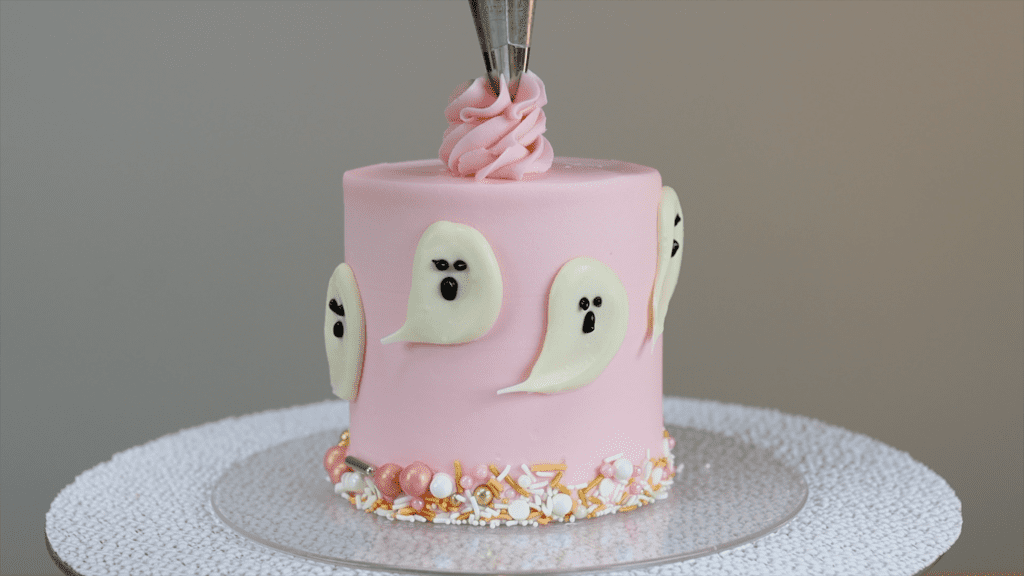
You can also buy star shaped tips where the prongs are shorter and much more open, with a larger hole in the middle of the tip, and these are called open star tips. These work really well for wave or shell borders around the top and bottom of cakes.
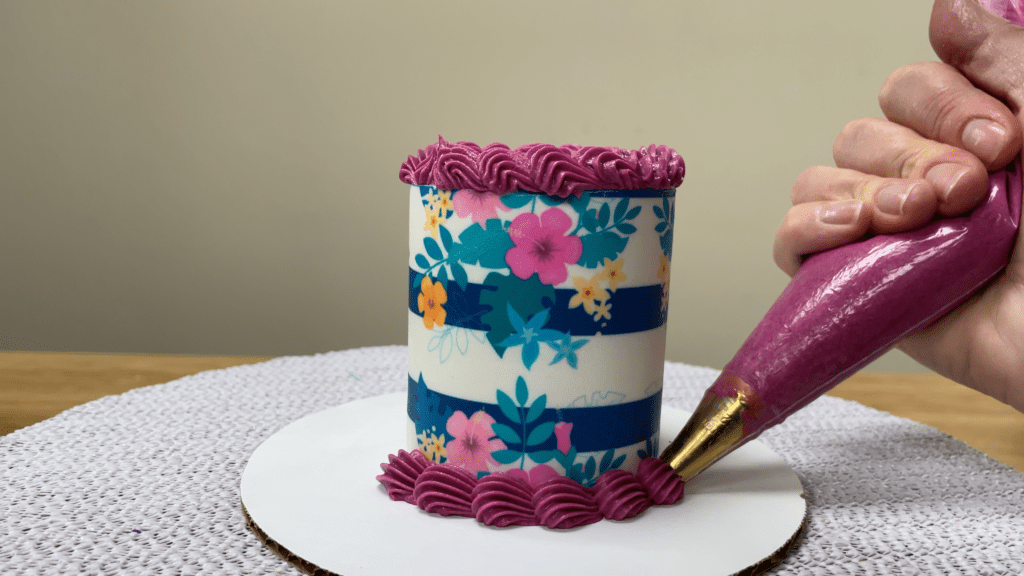
You can also use open star tips to pipe texture onto smooth frosting. You can see that open star tips can be large, like a 4B, or very small, like an 8B or a #199. Small tips are perfect for tiny details and borders on mini cakes!
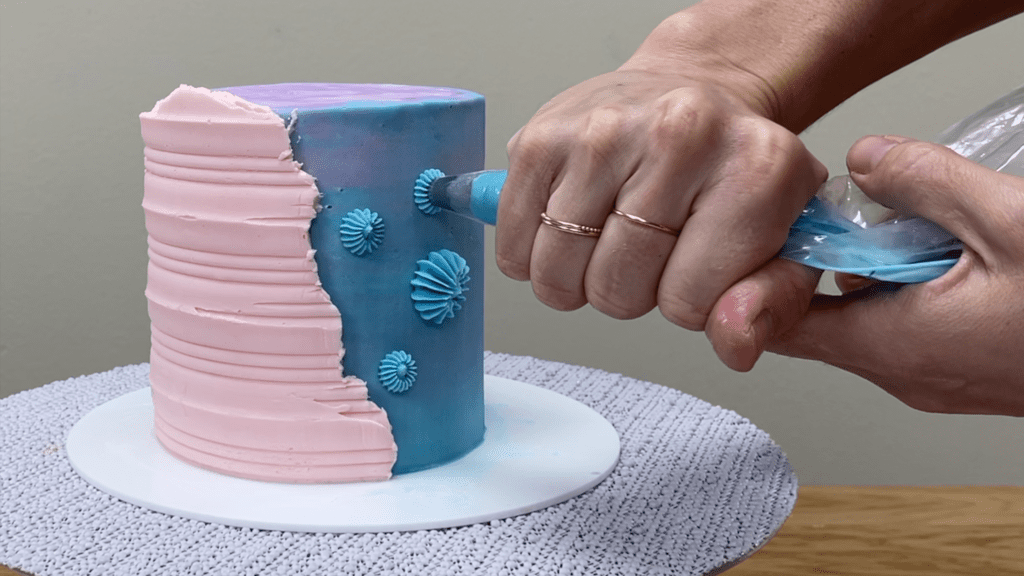
A petal tip like a #125 pipes ruffles of frosting which you can layer around a cake to cover it completely.
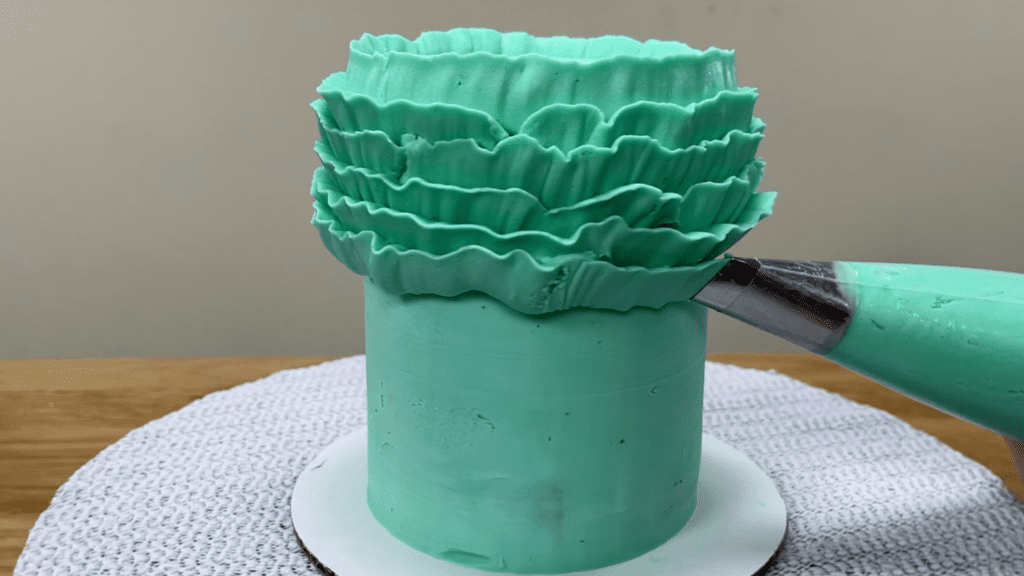
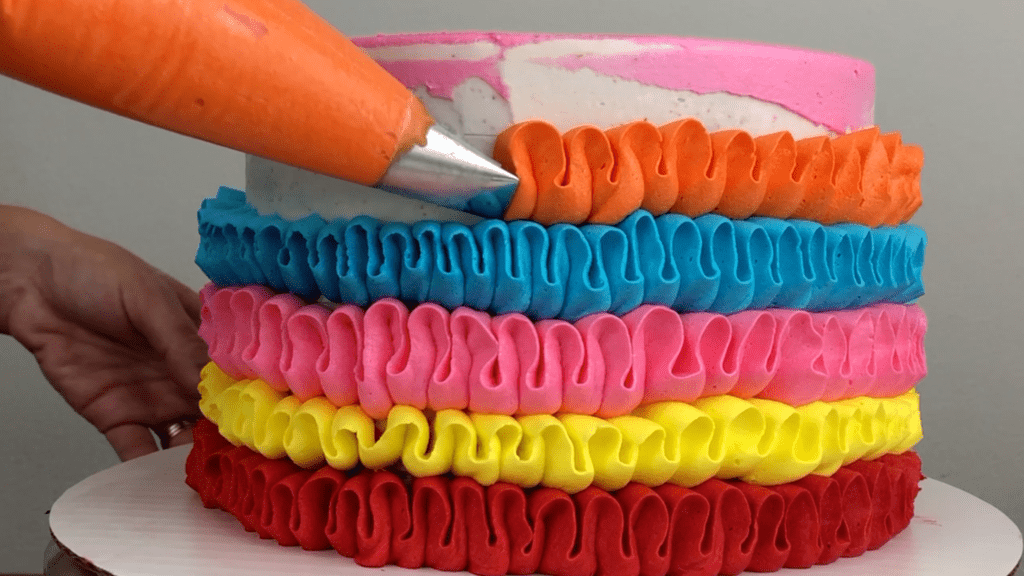
Petal tips are wide at one end and narrow at the other, which creates ribbons of frosting and allows for endless decorating possibilities. I love looped ribbons of frosting like this and I’ll show you how to use a petal tip with another must have tool in a moment for another beautiful cake decoration.
Small round tips can be used to pipe letters if you want to write something on a cake and the smaller the number of the tip (e.g. #1 or #2), the smaller the hole and the thinner the piped line will be.

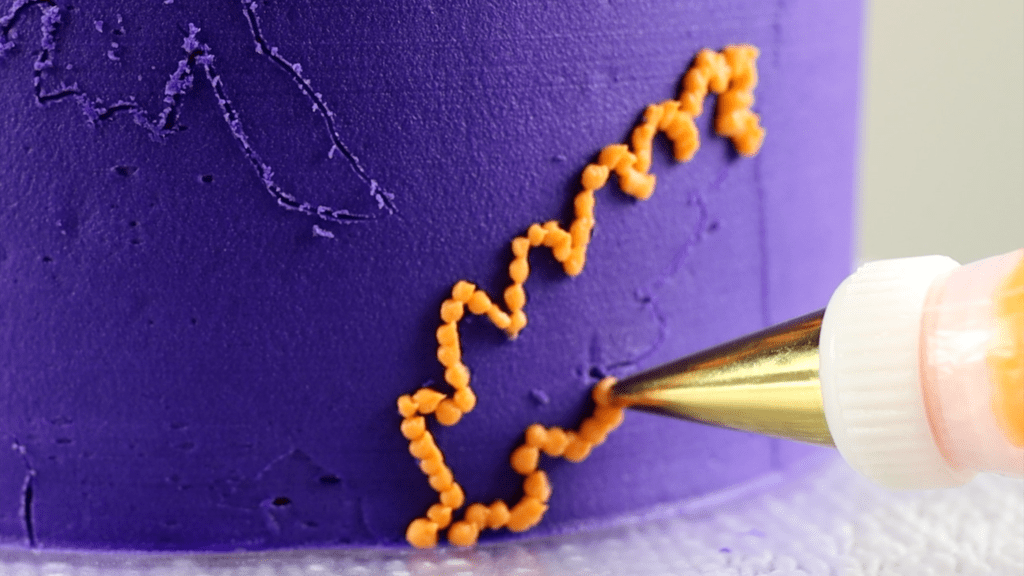
With a small round tip you can pipe tiny dots to create shapes, called pointillism, which is an easy way to create shapes and patterns and designs on a cake without needing to buy a specific stencil or mold to each cake.
#6 Textured Cake Combs
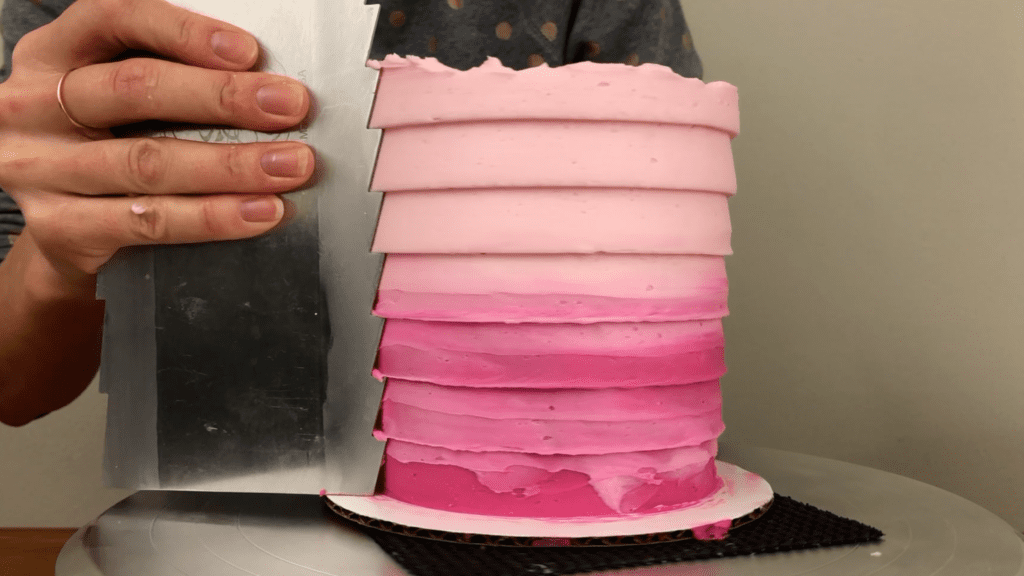
Textured cake combs are one of my favourite cake decorating tools because in a few seconds you can make a plain cake look stunning with a huge variety of textured patterns: pleats, zig zags, scallops, and even stripes!
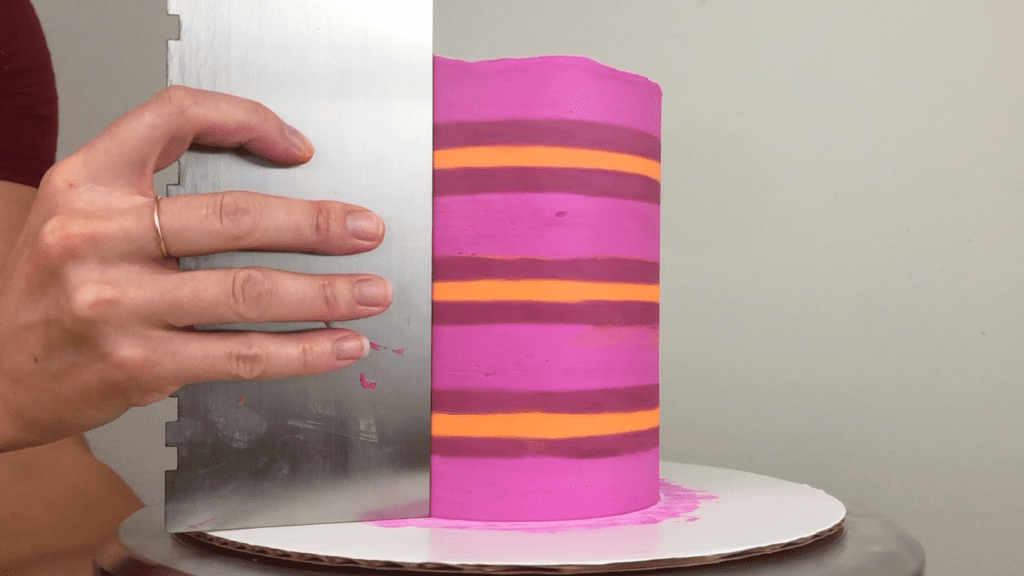
Stripes are the most precise and neat if you use a striped cake comb and chill the first colour of frosting before spreading or piping the next colour into the grooves. As you scrape and scrape and scrape off the excess frosting, the stripes will get neater and neater.
#7 Cookie Cutters
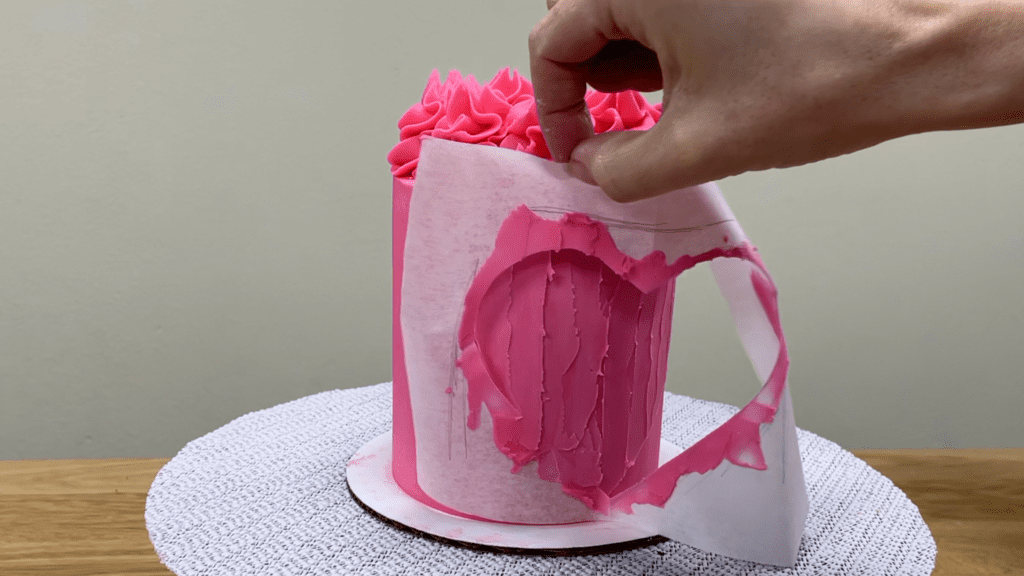
Cookie cutters are maybe a surprising tool for cake decorating, but they’re really useful for a lot of techniques. You can make your own stencils with them, tracing around them onto parchment paper and then cutting out the shape you’ve drawn, and when you spread frosting over the shape onto a cake, you’ll leave a perfect design on the frosting.
They’re a great guide for piping, too, outlining the design before you pipe it onto the cake.
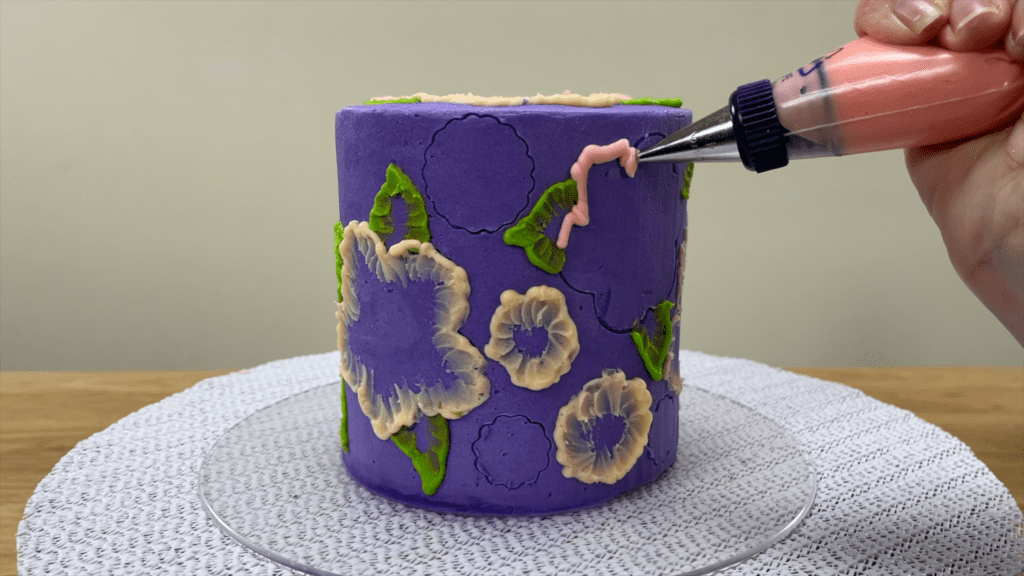
Cookie cutters can even be used to make cake toppers with melted chocolate or candy by placing the cookie cutter on a piece of parchment paper and pouring the liquid into it.
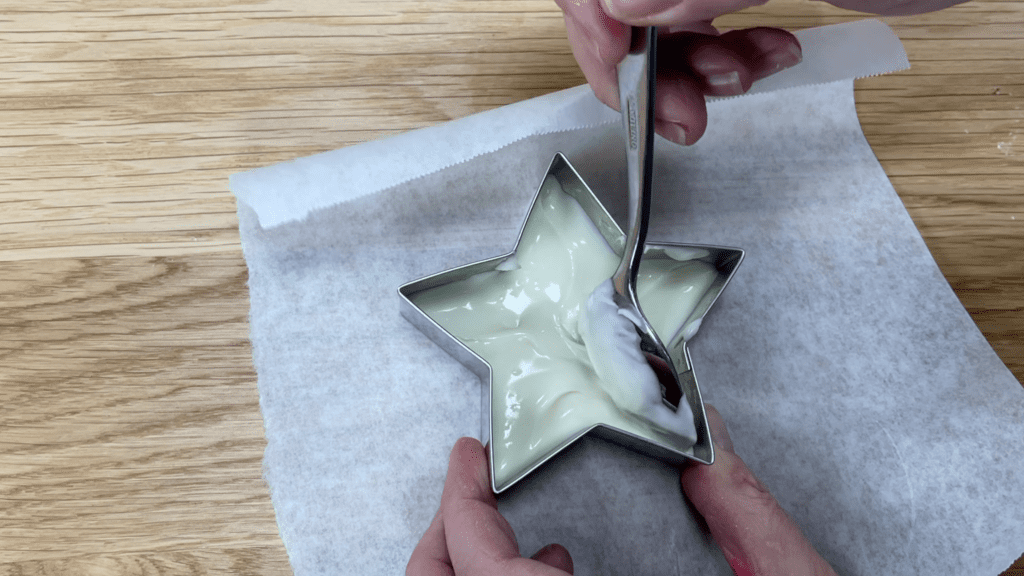
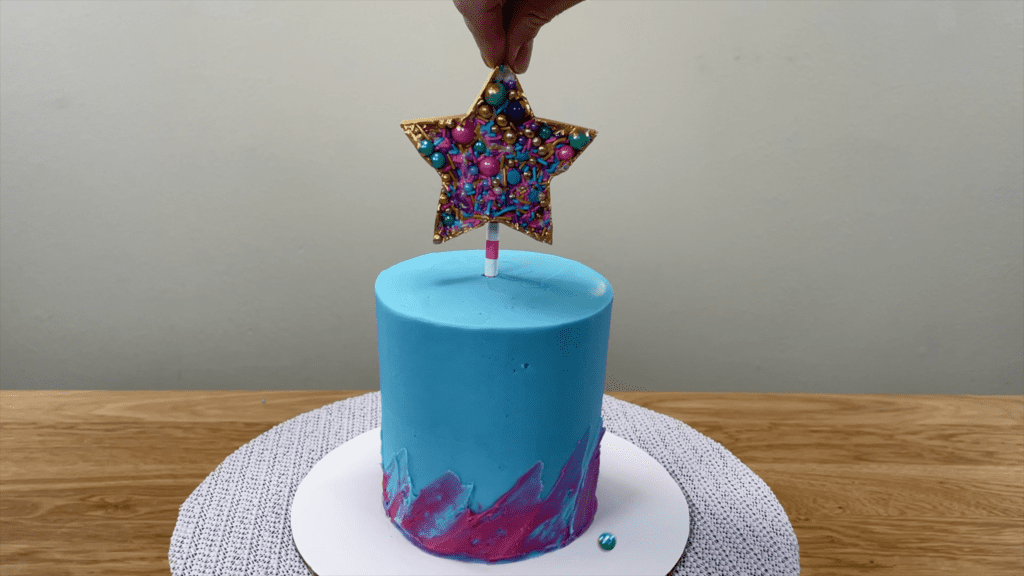
When it sets and you push it through the cookie cutter, you’ll have a neat shape to place on top of your cake!
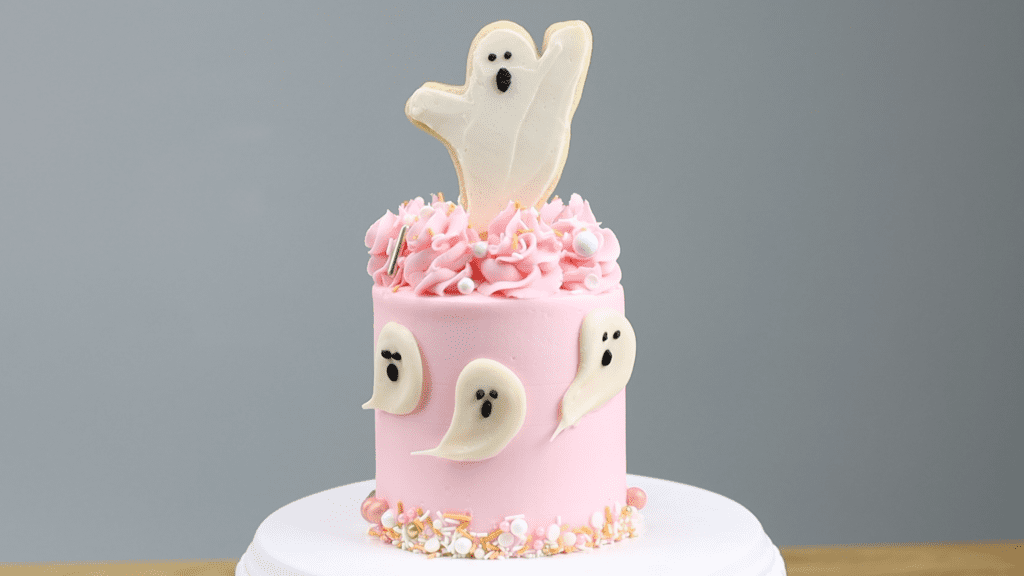
Of course, you can also use cookie cutters to make cookies, pressing a paper straw or a wooden skewer into them before baking and then you can decorate them and use them as toppers on a cake.
#8 Microwave-Safe Bowl
If you want to melt chocolate so that you can make chocolate decorations like these cute little dinosaurs, a microwave-safe bowl is a must-have. Bowls that aren’t microwave safe get incredibly hot, which will burn the chocolate and cause it to seize while you’re heating it.
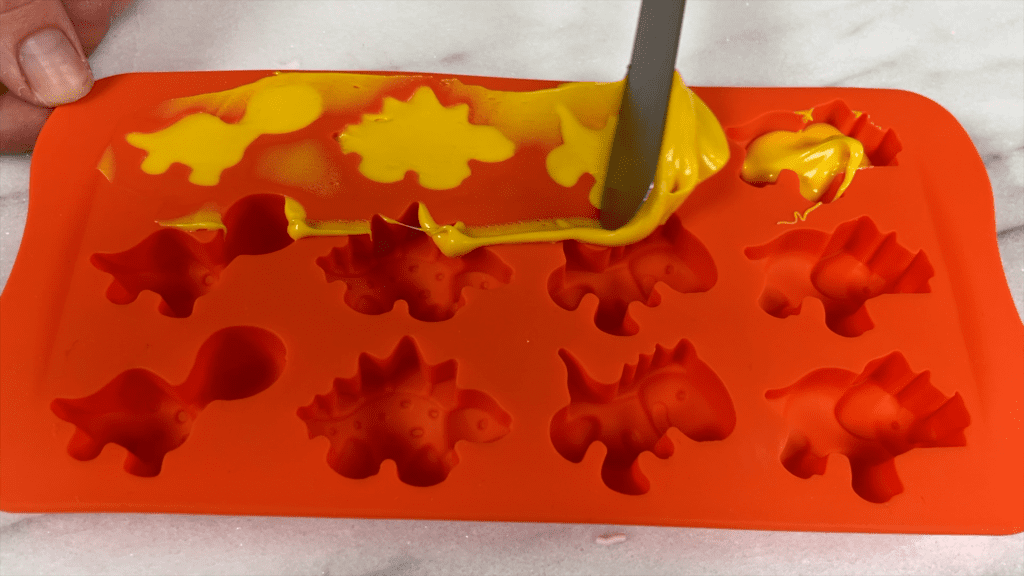
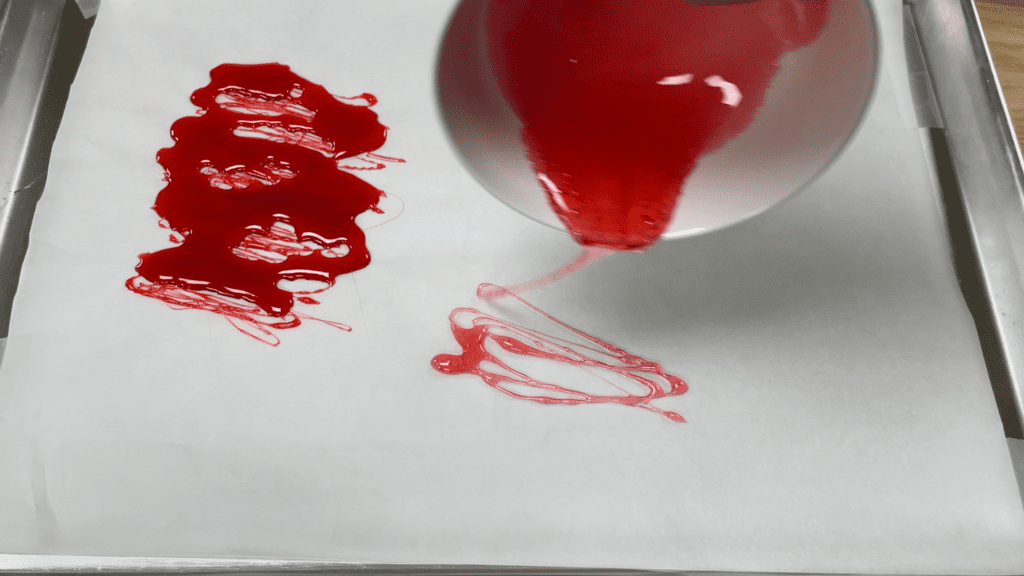
You can also use microwave safe bowls to melt candy evenly without burning it, and then drizzle it to make fun shapes for cake toppers. If the bowl is not microwave safe and gets too hot, the colour of the candy would turn brown.
#9 Flower Nail
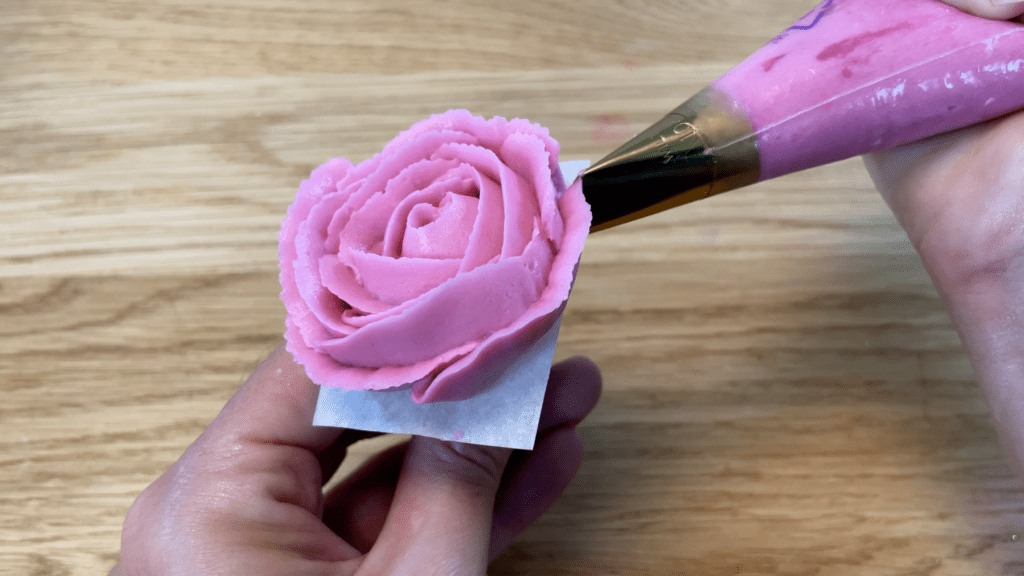
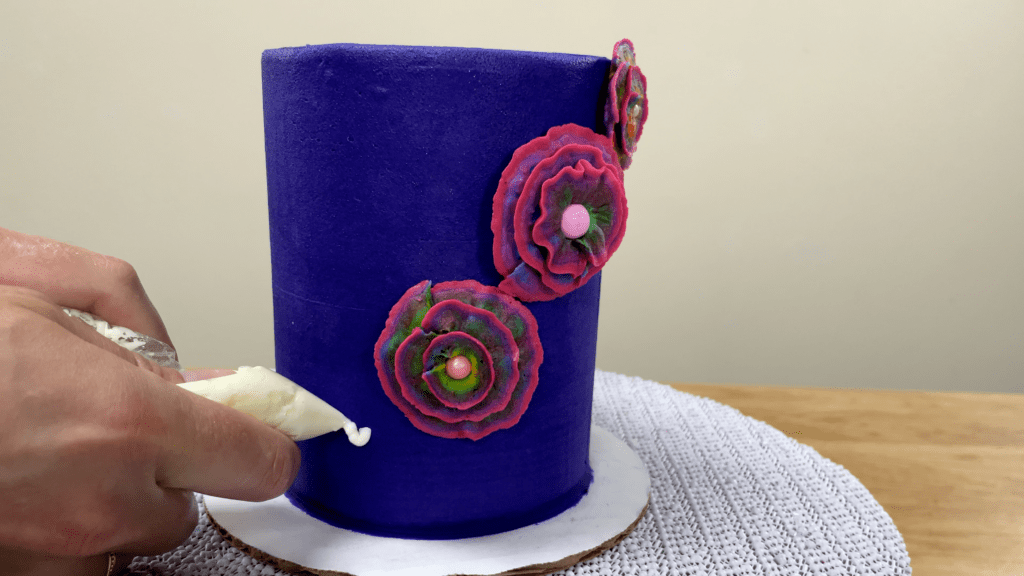
This is called a flower nail and combined with a piping tip and piping bag and a little square of parchment paper, you can use a flower nail to create all sorts of shapes! With a petal tip you can pipe (obviously!) petals to make flowers to attach onto a cake.
You can use the same tip to pipe these pinwheels, spinning the nail between your thumb and finger and holding the wide end of the tip pressed down towards the middle of the nail.
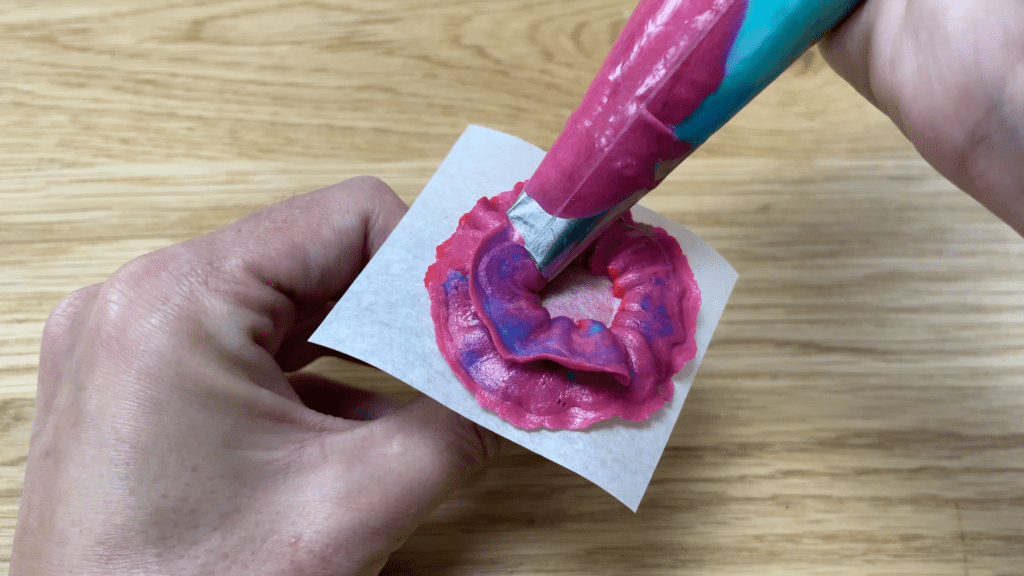
To attach them to a cake, freeze them for a few minutes to set the buttercream and then use a dot of fresh buttercream as glue to stick them onto the side of the cake.
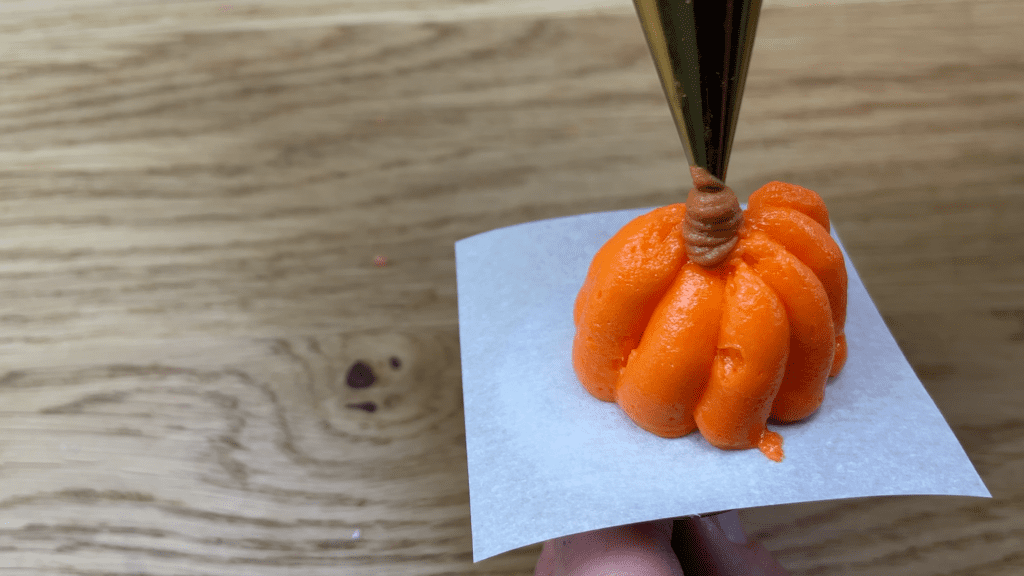
A flower nail isn’t just for flowers though – use a round tip to pipe a pumpkin, for example!
#10 Cake Stand
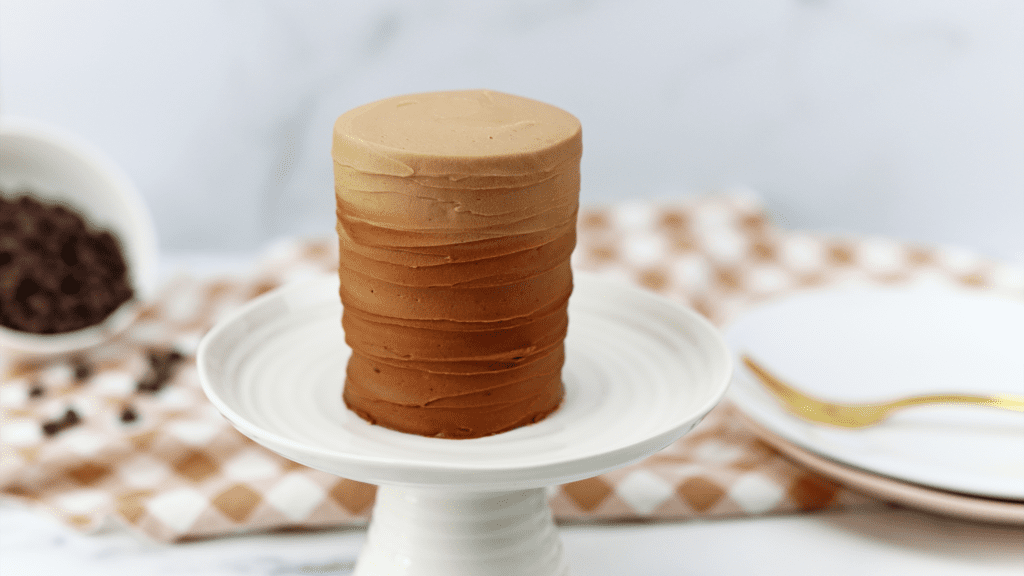
Finally, when you finish your cake you’ll want to show it off to your friends and family and customers, or at least show them a photo! A cake stand is an easy way to make a cake look instantly more professional and impressive.
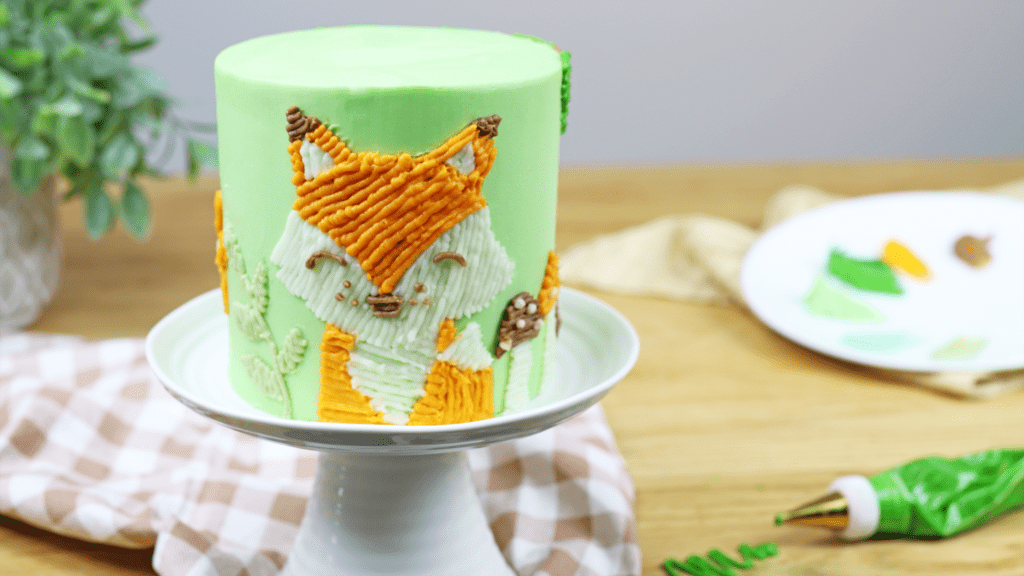
If you’re going to buy just one, choose a white one which will go well with any colour scheme and as far as size, I like stands that are 2-4 inches wider than the cake. For my online course on Cake Photography Like A Pro and LOTS of other classes and courses for cake decorating, check out my online cake school.
Here’s the video version of this tutorial:
