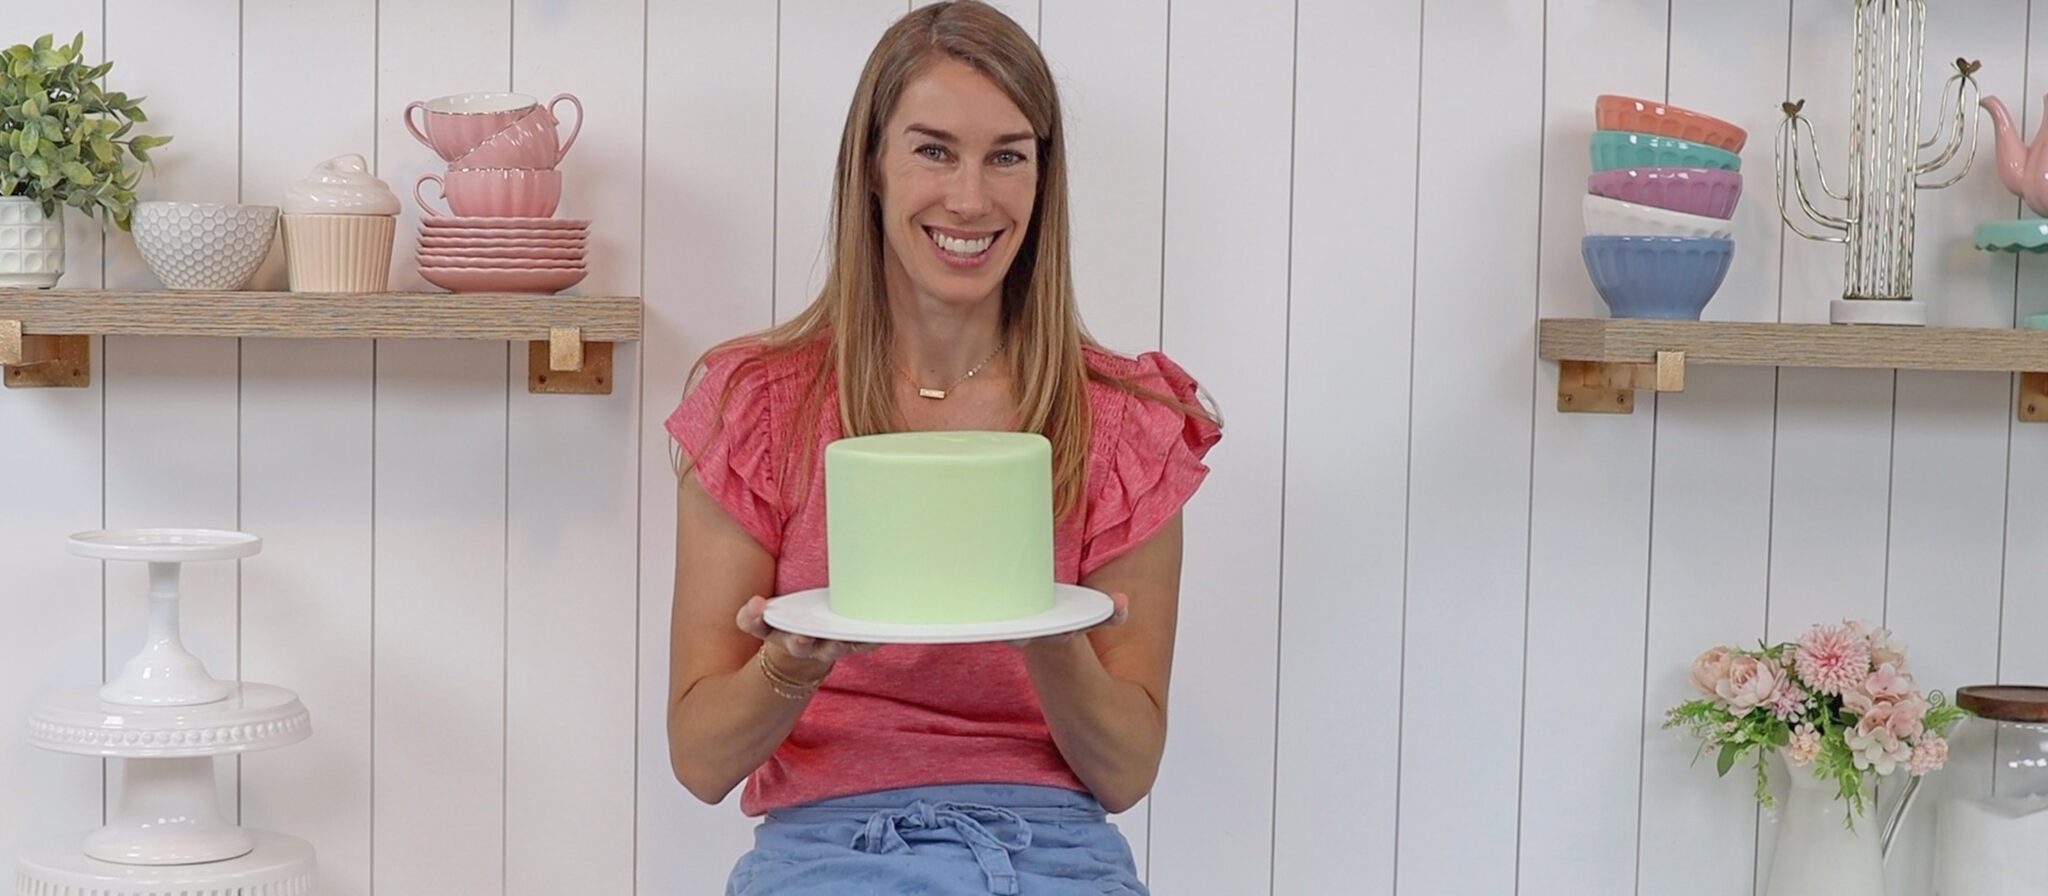
Make a cake that's delicious and beautiful by following these 10 steps! If you struggle with leaning cakes, uneven frosting, dry cakes or air bubbles or bulges in your frosting, these tips will be really useful for you too.
Before you start baking all of your ingredients should be at room temperature. Take refrigerated ingredients like eggs, butter and milk out of the fridge at least 2 hours before.
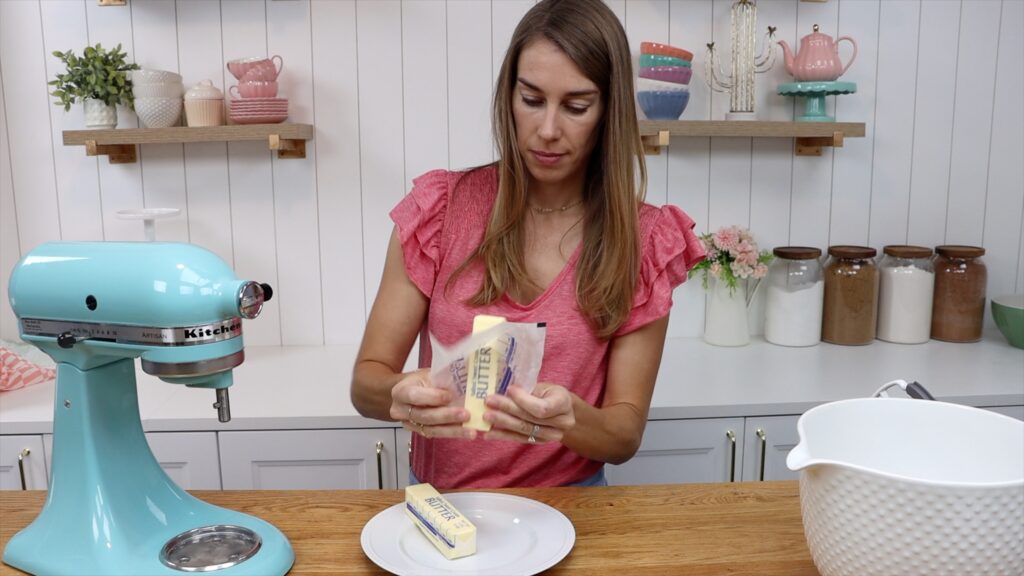
If you forget, put eggs in a bowl of warm water for a few minutes to take off the chill. Microwave ingredients like milk or butter for 10 seconds to warm them up slightly. Room temperature ingredients mix together the best and this will result in a light, moist cake.
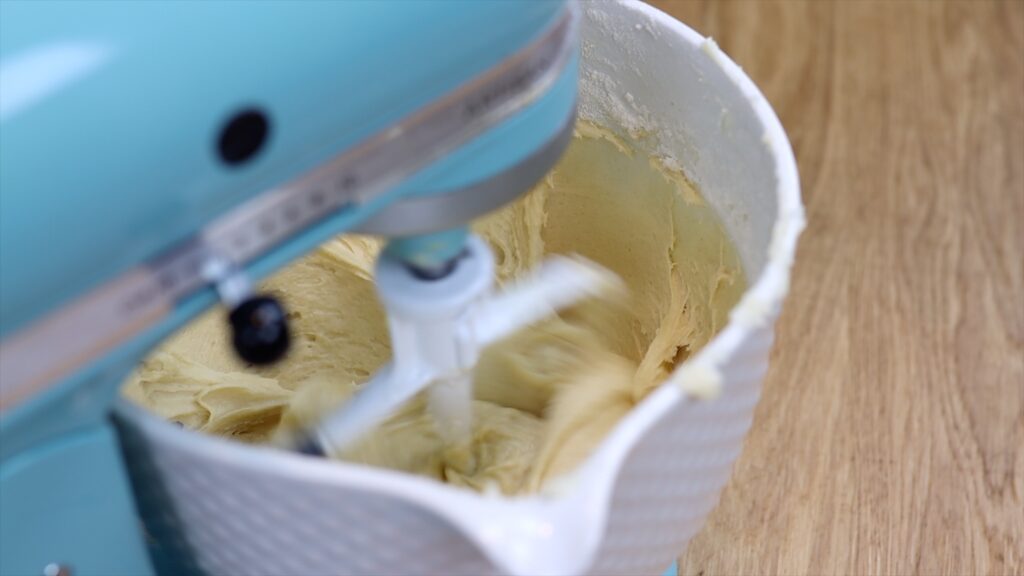
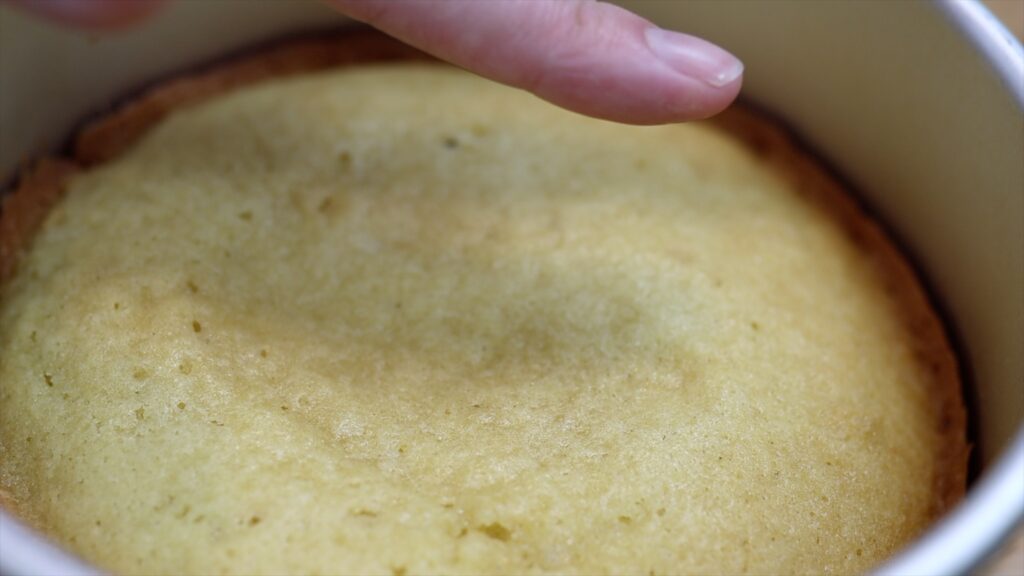
Dry cakes are the worst and to avoid that happening, check your cakes 5 minutes before the recipe's baking time. Poke them gently with your finger and if you leave a fingerprint behind, bake them for a few more minutes.
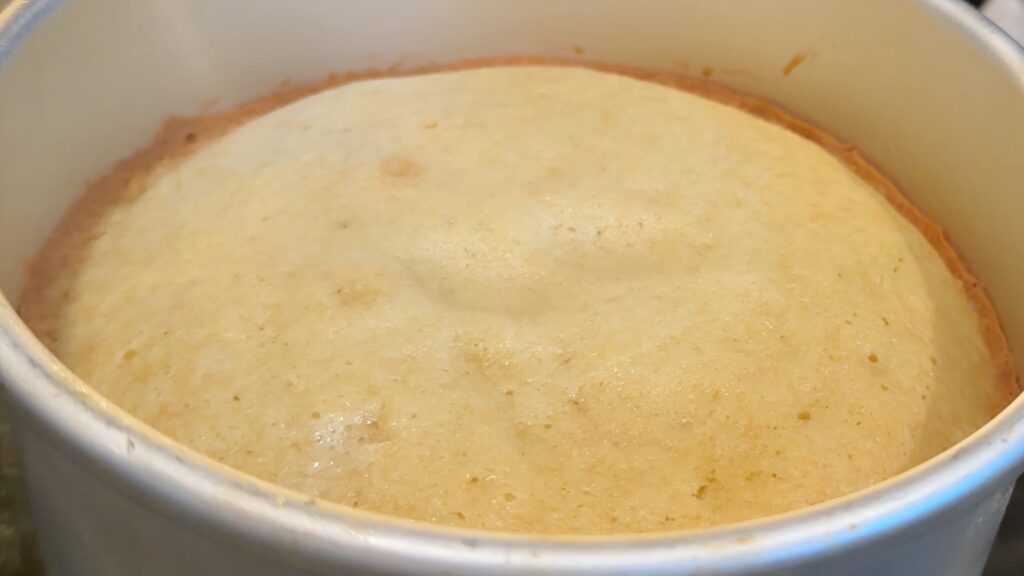
If cakes spring back up like in the photo below, they're done.
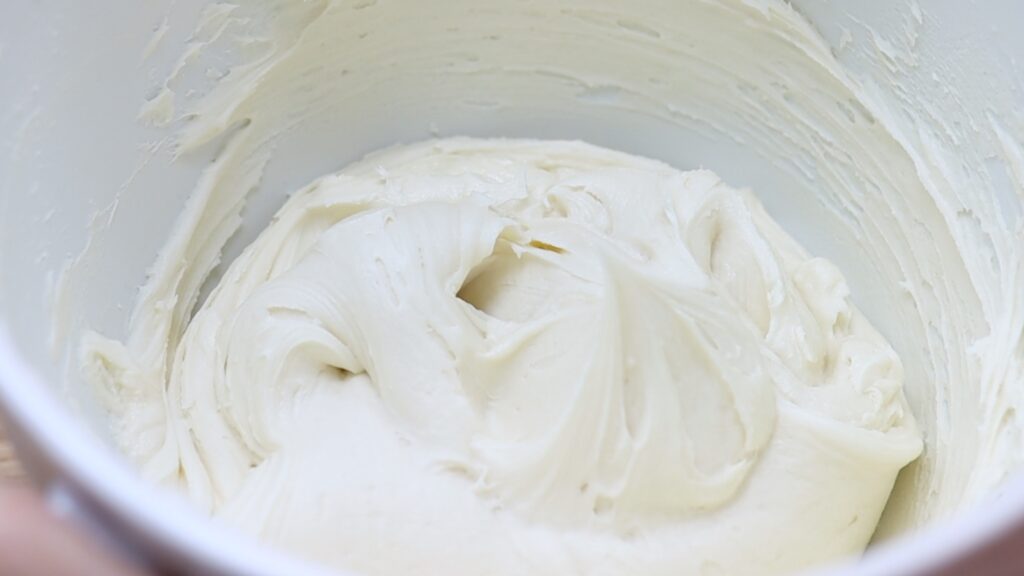
Leave the cakes in their pans for about 10 minutes to cool slightly. Then turn them out onto a wire rack and leave them to cool, which takes an hour or two. Meanwhile make your filling and frosting. This is my 4 Minute Buttercream and I love it because it's easy to make, it's delicious and you can use it as a filling and frosting.
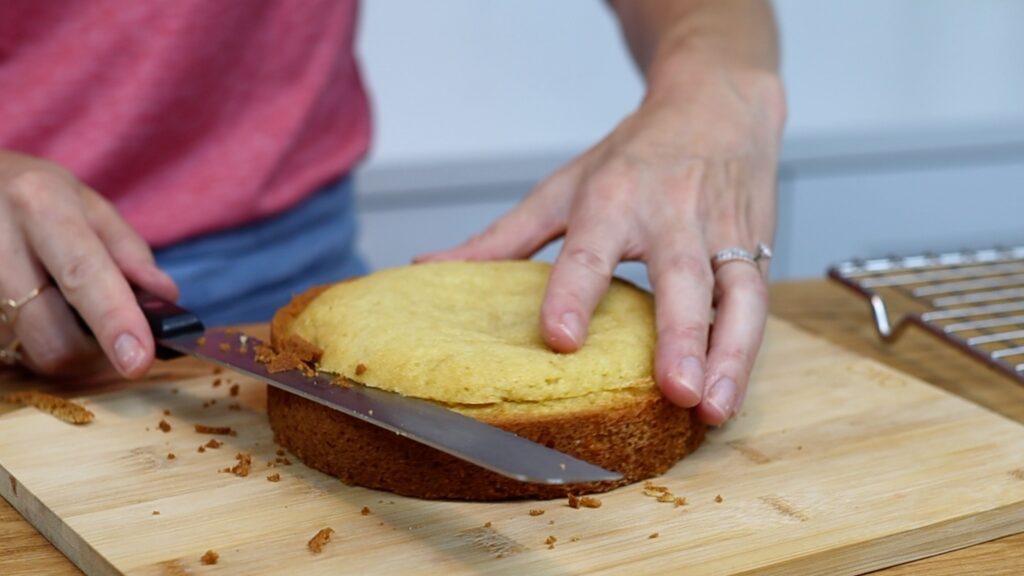
Now, back to how to make a cake. For the neatest slices and to avoid leaning cakes, level each layer after it cools. Use little sawing motions with a serrated knife like a bread knife.
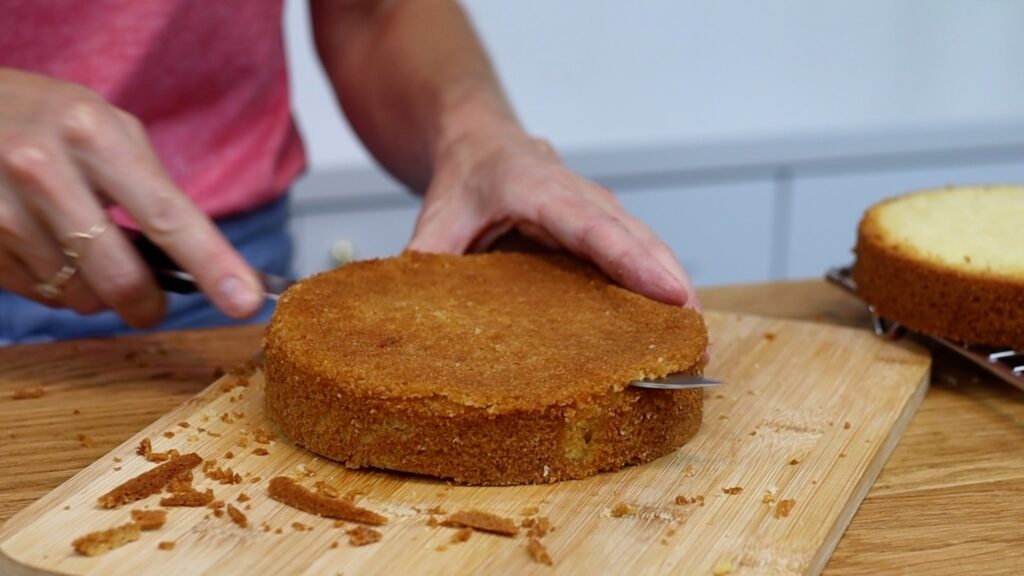
Optionally you can trim the bottom off too. This is the part that was touching the baking pan so it's caramelized and has a darker colour.
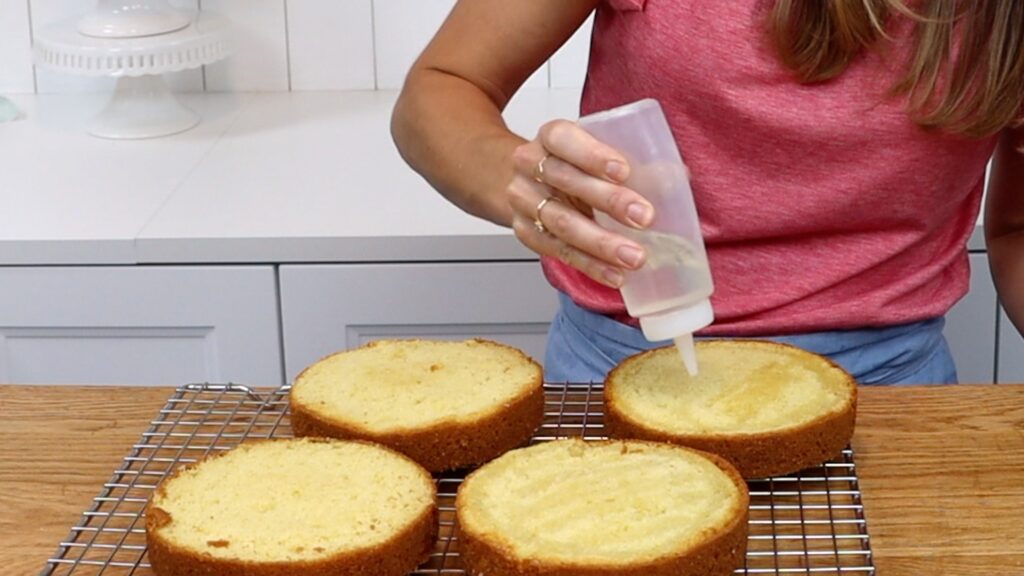
If you're not going to eat cakes on the same day, keep them moist with simple syrup. This is just equal parts of water and sugar. Half a cup of each is enough for most cakes. Cook in a pan on the stove top over medium heat or microwave for 30 seconds at a time. As soon as you see bubbles, turn the heat off or take out of the microwave. Let the syrup cool and then drizzle over cakes with a squeezy bottle or brush with a pastry brush. Pay special attention to the edges, which dry out the fastest.
To make a cake stable, the layers need to be level but so does the filling. Spread your filling flat in between each layer, ideally using an
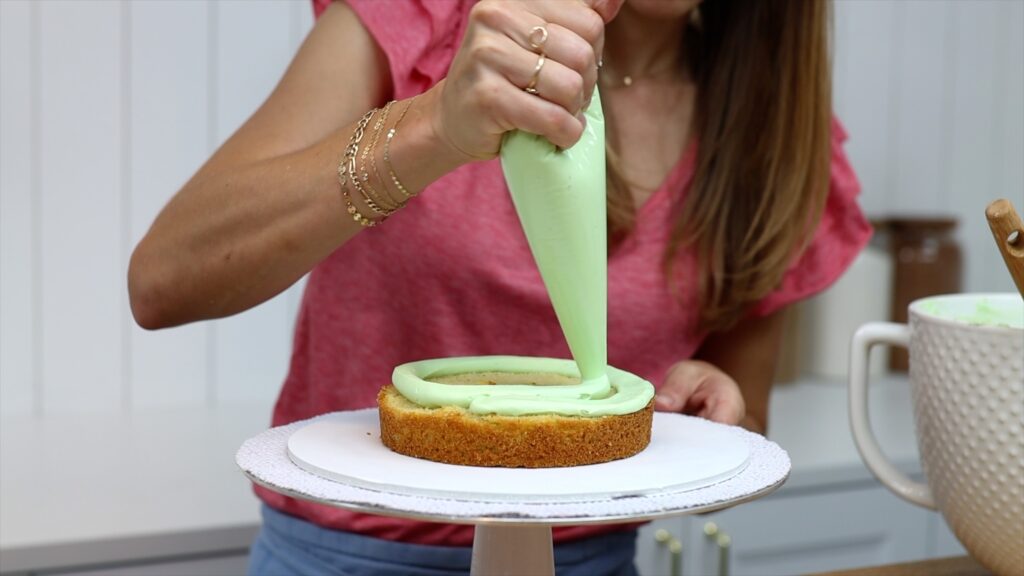
Instead of piping you can scoop your filling with a spatula or spoon and spread it straight onto the layers.
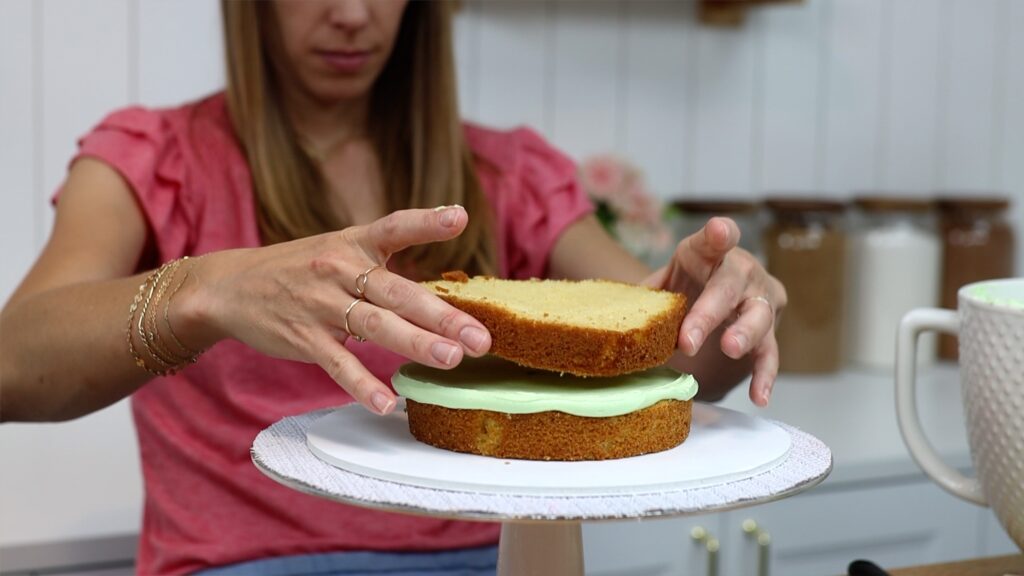
Get down to eye level with your cake and check that each layer is centered on the one below. This will make a straight cake instead on one that leans to one side.
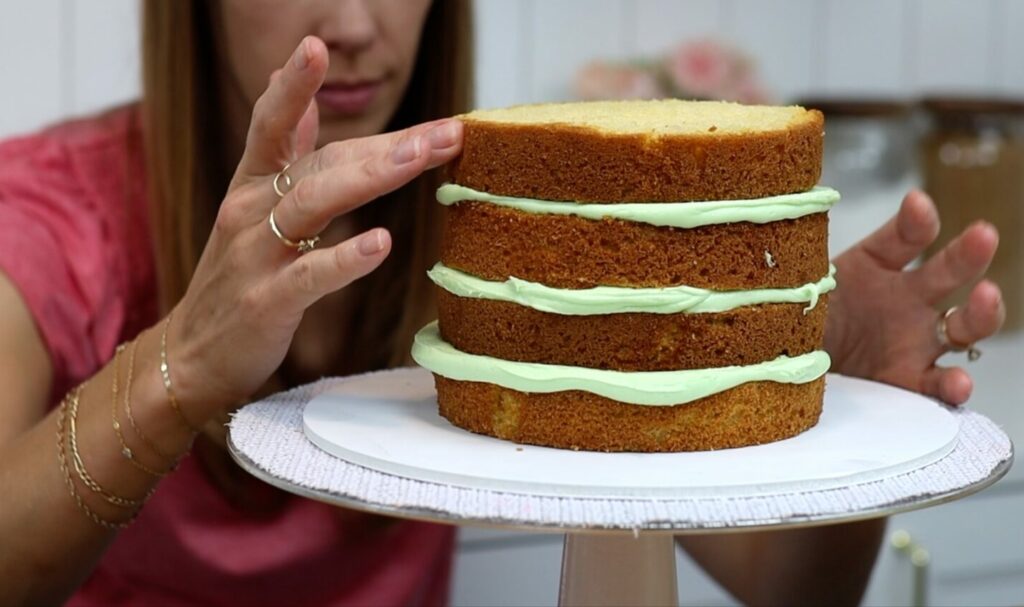
Buttercream is the easiest filling to use because it gets firm when it sets. This will help hold your layers in place when you move or frost cakes. For other fillings, use a buttercream dam for stability.
If your filling is sticking out, spread it flat with a spatula. If you don't, it will set like this and can get in the way when you frost the cake.
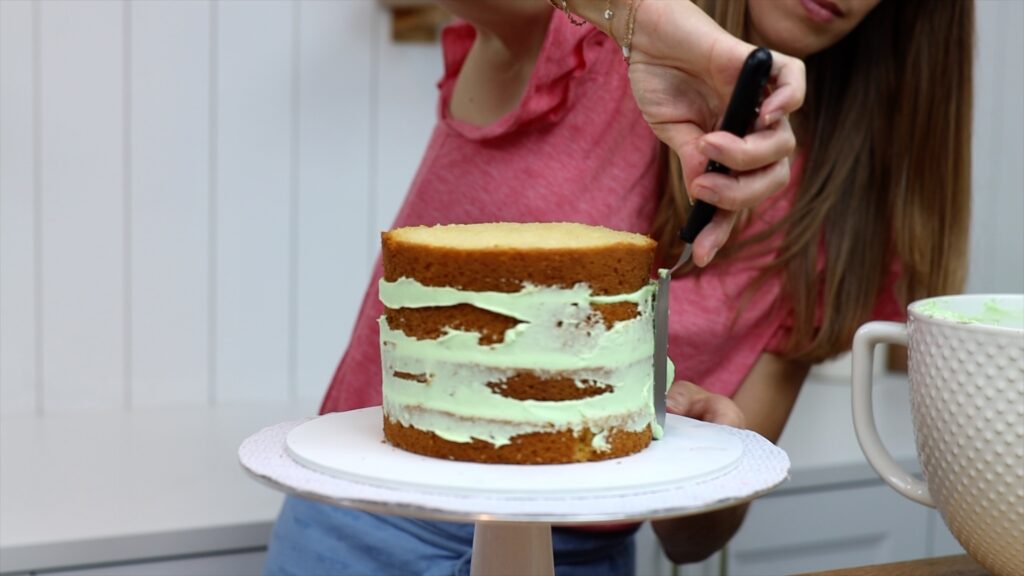
Chilling cakes at this point is essential. You can do this in the fridge for 30 minutes or in the freezer for 15 minutes. Filling sets and the cake layers don't slide around when you frost them next.
A crumb coat is the first layer of frosting. Don't skip it when you make a cake! It traps any crumbs that come off so that they don't get into your final layer of frosting. This way you won't see any crumbs on the finished cake.
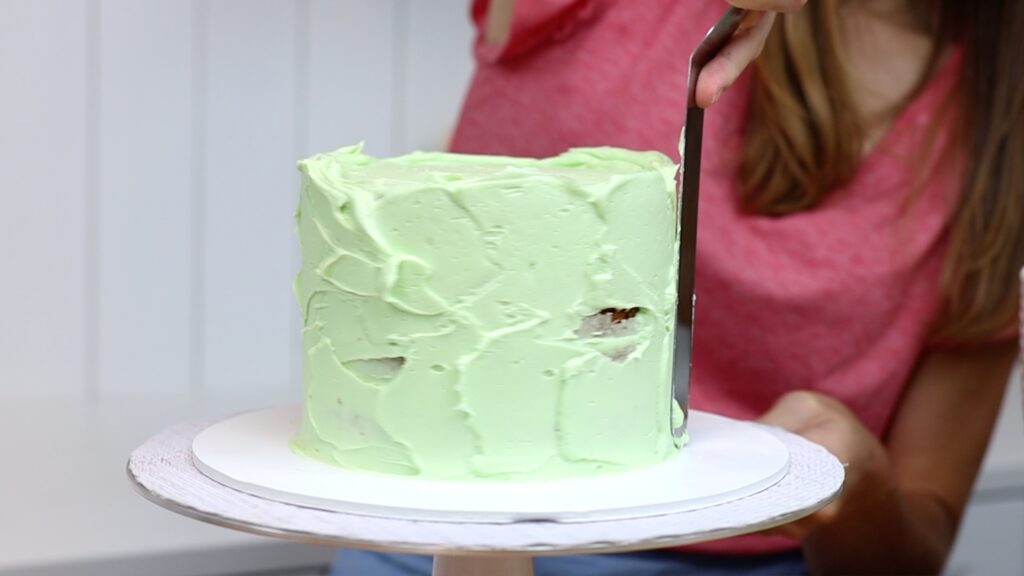
The goal is to cover the cake completely with frosting. Spread it all the way down to the board so you can't see the cake underneath anywhere. The frosting doesn't need to be perfectly smooth because you're going to cover it up soon. But first, the crumb coat needs to set. Put the cake back into the fridge for 30 minutes or the freezer for 15 minutes. When you take it out, the frosting should be cold and firm.
There are two tricks for smooth frosting and the first is to have the right consistency of buttercream. Add milk a spoonful at a time to thin out your buttercream. It needs to be smooth but also just stiff enough to hold its position on the cake. If it's not stiff enough, it will slide down the sides of the cake. If it's too stiff it will be difficult to spread. You're looking for a peak that droops over slightly, like in the photo below. For more details, check out my tutorial on the perfect buttercream consistency.

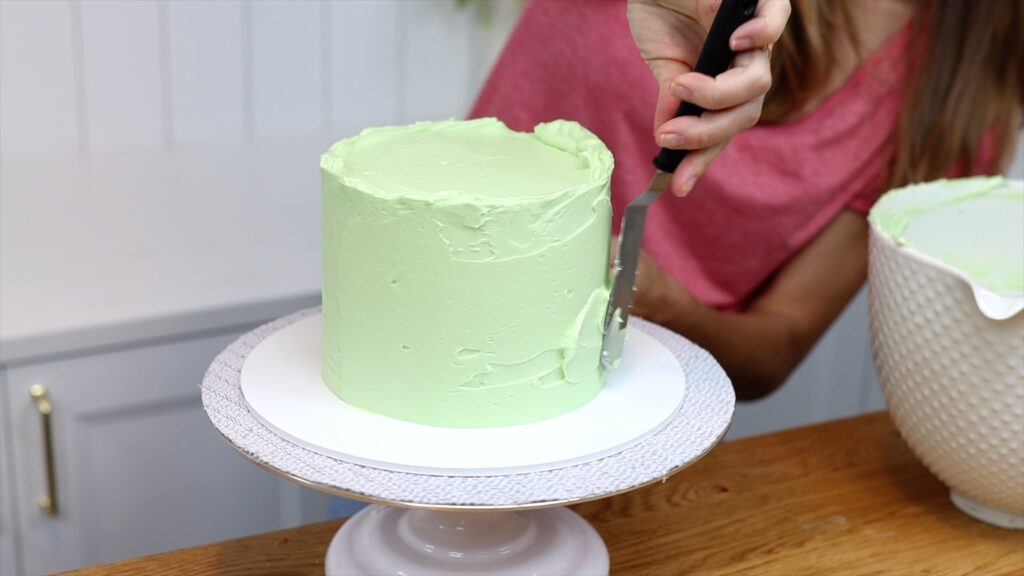
The second trick for smooth frosting is the technique you use. Spread buttercream up above the top edge of the cake to get sharp edges there later.
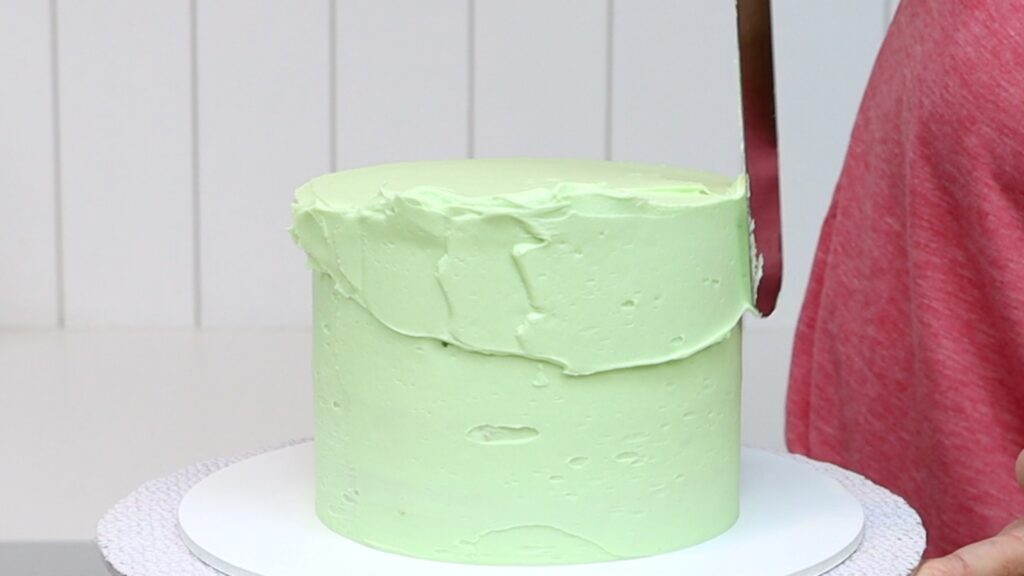
Push your cake comb down on the cake board to line it up straight against the side of the cake. Scrape around the cake a few times to start to smooth the frosting.
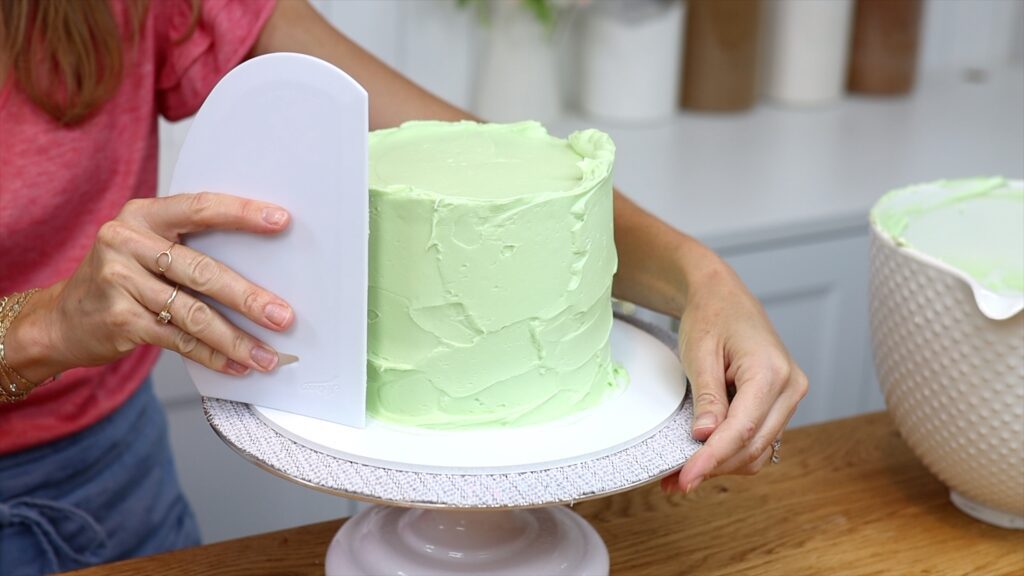
Then fill in any indents or air pockets by spreading on more frosting and then scrape again.
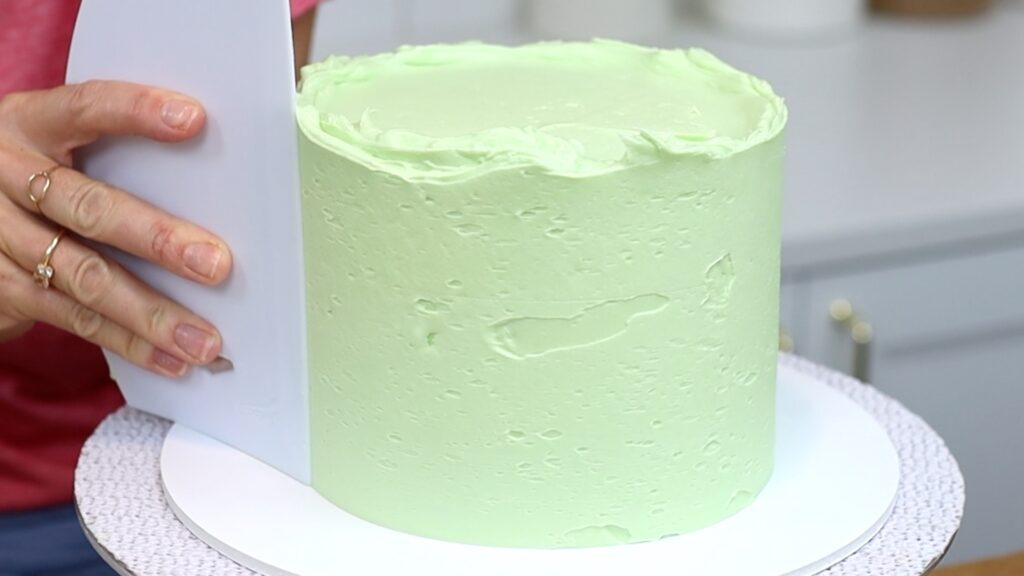
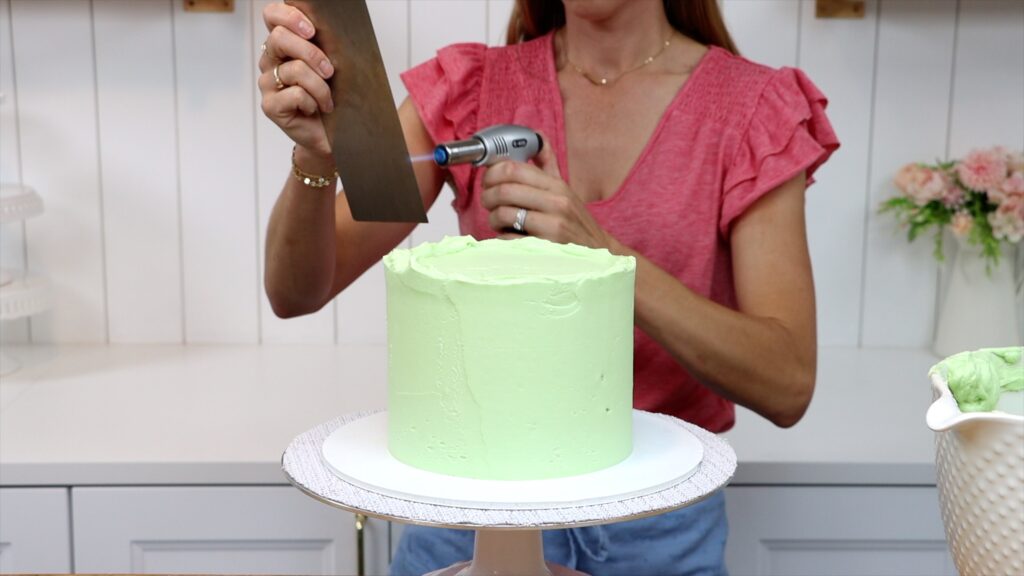
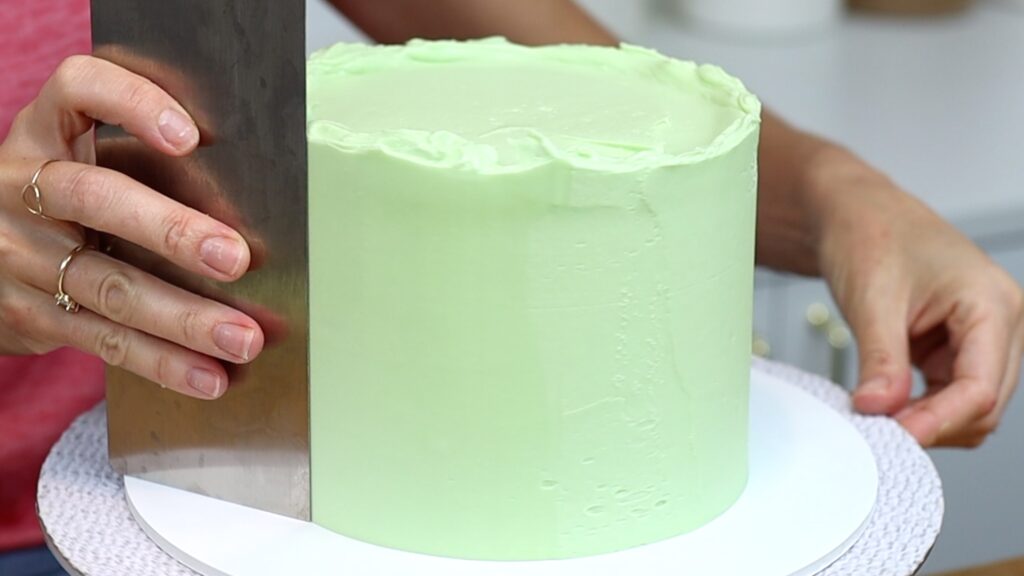
If you have air bubbles in your frosting like in the photo below, here's a trick! A plastic cake comb won't get rid of them no matter how many times you scrape. Switch to a metal cake comb instead. Heat the edge of the blade with hot water or a blow torch and then scrape again and tadaa! No more air bubbles!
For the top edge, swipe sideways without pushing down at all to prevent bulges in the sides of the cake. Wipe your spatula clean after every swipe! If you don't, any frosting on the spatula will transfer back onto the top edge. It will leave texture behind instead of a smooth edge.
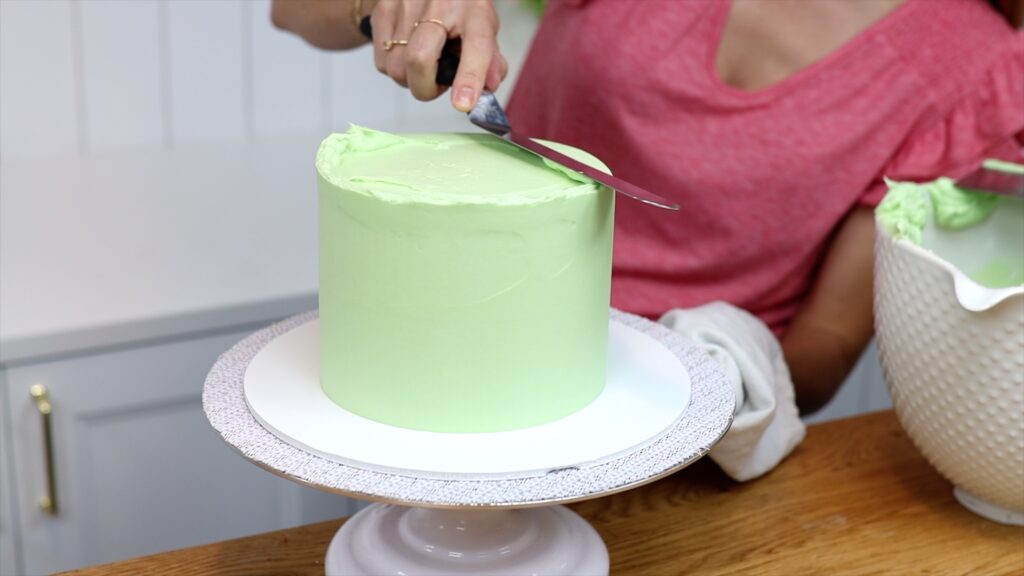
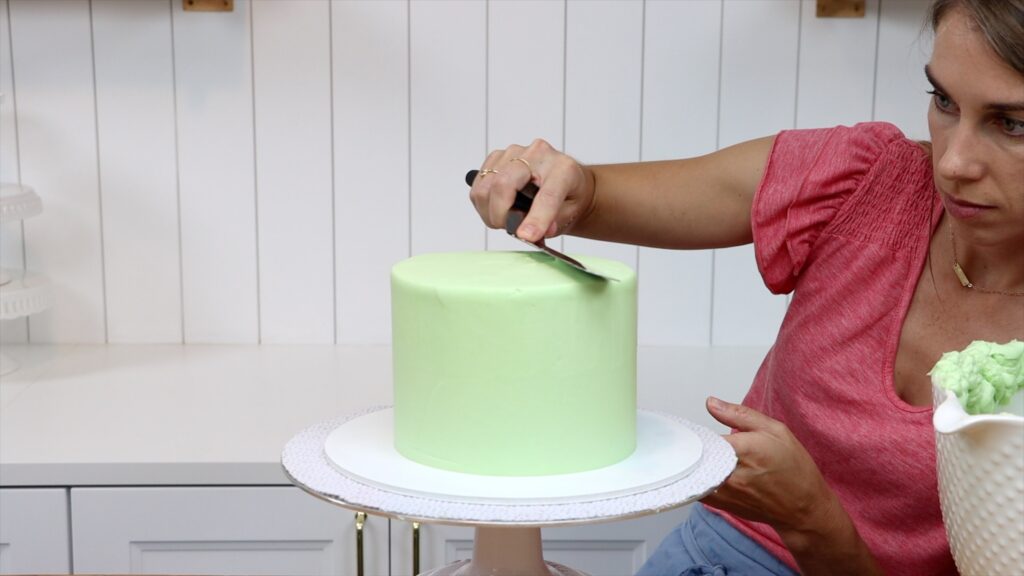
I recommend chilling cakes in the fridge before decorating. If you decorate it before the frosting sets you'll damage it. When frosting gets cold it sets, meaning it loses its stickiness and gets firm. Now it can support the weight or pressure of any decorations like stencils or piping.
Cake and frosting taste best at room temperature. If you’ve stored your cake in the fridge, take it out two hours before you slice it. This way, the cake and filling and frosting will warm up to room temperature. Cold cake tastes dry and cold buttercream is rock hard! It will be easier to cut into a cake at room temperature and it will also taste much better!
To learn all about how to decorate cakes with buttercream check out my online courses and my free course on 10 frosting techniques. See you there!
You can also watch a video of this tutorial on 10 steps to make a cake:

NICE