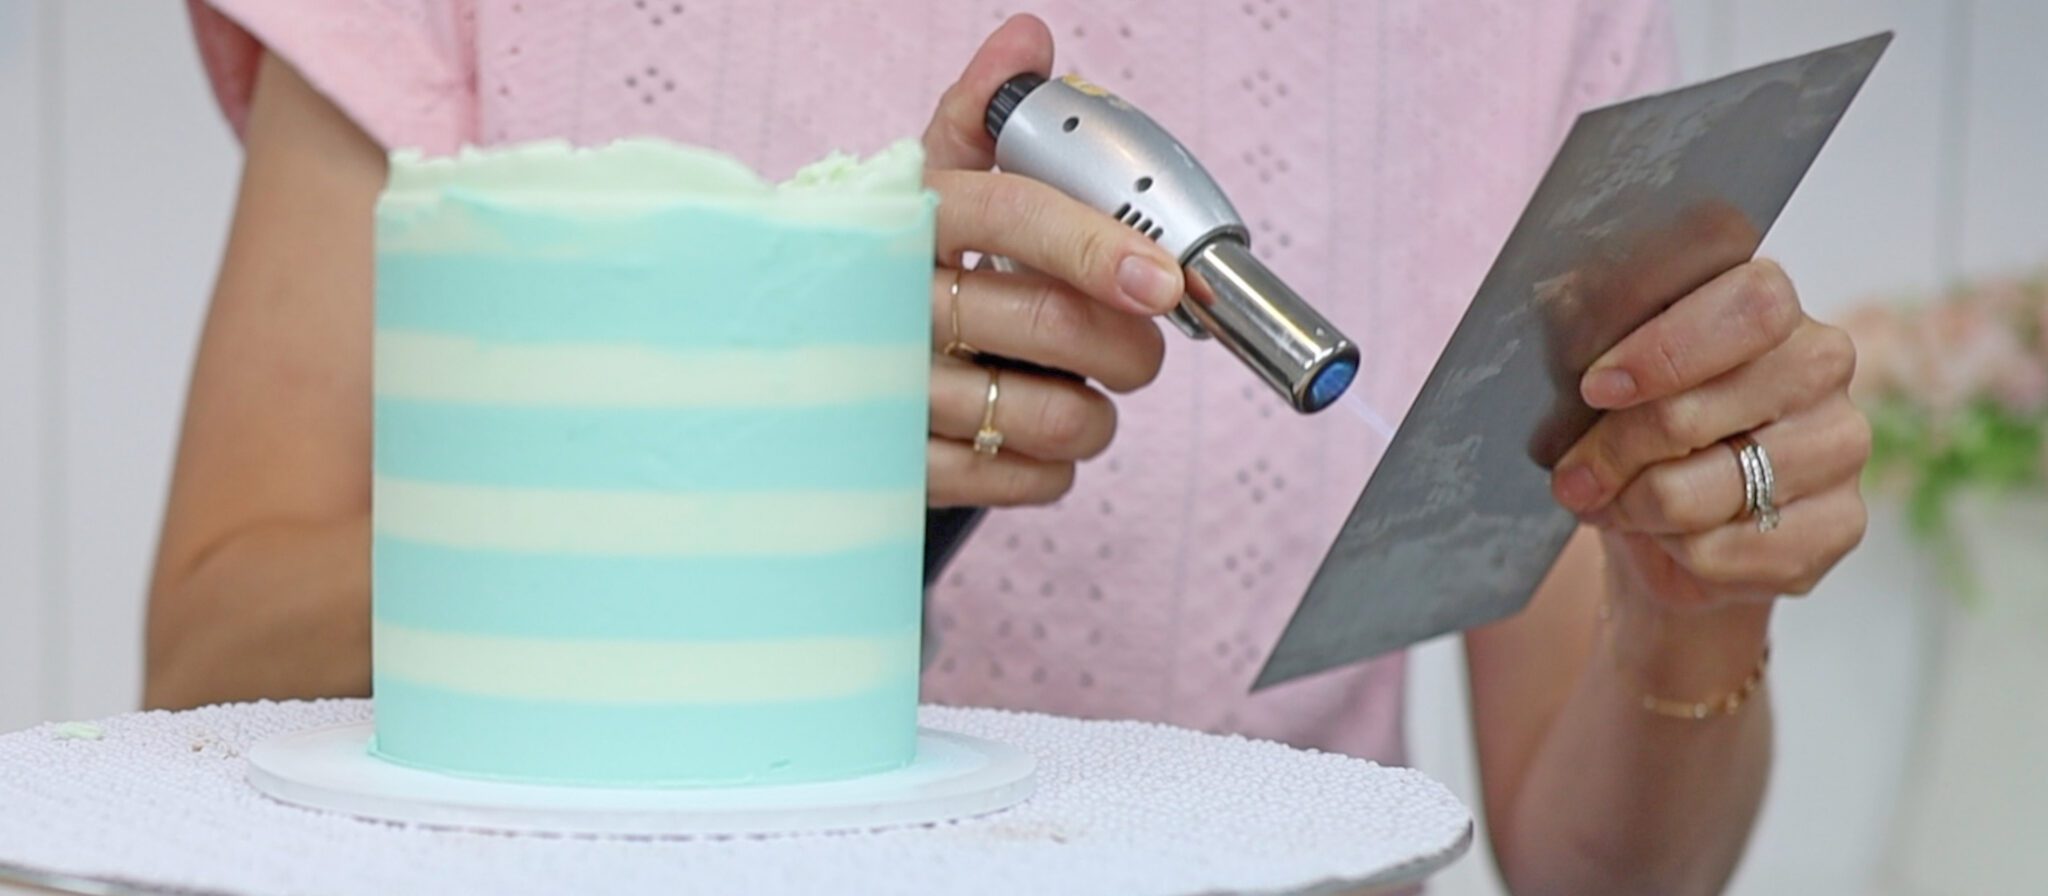
Here are 10 ways to improve your cakes in 2024!
Let's start with a two-in-one hack using a microwave for silky smooth and bright and bold buttercream. After tinting your buttercream scoop out about a third and microwave it for 10 seconds. It will melt and the colour will get much darker.
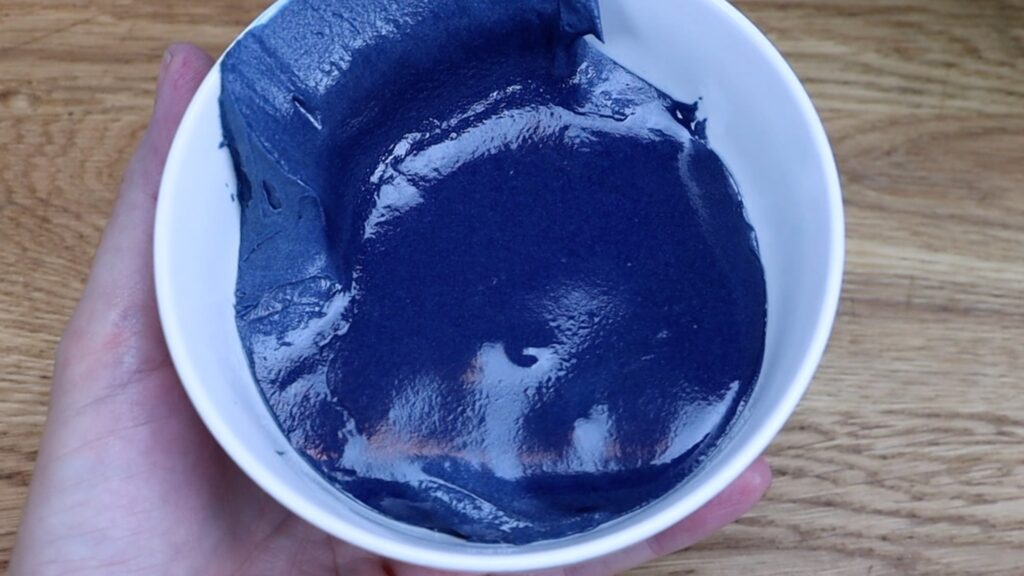
Pour this into your main bowl of buttercream and stir it to mix it in. Within a few minutes as it cools back to room temperature the consistency will be perfect! The colour will be much deeper and any air bubbles will have disappeared as well!
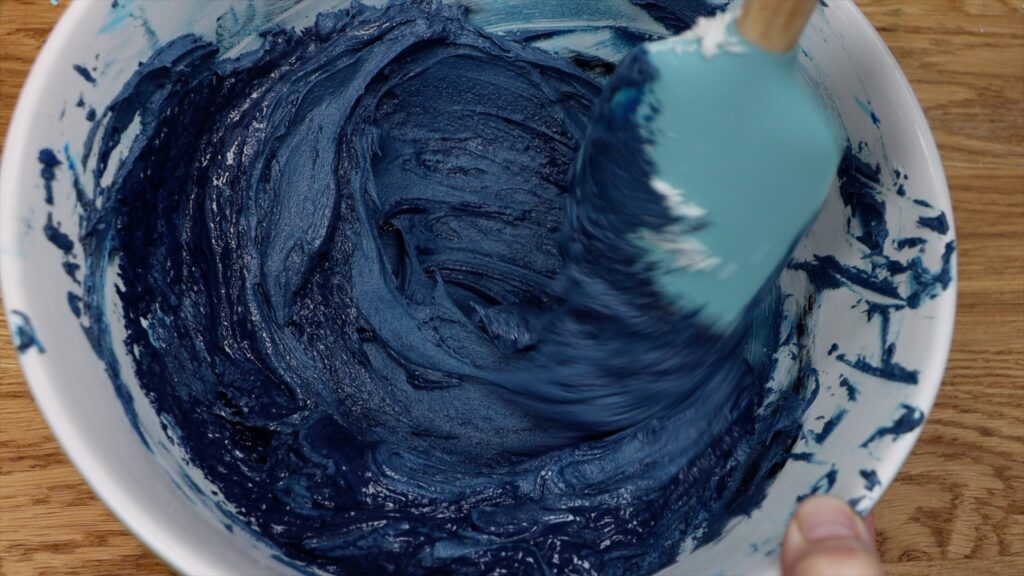
This hack will help smooth your frosting and it's also amazing for textured frosting.
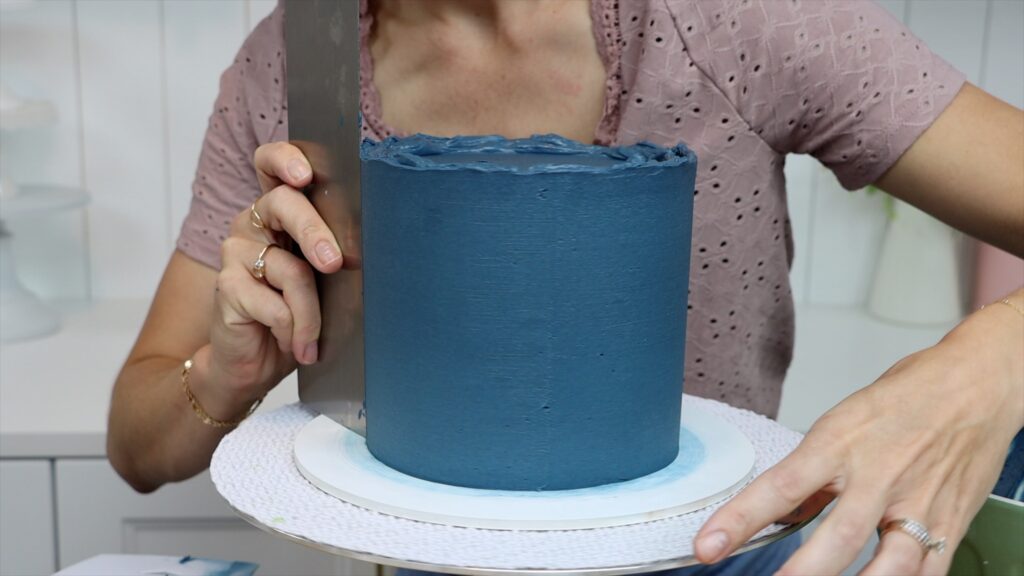
Here's another way to improve your cakes by achieving super smooth frosting. Although the aim of British Girl Bakes is to share techniques that anyone can achieve without needing to buy expensive cake decorating tools, I do recommend buying a metal cake comb for this hack, especially if you struggle with air bubbles or gaps or indents on smooth frosting.
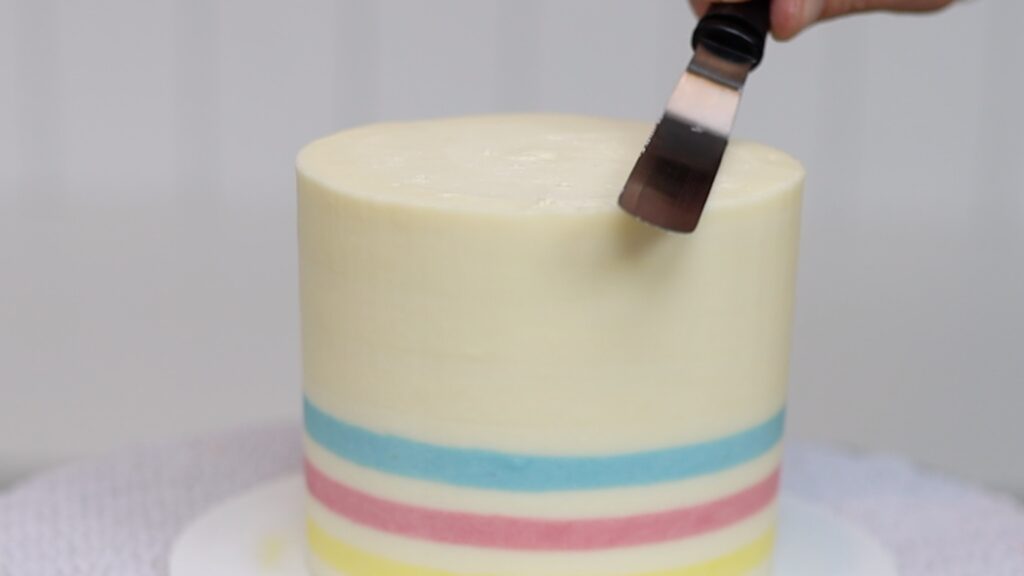
Heat the straight edge of your cake comb by running it under hot water or using a blowtorch. Then scrape around your cake to smooth the frosting. You'll heat the very outer layer of the frosting, pulling it around the cake to fill in any imperfections. The hot metal will leave an impossibly smooth surface behind on your frosting!
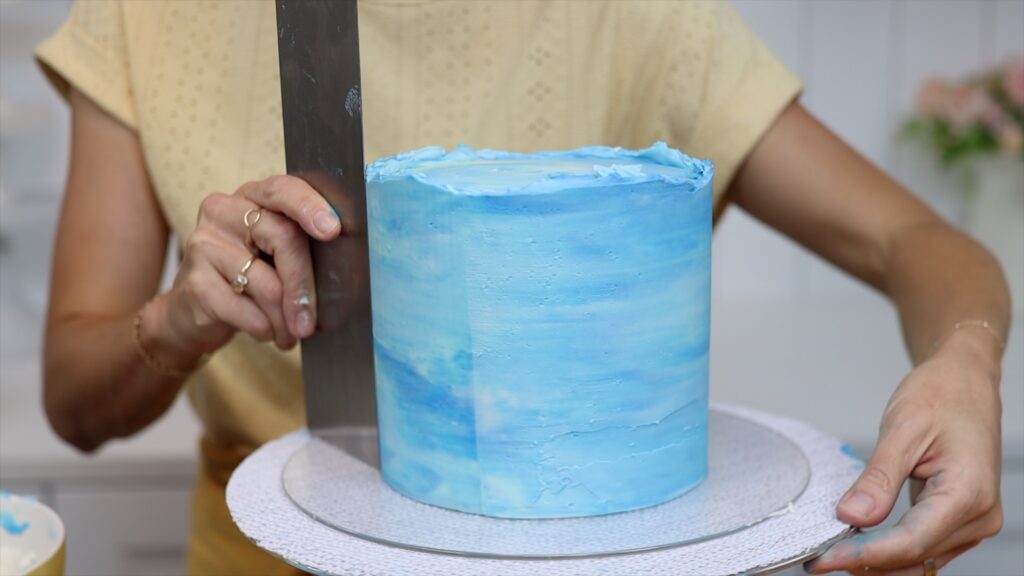
Note that you want the metal to be warm rather than really hot. High heat will melt the frosting and can cause changes in the colour of the frosting.
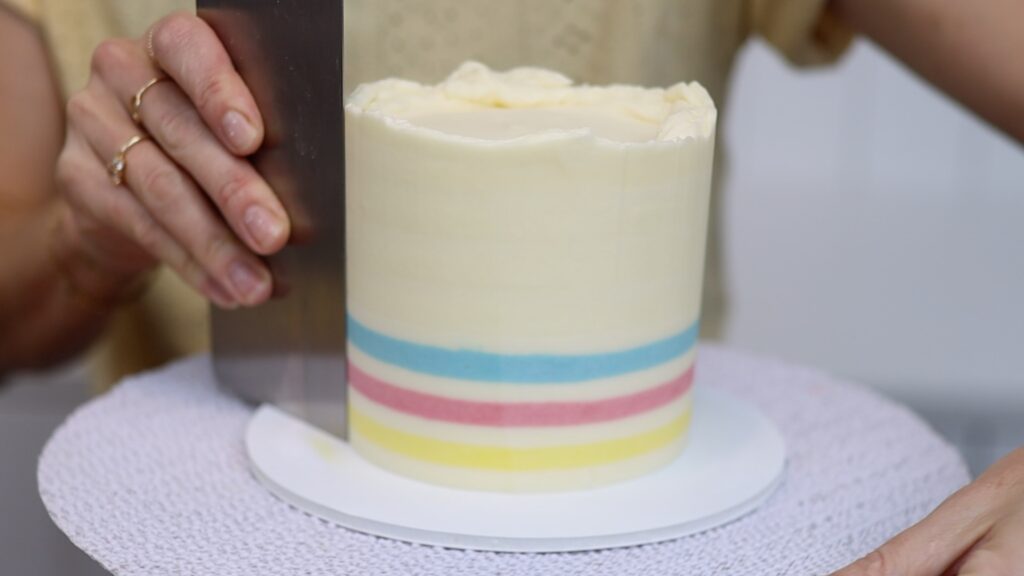
This hack works particularly well with striped frosting, taking off the messy layers of colour and revealing perfectly neat stripes underneath.
After smoothing the sides of a cake, frosting will be sticking up unevenly around the top edge. You can use your
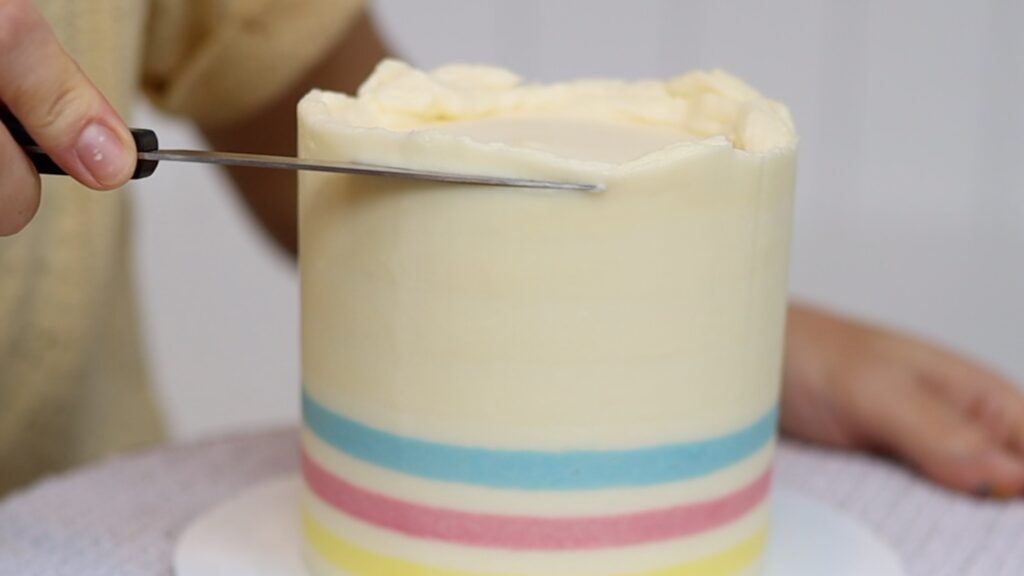
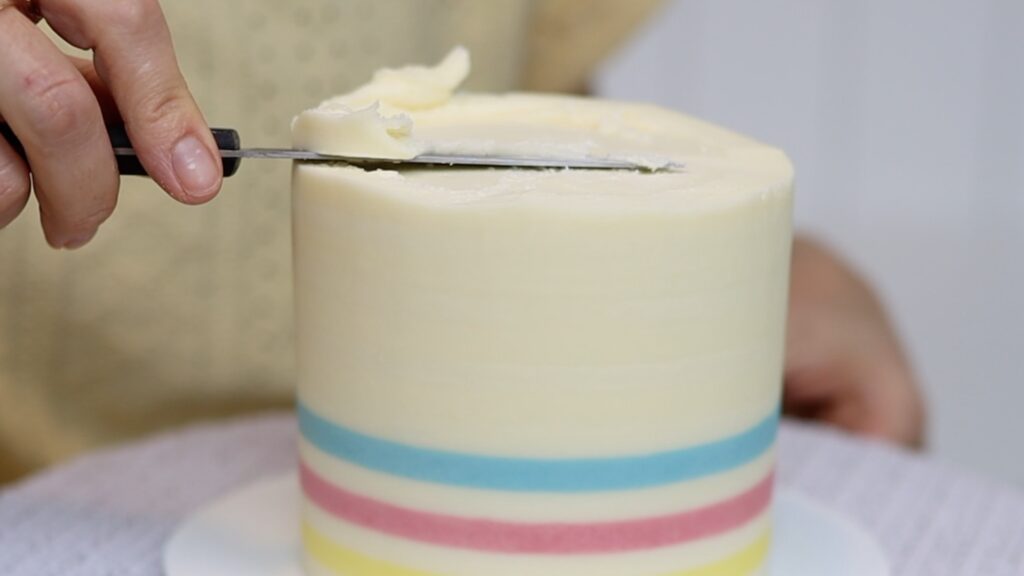
Then skim around the cake to level the final bumps. Gently swipe away any buttercream crumbs with an
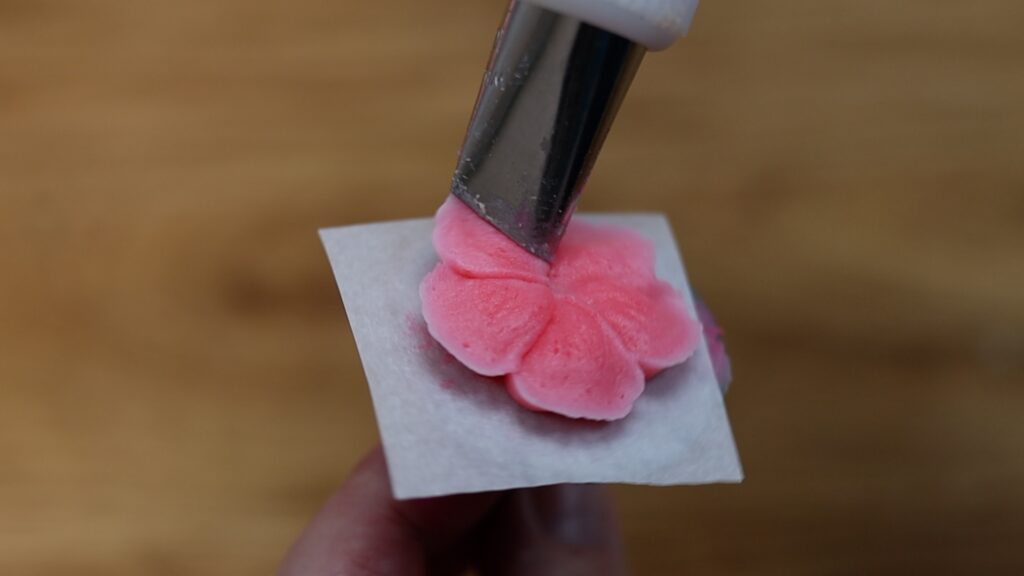
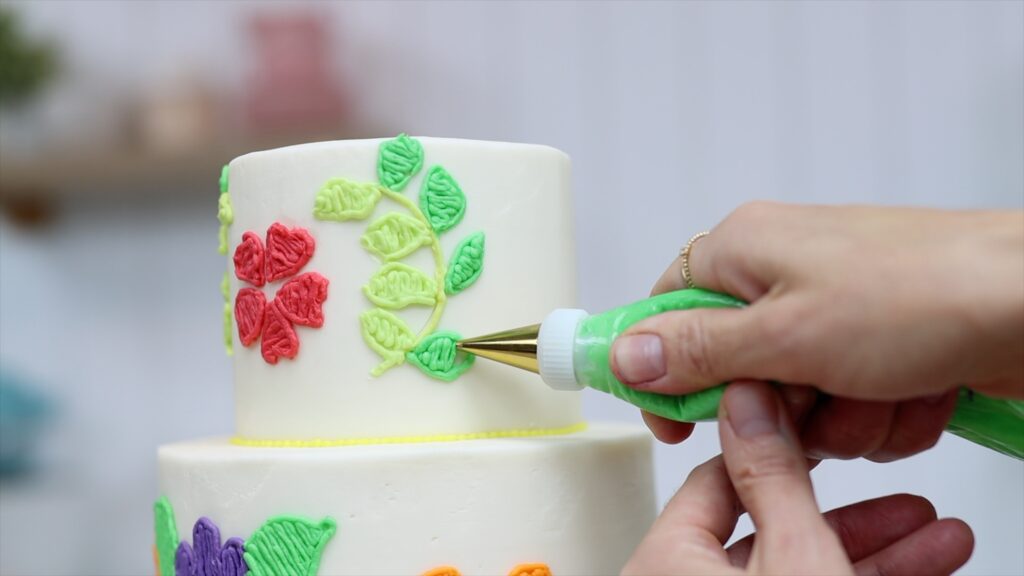
Piped details like flowers, rosettes and borders can be time consuming and tend to get sloppy by the end. Details become less defined, like blobby petals and thicker, shapeless ruffles. Your hands warm up the buttercream in the piping bag as you pipe, making it softer with time. Warm buttercream doesn't hold its shape as well when you're piping.
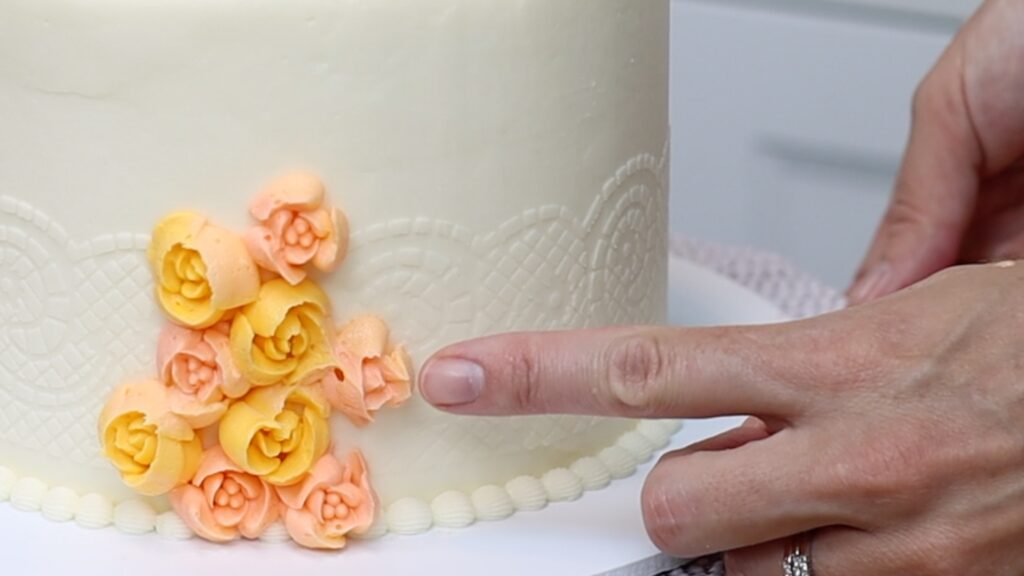
Put the piping bag in the freezer set a timer for one minute. That short time in the cold will chill and stiffen the buttercream. Now it will be the right consistency to finish your piping. You'll notice that with the right consistency, petals will ruffle around the edges now. Even Russian tips will be easy to use!
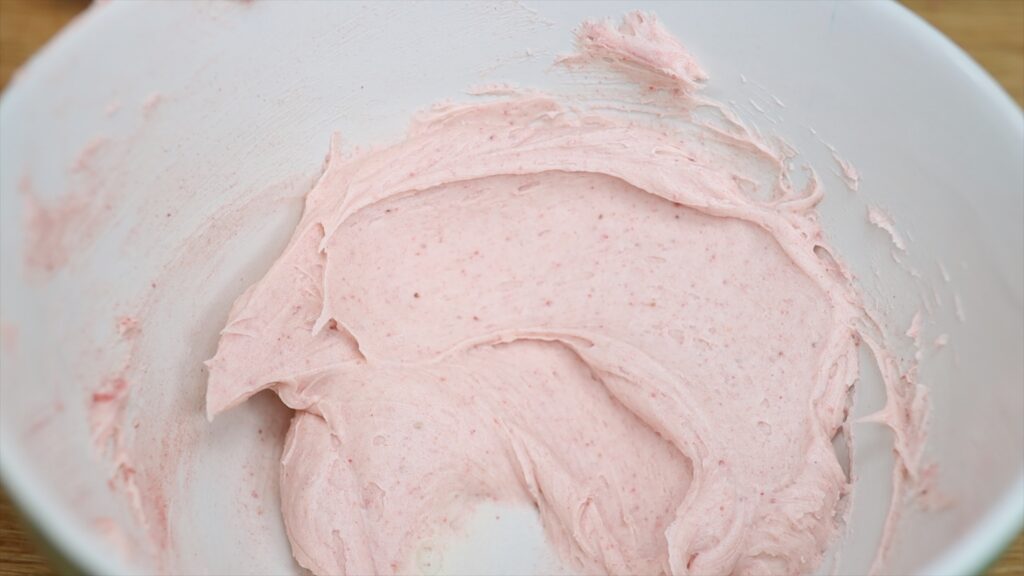
Instead of sticking to the same old flavours for your cakes, try something new this year! Developing new cake recipes is complicated and time consuming but it's much easier to develop recipes for fillings and frostings. Start with your favourite buttercream (mine is my 4 Minute Buttercream). Now mix in ingredients like blended Oreo cookies or freeze-dried strawberries. They'll add lots of flavour to your fillings and frostings without changing the consistency of the buttercream, so it will be just as easy to work with as your normal plain vanilla buttercream.

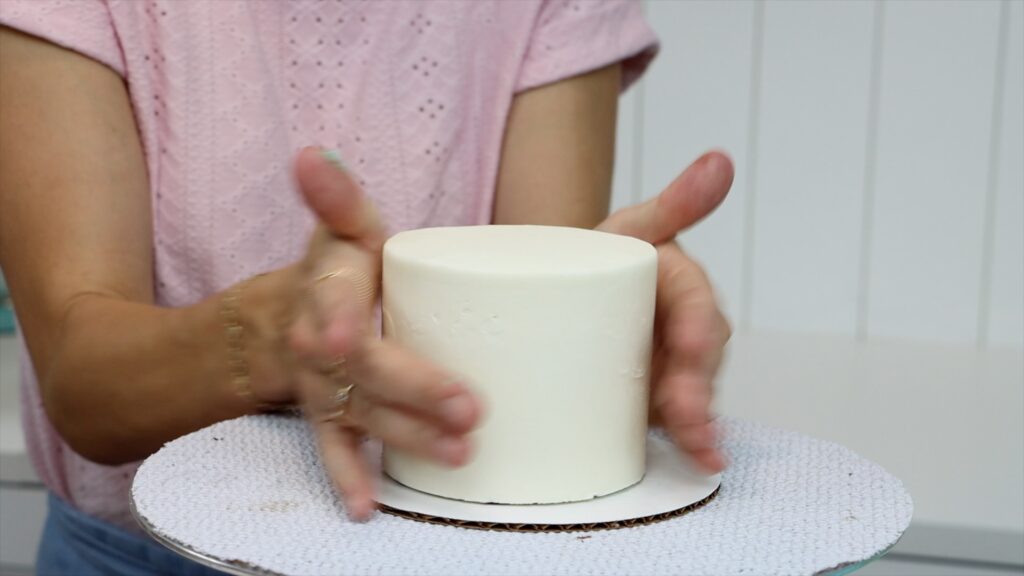
This next thing feels like a small detail but it makes a huge difference to the presentation of your cake. Make sure cakes are centered on their cake boards. Sometimes they start off in the middle but as you spread the frosting on and then smooth it, you nudge it over on the cake board. It ends up off-center, which looks messy.
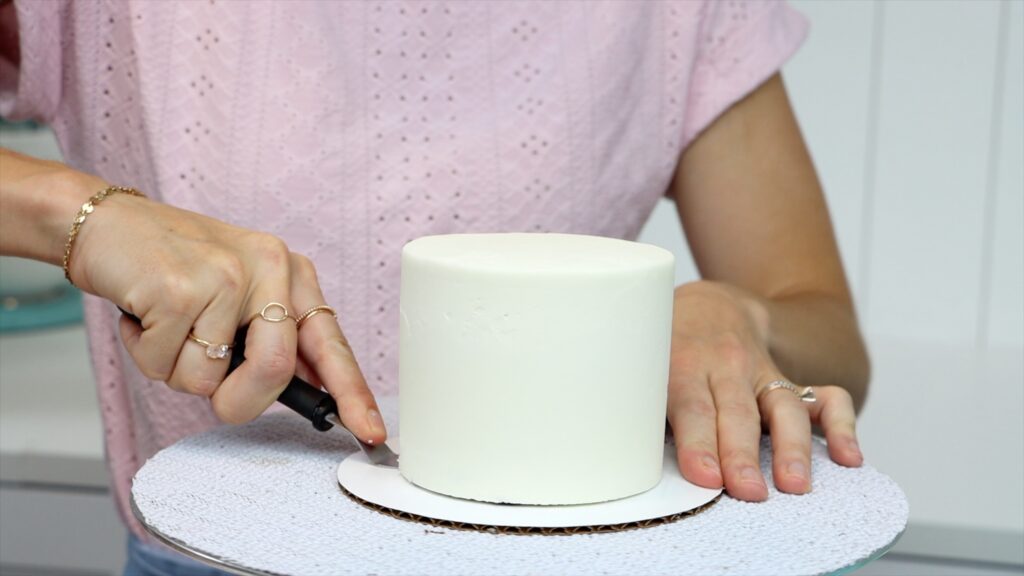
You can reposition the cake by chilling it in the fridge for at least an hour to set the frosting. Then slide an
Give yourself more time to decorate your cakes by making them in advance! Do this by freezing them properly to maintain their freshness. Now instead of baking, assembling, frosting and decorating your cake all in one day, you can spend that time just decorating! I have a full tutorial on how to make cakes in advance by freezing them properly.
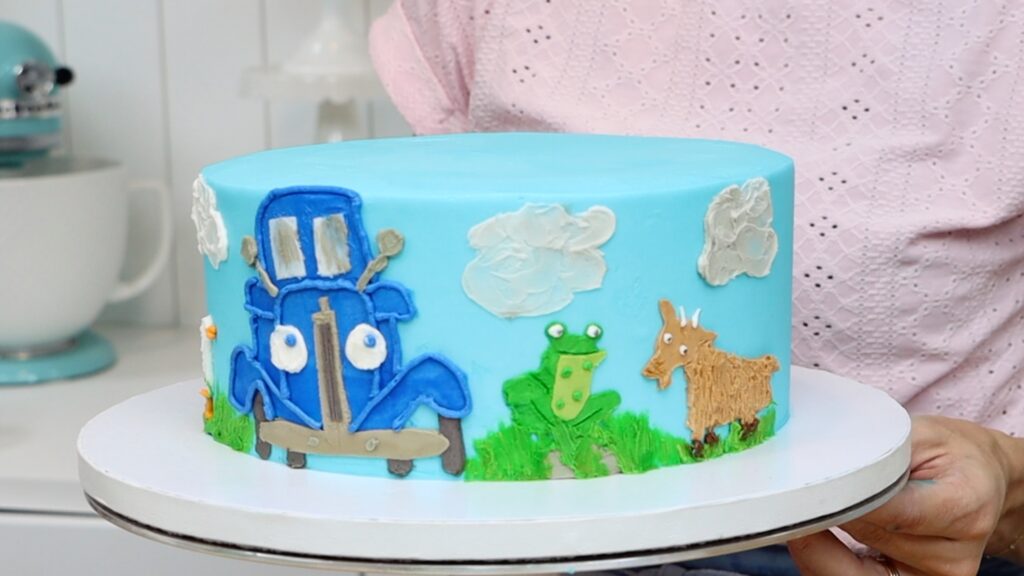
Take your cake decorating skills from beginner to professional by progressing through three layers in my Layer Up program! You'll learn hundreds of skills and techniques and ways to improve your cake business like scheduling and taking custom cake orders, making cakes in bulk, transporting and serving cakes and making cake videos for social media. Instead of learning everything in 12 years like I did, do it in 3 to 6 months with this program.
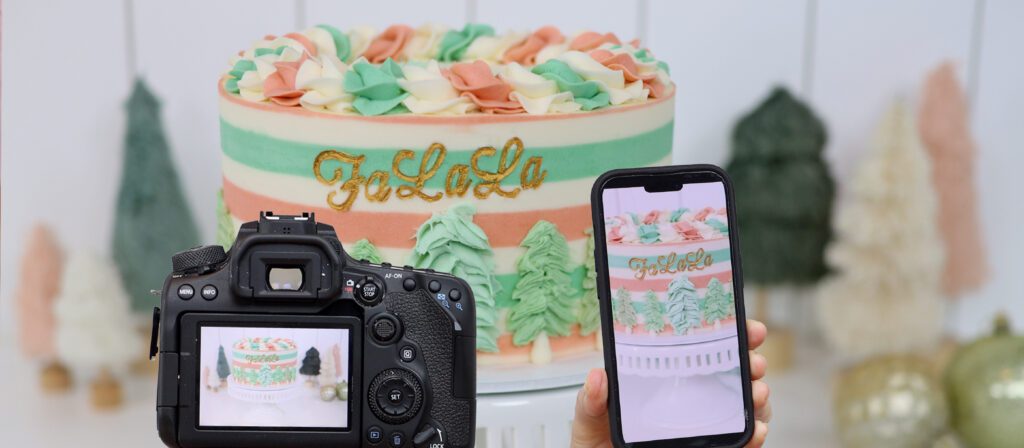
A few weeks ago I shared a tutorial on 10 ways to make your cake photos better, showing how to adjust the lighting, how to make the background out of focus on a camera and a phone, setting up props, and more. Check out that tutorial to improve your photos to make your cakes really look their best.
You can also watch a video of this tutorial on 10 ways to improve your cakes in 2024:

Such great suggestions. Thank you, Emily!
I'm so happy you liked them!