Writing on cakes can be tricky but with these 12 tips, use frosting or icing to write beautiful messages every time!
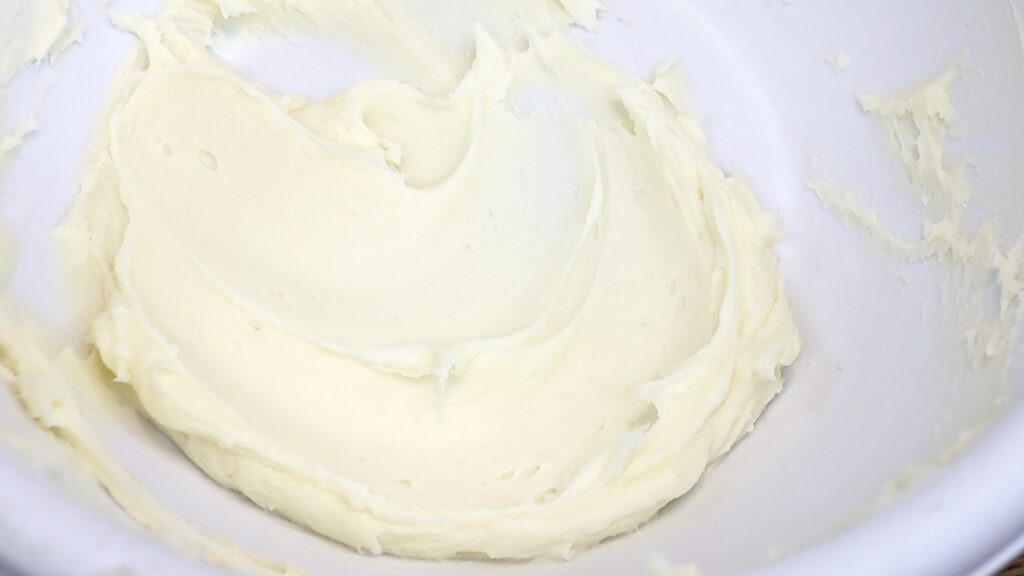
This is the most important tip! If the buttercream is too stiff, the lines of your letters will break apart as you pipe. What is the right consistency for buttercream for writing? Buttercream should be easy to stir and smooth, without jagged texture when you pull a spatula through it.
If you make buttercream in advance, check the consistency just before using it. Buttercream consistency changes with temperature so if you make it on a warm day and use it on a cold day, you might find that it’s become too stiff to pipe with.
The biggest challenge with piping is that unlike writing on paper, you have nothing to rest your hand on. Piping mid-air is difficult because instead of being steady, your hand is wobbling all over the place. To help with this, use your other hand to support your upper arm to hold it still. This way, your piping wrist can do the tiny movements required to shape the letters of your piping without also needing to hold itself steady.
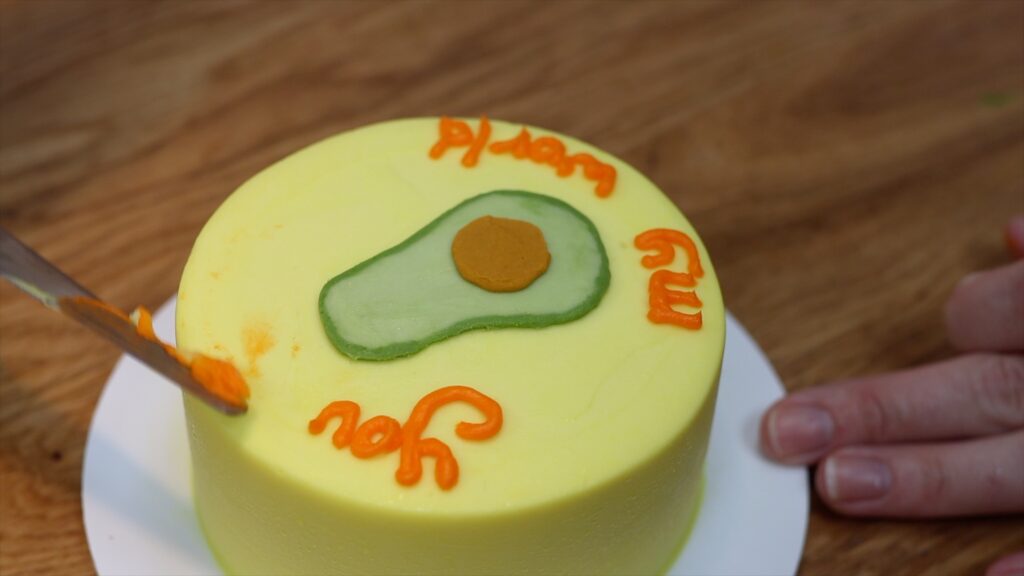
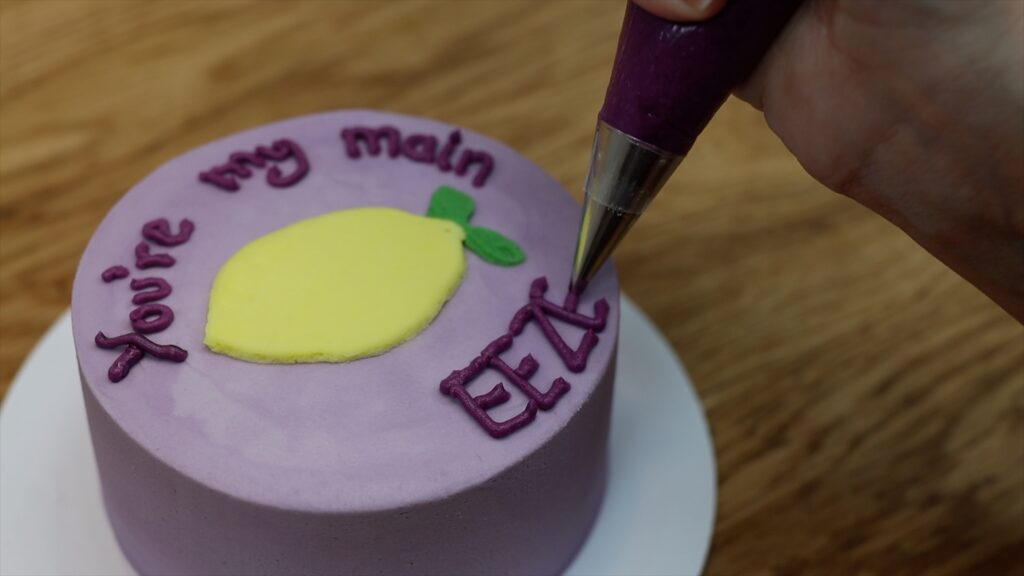
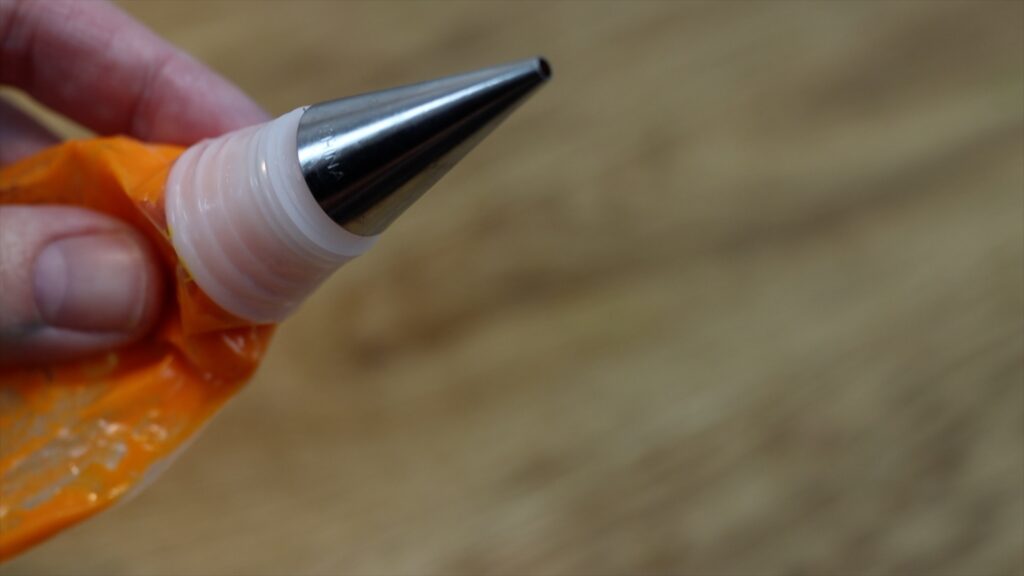
For a small space, use a small tip. For larger spaces, you can use larger tips. This is a #3 and the cake is 4 inches wide. For small cakes or long messages a #2 and #4 work well too. If your piping tip is bigger you’ll need to pipe very large letters to make them legible. If you try to write small letters with a large piping tip, the holes in letters like 'e' and 'g' get covered up. This makes it difficult to read what the message is supposed to say.

If you’re new to writing on cakes, start off with printed letters. Cursive or joined up writing is much more challenging, especially if you can’t write neatly like that on paper! Printed letters are easier because you can take your time, pausing after each line or serve to adjust your position. This makes your writing the most legible.
Before you write on a cake, chill it in the fridge or freezer. The timing for this varies but wait until the frosting has set, so it’s firm. Then after you write a letter or word, if you don’t like it you can scrape it off easily. You won't damage the frosting on the cake because it will hold its shape.
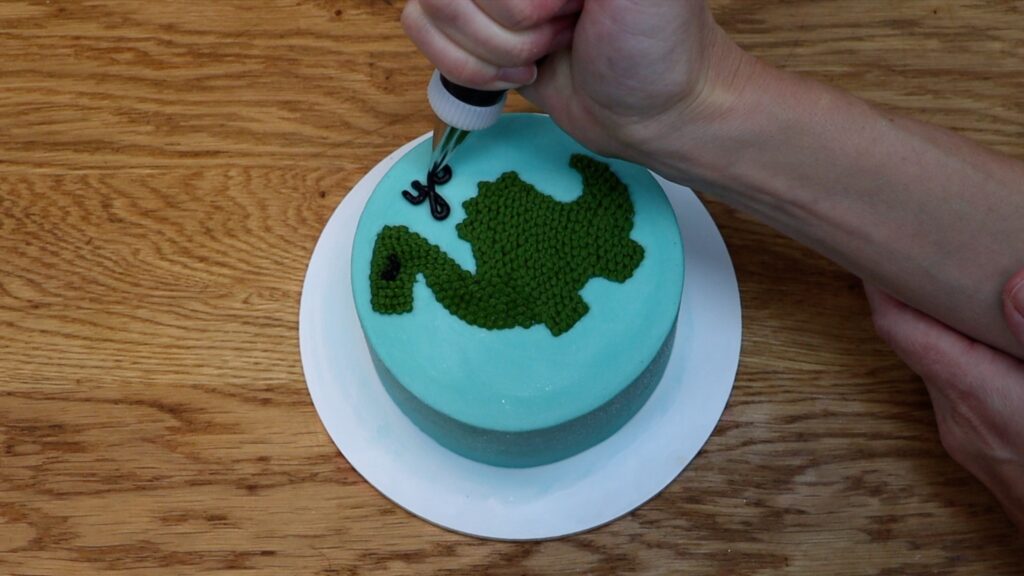
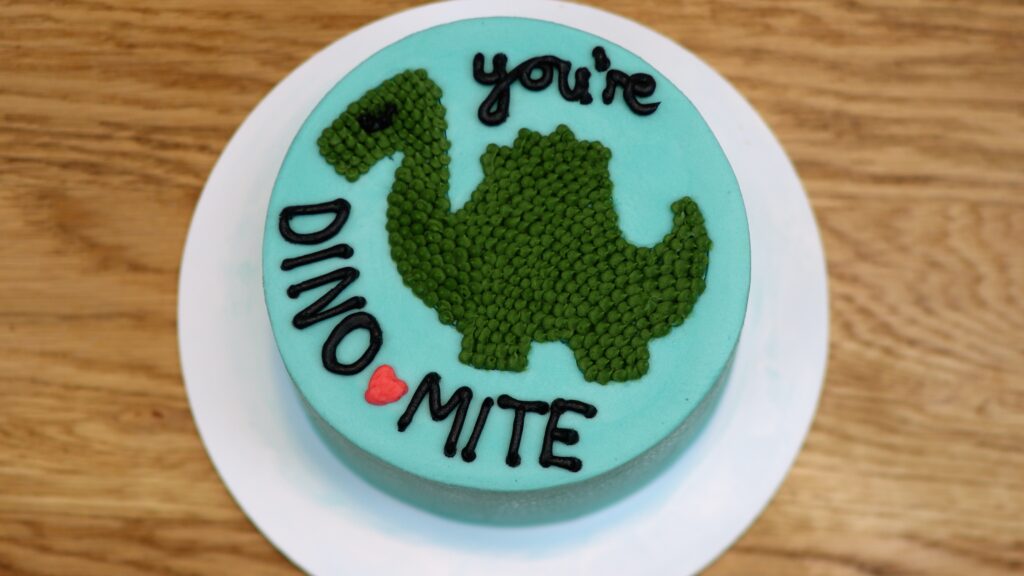
If you have very shaky hands or struggle with piping lines, try dots instead! Pointillism is a technique that uses piped dots to make shapes, and it can be used for writing, too! Choose a small round piping tip like a #2, #3 or #4. Try it - you might find it easier than piping letters the way you’d normally write them with lines and curves.
You only need a tiny bit of buttercream for each word you pipe. However, it’s easier to pipe with more buttercream in the bag. When there is only just enough buttercream in the bag to write a message, you’ll need to use your finger or thumb to push the buttercream down into the piping tip to squeeze it out.
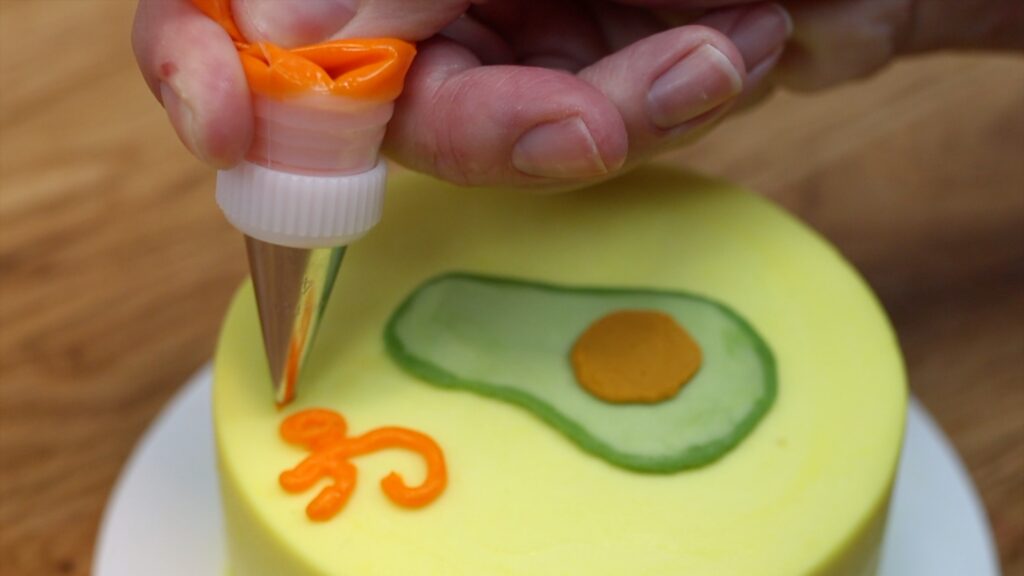
Your piping will be much neater if you have a little bit more buttercream in the bag. Ideally, keep your piping bag about half full.
To center writing or space it evenly on a cake, start with middle word or middle letter. Then work your way out. There are 7 letters in the word "squeeze" and I’m starting with the fourth, which is the middle letter. I can then fit three letters after and three letters before. By starting in the middle, the word will be perfectly centered on the cake.
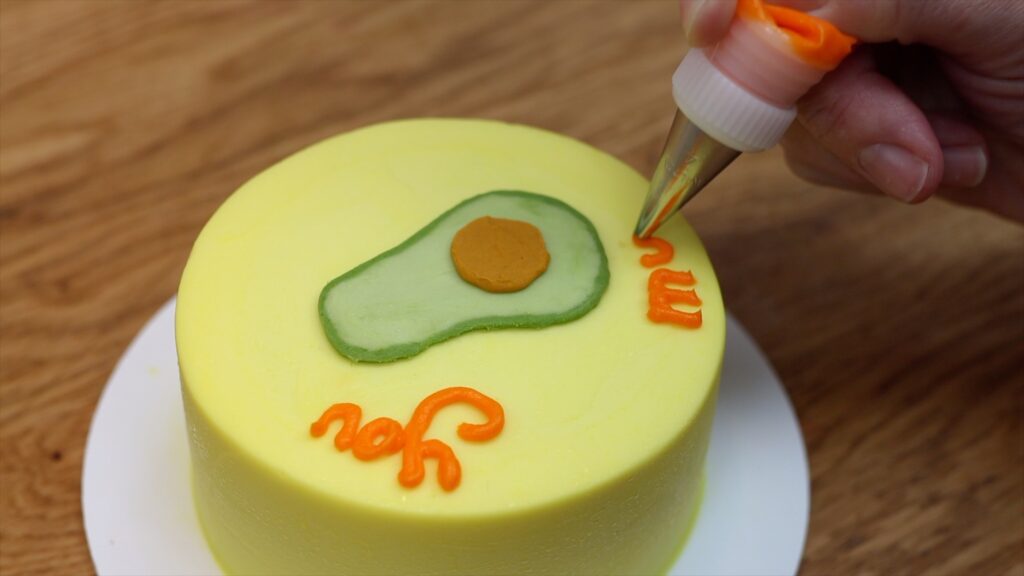
Sometimes, writing backwards makes the most sense! If you decorate a cake before writing a message, your message may need to fit within a certain space. If the decoration that's blocking your writing is to the right of the space, start with the last word. Then work your way to the beginning. This way you'll make sure the message fits.
You can even start with the last letter of a word and write backwards! By doing this, you won't be trying to squeeze the last letter into a tiny space, making it smaller or narrower than all of the other letters.
Even with the neatest letters, it can be confusing how to read a message on a cake. Messages spaced around a decoration could be read from left to right or up and down. To help guide people to read in the right direction you can use shapes or other details.
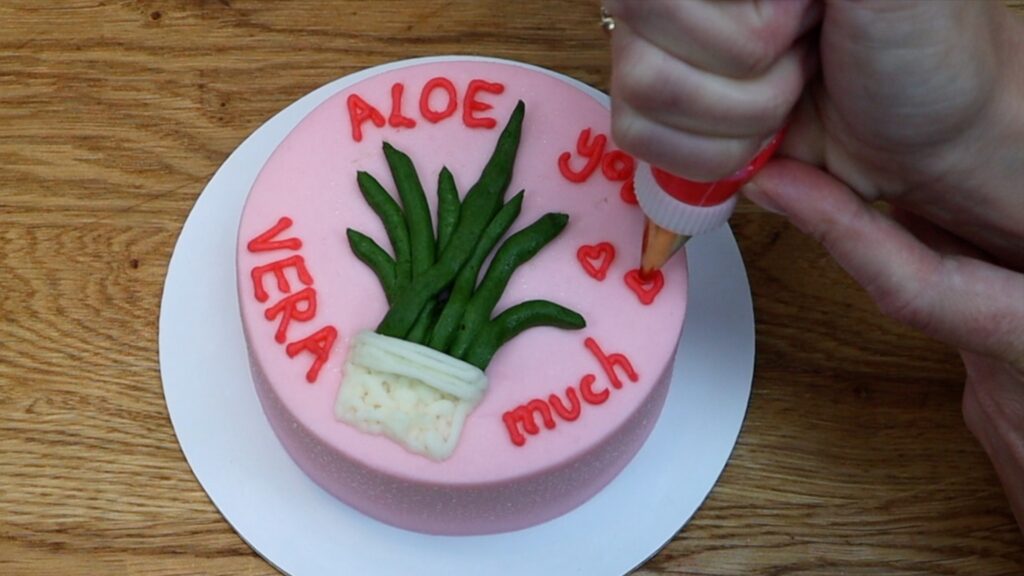
Here, the hearts block the cake off across the middle. This shows that the words at the top should be read first and then the words at the bottom.
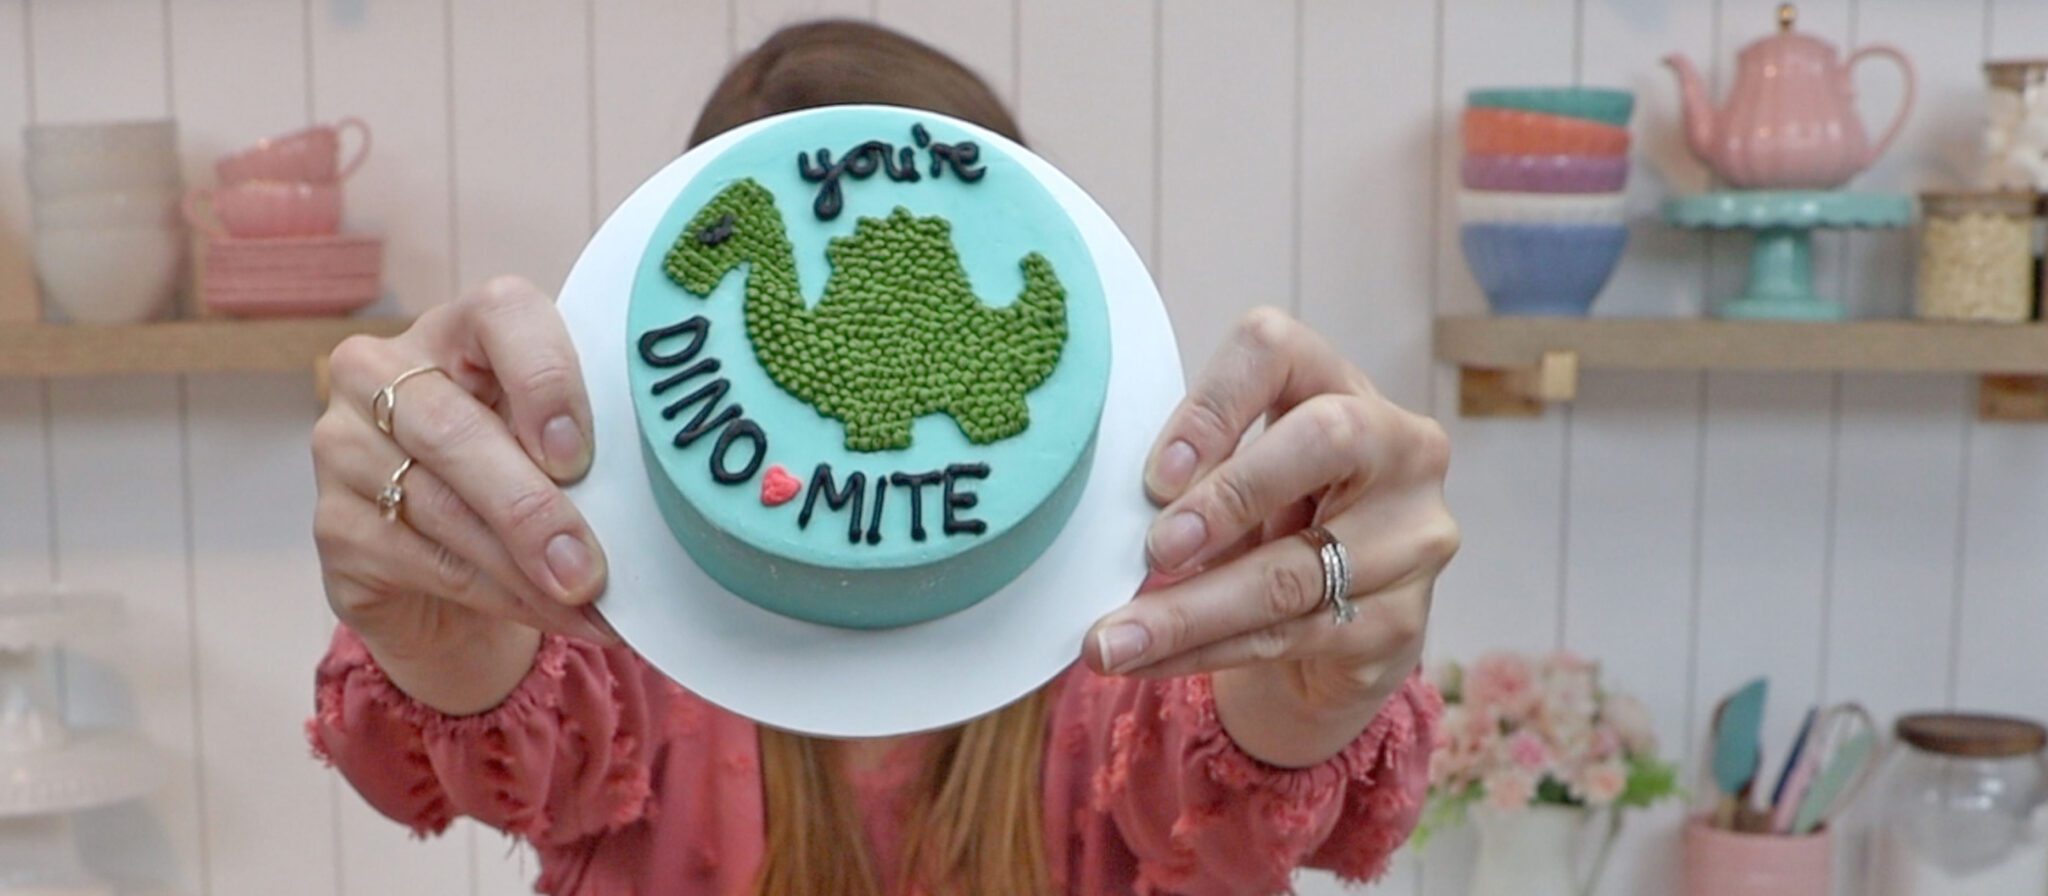
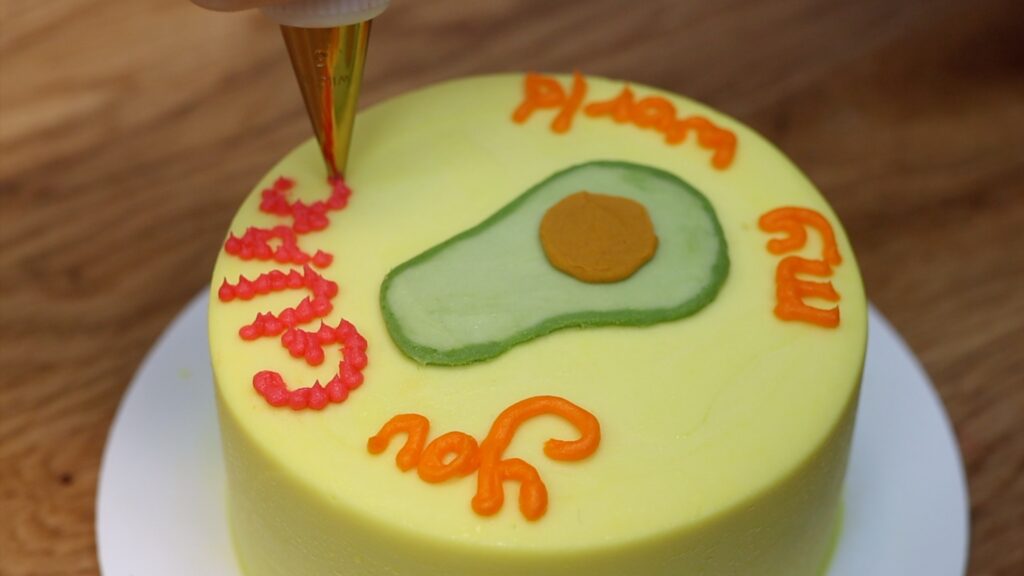
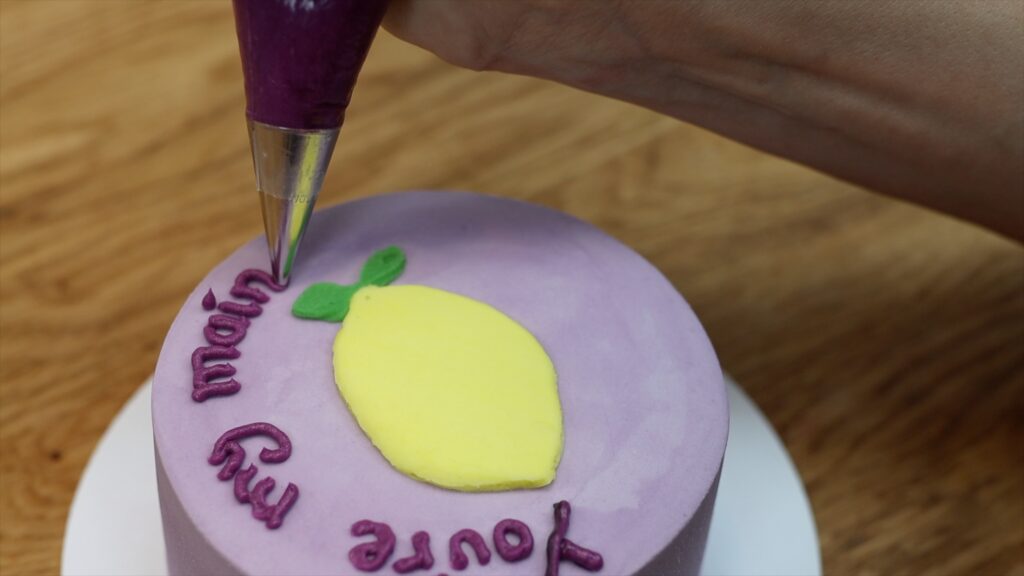
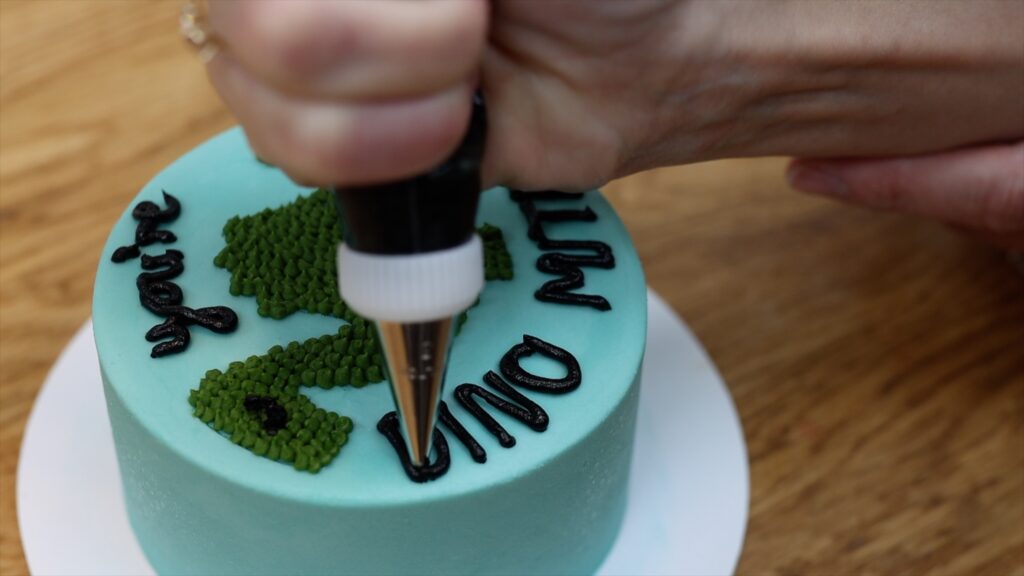
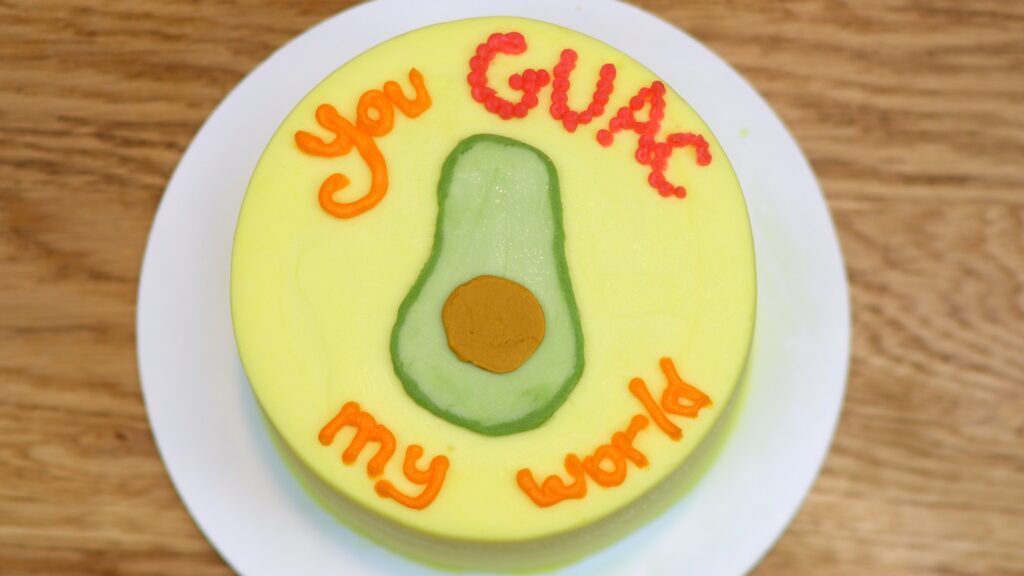
Vary your lettering to make the message more interesting. You can do this by using two fonts, like the cursive and print on this dinosaur cake or the printed letters and pointillism on this cake:
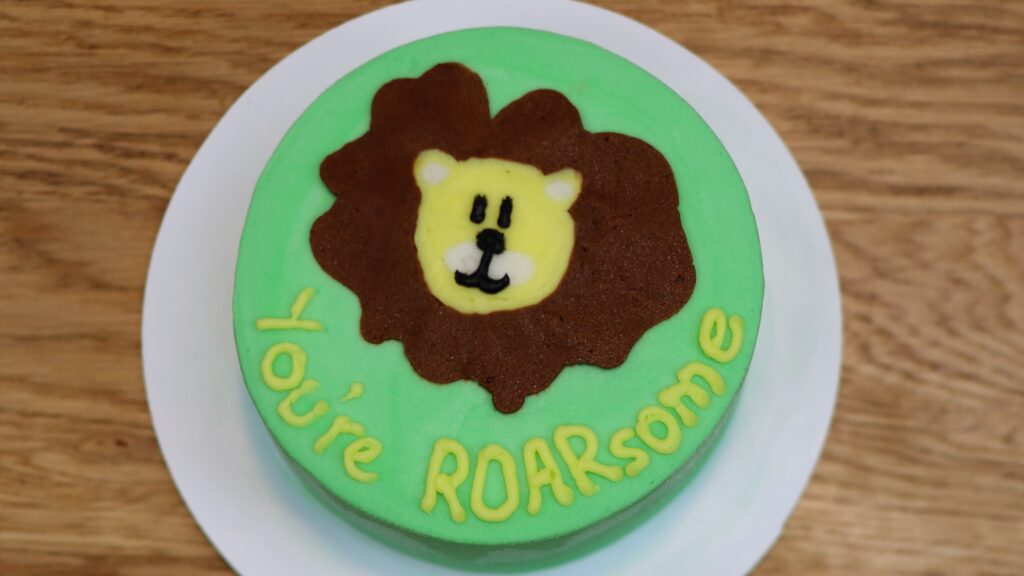
Another option is to use lower case and caps to add variety, like this:
Another way to add detail to messages is to use more than one colour. For that, I recommend using couplers. This way, you can attach a piping tip to the outside of a piping bag. Then after finishing writing part of your message with this colour, unscrew the coupler ring and lift the tip off. Put the tip onto another piping bag with another colour of buttercream to use next. Screw the coupler ring on to secure the piping tip and now you're ready to write with this colour!
Visit my online cake school for hundreds of cake decorating designs and techniques and join my ClubPLUS membership for access to every MiniCourse, MasterCourse, Live Workship and 5 Minute Fridays.
You can watch a video of this tutorial on 12 Tips for Writing on Cakes here:


