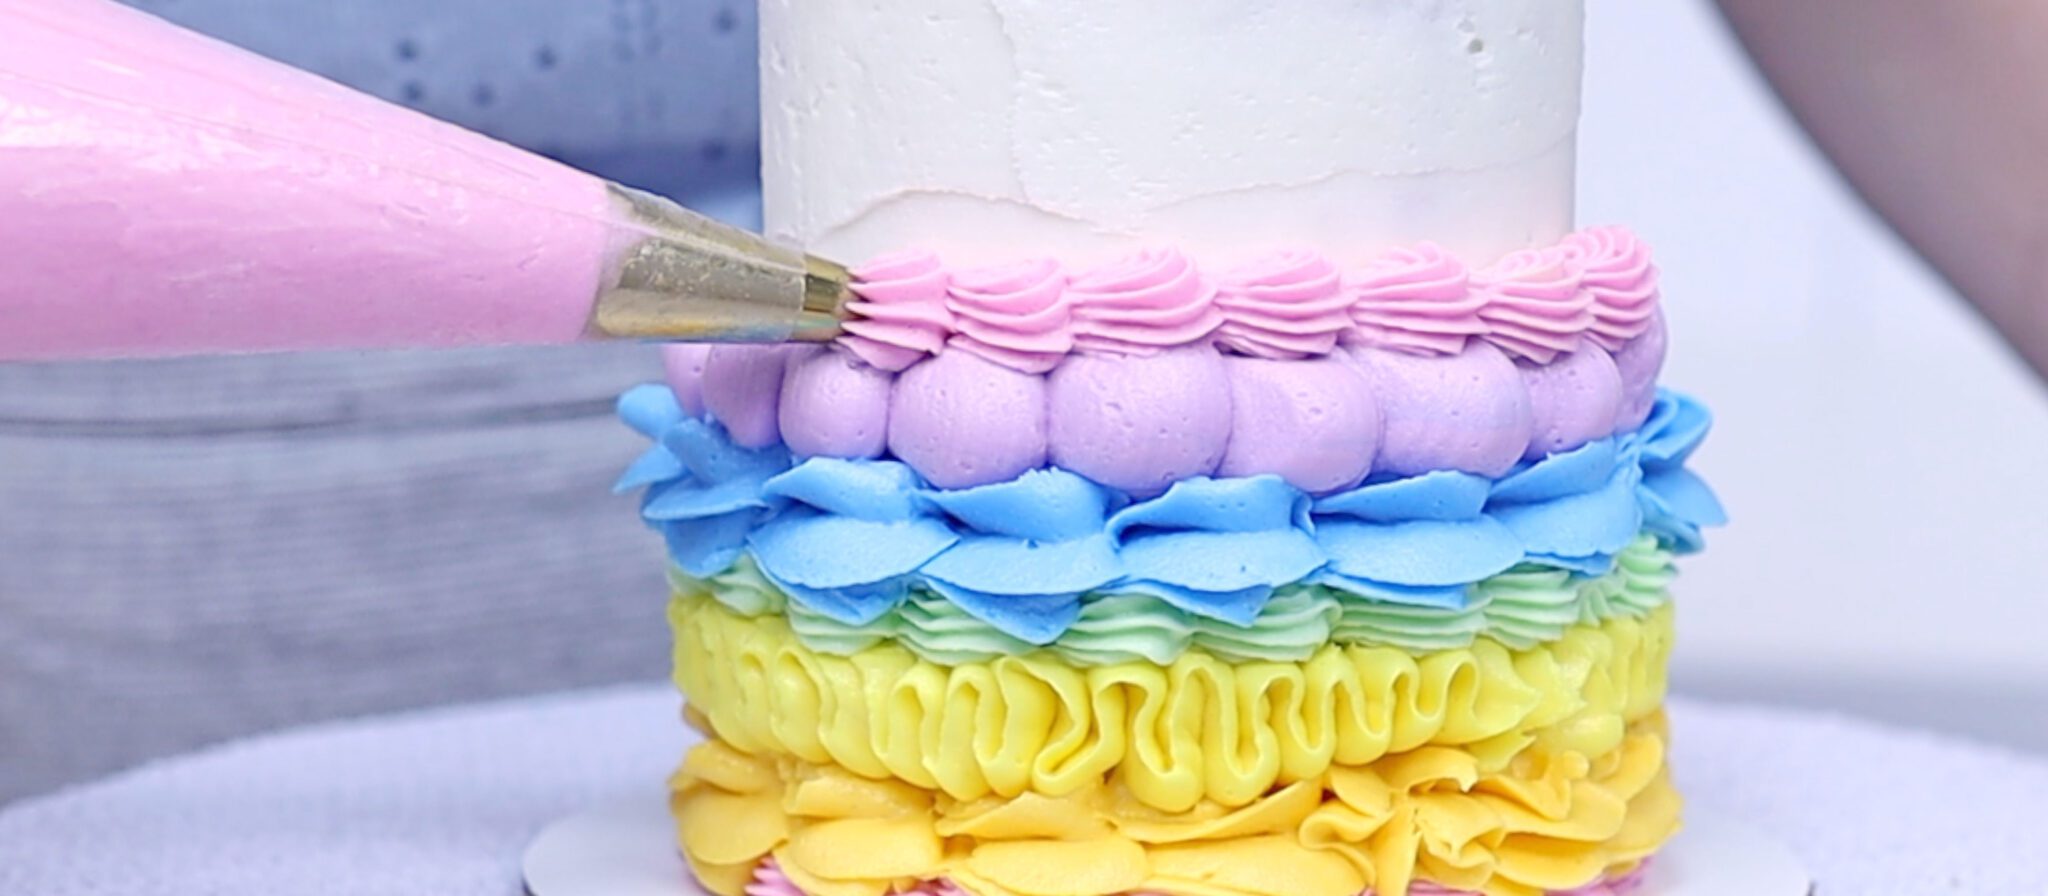
Here are 14 useful time saving cake hacks to make you more efficient and productive, whether you’re making one cake or several at the same time. It doesn’t need to take all day to decorate a cake!
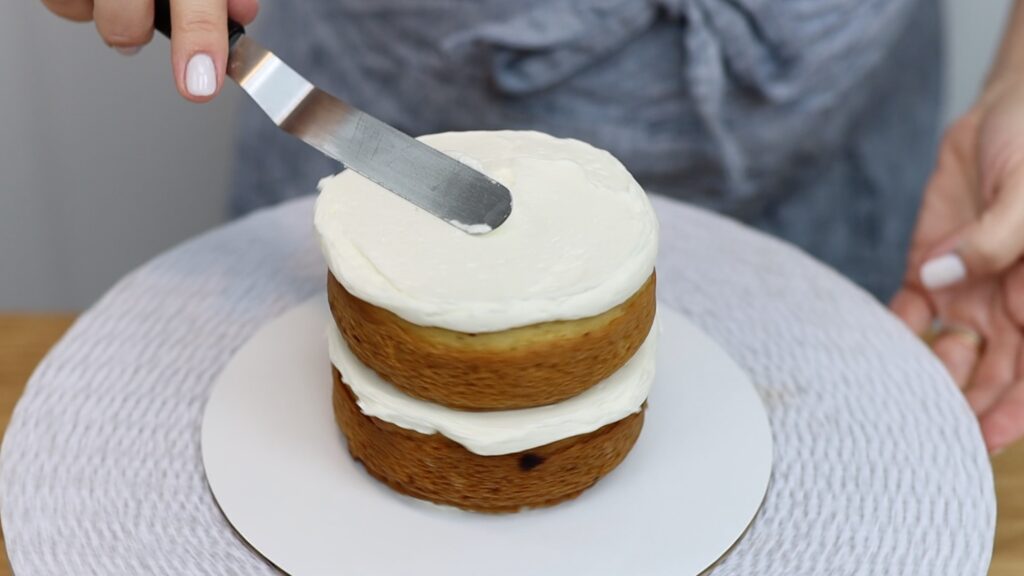
Before you frost a cake, put it in the freezer for 15 minutes. You can do this with the layers before you assemble the cake or with the entire cake after assembling it. Cold cake layers are firmer than when they're at room temperature. This means you’ll find it much easier and quicker to frost the cake when it’s cold than when it’s at room temperature. With this small time saving cake hacks you'll spend less time assembling, crumb coating and frosting your cakes. You’ll notice that when you spread frosting onto cold cake layers, the cake doesn’t wobble from side to side or slide around on the cake board. Also, fewer crumbs will come off the cake into the frosting than when the cake layers are at room temperature.
You can even put the cake in the fridge or freezer the day before, if you want to space out the cake making process. Wrap the layers in cling film or saran wrap before chilling so that they don’t dry out.
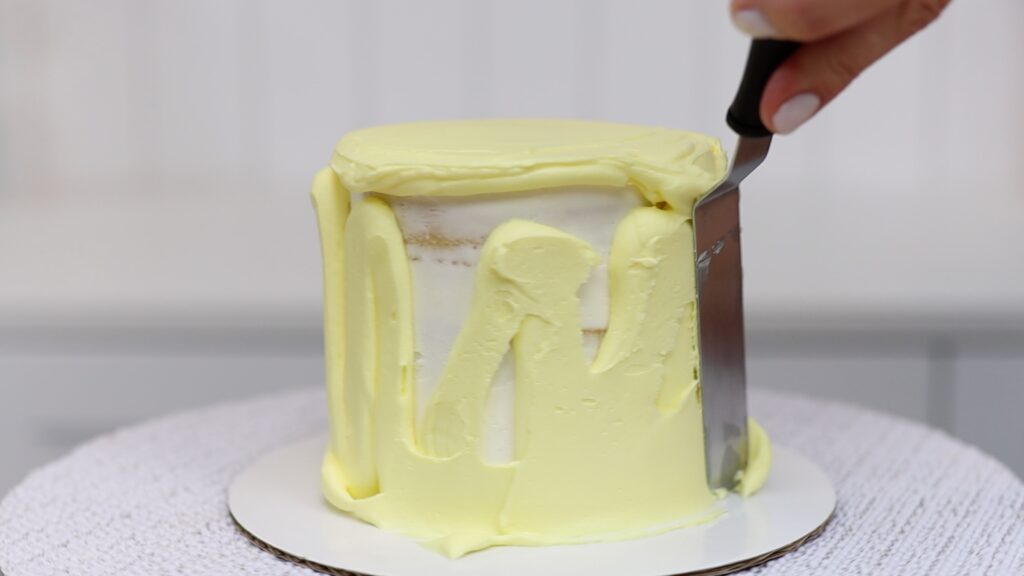
Instead of spreading filling and frosting onto a cake, try piping it on. Piping is much faster and will save you a few minutes for each cake you fill, crumb coat, and frost. You don’t even need any piping tips to do this! Just use the hole cut off the end of the piping bag to squeeze the frosting through straight onto the cake. I used my 4 Minute Buttercream for all of the cakes in this tutorial but piping works with any kind of frosting.
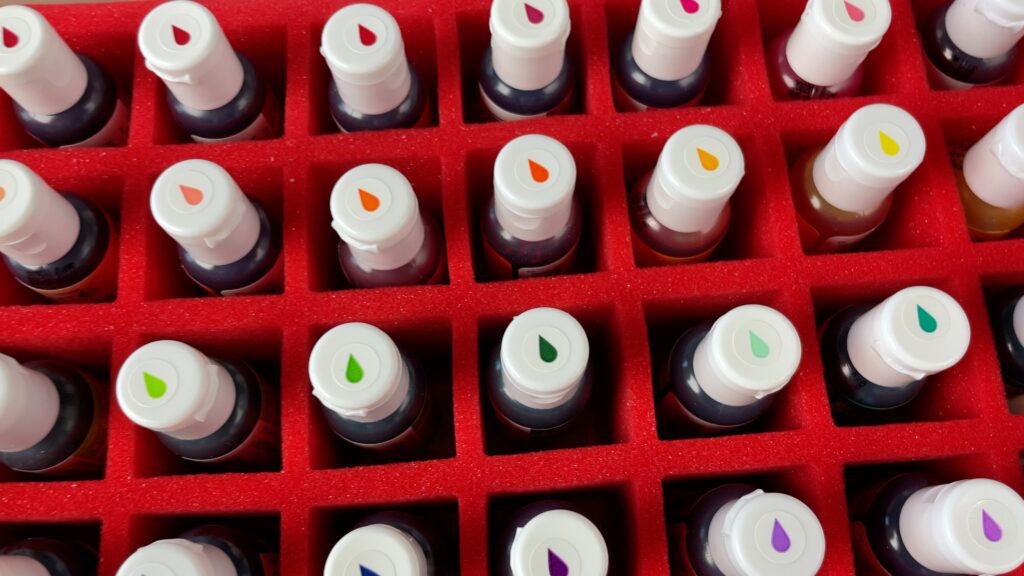
Organizing your tools will save you lots of time for every cake you decorate because you’ll know exactly where everything is. Try putting bottles of colour in a case with dividers that keep the bottles upright so that they don’t fall over and leak and then stain your hands. If you have lots of bottles, lining them up in rainbow order will make it even quicker to find the one you’re looking for.
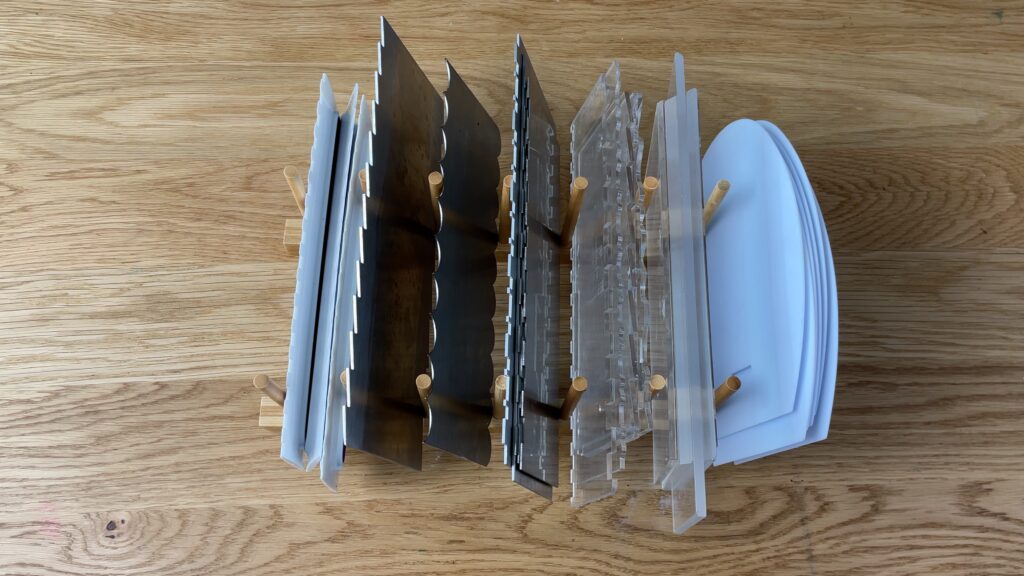
Stand your cake combs upright in a divider intended for lids of pots and pans or Tupperwares. This way you can see what you have and quickly pick up the one you want. Stencils are easy to find when they’re in a folder with clear plastic wallets, so you can flick through them effortlessly before choosing one. Piping tips are also easier to see and choose when they’re separated instead of tossed into a large box, so you don’t have to dig around to find the right one. I have a full tutorial with more hacks for storage and organization of cake decorating supplies.
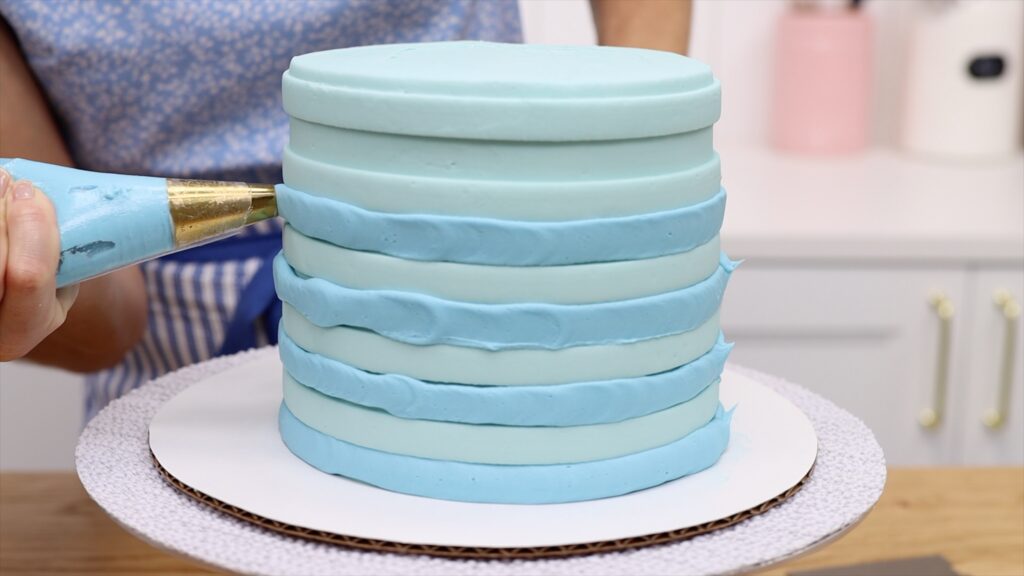
When you’ve finished using frosting for a cake, add more colour to tint to for the next frosting or decorative detail. For the cake above I used light blue buttercream to frost the cake and then added more blue gel to the leftovers to make the darker blue filling between the stripes. By using leftover frosting you’ll save time because you’ll need to make less frosting and also wash fewer bowls and spatulas!
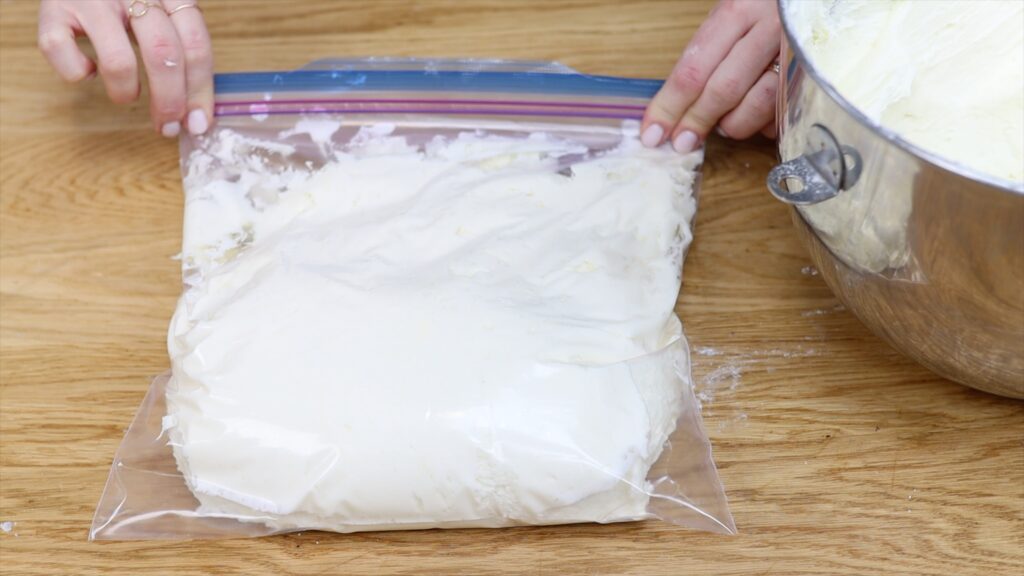
Did you know that you can freeze buttercream? That means you can make double or triple batches in advance and store them for up to two months! I like to use a large ziploc bag, which lies flat in the freezer and hardly takes up any space. Take it out of the freezer a few hours before you’re ready to use it to let it thaw and then stir it until it's smooth.
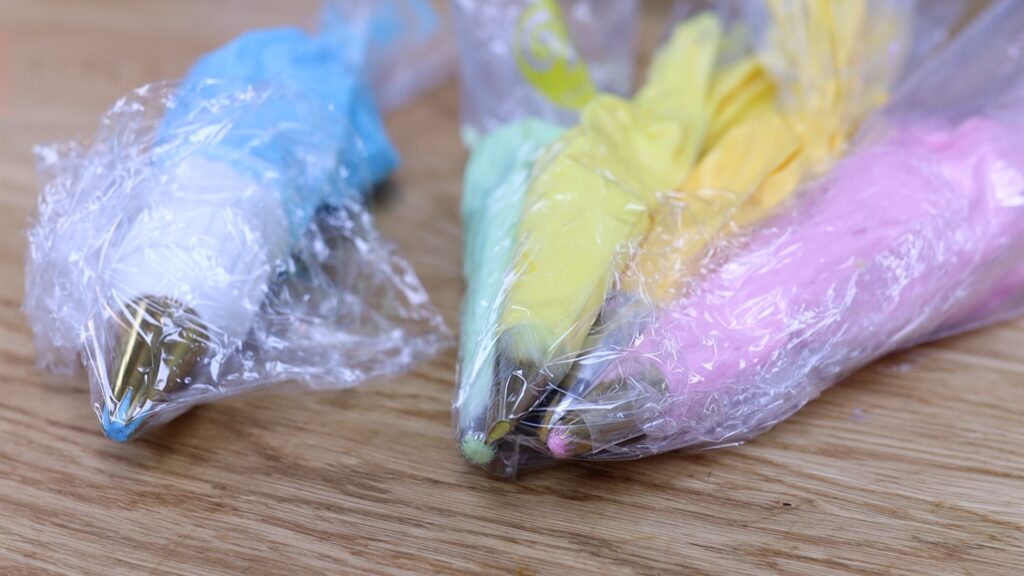
You can also prepare piping bags in advance if you’re using buttercream because buttercream can be stored at room temperature for two days. Twist the tops of the bags and cover the tips with cling film or Saran Wrap so that the buttercream doesn’t dry out and crust.
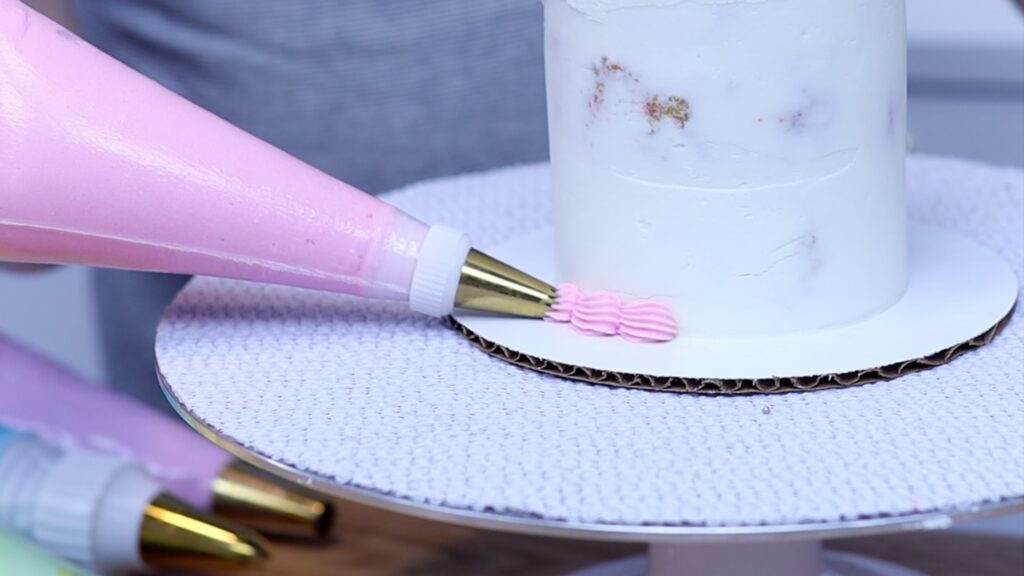
If you’re not using couplers in your piping bags, you’re wasting a lot of time! Drop a coupler into a piping bag and put a piping tip over the outside of the bag. Screw it on using the coupler ring. Fill the piping bag with frosting as normal and now you can switch easily between different piping tips and different colours! Just unscrew the piping tip instead of having to empty out the whole piping bag to get to it. Here’s a hack for super speedy switching of piping tips between piping bags: don’t bother cleaning the piping tip! Squeeze the new piping bag to push the old colour through the tip and when the new colour comes through the bag, it’s ready! Couplers make things much quicker for rainbow cakes and any designs with lots of colours or textures or both! For 4 reasons to use couplers, check out my tutorial on how to use couplers.
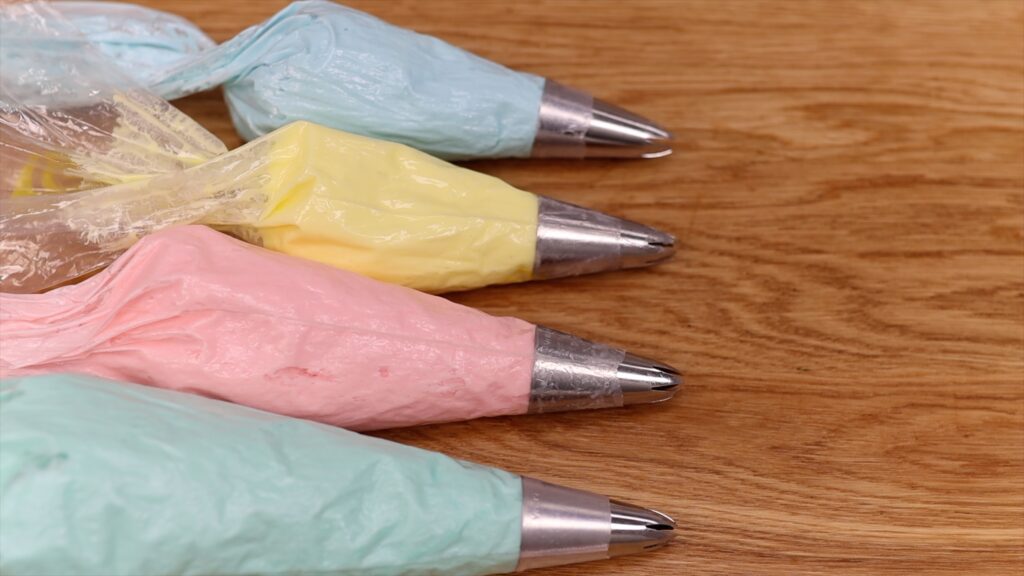
For any piping tips you use often, like the 1M star tip above, buy several of them. Now you can move onto the next colour or stage of your design or the next cake without having to wash and dry the piping tip first.
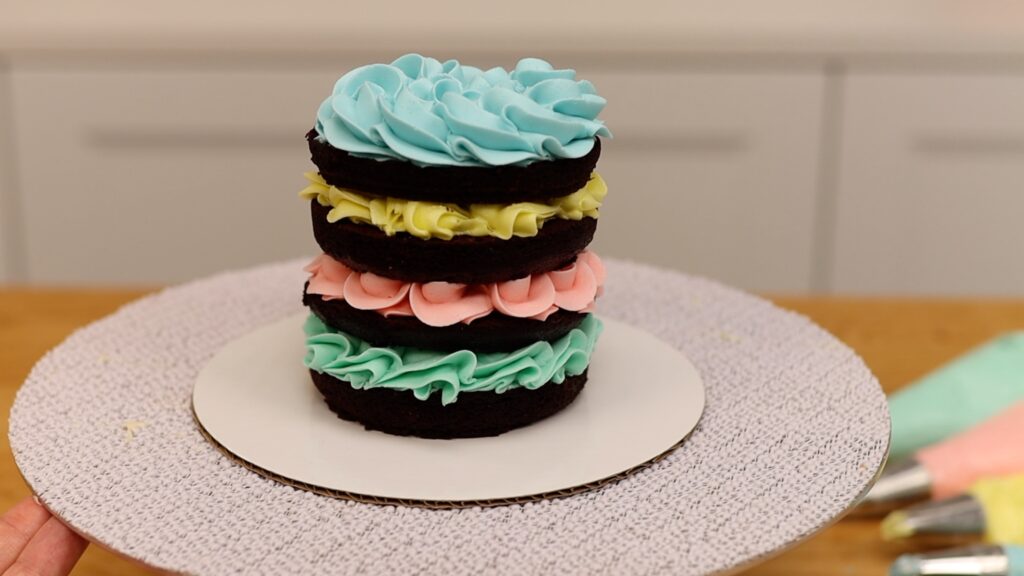
These tips are really cheap to buy so it’s not a big investment to buy several but it will save you a significant amount of time.
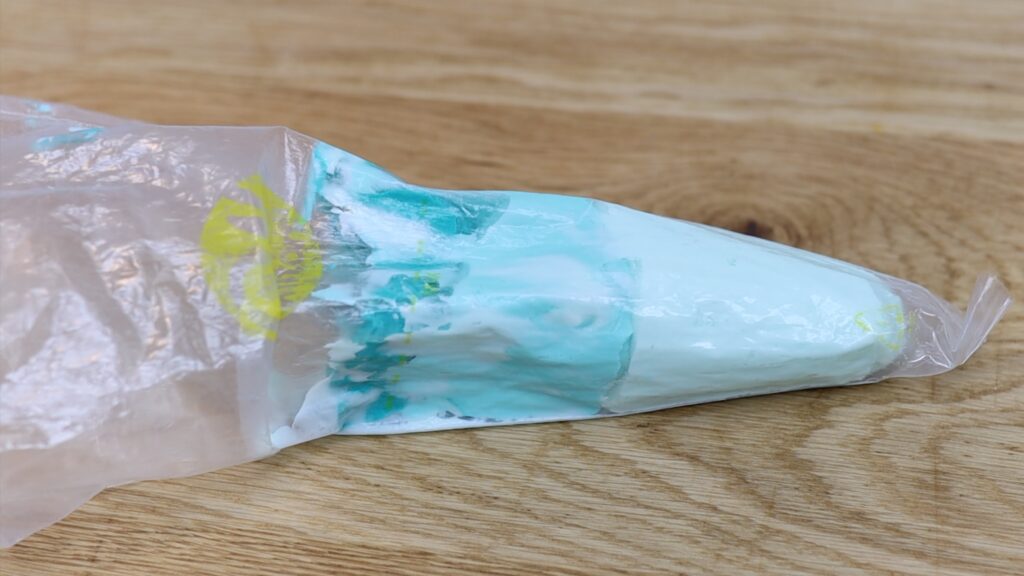
Have you heard of one bag piping? I made up the name so probably not but it’ll make sense in a moment. For ombre or watercolor frosting, where different colours or shades bend together, you can save time by putting all of those colour or shades into the same piping bag.
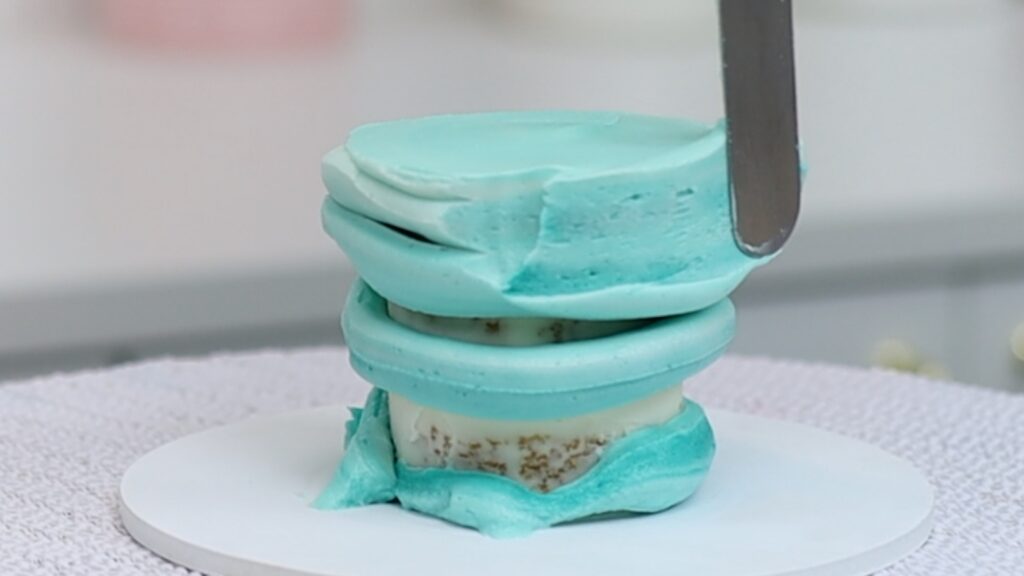
The layered look is pretty in the piping bag and also on a cake, creating effortless blended frosting that looks like it took much longer to achieve. Use the same technique for blending colours in swirls piped onto the top of a cake or for piping borders around the bottom of the cake. With this technique you'll add lots of detail in seconds.
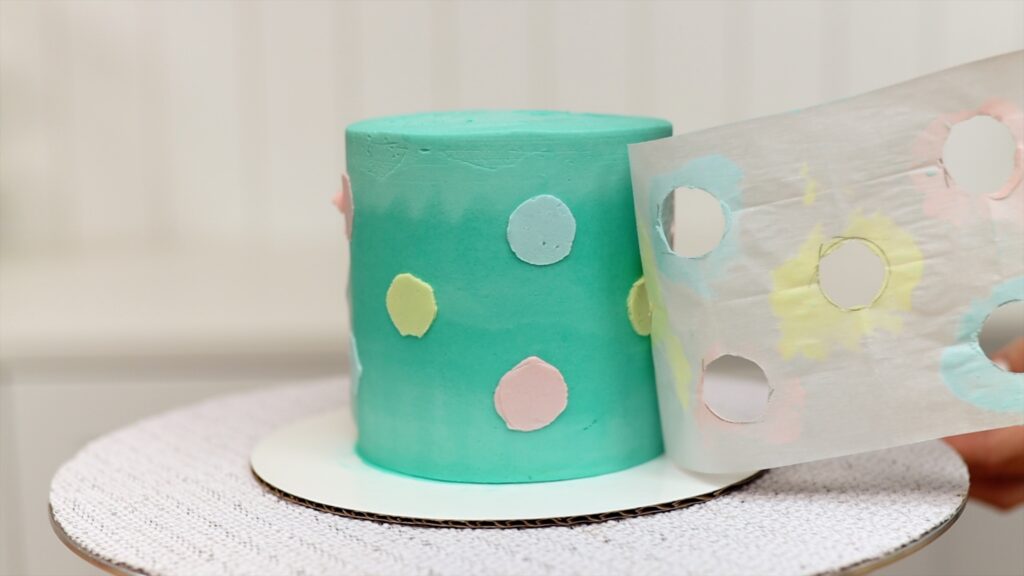
If you’re making more than one cake using the same technique or ingredients, make those ahead of time together. For example, measure and cut out all of your parchment paper stencils for upcoming cakes at the same time.
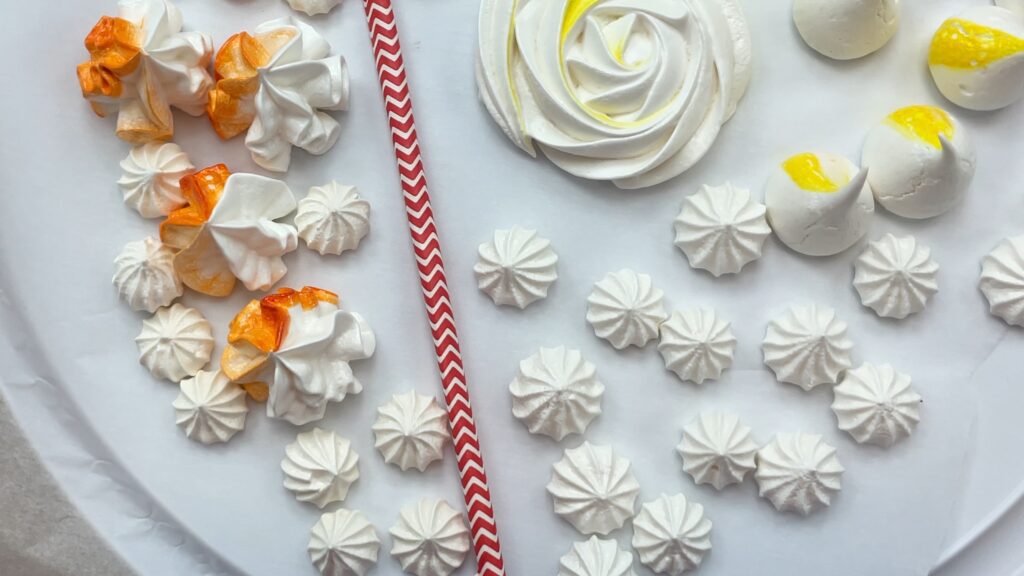
If you need to make meringues as cake toppers for several cakes, make them all together so that you only have to mix, pipe, and clean up once. Then freeze the meringues in an airtight container until you’re ready to decorate the next cake or cakes.
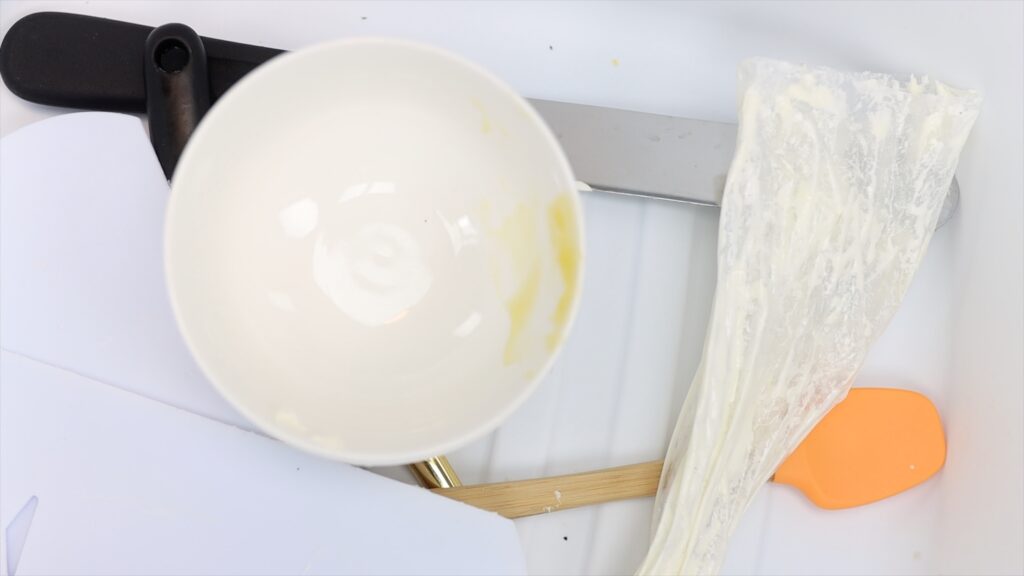
While you’re frosting and decorating, keep a container next to you where you can toss dirty tools when you’re finished with them. This keeps your workspace clear and makes cleaning up and washing up much quicker.
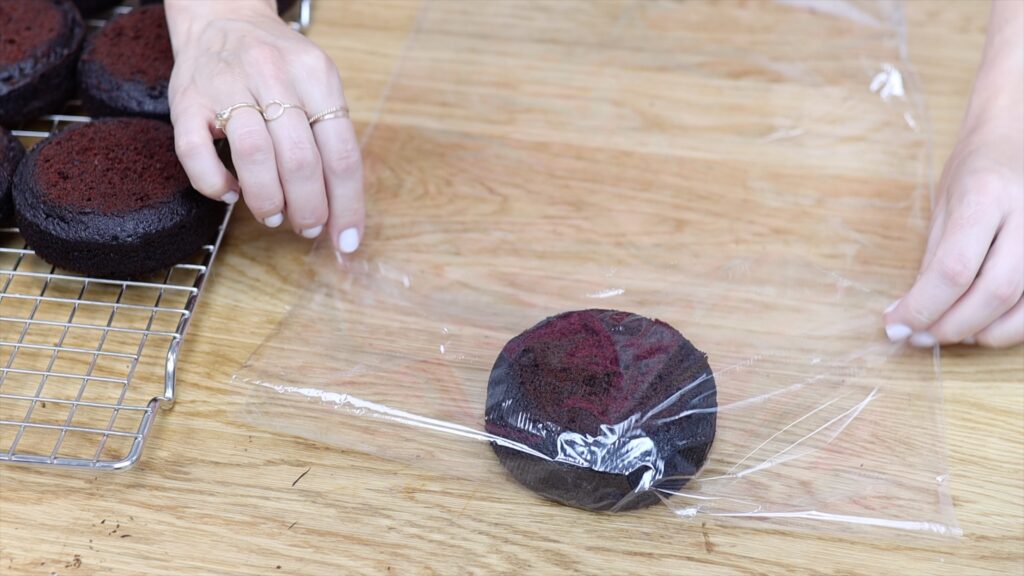
This is one of my favourite time saving cake hacks! Making cakes in bulk means you can mix and bake big batches of cake batter, which is more efficient than doing different batches on different days. Then wrap the layers in cling film or Saran Wrap and freeze them for up to two months.
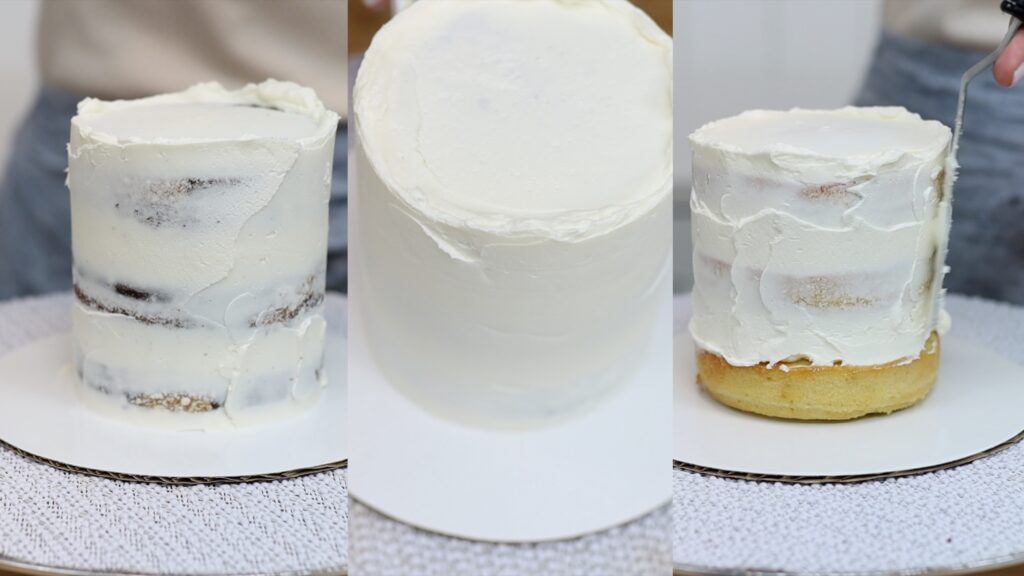
If I’m decorating several cakes in a week, I like to divide my schedule so that I assemble and crumb coat cakes on one day. On a different day I frost and decorate cakes. This way, you’re using the same tools and materials for the same task and that makes everything much quicker. You'll also keep cleaning up to a minimum.
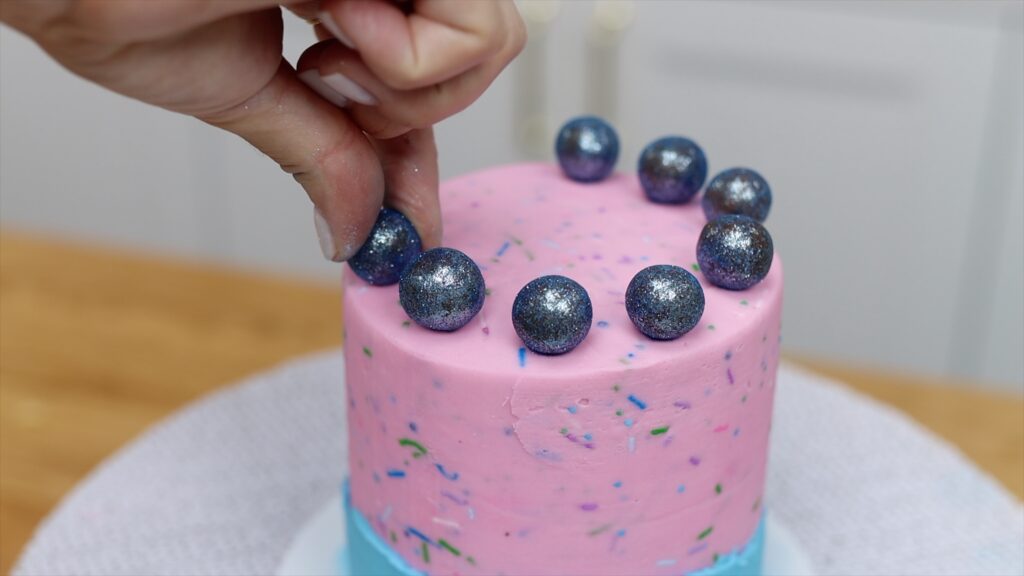
Lastly, find something that works for you to make you more productive. I like to have fast music playing in the background to make me move faster!
I like to set a timer for each stage of my day as an incentive to finish the task within a deadline. This makes me work faster and I enjoy the challenge, too!
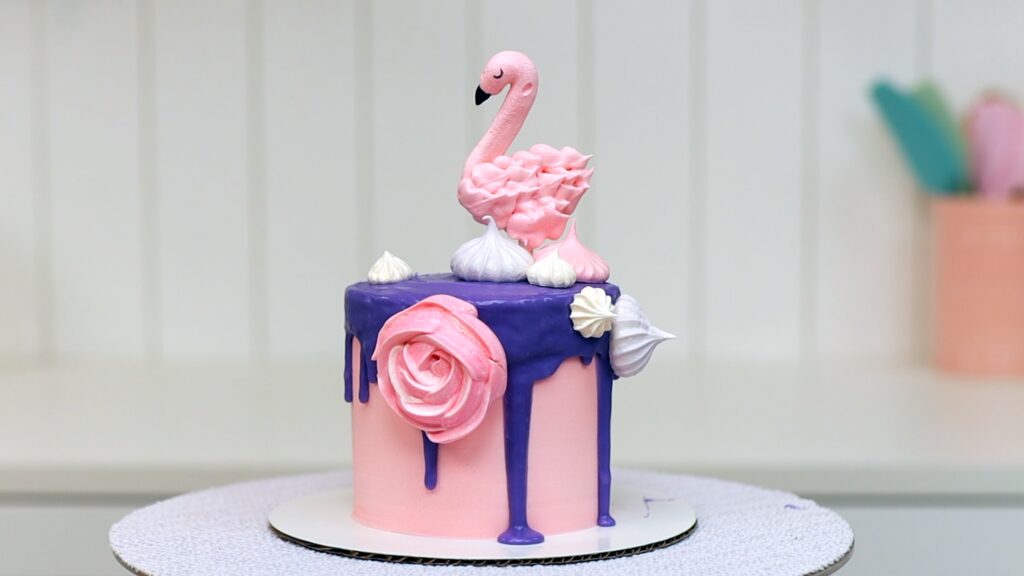
For hundreds more tips, cake designs and decorating techniques, check out my online cake school and join my ClubPLUS for access to every MiniCourse, MasterCourse and Live Workshop!
You can also watch a video of this tutorial on 14 time saving cake hacks.

Great ideas! Always enjoy reading and watching your videos.
Thank you for sharing!
Thank you so much! So nice to hear!