Mirror glaze is stunning and delicious AND it’s super easy to do with just two ingredients!
If you prefer to watch a video of this tutorial, scroll to the bottom of the page.
When you assemble your cake, choose a cake board that’s the same size as your cake, or trace around your cake pan and trim the board to be the same size.

Attach the first layer of cake to the board with a dot of buttercream, which will act as glue. Your cake will never leave this cake board – it will be attached from now until serving.

Alternate cake layers and filling to assemble your cake. Make sure the layers of cake are lined up directly above each other so that the cake doesn’t lean to one side. Shorter cakes are easier for mirror glazes because the glaze will have a smaller distance to cover.

Use tape to attach the cake on its small board onto a larger board so that you can frost it more easily. You’ll detach the cake from the larger cake board later, before applying the mirror glaze.

A crumb coat is really important for mirror glaze cakes because it traps any crumbs that come off the cake, so that when you spread on your final coat there won’t be any crumbs in that and you’ll have a very smooth surface on the cake. I’m using my 4 Minute Buttercream for this cake.

It doesn’t matter if you can see the cake layers through the frosting – it’s going to be covered up but it needs to provide a neat SHAPE for the cake. The mirror glaze will sit on top of this frosting but it only provides a very thin layer so you’ll notice any imperfections in the frosting, so you want the frosting to be as smooth as possible.

Pay special attention to the top of the cake, swiping sideways with an

After frosting the cake, chill it in the fridge for at least an hour, or ideally overnight, to set the frosting. The frosting needs to hold its shape while you’re applying the mirror glaze and the longer it’s been in the fridge, the firmer the frosting will be and the better it will hold its shape.

The mirror glaze is VERY easy to make. All you need is white chocolate and cream at a 2:1 ratio. This means you’ll need double the amount of white chocolate compared to cream. For this 4 inch cake I’m using about 100g of white chocolate and 50g cream, which should be heavy whipping cream or double cream.

You can prepare this in separate bowls for each colour or you can use one bowl and then divide the glaze between different bowls to colour it later. Put each bowl on the scale and zero it before adding the chocolate so that you’ll only be weighing the chocolate chips. Check the weight of the chocolate, divide it in half, and add that amount of cream to the bowl.

Put the bowl or bowls in the microwave at 80% power for 1 minute. Using low power and short intervals will prevent the chocolate from overheating.

Stir the chocolate until it’s completely melted, with no lumps, to achieve a very smooth mirror glaze on the cake. You can microwave it for another 15 seconds at a time if there are still lumps.

Now this is REALLY important. To tint the glaze you’ll need oil based colours, which are different to the gel or liquid colours you use to tint buttercream. Those have water in them and they’ll cause the chocolate to seize. With oil based colours you can use large amounts of them without affecting the consistency of the glaze. If you want a true white glaze you can use white icing colour.

Wait for the glaze to come to room temperature before you use it because if it’s still warm it will melt the frosting on the cake and ruin those sharp edges around the top of the cake.

Now that the frosting on the cake has chilled and it’s firm, separate the cake from larger board. Slide an

Place it on wire rack over a baking tray or bowl, which will catch the mirror glaze as it drips off the cake. You can touch the cake as you move it because the frosting has set so it’s firm.

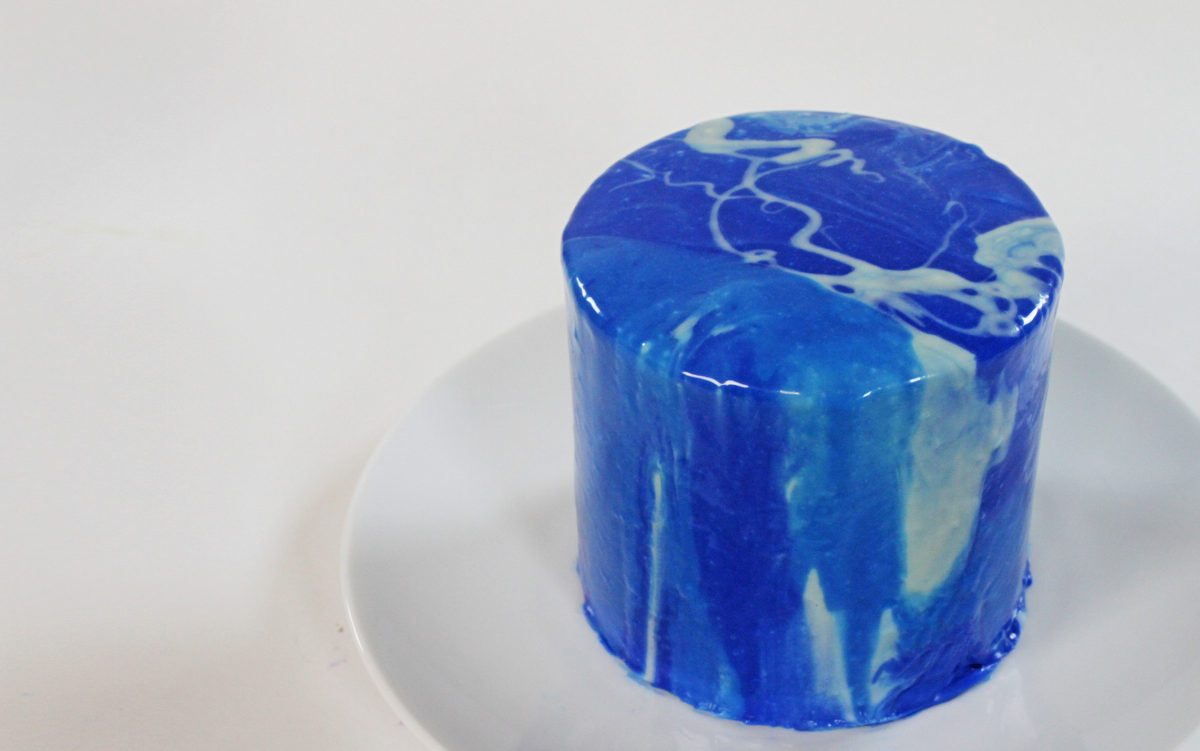
Pour the mirror glaze over the cake, drizzling it back and forth or pouring it straight down onto the top of the cake.

The glaze will spread out to cover the top of the cake and then spill over the edges to drip down the sides of the cake. Keep pouring the glaze until it has covered the sides of the cake all the way down to the bottom.

Switch back and forth between colours to create really fun effects. The consistency of the mirror glaze is really important – if it’s too thick it won’t run down the sides of the cake and you’ll create a drip instead. If it’s too liquid it will be very thin and it won’t create a bold colour or be as shiny.

If there are any bare spots near the bottom of the cake where the frosting is visible, use a spoon to gently nudge the glaze to cover those areas.

Optionally, you can refrigerate the cake until glaze chills and gets a bit thicker and more stable but it will always be sticky so you won’t be able to touch it. Use an

Carefully transfer the cake onto a plate or serving platter or cake stand to serve the cake on. Center it on the plate and then slowly pull your finger and

“Wow” everyone with your shiny cake that only used two ingredients, and then slice into the cake and enjoy!

If you have any questions about this method, ask me in the comments! If you’re looking for inspiration, join my Club for access to ALL of my online classes as well as live online classes and Q&A sessions for members only!

Here’s the video version of this tutorial:


please if i dont have oil based colour, what substitute will i use.
Thanks
You can use the colours you use for tinting buttercream but since they're water based you can only use a few drops. If you use them in large amounts you can cause the glaze to seize or separate
So pretty! I love how easy you make it look!
How long can the mirror glazed cake be left on the counter? An hour? 2 hours? 4 hours? More?
Is it sticky to the touch till it sets or always?