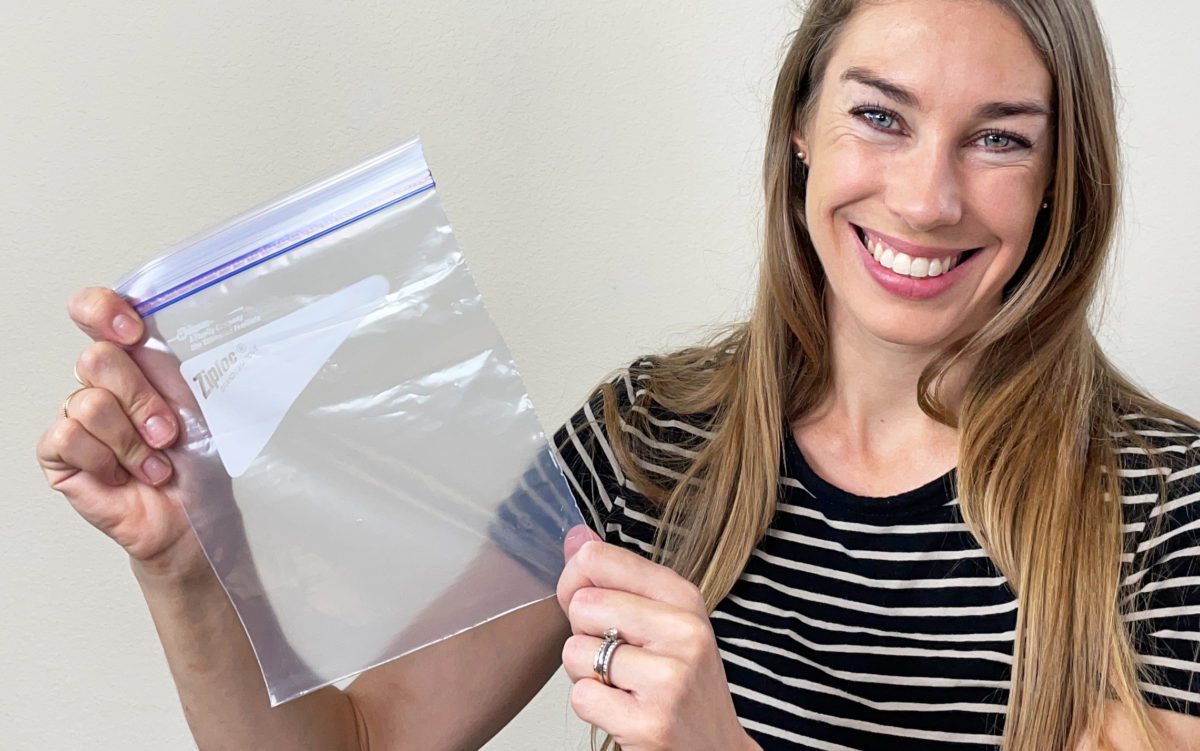
You probably have ziploc bags in your house already so for these cake decorating techniques you won’t have to go out and buy any special cake decorating tools.
If you prefer to watch a video of this tutorial, scroll to the bottom of the page.
Use ziploc bags to create perfect stripes on cakes, without needing any fancy striped cake combs. Tint two bowls of buttercream or whatever frosting you’re using and put them into large ziploc bags.
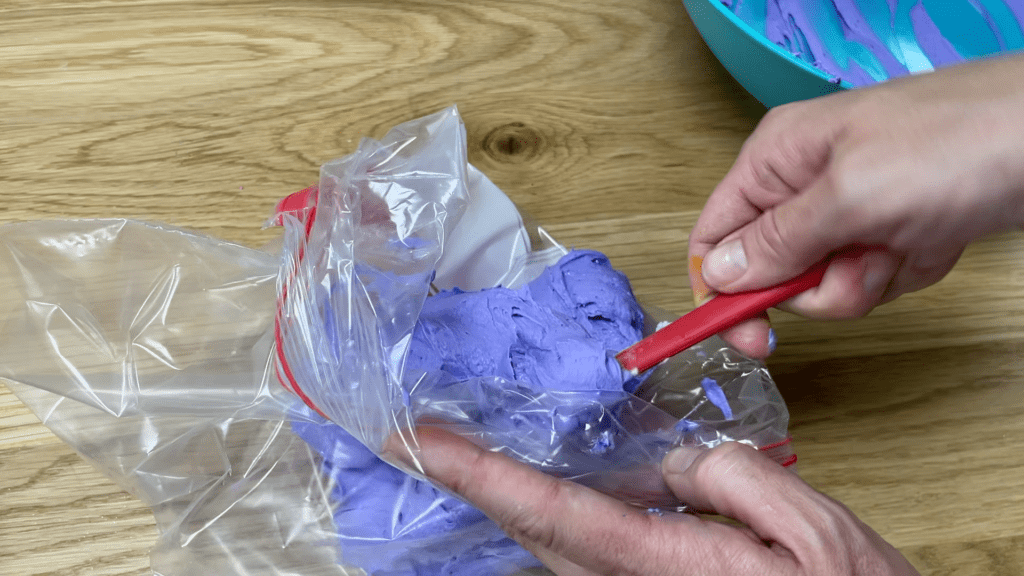
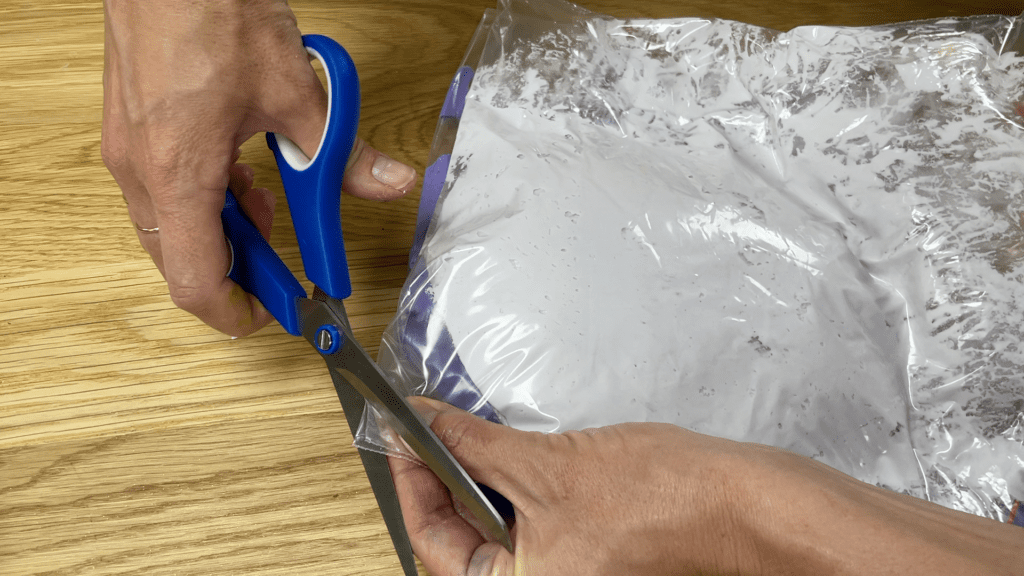
You’ll need to cut a hole in one corner of the bag but it’s important that the holes in both bags are the same size, so line them up above each other and cut the same amount off each bag.
Rest the first bag down on the cake board and squeeze it to pipe your first stripe around the bottom of the cake and then alternate bags, working your way up the cake. Try to pipe each stripe the same thickness and let them touch each other so there aren’t gaps in between them.
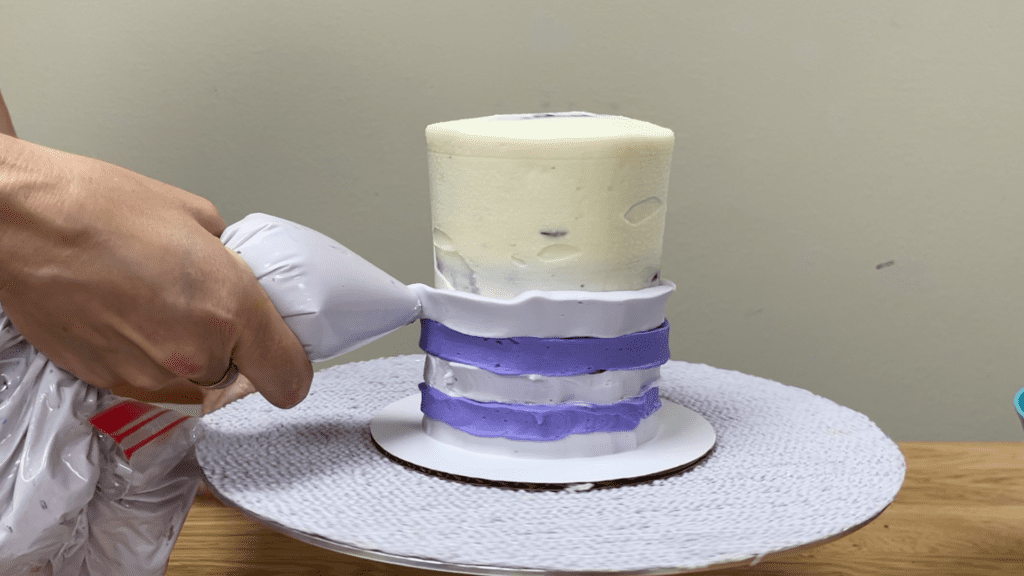
When you get close enough to the top to see which colour will end up at the top, pipe and spread that colour over the top and smooth it with an offset spatula, scraping off any frosting that pushes out over the edge of the cake.
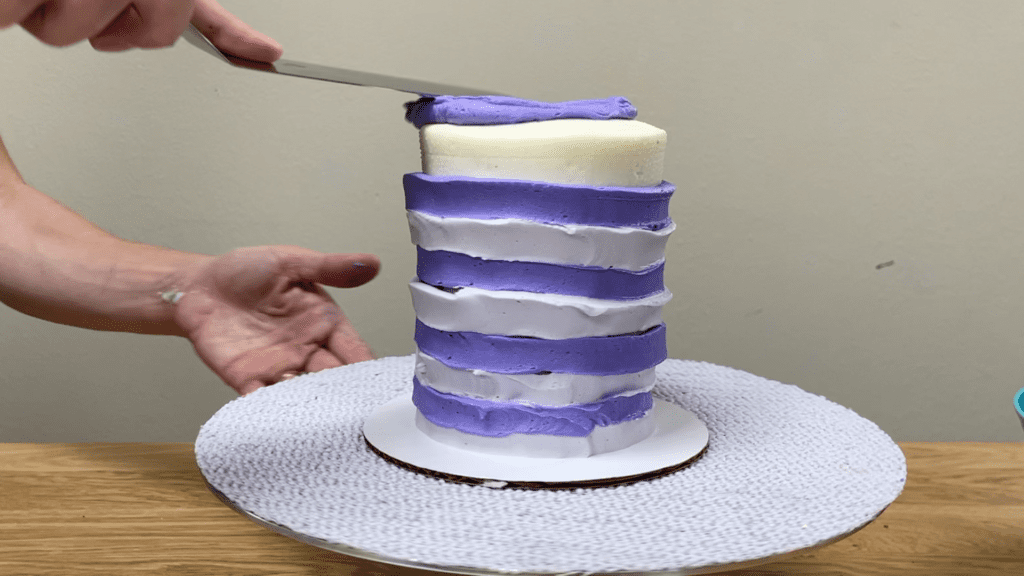
Pipe stripes up to the top edge of the cake and then use a frosting smoother to scrape around the cake a few times to smooth the frosting.
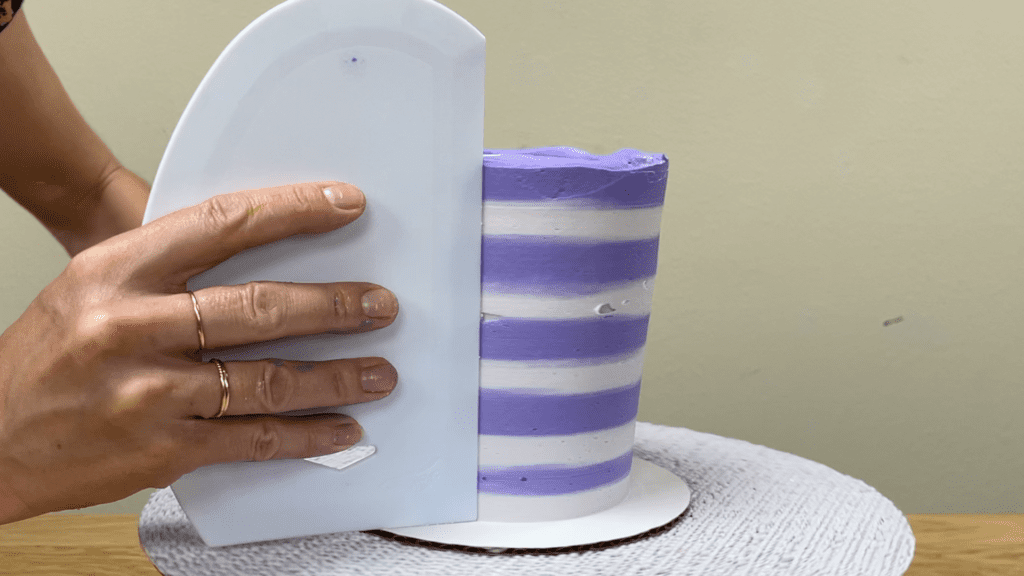
After a few scrapes, touch up any gaps in the frosting by squeezing out some more and then scrape around a few more times to smooth those areas, too.
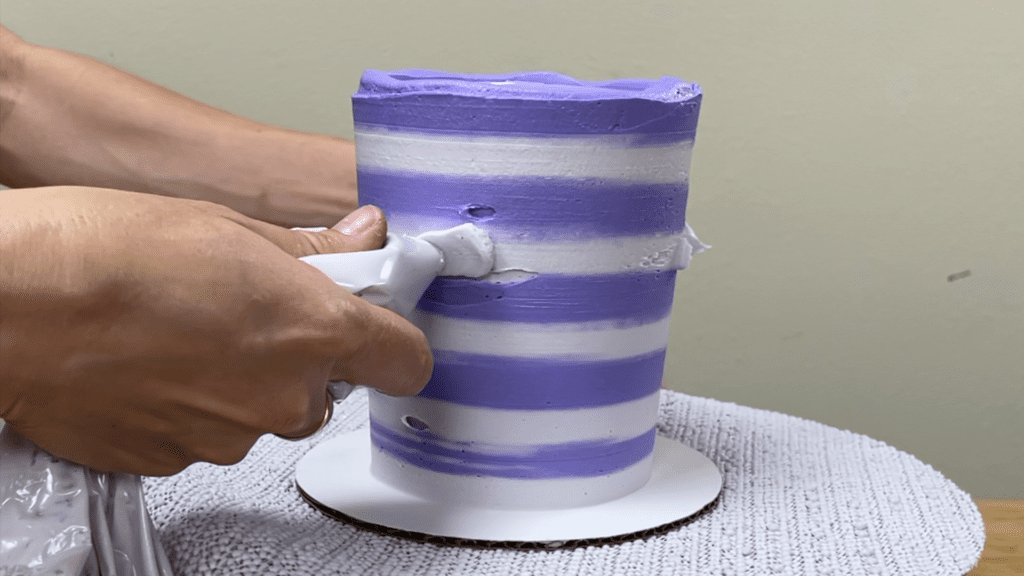
Wipe any frosting off your frosting smoother after each scrape around the cake.
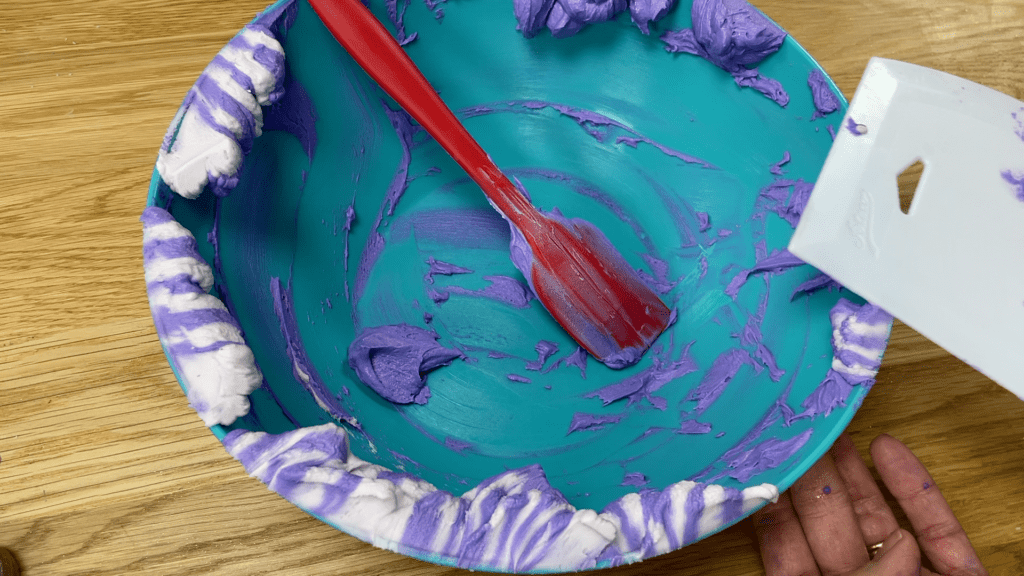
Tidy up the top edge of the cake by swiping across with your offset spatula to take any extra frosting off with it.
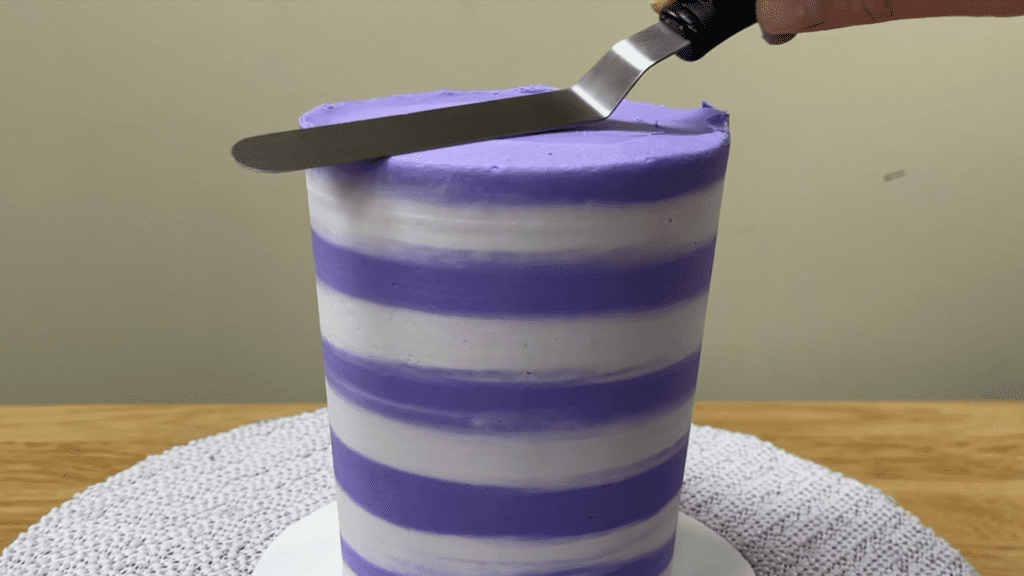
Tadaa! Quick and easy stripes piped with ziplock bags!
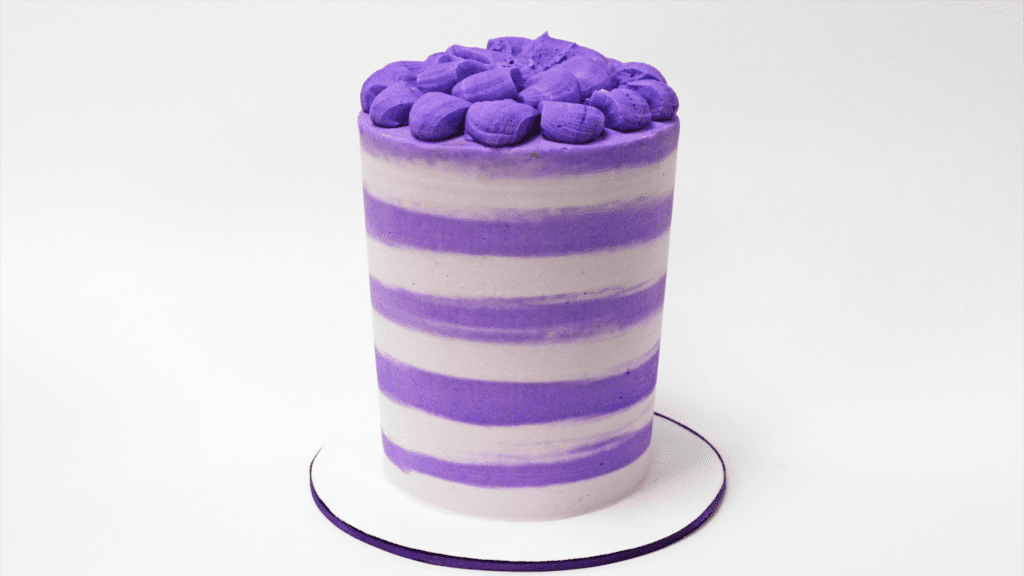
Create a stunning drip with a ziploc bag. Start by melting cream with 3 times the amount of white chocolate in a bowl in the microwave and then pour that into a ziploc bag.
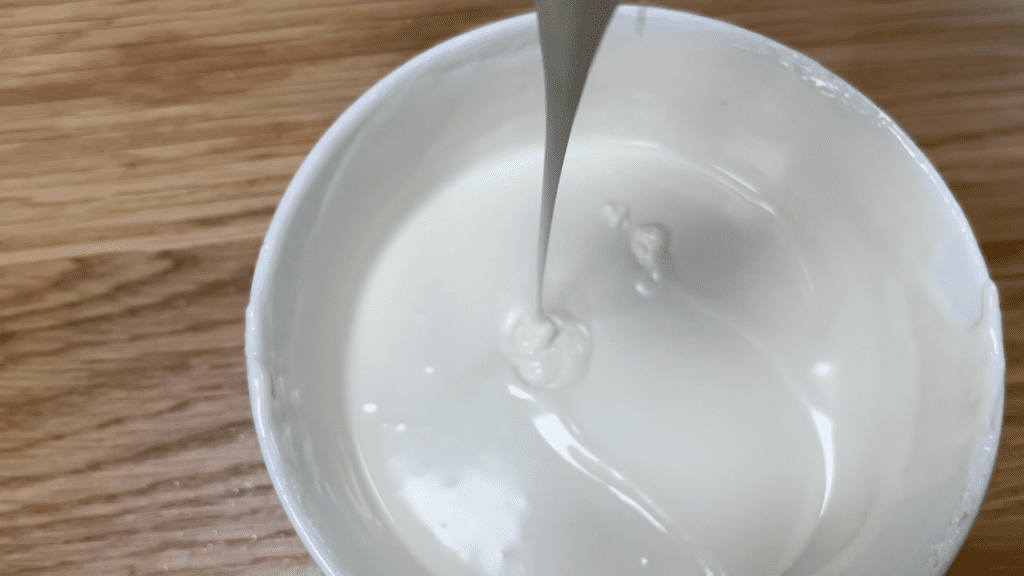
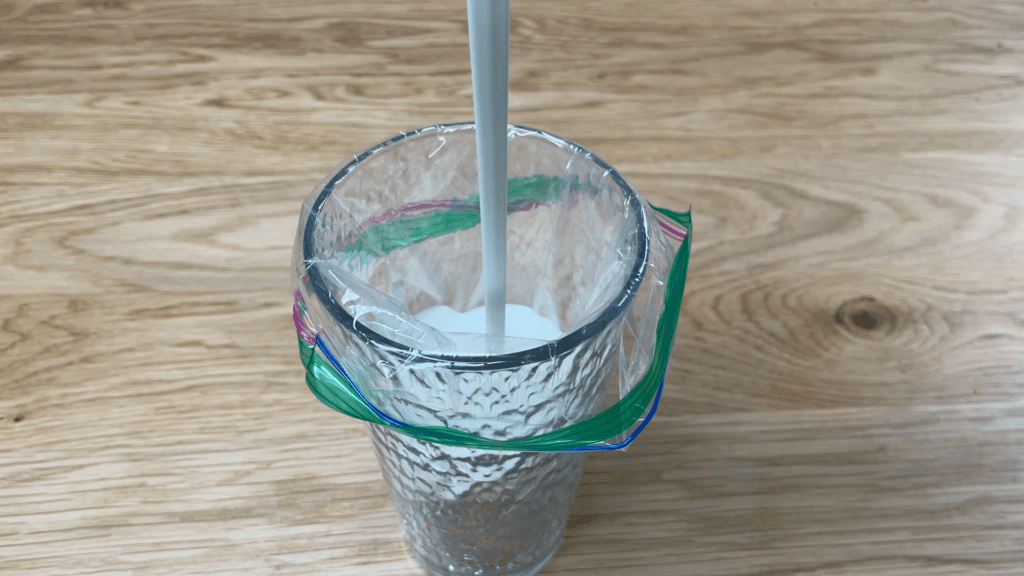
It’s easiest if you fold the bag over a cup or glass to keep it open. Let the chocolate cool for a few minutes until it comes to room temperature and then snip a tiny piece off one corner of the ziplock bag.
Squeeze the chocolate around the edge of a cake that’s been chilled in the fridge, pausing wherever you want to make.a drip to let the chocolate spill over the edge and down the side of the cake. The coldness of the cake will stop the drip before it gets to the bottom of the cake.
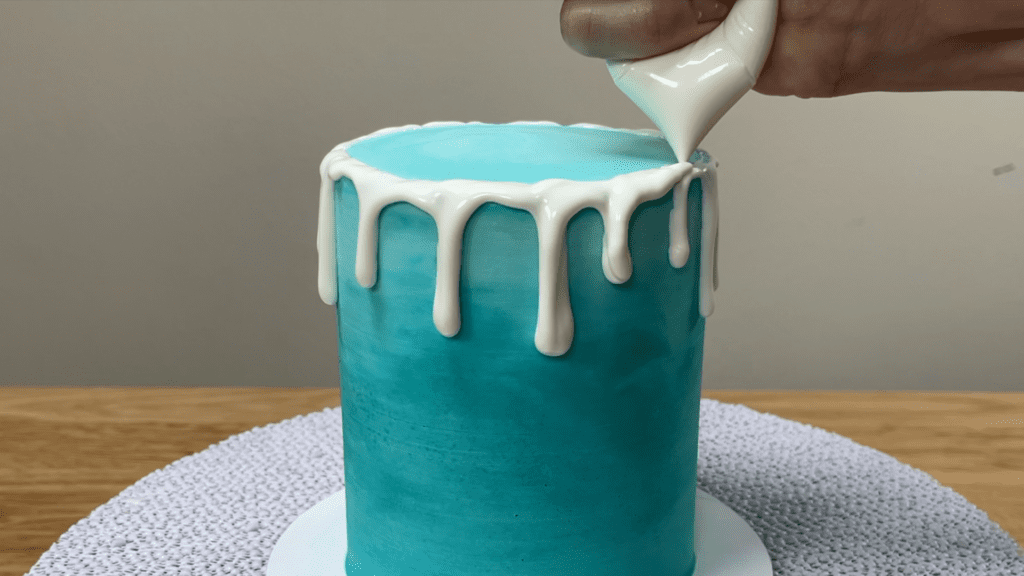
Squeeze more chocolate onto the top of the cake and spread it with an offset spatula and to create come texture, hold the top of the spatula on the outer edge of the cake and spinning the cake and slowly pull your hand in towards the middle, to create a spiral.
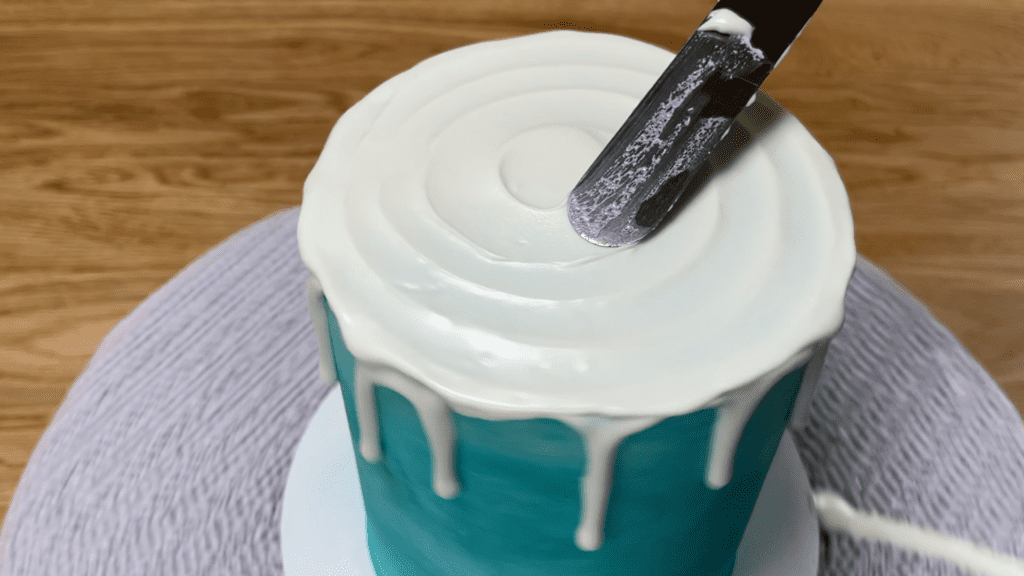
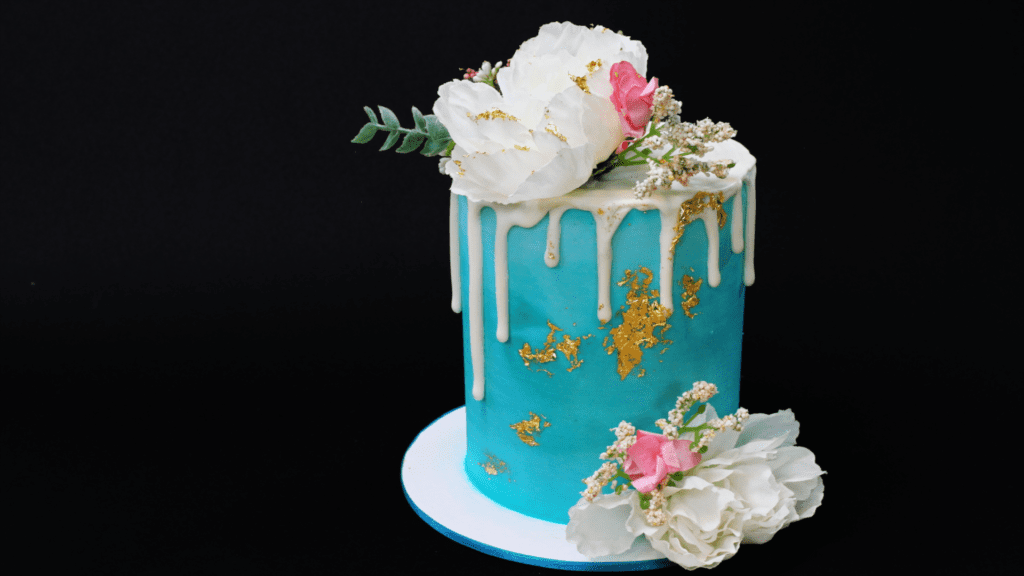
No one would ever guess that this stunning drip was created using a ziploc bag!
Incorporate your favourite cookie into a cake using a ziploc bag! Place a few in a ziplock bag, seal it, and smash the cookies using a mug or a rolling pin.
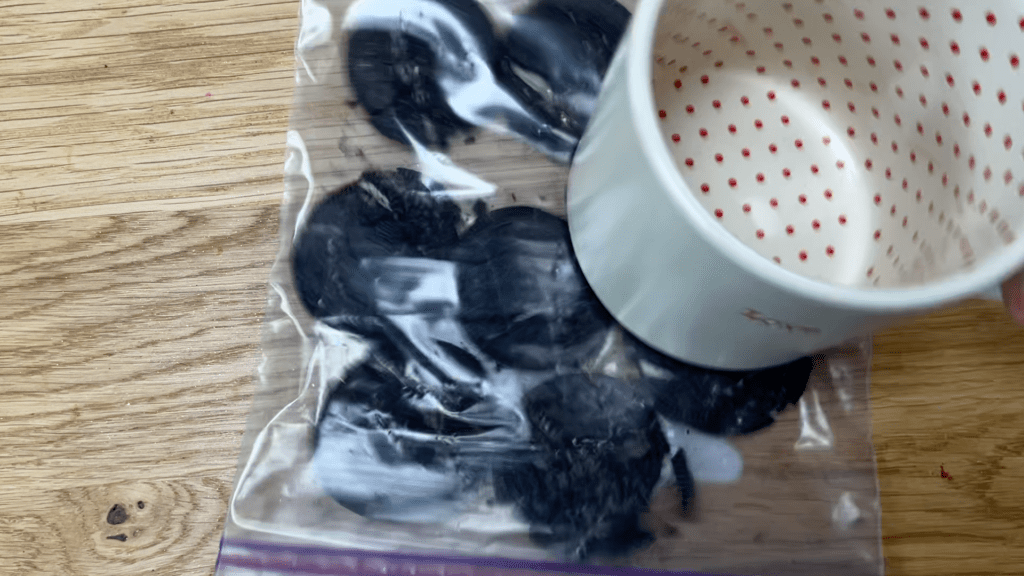
Crush the cookies as finely as you like. If you’re going to use the crumbs in frosting, which I’ll explain in a moment, it’s easiest if the crumbs are very fine without any large chunks.
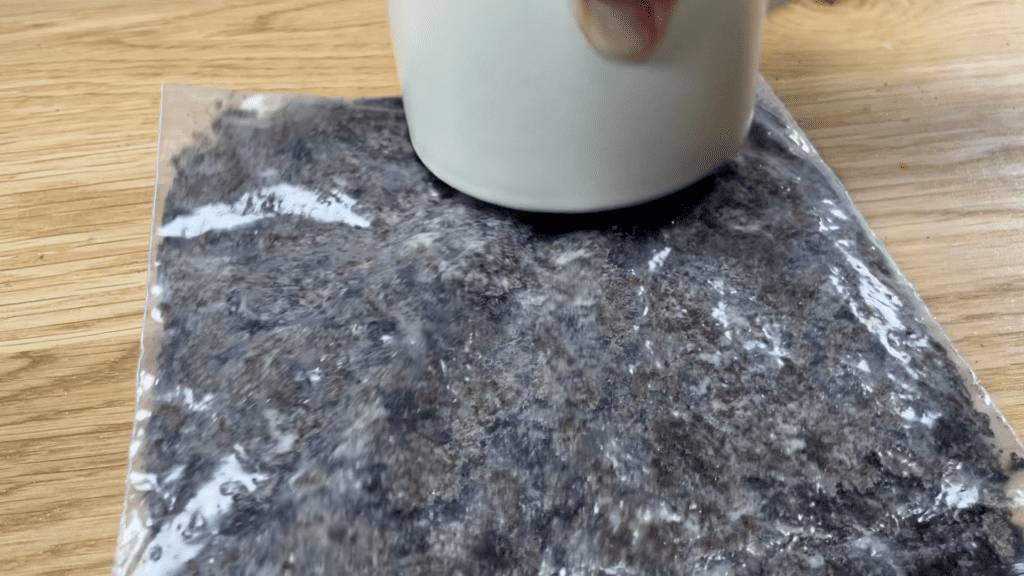
You can use these crumbs in a few ways. Firstly, Oreo crumbs are DELICIOUS in buttercream! I use 6 Oreos for a batch of my 4 Minute Buttercream, which makes enough buttercream to fill and frost an 8″ cake.
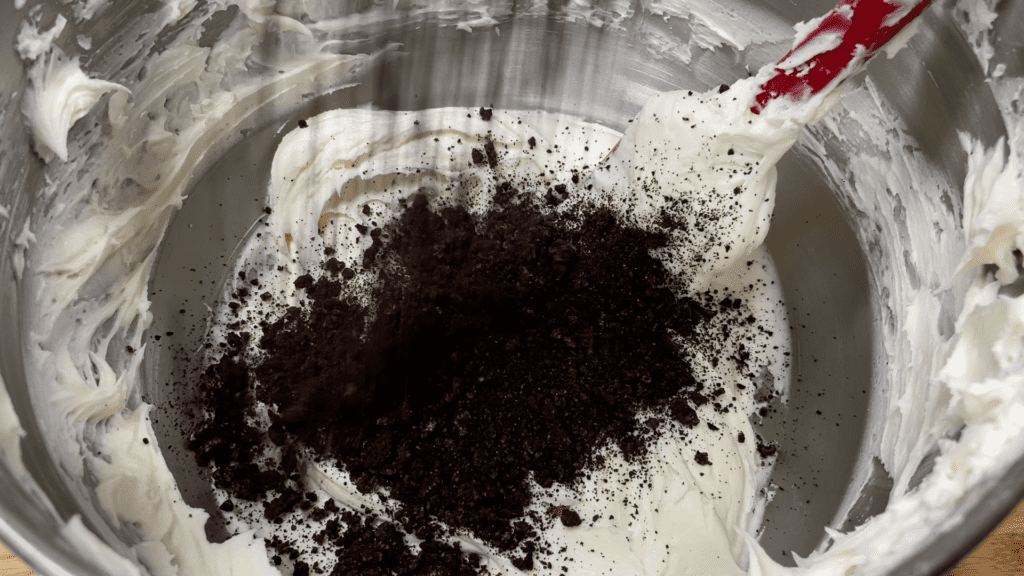
Pour the crumbs into the bowl and stir them just until they’re mixed in. If you keep stirring, you’ll make grey frosting.
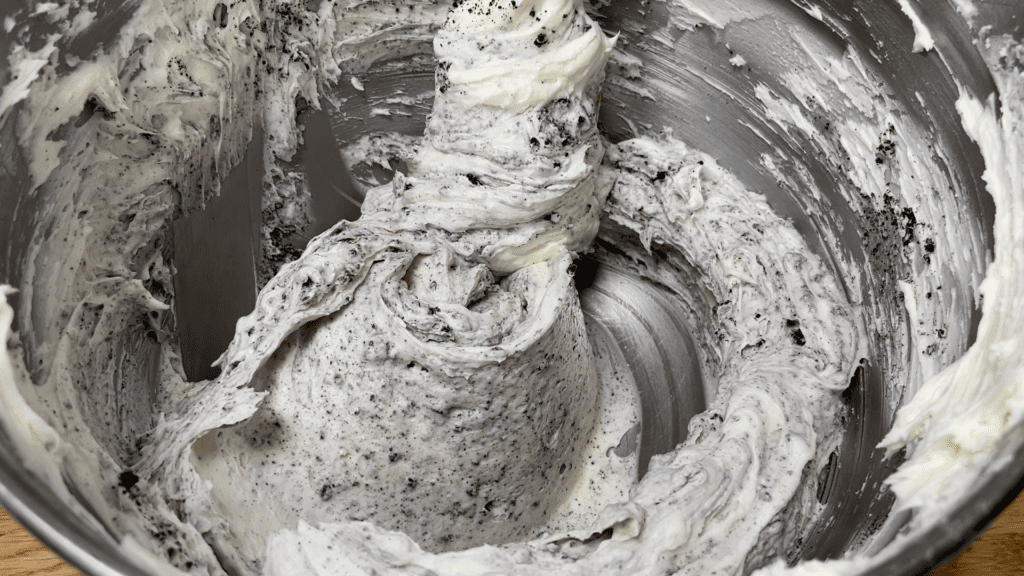
Use this as a filling between layers of cake, or to frost a cake. I love chocolate cake paired with Oreo buttercream but it’s also delicious with vanilla cake.
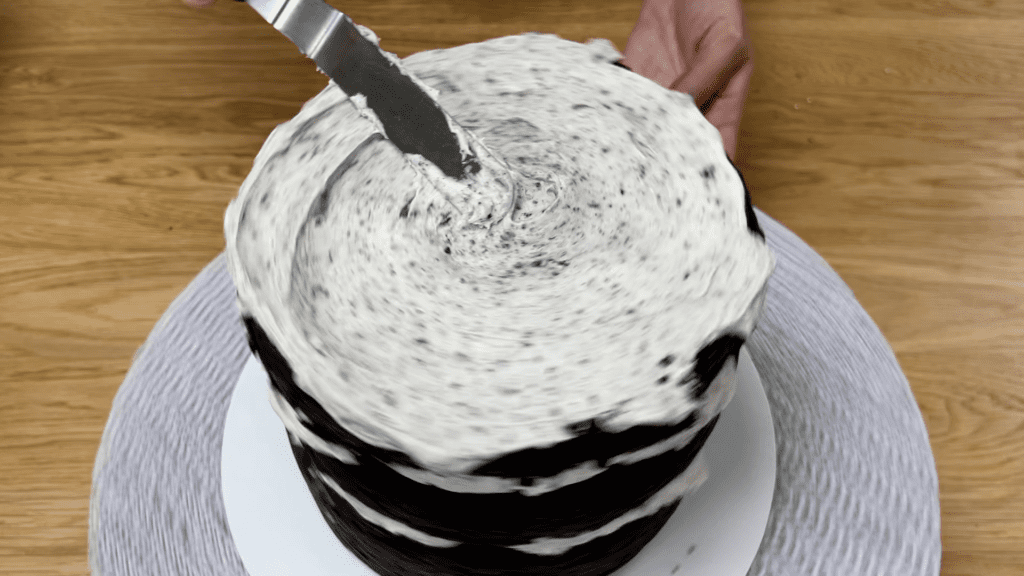
For a yummy border, place the cake on a tray and then press the crumbs into the bottom of the frosting. The tray will catch any crumbs that fall of the cake board, making them easier to clean up.
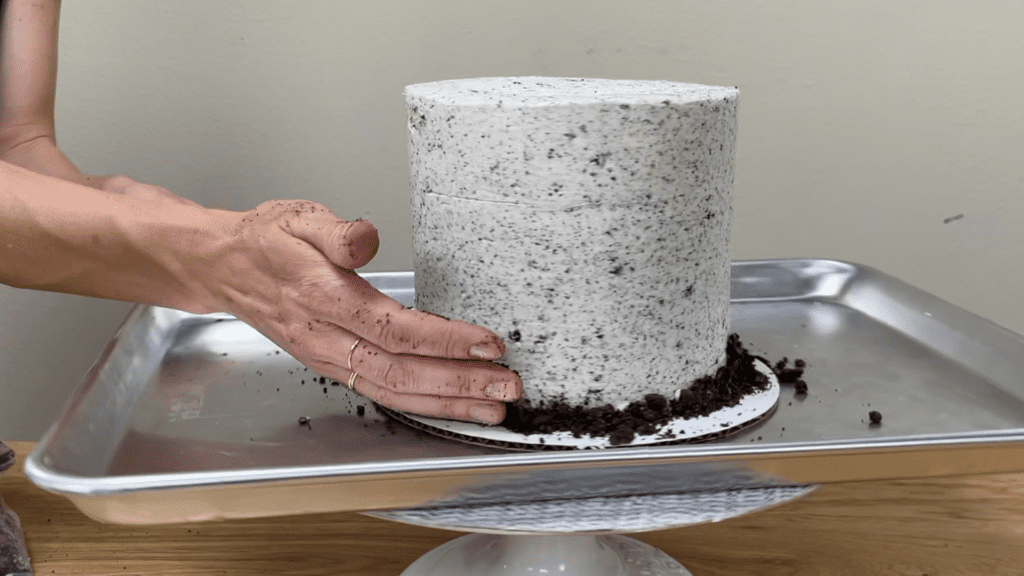
Use any leftover the frosting in a piping bag with a 1M tip to pipe swirls of frosting on top of the cake to finish it off!
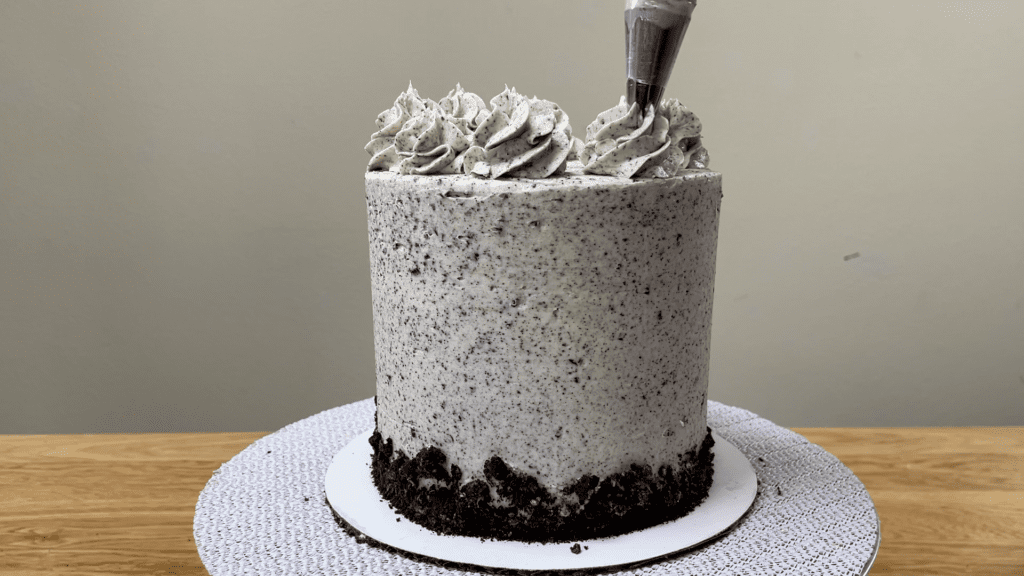
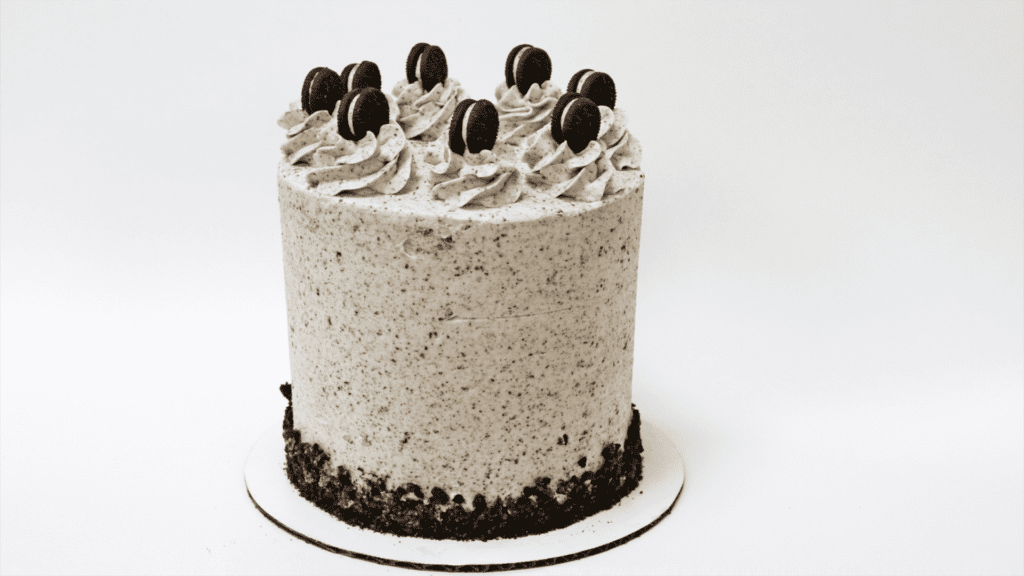
Perhaps not the most elegant way to use ziploc bags, but they provide an easy, mess-free method of transforming Oreos from plain cookies to a delicious cake!
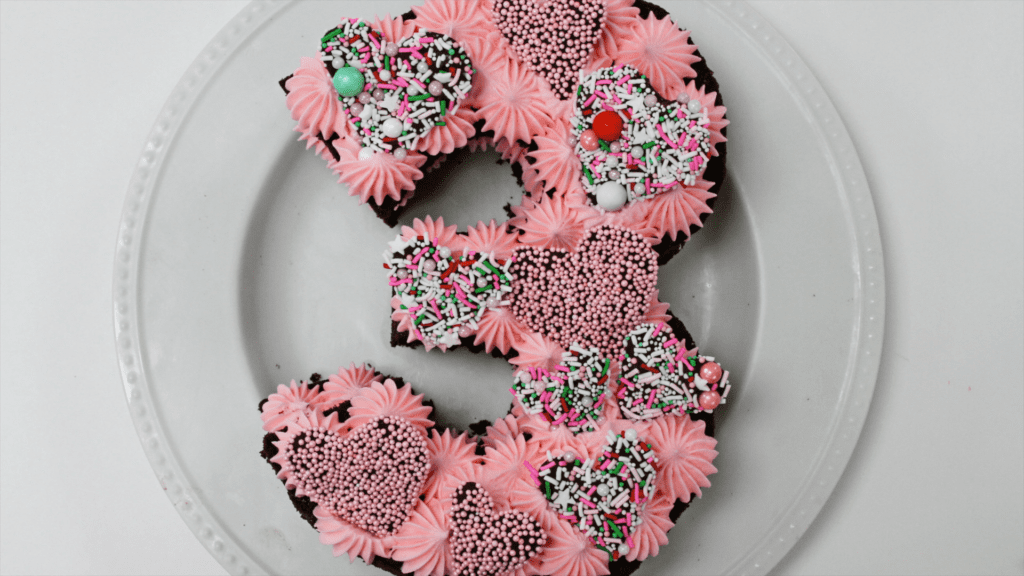
To make gorgeous chocolate toppers, melt chocolate in the microwave at 80% power for 30 seconds at a time so it doesn’t seize. Spoon it into a ziplock bag.
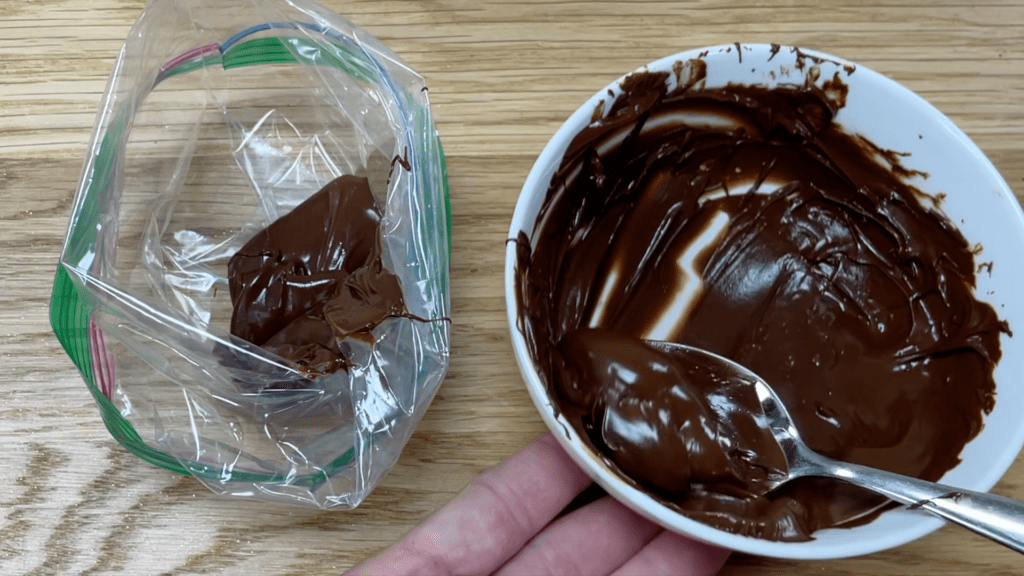
Seal the ziploc bag and cut off a very small piece from one corner. The smaller the shape you want to create, the smaller the hole you’ll probably want to cut.
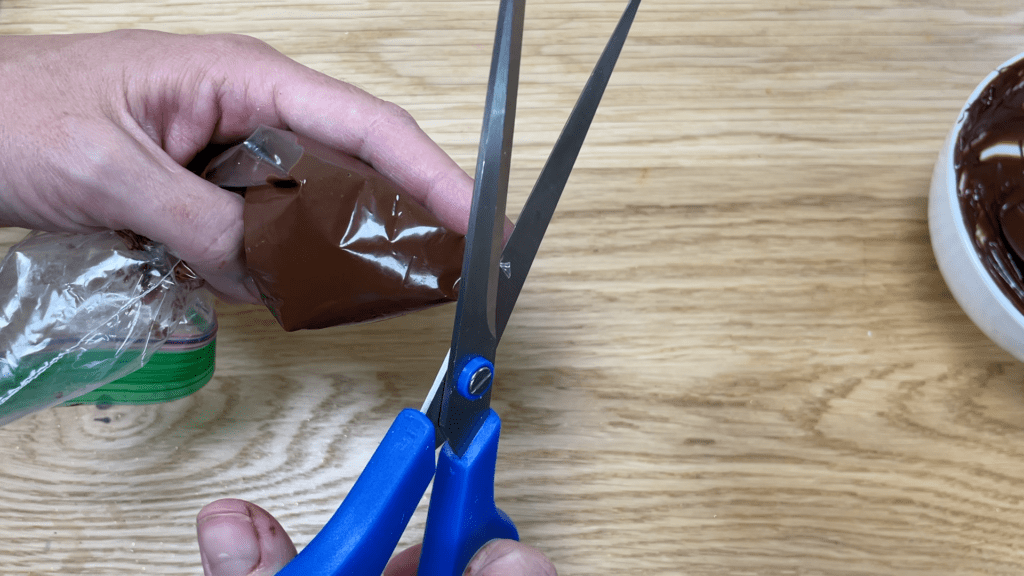
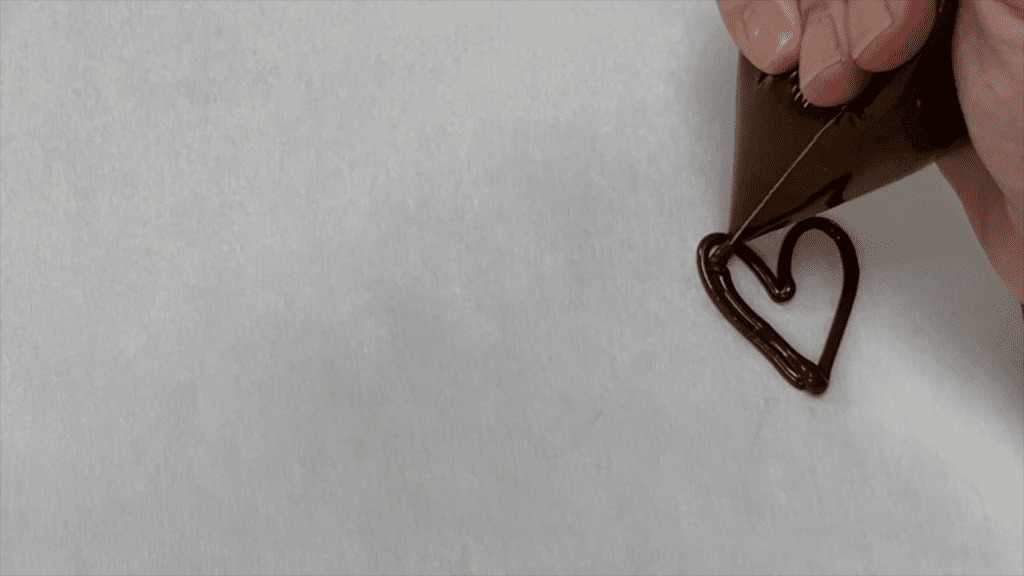
Squeeze the chocolate out to draw whatever shape you like onto parchment paper. Start with an outline and fill it in to make a full shape. I like to tape the parchment onto a tray so it doesn’t move around while I’m piping.
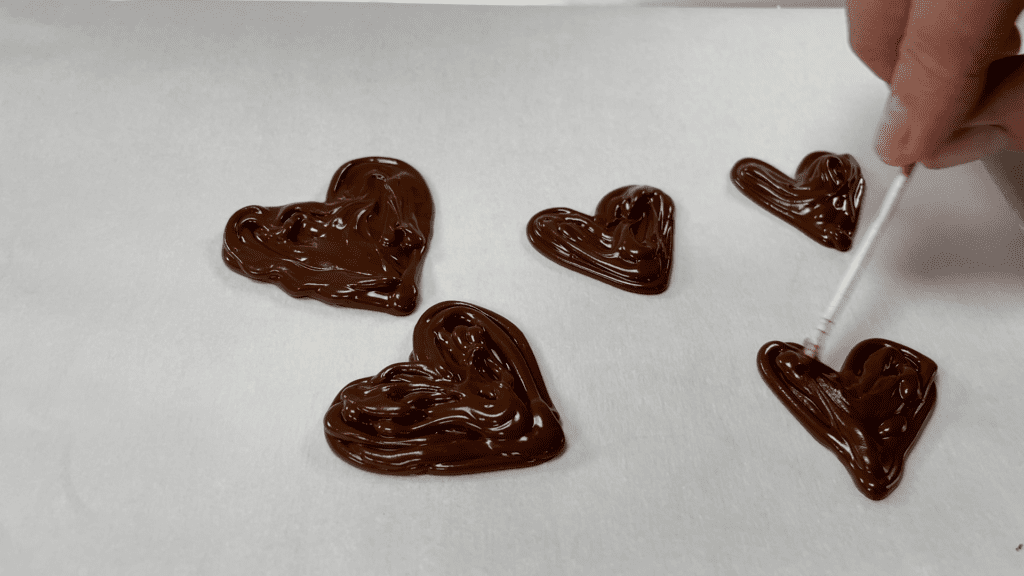
Use a toothpick to flatten the chocolate so it’s all the same thickness, and you can also drag the chocolate out to adjust your outline if you want to.
Pour sprinkles over the chocolate now, while it’s still melted and sticky. If your sprinkle mix has any large sprinkles, gently push them into the chocolate to attach them.
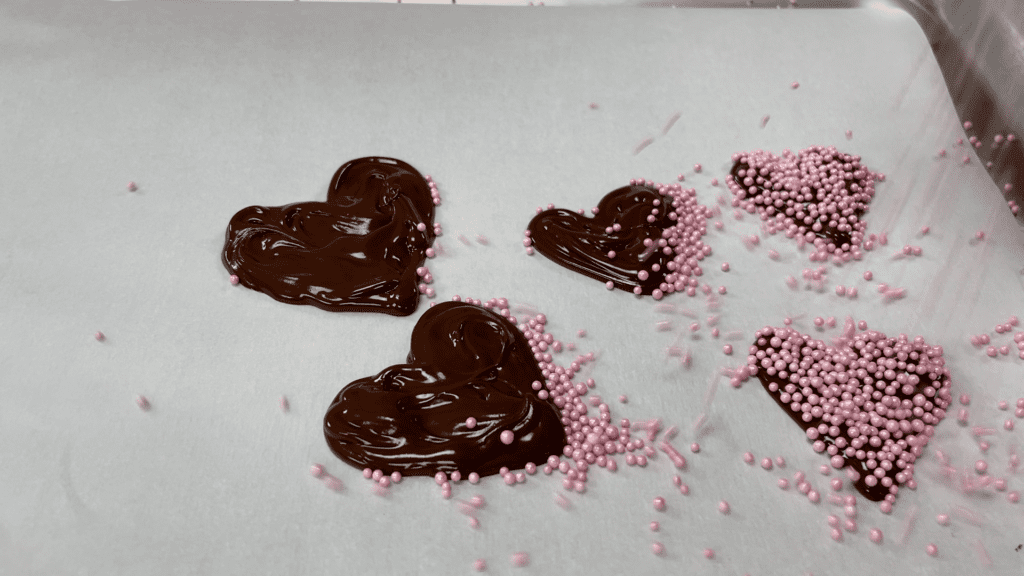
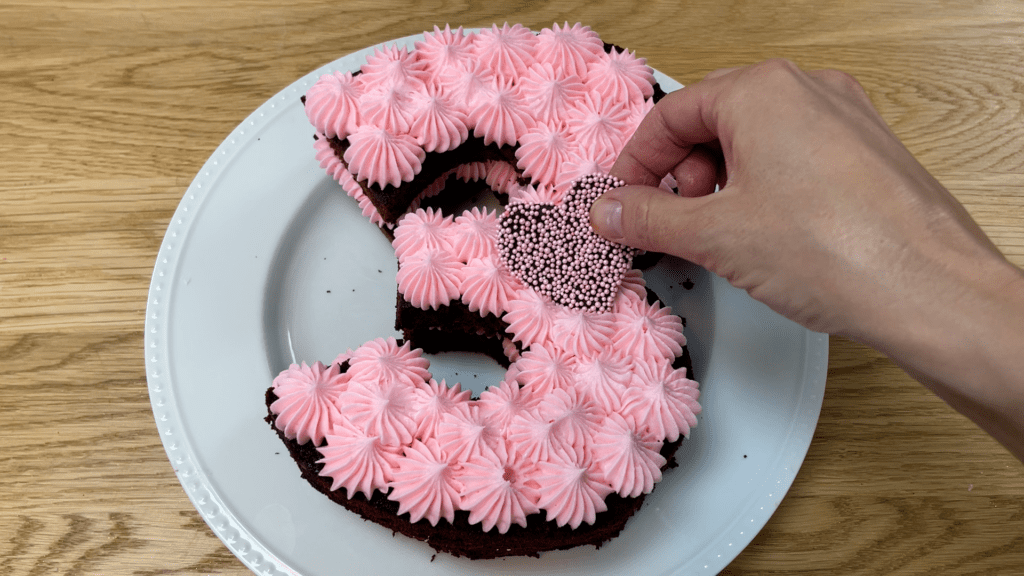
When the chocolate sets you can lift the shapes up and use them to decorate a cake or cupcakes!
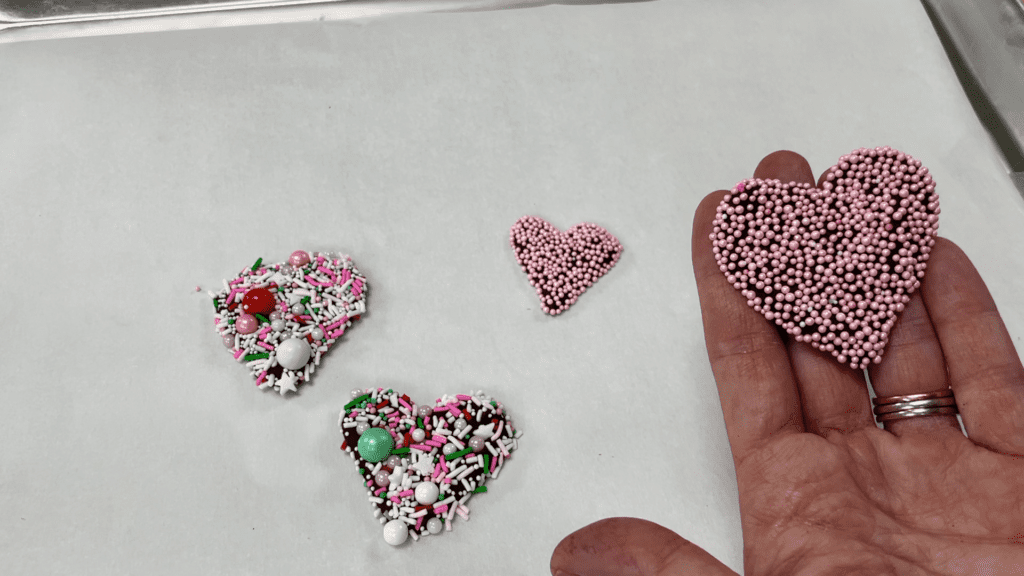
Make sure you push them into frosting just after spreading or piping it, while the frosting is still soft and sticky so that the chocolate shapes attach easily.
To add some detail to the top of a cake, pipe a border with a ziploc bag. Spoon frosting into a ziplock bag and cut a corner off to make a hole about the size of a piping tip, just like for the piped stripes in the first technique.
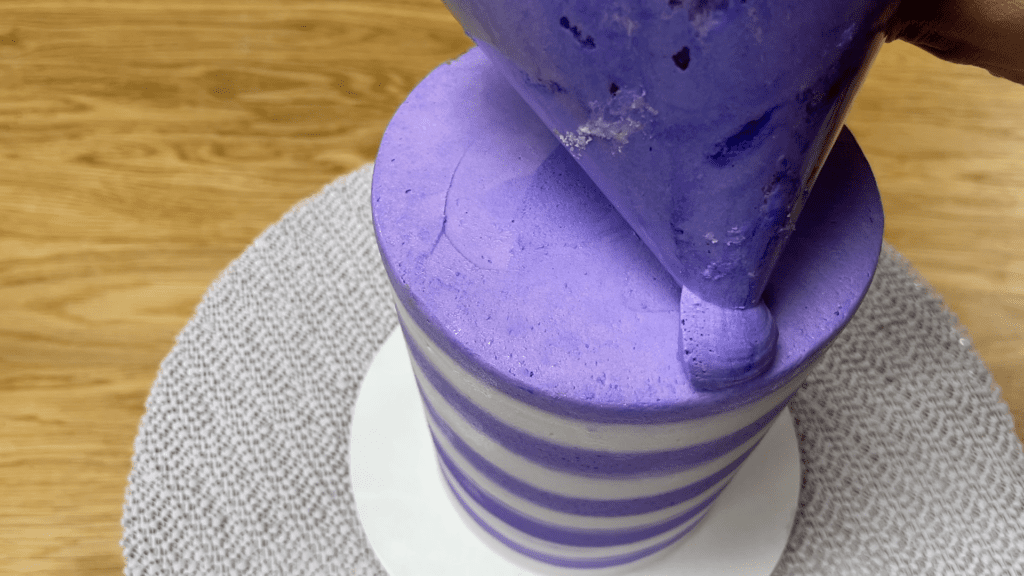
Hold the bag above the cake, slightly in from the outer edge, and squeeze the frosting out and let it bulge out of the bag up to the edge fo the cake, and then pull the bag slowly towards the middle fo the cake to pull the frosting back with it. Stop squeezing and pull the bag away and continue to pipe like this side by side all the way around the cake to make a ring.
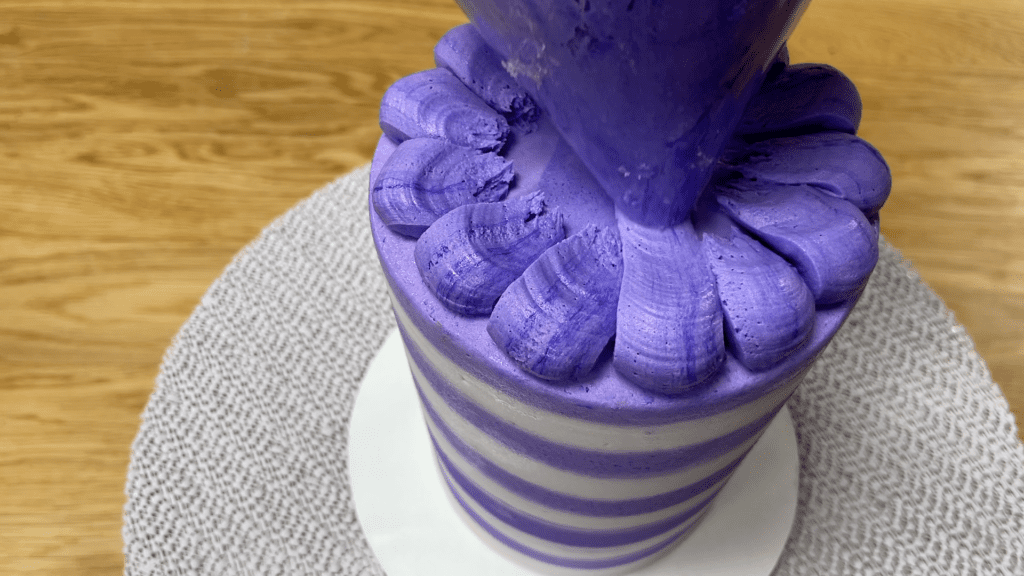
Pipe another ring inside it, overlapping the outer ring to layer the piping on top. This looks pretty from the top but also from the side!
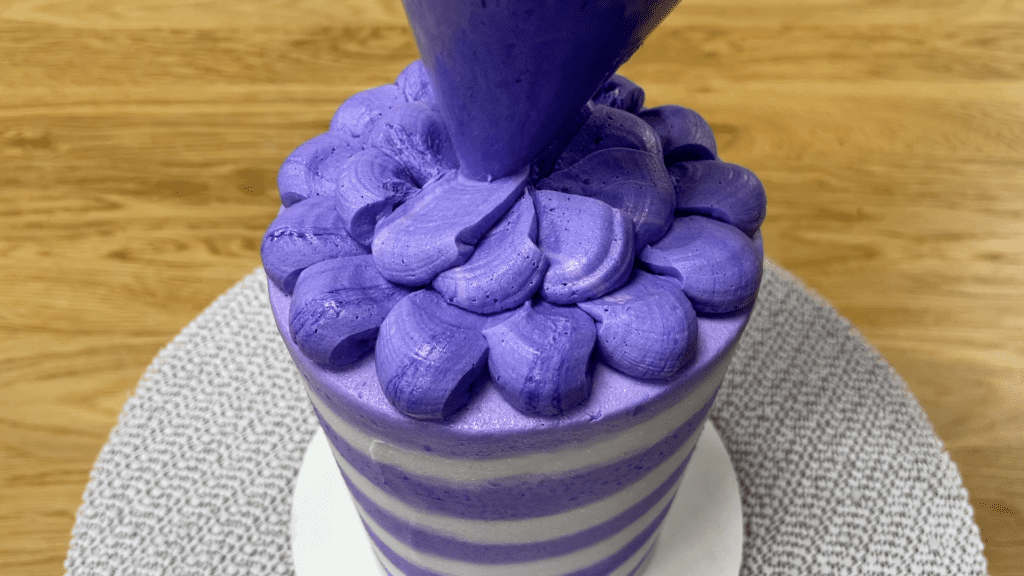
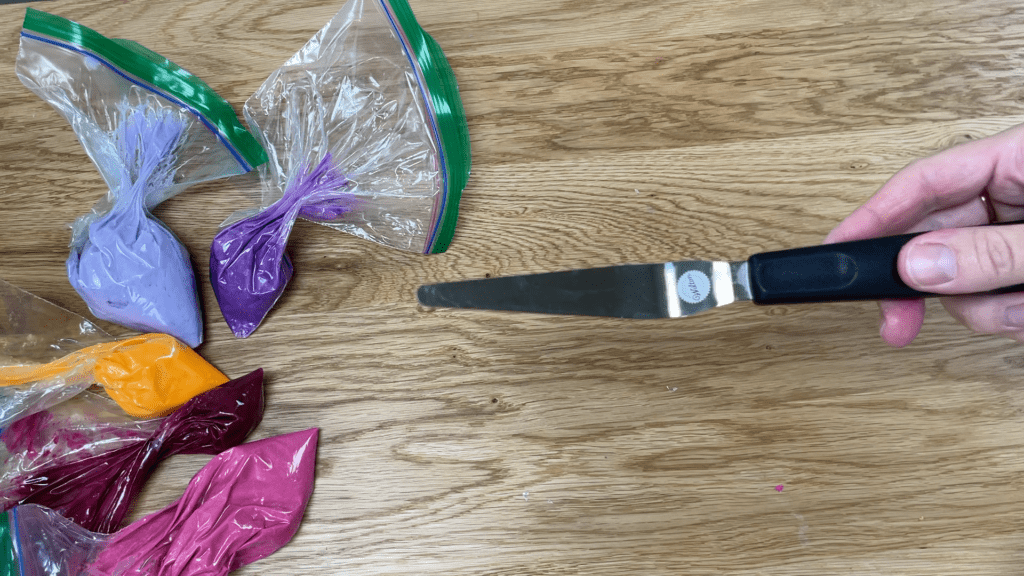
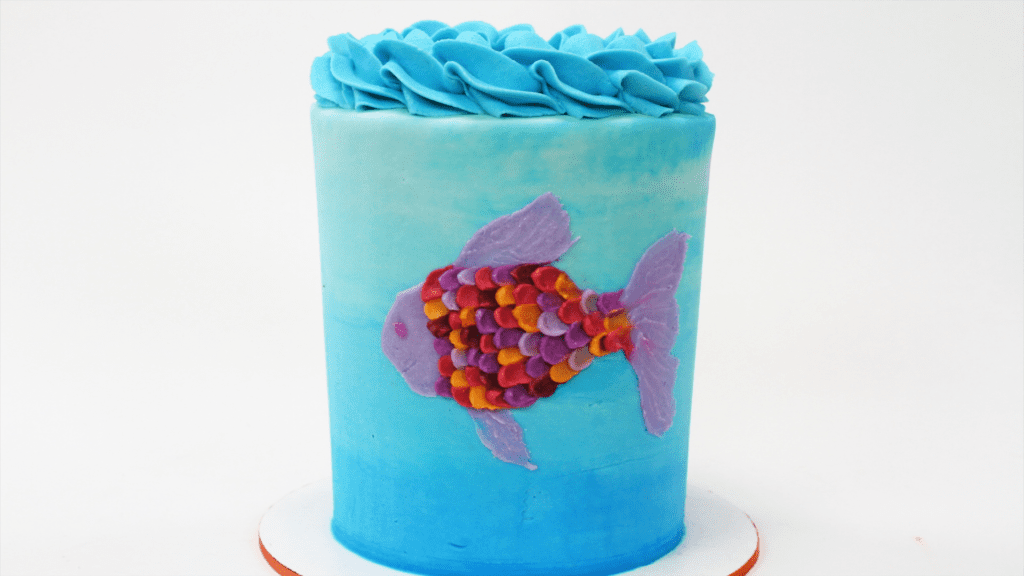
Pipe intricate designs using ziploc bags! You’ll need a few ziploc bags of coloured frosting, a tapered offset spatula or a small palette knife, and a cake with frosting that’s set.
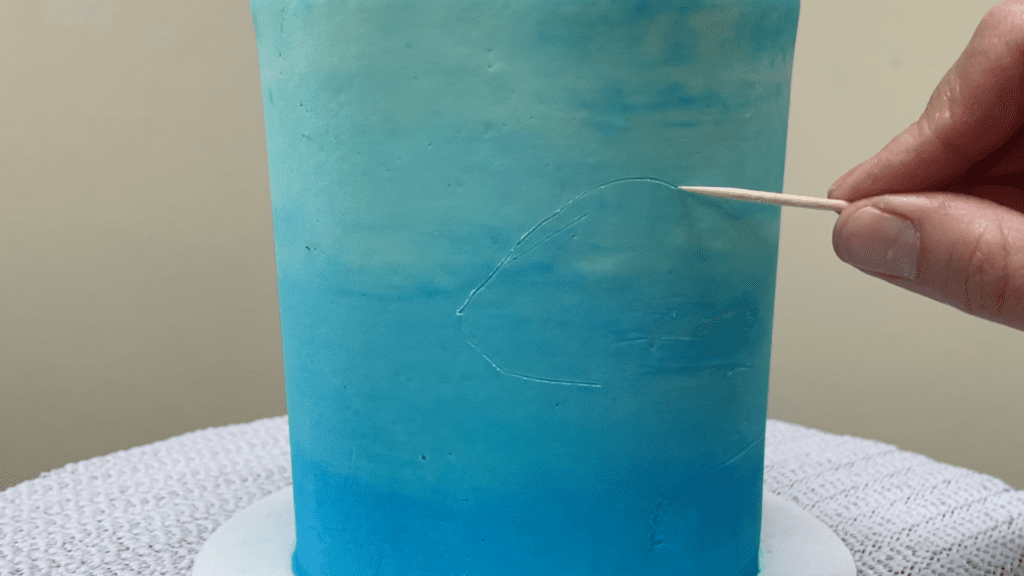
Sketch an outline of your fish into the frosting using a toothpick. You can freehand the design or draw or print an image and cut it out and then trace around it onto the frosting on the cake.
Cut a very small piece off the corner of each ziploc bag and outline the face and fins of the fish by piping frosting with the ziploc bags.
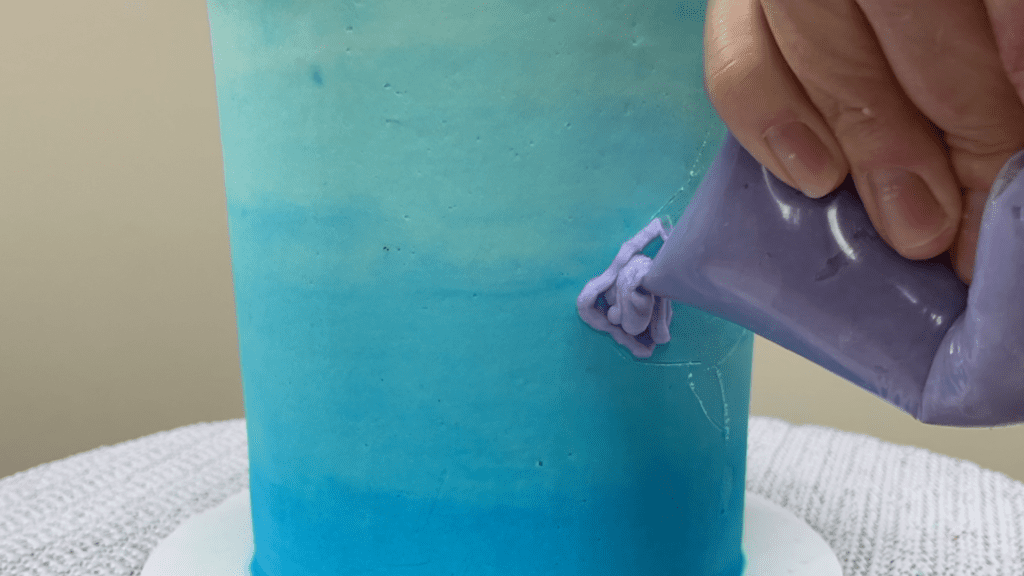
Spread the piping flat with the edge of your offset spatula. Because the final coat of frosting on the cake has set, the piped frosting won’t blend with the frosting on the cake as you pipe and spread it, so the colours will stay distinct.
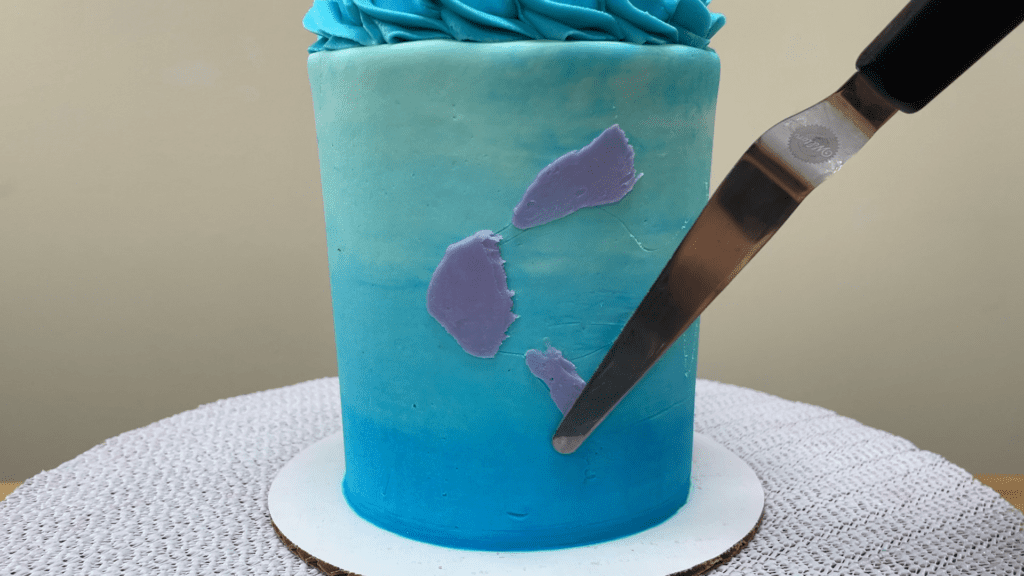
After the face and fins, start piping dots of coioured frosting to create the body of the fish. Pipe in columns, with one dot above the other, and only pipe one line of dots at a time.
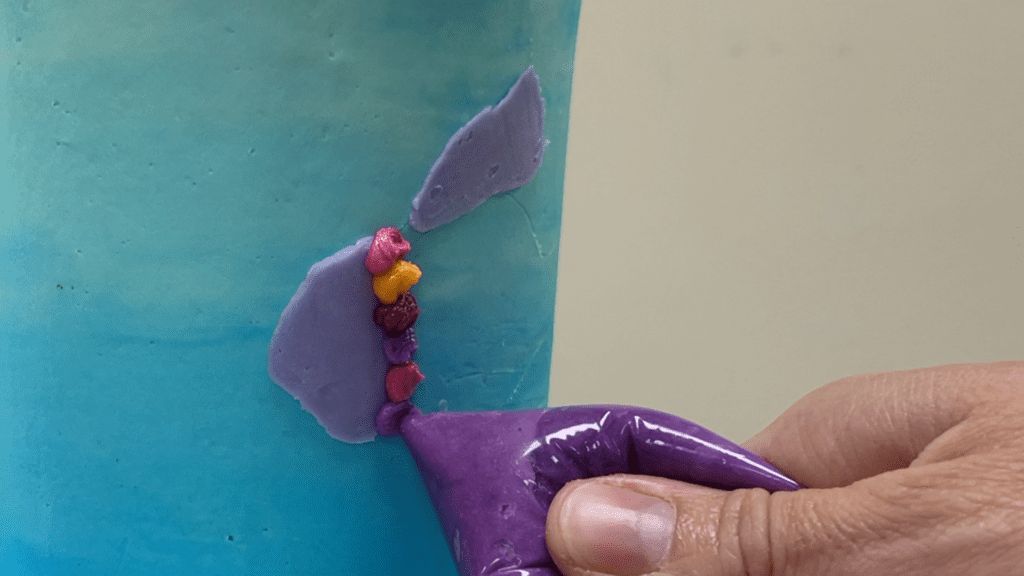
Now turn each dot into a scale by pressing the tip of your offset spatula into the middle fo the dot and then dragging it sideways to pull the frosting away and flatten it at the same time.
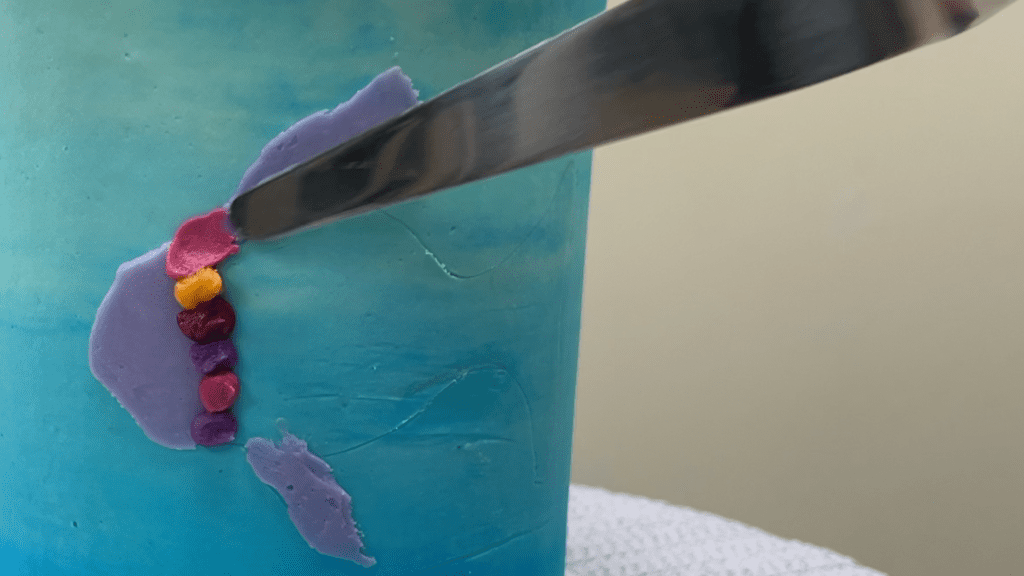
Wipe your offset spatula clean after each dot to keep the colours separate so that they stay bright. If you don’t wipe the spatula clean, you’ll drag some of the previous colour of buttercream onto the next dot, for example mixing orange with purple, which would make a brown dot.
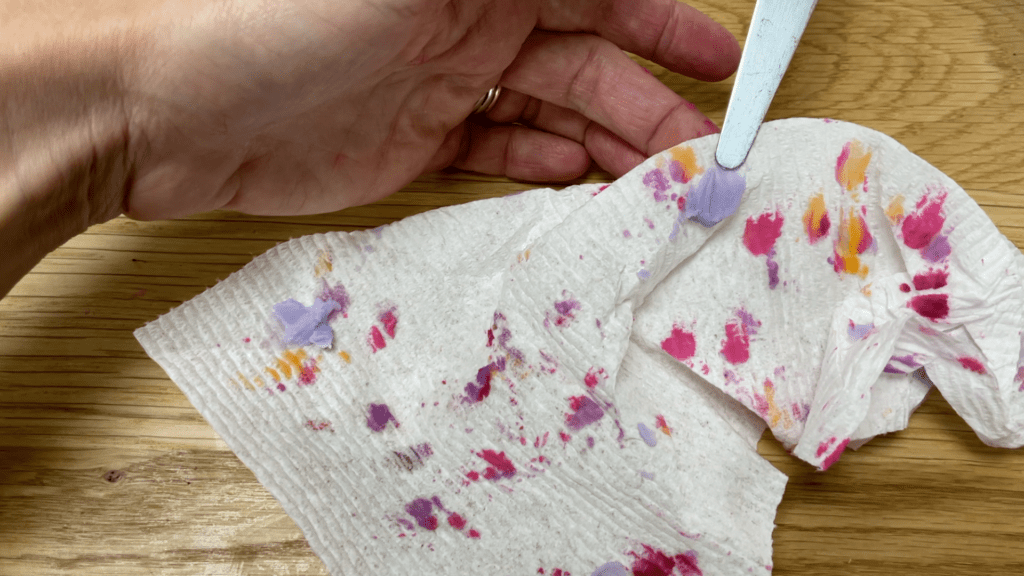
Using ziplock bags is an easy and convenient way to pipe this colourful fish because if you used piping tips, you’d need several identical small round piping tips, which you probably don’t have but you probably DO have a few ziploc bags in the kitchen!
I hope you’ve seen some ideas you’d like to try. Please tag @britishgirlbakes in your photos on Instagram so I can see your creations!
If you’re looking for buttercream inspiration, join my Club for access to ALL of my online classes as well as live interactive online demonstrations and Q&A sessions for members only!
Here’s the video version of this tutorial:
