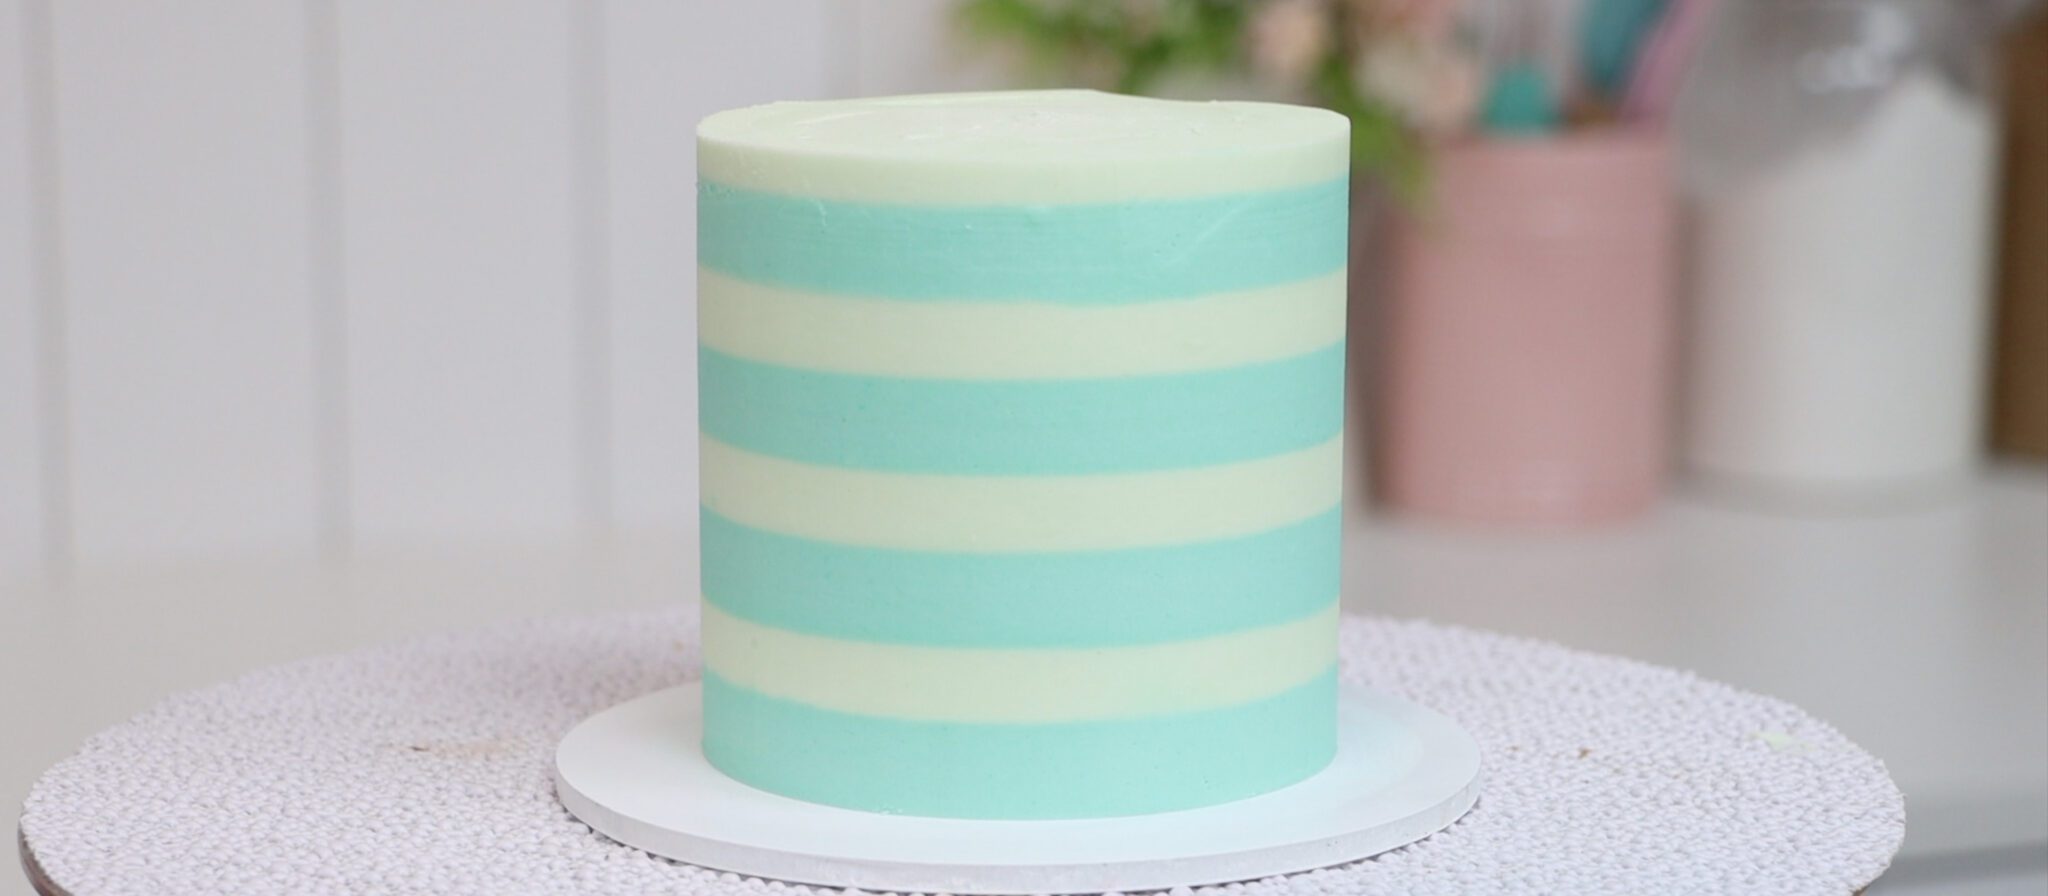
I'm going to show you seven ways to make buttercream patterns on cake with these step-by-step instructions. Spoiler alert: no fondant! I'll be using my 4 Minute Buttercream for all of these techniques.
Let's start by making stripes! Cover your cake with frosting and scrape around a few times with a cake comb to get it fairly smooth. Don't worry about getting it perfectly smooth yet! Then switch to a striped cake comb, which is one of these that looks like castle turrets on the side:
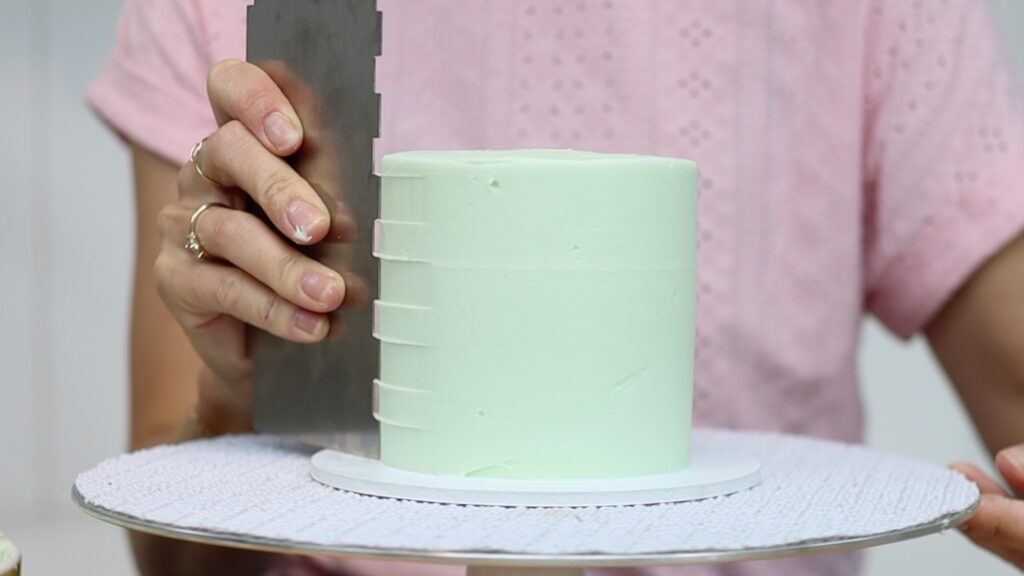
Scrape around the cake just as you would with a straight cake comb. You'll imprint the grooves of the stripes in the frosting. At first they'll look messy but as you continue scraping they'll get smoother. If there are any indents spread a bit more frosting over that part and then scrape again.
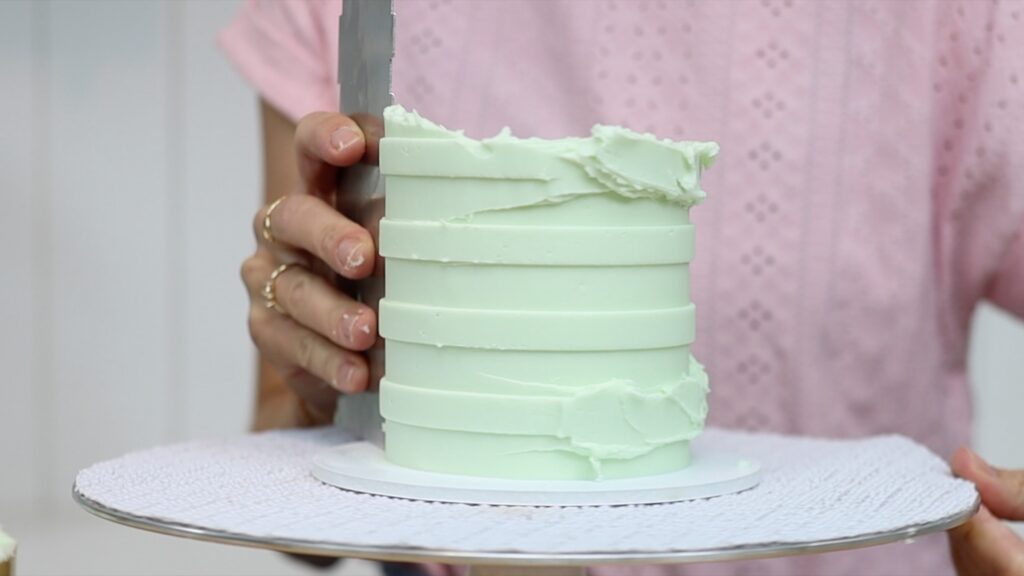
Make sure you spread enough frosting around the top edge of the cake so that that top stripe sticks up above the top edge of the cake. Put the whole cake in the freezer for 15 minutes to chill the frosting. Set a timer because you don't want to leave it for any longer. Choose your next colour and put it into a piping bag. You can skip the piping tip or use one the same width as your stripes. Take the cake out of the freezer and the frosting should be very firm. Pipe the frosting into the grooves to fill them in completely. The piping doesn't have to be neat but it needs to fill in the grooves so there aren't any air pockets.

Now scrape around the cake with a straight edged cake comb. You'll smear the second colour of frosting all over the cake but as you scrape again and again, you'll take off all of the excess to reveal neat stripes underneath.
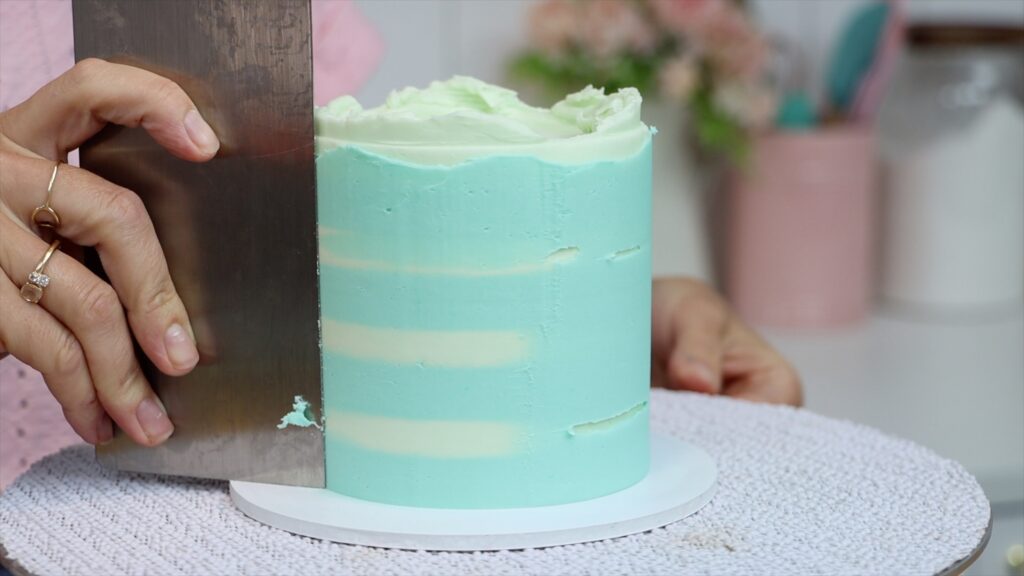
The reason for putting the cake in the freezer is so that the first colour of stripes sets and holds its shape. Those stripes won't get warped as you scrape with your cake comb.
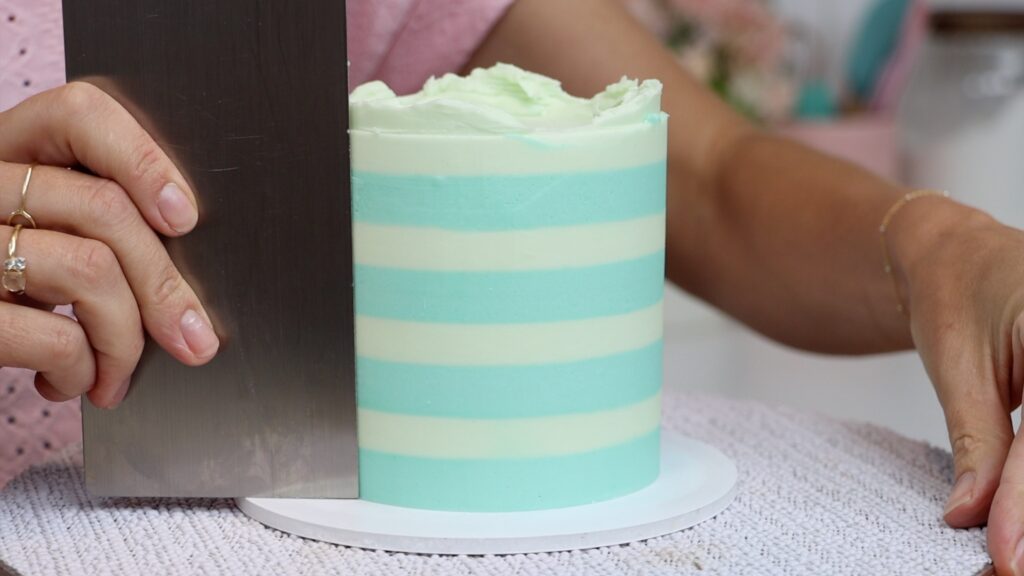
Tidy up the top edge with an
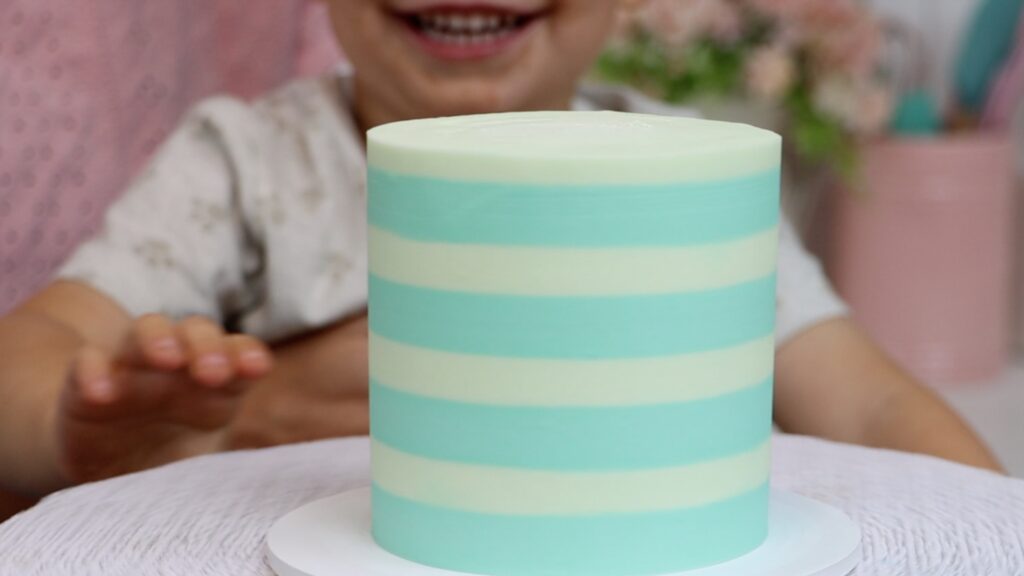
If you want your stripes to go up and down the cake vertically, here's a technique for that. Wrap a piece of acetate or parchment paper or baking paper around your cake. Pull it about an inch out from the cake so you have a bit extra.
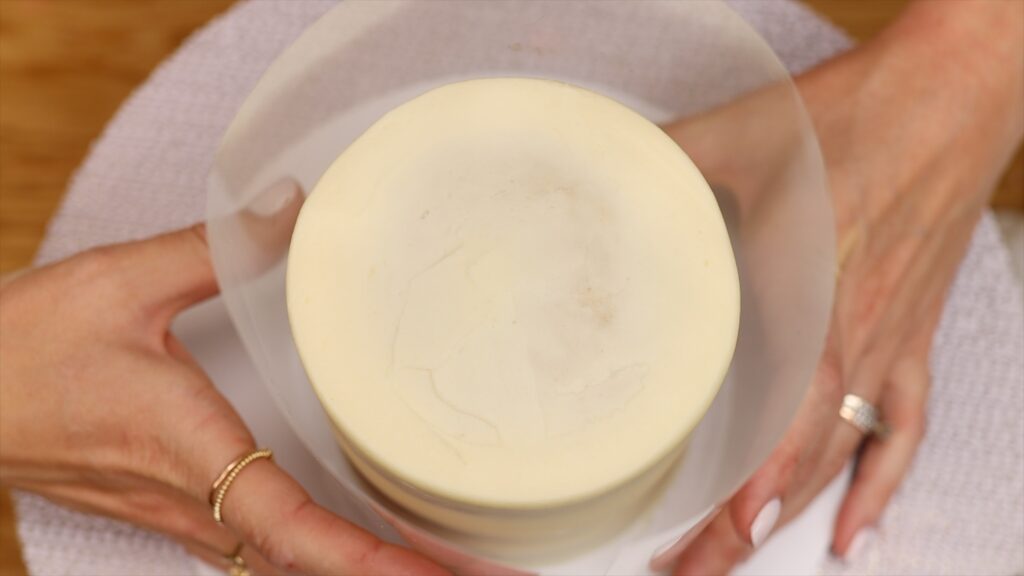
Cut it and then tape it down onto a baking sheet or a tray. You need a flat surface that you can pick up and move later. Spread frosting all over it and use an
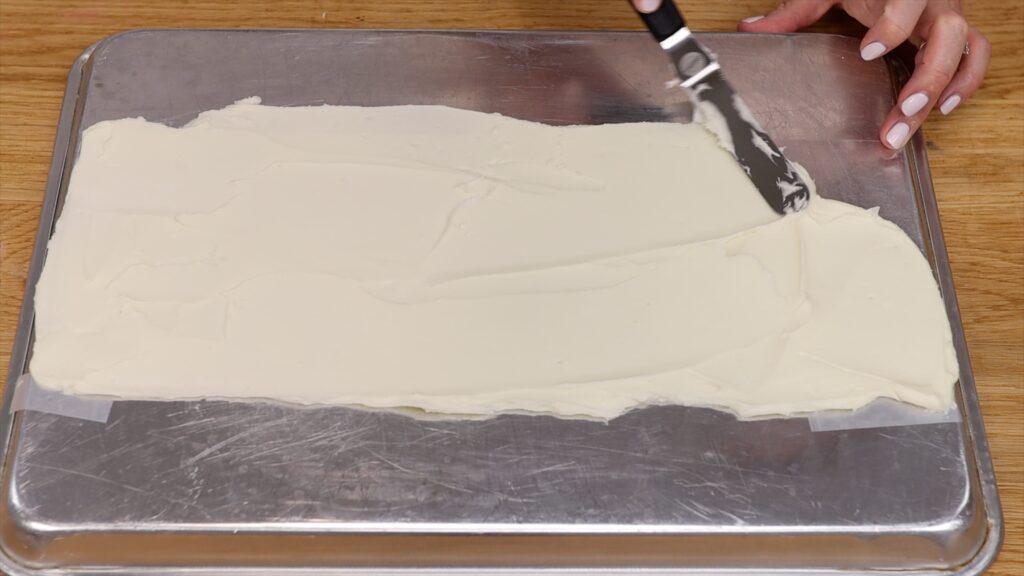
Then use your striped cake comb to pull from the top edge down to the bottom edge. You might have to do this a few times to take off all of the buttercream within the stripes. It's important to leave a very thin layer behind so that the stripes don't break apart from each other later.
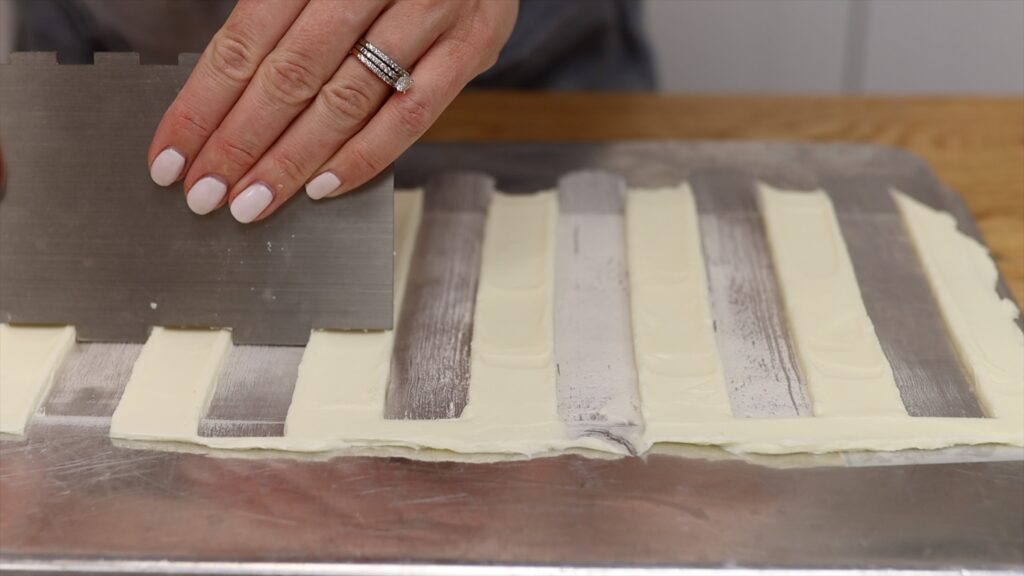
Put this tray into the freezer for 15 minutes while you prepare your next colour of buttercream. When you take the tray out, spread the second colour into the gaps. Scrape off all of the excess so that the whole surface is smooth.
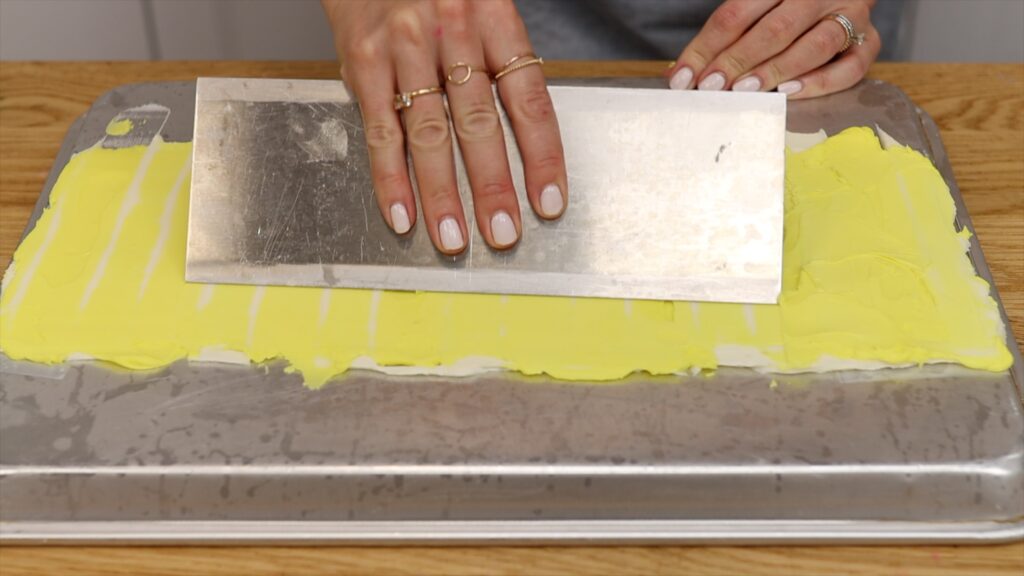
Then untape the acetate or paper, lift it up and press it onto the sides of a cake. The cake needs to have a crumb coat on already to make the sides straight.
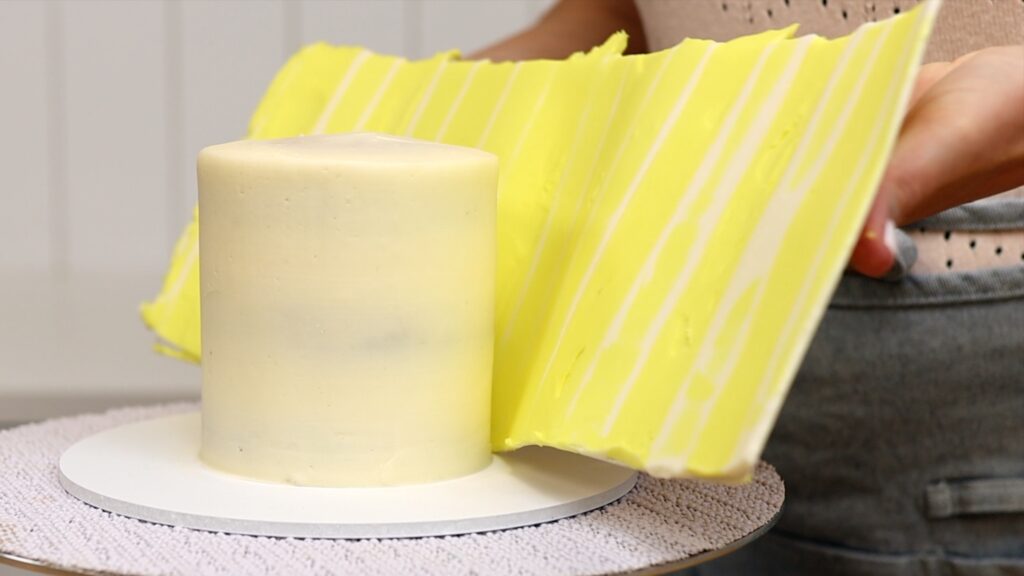
Press the striped frosting on the acetate or paper against the cake to attach it. Then put the whole cake back into the fridge or freezer for 15 to 30 minutes to set this frosting. Peel the acetate or paper off, leaving vertical stripes behind.
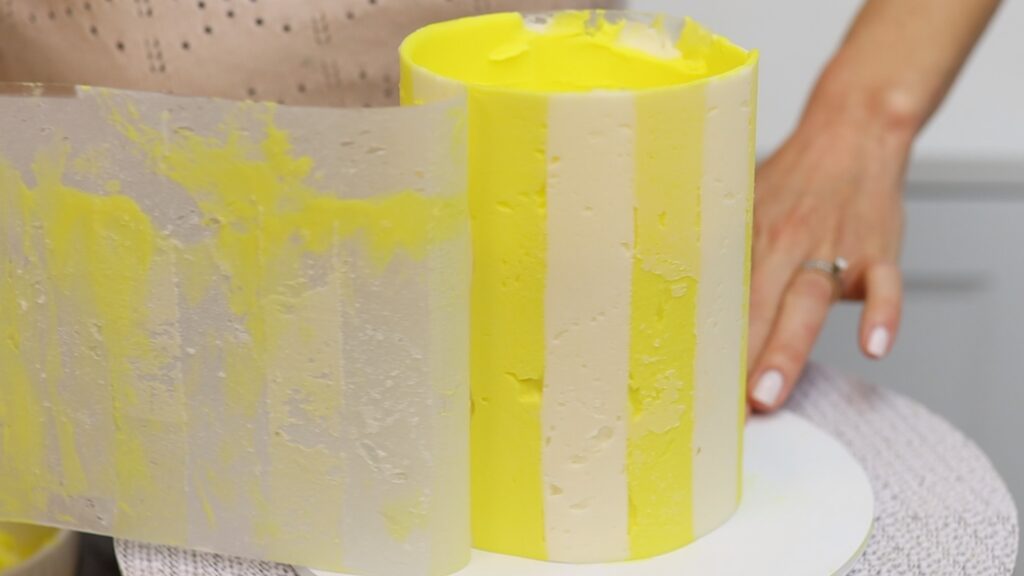
The certical stripes aren't complete yet. Use a metal cake comb or a knife to slice off the frozen stripes where they stick up above the top edge of the cake. Then spread frosting to cover the top of the cake neatly.
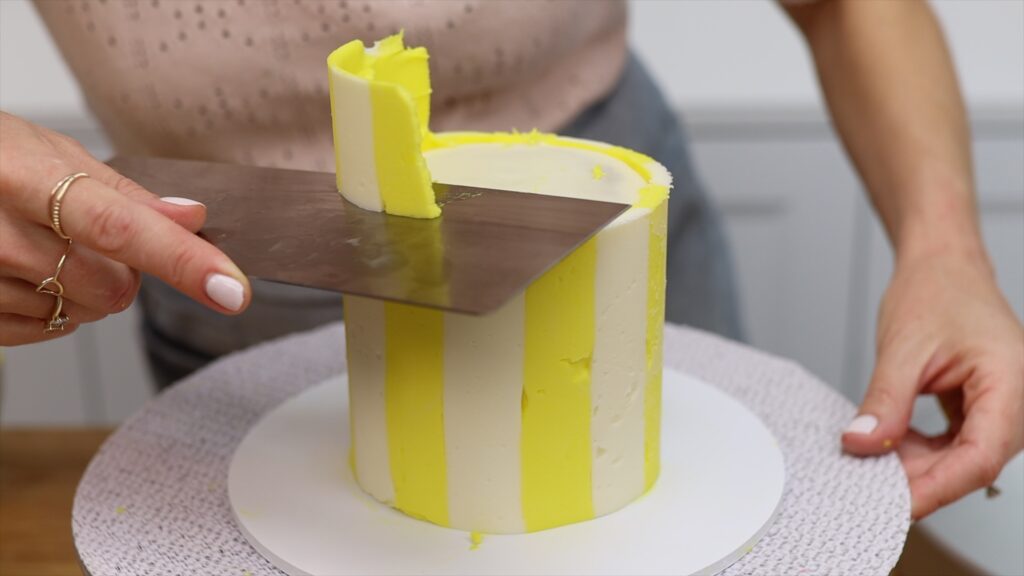
Next, touch up the stripes. There will be air pockets where the buttercream didn't go all the way down to the acetate or paper.
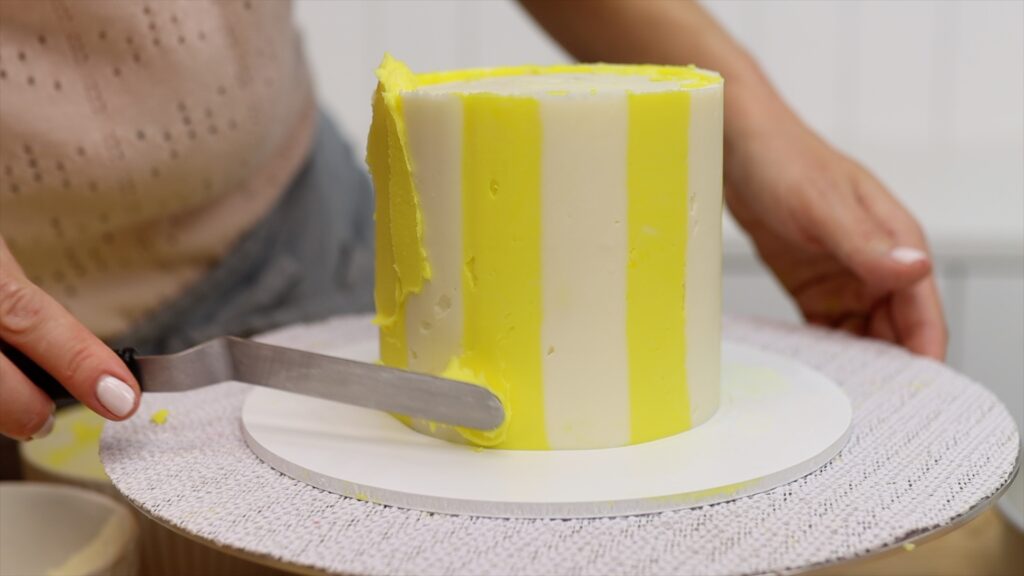
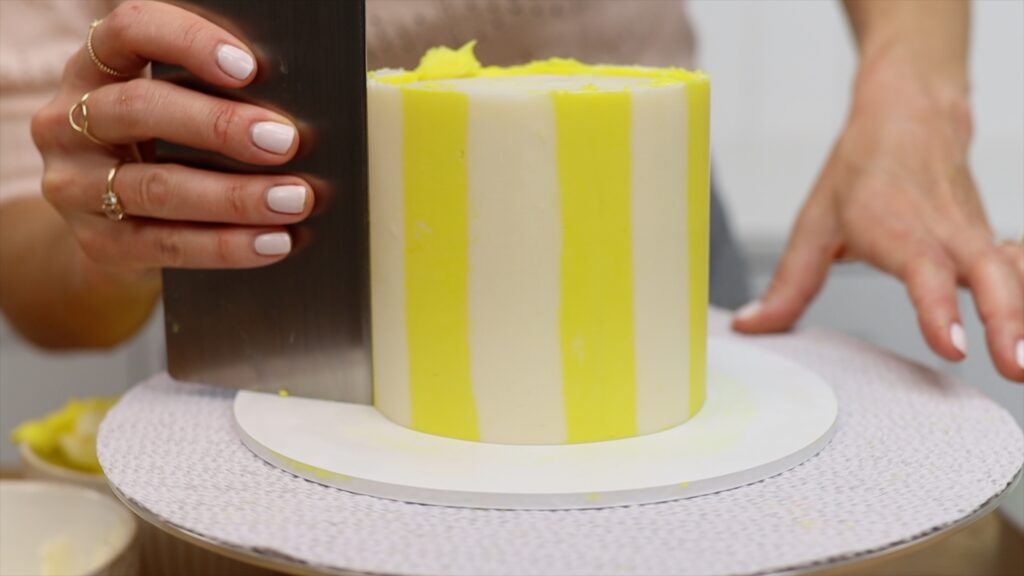
Fill those in by spreading on that same colour and then scrape off the excess. A hot metal cake comb works really well for this. You can heat it either by dipping it into hot water or holding it underneath running hot water. The hot metal will leave perfectly neat, smooth vertical stripes behind!
Use cookie cutters as a guide to create patterns like for a vintage style cake. After you've frosted a cake, press cookie cutters in gently to imprint their shape.
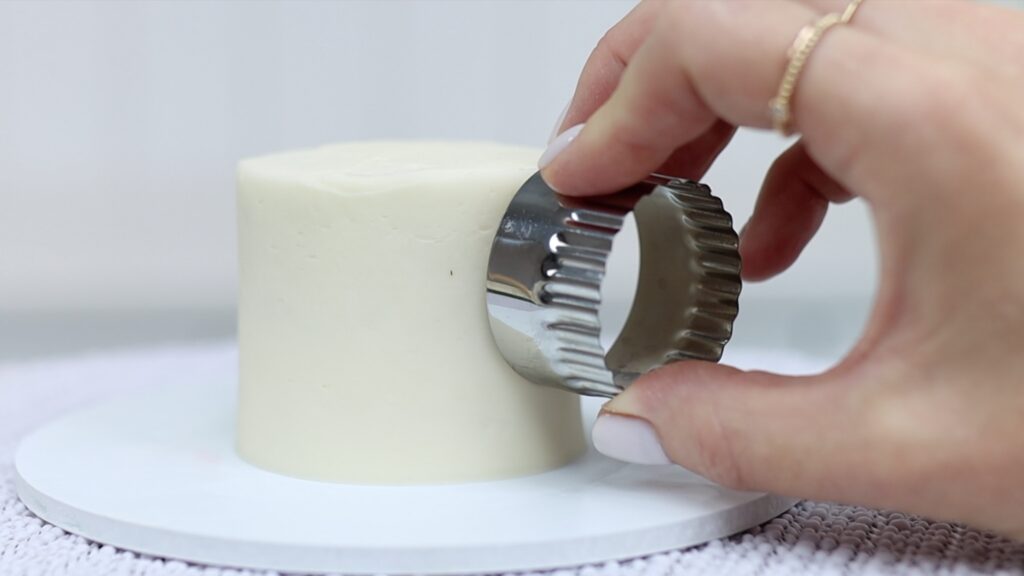
Then use a variety of piping tips and colours to add details to the cake, following those lines as guides. Petal tips work really nicely for this to make ruffles.
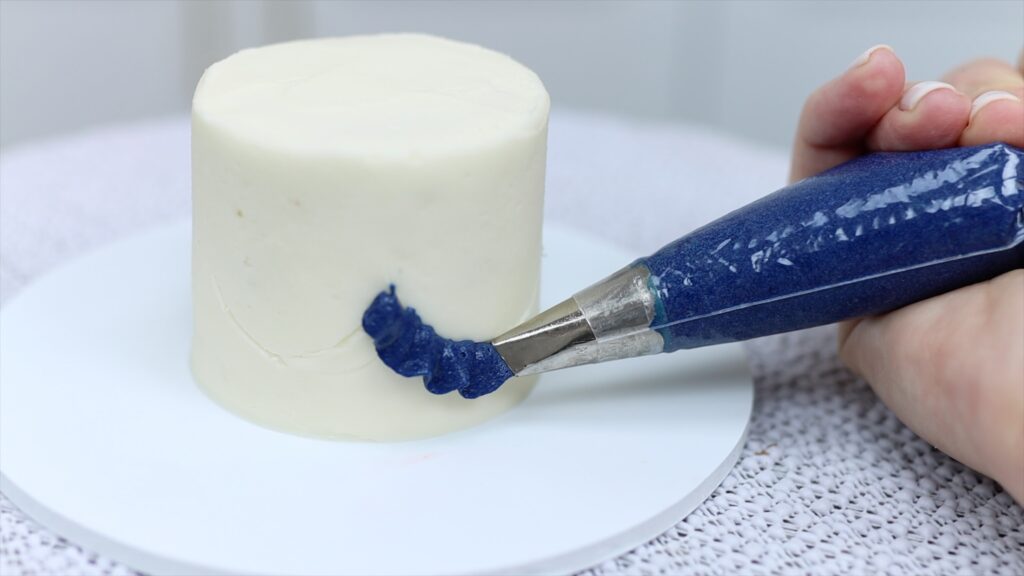
Using a variety of colours with the same piping tip and technique adds extra detail without much extra effort!
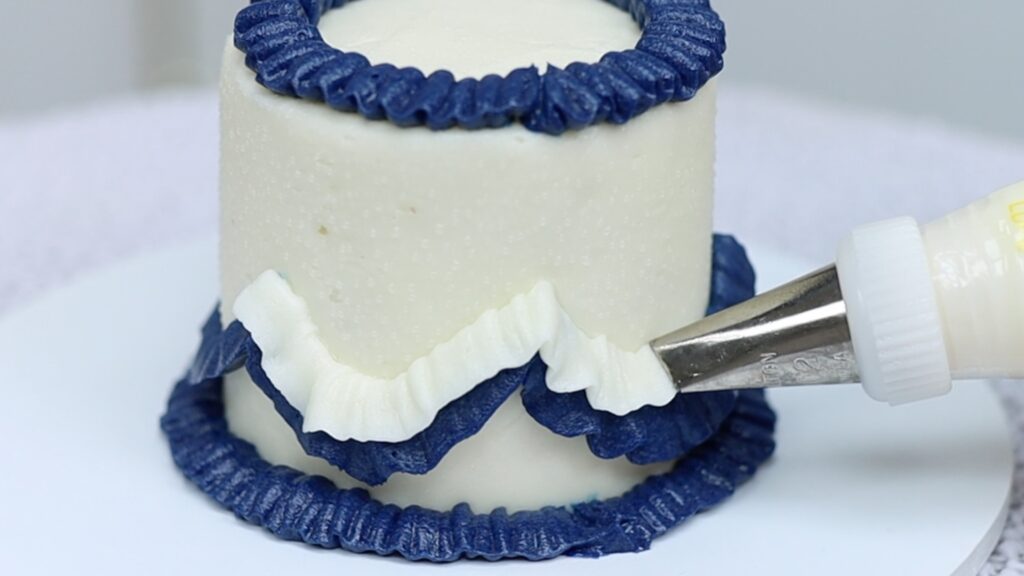
For lines and dots, use round piping tips. Warning: piping smooth, neat lines is a lot trickier than piping texture!
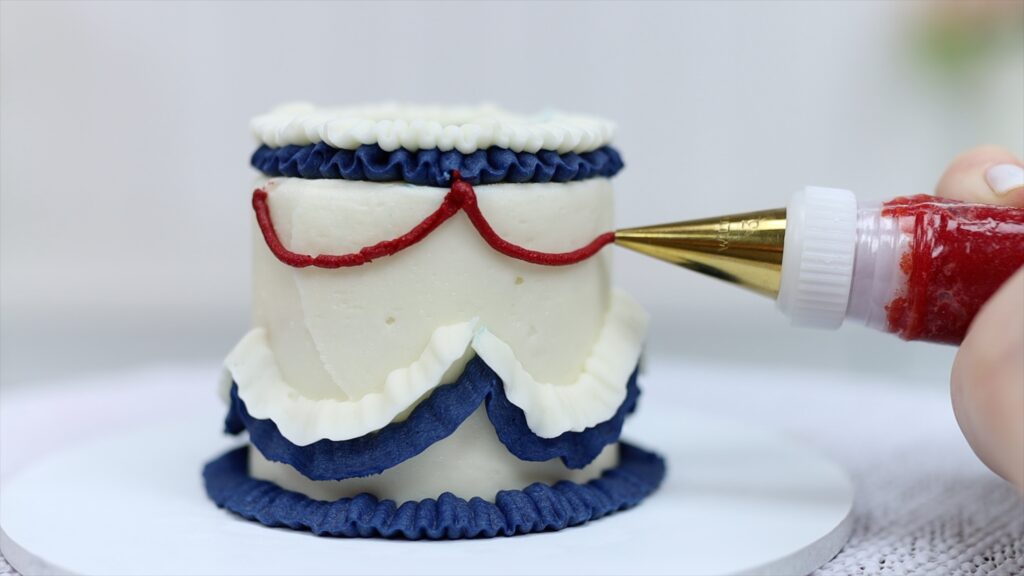
Using cookie cutters like this allows you to create whatever pattern you like, equally spaced around the cake.
You can create endless patterns by using stencils on your cakes. There are two tricks to really neat stenciling. Firstly, chill your cake so that the frosting is really firm before you put your stencil onto the cake. Secondly, attach to stencil to the cake so it doesn't move. I like to use pins to secure the stencil on all four corners. If the stencil moves as you're spreading the buttercream on you'll smudge the design or the pattern.
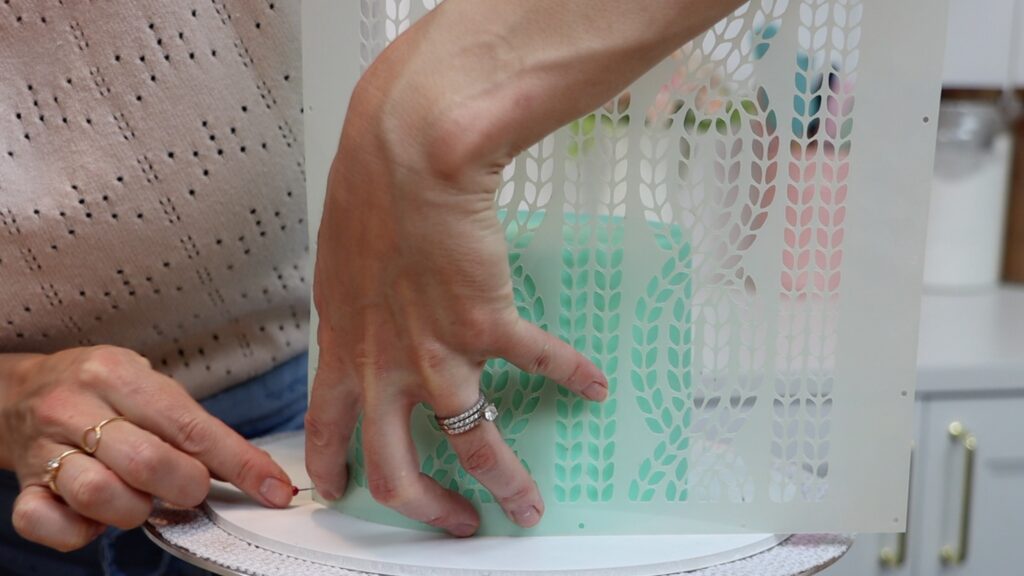
Spread the frosting onto the stencil and scrape off as much as you can. Peel the stencil off straight away, before the stencilled buttercream sets.
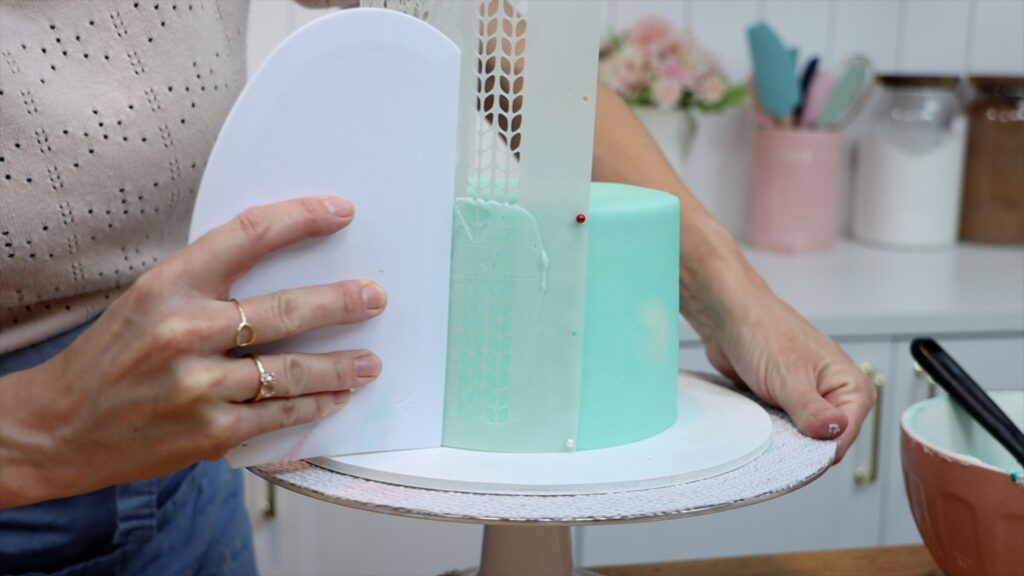
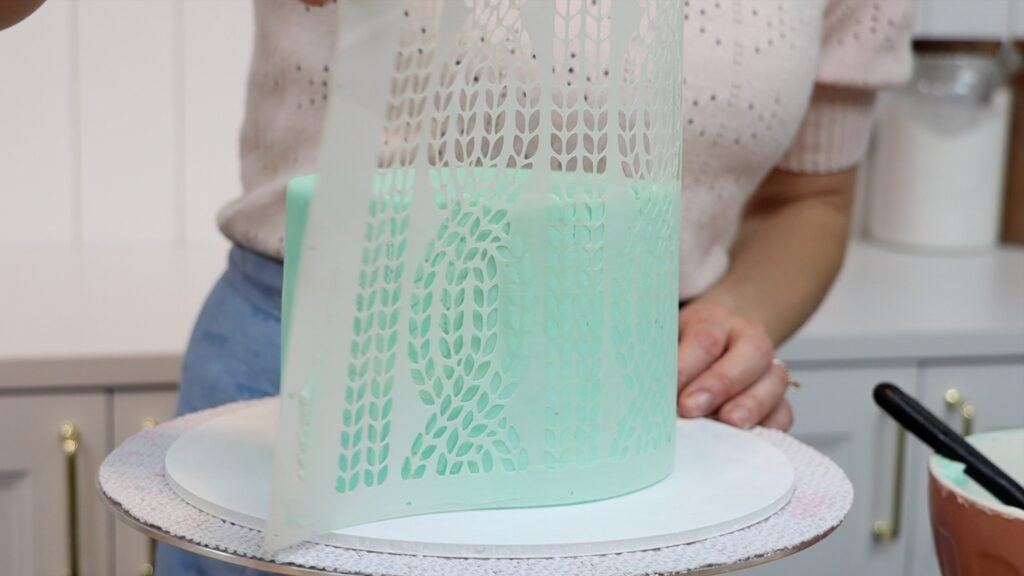
Good news: if you're using a stencil to cover the cake completely with the pattern, by the time you finish there'll be so many details on the cake you really won't notice tiny imperfections in the stenciling. Also, if you're going to add any other details like piping or sprinkles or gold leaf you can be strategic with where you place it on the cake so that you cover up any imperfections.
This technique works for any pattern in a grid like polka dots or quilting patterns. To space the grid evenly on your cake, use parchment paper or baking paper. Wrap the paper around the cake to measure it so that it's the same circumference as the cake. Then fold it in half again and again in both directions until you've made a perfect grid.
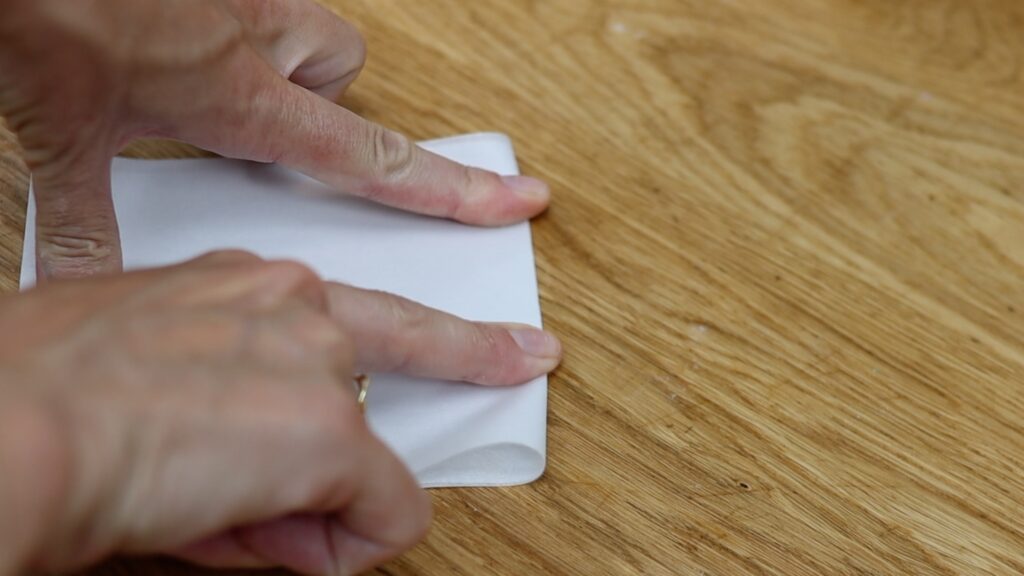
Wrap the paper around the cake again. The frosting needs to have set before you do this, which takes about an hour in the fridge. Then use a toothpick or a pin to poke through every point where the creases meet. Poke every second crease for a diagonal or offset pattern like a quilting grid.
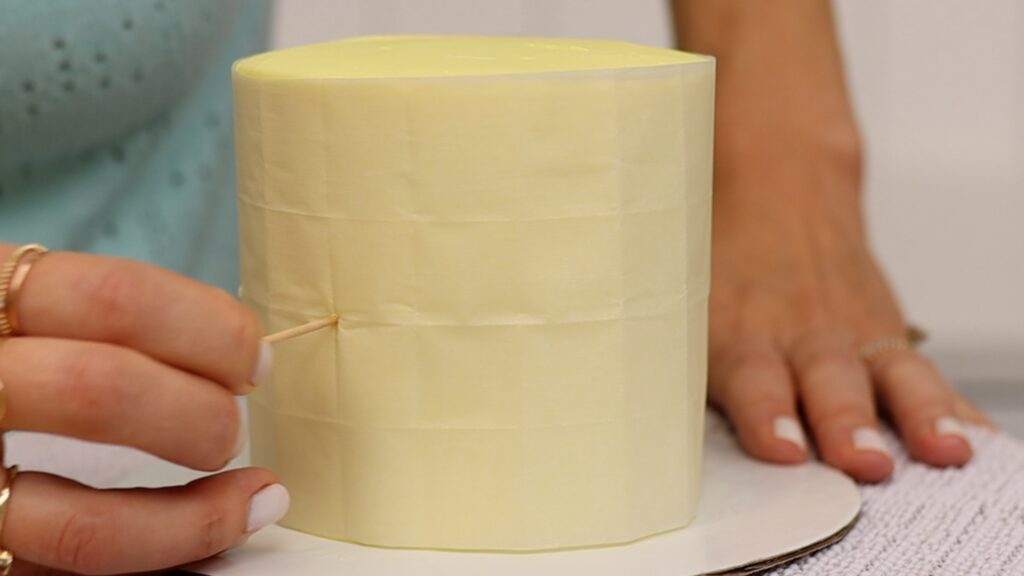
When you peel the paper off you'll be left with the grid on the cake. You can pipe over the markings, creating a perfectly spaced neat pattern.
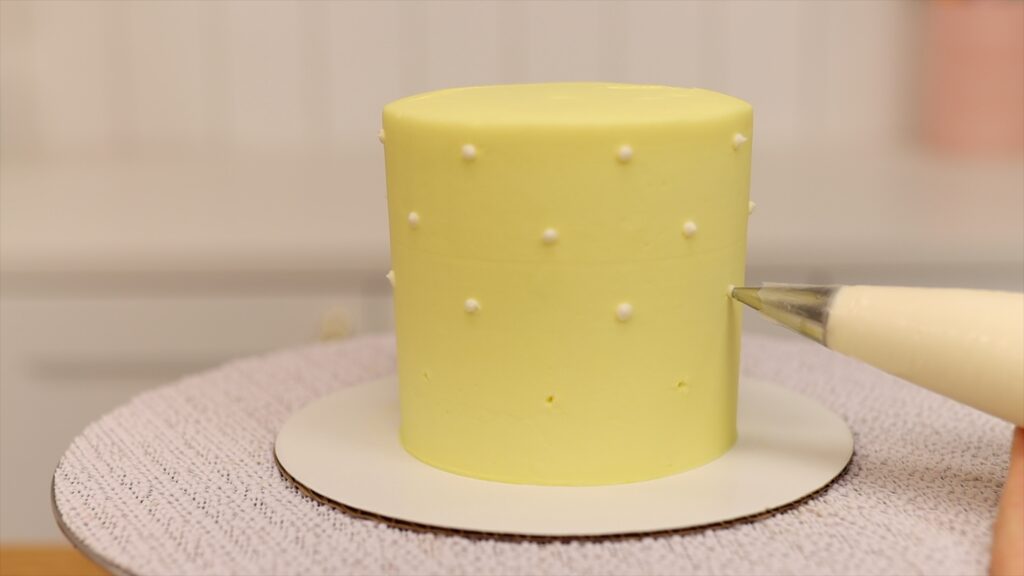
Another way to use this grid technique is to do diagonal lines of patterns. Start by folding the paper to make your grid, wrap it around the cake, and poke your pin or toothpick through it. Now instead of just using one piping tip and colour to create dots, vary the piping tips and colours to make diagonal lines for a different pattern. I love all of the colour and textures in this one!
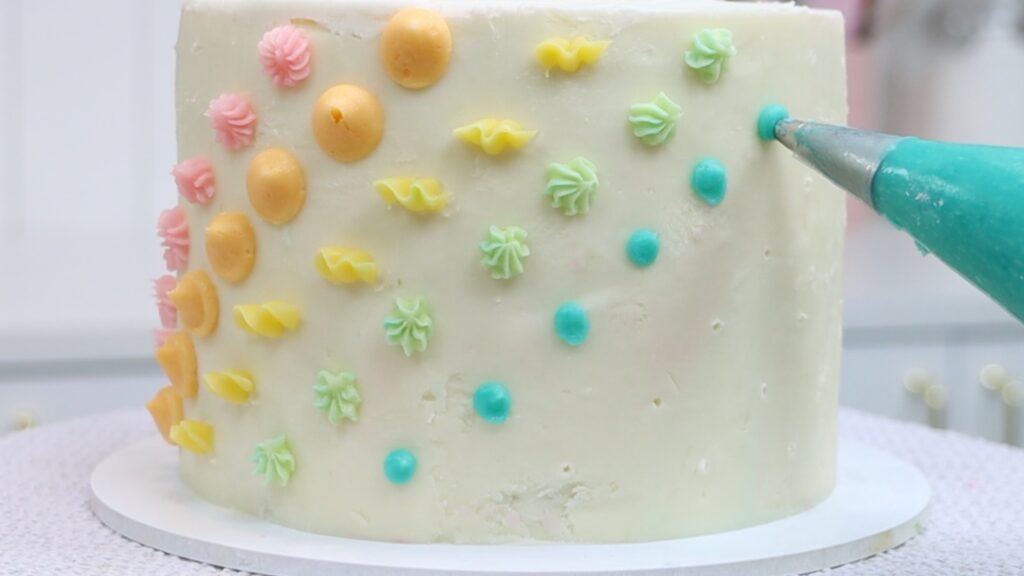
For this cake I'm using different colours of buttercream layered within the same piping bag. This saves a lot of time compared to using different piping bags for different colours.
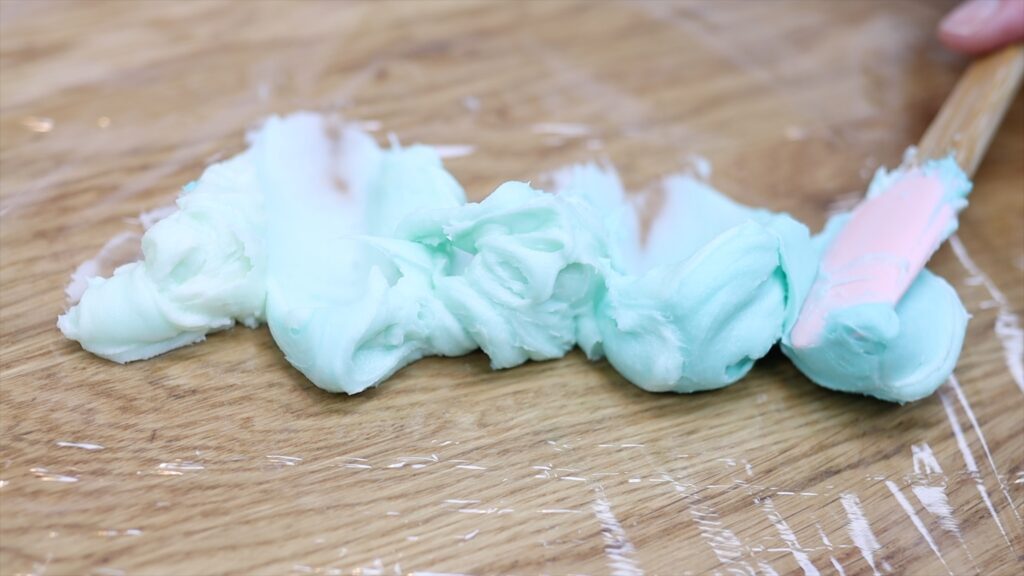
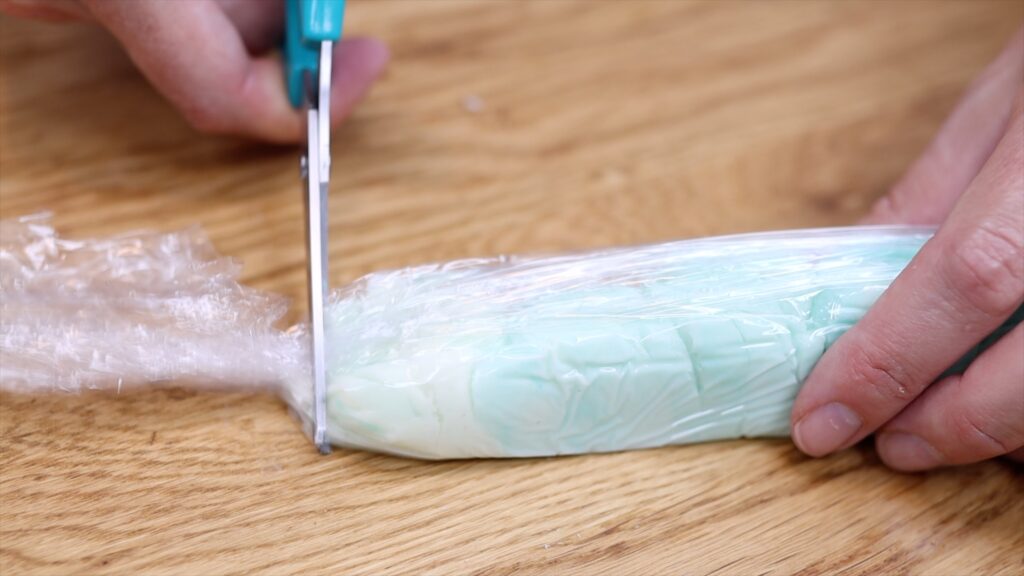
Spread your colours in a row on cling film or plastic wrap and roll it into a log. Cut off one end and drop that end down into a piping bag.
Use a cookie cutter to imprint your pattern, which is going to be concentric circles for this cake. Then fill the sections with piping to create these shapes on your cake.
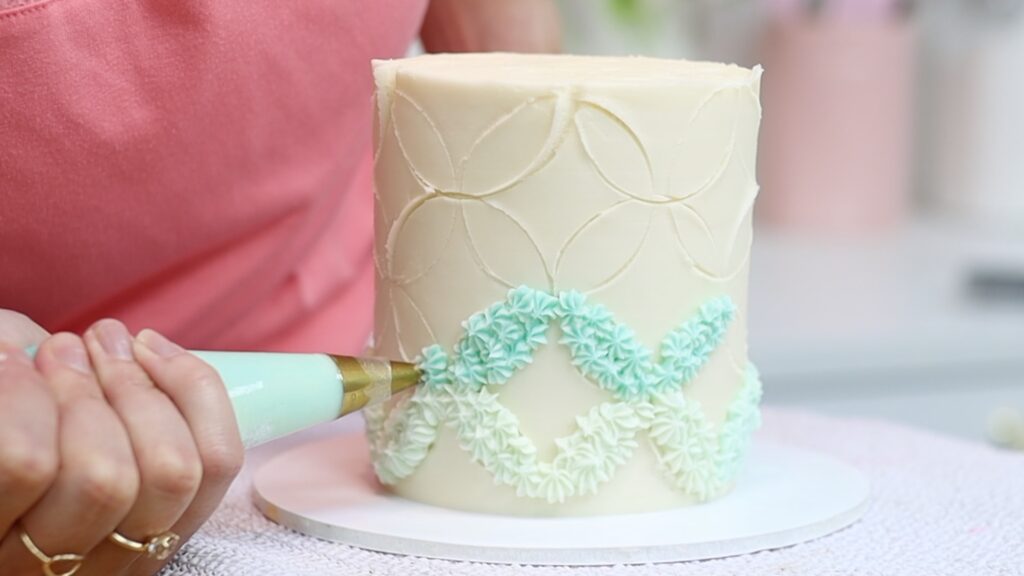
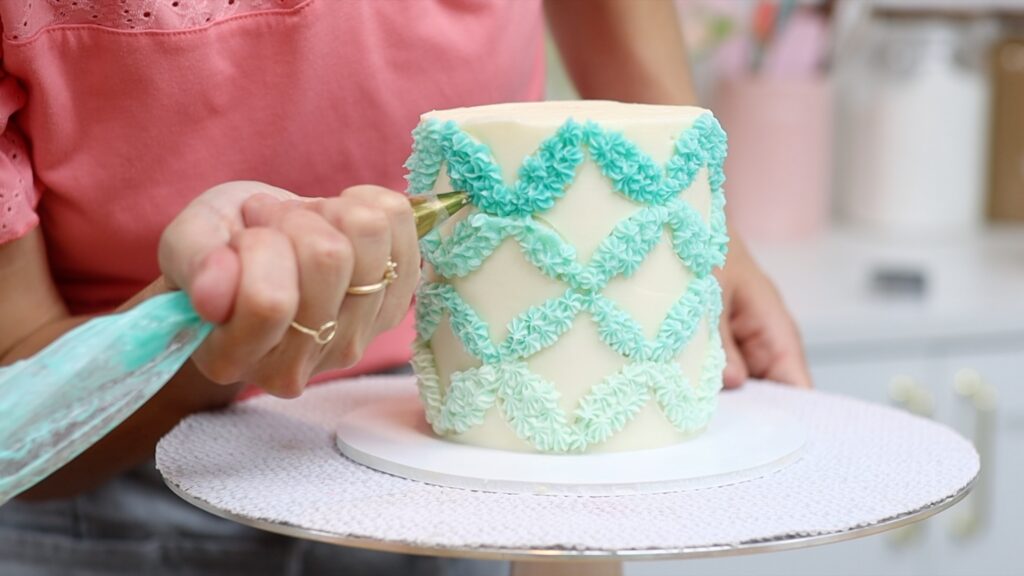
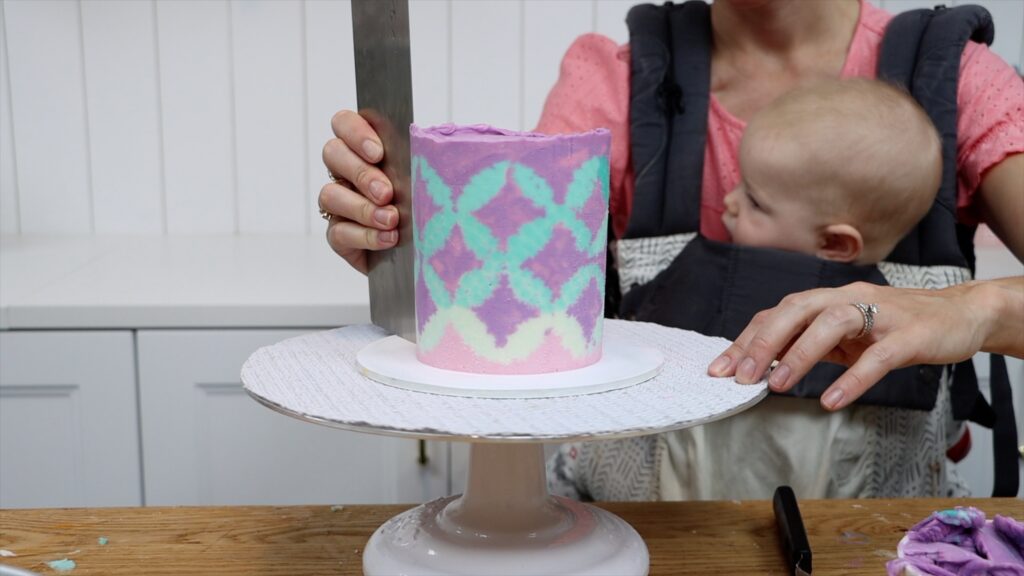
As a side note, you can make almost any buttercream patterns on cake flat! Use the Facelift Frosting technique, which I did for this cake and the previous cake:
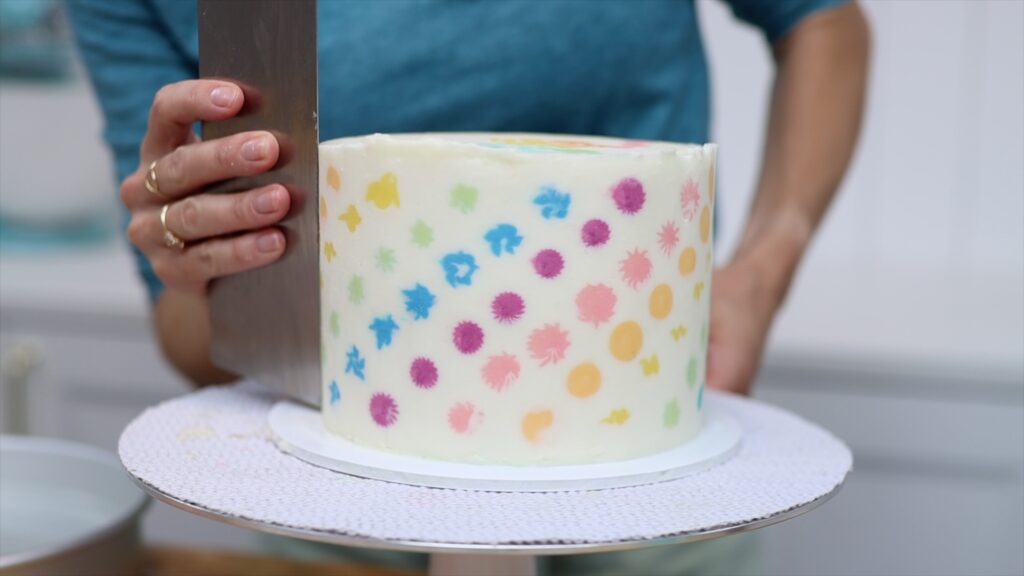
To create patterned texture, use a textured cake comb. First, frost the cake as normal. Make sure the sides are straight and the top is level. Don't worry about any imperfections in your frosting at this point. It doesn't need to be perfectly smooth.
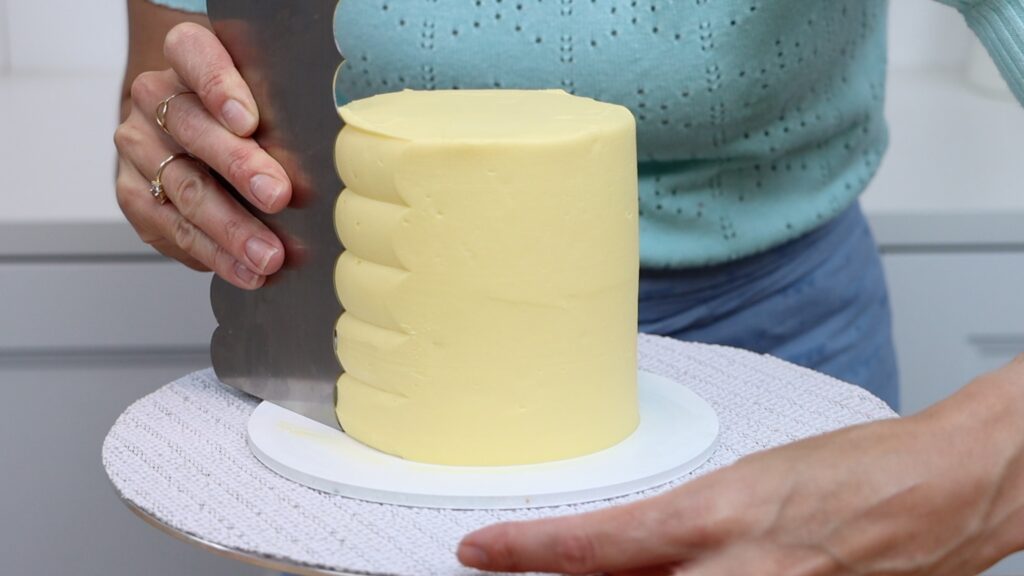
Now switch to a textured cake comb. Scrape around the cake again and again to imprint the texture from the comb. Then spread extra frosting onto any indents or imperfections in the texture.
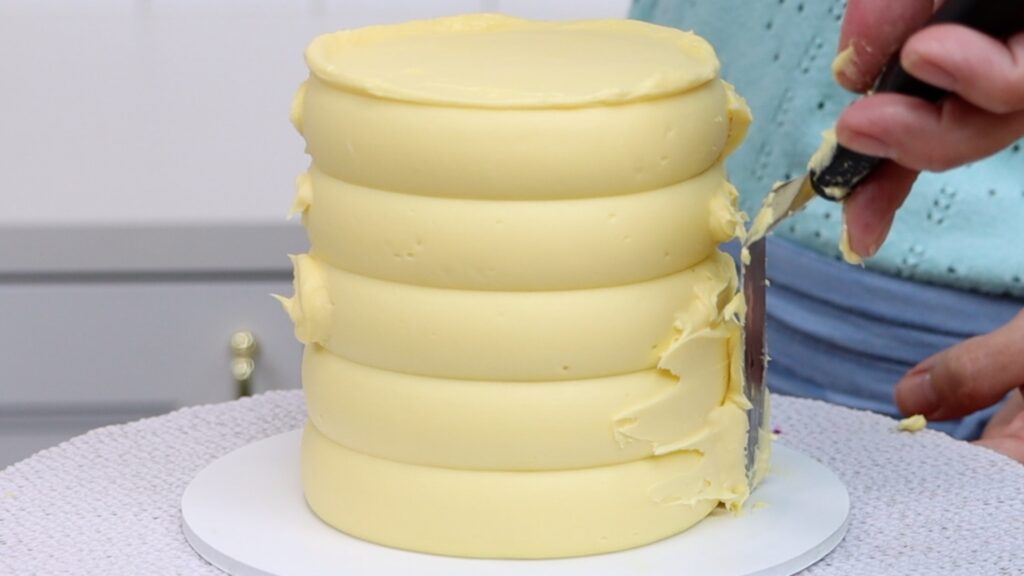
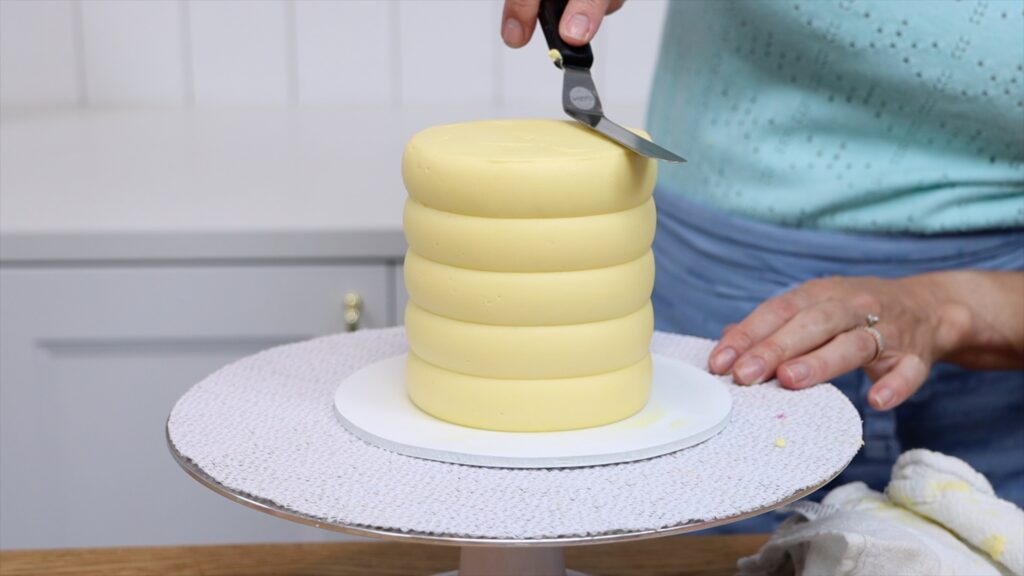
Scrape again until the texture is imprinted and the textured frosting is smooth. The final result is gorgeous and really doesn't need any decorations other than this textured patterned frosting.
I hope you've seen some ideas you'd like to try. Join me on my online cake school for more cake decorating techniques and designs!
You can also watch a video of this tutorial on 7 Ways to Make Buttercream Patterns on Cake:
