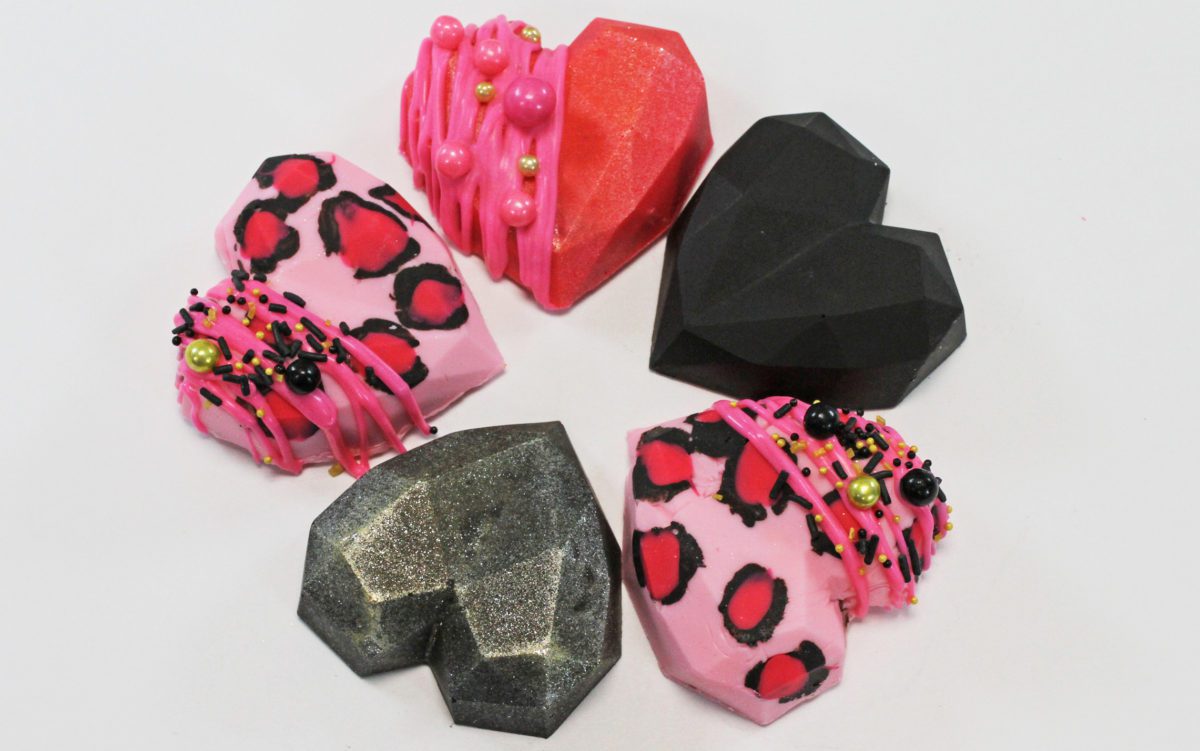
These geometric hearts are delicious gifts for Valentine’s Day, anniversaries, or just because! Although they look stunning and stylish, they’re surprisingly simple to make and there’s no limit to the ways to decorate them. If you prefer to watch a video of this tutorial, scroll to the bottom of the page.
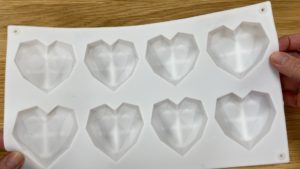
You’ll need a geometric heart mold, which you can buy on Amazon. I found it easier to work with the hearts individually so I ended up cutting the hearts out so they were separate.
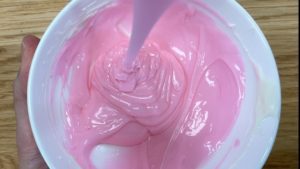
Melt chocolate (I’ll give you tips for doing that at the end of this video) and add oil based colors to tint the chocolate whatever colour you like. White chocolate can be tinted any colour and what’s great about oil based colours is that you can use a LOT of gel to make very bright colours without causing the chocolate to seize.
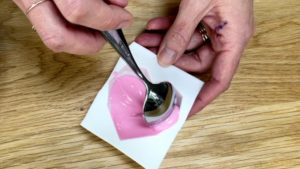
Then spoon the chocolate into a mold, using the back of the spoon to push it up the sides of the hearts to completely cover the shape of the mold. Pay attention to the top of the sides, resting your spoon there for a moment to let the chocolate build up, otherwise the chocolate will be very thin there.
You can get really creative with this part! Try brushing edible glitter into the mold before adding the chocolate to make the heart sparkle.
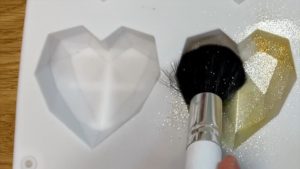
If you want to make brown or black chocolate I recommend using semisweet or dark chocolate and adding colour to that instead, since you’ll need to use a lot less colour when you start with a dark base that if you start with white.
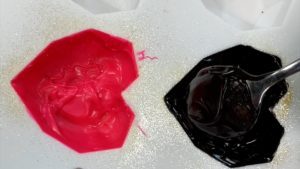
Another way to make these more decorative is to spoon in different colours of chocolate and then swirl them for a marbled effect. A paintbrush is useful for details like this since it’s so much smaller than a spoon.
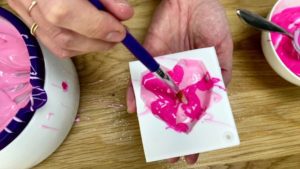
My favourite way to decorate these is with leopard print spots. To do this, paint spots onto the mold using a paintbrush and let those set either at room temperature for about 30 minutes or in the fridge for about 5 minutes.
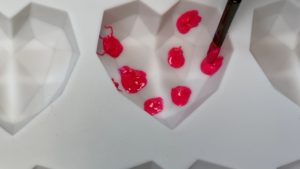
Then use a darker colour to paint two lines around the spots, not completely outlining the spots. I’m using semisweet chocolate tinted with black gel for these.
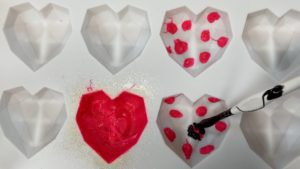
Let this chocolate set and then fill the molds with your third colour of chocolate, typically the lightest colour. If you’re using a light coloured chocolate it’s a good idea to let this layer of chocolate set and then add another layer around the sides to make it a bit thicker so you don’t see the filling through the chocolate.
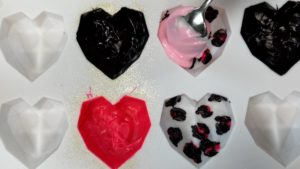
However you choose to decorate your hearts, after you’ve coated the mold the chocolate needs to set, which takes about 15 minutes in the fridge. Now it’s time to fill them in! This edible cookie dough is my favourite filling for these geometric hearts (and anything, really!).
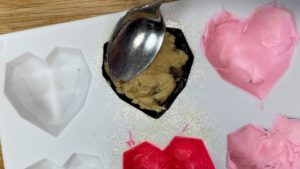
Cake pop mixture works well too and it’s very quick and easy to make: just crumble up some cake scraps like the domes you’ve trimmed to level cake layers and then add a little bit of frosting. I’m using my Perfect Chocolate Cake and my 4 Minute Buttercream. Add the frosting to the cake crumbs a small spoonful at a time because you need enough so that the cake crumbs come together but not so much that all you can taste is the frosting and not the cake!
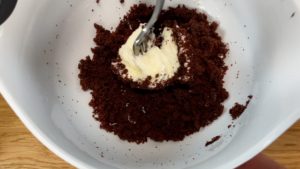
Push the filling firmly into the molds because if it’s not packed tightly, the chocolate backing we’re going to add next will seep down through any air pockets in the filling. Leave about 1/4 of an inch of space above the filling so that there’s room for that next layer of chocolate.
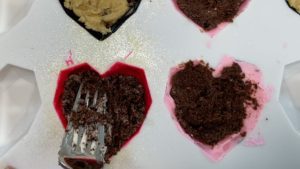
If you have time, put these back in the fridge so that the filling firms up and then you won’t get crumbs in the chocolate you’re about to spread on. Melt some more chocolate, spoon it over the hearts and spread it to cover the hearts. Use an offset spatula or the flat edge of a knife to wipe any excess chocolate off the mold.
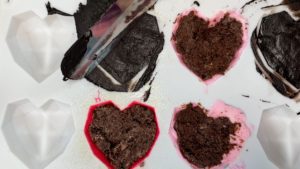
If you leave any chocolate around the top of the mold you’ll have uneven pieces of chocolate sticking out from the edges of your heart, which you’ll see in a moment. Put these back in the fridge for 15 minutes to set and then push the hearts out of the mold.
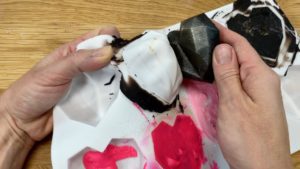
Hold the mold with both hands and pull from opposite sides to loosen the chocolate from the sides of the mold. Then push with your fingers from underneath to pop the chocolates up. For dark or semisweet chocolate it’s a good idea to wear gloves so that you don’t leave fingerprints on the geometric hearts when you touch them.
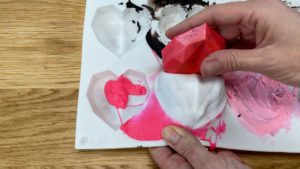
Black chocolate makes these angular geometric hearts look very dramatic and using edible glitter on the mold first gives it some sparkle to make them really glitzy. If you want to add more glitter after removing the chocolates from the mold you can brush on some more now.
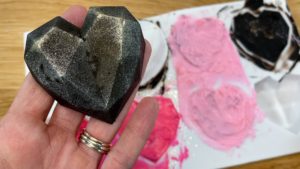
I LOVE how the leopard print looks! If you don’t scrape off the excess chocolate around the mold you’ll see it now and you can snap it off to tidy it up.
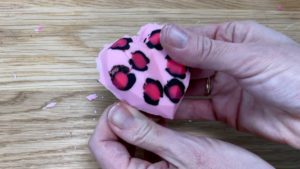
For a finishing touch, spoon some melted chocolate into a ziplock bag and cut a tiny bit off one corner. Squeeze the chocolate out through it as you wiggle your wrist back and forth to drizzle the chocolate over a section of a heart.
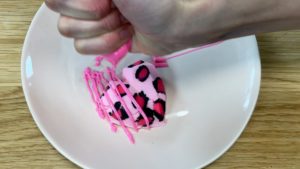
The chocolate drizzle adds detail and also to covers up any imperfections like air pockets or dents or areas where you can see the filling through the chocolate. You can press sprinkles onto this chocolate drizzle while it’s still melted and sticky.

The more you cut off the corner of your ziplock bag, the thicker the chocolate drizzle. If you cut off a tiny amount and squeeze with a lot of pressure you’ll create wavy lines which look really pretty.
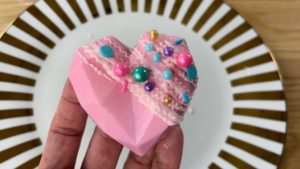
If you’re going to give these away as presents you should definitely make an extra one for yourself to try – the crunch of the chocolate is really satisfying and chocolate pairs really well with edible cookie dough or the cake and frosting mixture!
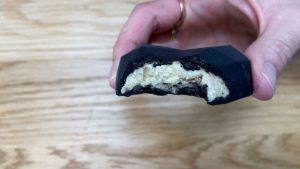
Now for a few more tips I wanted to share – first, if you melt your chocolate in the microwave you should use 80% power and melt it for 30 seconds at a time to prevent the chocolate from overheating and seizing, and to make your hearts shiny. Overheated chocolate will be dull and might have patchy stains on it where the chocolate got too hot.
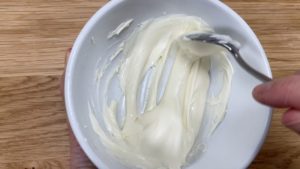
I used one of these candy melting pots for one batch of my geometric hearts and it worked really well – it melts the chocolate without burning it and there’s a setting to keep it warm so it doesn’t set while you’re still busy decorating.
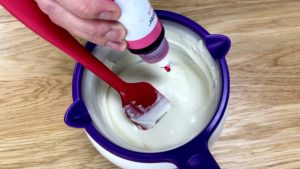
If you’re not sure how much chocolate to melt, fill your molds with chocolate chips or chopped up chocolate and that will be how much you need because it will melt down to be much less than this, which leaves room for the filling.
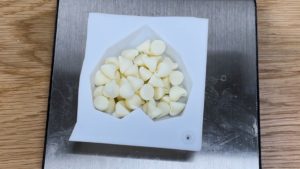
This is a great project to do if you only have short amounts of free time (for example, while your baby naps!) because you can do it in stages – you don’t need a large chunk of time to complete the process from start to finish in one go.

I hope you make these and enjoy them or surprise someone else with them! Please tag @britishgirlbakes in your photos on instagram so I can see how you decorate yours!

Here’s the video version of this tutorial:

These are so beautiful! What kind of chocolate did you use?
Thank you! I used Ghirardelli white chocolate chips for the pink hearts, tinted with oil based pink, and semi-sweet chocolate chips tinted with oil based black gel for the black hearts.
Are you using real chocolate or candy melts?
I used white chocolate chips for the pink hearts and semi-sweet chocolate chips for the black hearts but you could use Candy Melts if you wanted to 🙂
Can you use baking chocolate rather than drops?
Absolutely!
Such fun ideas!