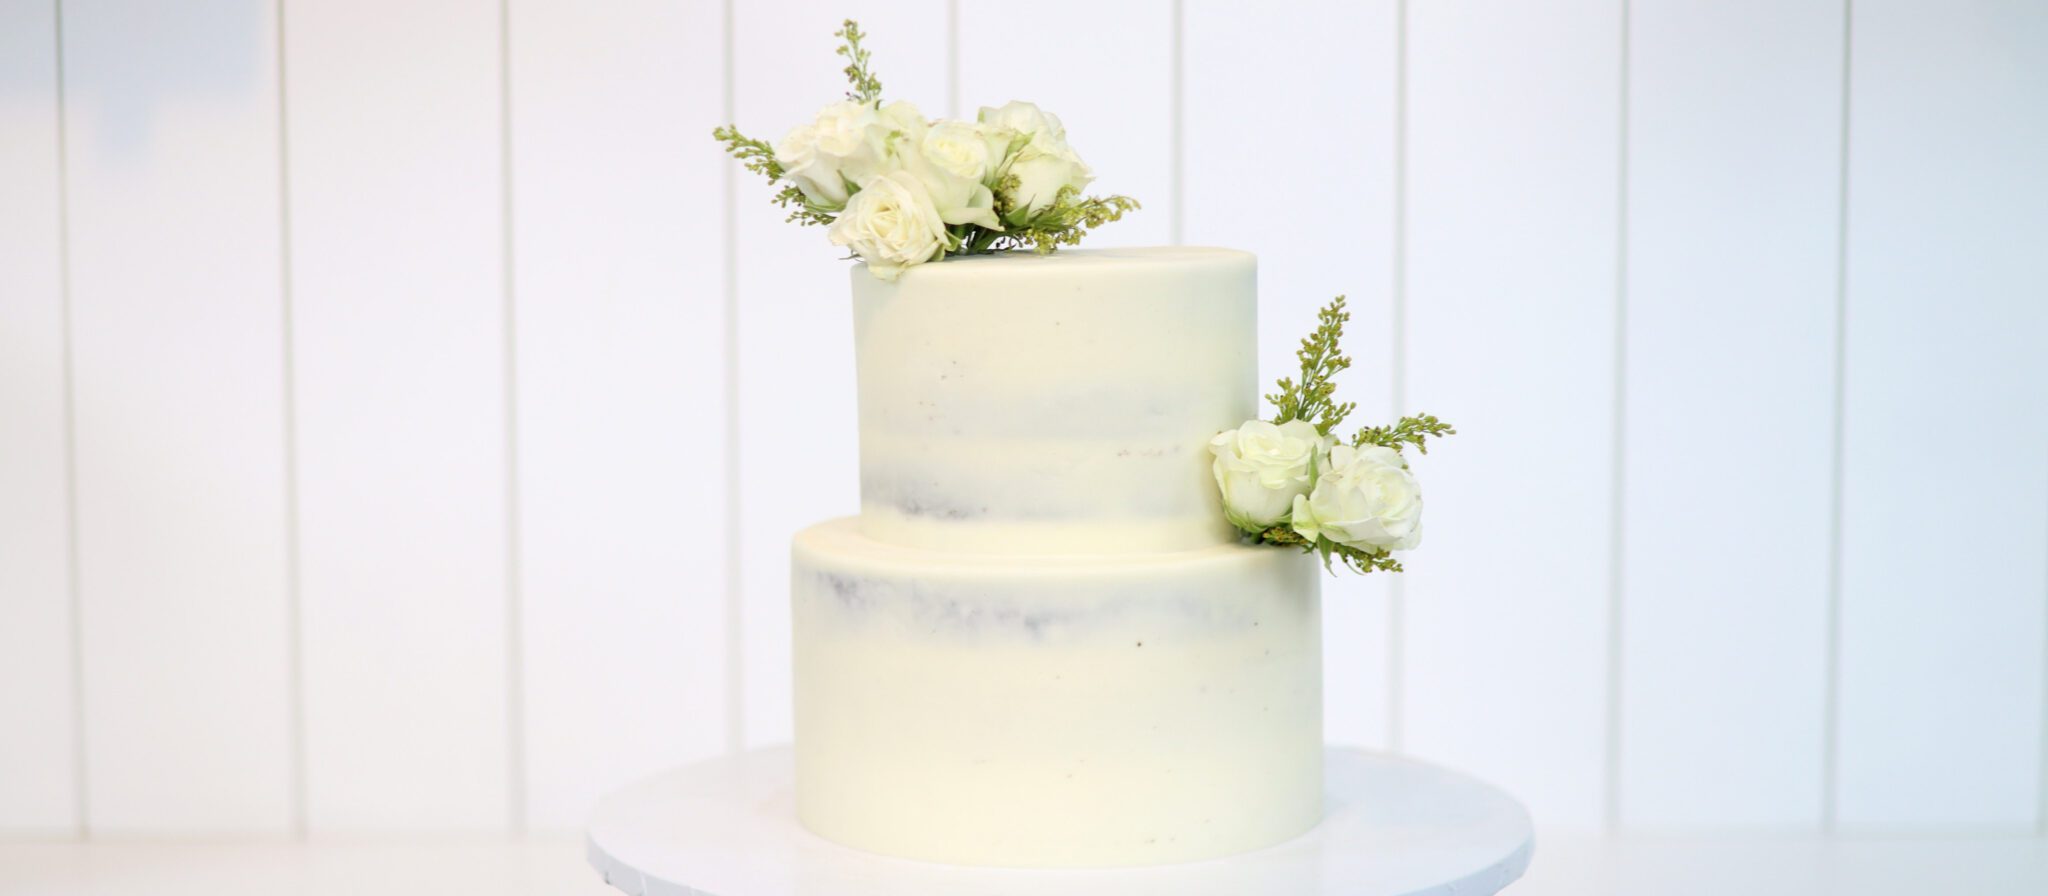
Make a gorgeous semi-naked wedding cake or baby shower cake by following this step by step tutorial. Semi-naked cakes are a popular choice and with a few tips they’re easy to make. I hope this tutorial gives you the confidence to make a semi-naked cake for your celebration or for someone else’s!
You can follow these steps for a tier cake or just a single standalone semi-naked cake. I’m going to make a two tier cake. If you’re making a tier cake I recommend at least a two inch difference between each tier. I’m using 6” and 8” pans and I’m baking 3 layers of cake for each tier. You can use any flavour but keep in mind that you'll see the colour of the cake through the semi-naked frosting. I'm using my Perfect Chocolate Cake recipe.
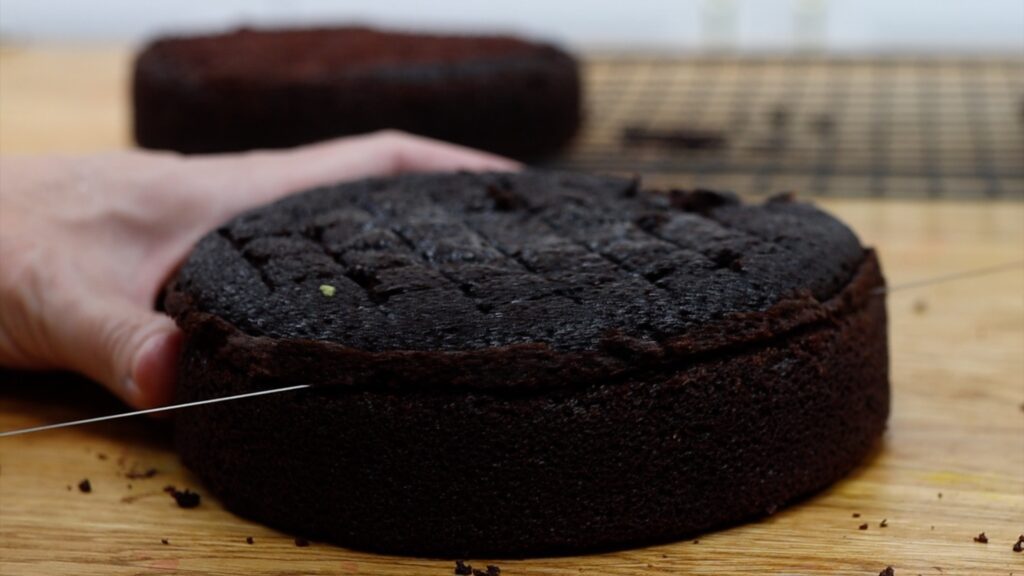
After baking and cooling, it’s important to level cake layers for semi-naked cakes. This makes the cake straight and gives it a neat outline. You can use a serrated knife like a bread knife for this, or a wire leveller. I tested this one for a tutorial on Amazon cake tools.
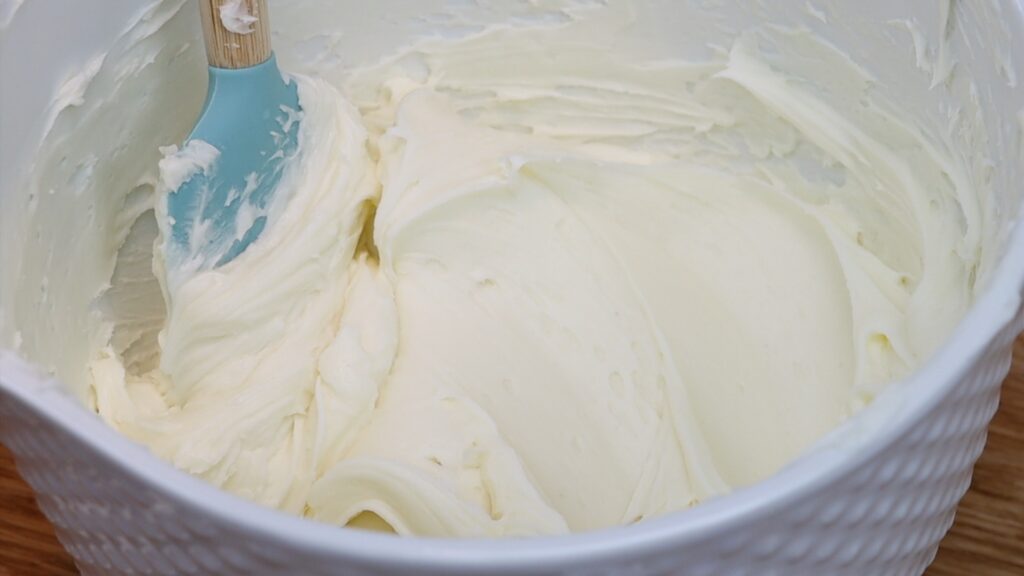
Before you start making the cake, there are two things to check to set yourself up for success. First, the consistency of your buttercream. This may be less stiff than you'd normally use! Using very soft buttercream minimizes crumbs pulling off the cake.
The second thing, which is really important, is that the cake layers are chilled. Cold cake layers are easier to work with because they’re less crumby than room temperature cake layers. This will make the cake easier to assemble and frost neatly.
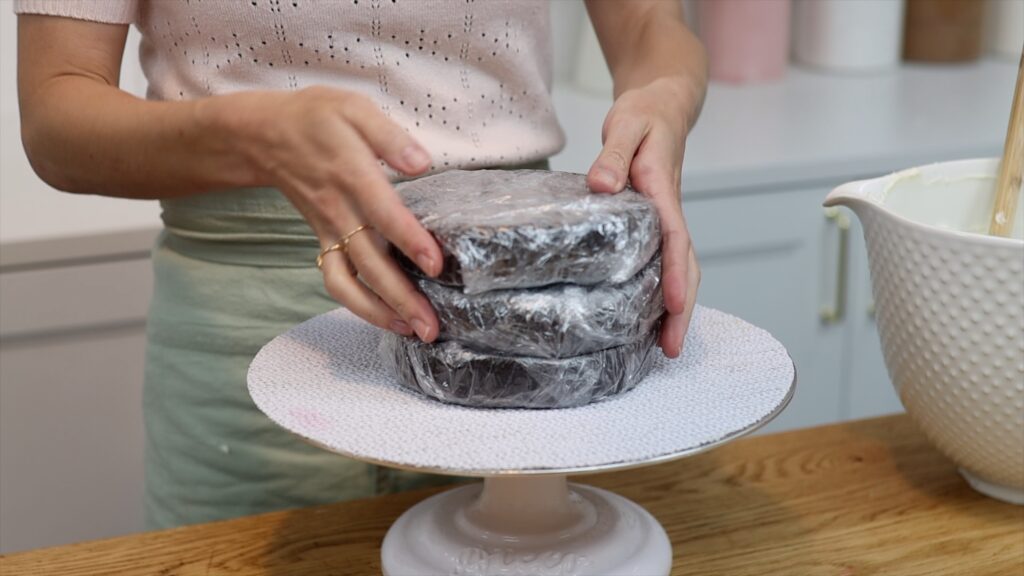
I wrapped these layers in plastic wrap and left them in the freezer overnight, which I find is ideal for semi-naked cakes. If you don't have that much time, even thirty minutes is long enough to make a difference.
When you have your buttercream and cake layers ready, assemble your second tier. If you're making a two tier cake, this is the top tier. The reason for doing the second tier first is that you’re going to touch the frosting when you stack the tier cake so you want to give it the most time possible to set and harden in the fridge first.
I like to use a thin cardboard cake board with a greaseproof lining. A material you can cut easily is ideal. Start with a board the same width as your cake layers and spread a bit of buttercream onto the middle of the board. This acts as glue to attach your first cake layer.
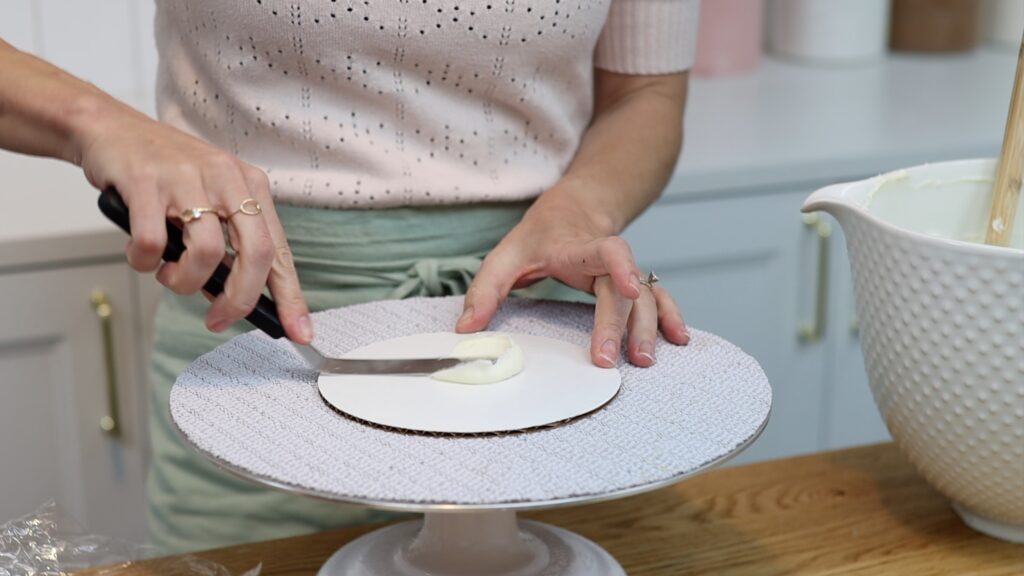
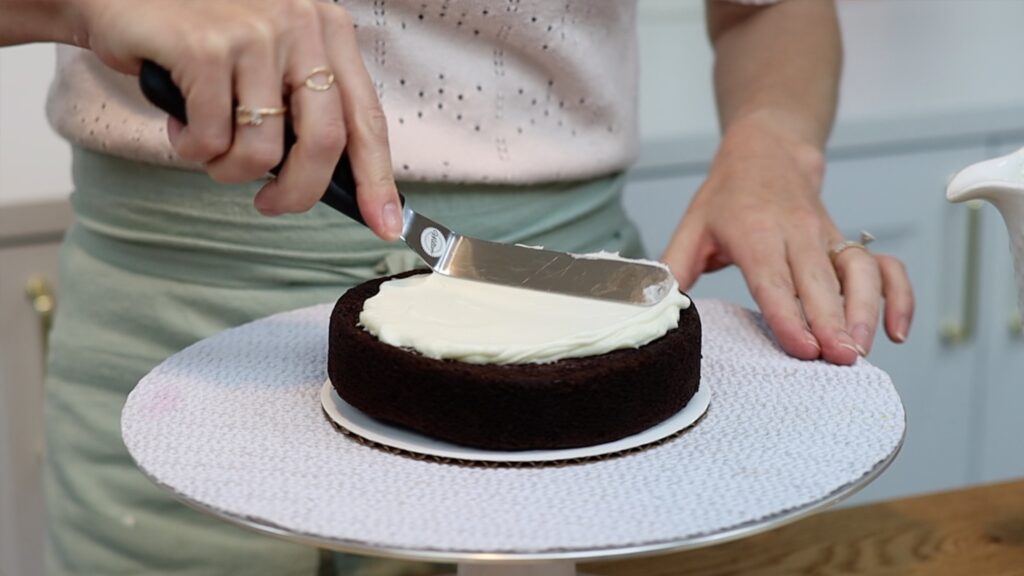
Now you can pipe or spread your filling. I’ll spread it for this tier and pipe it for the next to show you both options. Since the cake is cold, you won’t pull up lots of crumbs as you spread your filling. Also, the cold cake will chill and set the dot of buttercream down on the cake board and that will hold the cake securely in place. This way it won't slide around on the cake board as you spread the filling or the frosting later.
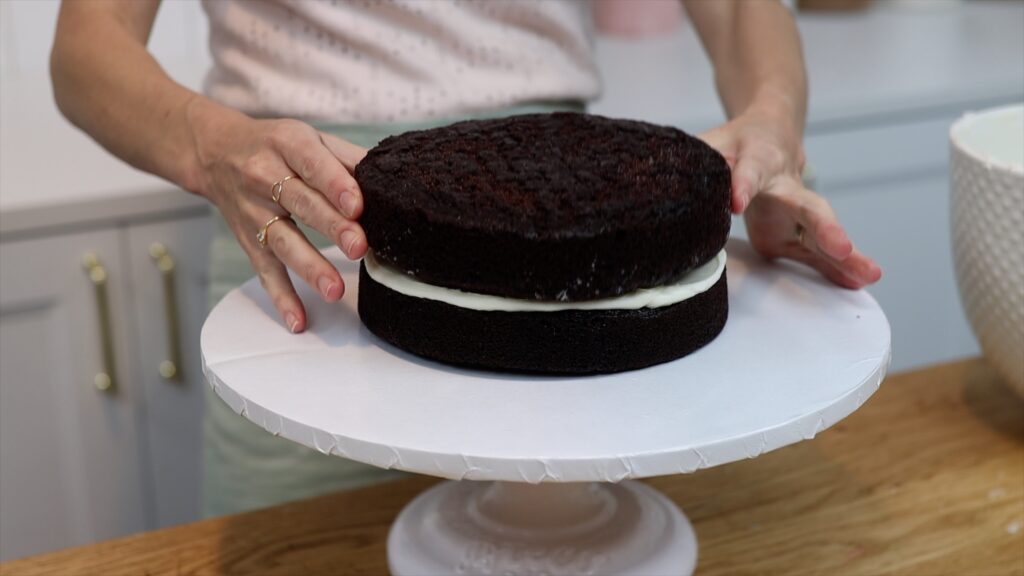
Line up the next cake layer so it’s directly above the first. Get down to eye level with the cake and spin the
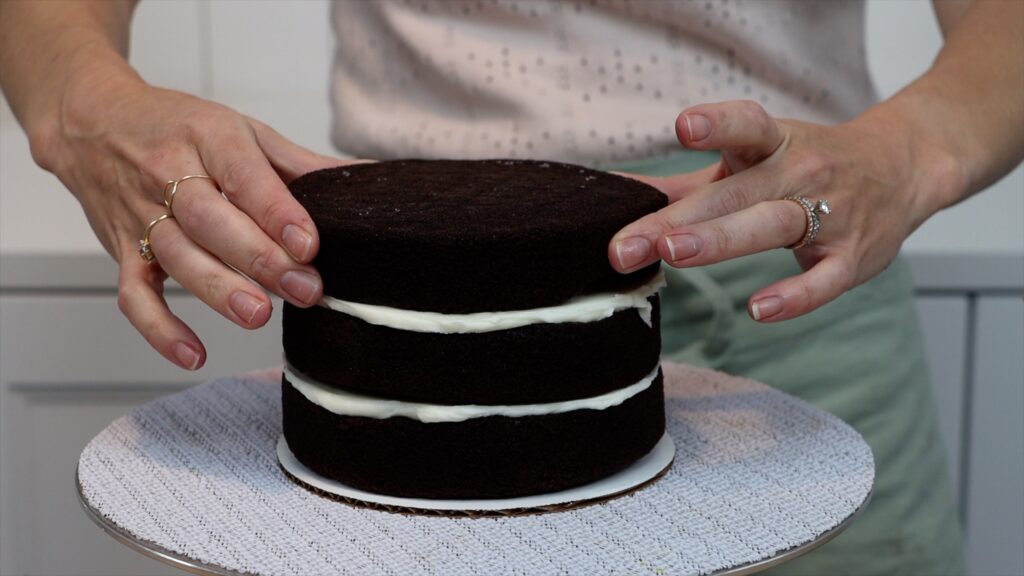
If the filling is sticking out from the side of the cake, spread that to flatten it. I’m using my 4 Minute Buttercream to fill and frost this semi-naked wedding cake but I teach all sorts of fillings and frostings in my Basics of Cake and Basics of Buttercream online courses.
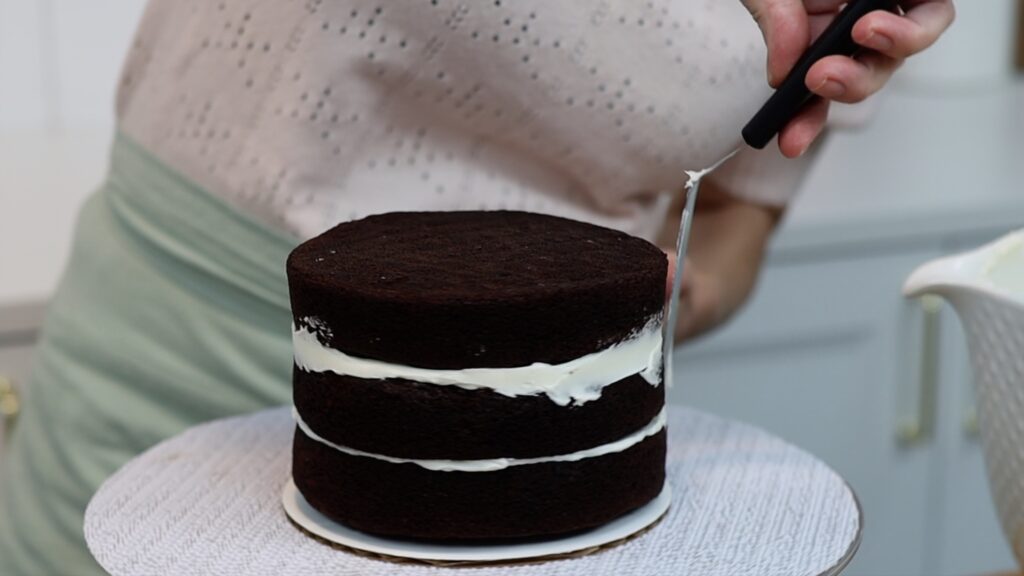
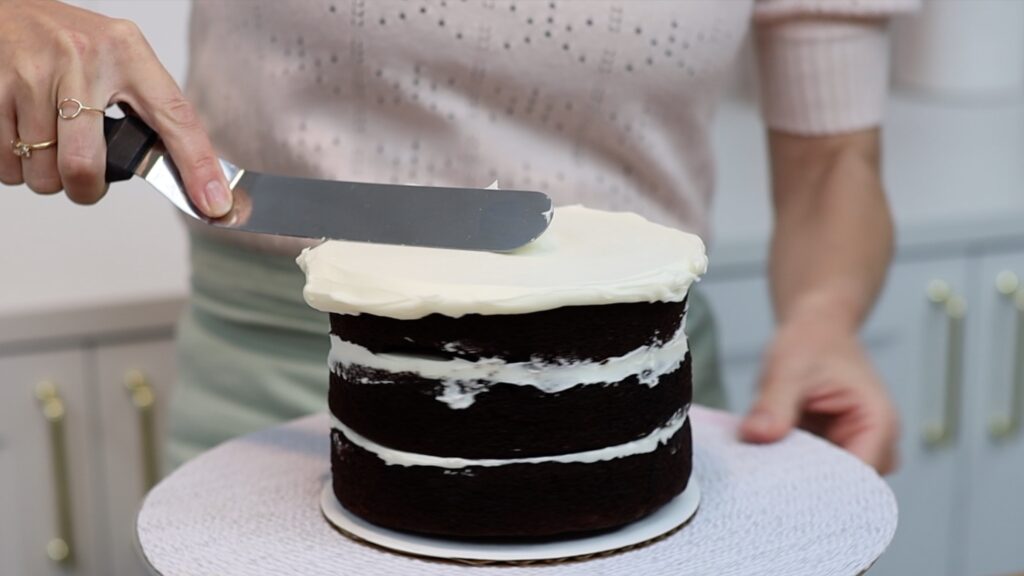
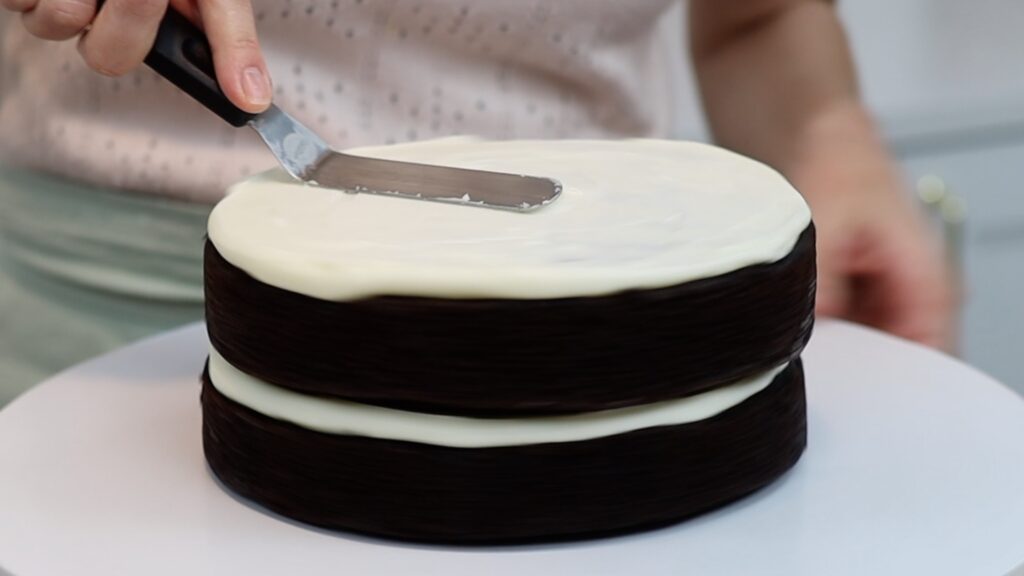
Once the cake is assembled, if the layers are still cold you can move straight on to frosting it. If not, put the cake in the freezer for 15 minutes or the fridge for an hour first. I like to start with the top of the cake. Spread the frosting all over and push it over the edges to make a neat, sharp angle around the top of the cake later. Smooth the frosting by spinning the cake on the
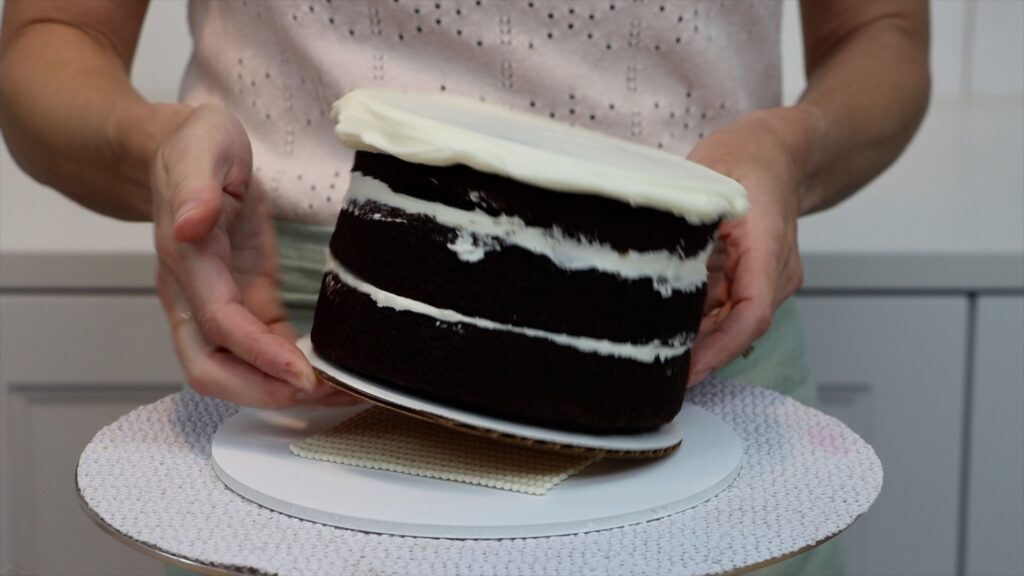
Since the cake is on a board the same size as the cake, frosting the sides will be tricky unless you put the cake on a bigger cake board, using a non-slip mat to hold it still.
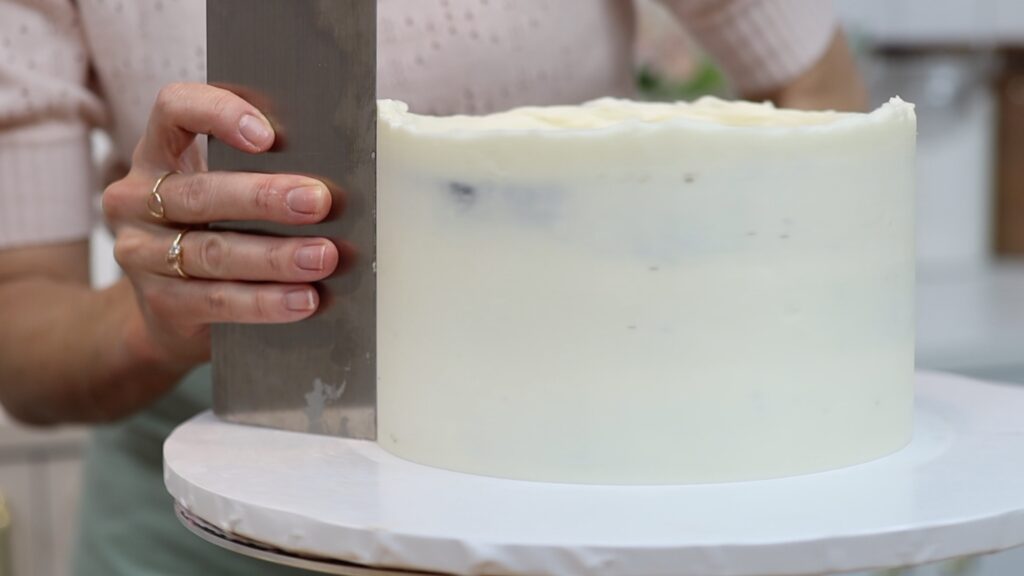
Spread the frosting from side to side around the cake, which is quickest and will pull the fewest crumbs off the cake. Push the frosting up above the top of the cake so that you can make that sharp angle later. Since the buttercream is softer than you might normally use to frost a cake, this lip should sink down instead of standing up like this. Instead, because the cake is cold it chills the buttercream quite quickly, which makes it firm.
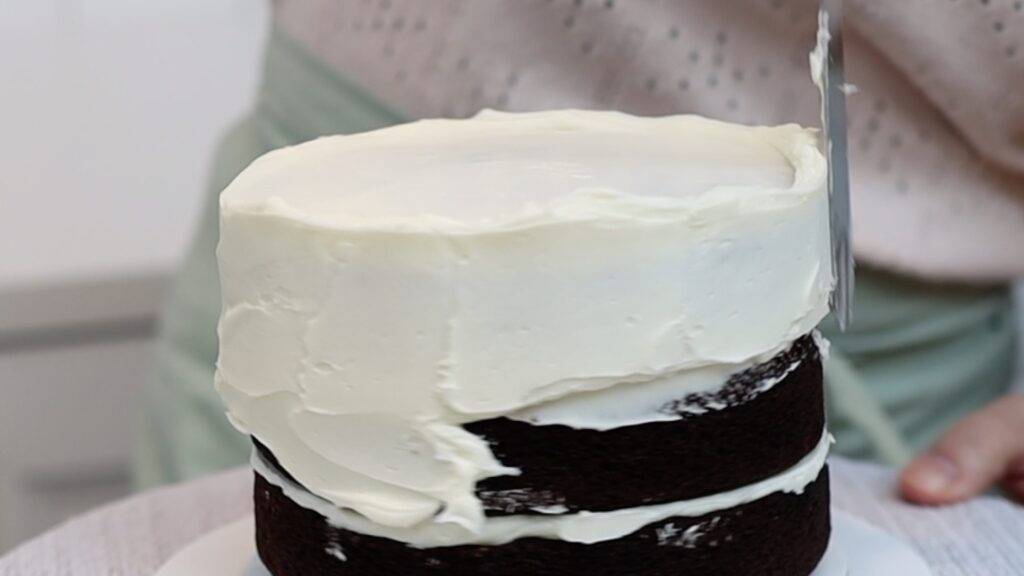
Cover the whole cake and for the neatest results, be generous with how much buttercream you spread on. Although this is going to be a semi-naked cake, by making a thick layer of frosting and then scraping off the excess you’ll minimizes crumbs in the frosting. Trying to spread the frosting very thinly will pull more crumbs off the cake.
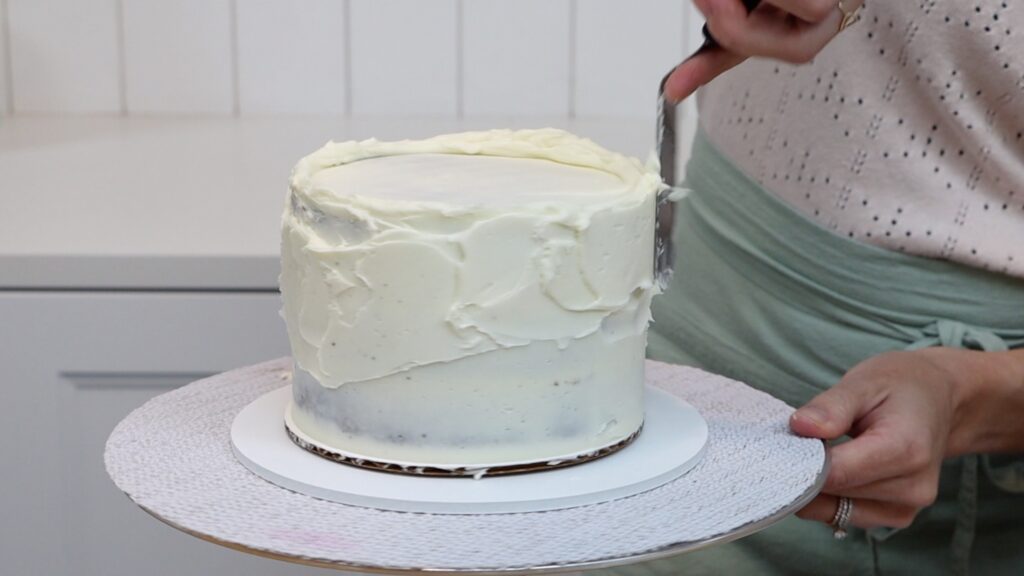
Scrape around the cake with a straight edged cake comb to smooth it. After every few scrapes around the cake, spread more frosting over any indents to fill them in. Then scrape again take off the excess frosting, leaving a thin, smooth layer behind.
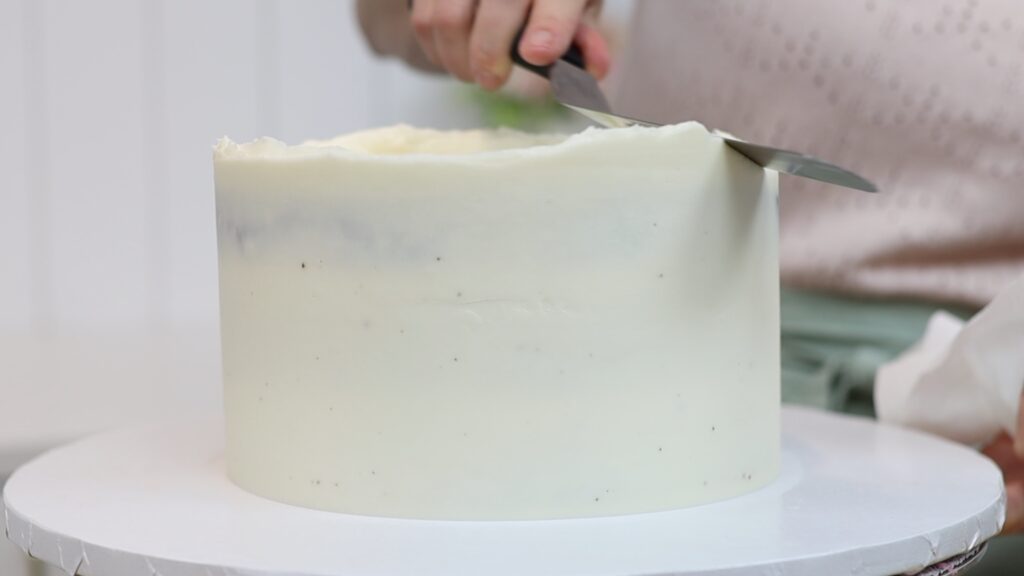
For the top edge, push sideways with your
Now put the whole cake in the fridge to set this frosting while you make the bottom tier.
For the bottom cake you’ll need a cake drum or another thick, sturdy material for the board since it needs to support the weight of the whole tier cake. For a semi-naked wedding cake you'll probably use a cake stand for display but you'll need a strong cake board for transportation. Assemble the bottom tier the same way, attaching the first layer of cake with a dot of buttercream and then alternating between fillings and cake layers.
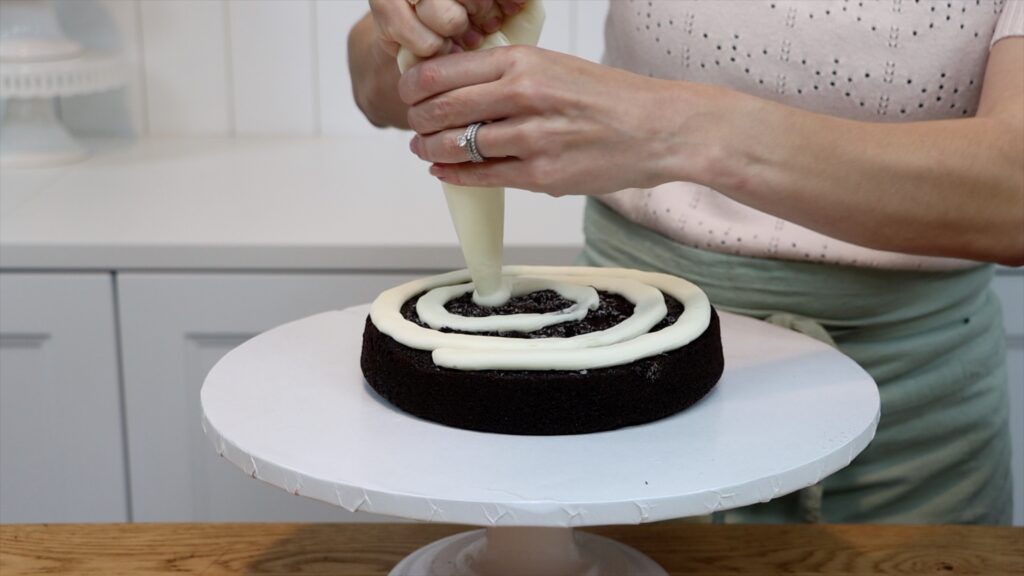
To pipe the filling onto the cake, spoon it into a piping bag with the end cut off. You can use a round piping tip if you like but this will work just as well without a tip. Pipe around the edge of the cake and then spiral inwards to the middle. You don't need to cover up the whole cake with your piping unless you want a thick layer of filling. Use an
If you chilled your cake layers before assembling the cake, it’s important to work quickly. The filling will set quite quickly as it chills and then it won’t be sticky. You want to place each cake layer before the filling below it sets so that the cake will attach to it.
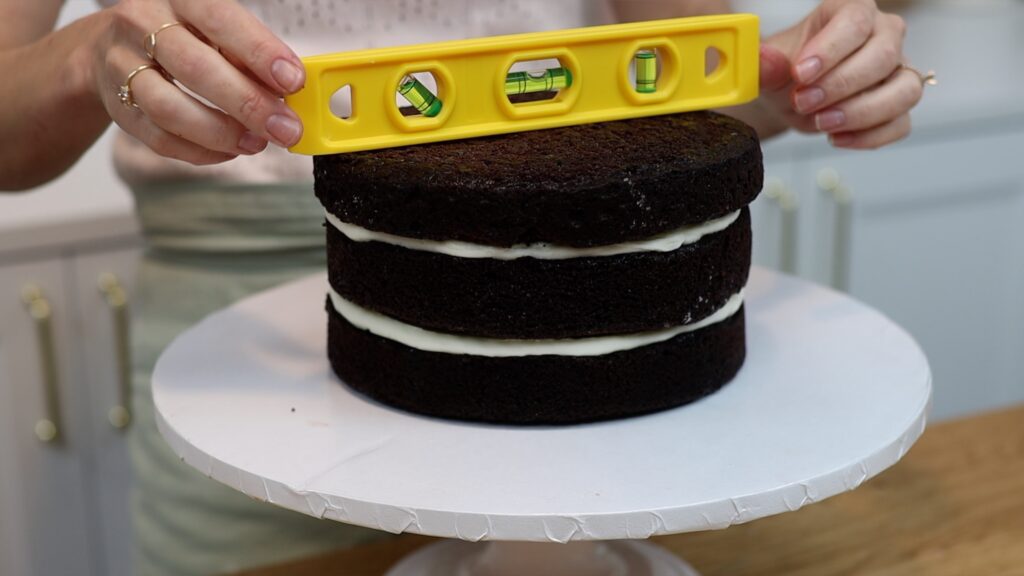
After placing the final layer, I like to use a spirit level to check that cake top is flat. This is especially important for the bottom tier because you want the next tier to sit level and straight on top of it. Push down on one side of the cake if it’s higher than the other and it will sink into the filling on that side to level the cake.
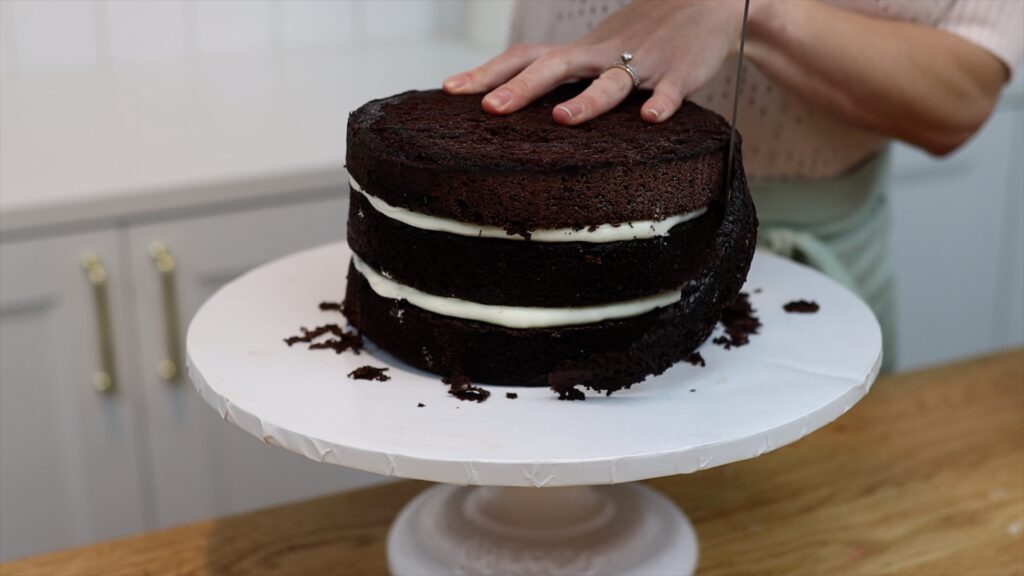
Check the cake from the sides to make sure it's straight. You can see that my top layer is wider than the other two. It was a test cake for some silicone baking pans, which are also in my tutorial on testing amazon cake tools. Since it’s wider than the other layers it’s important to trim it so that the sides of the cake are straight. You can do this with a serrated knife like a bread knife. If I didn’t trim this, I’d have to spread the frosting on very thickly over the bottom part of the cake to make it as wide as this. Then the cake wouldn’t be semi-naked at all!
Once the bottom tier is assembled, if the cake layers are already chilled you can frost it straight away.
I'll recap my tips for neat semi-naked frosting:
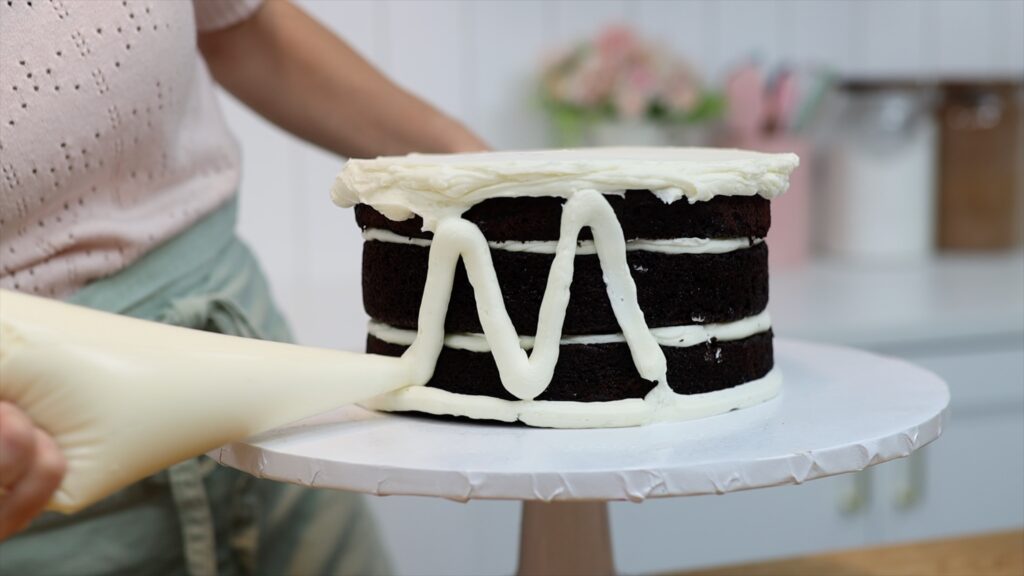
For this tier I’ll show you how to pipe the frosting onto the cake. I like to pipe around the bottom of the cake first, since that’s the trickiest part to get to with your
Now use your
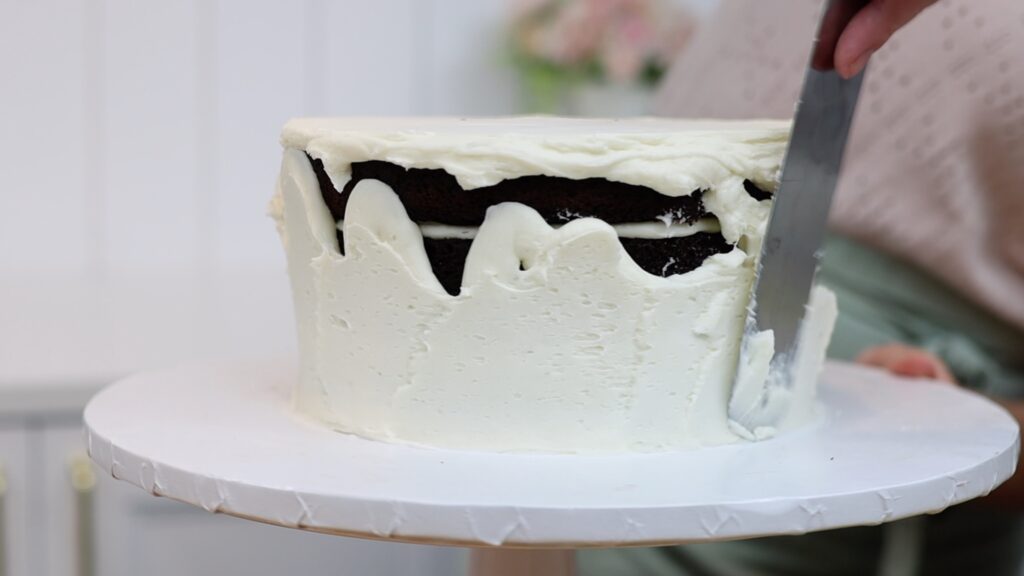
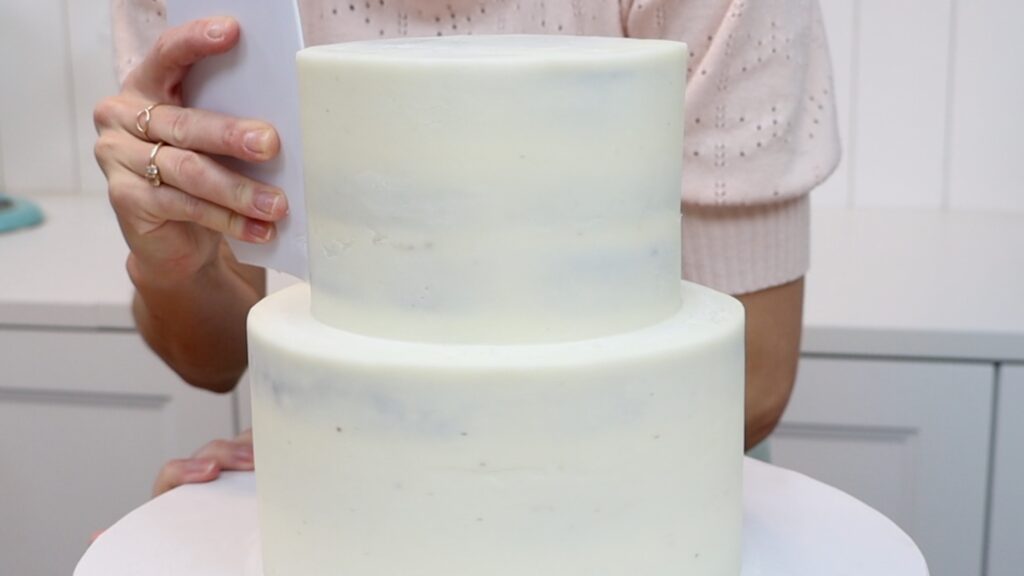
Scrape around the cake with a cake comb to smooth the frosting and spread more frosting over any indents to fill those in. Scrape around again and do more touch ups as you need them, until the frosting is smooth.
Tidy up the top edge and this bottom tier will be ready! But don’t rush ahead and place the second tier on top yet. Put this cake into the fridge for now.
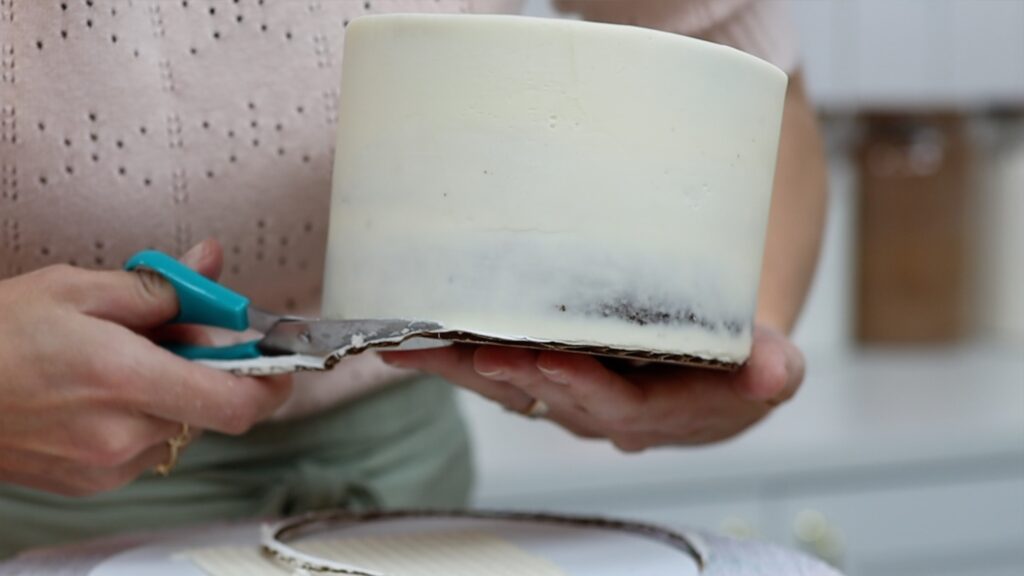
Semi-naked wedding cakes are usually tier cakes but like I mentioned before, you can skip the stacking step if you're making a standalone cake instead. For a semi-naked tier cake there are a few small steps to do in preparation for stacking the cake. Take the second tier out of the fridge once the frosting has set. It should be cold and firm so that you can touch it without damaging it. If the cake board is sticking out because it’s wider than the cake, trim the cake board now. Since the cake is cold you won’t smudge or indent the frosting as you do this. Angle your scissors to cut right up to the edge of the cake so the board is flush with the cake.
Now place this cake onto the bottom cake for just a moment. Center it and trace around the edge to mark where it’s going to be eventually. Then put the top tier back into the fridge.
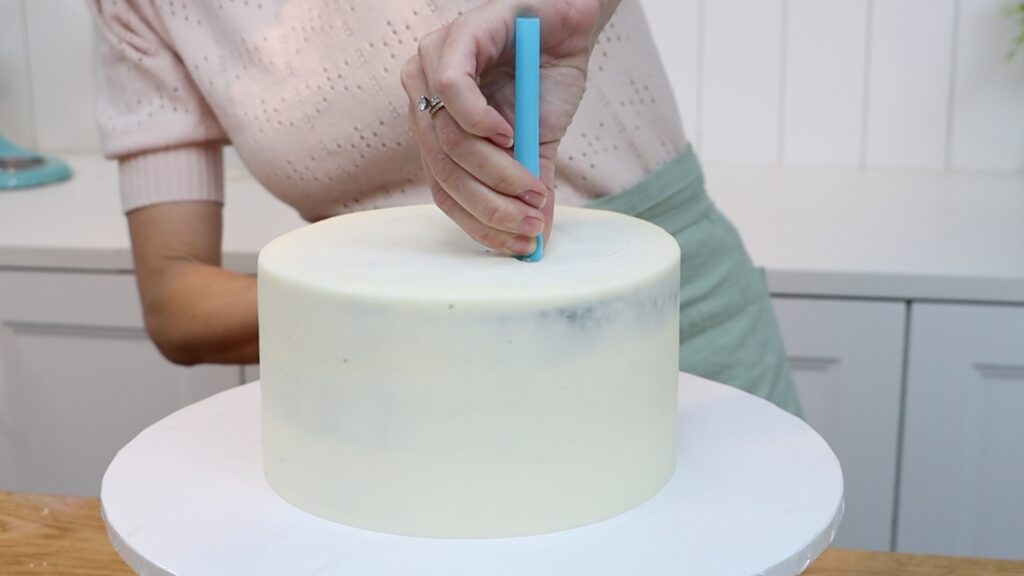
The bottom tier needs to hold up the cake above it so it needs some supports. I like to use boba straws because they’re wide, strong, and easy to cut to the right size.
Push one into the bottom cake, about an inch within the line you scored. After stacking the cake, the straw will be underneath the top tier, holding it up. Push the straw down until you feel it hit the cake board. Pinch the straw at the top of the cake, pull it up and cut at the point you pinched it. Now this straw is the same height as the cake.
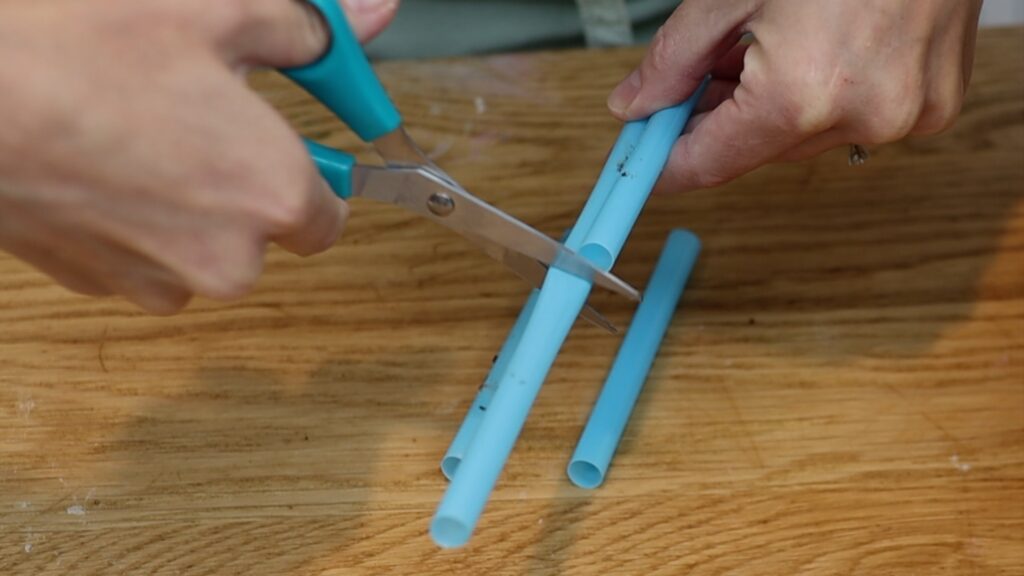
Hold this first straw against three more straws and trim them all to be the same length. You will now have four identical sized straws.
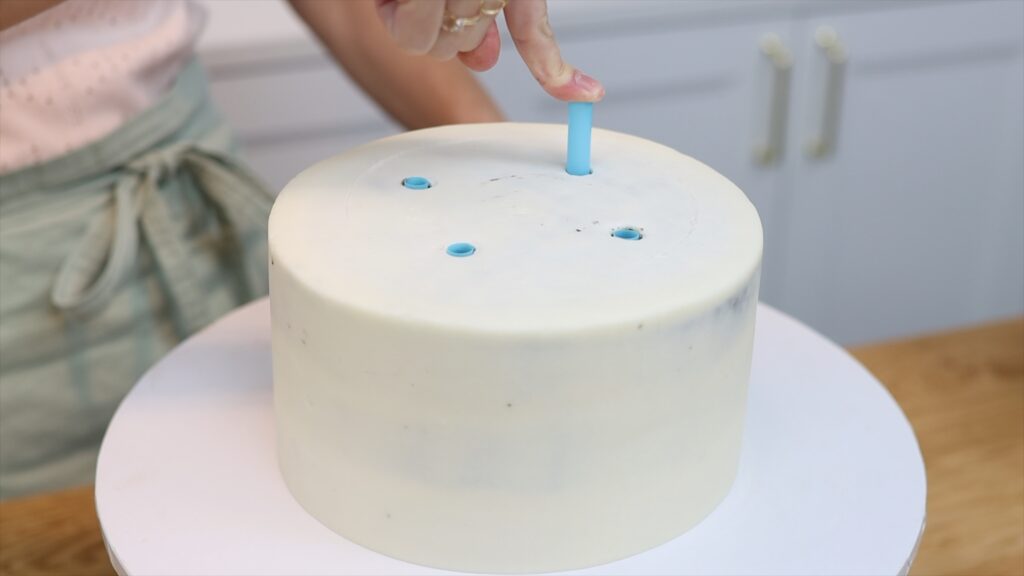
Push the first straw back into the first hole and push the other three straws in. Position one opposite the first straw and then the other two opposite each other too, to form a square formation.
Use the handle of your
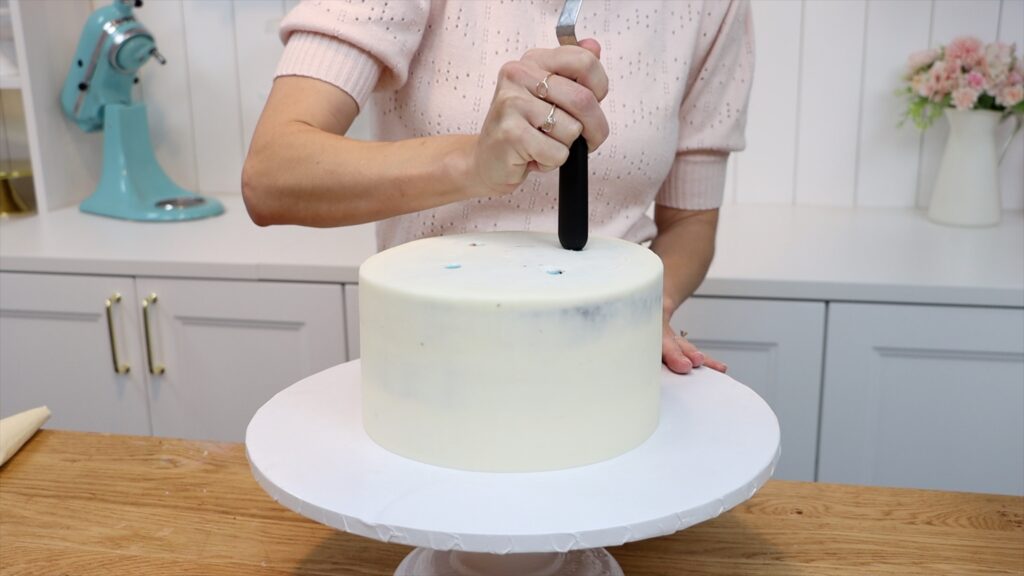
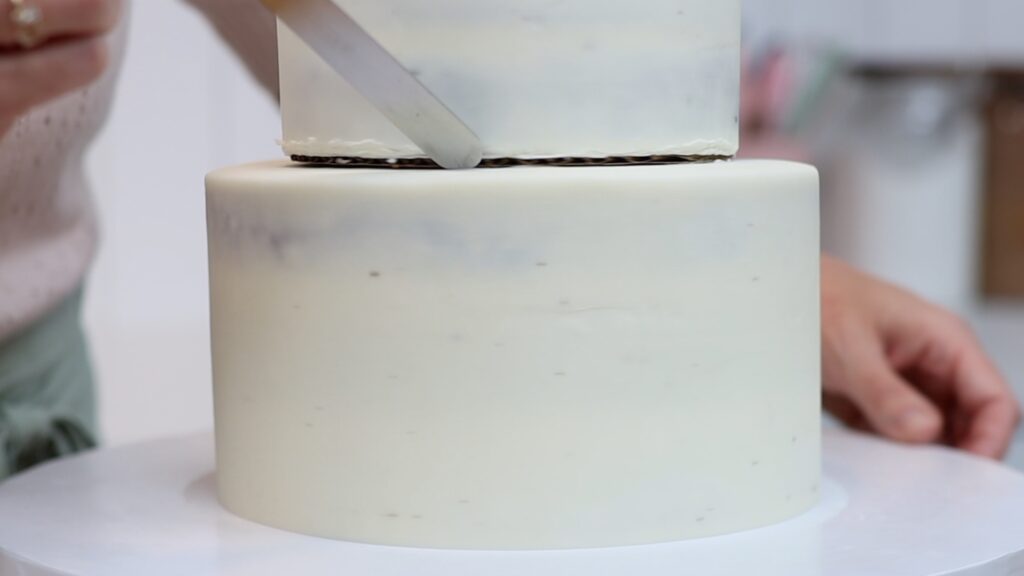
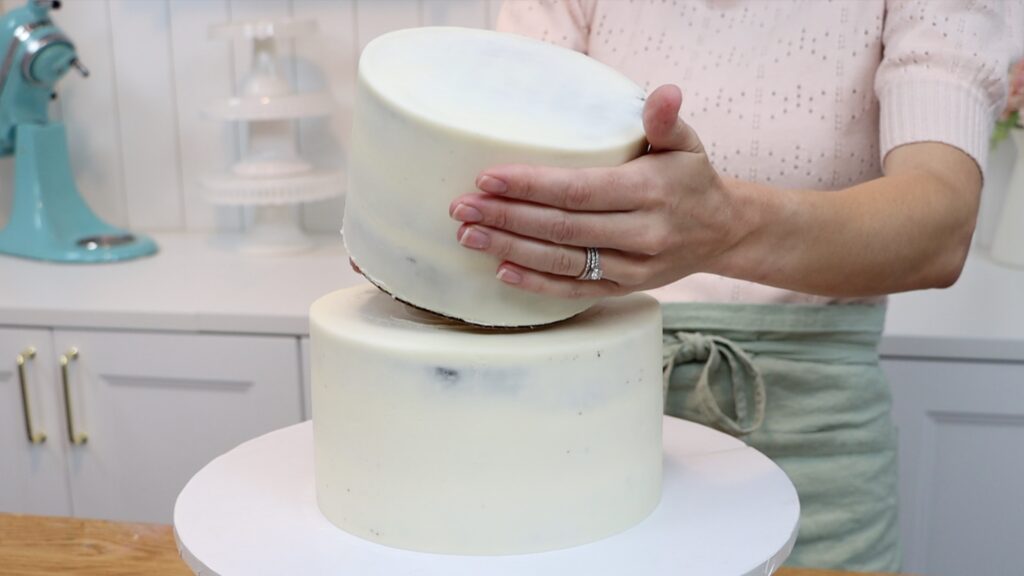
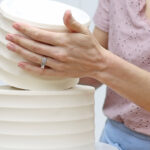
Take the second tier out of the fridge once the frosting has set. Lift the cake off the larger cake board, removing the non-slip mat, too. You can touch the sides of the cake to balance it because the frosting is cold and firm. Lower the cake onto the bottom tier, adjusting it so that it’s centered on the cake. It should be sitting on top of those four straws you inserted.
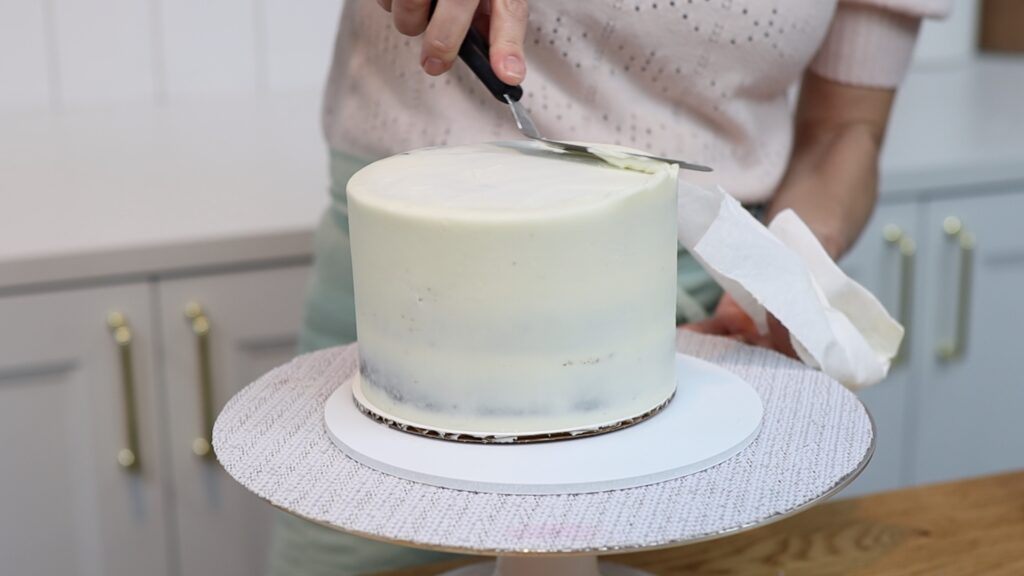
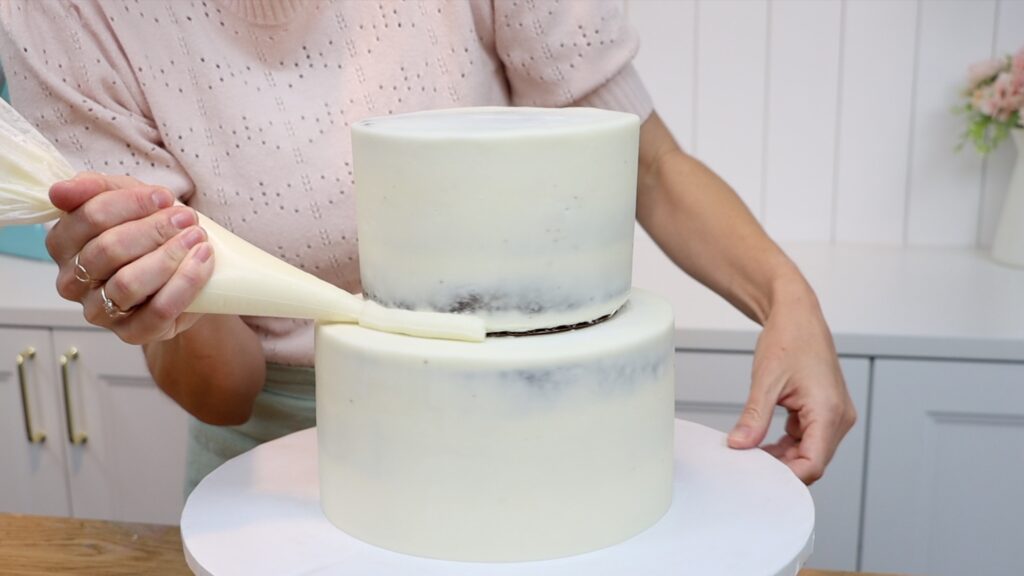
Now that your semi-naked wedding cake is assembled, there is some tidying up to do. There will be an obvious join between the two tiers where you can see the top tier's cake board. To cover that up, use a piping bag to pipe a ring of buttercream around the bottom of the top tier. You can use a piping bag with the end cut off or use a round piping tip. This will cover up the seam:
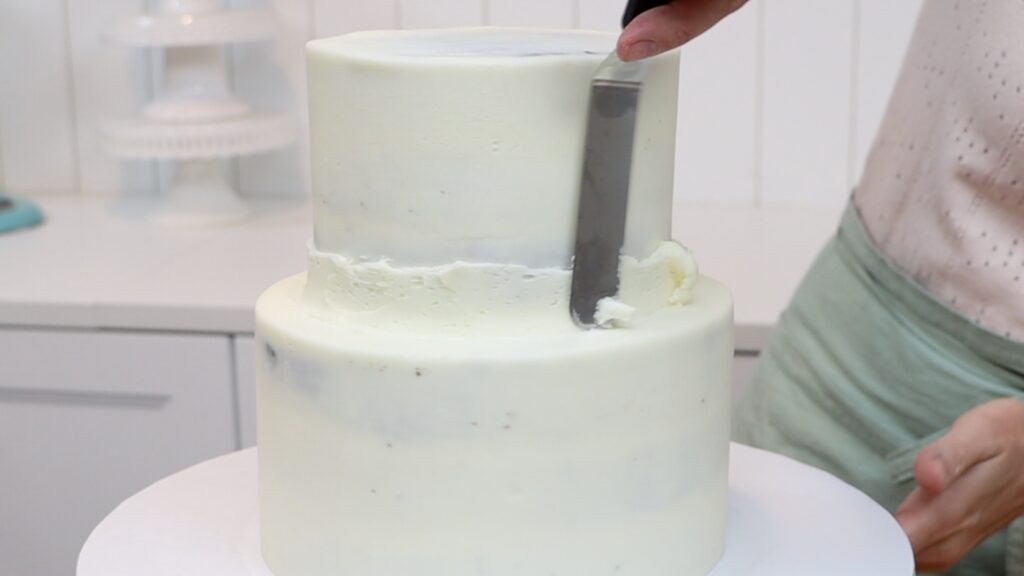
I like to spread it with an
Now you can decorate the cake however you like! By decorating a tier cake after stacking it, you won't damage the decorations while stacking it.
There are so many ways to decorate semi-naked cakes! I’m going to use fresh flowers for this one. I like to make little bouquets of flowers that I’ve already washed and let dry. Then wrap the steams in cling film or Saran Wrap to prevent any floral juices leaking out. Push each bunch into a boba straw and trim the straw so it’s just as long as the stems.
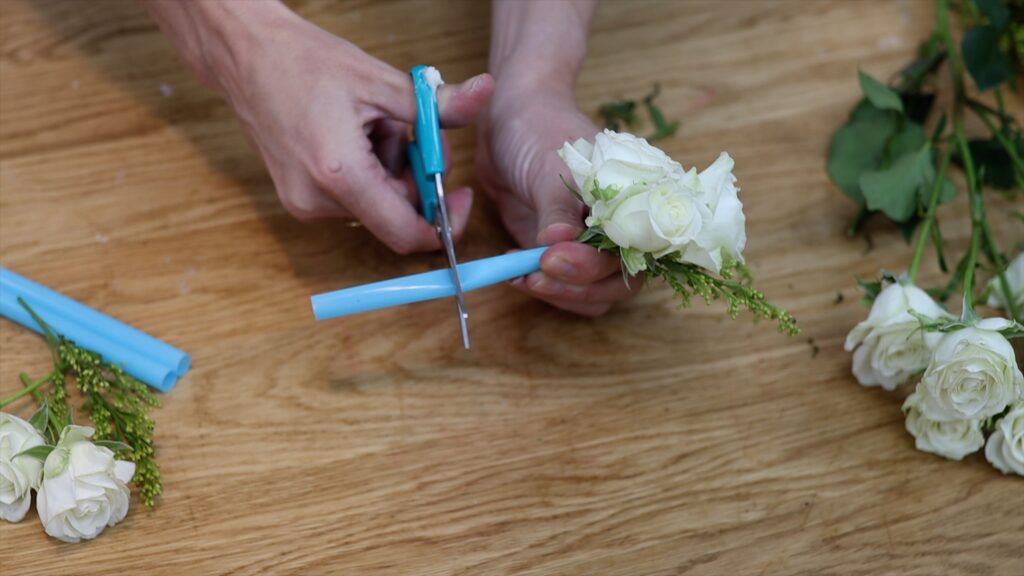
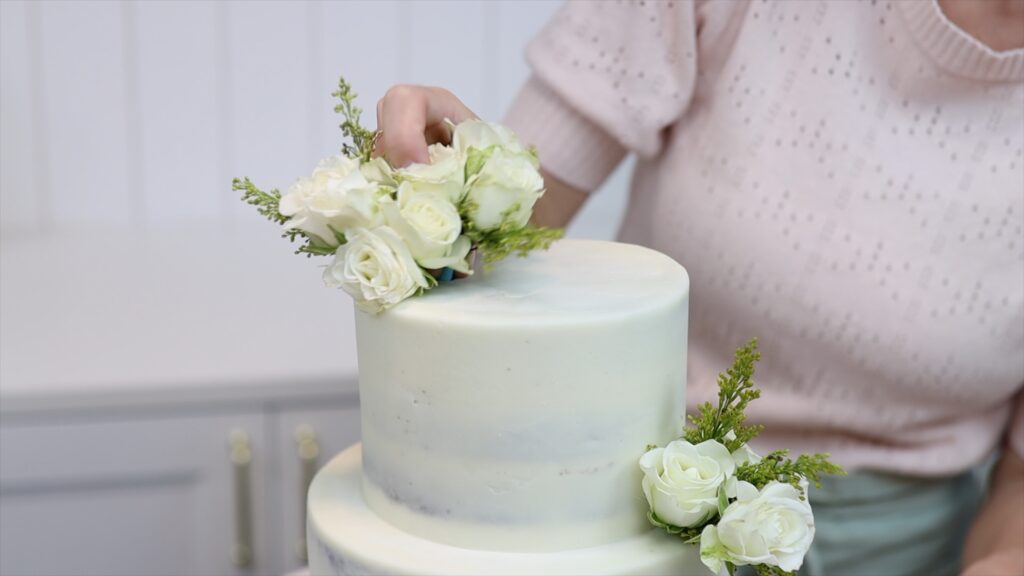
Then push the straw with the flowers inside into the cake. It’s easiest to use scissor blades to push the straws in that very last bit without accidentally poking your fingers into the frosting!
Store your semi-naked tier cake in the fridge until transporting it, or until 4 hours before serving it.
Ask me any questions you have about semi-naked cakes in the comments below!
You can also watch a video of this tutorial on how to make a semi-naked wedding cake:


I have to deliver a wedding cake like this on Friday night, I will be going back to decorate with fresh flowers on the Saturday. When would you buttercream the cake & place in the fridge. I was thinking Thursday evening? Would you say this was correct?
Hi! It depends how much time you have available on Friday. If you can bake, chill, and ice the cake on Friday it will be the freshest on Saturday compared to doing all of that on Thursday, but if you don’t have time to do it all on Friday then yes, you can do it on Thursday and the cake will be fine on Saturday. Good luck!
Have been tasked with making my daughter a semi naked wedding cake.
How long in advance can it be iced?
Any advice or help greatly received
Man thanks
For reading
Ideally, you would bake and ice it the day before but that's usually not realistic! I have a tutorial on freezing cakes in case you want to make it further in advance and freeze it (before or after icing it) and then just move it to the fridge 24 hours before serving to thaw and voila! https://www.britishgirlbakes.com/how-and-why-to-freeze-cakes
Hi. Is this a 8” and 10”?
Thanks!