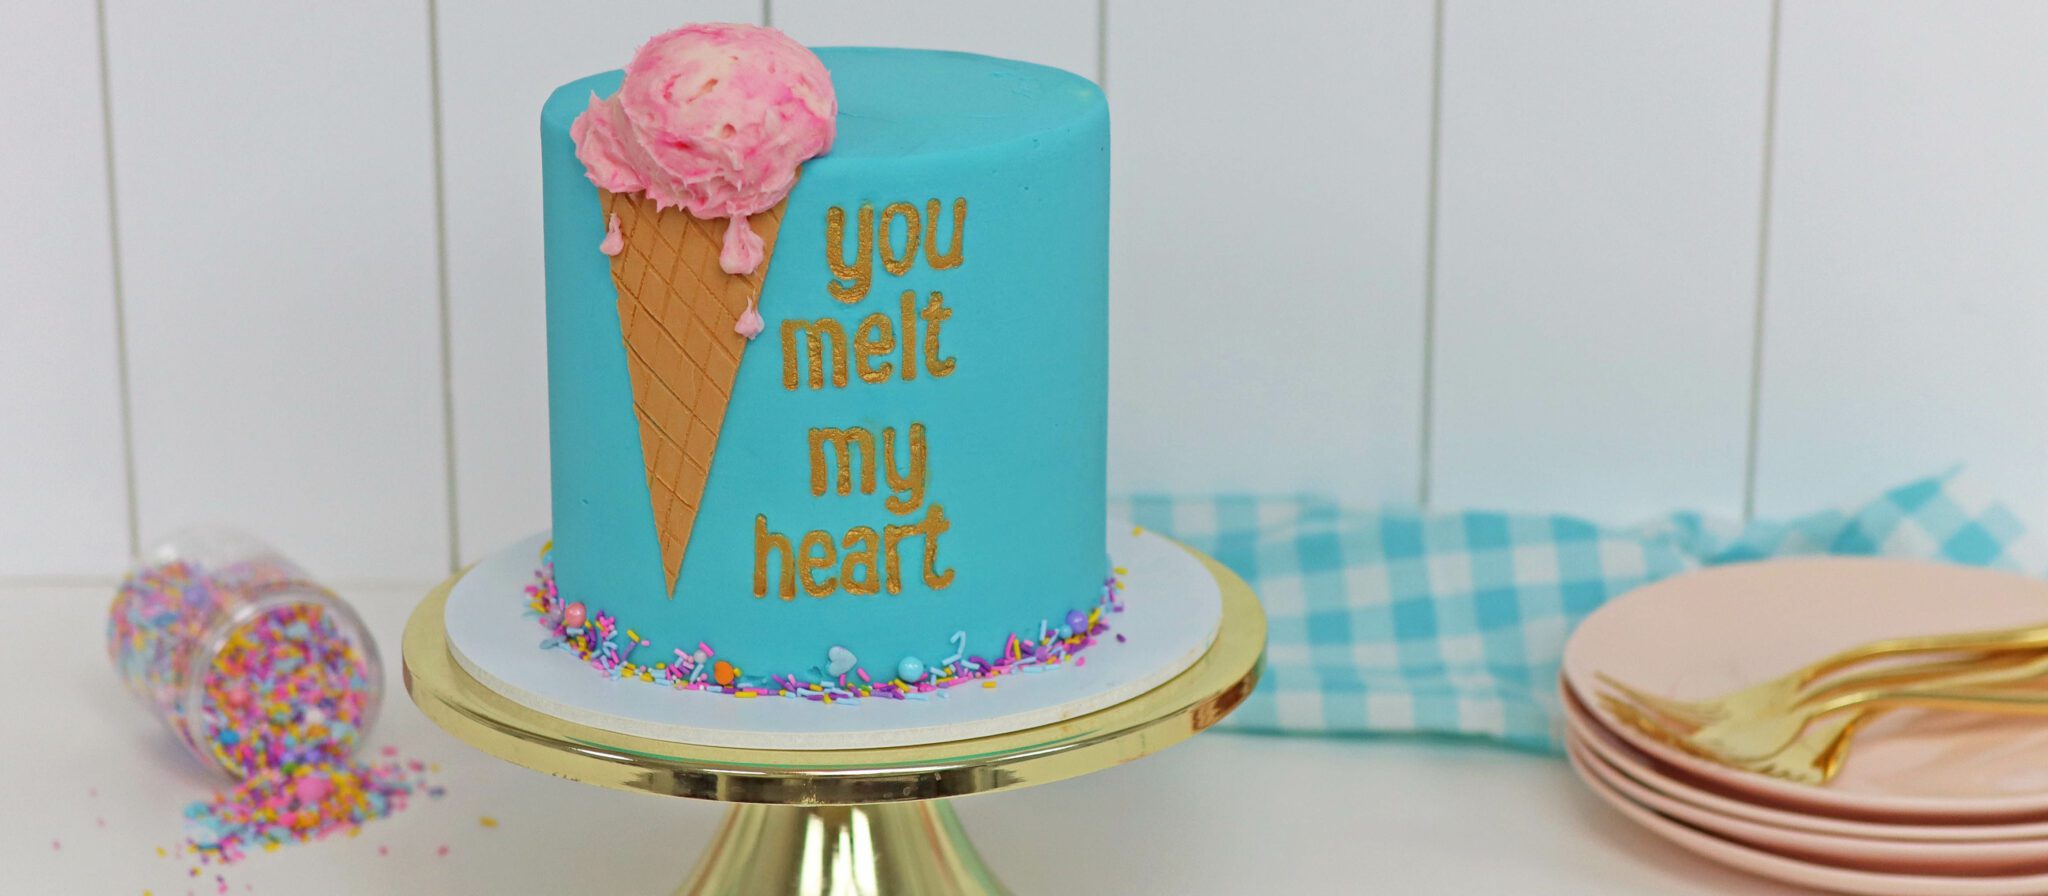
I’m going to show you step by step how to decorate this fun ice cream cake! It’s a much easier design than you might think and it gets a great reaction! To watch the video version of this tutorial, scroll to the bottom of the page.
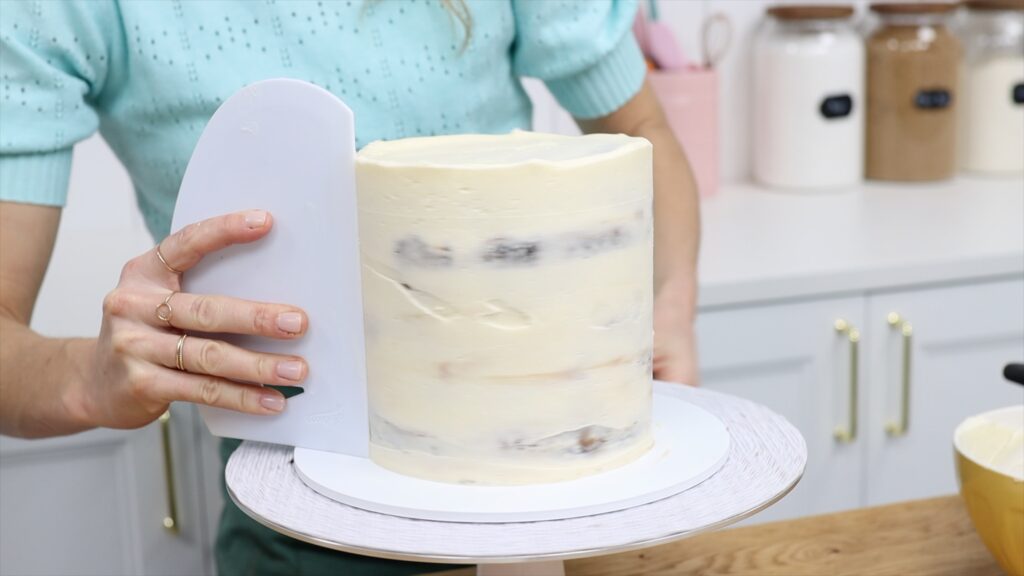
Start by assembling your cake by alternating cake and filling and then cover it with a crumb coat, which is a really thin layer of frosting that traps any crumbs that come off the cake so that they don’t get into the final layer of frosting. Let the crumb coat set by putting the cake in the fridge for about 30 minutes.
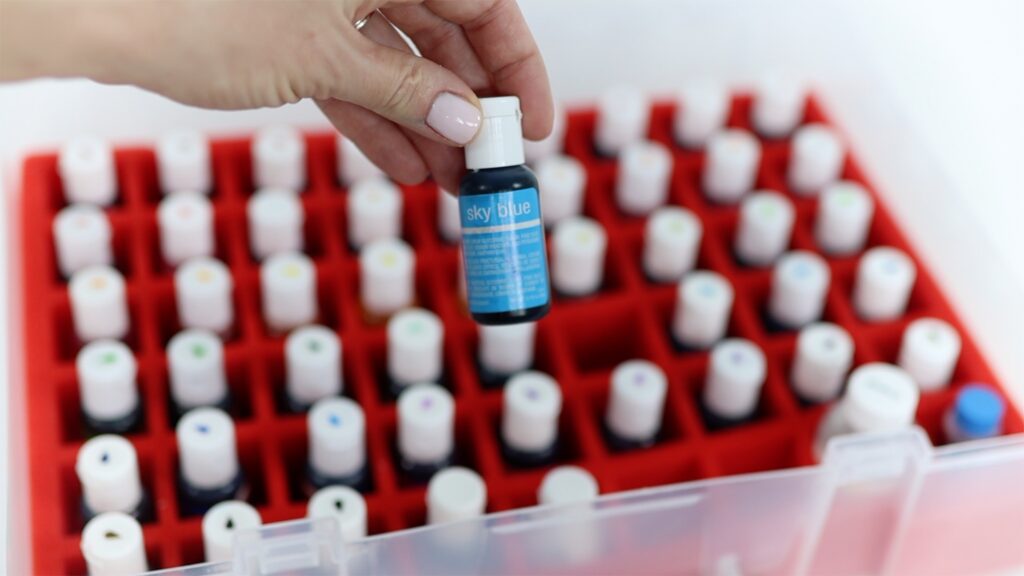
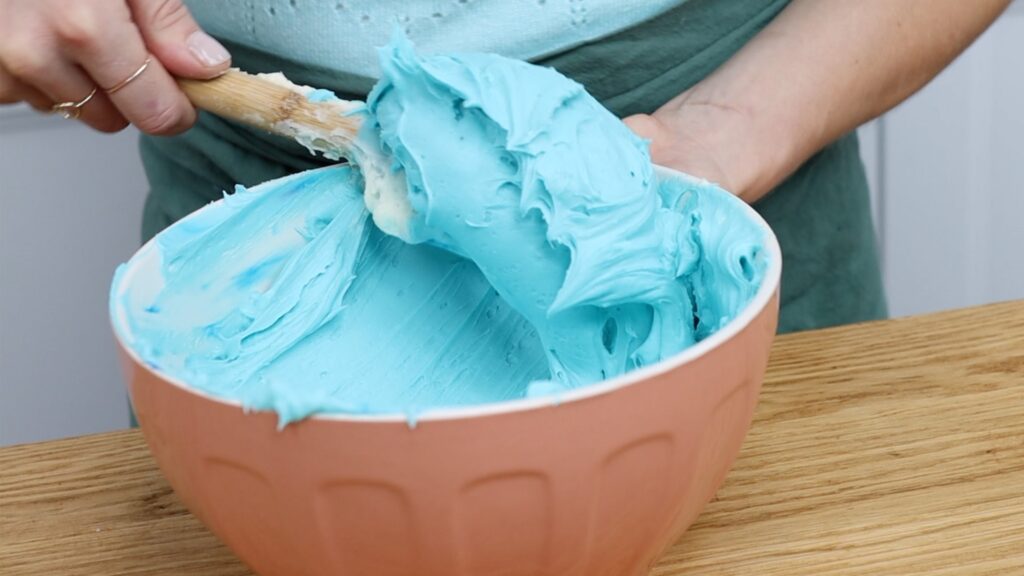
To frost my cake I'm using gel colour to tint my 4 Minute Buttercream blue. Gels are much more concentrated than liquid colours so you’ll get really bright colours with just a few drops. This case for gel colours is intended for nail polish but it’s perfect for these little bottles!
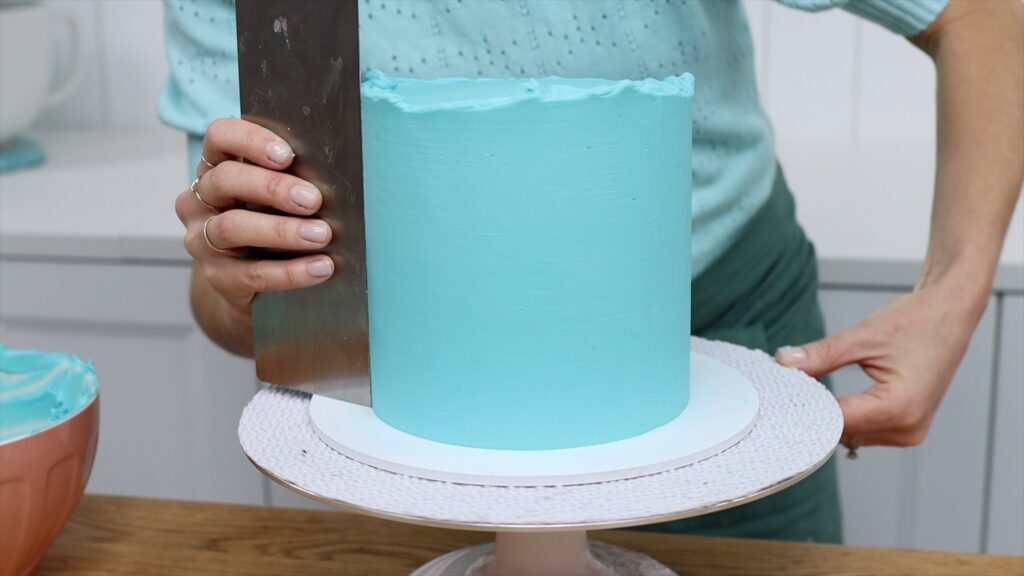
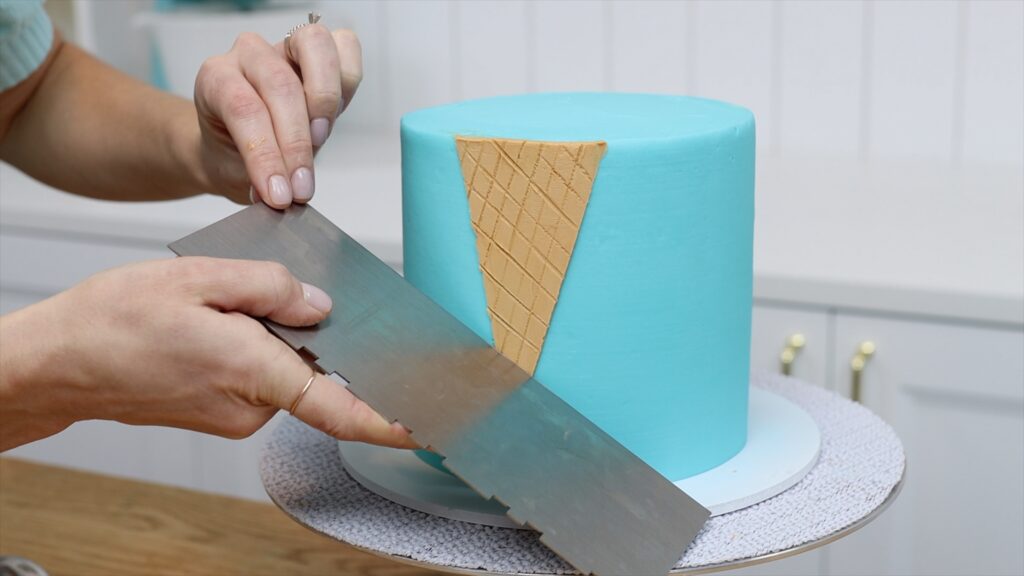
Once the crumb coat has set, spread on your final layer of frosting and smooth it with a cake comb to make nice straight sides and a level top and sharp angles from the top of the cake down to the sides. Put the cake in the fridge for another hour to set the frosting and meanwhile, prepare the ice cream cone!
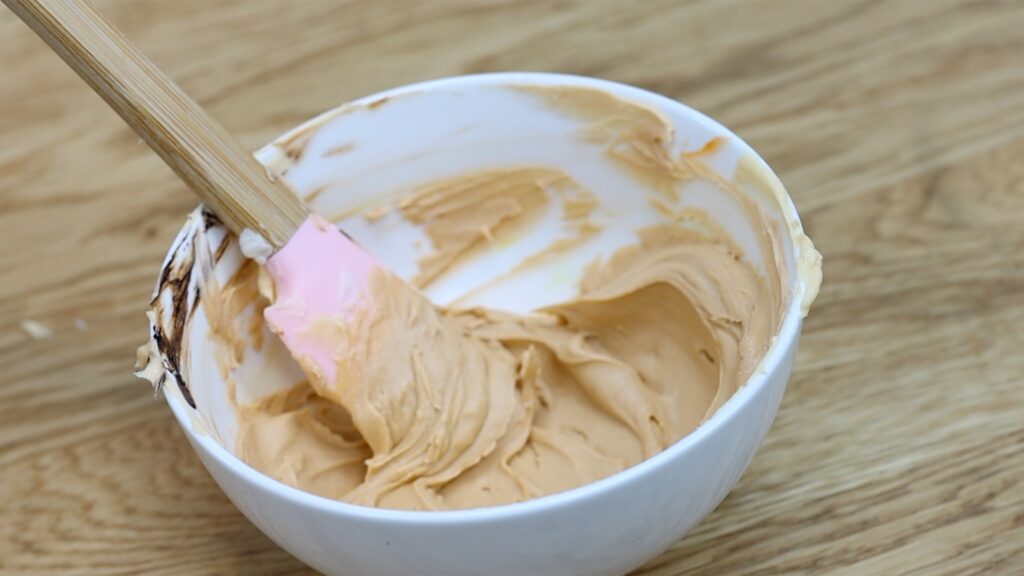
To make ice cream cone coloured buttercream I'm using a tiny drop of brown and a tiny drop of orange. You really don’t need much buttercream or much gel for the cone, just a few spoonfuls of buttercream and the tiniest drops of gel you can squeeze out of the bottle, or you can dip a toothpick into the bottle for more control over how little gel you’re adding. Add yellow to brighten the colour and brown to make it darker, until you’re happy with the colour.
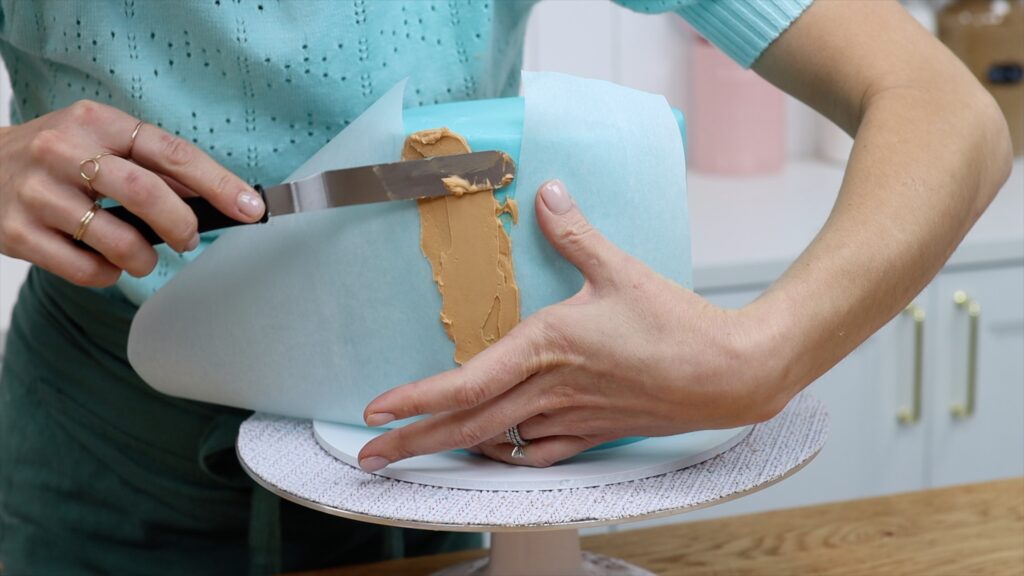
The neatest way I’ve found to make the cone is to make your own stencil, which is really quick and easy and cheap. All you need is a piece of parchment paper. Cut a triangle with the top of the cone touching one edge of the parchment so it will go like this onto the cake.

Once the frosting on the cake has set, wrap the stencil around the cake and hold it in place with your fingers. The higher you move it up, the narrower the top of the cone, and you can hold an ice cream scoop at the top to check the done is wide enough. Spread the brown frosting onto the exposed cake in the middle of the triangle, spreading up and down rather than side to side so that you don’t push the buttercream underneath the stencil by mistake, because that would smudge the edges of the cone.
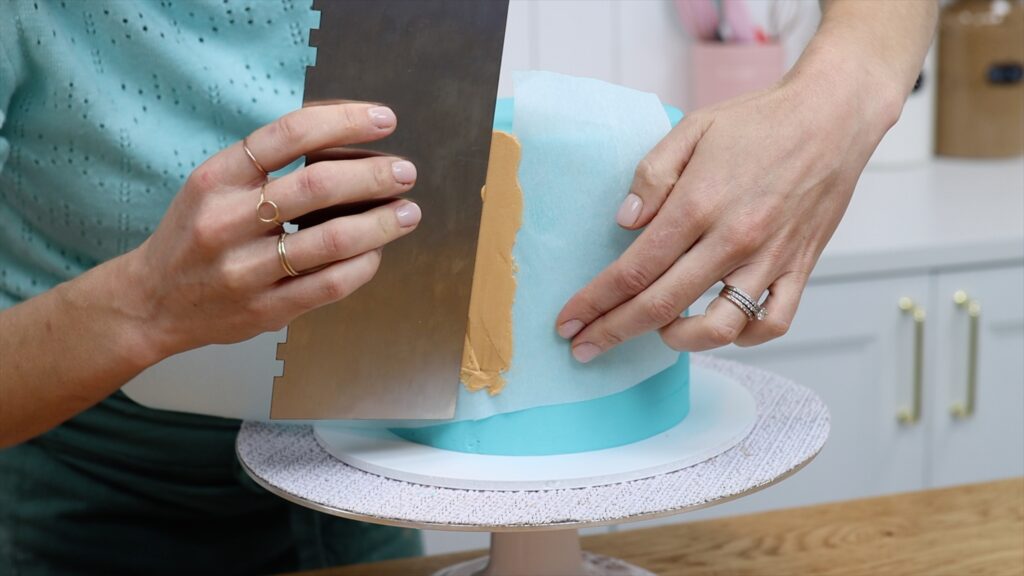
Scrape gently over the brown frosting with a cake comb to flatten and smooth the frosting and then peel the stencil off straight away, pulling it away from the cake to leave a neat triangle behind on the cake. This won't look like an ice cream cone yet, but it will in a minute!
To make a waffle cone pattern, use the straight side of a cake comb to indent the brown frosting. Hold the comb it at a diagonal, working your way across the cone and making your lines are parallel and as evenly spaced as you can. Flip the cake comb around to indent lines that cross over these lines, at a diagonal as well.
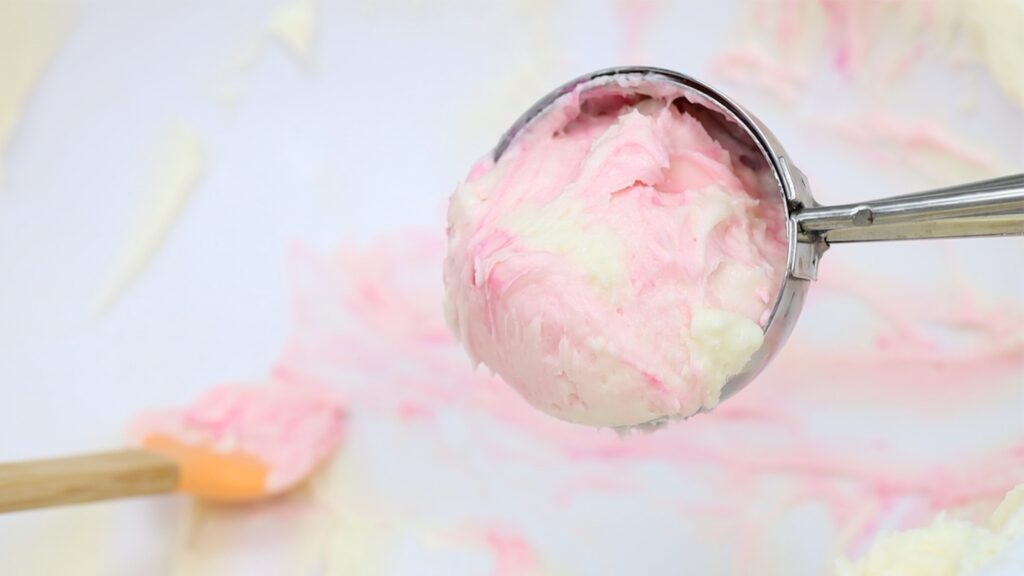
For the scoop of ice cream on top of the cone I’m using buttercream and adding pink gel but not mixing it in completely to make a sort of raspberry ripple effect. Buttercream has the same texture as ice cream but it doesn’t melt so it’s much more stable on a cake than actual ice cream. Use an ice cream scoop to scoop up a ball of buttercream just like you would if you were scooping ice cream.
Release the scoop of buttercream "ice cream" onto the top of the cake above the ice cream cone. It probably won’t look like ice cream straight away!
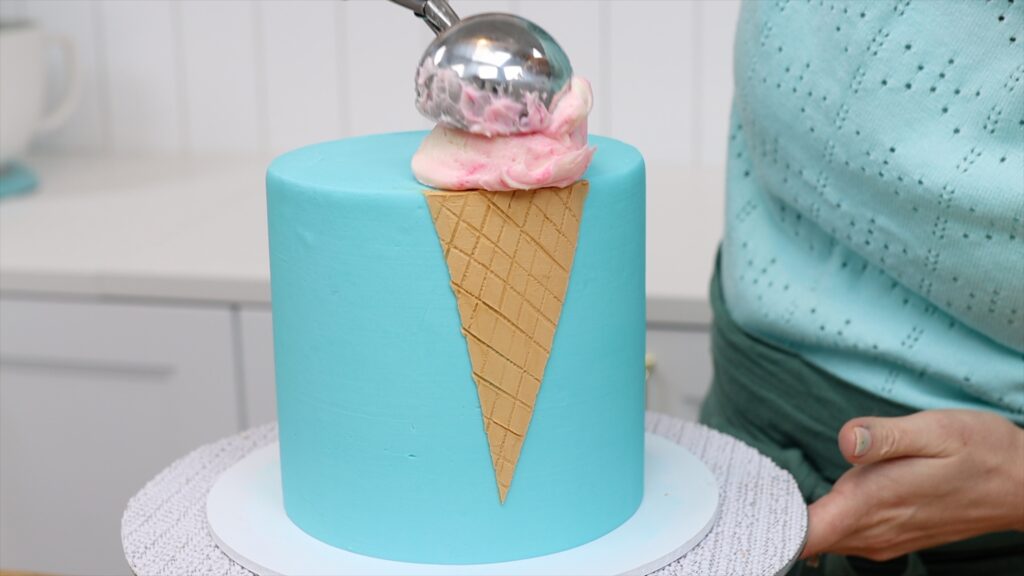
Add some texture at the bottom of the scoop by spreading on a few blobs of buttercream with an
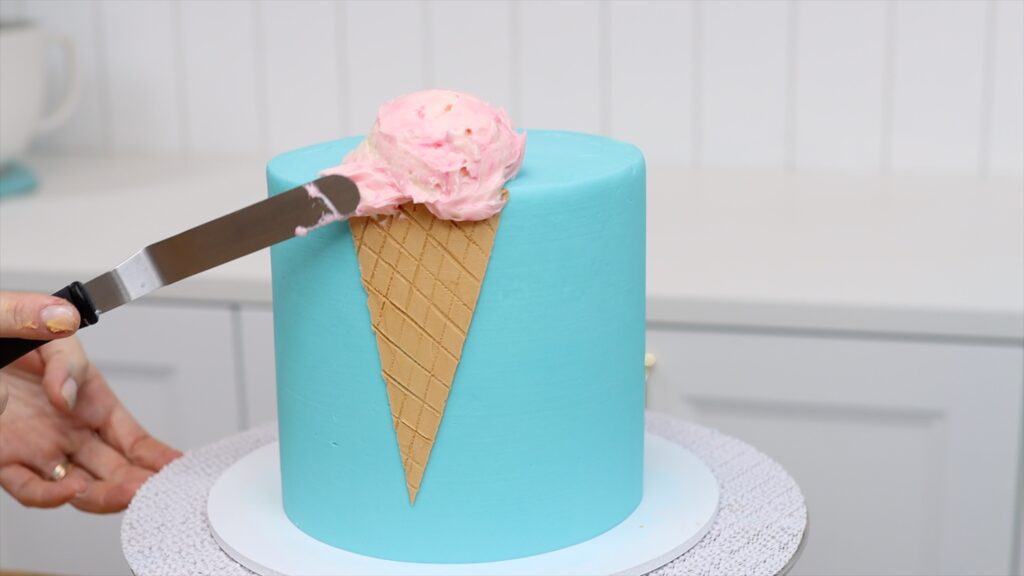
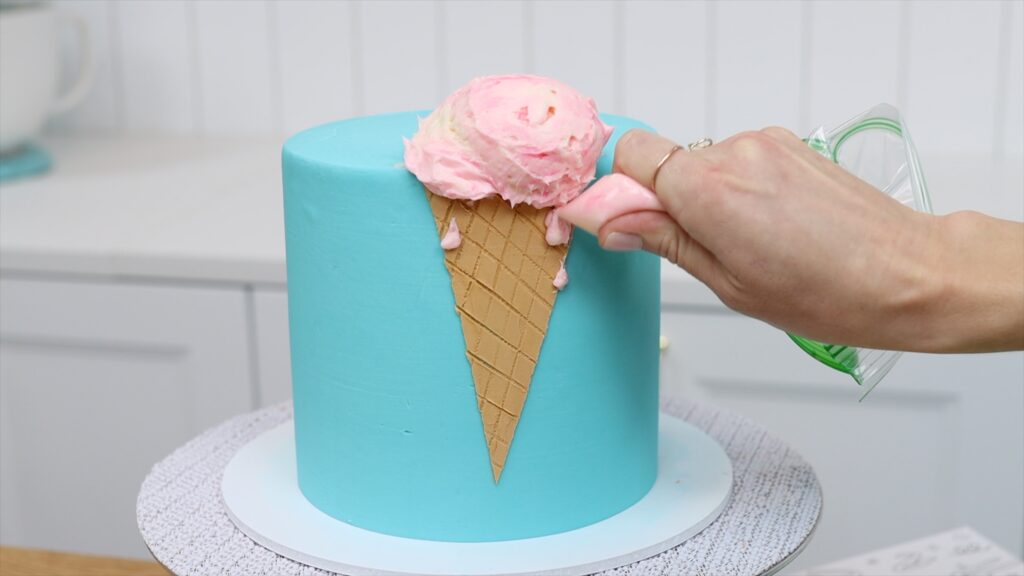
Then put a but of leftover pink buttercream into a ziplock bag (or you can use a piping bag) and cut a tiny piece off the tip to make a hole to squeeze the buttercream through. Pipe some little teardrop shapes onto the cone to look like melting drops of ice cream. You can use an
To write a message in the cake I’m using Sweet Stamp letters and you can use my code BGB10 for a discount! These letters come in lots of different fonts and the easiest way to lift the letters out of the box if to wrap a piece of tape around your finger and press that into whatever letters you want.
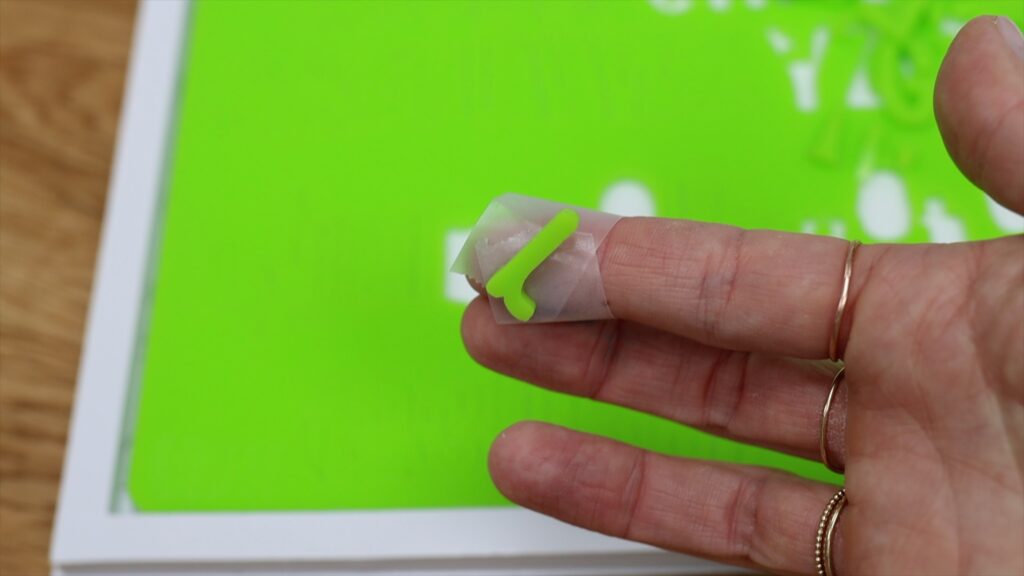
For the best results on buttercream frosting, chill the cake in the fridge to completely set the frosting, for a few hours or ideally overnight, and then leave the cake at room temperature for an hour so that the buttercream is still firm but it’s no longer cold, and that way you’ll imprint the letters when you press them into the frosting but you won’t pull off chunks of buttercream when you lift the letters off, which is what can happen if your frosting is too cold.
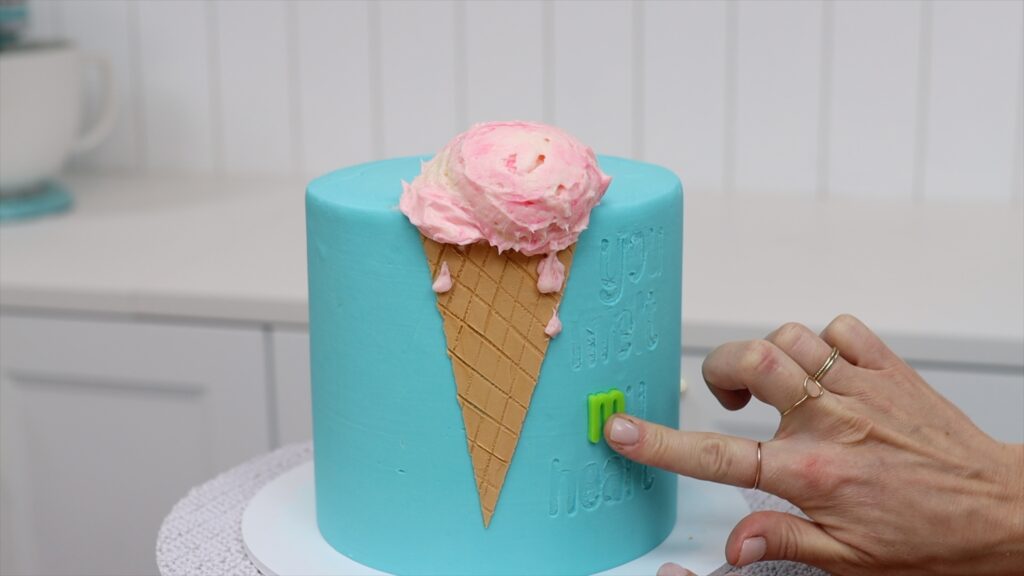
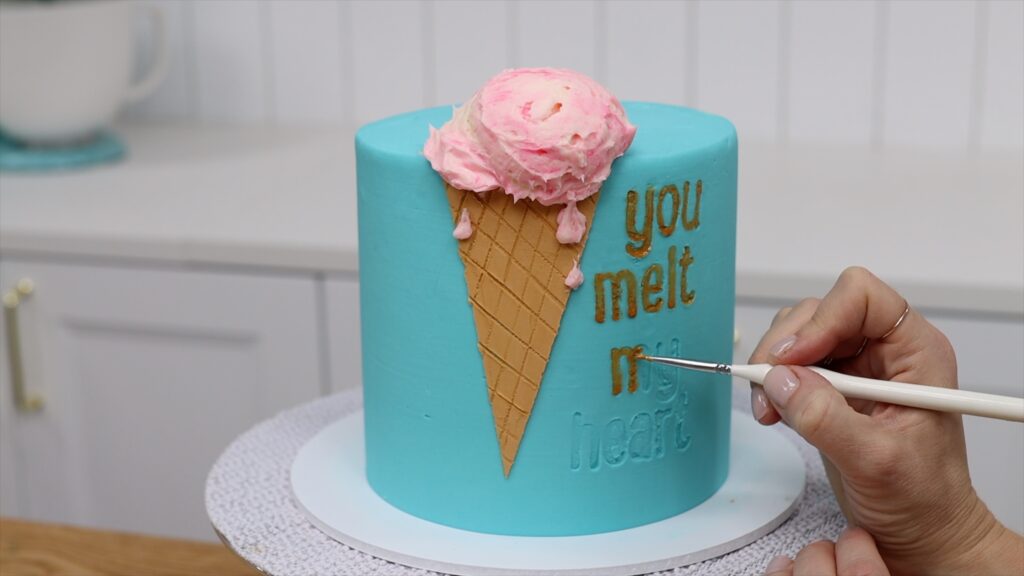
The letters don’t need to be legible at this point because you’re going to paint over them, but you want a clear outline to guide you as you paint over them. I’m using edible gold paint that comes ready-mixed in a bottle, also from Sweet Stamp, but you can make your own by mixing gold luster dust with vodka or any other clear alcohol of flavor extract.
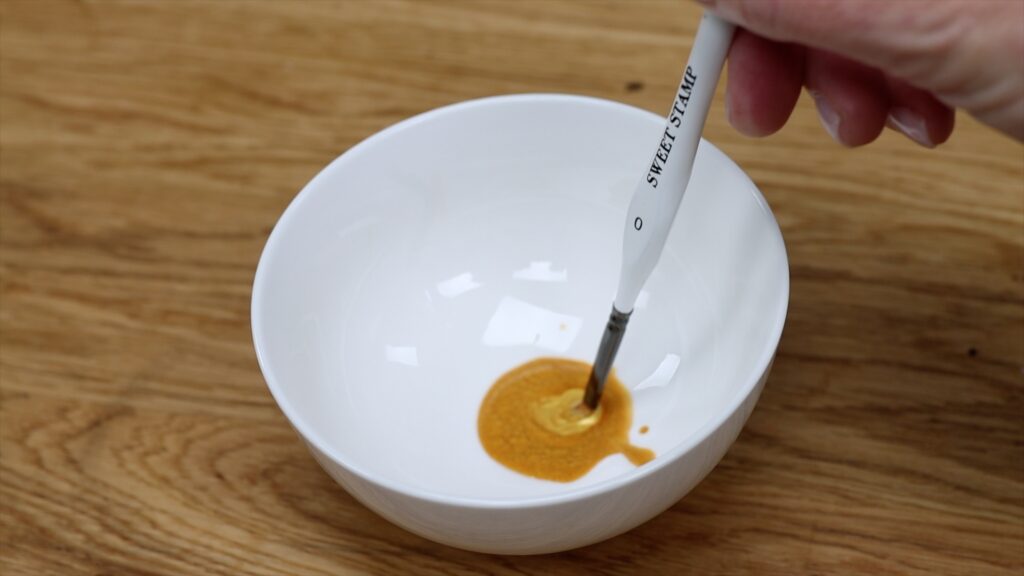
The thinner your paintbrush, the better - I started with what I thought was a small brush but quickly changed to the tiniest one I have! Sweet Stamp makes these amazing brushes too and this isn’t a sponsored tutorial - I just love their products! You’ll probably need at least two coats of gold paint to get a really bold, metallic colour, but leave the first coat to dry for 5 or 10 minutes before painting on the next coat.
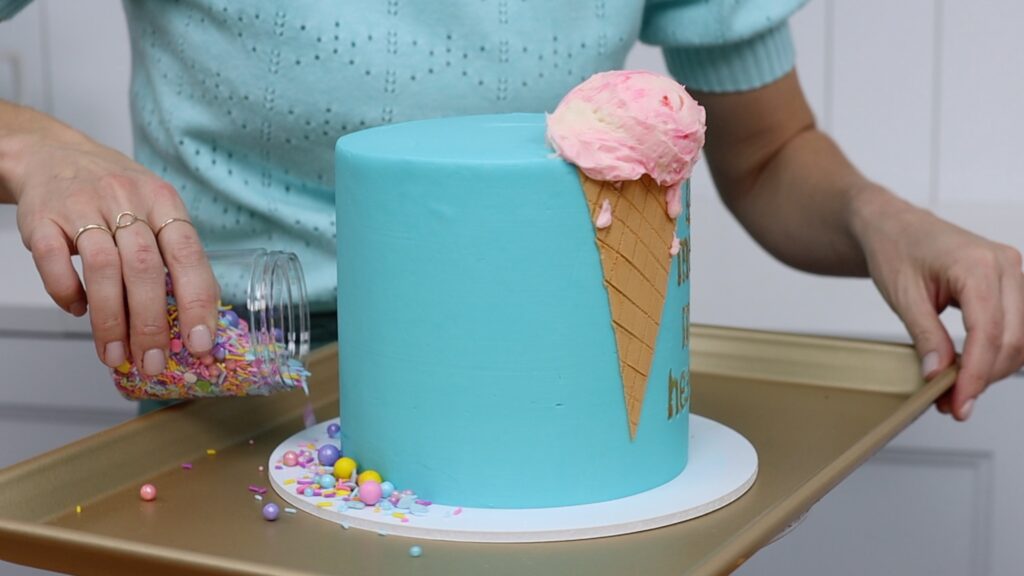
For a burst of colour add a sprinkle border! Place the cake on a tray to catch any bouncing sprinkles and make the cleanup easy. Pour sprinkles onto the cake board all around the cake and then press them into the bottom inch or so of the cake, using an
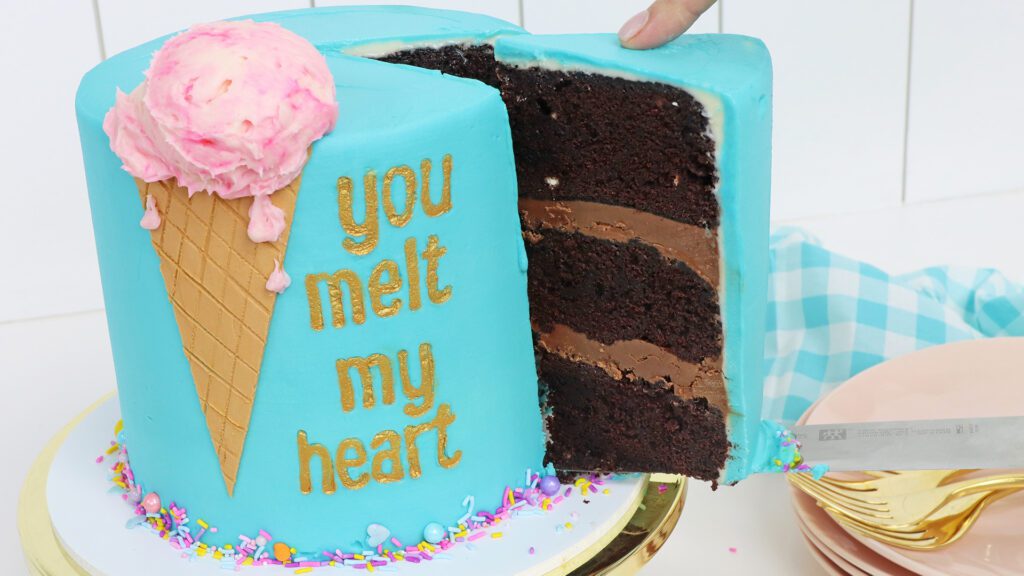
Paint over the letters again if you need to and you can see that the colour is much more eye-catching and shimmery now. Quick warning about the ice cream scoop: it’s heavy and can make the frosting droop or crack so keep the cake in the fridge until 4 hours before you serve it.
There are lots of ways to create messages on cakes - check out this tutorial on 4 ways to write on cakes. If you’ve enjoyed these step by step instructions you’ll LOVE the MiniCourses on my cake school! I teach hundreds of cake designs and techniques and if you join my ClubPLUS you’ll get access to them all!

Looks like fun!