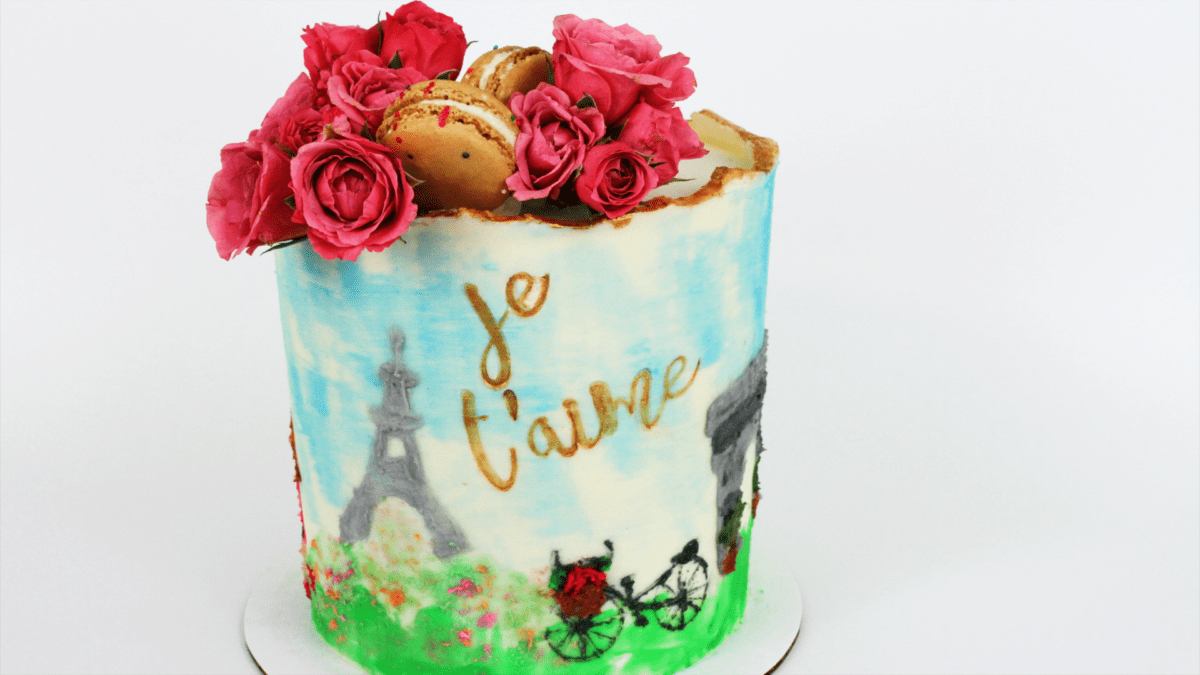
You can paint on cakes using lots of different techniques and simple tools and ingredients. In this tutorial I’ll show you 5 ways to paint on cakes usinga paintbrush, sponge, palette knife, buttercream, and gel food colours.
If you prefer to watch a video of this tutorial, scroll to the bottom of the page.
PAINTING WITH BUTTERCREAM
If you use buttercream as your paint, start by tinting the colours you want to use. Two key points here: first, make sure the consistency isn’t too stiff. The buttercream needs to be easy to stir, leaving soft peaks behind your spatula and a smooth trail without air bubbles.
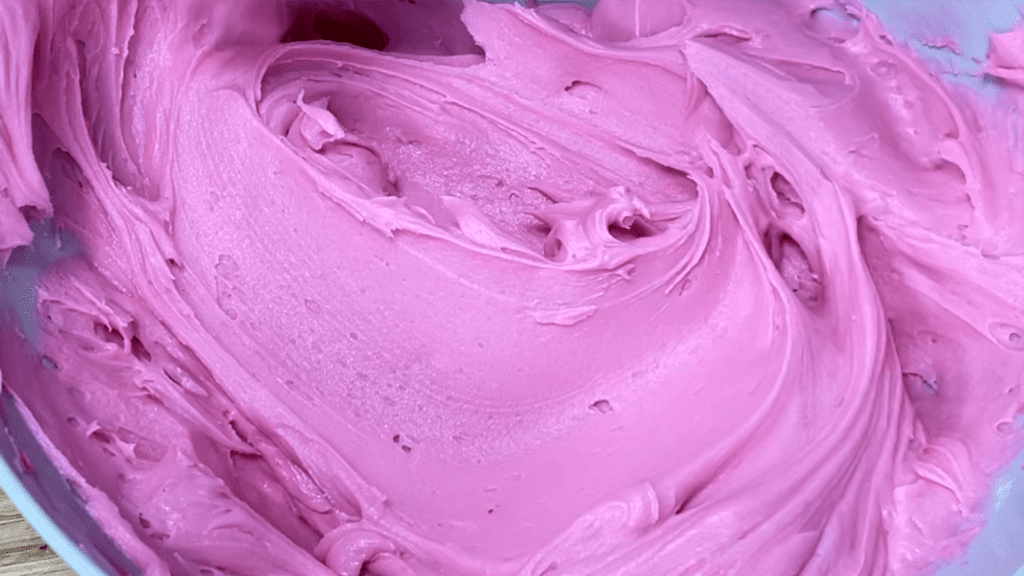
Second, remember that you don’t need a lot for painting, because even if you’re going to be covered a large surface of the cake, you’ll only be painting a thin layer so a spoonful of buttercream is probably enough.
#1 Painting with buttercream + a paintbrush
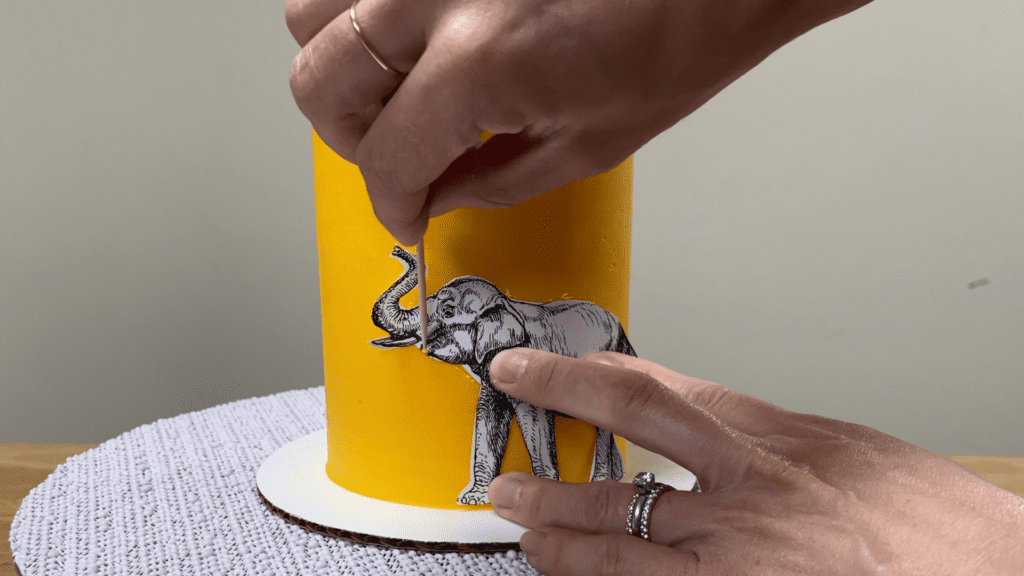
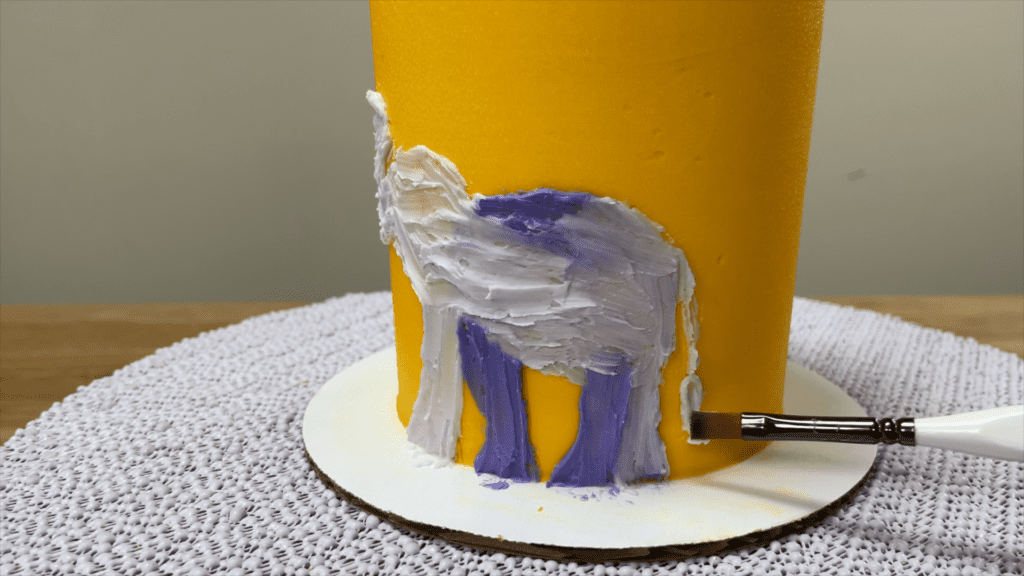
Not surprisingly, you can paint on cakes with a paintbrush! To paint an animal or a figure or any other shape, start by outlining your shape onto a cake using a toothpick. You can draw it freehand or trace around an image you’ve drawn or printed.
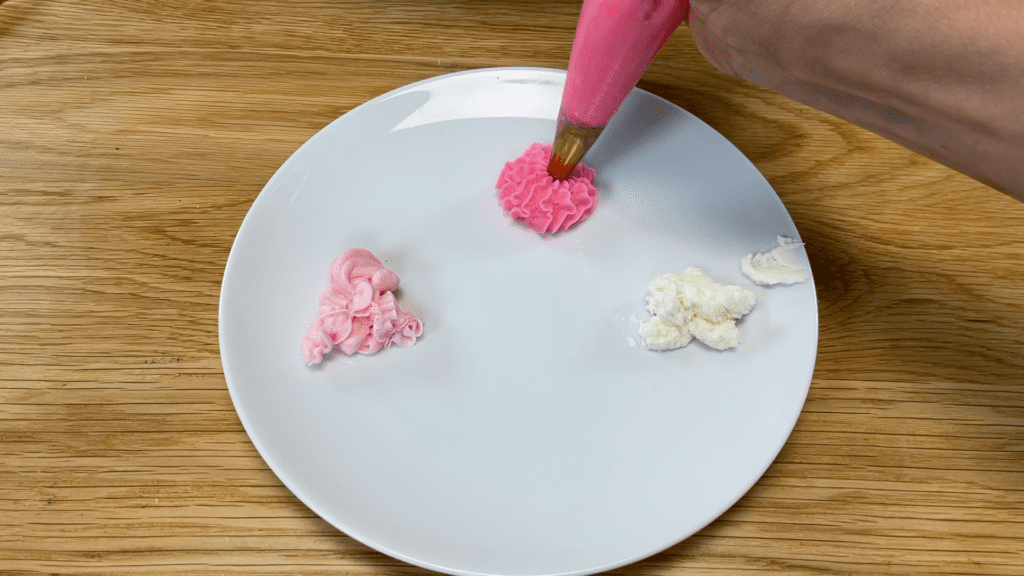
Create a palette of colours by putting some blobs of coloured buttercream on a plate and use a paintbrush to dip and then paint onto a cake. Using a small paintbrush makes it easier to stay within the outline.
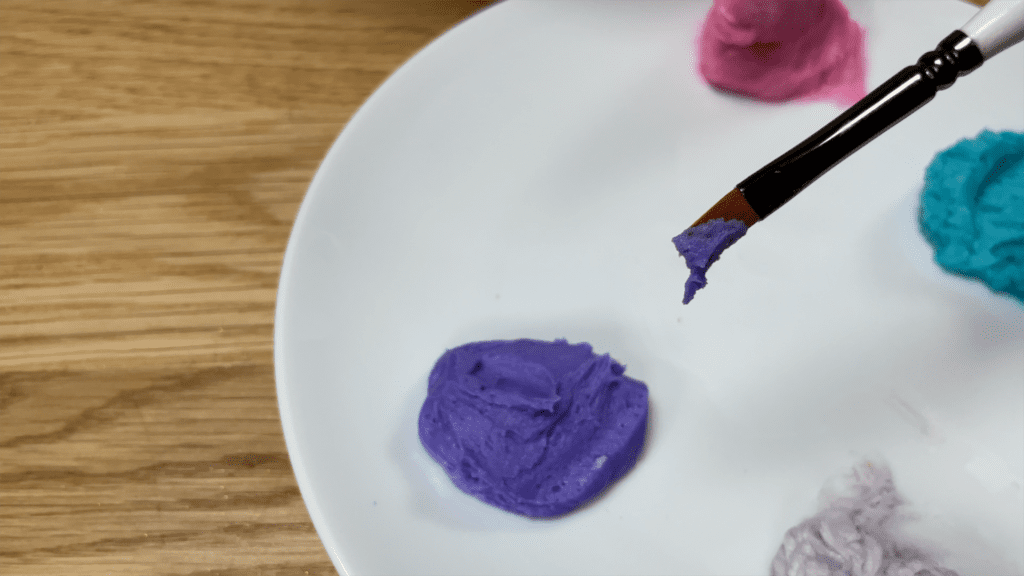
You can layer colours by brushing them on top of each other to create some shading. The frosting on the cake needs to have set before painting so that the buttercream “paint” sits on top of the frosting, instead of blending with it.
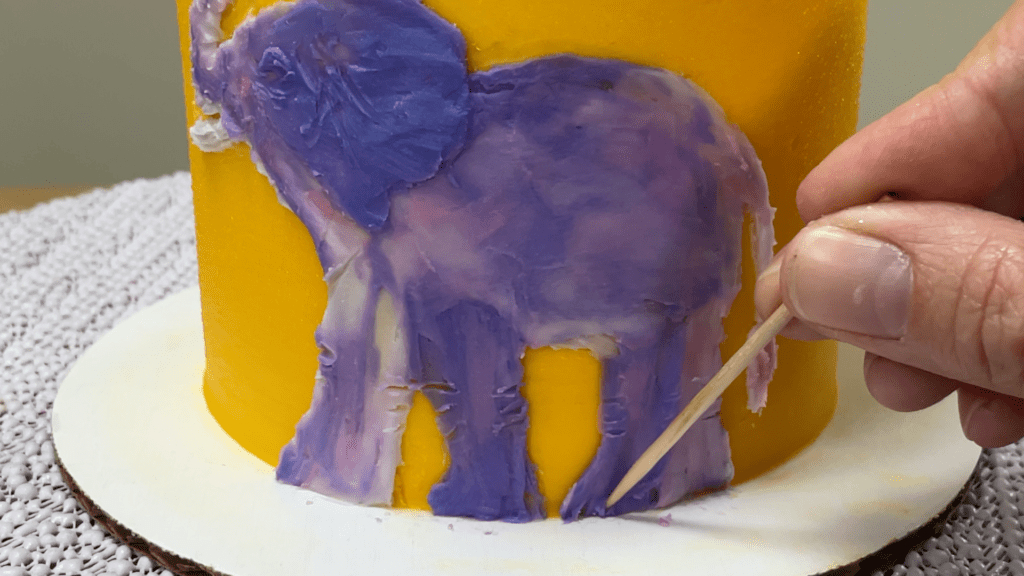
If you want to add texture to the painting, which will also clarify which parts of the buttercream are which parts of the elephant or whatever you’re painting, use a toothpick to gently scratch lines wherever there are creases or wrinkles.
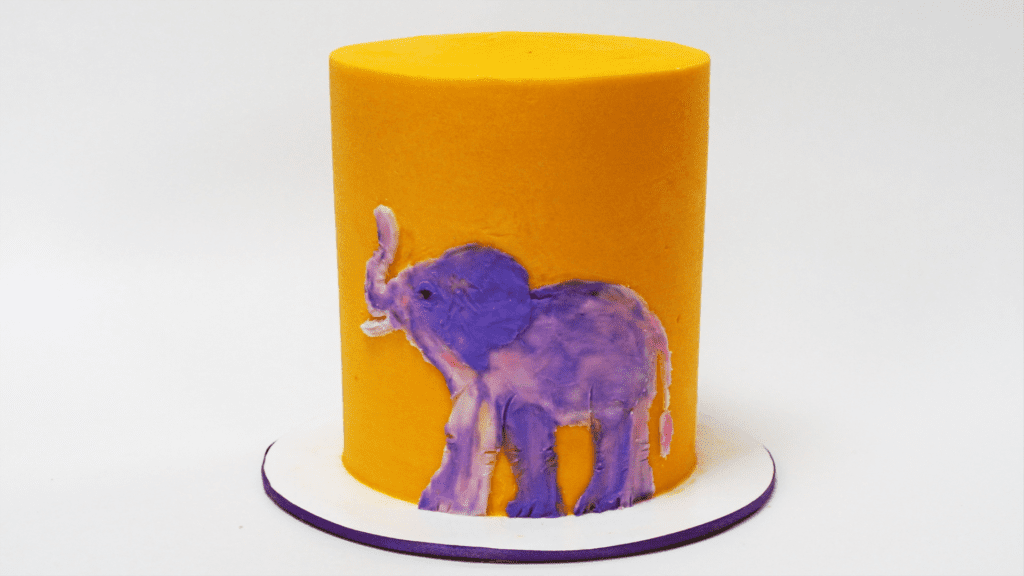
Buttercream is fun to paint with because you can add colour and texture to your cake.
#2 Painting with buttercream + a sponge
For sponge painting, dip a sponge into your buttercream and wipe the excess off on the side of the bowl to leave a very very thin coating on the paintbrush.
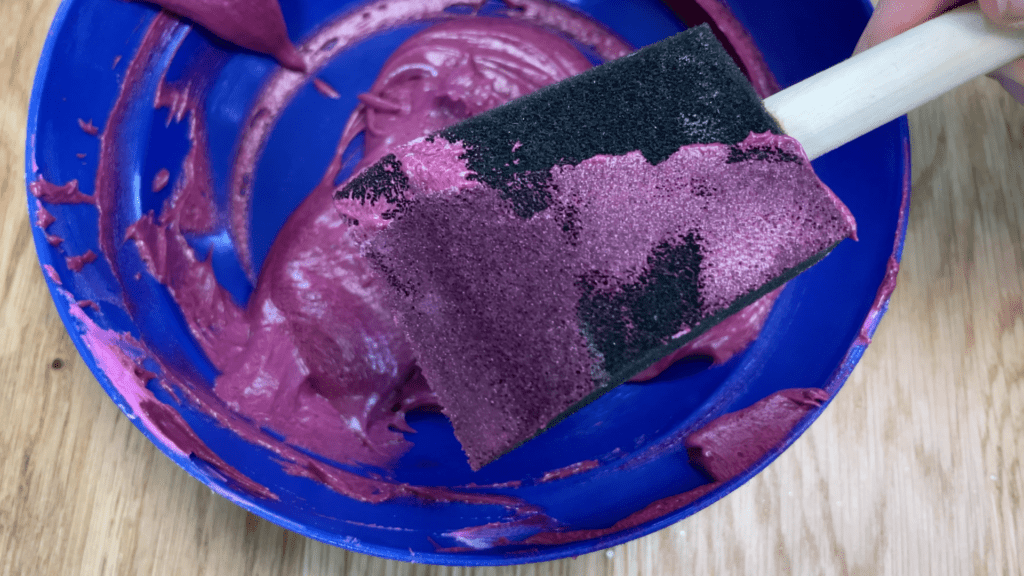
You’ll need the frosting on the cake to set before you do this, and for all of the other techniques too, so first put the cake in the fridge for an hour to firm up. Dab the sponge onto the cake to paint it.
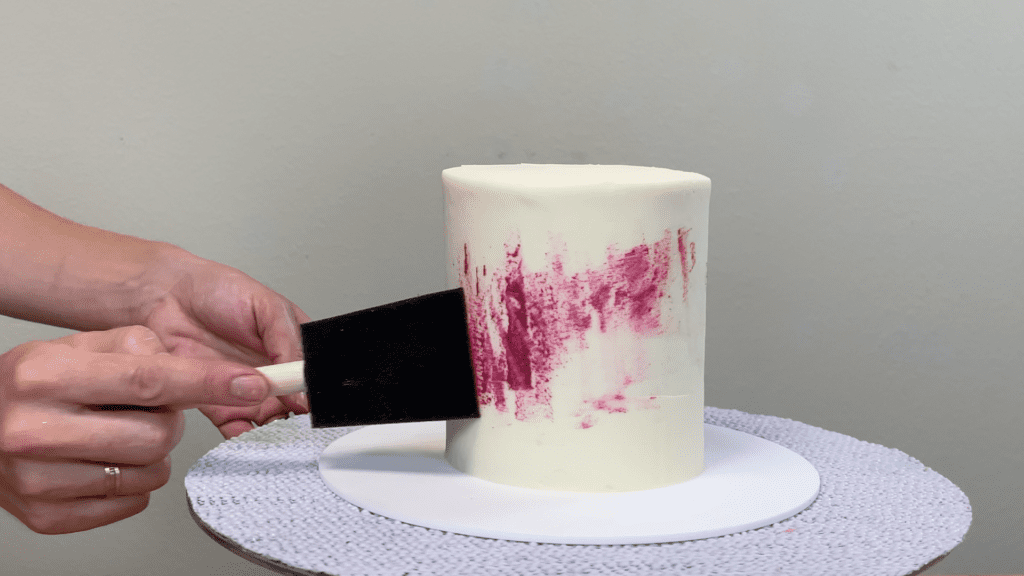
You can choose the texture or pattern you create by the angle you hold your sponge – I’m creating vertical lines all over this cake by always holding my sponge the same way, but you could vary this to create a totally different pattern.
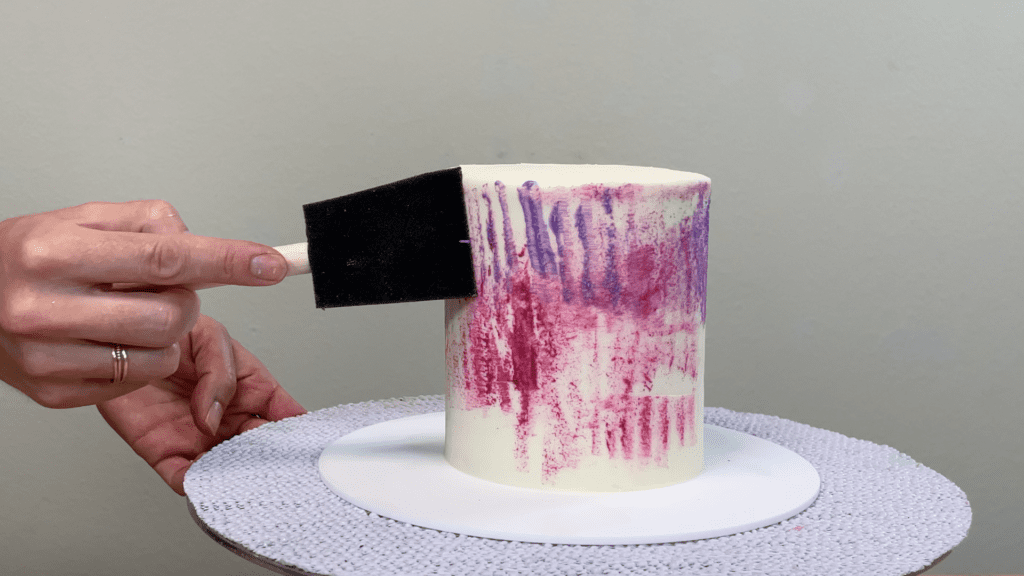
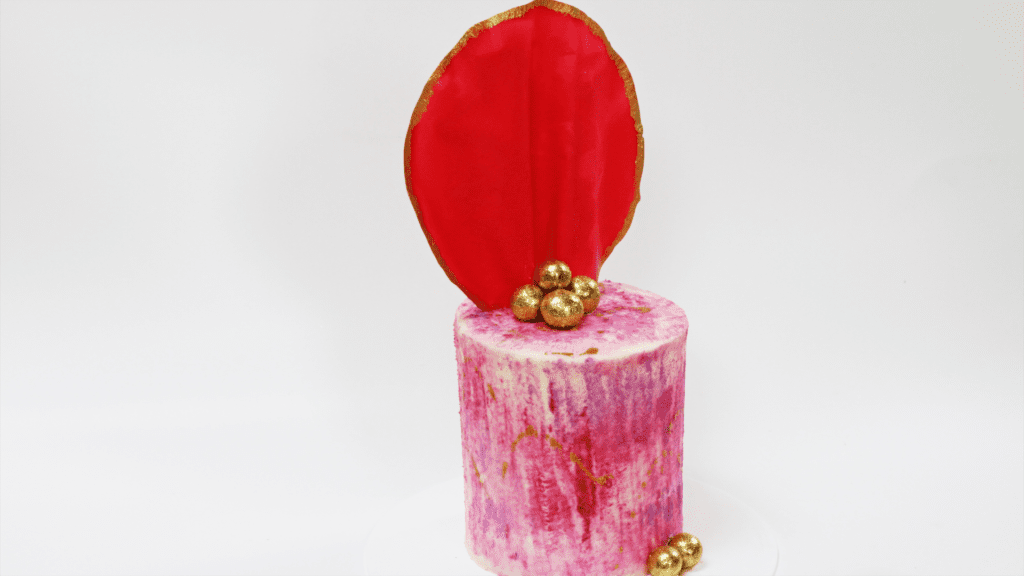
Have fun with this, overlapping and layering colours and watching the design evolve!
#3 Painting with buttercream + a palette knife
You can paint with a palette knife to achieve the effect of oil paints, and just like the other techniques, you really only need a spoonful of buttercream for this. Spread the buttercream onto the cake to create textured petals or leaves or whatever shapes you like.
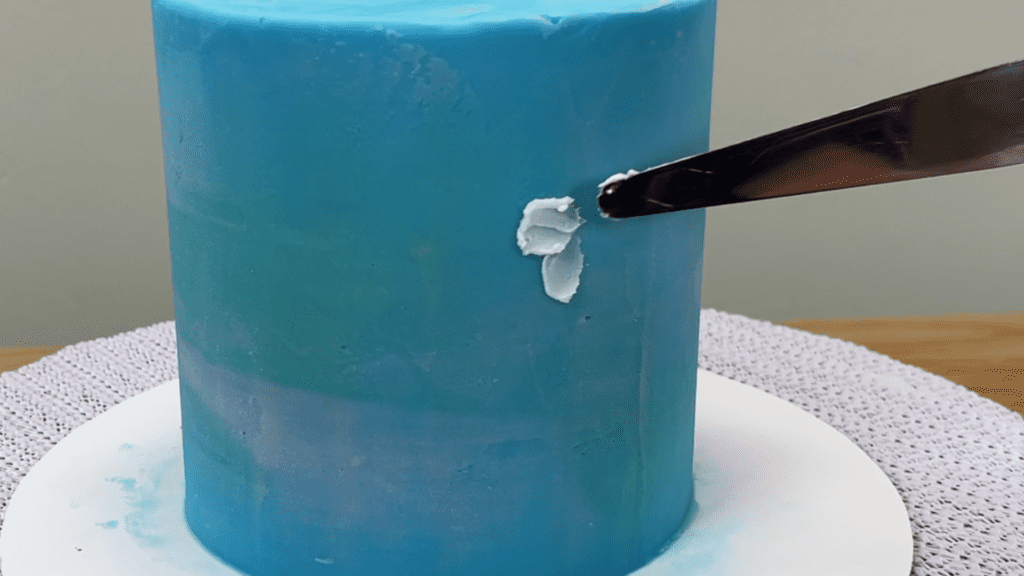
If the buttercream isn’t spreading easily, add some milk to thin it out. You can layer colours to create details and add more texture.
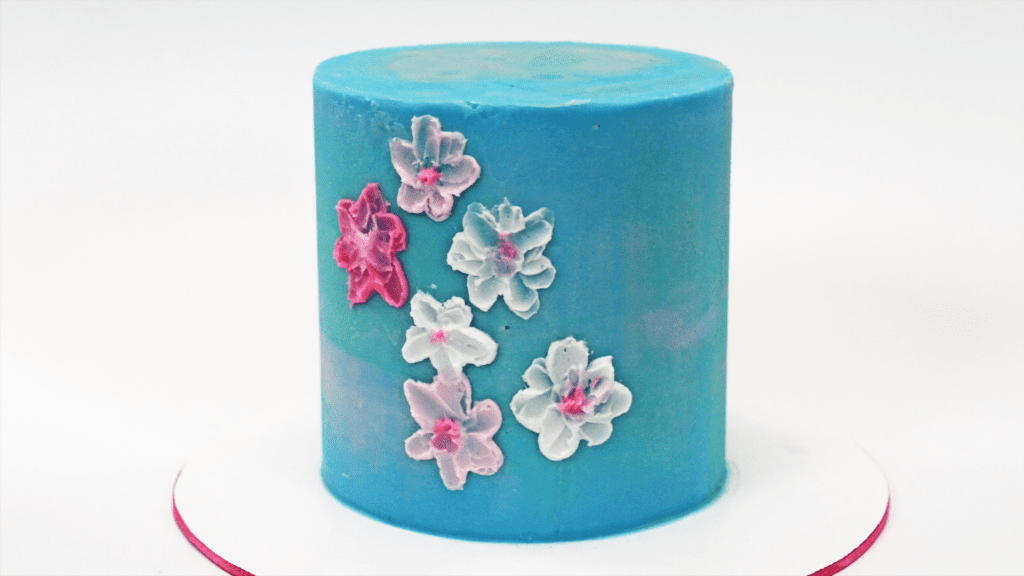
Keep this simple with swooshes of colour to create a fun, colourful design on a cake – for more ideas check out my tutorial on 5 cakes you can decorate in 5 minutes.
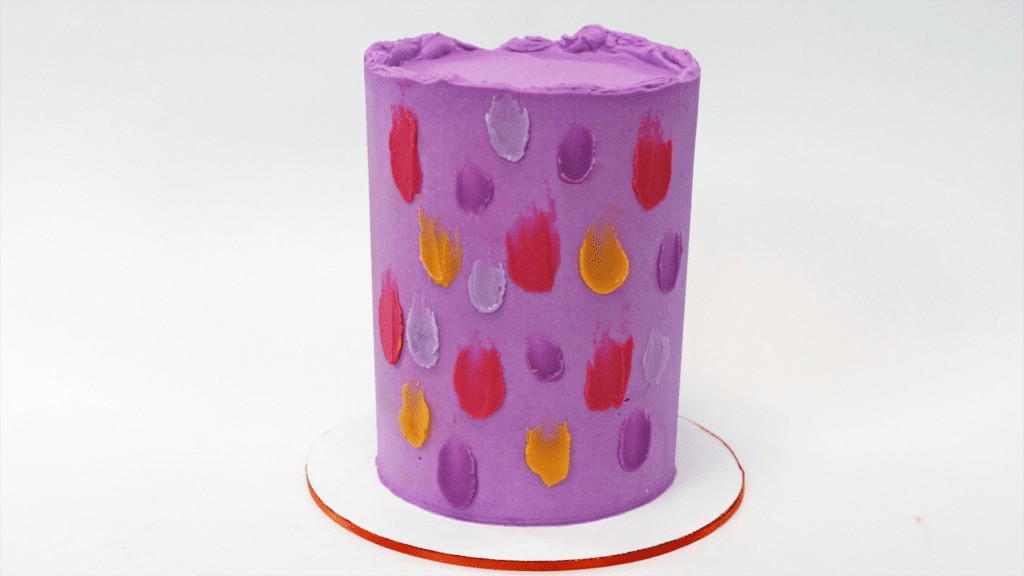
#4 Painting with buttercream + a combination of tools
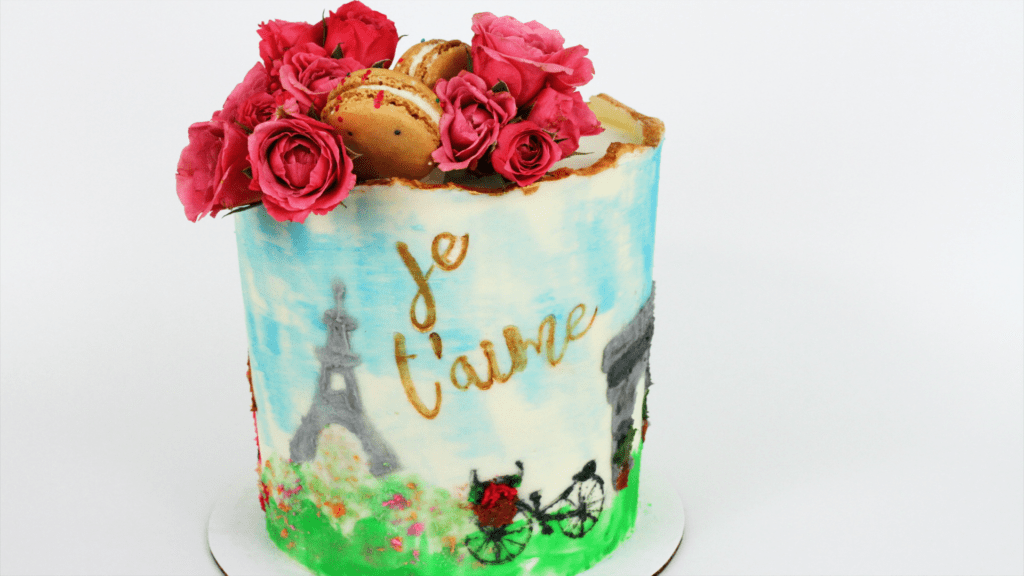
You can create entire scenes with a combination of tools! I decorated this cake using all of the techniques I’ve shown you so far: a palette knife for the grass, a sponge for the sky, and a paintbrush and palette knife for the rest of the details of this Paris cityscape., It’s helpful to have pictures to refer to as you paint and I like to use Google Images to find simple line drawings as a starting point.
PAINTING WITH GEL FOOD COLOURS
#5 Painting with gels + a paintbrush
Painting with gel colours is easier than buttercream because you’re only creating colour, not texture, so it’s less to think about. Mix gel colours to thin them out using any clear alcohol, like vodka, or you can use clear flavour extracts like clear vanilla.
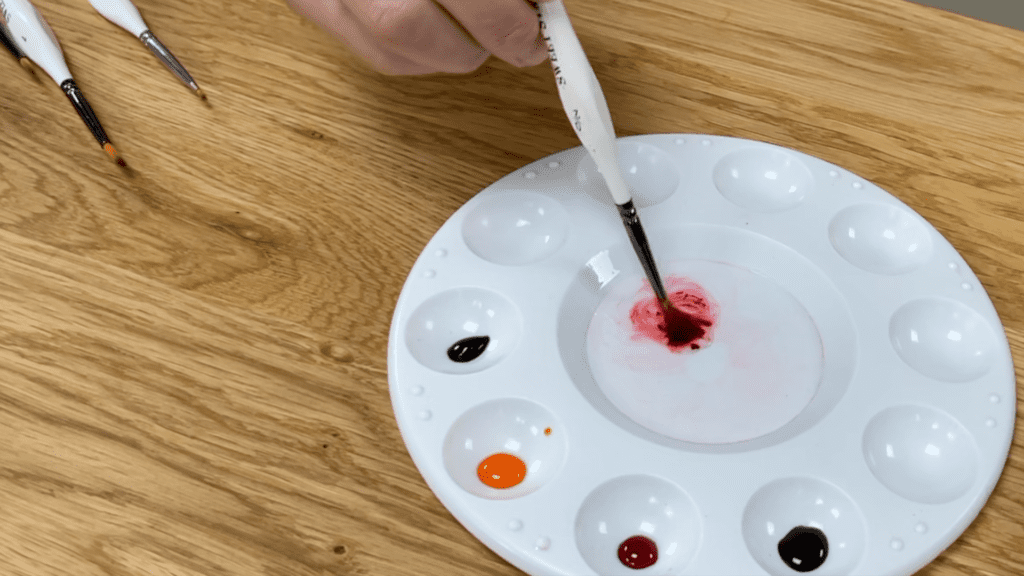
You’ll probably want to refer to a picture or a photo as you prepare your colours and while you paint – I took my kids on a little hike and took some photos to keep beside me as I painted, since I knew I wouldn’t be able to make up an entire scene out of my head.
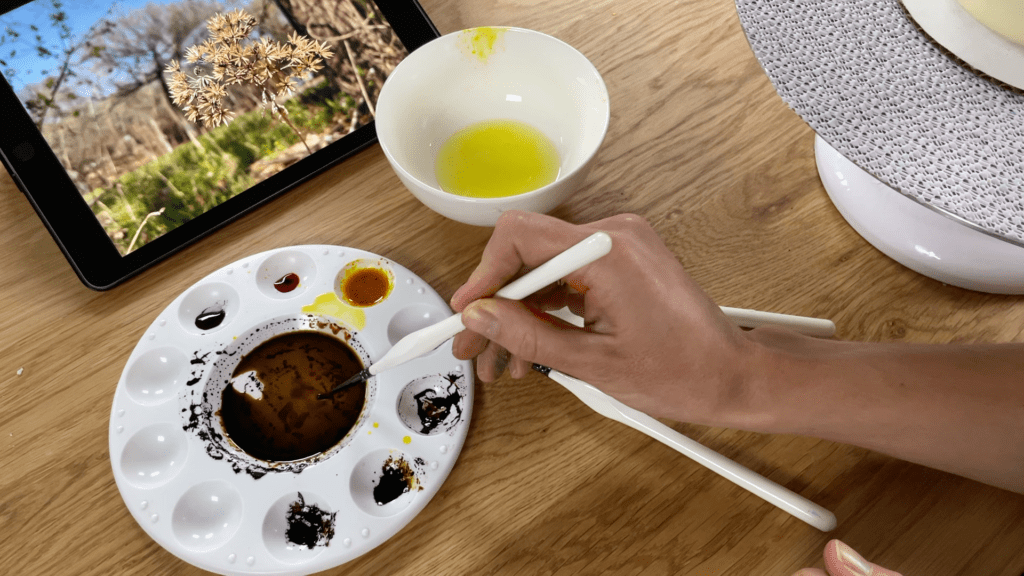
You can start by outlining shapes in the frosting on the cake with a toothpick, or just make it up as you go along. Start by painting your first basic shape, so for me this is just the stem and branches of one plant. Then add details by layering on more colours to create shading and shadows.

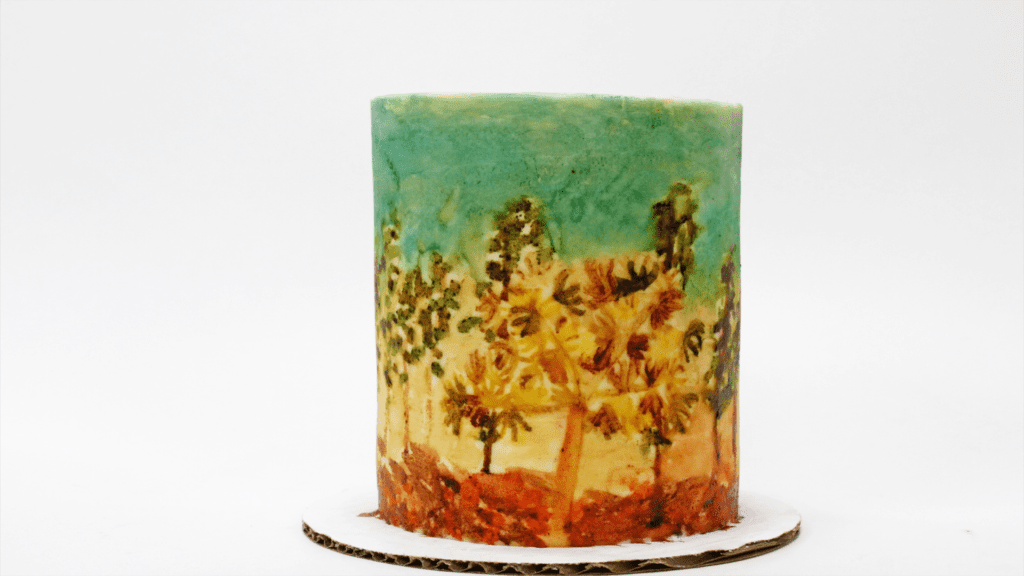
After the first basic shape or shapes, fill in the other details like the ground, and scenery, like these trees. Trees are easy. to paint because after a line for the trunk you can just paint lots of dots in different shades of green to create the leaves.
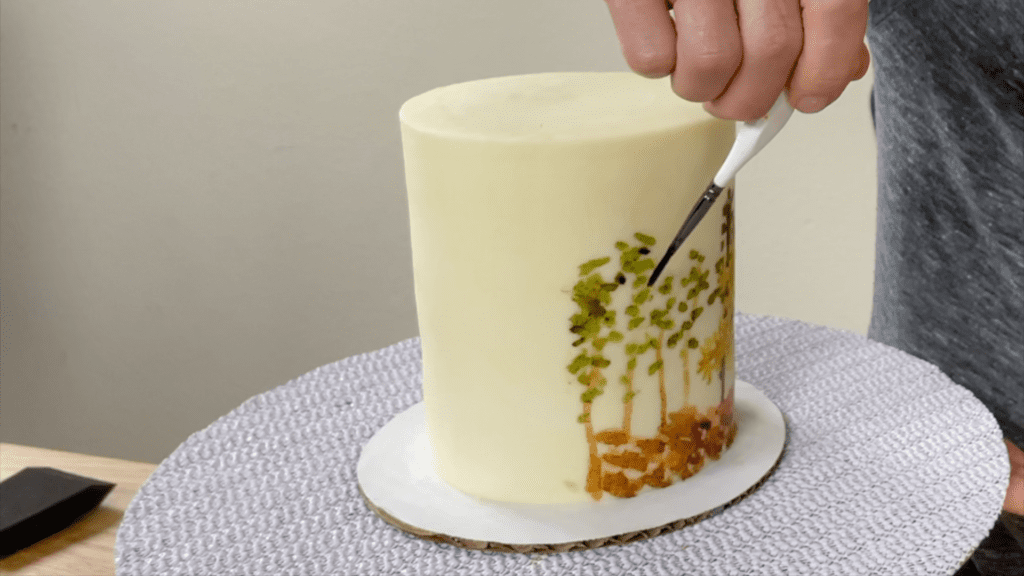
Immediately after painting part of the design you can blot the gels with a paper towel to take off excess “paint” to make the colours a bit lighter and less bold, which is useful for parts of the design that you want to fall into the background.
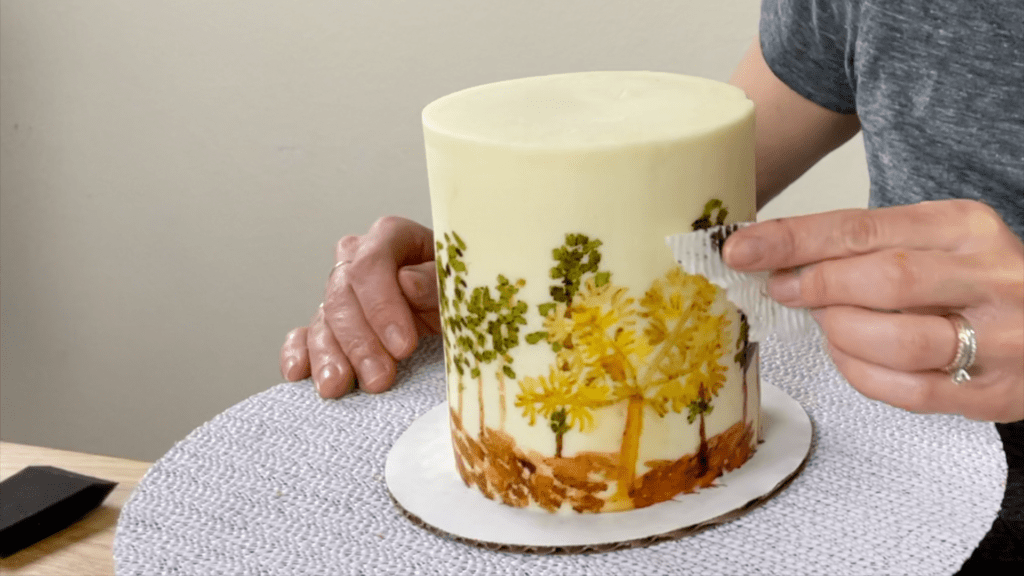
To create the background you can water down your colour by mixing in more alcohol. This will make the colour lighter, which works well if you want the attention to go to the image you painted first.
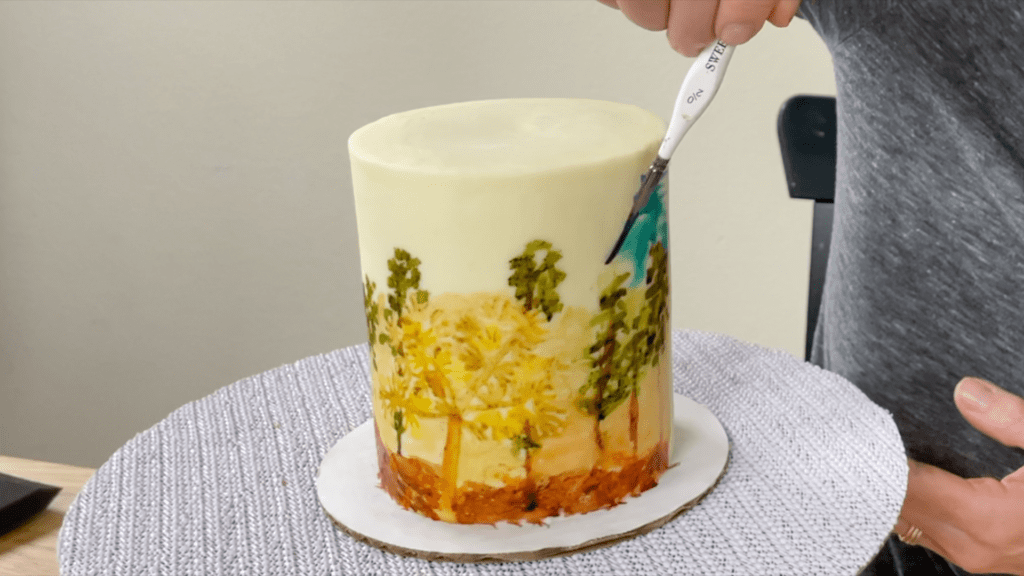
By painting one layer at a time, you can create an entire scene with just a few drops of gel colours and a paintbrush, turning a photo into a cake design!
I hope you’ve enjoyed this tutorial! Tell me in the comments if there’s a cake technique or theme you’d like me to make a tutorial about!
If you’re looking for more cake decorating techniques and designs, check out my online cake school for lots of courses and classes and join my Club for access to ALL of them as well as live online classes and Q&A sessions for members only!
Here’s the video version of this tutorial:

Hi!
i am a huge fan of yours and thoroughly enjoy all of your tutorials and look forward to trying some of the techniques on my own.😊
Can you make a tutorial on decorating cakes with fondant?
many thanks
pretty
Thank you! I'm so happy you enjoy my tutorials! I focus on buttercream frosting and decorations so fondant is really not my specialty 🙂