You can create stunning cakes even if you only have 5 minutes to spare! I’ll show you 5 cake designs you can decorate in 5 minutes, sharing my tips for the most efficient techniques.
If you prefer to watch a video of this tutorial, scroll to the bottom of the page.
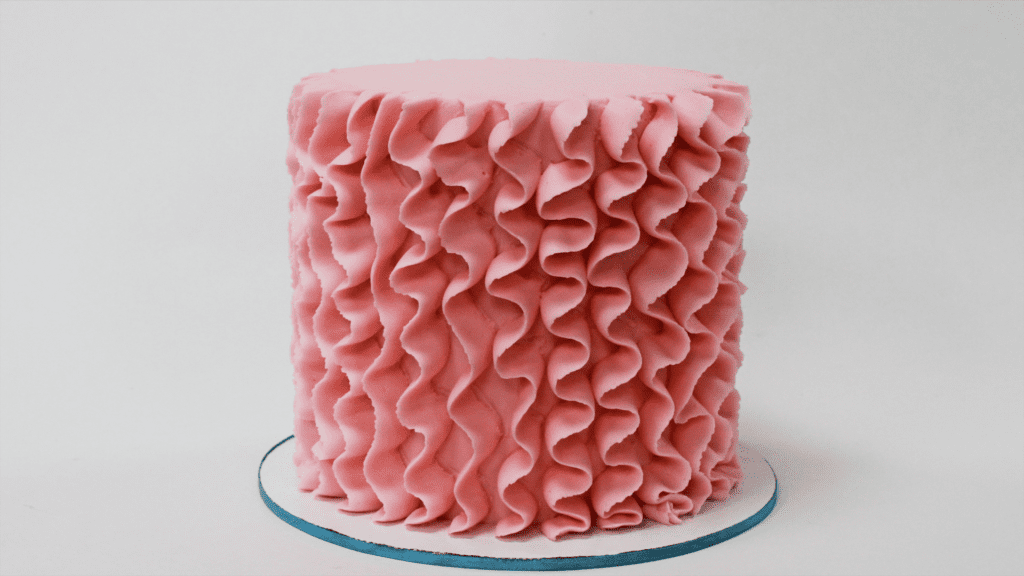
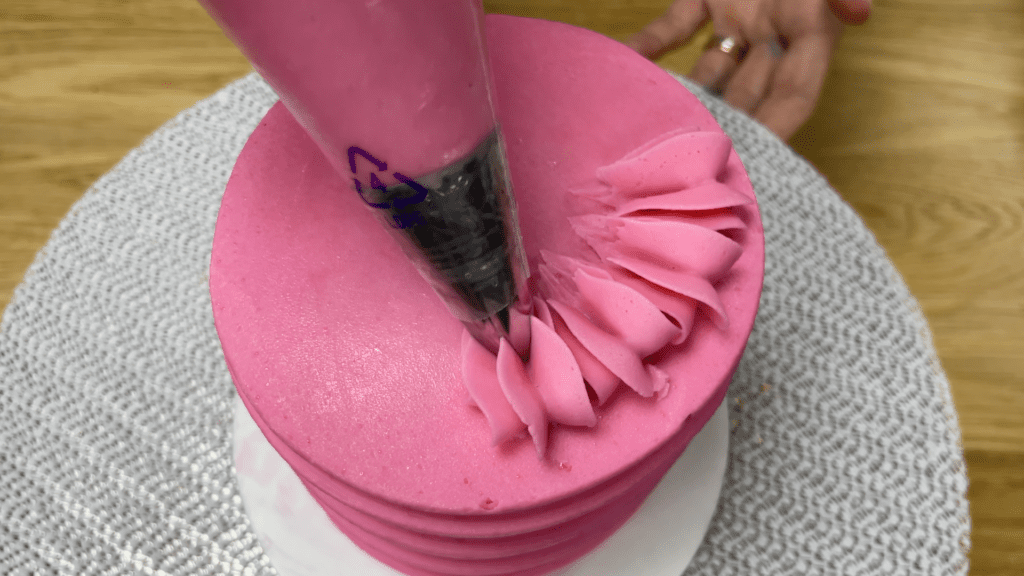
Create gorgeous ruffles using a petal tip. Fill the piping bag with buttercream or whatever frosting you’re using and you’ll see the tip looks like a teardrop, with a wide end and a narrow end.
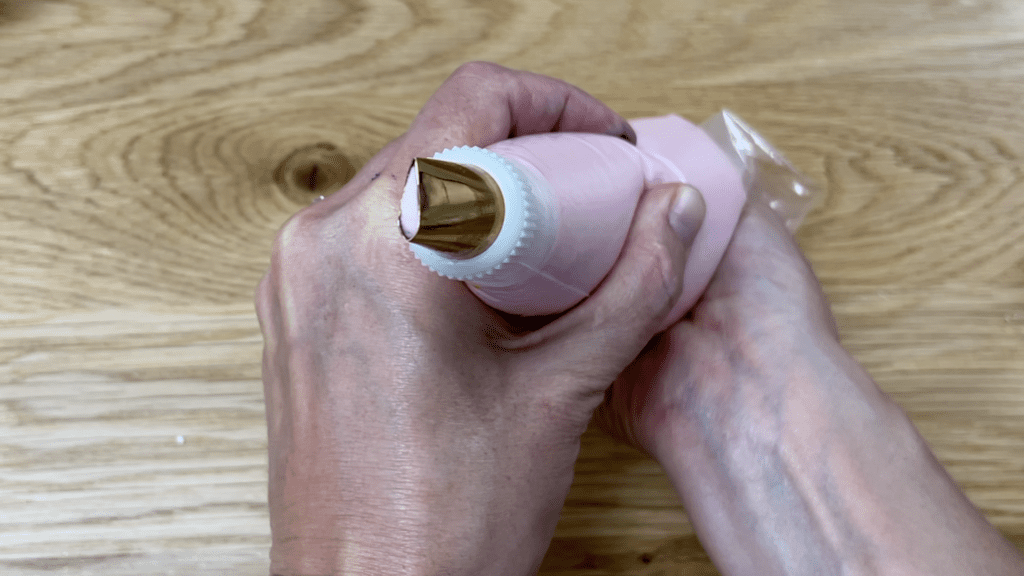
Hold the tip down, with the wide end pressed against the cake. Squeeze the bag and wiggle it back and forth slowly as you lift it up the side of the cake, keeping the tip pressed against the cake so that the ruffles you’re piping stick to the frosting on the cake.

I like to do this after the frosting on the cake has set so I put this cake in the fridge for an hour before piping these ruffles. That way, the frosting is firm so you won’t damage it by pressing the piping tip against it. Wiggle the ruffles as much or as little as you like, and pipe them as close or far apart from each other as you like.
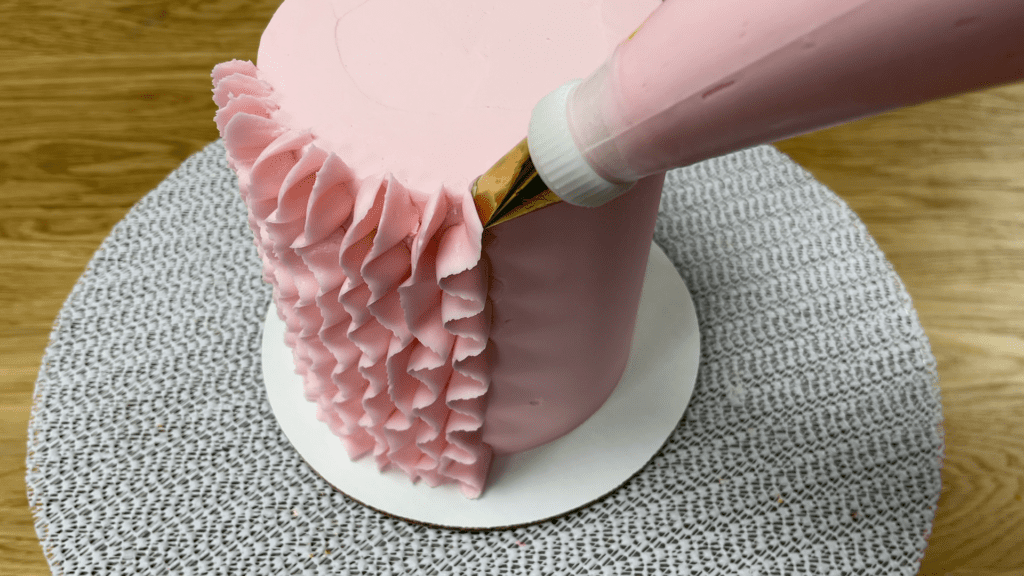
I’m using my 4 Minute Buttercream but whipped cream will work for this or meringue buttercream. Pipe the ruffles so that they stick up a bit above the top edge of the cake, and we’ll tidy that up next.
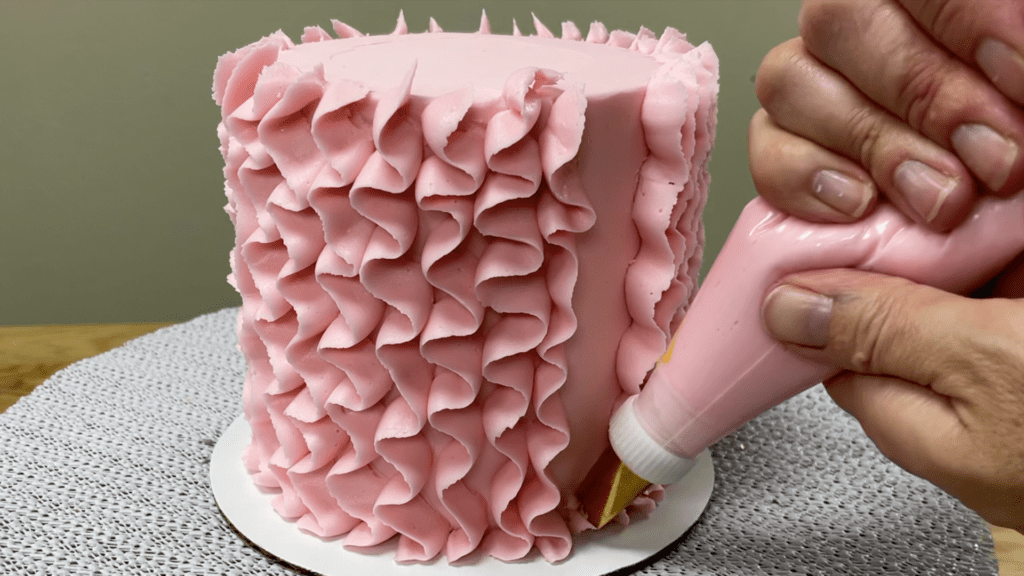
When you finish piping ruffles all the way around the cake, use an offset spatula or a frosting smoother to scrape from the outer edge towards the middle fo the cake to tidy up the top of the ruffles, so that they finish level with the top of the cake.
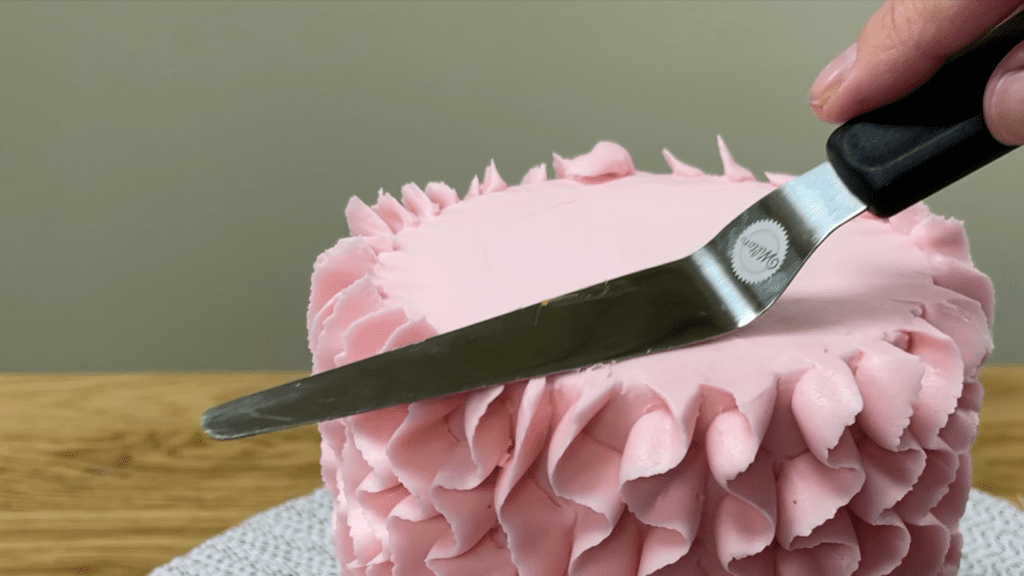
With just one piping tip and one motion all around the cake, you can create gorgeous texture in less than 5 minutes!
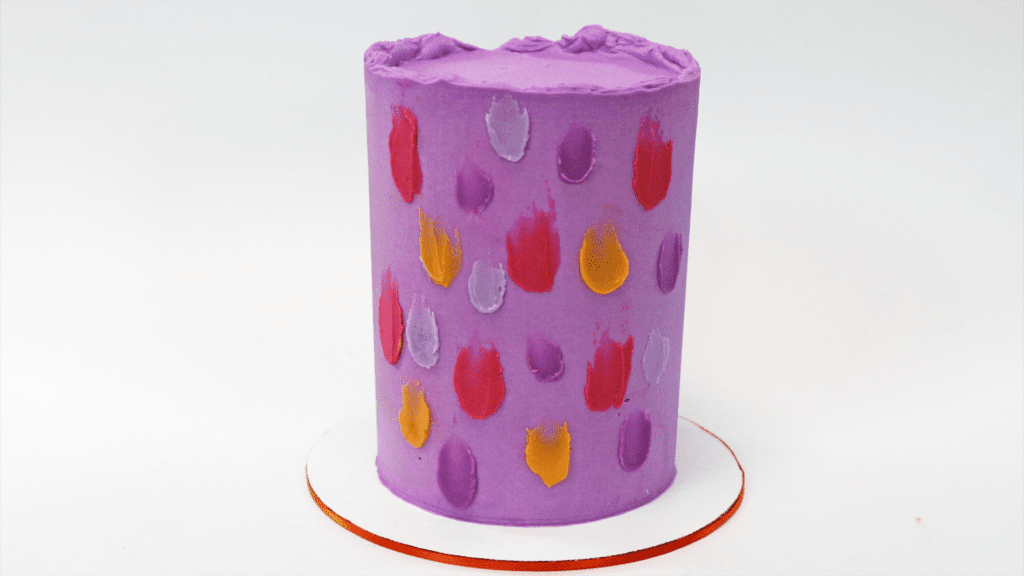
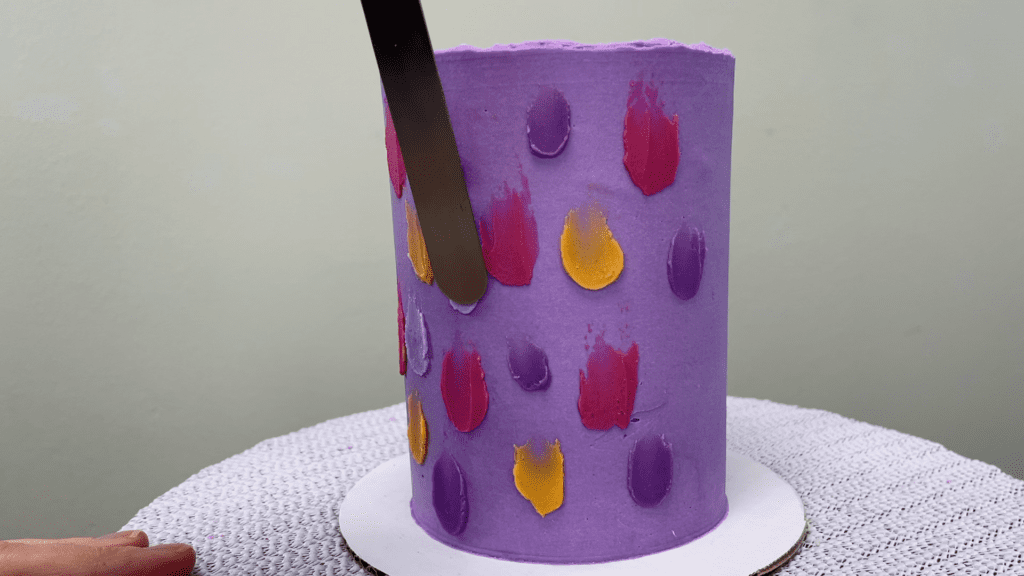
Add quick colour and texture by spreading or piping dots onto a cake and then swooshing them upwards. I have a few tips for doing this fast, and also to get the neatest results.
The most efficient way to do this is to store any small amount of leftover buttercream from other cakes in ziplock bags in the freezer. Pull the colours you want out the night before you do this so that they defrost and come to room temperature.
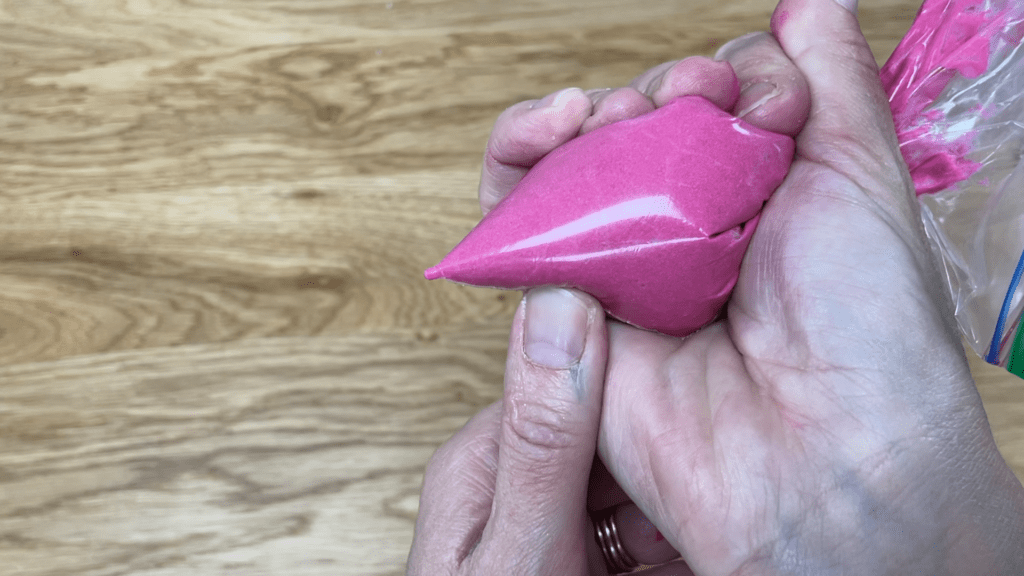
Snip off a corner of the bag and squeeze the leftover buttercream straight onto the cake. Make sure the frosting on your cake has set before you start, so that these colours sit on top of the frosting and don’t blend with the base colour, and that way the colours and texture will really stand out.
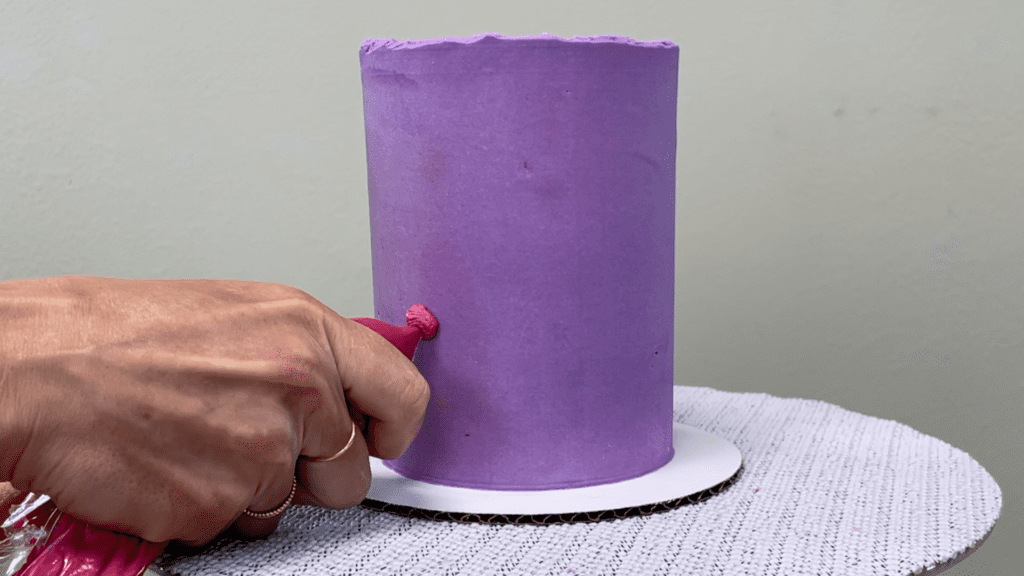
Use an offset spatula to swoosh each dot upwards, or you can use the back of a spoon to do this instead.
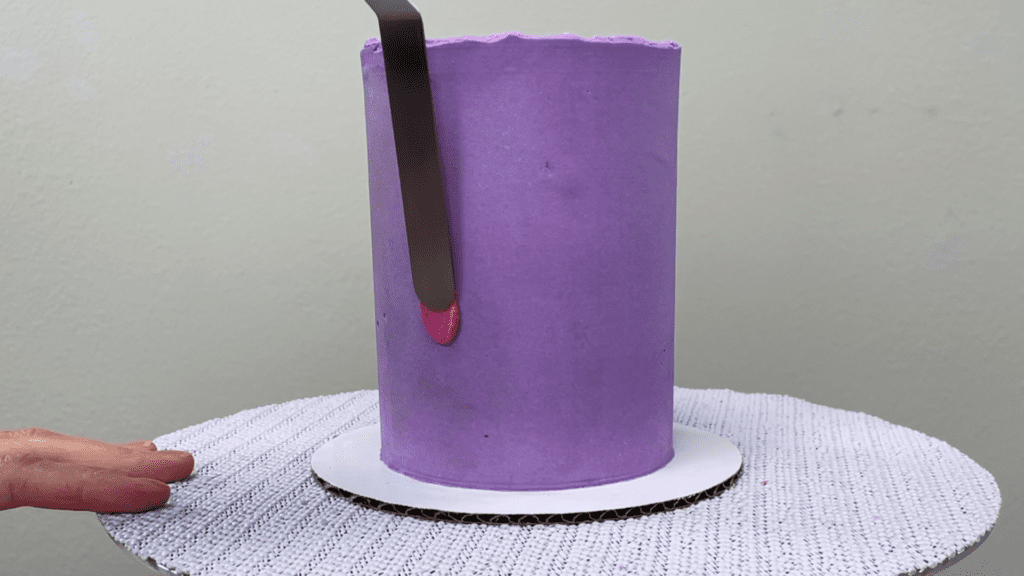
This is a really fast and simple way to add LOTS of colour to your cake in less than 5 minutes!
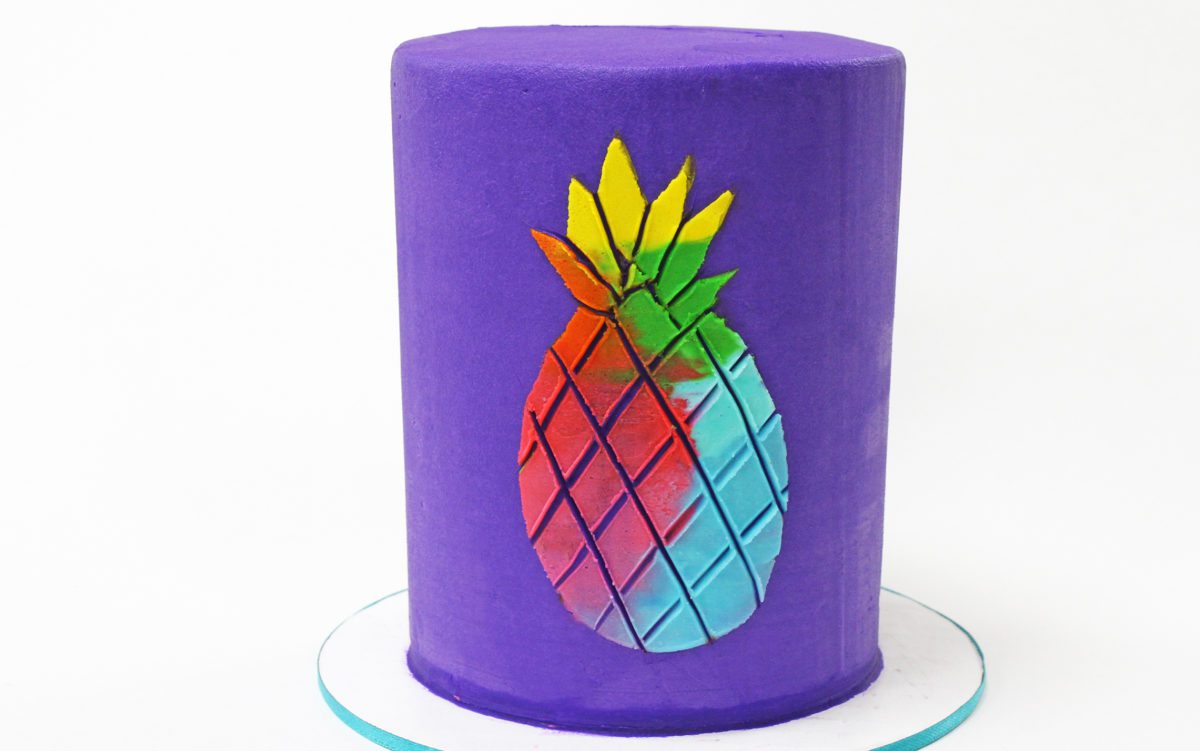
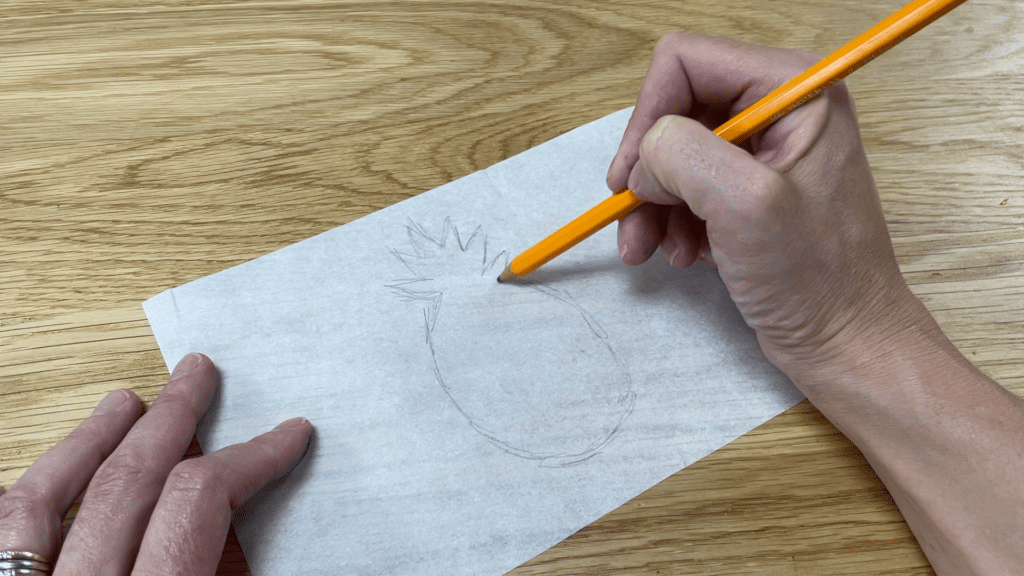
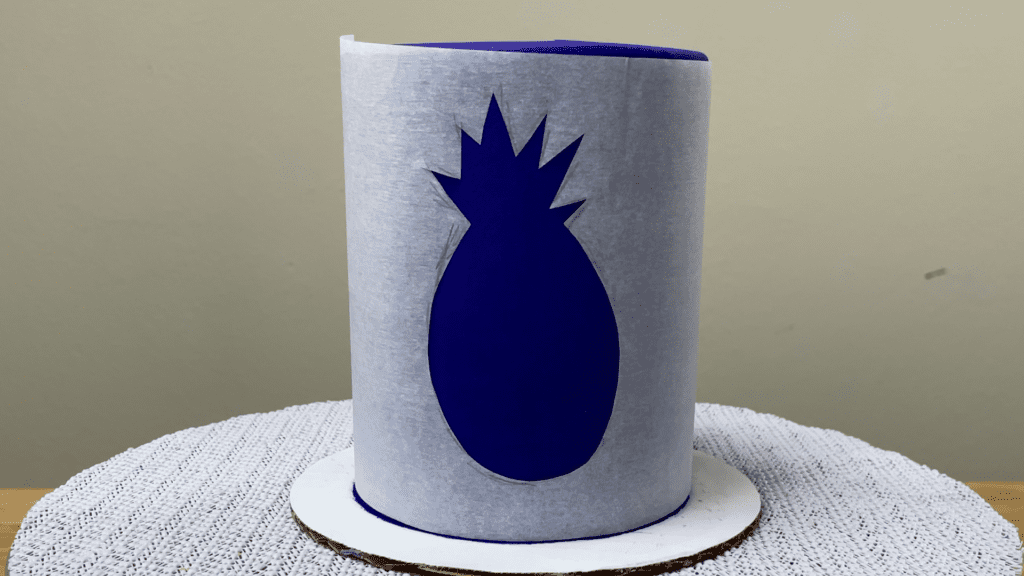
Make your own simple stencil by sketching a shape onto parchment paper and cutting it out to keep the paper outside of the shape intact. Notice that I’ve placed the shape within the curve of the parchment, so the sides curl underneath my shape. That will be important in a minute.
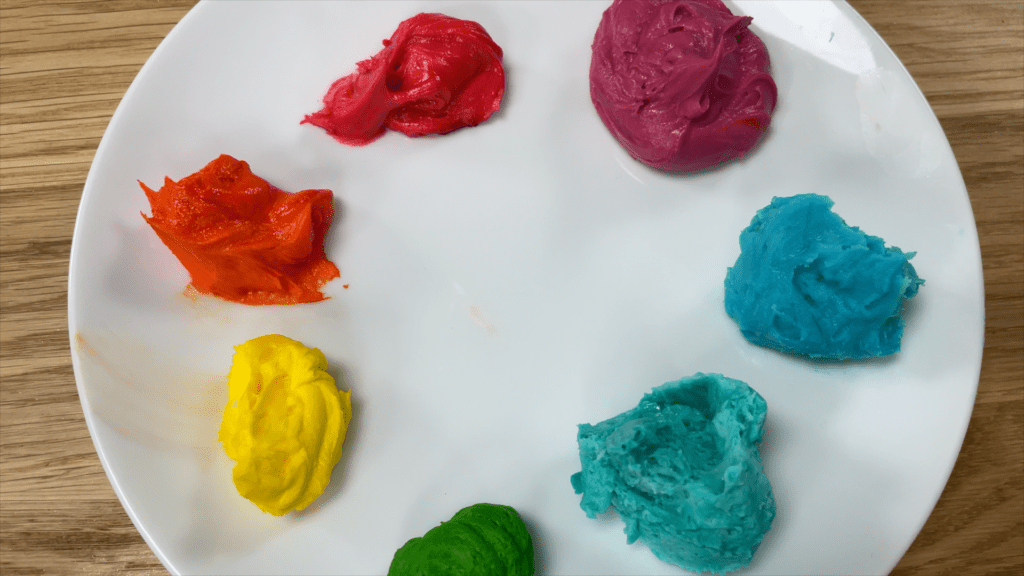
Use as many colours as you like for this – I’ve squeezed the leftovers from several piping bags onto this plate.
Wrap your stencil around a cake after the frosting sets – this cake has been in the fridge for an hour. Notice that the sides of the stencil wrap around the cake for me, holding the stencil in place, because I put the shape within the curve.
Scoop up some buttercream with an offset spatula and spread it onto the stencil, spreading from outside the shape, towards the middle of the shape, and that way you won’t push buttercream underneath the stencil, which would smudge the outline. Work your way around the stencil, always spreading towards the middle of the shape.
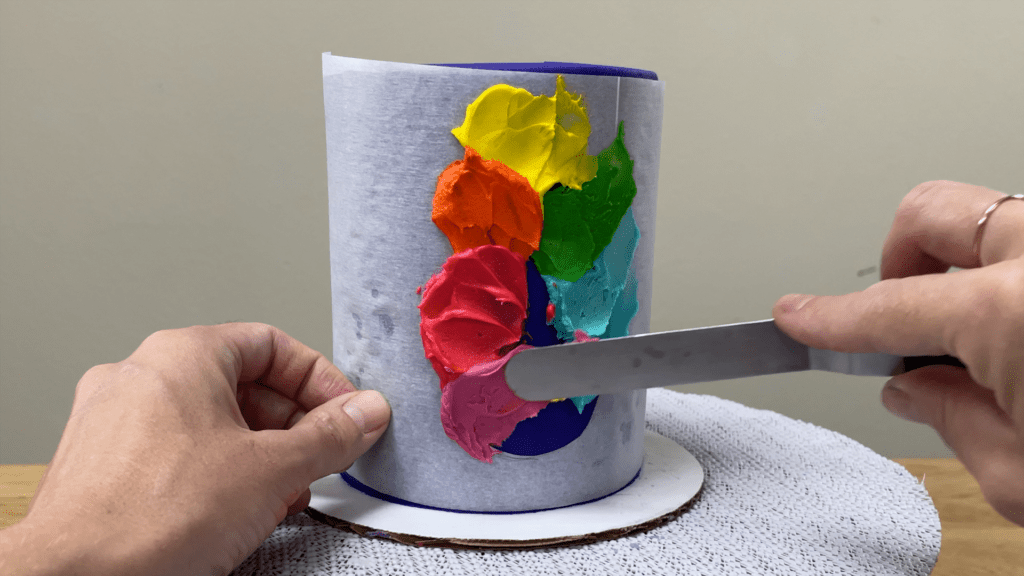
When the shape is covered up, use a frosting smoother to scrape over the stencil and that will smooth the frosting and blend the colours together slightly. You can spread on more to do any touchups and then scrape again until you’re happy with how smooth the colours are.
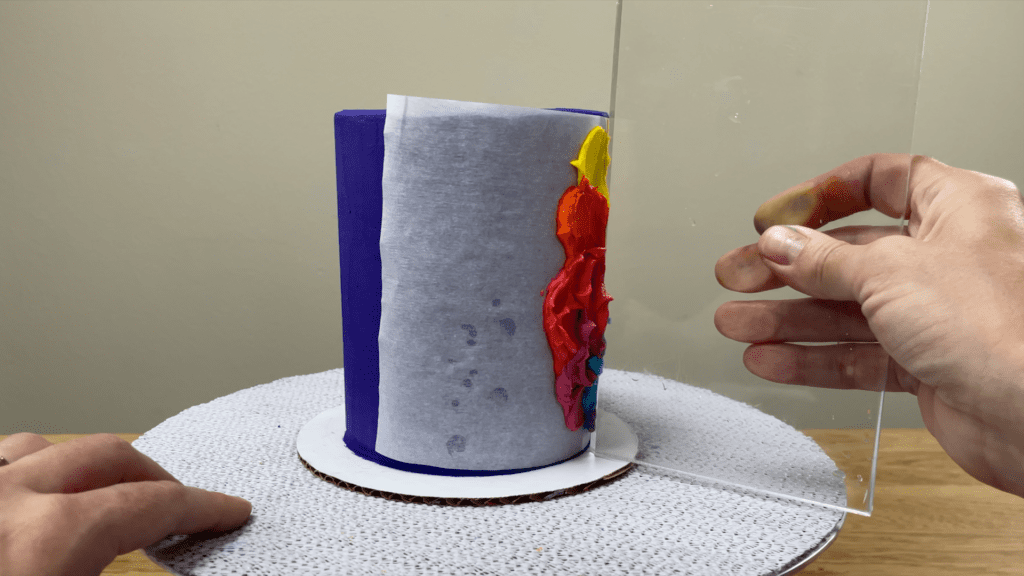
Carefully peel the stencil off from the sides towards the middle, and pull it away.
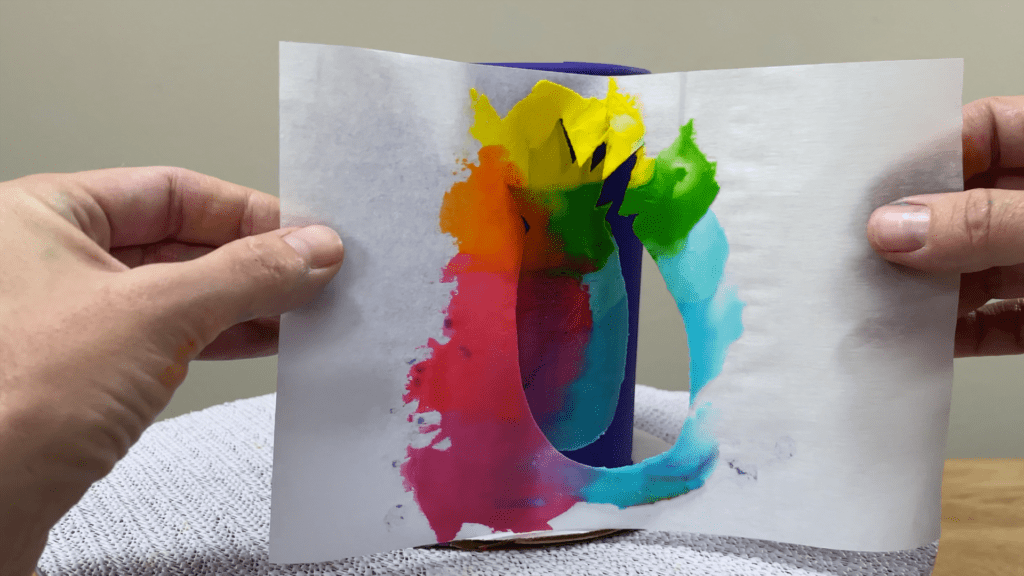
You can scrape off any smudges of buttercream using a toothpick.
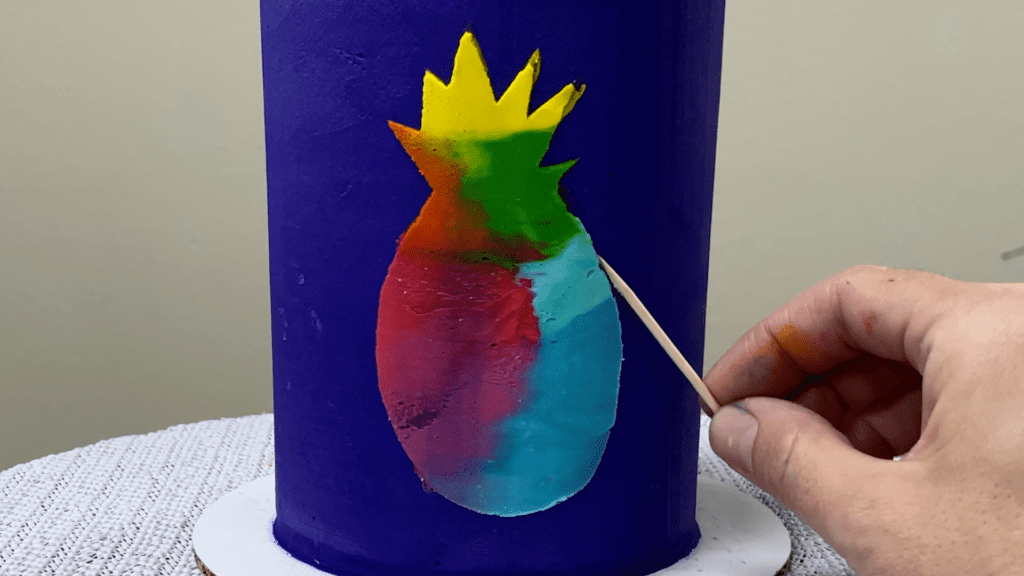
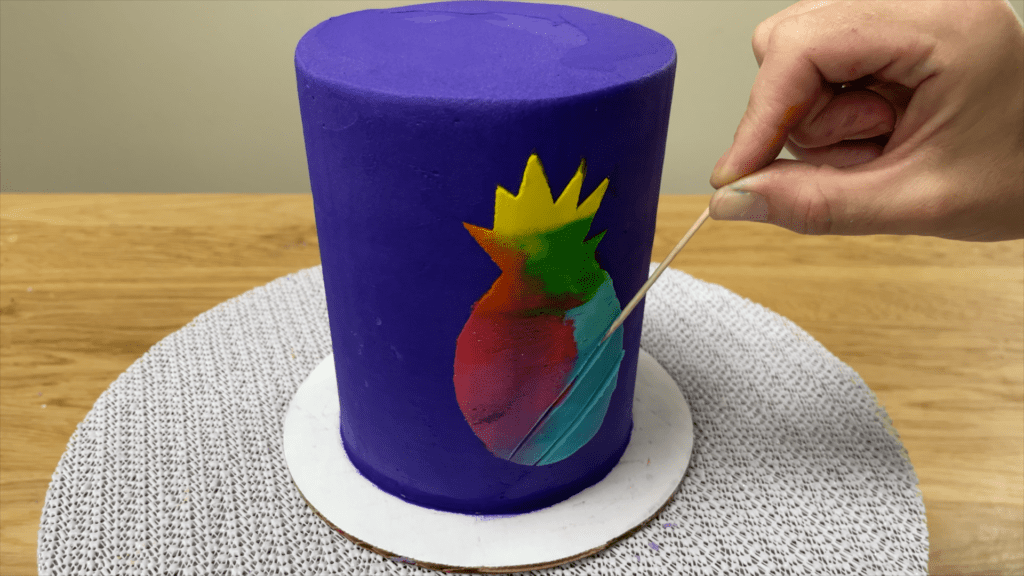
Also use a toothpick to add any details like these grooves here. Because the base frosting on the cake is cold and hard from the fridge, the toothpick will only scrape off the frosting you’ve just spread onto the stencil, and it won’t damage the base frosting on the cake.
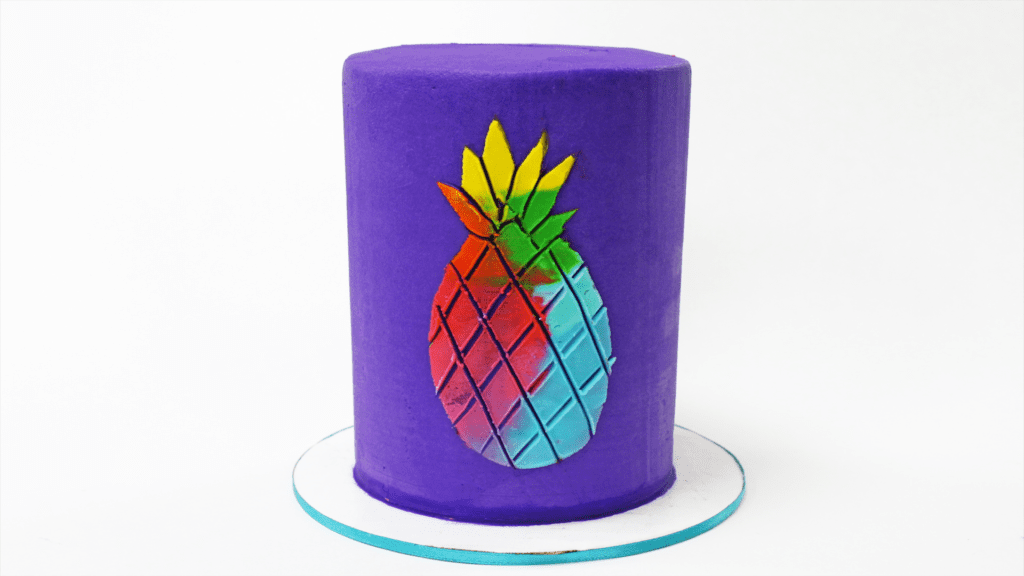
Homemade stencils are a quick way to create any shape on a cake, and simple shapes like this pineapple work best. Detailed cakes don’t have to take all day to decorate – I have an online course called Fabulous Cakes, FAST, teaching how to decorate 10 cakes in less than 30 minutes each, and to find out more and sign up visit my online cake school.
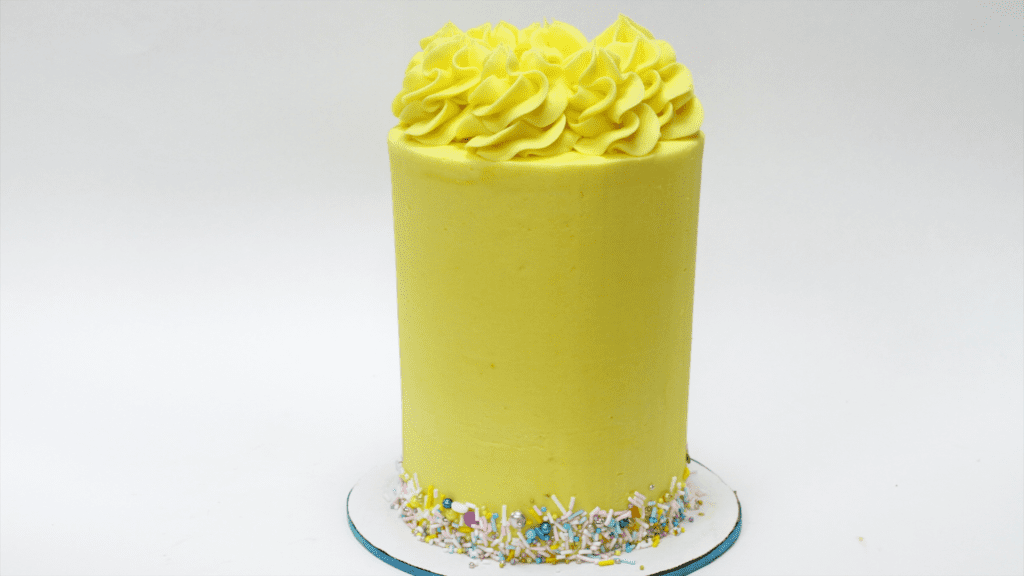
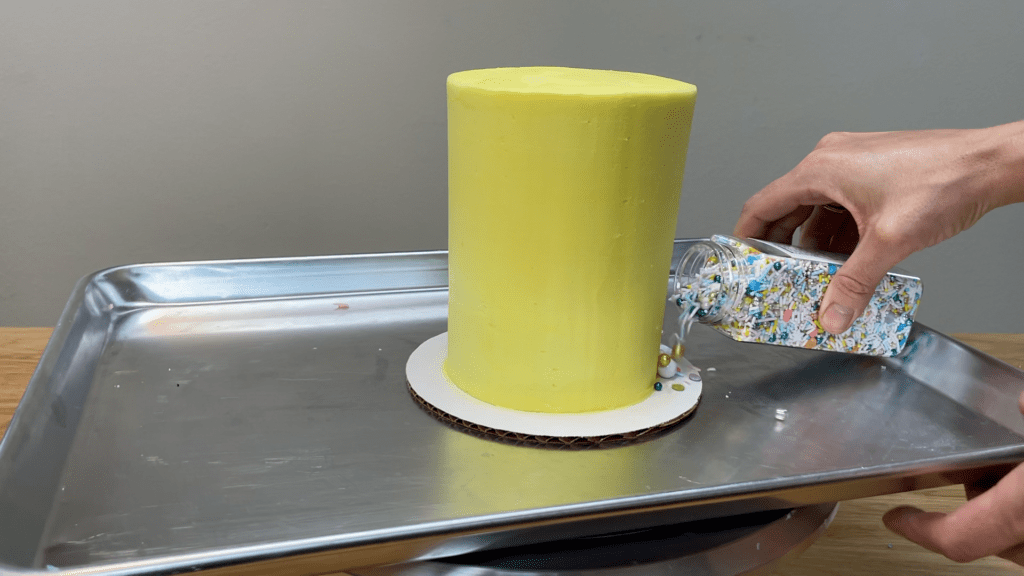
The quickest way to decorate a cake, without having to wait for the frosting to set, is to add some sprinkles around the bottom of the cake to make a border.
Place the cake on a tray to catch any falling sprinkles so that it doesn’t take you forever to pick those up later! Pour sprinkles onto the cake board all the way around the cake. Don’t worry if sprinkles spill over onto the tray – that’s what it’s there for! you can lift the tray up when you finish and pour the extra sprinkles back into the bottle or packet.
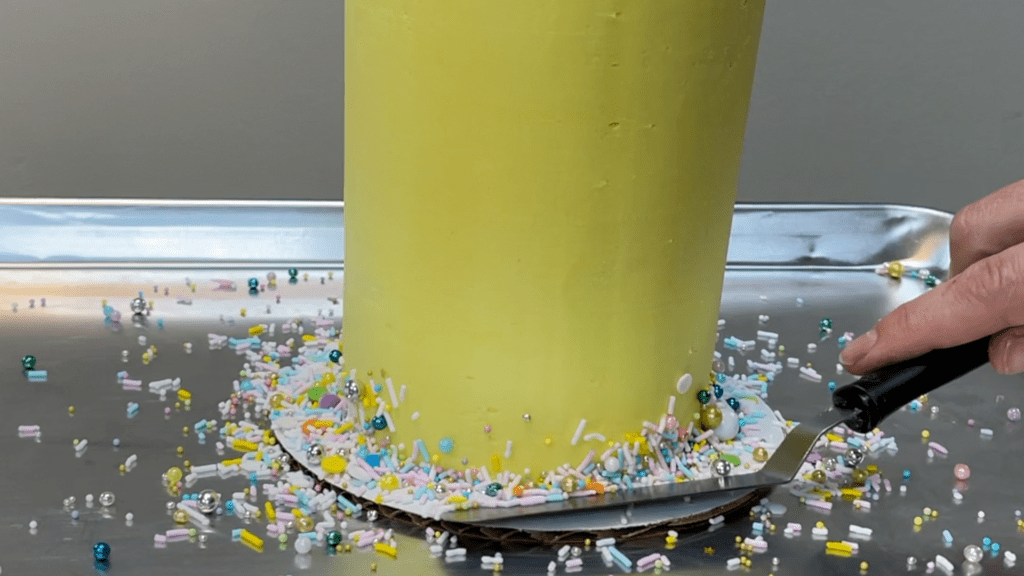
Use an offset spatula or the back of a spoon or your hand to press the sprinkles into the bottom inch or two of the cake. Pressing the sprinkles in just after frosting the cake is the quickest, because the frosting is still soft and sticky so you hardly need any pressure to attach the sprinkles.
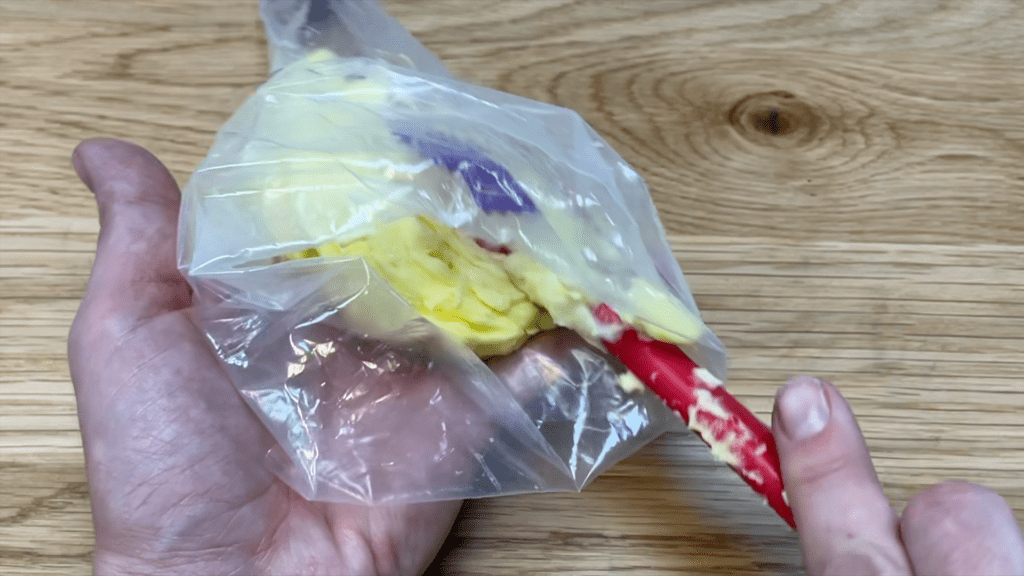
Spoon any leftover buttercream from frosting the cake into a piping bag fitted with a star shaped tip like a 1M tip.
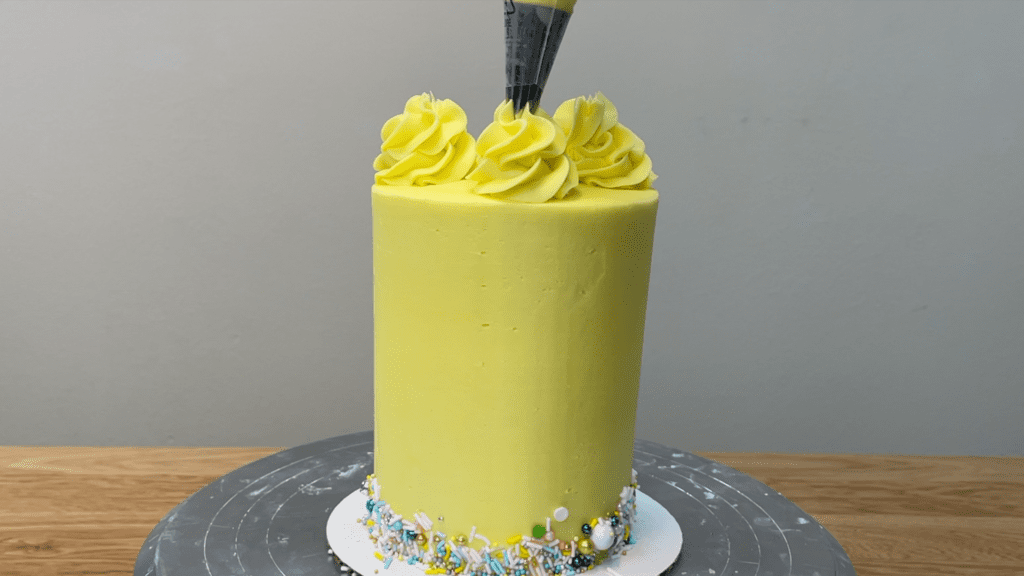
Pipe swirls around the top of the cake, spiraling upwards and making each circle a bit smaller that the previous one until you form a peak on the swirl. Press down slightly, release your pressure on the piping bag and lift it away to leave neat peak.
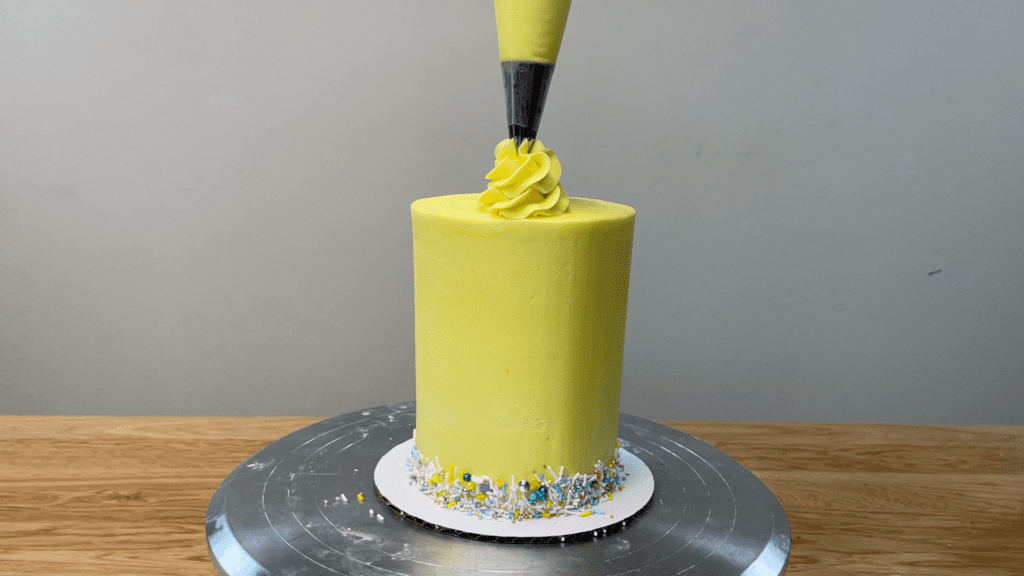
This cake design is simple but the sprinkles provide a burst of colour and the swirls add some height to the cake to make it look more elegant.
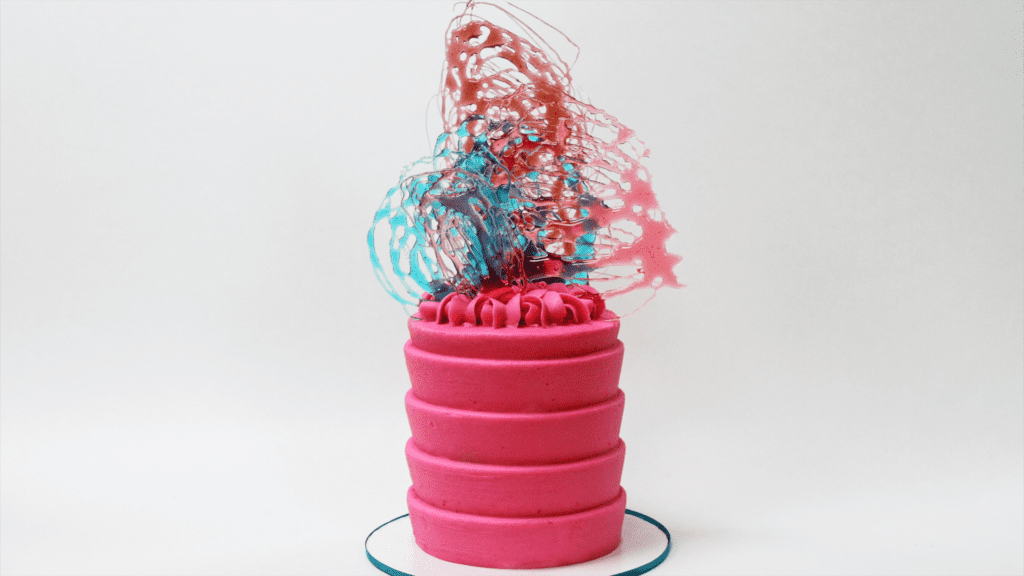
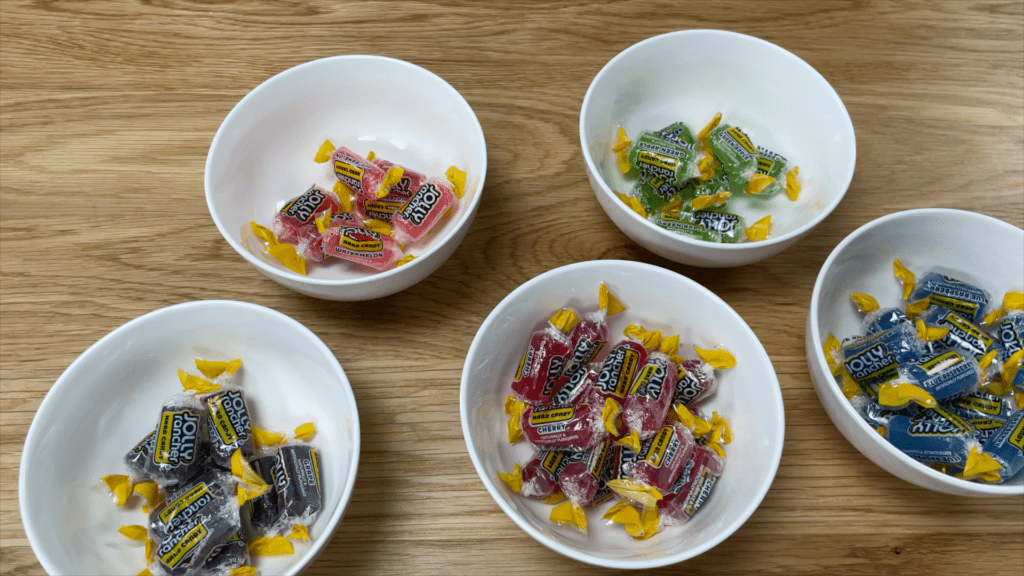
Use any hard candy or boiled sweets to make dramatic cake toppers.
Melt the candy in the microwave for 1 minute, until it’s liquid and bubbling.
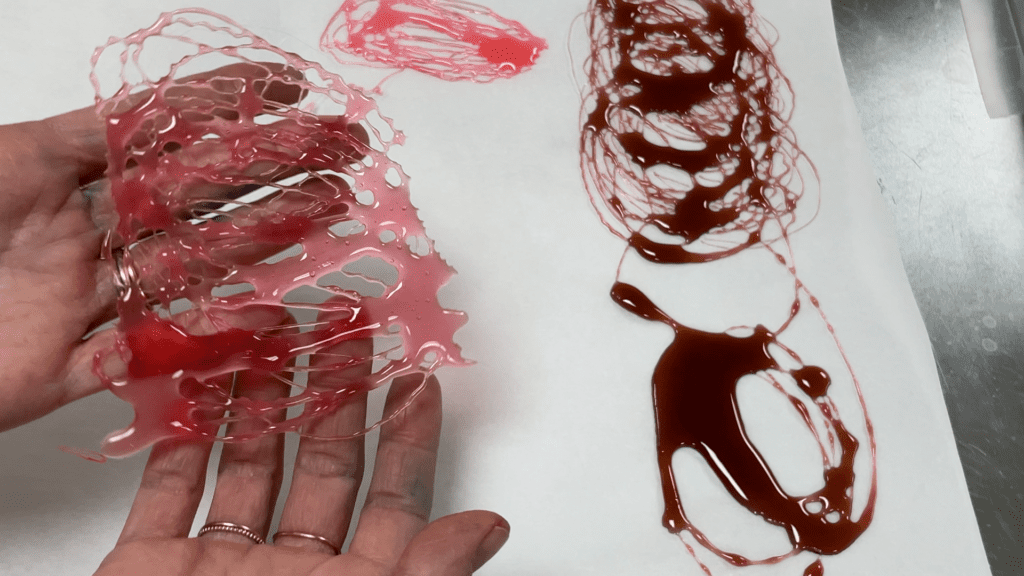
Wait about a minute for the sugar to stop bubbling and then drizzle the melted candy over a piece of parchment paper.
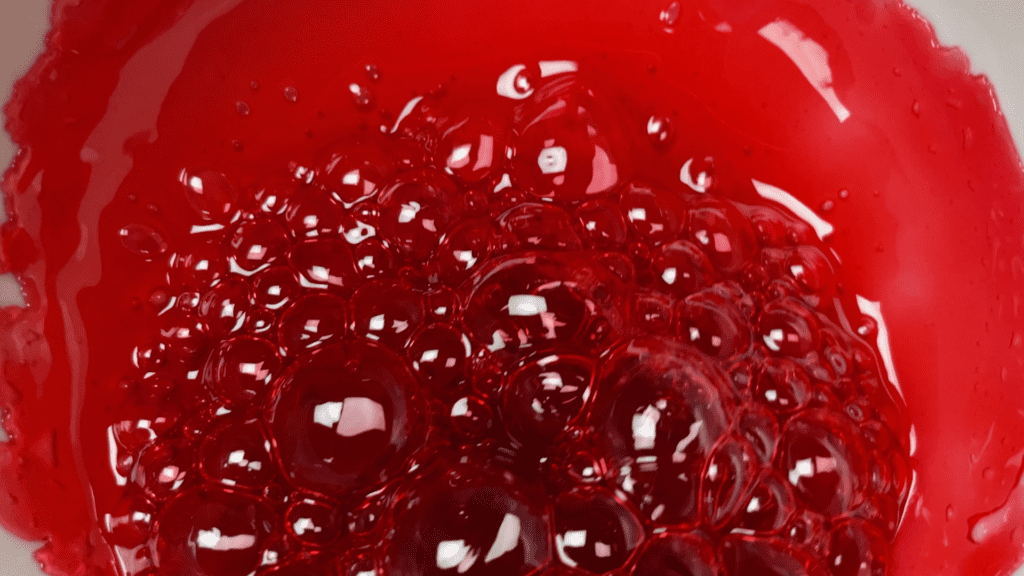
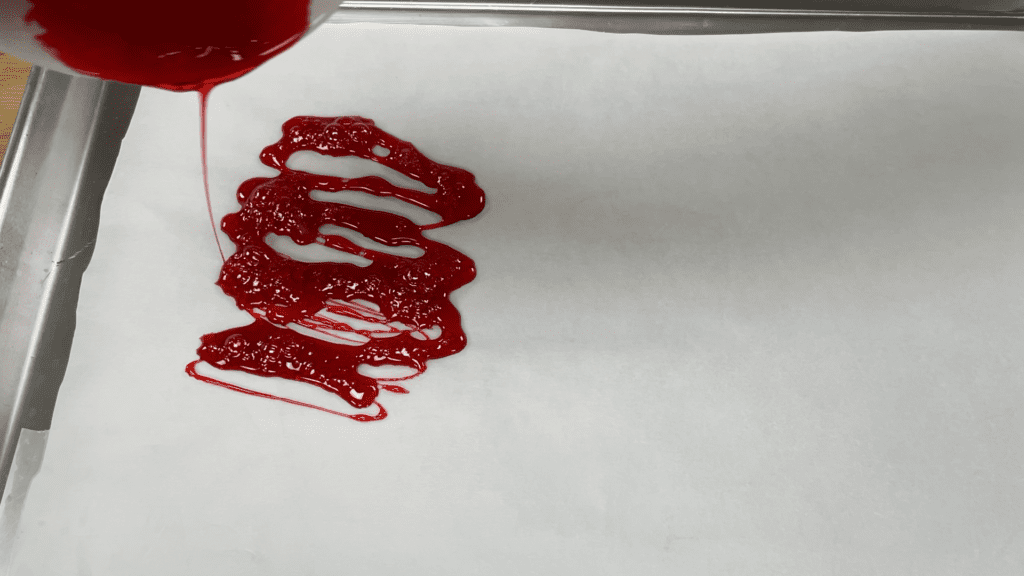
If you don’t wait for it to stop bubbling, the liquid will be too runny to hold it’s shape and it will blob together, like this:
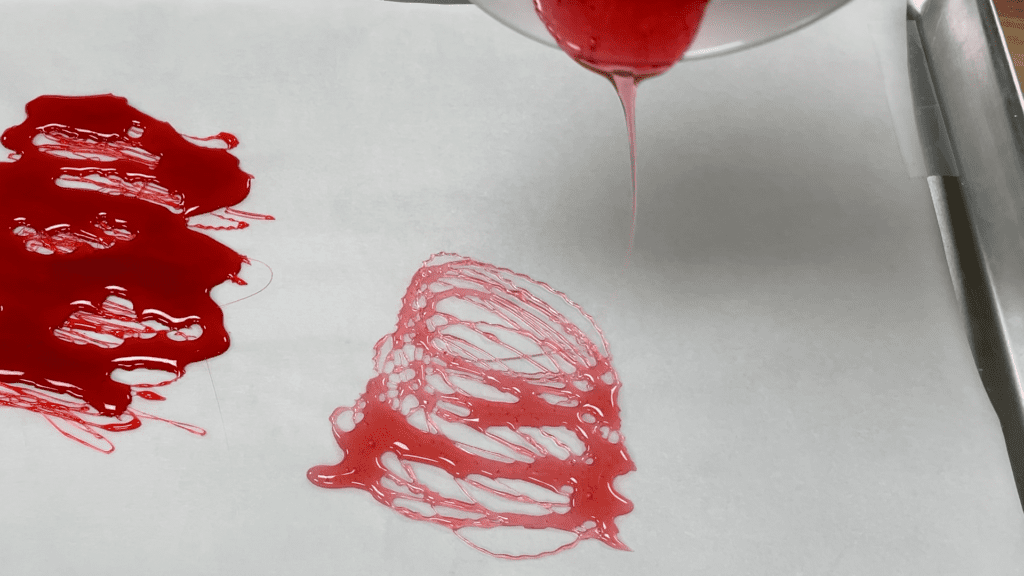
If you wait until the bubbles subside and then drizzle or wiggle it, the lines you make will be thinner and more distinct, like this. The sugar will take about a minute to cool.
Meanwhile, add some piping to the top of a cake. I’m using a 1M tip to pipe these waves, holding the bag slightly in from the edge of the cake and squeezing the buttercream out and letting it bulge out to the edge of the cake and then pulling the bag towards the middle of the cake and swiping away. You can use whatever style of piping you like. The purpose of it is to act as glue, so that the candy decorations will stick to it.
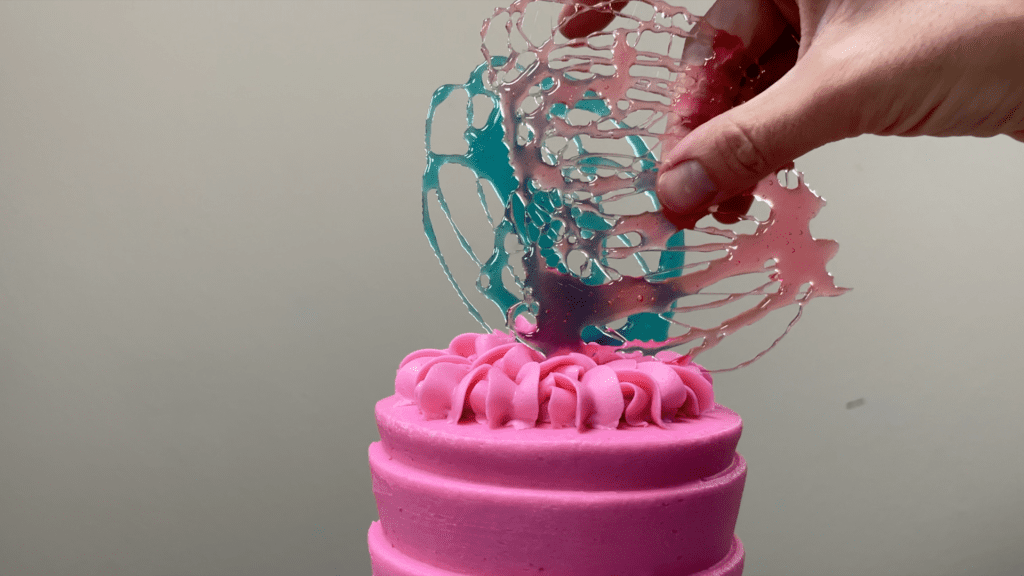
As soon as you finish piping, while the frosting is still soft and sticky, lift your shapes up from the parchment and push them into the piping.
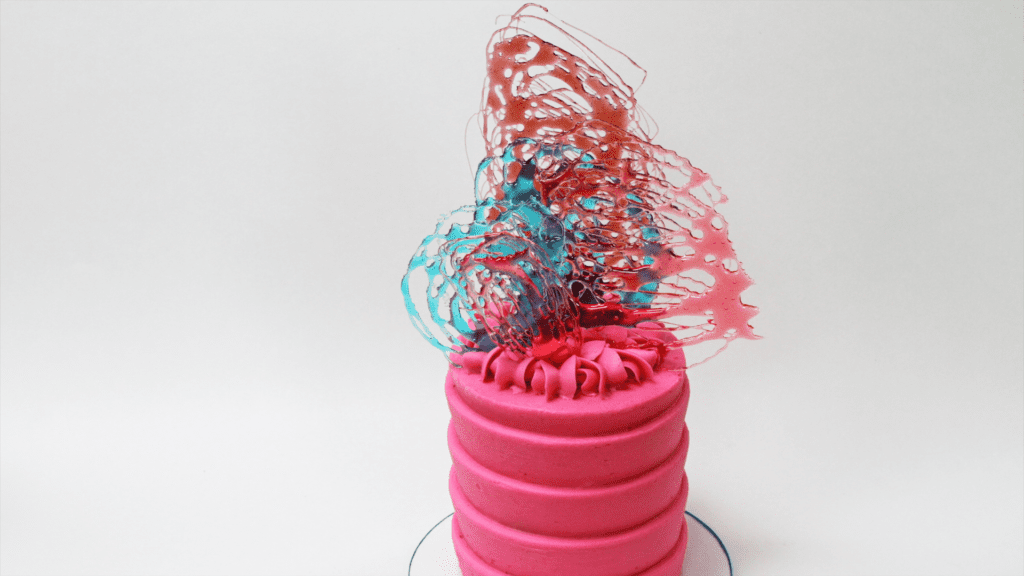
This piping will set and secure the toppers in place. No one will guess you made these topper with melted candy in less than 5 minutes!
I hope you’ve seen some ideas you want to try! Please tag @britishgirlbakes in your photos on instagram so I can see your creations. Visit my online cake school for LOTS of unique cake designs and for monthly cake inspiration join my Club for access to ALL of my online classes as well as live interactive demonstrations and Q&A sessions!
Here’s the video version of this tutorial:
