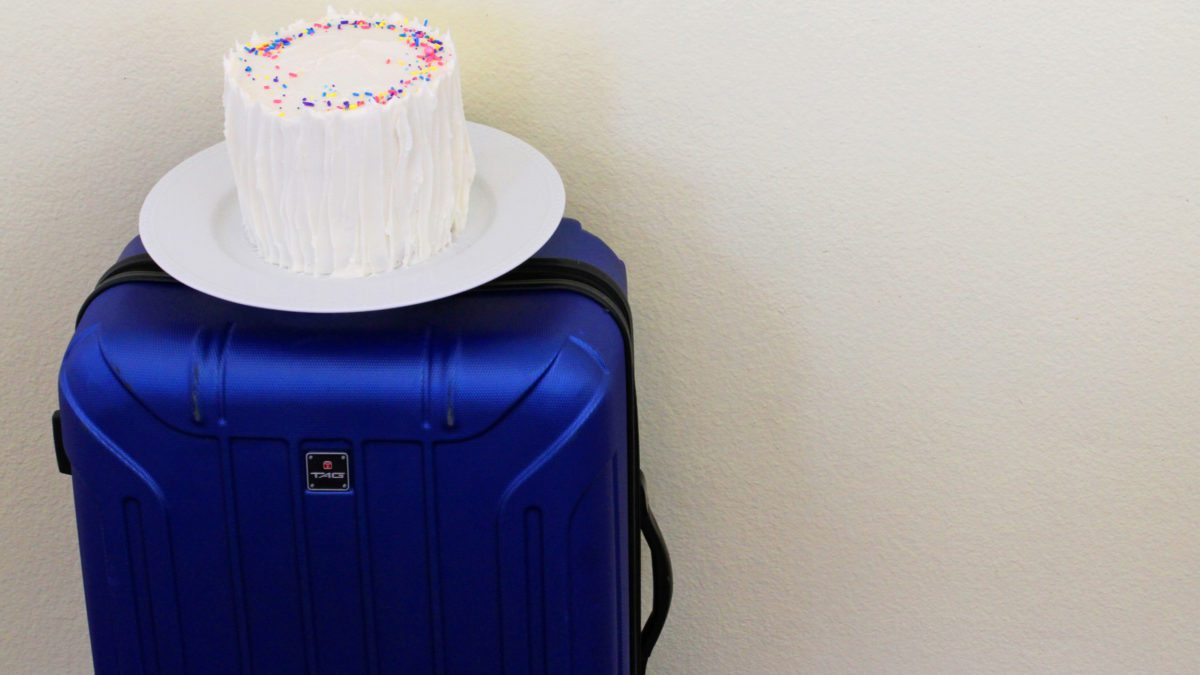
If you travel to visit friends or family, I’m sure you’ve been tempted to take them a cake but the logistics of taking it on a flight or in a fully packed car seem too daunting. In this tutorial I’m going to share the steps and essential packing list to transport a cake in your suitcase, and also how to do this with cupcakes. If you’d prefer to watch a video version of this tutorial, scroll to the bottom of the page.
Of course, you could bake, frost and decorate your cake, put it in a cake caddy or cake box, and fly with it on your lap or under the seat in front of you. But if your trips look anything like my family trips, with enough suitcases to move countries even though you’re only going somewhere for a weekend, that’s probably not a realistic option.

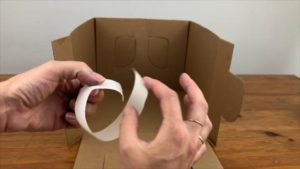
If you do choose to travel with a fully decorated cake, use a box at least 4 inches bigger than your cake. This provides there’s enough space around the cake so it doesn’t get damaged if you knock the box or you have to put it through a security scanner at the airport. Use masking tape or a non-slip mat to secure the cake board in place inside the box.
For my method to travel with a cake in your suitcase, the first step is to bake your cake. Bake the cake as normal up to a month before you travel.
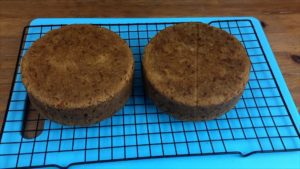
Level and divide the cake layers it if you want more layers of cake (and filling!). I strongly suggest drizzling the cake layers with simple syrup to keep them moist, since you’re going to be freezing them and because the cake probably won’t be eaten on the same day you take the layers out of the freezer. Make simple syrup by simmering equal parts of water and sugar until the sugar dissolves and once it cools, brush or drizzle it over your cake layers.

Next, make your frosting. If you’re using my 4 Minute Buttercream as a filling, assemble your cake now by spreading buttercream onto each cake layer and lining the next layer of cake up evenly on top. This ensures a straight cake.

I don’t recommend assembling before travelling if you’re using fillings that need to be refrigerated (like lemon curd or whipped cream, because they’ll be out of the fridge for several hours while you travel) or if your filling isn’t as stiff as buttercream (for example, pudding or custard or fresh fruit or other unstable or slippery fillings) because your cake won’t be as stable when you travel.
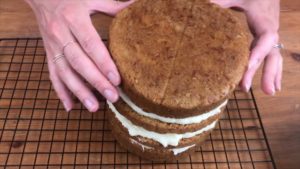
For those fillings, don’t assemble the cake and instead, wrap your cake layers individually in two layers of cling film or saran wrap. You’ll assemble the cake when you get to your destination, where you can buy fresh whipped cream or fruit or whatever else you’re using for the filling.

If you’ve assembled your cake, wrap the entire thing in cling film or Saran Wrap, using 2 layers to make sure it’s airtight and that nothing will leak later.
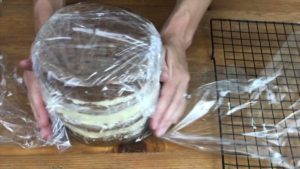
The cake will be fine in the freezer for up to a month. Individual cake layers will also freeze well for up to a month. Freezing the cake or layers makes them more stable to transport and also means you can prepare ahead of time.
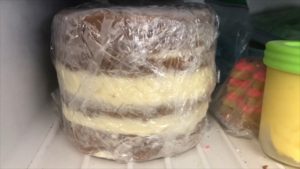
Put your buttercream into a ziploc bag and press it flat, squeezing the air out of the bag before you seal it. The bag will need to fit inside your coolbox (explained later!) so if the ziploc bag is too big, fold it in half before you freeze it.

On the day you travel, take the cake and frosting out of the freezer and place them in a cool box or lunchbox with an icepack, or several icepacks if you can fit them. The cake and frosting will defrost on your journey, so by the time you get there they’ll be thawed and ready for the final steps, but you want this to happen as slowly as possible and that’s the reason for the icepacks.
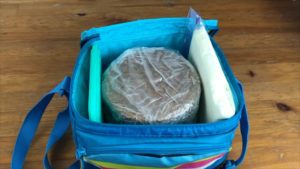
Prepare the cool box just before you leave the house and place it in your suitcase. This way, the contents will stay cold for as long as possible.

You’ll also need an

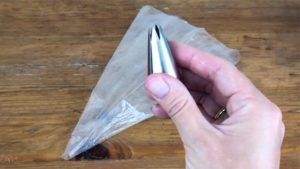
Optionally, you can pack any decorating supplies, like a piping bag and piping tip and sprinkles.
For cupcakes, the steps are very similar. Bake the cupcakes as normal and after they cool, arrange them in a tupperware container.
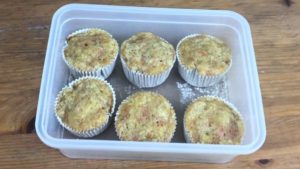
It’s important that the cupcakes fit snugly in the tupperware so they don’t move around when you travel. If you have space in between the cupcakes you can use scrunched up paper towels to fill the spaces.

This way, even if the tupperware gets shaken around or flipped upside down while you’re travelling, the cupcakes won’t get knocked against the sides of the tupperware or squished against each other.
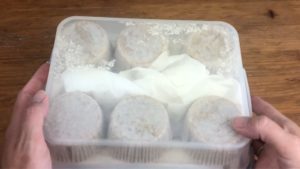
Make your buttercream and freeze it in a ziploc bag. Freeze your tupperware of cupcakes as well. You could use a large ziplock bag instead but a tupperware will protect them better for travel. Freezing everything keeps them stable, cool and undamaged during transport.
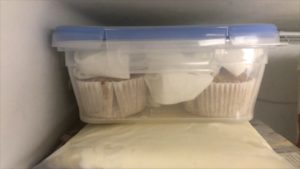
On the day you travel you can either put the cupcakes and frosting in a cool box in your suitcase, like I did with my cake, or if they don’t fit you can wrap them in a plastic bag. I recommend wrapping the plastic bag in a towel so that if there’s any condensation as they defrost, they won’t wet anything in your suitcase. Also pack a piping bag and your favourite piping tip – mine is a Wilton 1M.
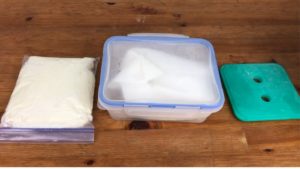
When you get to your destination, take the coolbox out of your suitcase and remove the cake and frosting. I’m squeezing my buttercream out of the ziploc bag into a bowl but you can use it straight out of the ziplock bag to minimize tools and the number of dishes to wash up!

If you decided to travel with a cake in your suitcase, put a dollop of frosting onto the middle of your plate and press the cake on top so that it sticks to the frosting.
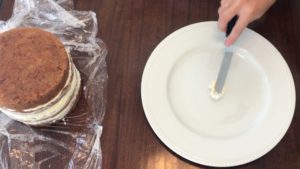
Now cover the whole cake in frosting using your
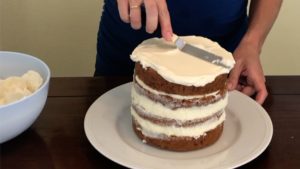
I have a tutorial on how to get perfectly smooth frosting but it’s not realistic when you’re working without a

Instead of attempting to smooth the frosting, I like to apply texture with a piping bag or with my
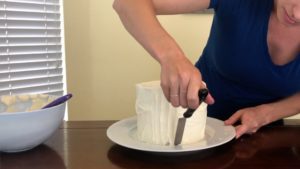
Wipe the
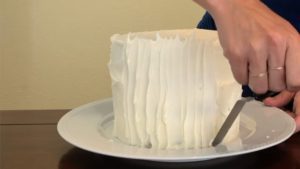
I’m adding some sprinkles as a final touch and voila!
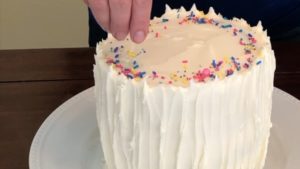
A delicious, homemade cake made with love and easily transported, in this case to Seattle!

If you chose to travel with cupcakes in your suitcase, when you get to your destination the cupcakes and frosting will have thawed.
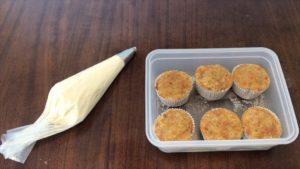
Squeeze the frosting into your piping bag and pipe swirls of frosting onto the cupcakes.

To make the cupcakes more celebratory, add some sprinkles straight after piping on the buttercream, while it’s still sticky.
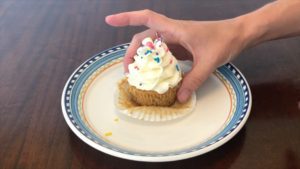
You won’t believe how moist and fluffy the cupcakes are after defrosting – I honestly can’t taste the difference between freshly baked cupcakes and ones that have been frozen!

I hope this tutorial was helpful and that you can take a cake or cupcakes with you next time you travel. I took these cupcakes and cake to Seattle, Washington! I’d love to see your experiences… please tag @britishgirlbakes in your photos on Instagram or Facebook!

If you’d prefer to watch a video of this tutorial, click the play button below:
