Which are the best piping tips to buy? There are so many piping tips available but some are more useful and more versatile than others. In this tutorial I’ll show you my best 10 piping tips and also how to use them!
A 1M tip is usually the first one you buy, to pipe swirls onto cupcakes. It has long prongs that come together to make a star shape at the end. You can pipe these same cupcake-style swirls onto the top of cakes, too.
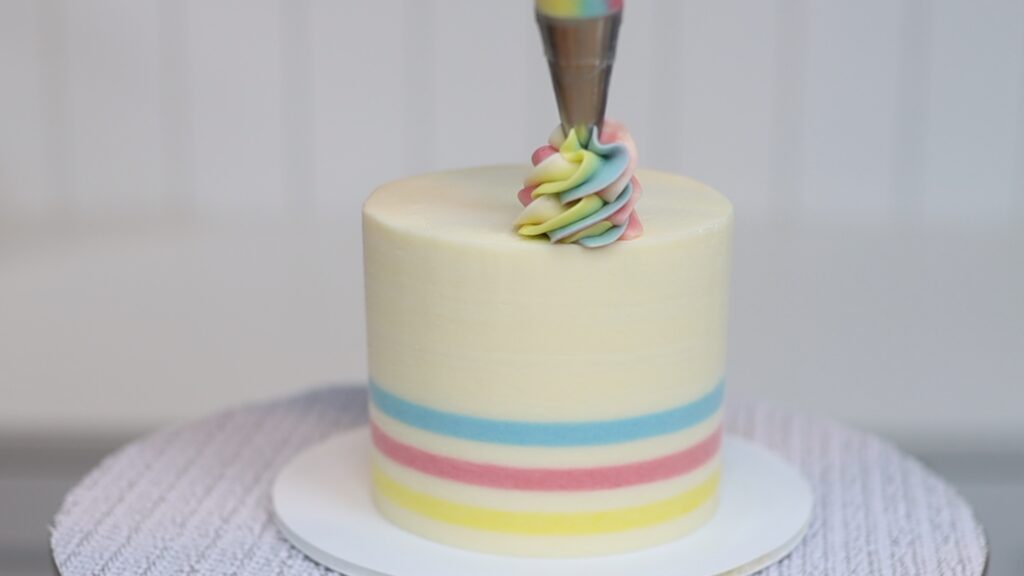
Instead of these tall swirls, try piping two circles, spiraling upwards so that one is on top of the other. Pull your piping tip away from the swirl in the same direction, at the same point for each swirl.
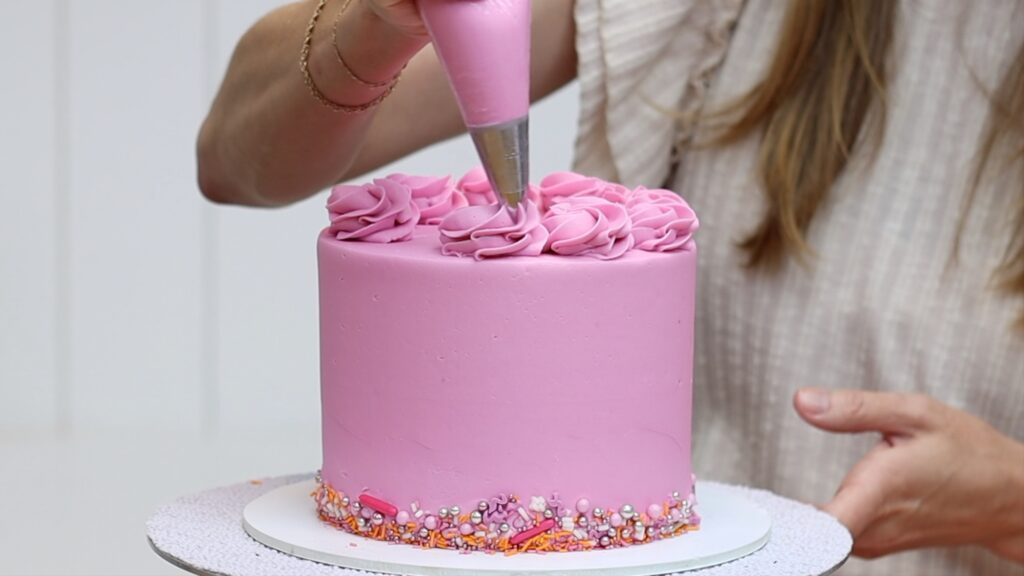
These short swirls work really well on naked cakes like number cakes too. The pretty texture is visible around the sides since there is no frosting to cover them up. And short swirls hold their shape well under the weight of the cake layer on top.
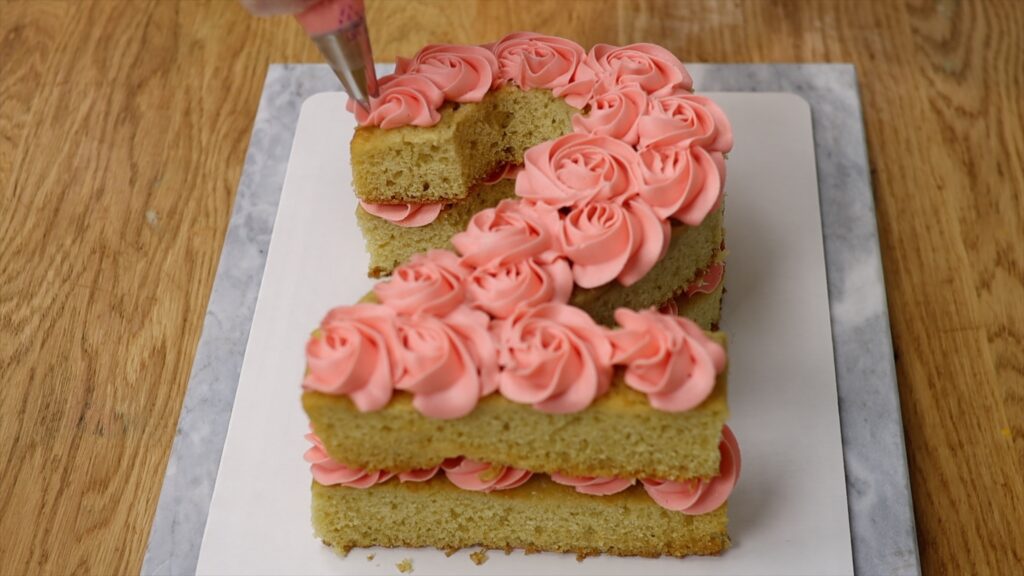
You can use the swirl technique in reverse to pipe rosettes on cakes. Start in the middle and spiral outwards, swiping away when your rosette is as big as you'd like it. This is a quick but pretty way to cover a cake using piping tips. Fill in any gaps with a little squeeze through the same 1M piping tip to make pretty star blossoms.
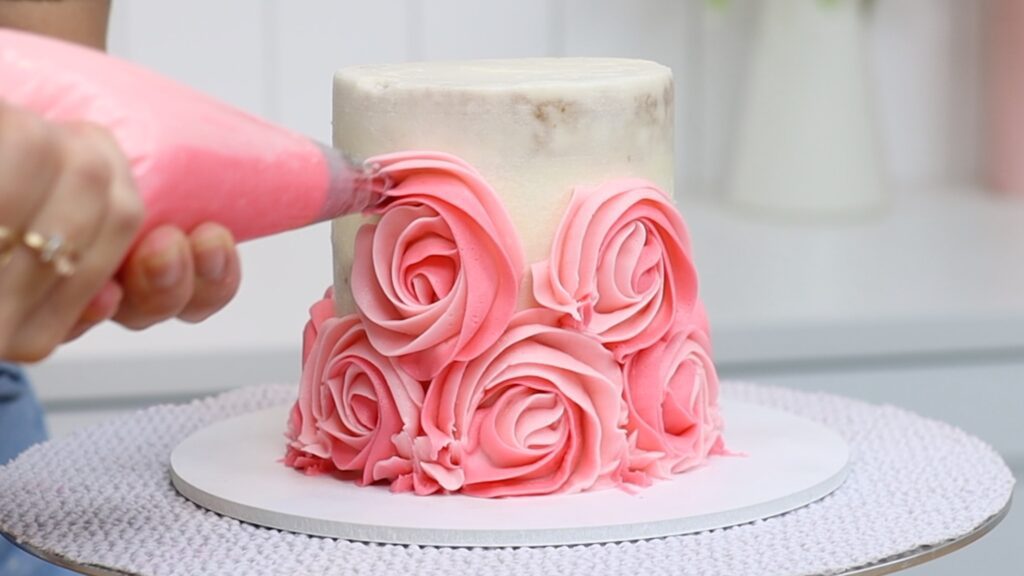
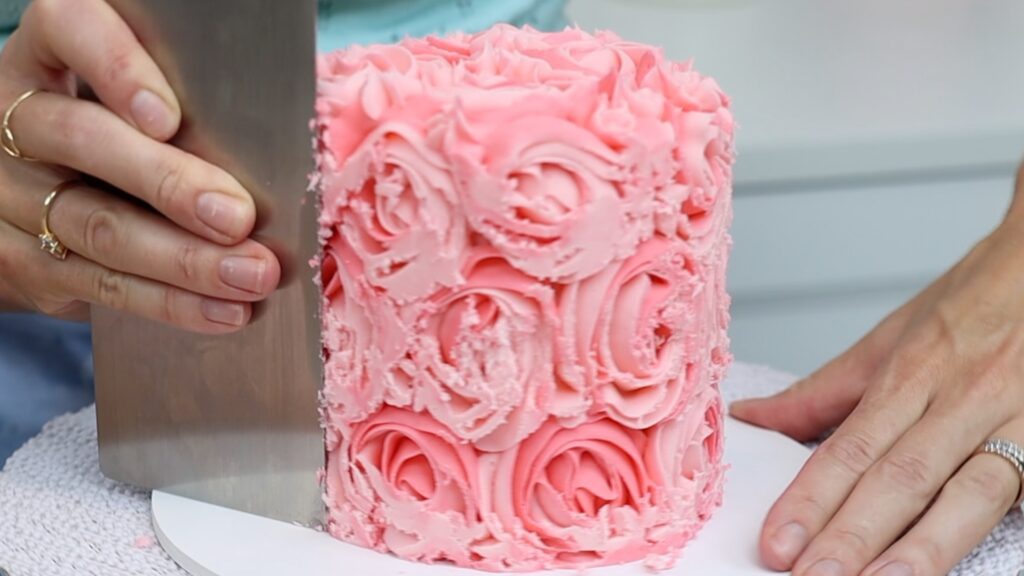
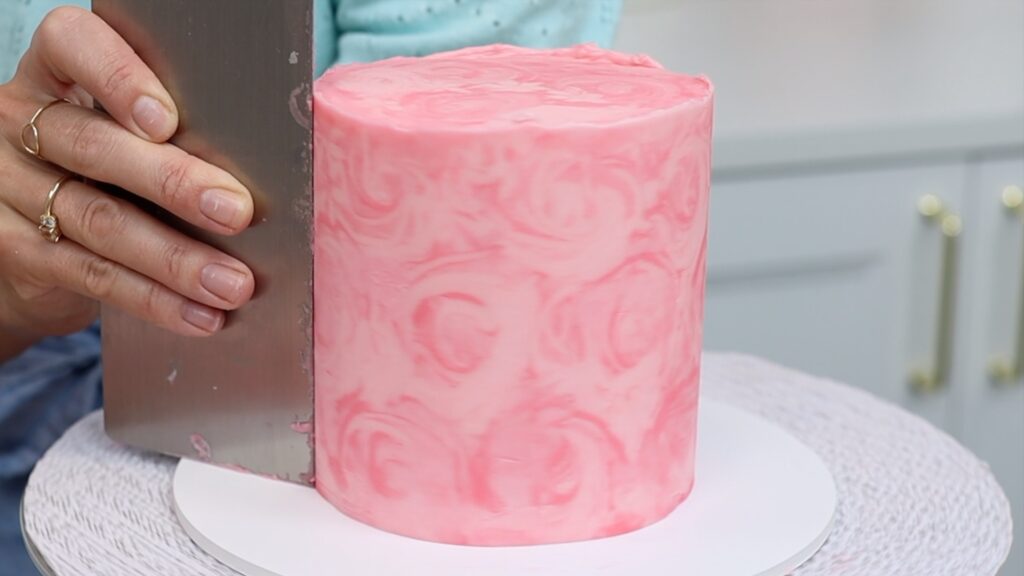
For a unique effect, freeze these piped rosettes and then scrape around the cake with a hot metal cake comb. You'll reveal a cross section of the piping that looks like fondant or a printed icing sheet.
Pipe rope borders with a 1M tip, making links of buttercream with overlapping circles around the top of a cake. Rope borders are a quick way to add height and texture.
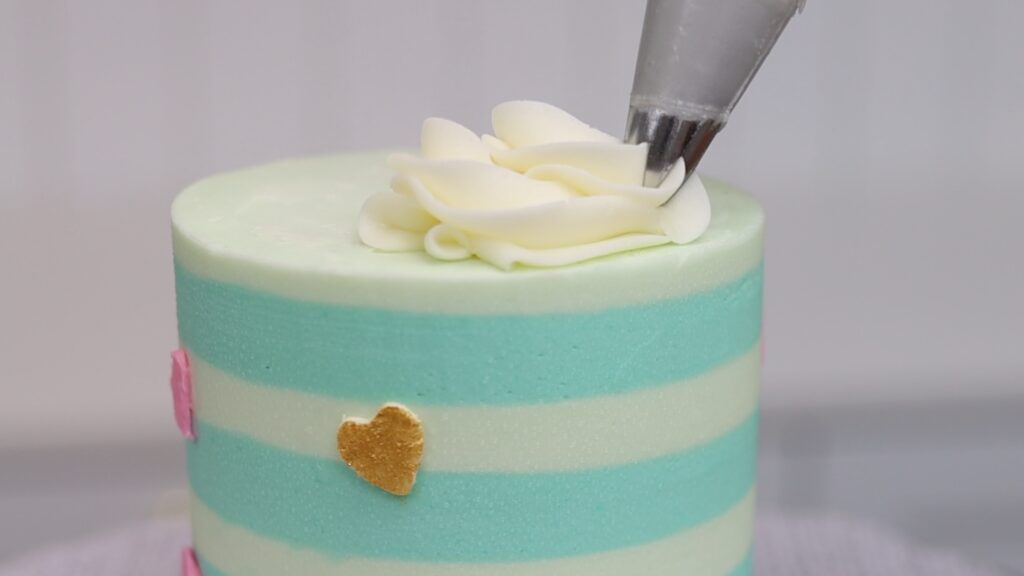
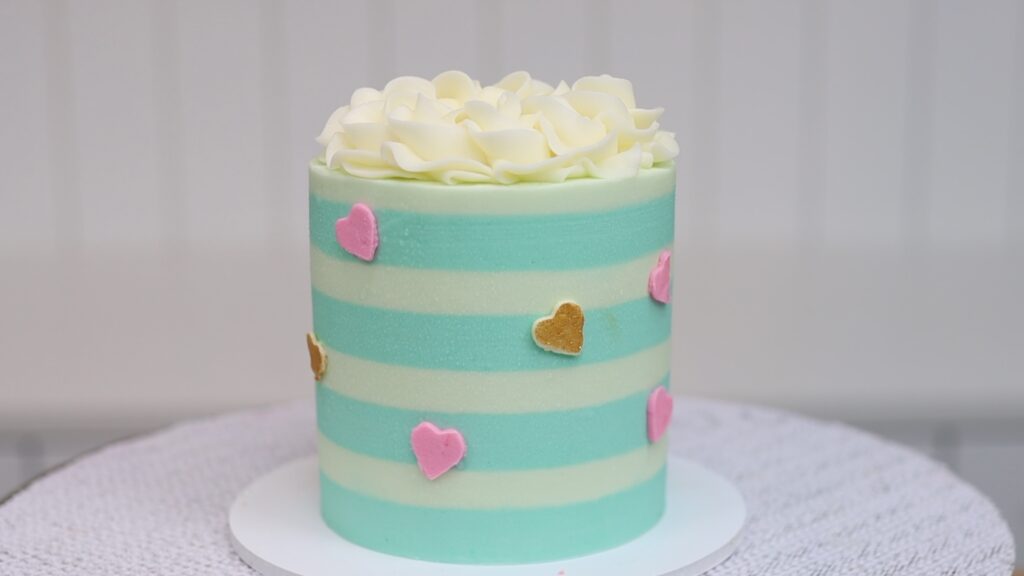
If you already have a 1M tip but want to branch out, I recommend a 2D tip. It pipes a softer swirl than a 1M tip, with more wavy folds. This is considered a closed star tip because of the way the prongs close in around the tip.
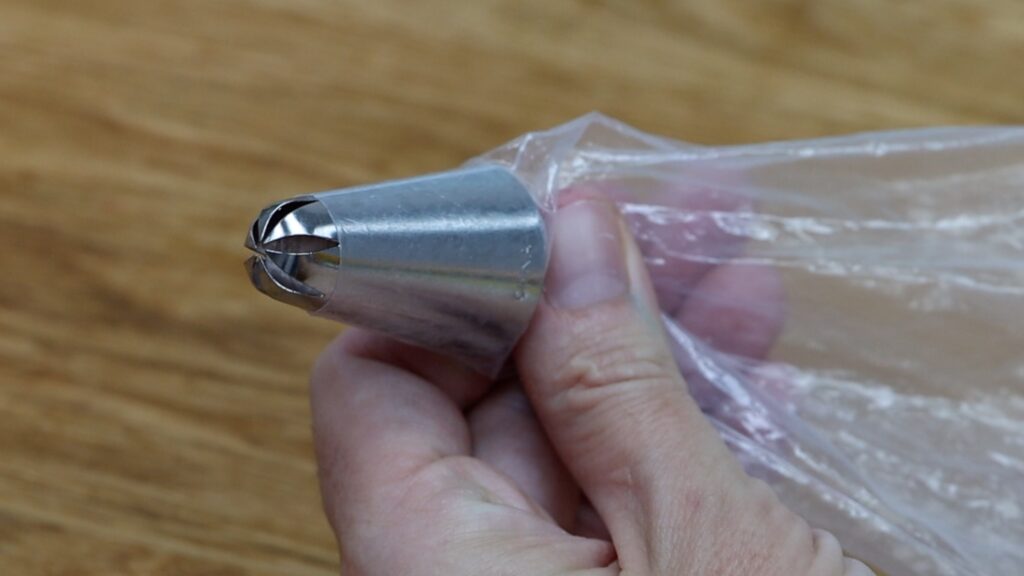
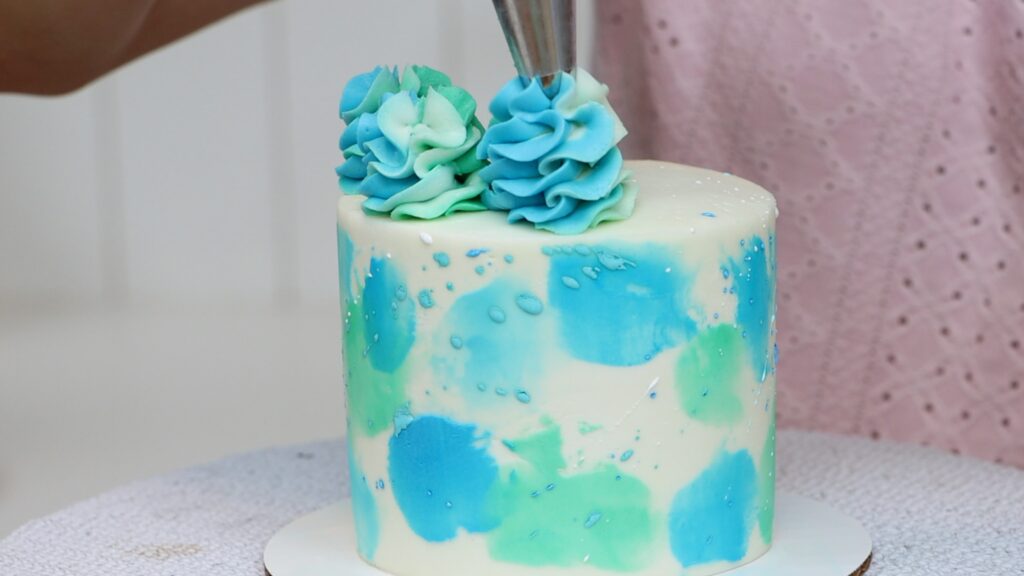
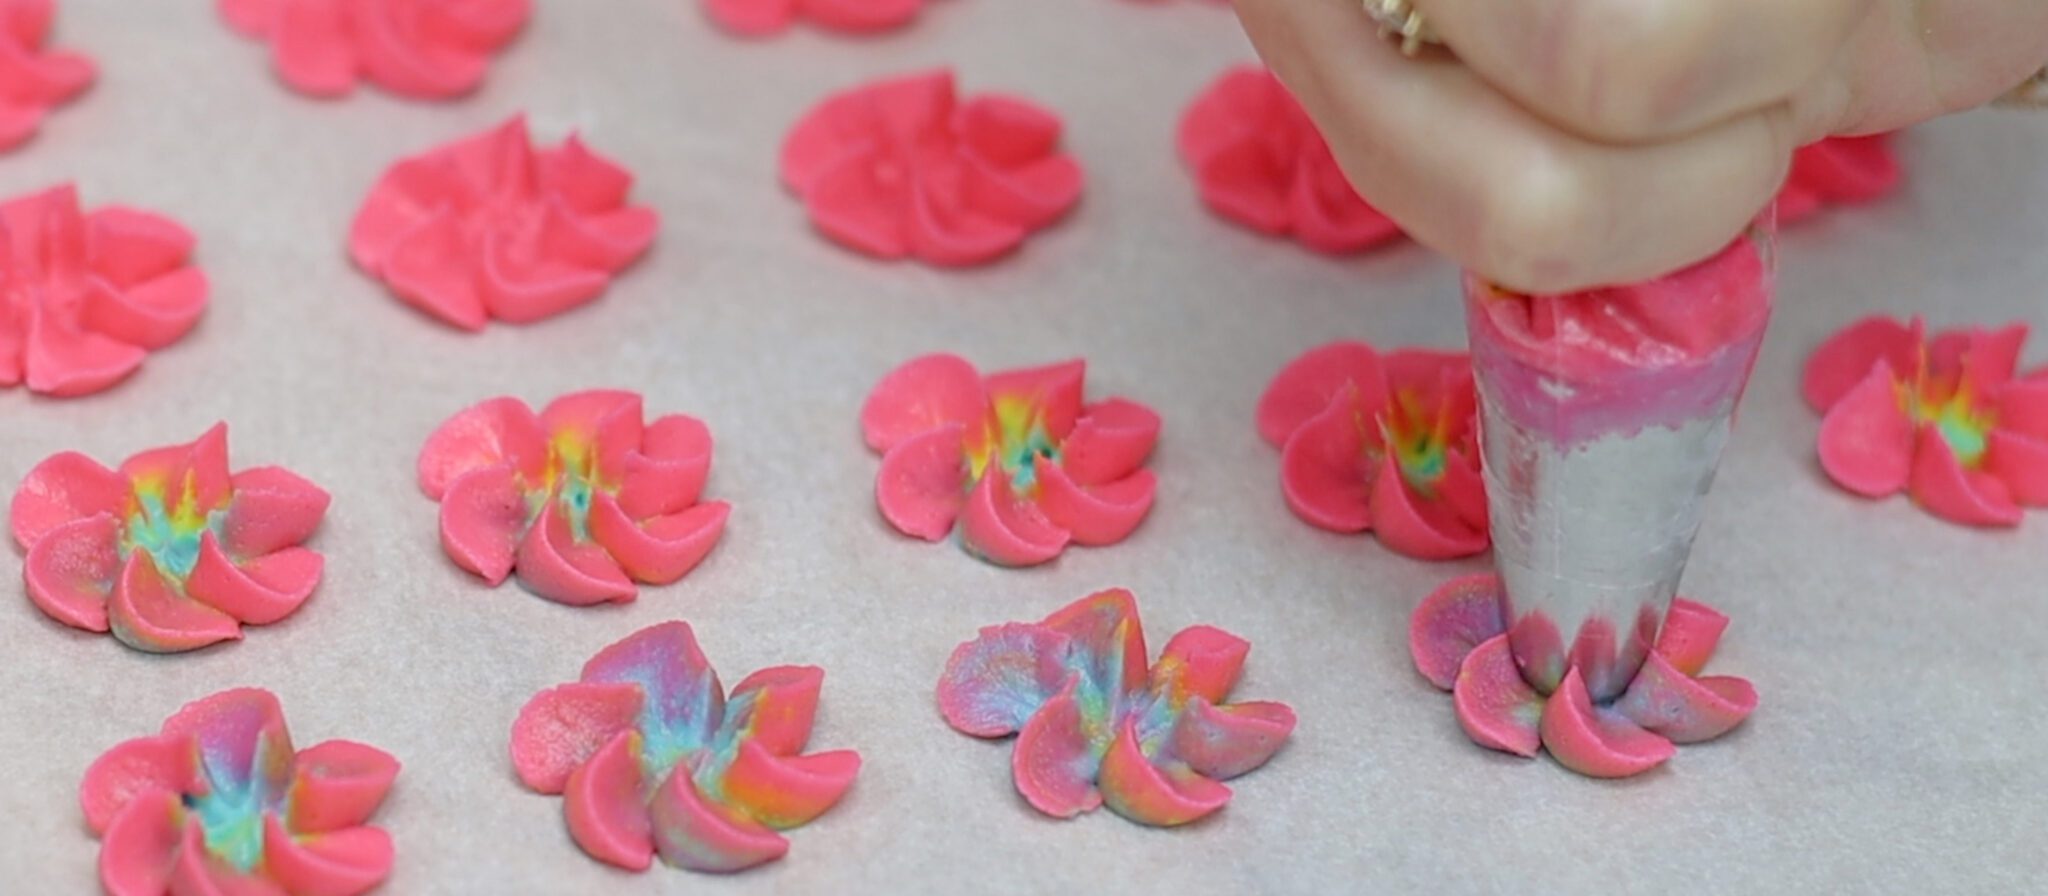
You can also use a 2D tip for drop flowers. Squeeze the bag to push the buttercream out and then twist your wrist to let the petals fan out sideways.
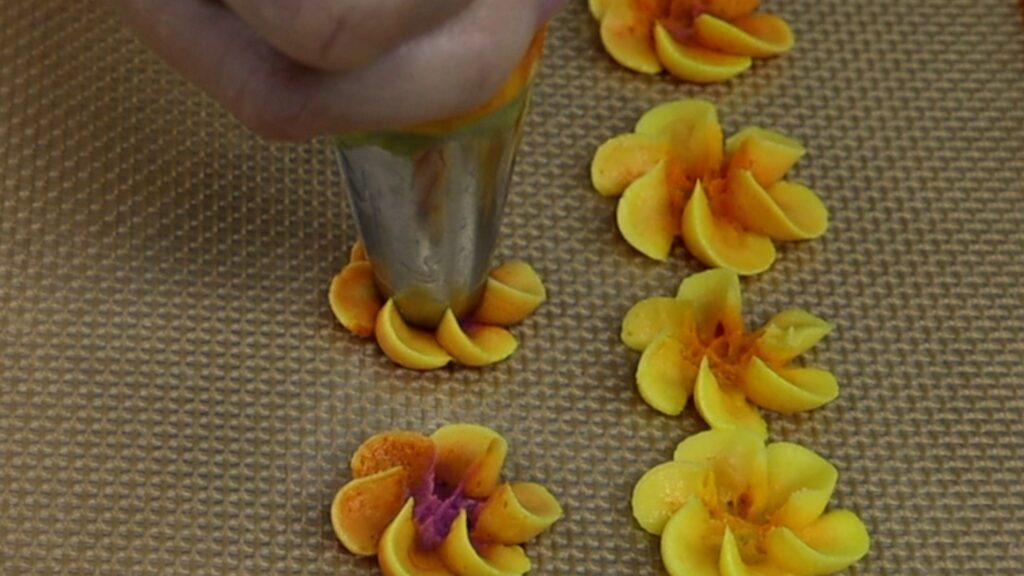
You can pipe these straight onto a cake or onto a silicon mat or parchment paper. After piping them you’ll need to chill them in the freezer for 10 minutes so that they firm up.
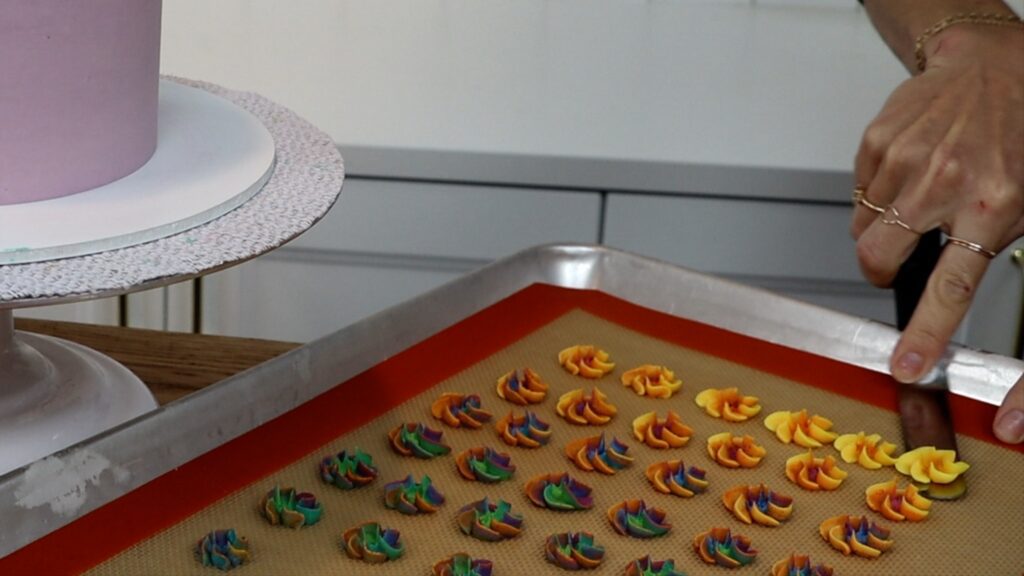
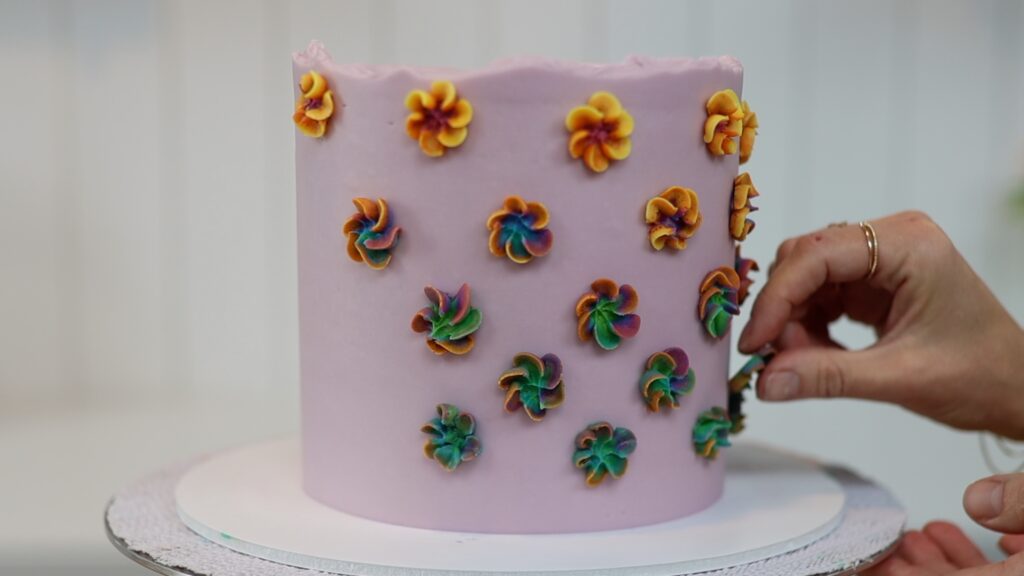
Pick them up and press them onto a frosted cake. These are beautiful and so easy to pipe, with just a single squeeze through a 2D piping tip! You might also like my tutorial on 15 piping hacks for cake decorating.
Continuing with star shapes, do you see how there are more, shorter prongs on this star tip than the 1M?
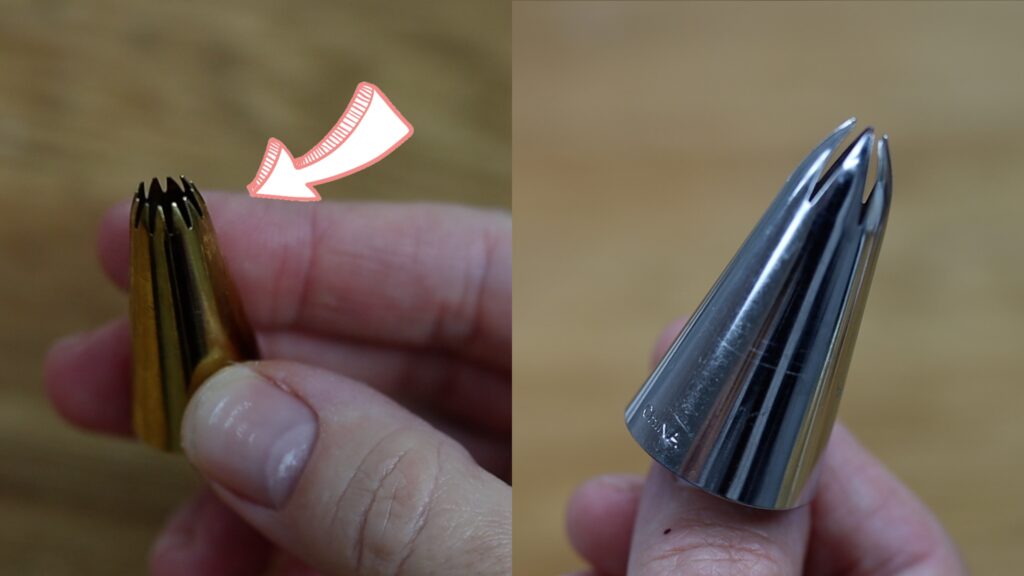
Small star tips like this #32 or a #199 are great for borders. They cover up the join between the cake and the cake board, and also add texture. Squeeze, let the frosting bulge out to form a dot, and then pull away, leaving a tail on the bead.
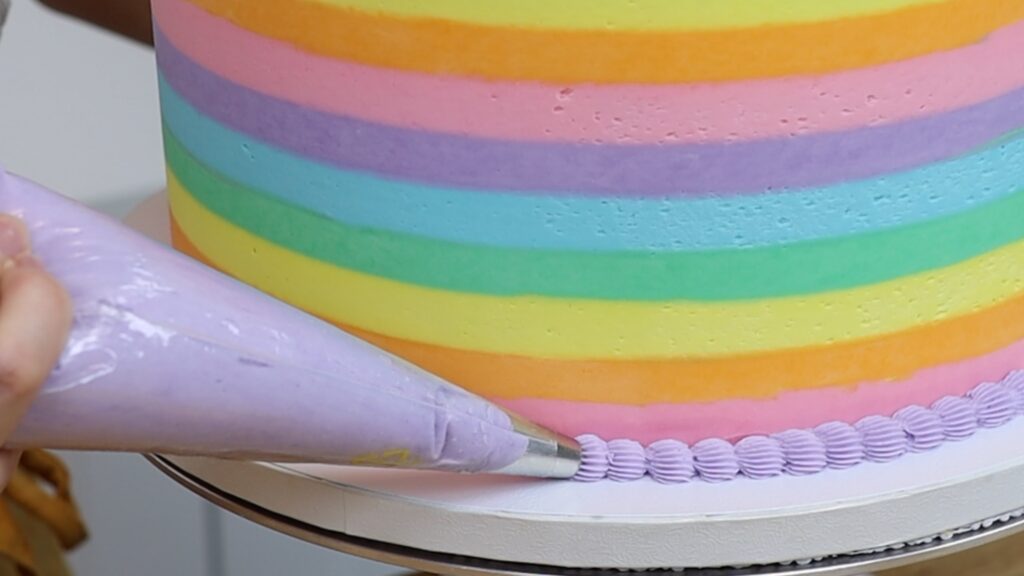
Repeat to overlap the tail of the previous bead, continuing all around the cake to make a textured beaded border. You can do this around the bottom or the top of a cake, or both!
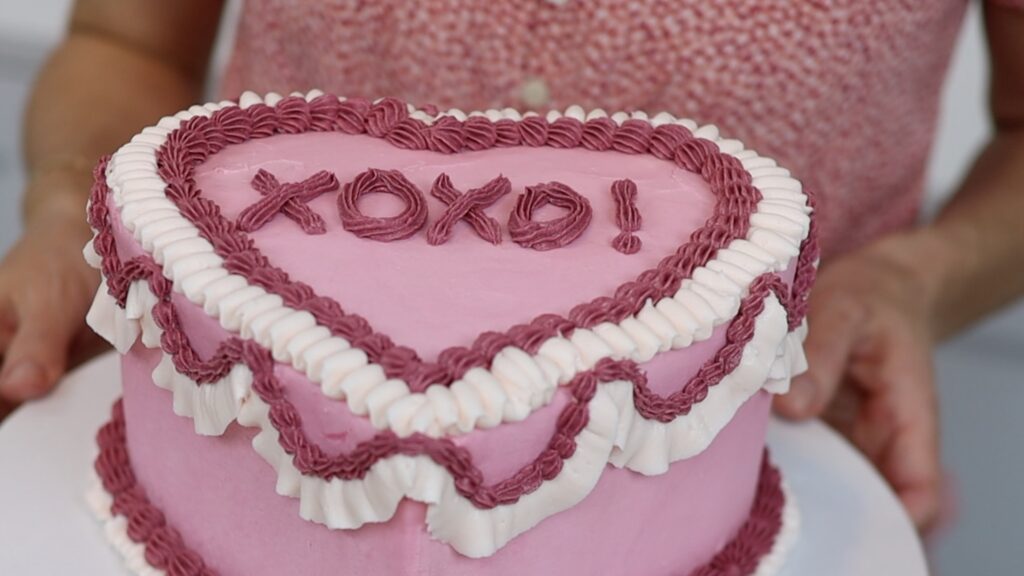
You can also use star piping tips for writing messages. The texture in these letters makes piping them much more forgiving than using a round tip, where every little wobble of your wrist will cause a wiggle in the line that’s really noticeable when the line is smooth instead of textured.
Large star tips like a 4B or 6B are great for piping accents and borders on top of a cake. With just a squeeze and pull-away you’ll create quite dramatic texture. The right consistency of buttercream will help make the peaks of these neat. For tips on consistency, check out my 4 Minute Buttercream recipe.
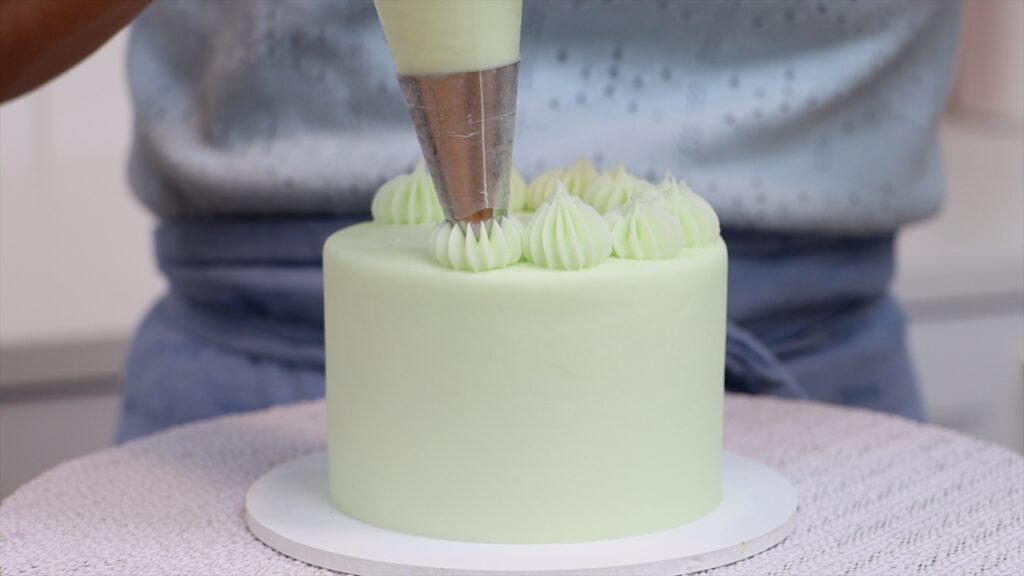
These work well to add detail to the side of a cake, too!
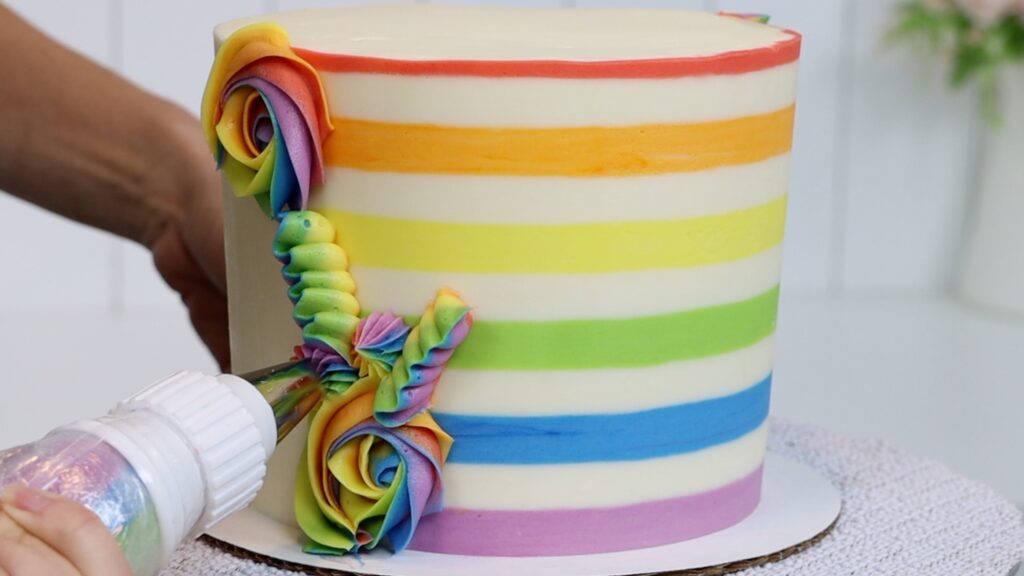
Russian tips or flower nozzles are very different to the tips you’ve seen so far. Each tip will pipe several different shapes and different colours, too!
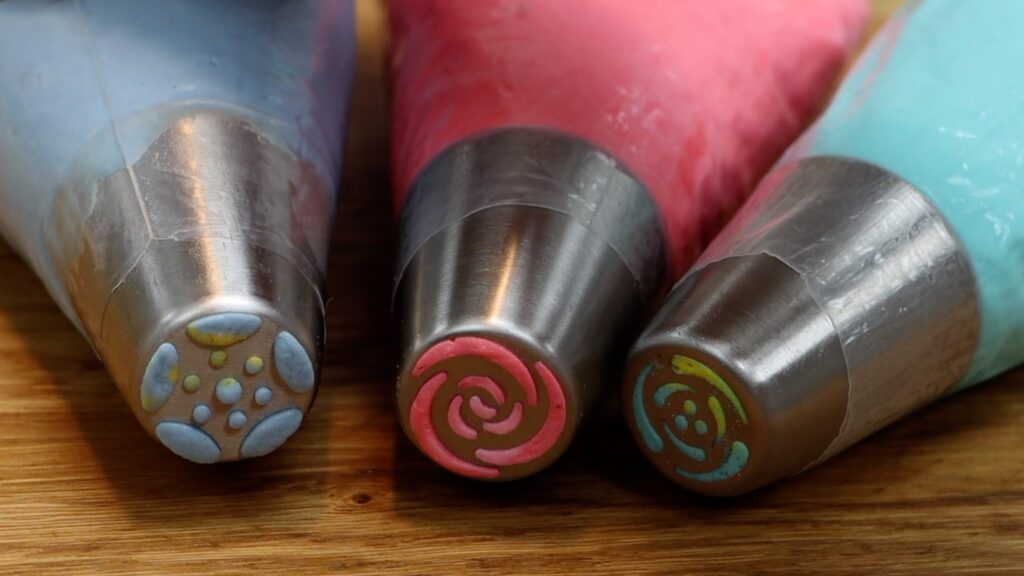
Layer different colours within a piping bag, using a different colour around the middle and the outer edge. I like to put the piping bag in a glass, folding it over the rim to hold it open.
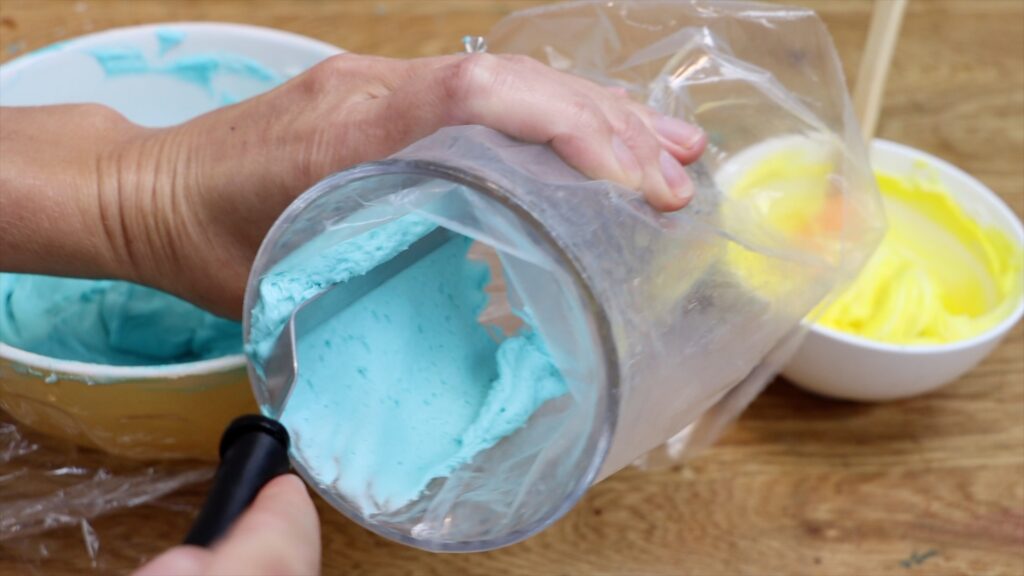
As you push the frosting through the tip you’ll create every part of the flower with just a single squeeze! Russian piping tips with several curved lines will make petals that wrap around like on a rose. Any dots in the center will make stamens, which will be the colour in the middle of your piping bag.
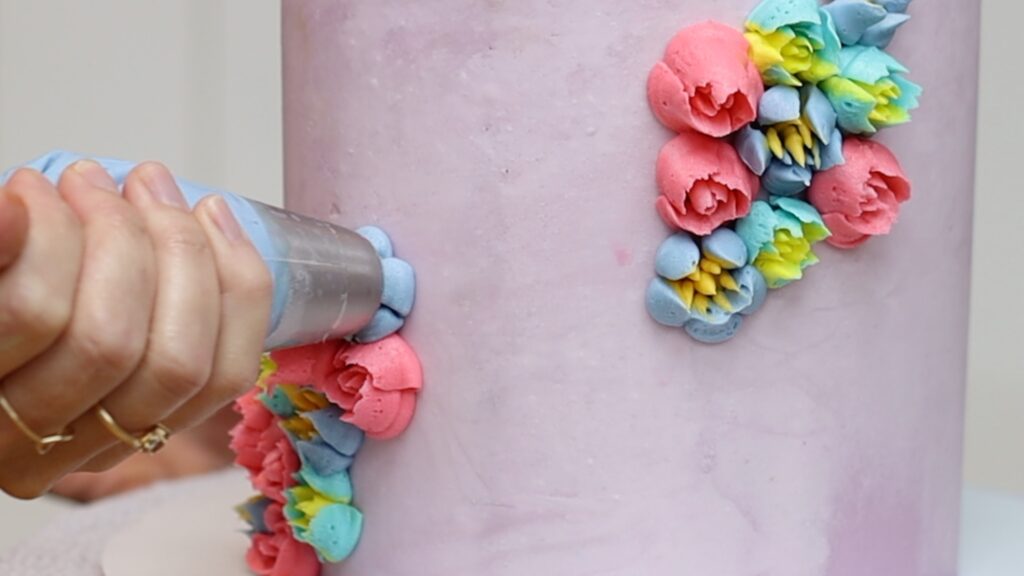
The only part of the flower these tips don't make are the leaves. Don’t worry, coming up next there’s a tip for those, too!
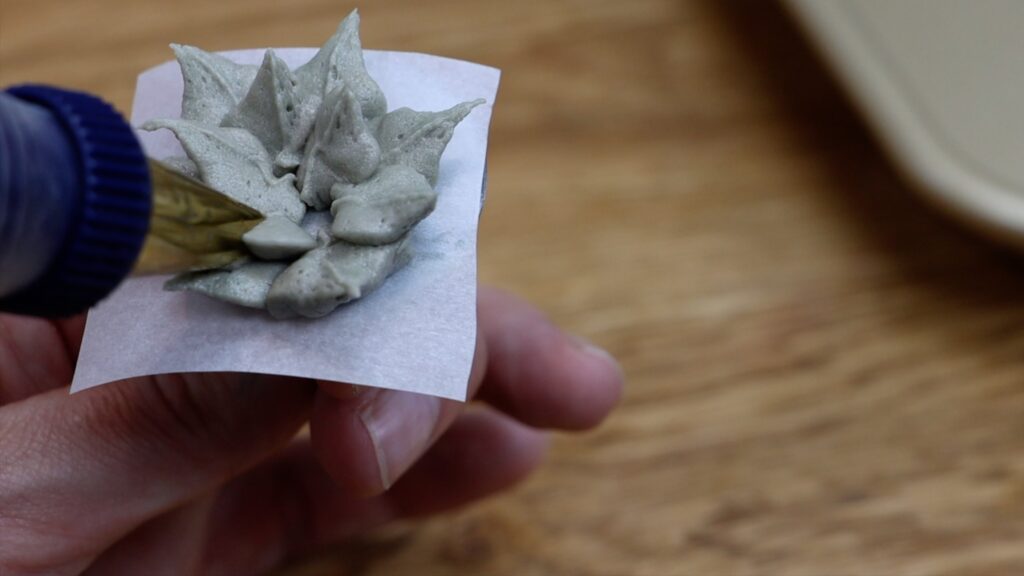
A leaf piping tip looks like jaws from the side. As you squeeze the piping bag you’ll push the frosting out sideways to make a leaf. Then when you stop squeezing and pull away you’ll leave a point on the leaf.
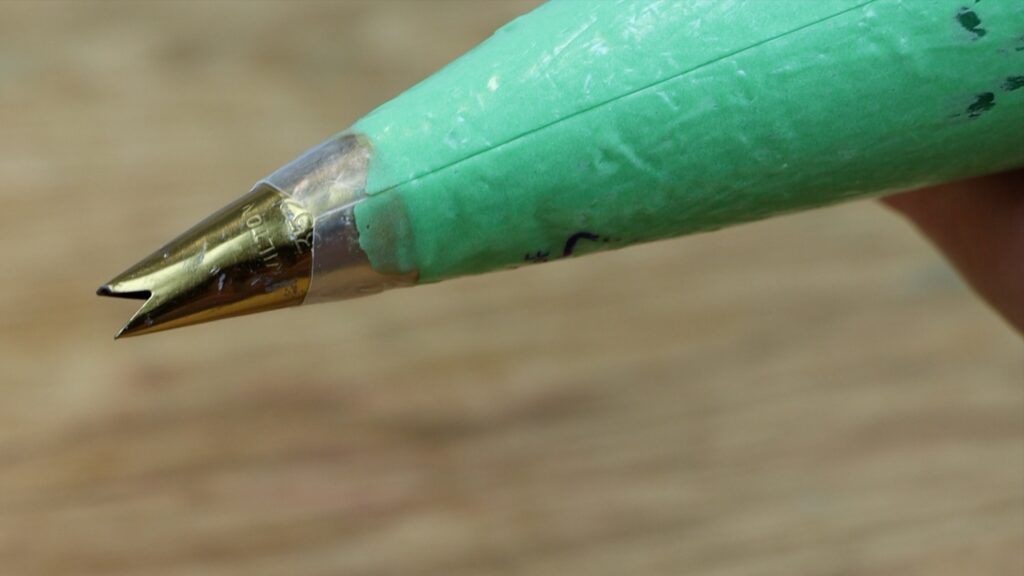
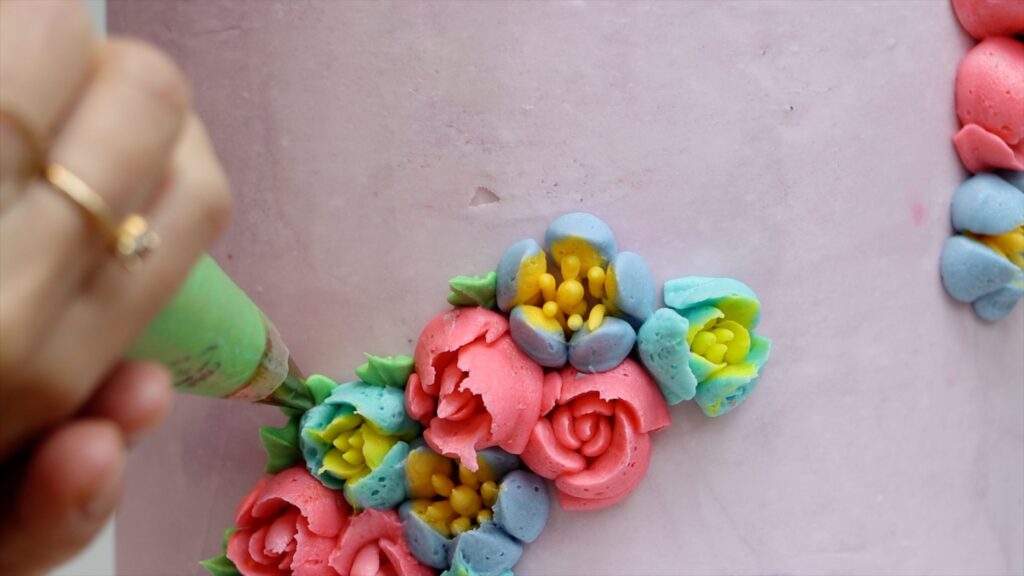
You can use this same technique for succulents, piping a ring of these leaves that point outwards. Then pipe another ring overlapping them, adding a few more little leaves in the middle. Squeezing for less time will make shorter leaves.
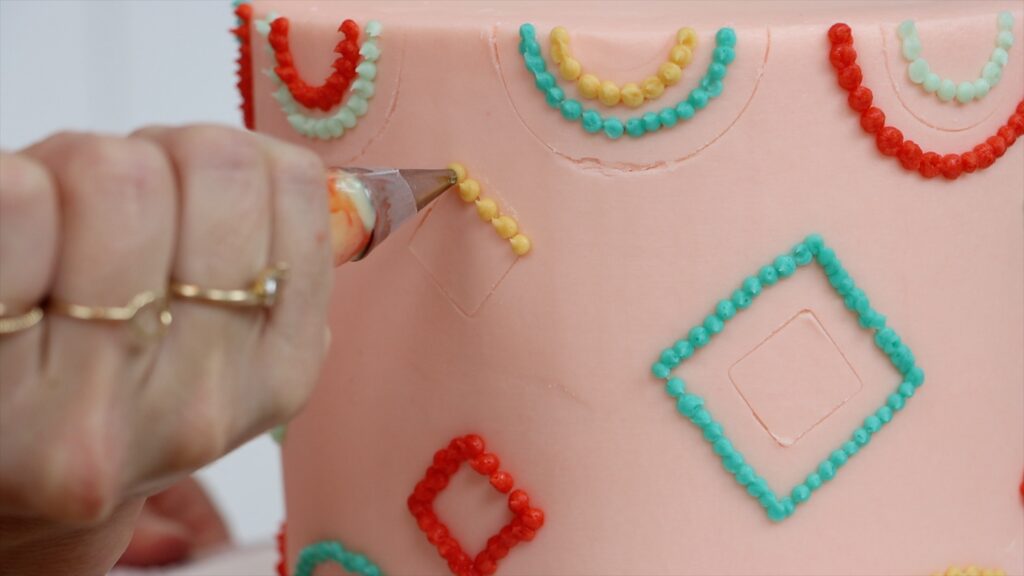
Small round tips include a #1, #2, #3 or #4. These can be used for pointillist designs, where you make shapes with hundreds or thousands of tiny piped dots. Even simple shapes, marked on the cake with cookie cutters or a toothpick, look elaborate when covered with tiny dots.
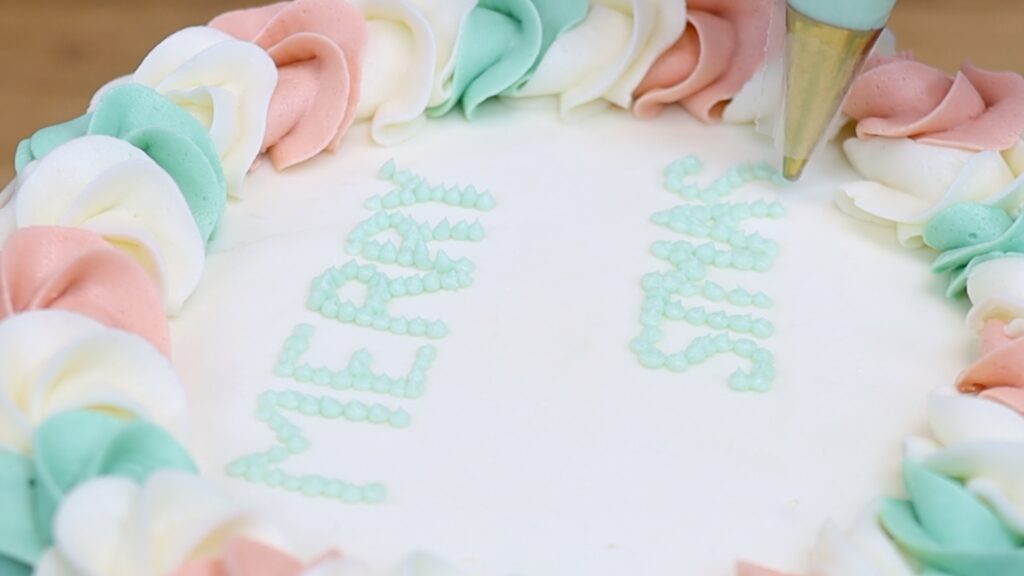
You can use tiny dots to make messages too, which is great if your handwriting is terrible like mine is! Scoring the letters into the frosting with a toothpick first will help keep your letters the same size and the words straight.
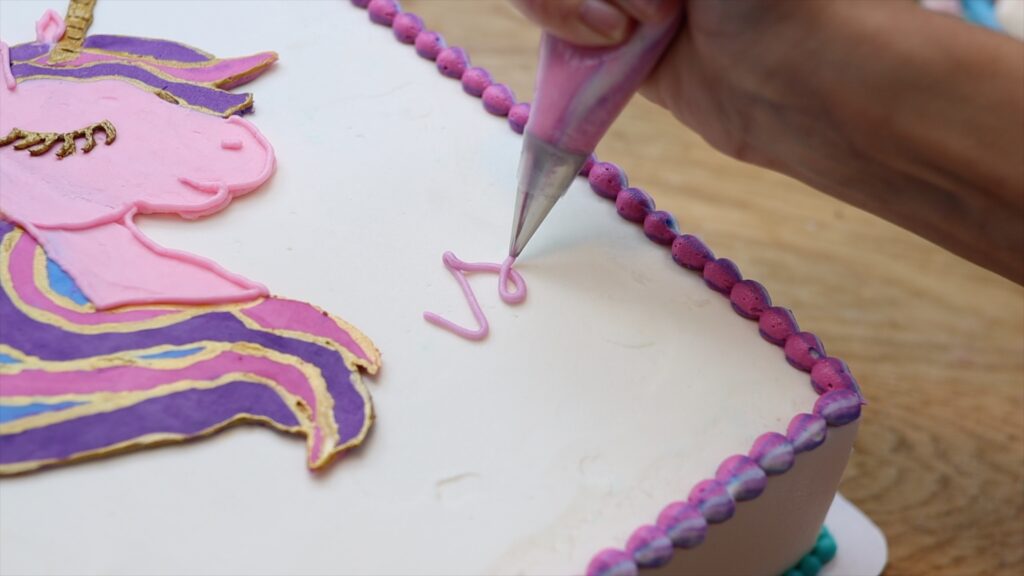
You can write messages with lines too, by squeezing and pulling the piping bag to make letters and numbers.
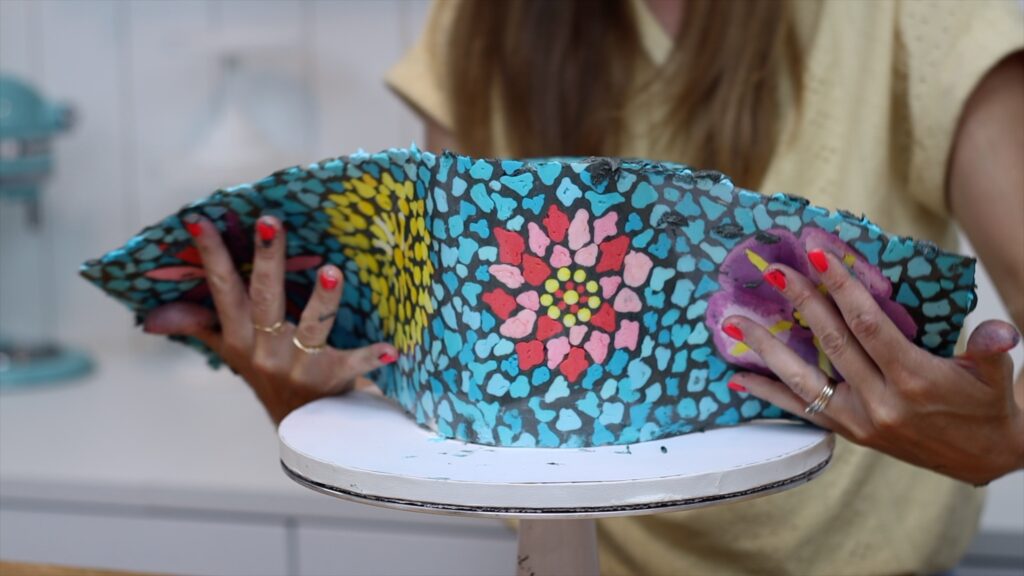
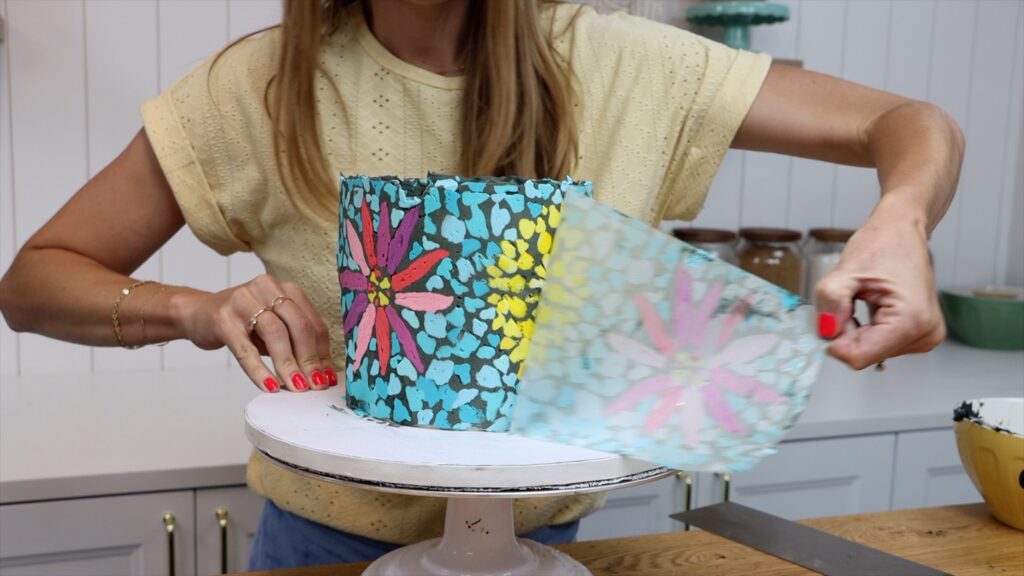
Small round piping tips can create stunning designs by tracing an image using buttercream onto acetate or parchment paper. Then lift it up and wrap it around a cake.
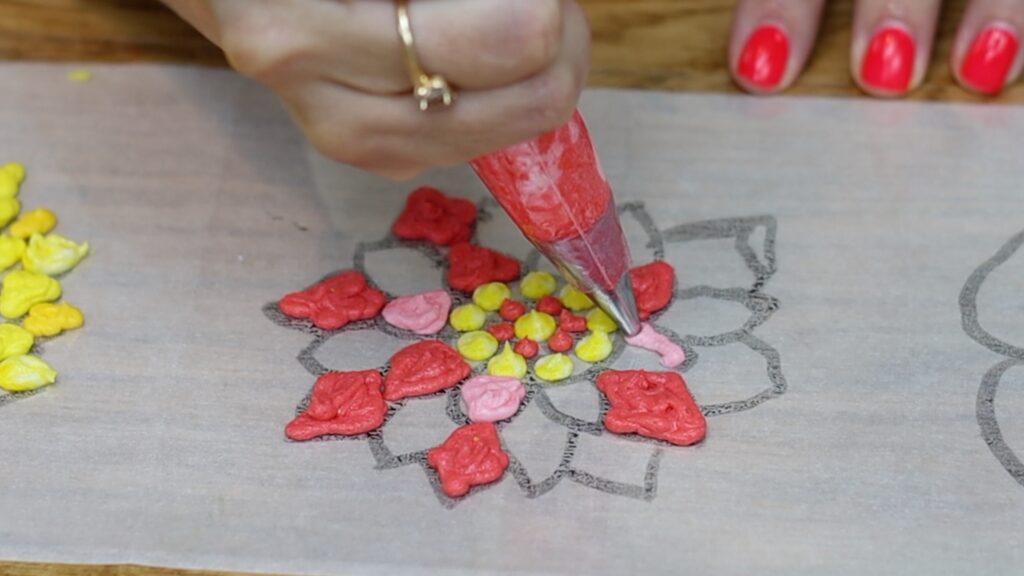
Chill the cake and then unwrap it to reveal a gorgeous design frosted onto the cake! I have a full tutorial on this mosaic cake using piping tips or, alternatively, ziploc bags!
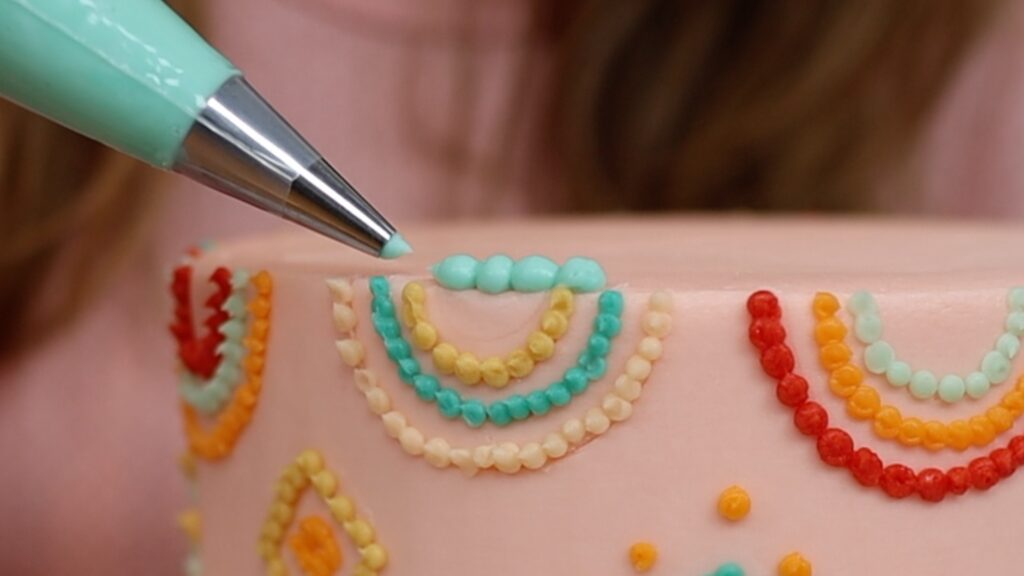
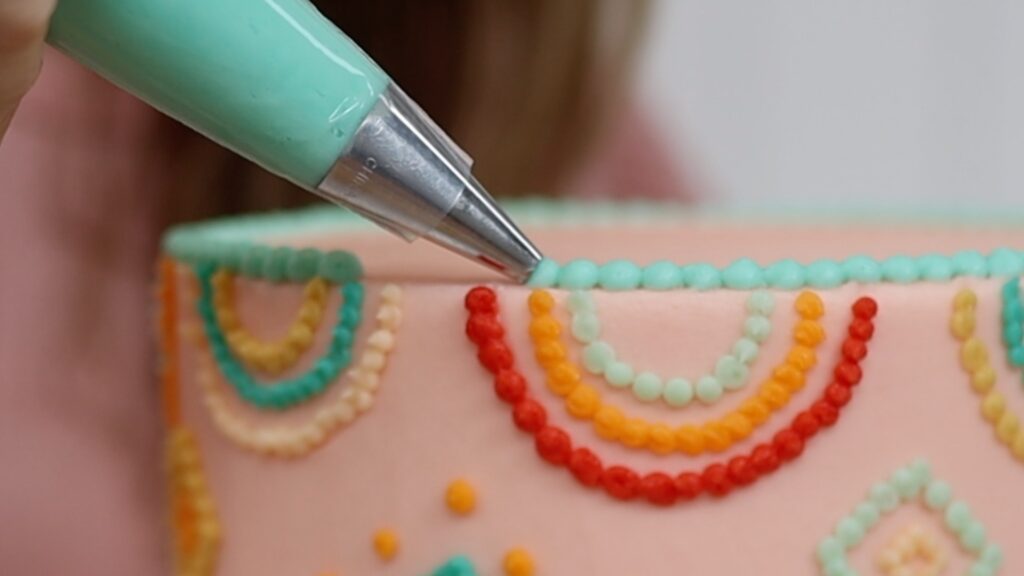
With a medium round tip you can pipe beaded borders using the same technique as with the star tip shown earlier. Squeeze, hold for a moment and then pull away as you stop squeezing the bag. You'll leave a tail on the dot. Cover up that tail with the next dot, continuing around the cake to make this pretty, dainty border!
A large round tip like a 1A can also be used for borders on top of a cake. Pipe a dot and then release your pressure on the piping bag as you pull upwards. This will leave a peak on each dot.

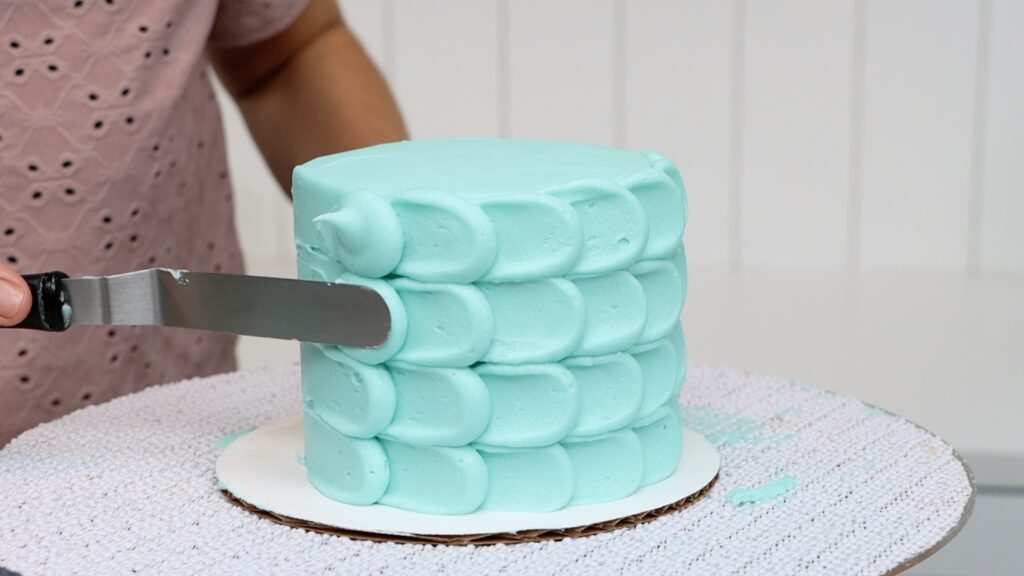
A large round tip can be used to pipe scallops on a cake, too. Pipe a dot and then swoosh it sideways with an
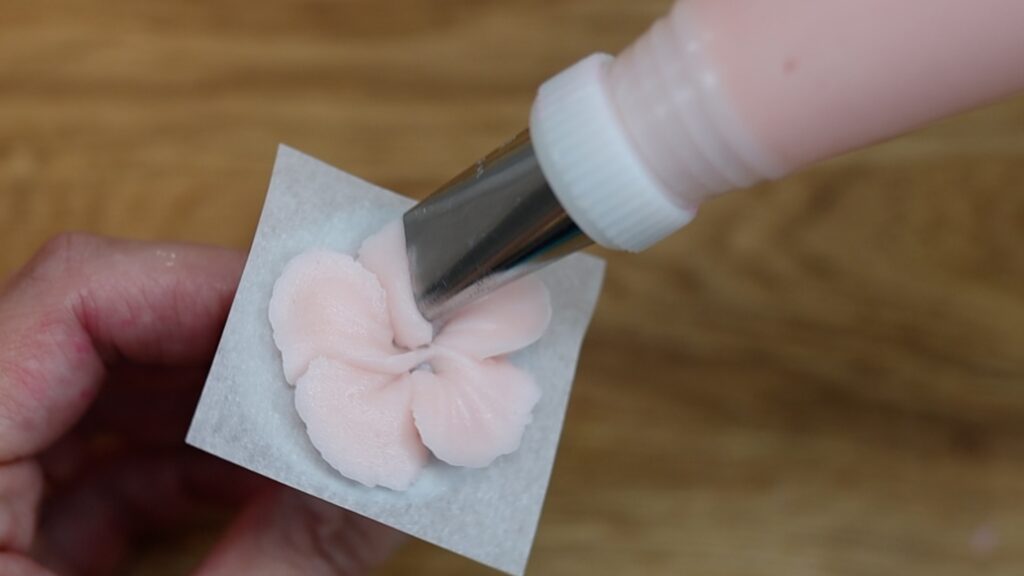
Petal piping tips are (of course!) great for piping petals, for example pansies and roses. The narrow end of the teardrop shape creates movement around the outer edge of each petal.
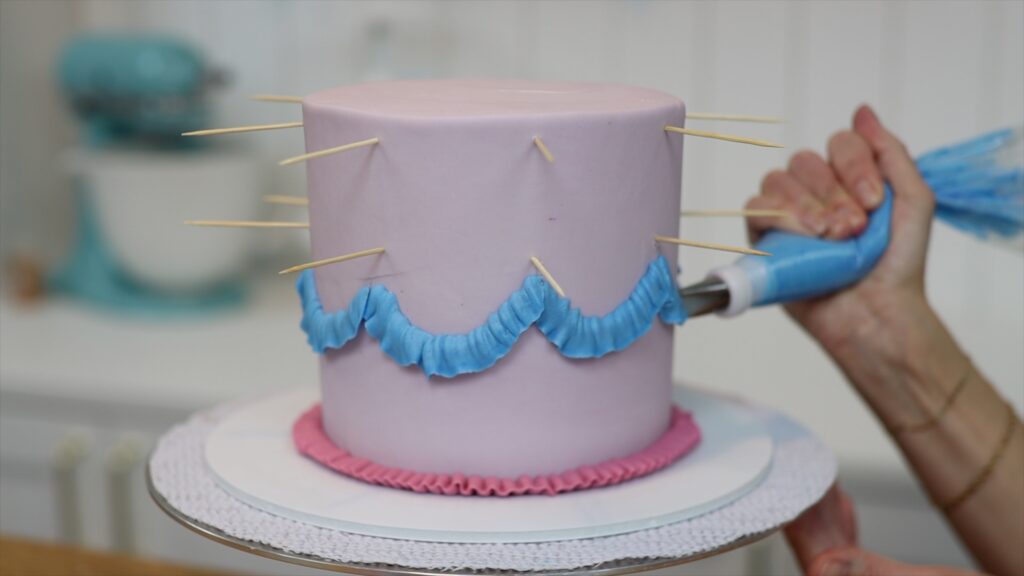
Petal piping tips are also used for piping ruffled frosting in layers going up or down a cake. This is another way to avoid smooth frosting on cakes!
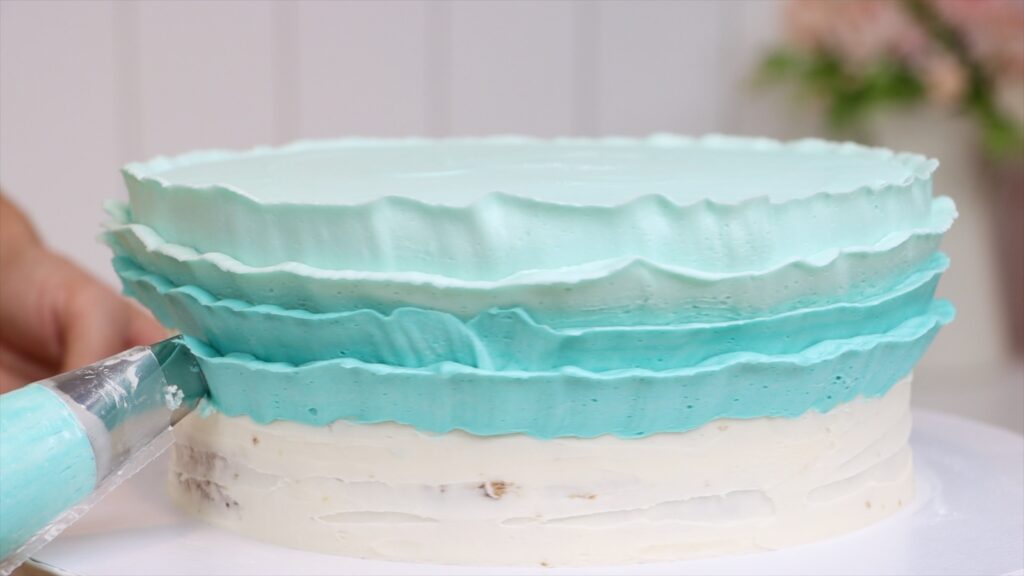
Vintage cakes or Lambeth cakes are covered with layered piping and usually rely heavily on petal piping tips. They can be used for swags or drapes and also for ruffling ribbons.
Tell me in the comments which piping tips you’re going to buy next! Learn hundreds of ways to use piping tips to decorate cakes on my cake school, where you’ll find online courses and memberships to take your cake decorating skills to the next level. You’ll find a free course on 10 frosting techniques there, too!
You can also watch a video of this tutorial on the 10 best piping tips for cake decorating:
