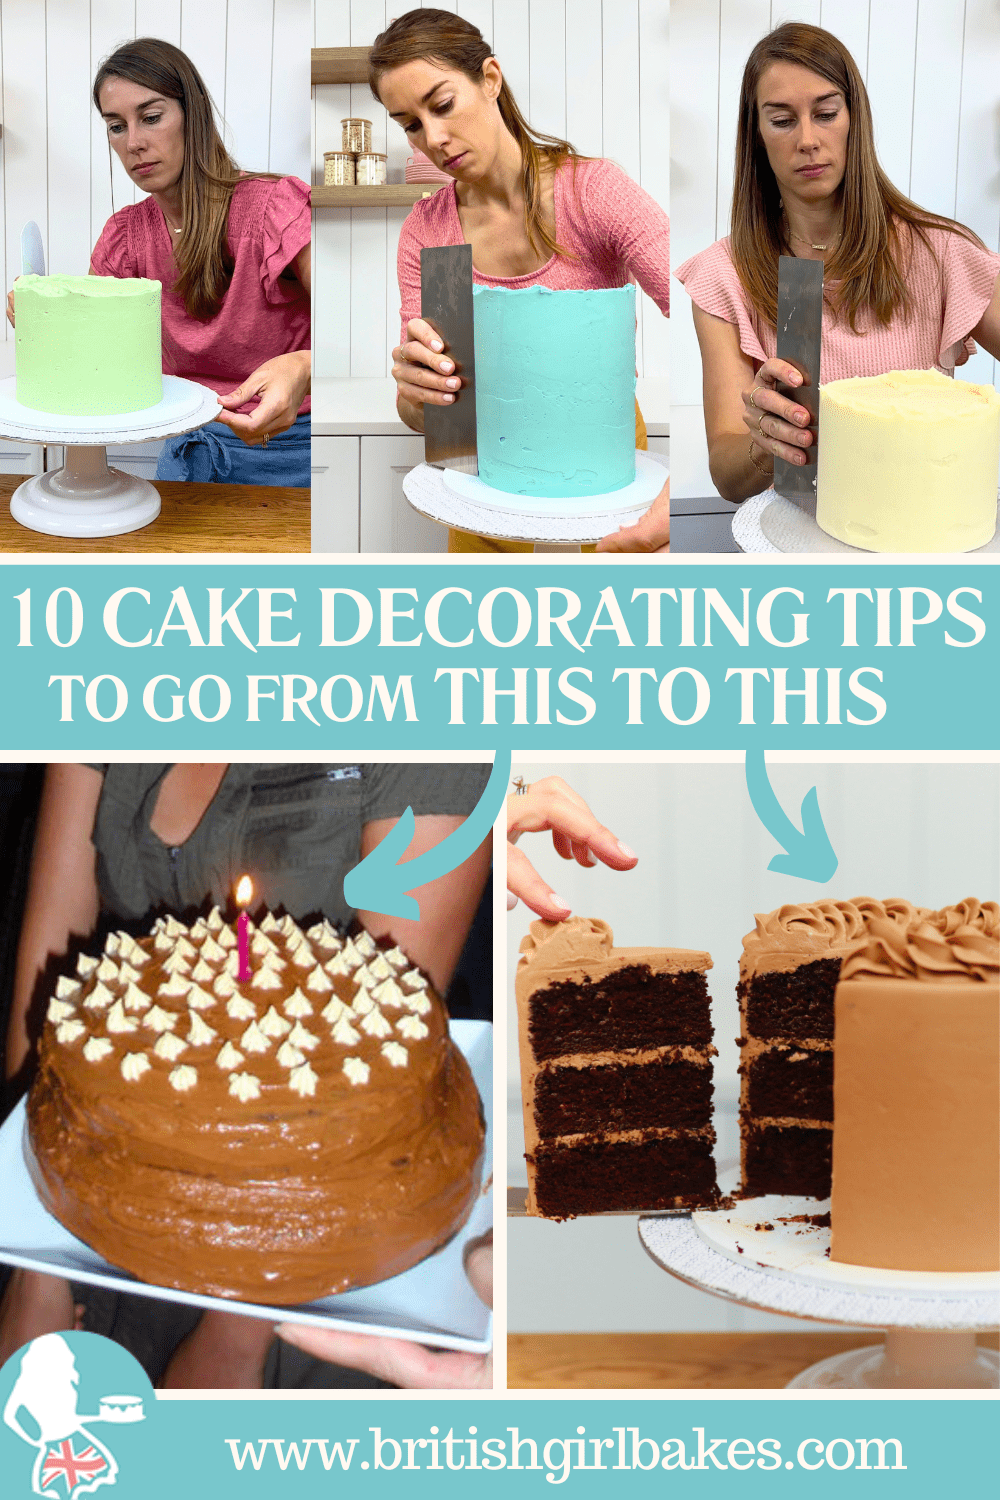
Follow these 10 cake decorating tips to turn your hobby into a profession by improving your frosting, colours, presentation and more!
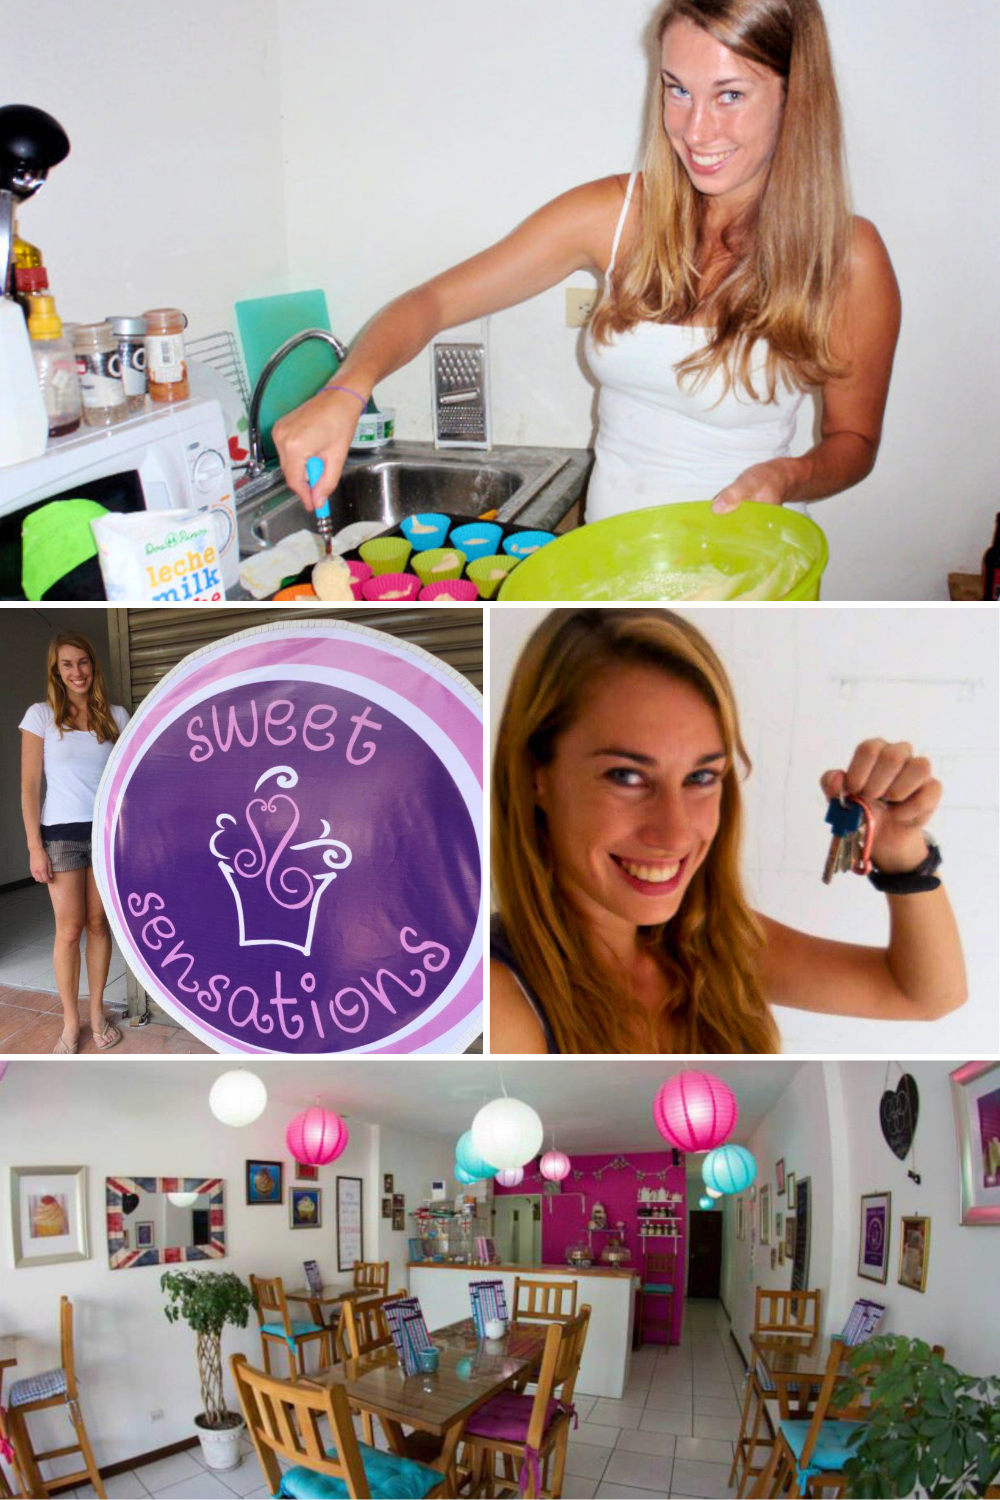
Hi! I’m Emily and I started decorating cakes for fun. Fast forward 12 years and I've owned, grown and sold a cake business and taught more than 25,000 students in my online courses and over half a million people follow my cake decorating on social media.
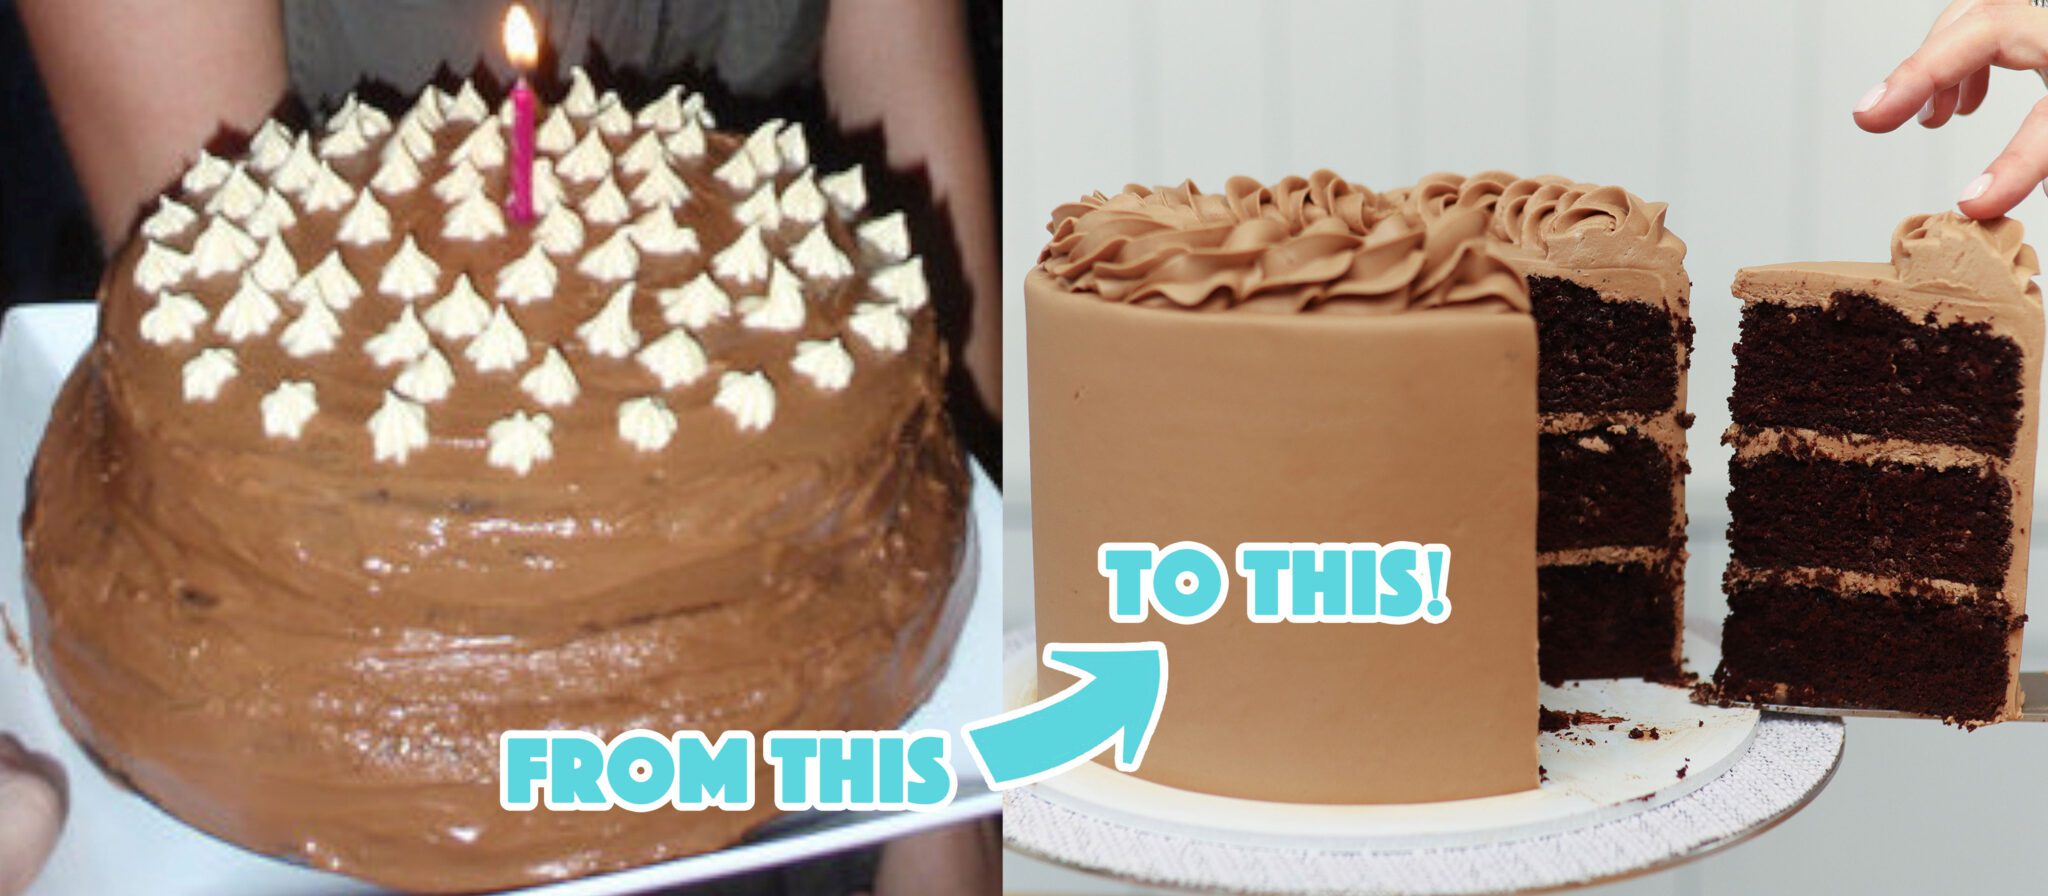
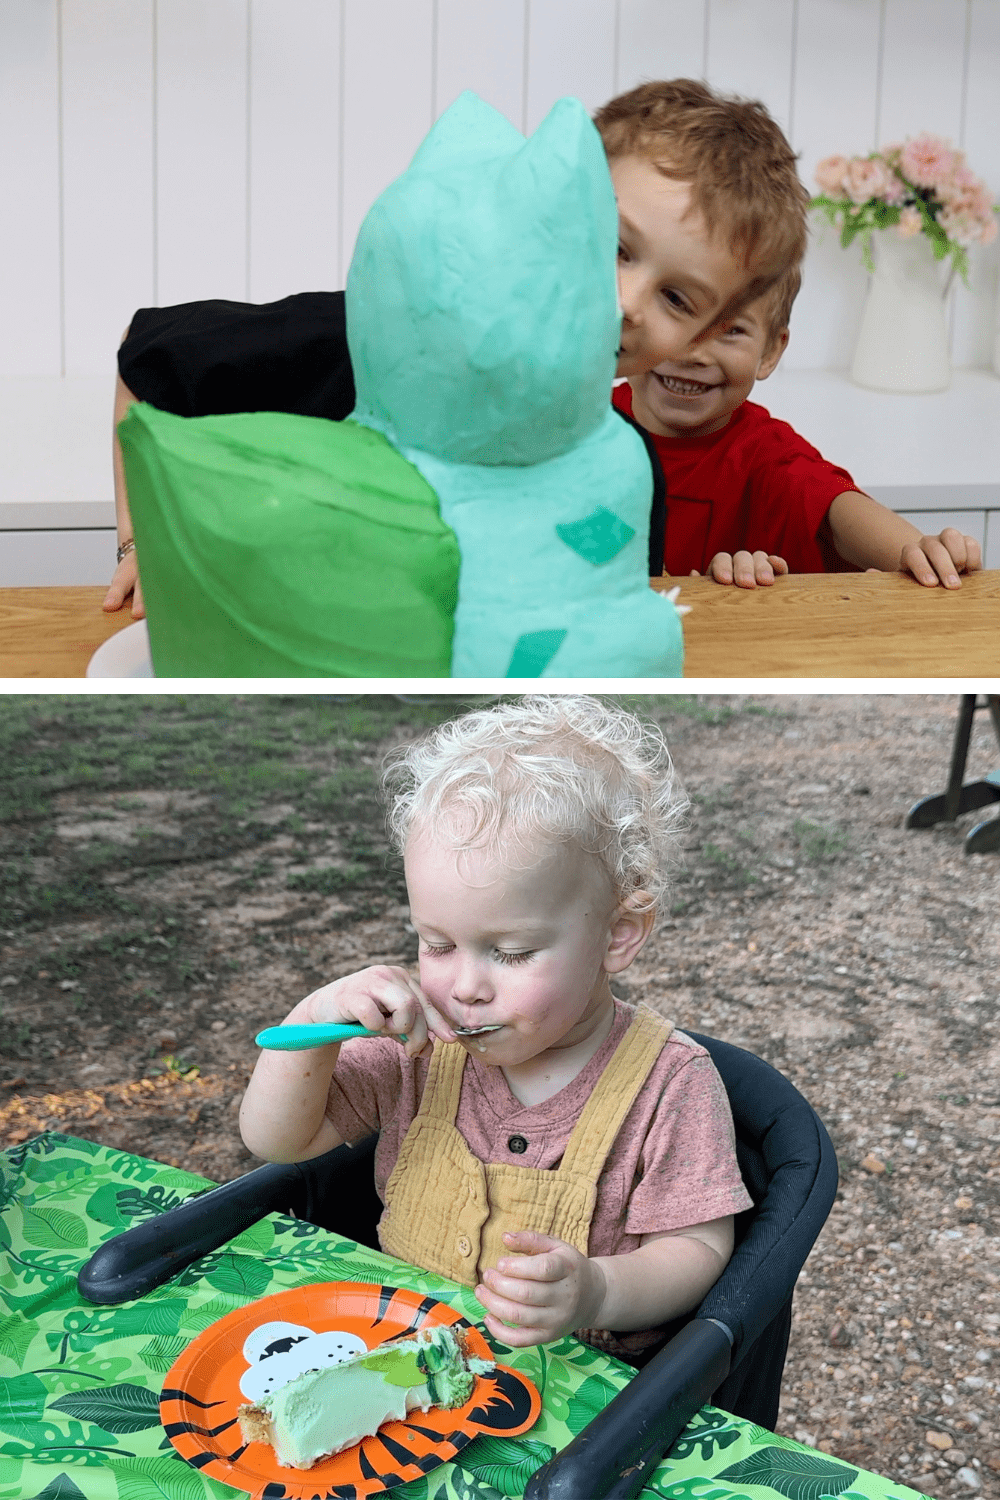
But how do you make your cakes more professional? Here are my 10 cake decorating tips for transformations like my before and after cakes below!

My first and most important cake decorating tip is: don’t wait. We’re our own biggest critics and it’s easy to convince ourselves that our cakes aren’t good enough. But who doesn’t like free cake? Make cakes for a birthday parties or a school event, practicing on cakes for friends and family. You can start selling your cakes any time if you set expectations. Share a portfolio of your work on instagram or Facebook or a website so customers know what they’re buying.
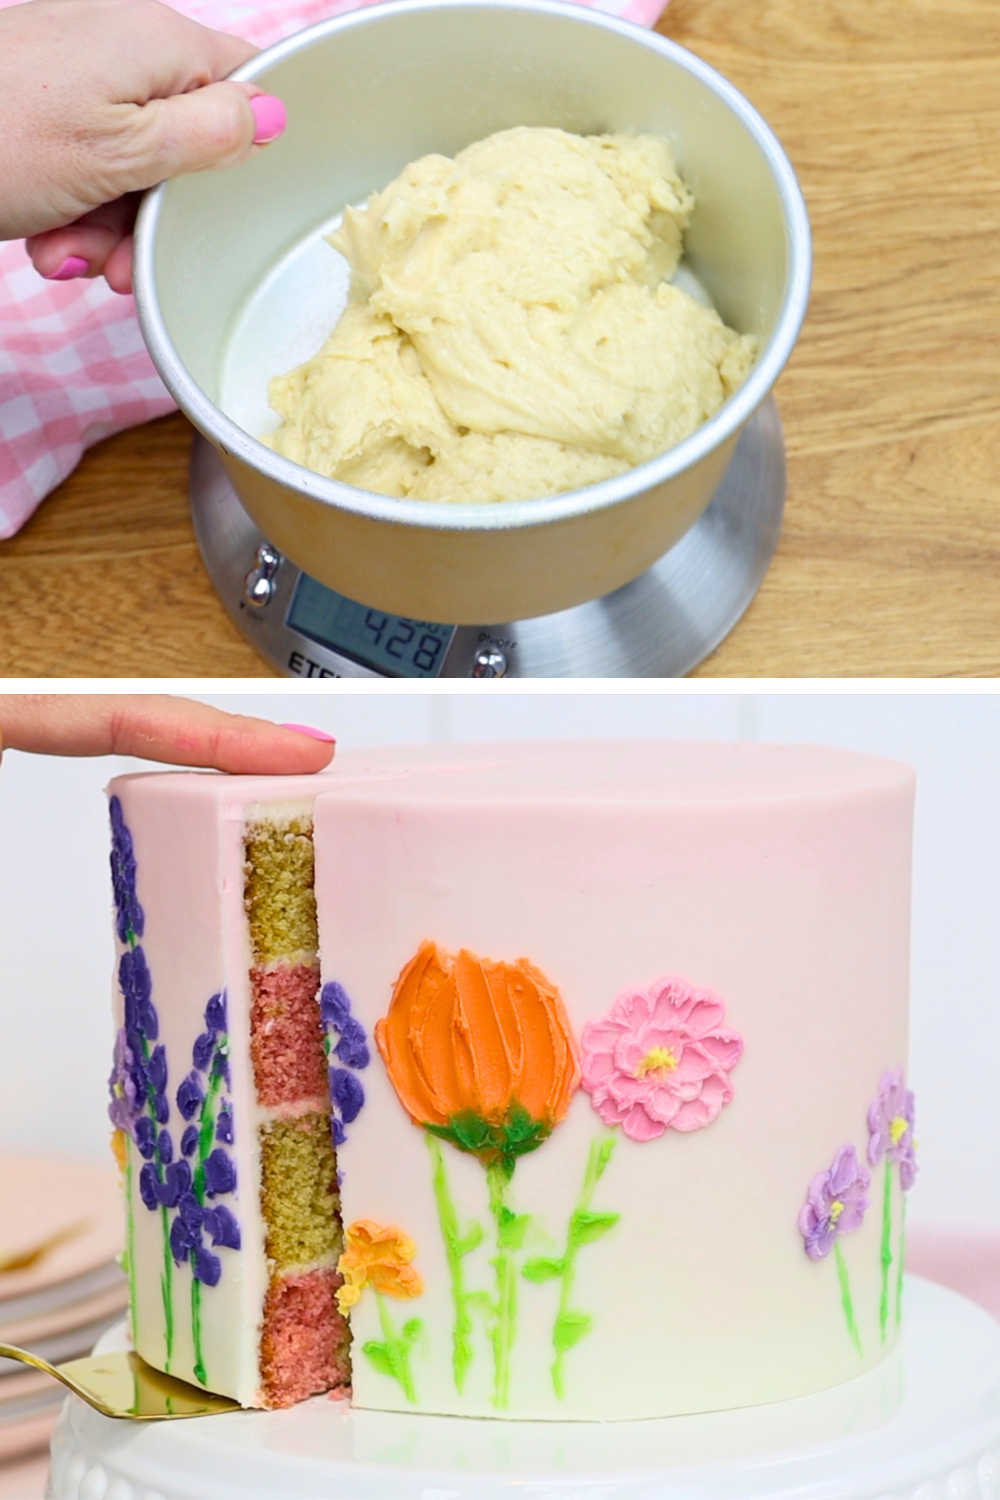
An aesthetically important tip is getting your cake layers the same height. You can do this with a scale, weighing the cake batter when you divide it between different pans. Or use a measuring cup or an ice cream scoop and count the same number of scoops into each pan. Now each cake layer will be the same weight, which means they’ll all be the same height. This looks so much better when you cut into the cake than having all of the layers different thicknesses.
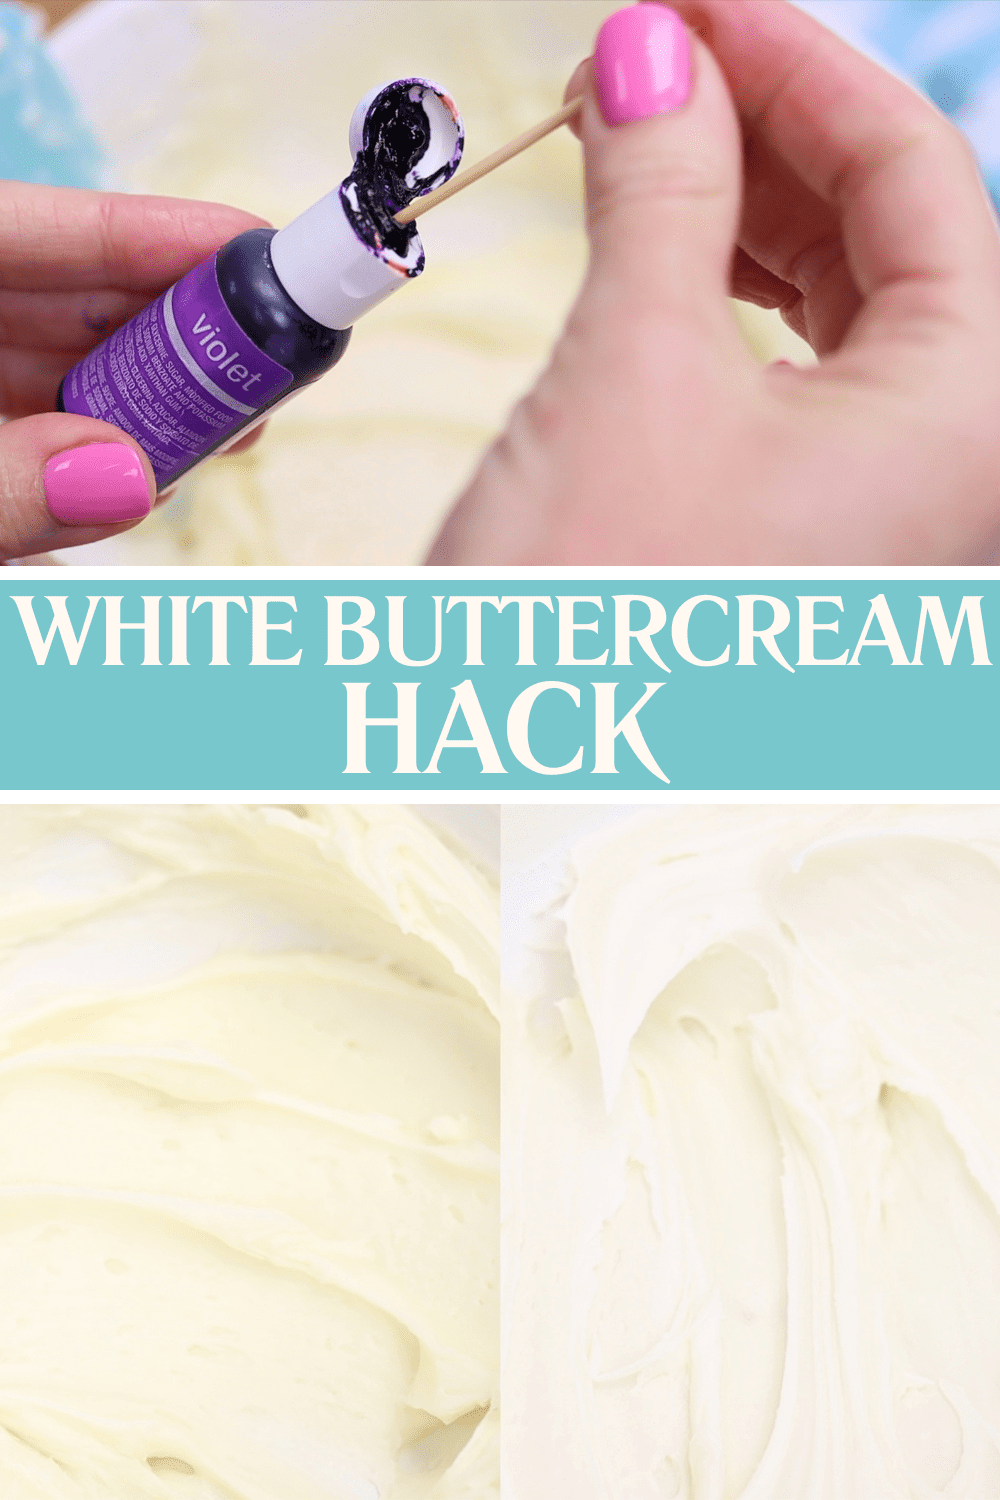
Correct colours make the difference between a cake that stuns or disappoints. Make white by adding a tiny bit of violet to buttercream that’s bit yellow, to make a brighter white. Dip a toothpick into the bottle and drag that through the buttercream to control how much you add. Adding a drop that's bigger than expected that can accidentally turn your buttercream purple! Look at the difference in this buttercream before and after adding violet:
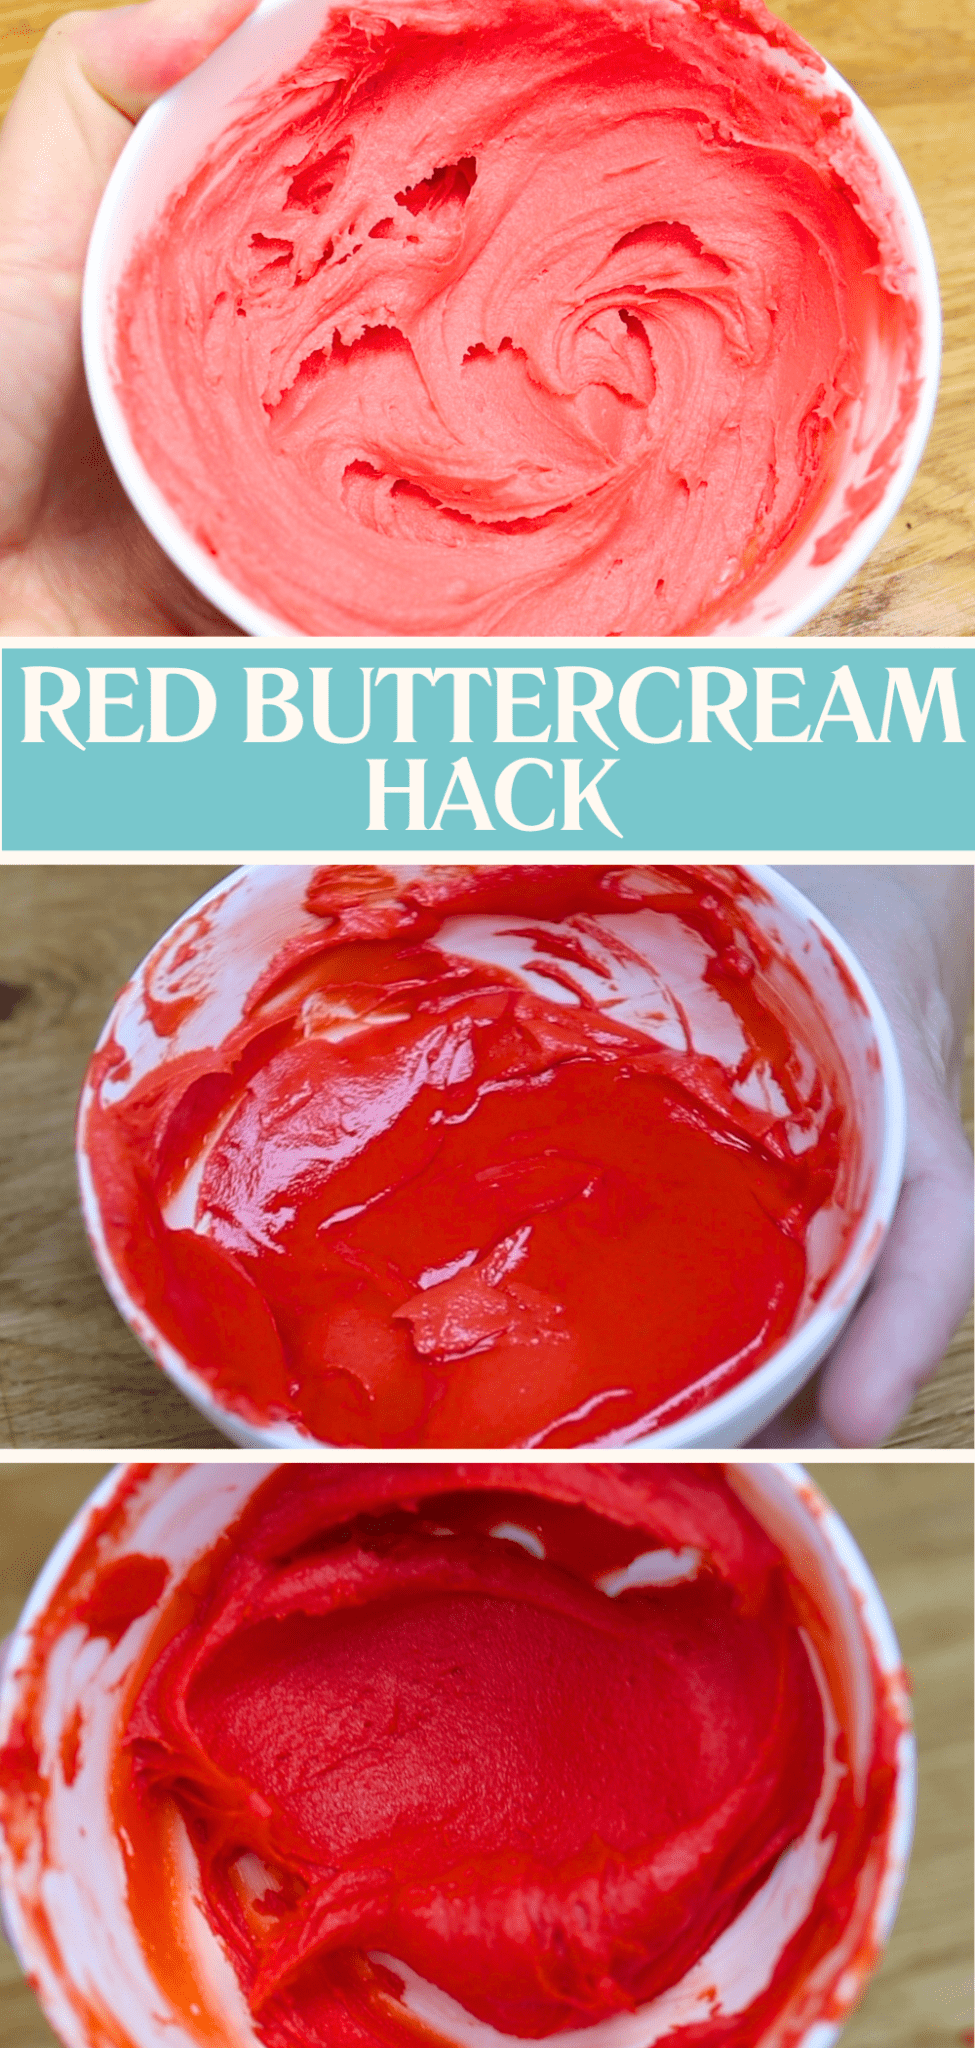
For dark colours, use less gel than you need to make a lighter shade. Then microwave it for 5-10 seconds to melt the buttercream and make it darker. Leave it on the counter, covered, to come back to room temperature. Or if you're in the rush, pop it into the freezer for 5 minutes. At room temperature the buttercream will be darker without using so much gel you can taste it!
A good quality
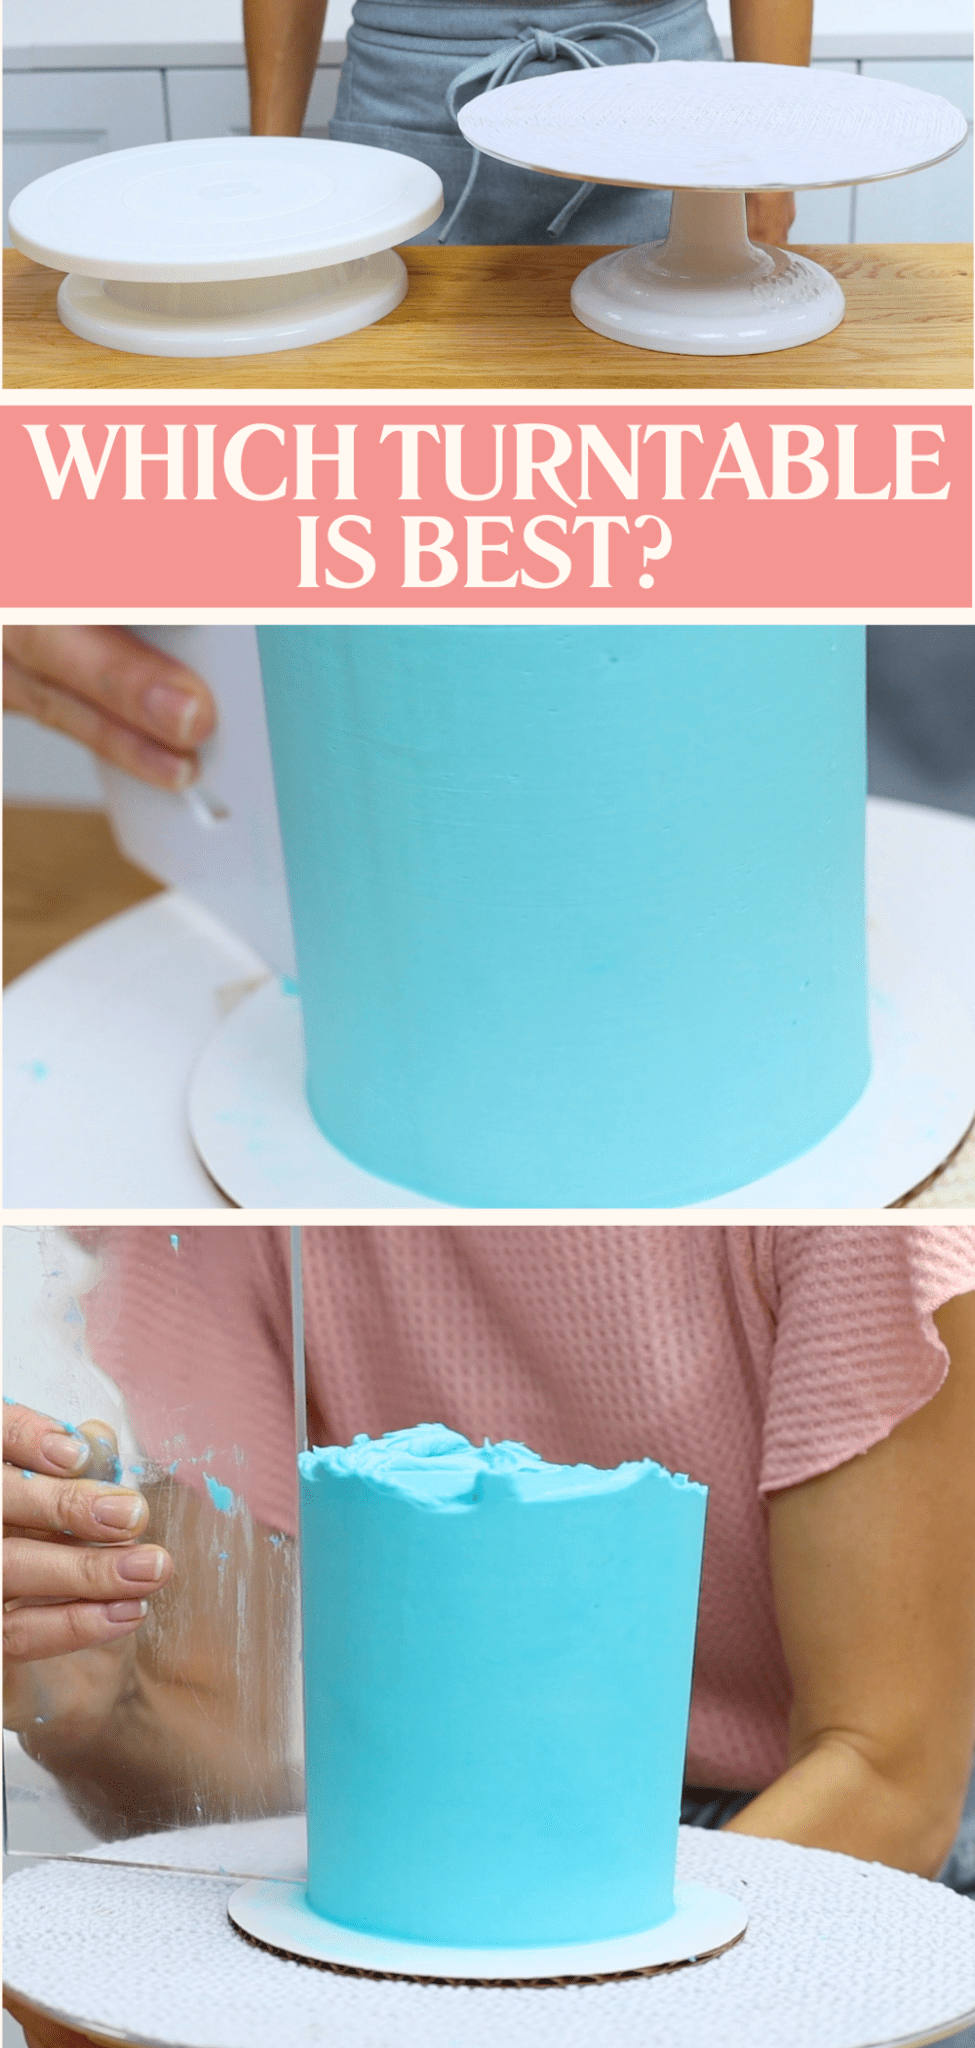
My cake comb leaves those vertical dents in the frosting when the plastic
One of the most underrated cake decorating tips is to use the freezer or fridge. After frosting a cake, chill it before adding decorations. This will set the frosting so it doesn’t bulge and undo the hard work you put into getting it smooth! After decorating, keep the cake in the fridge to prevent drooping and sagging.
Take cakes out of the fridge 2-4 hours before serving so that the cake and frosting come to room temperature. That's when they will taste the best!
I have a tutorial on 10 freezer hacks with more ways to make cake decorating easier with a freezer.
You won’t like this next tip! Practice, practice, practice, smooth frosting in particular. This is the foundation for almost every cake design. Once you’ve mastered your technique, every cake will look more professional.
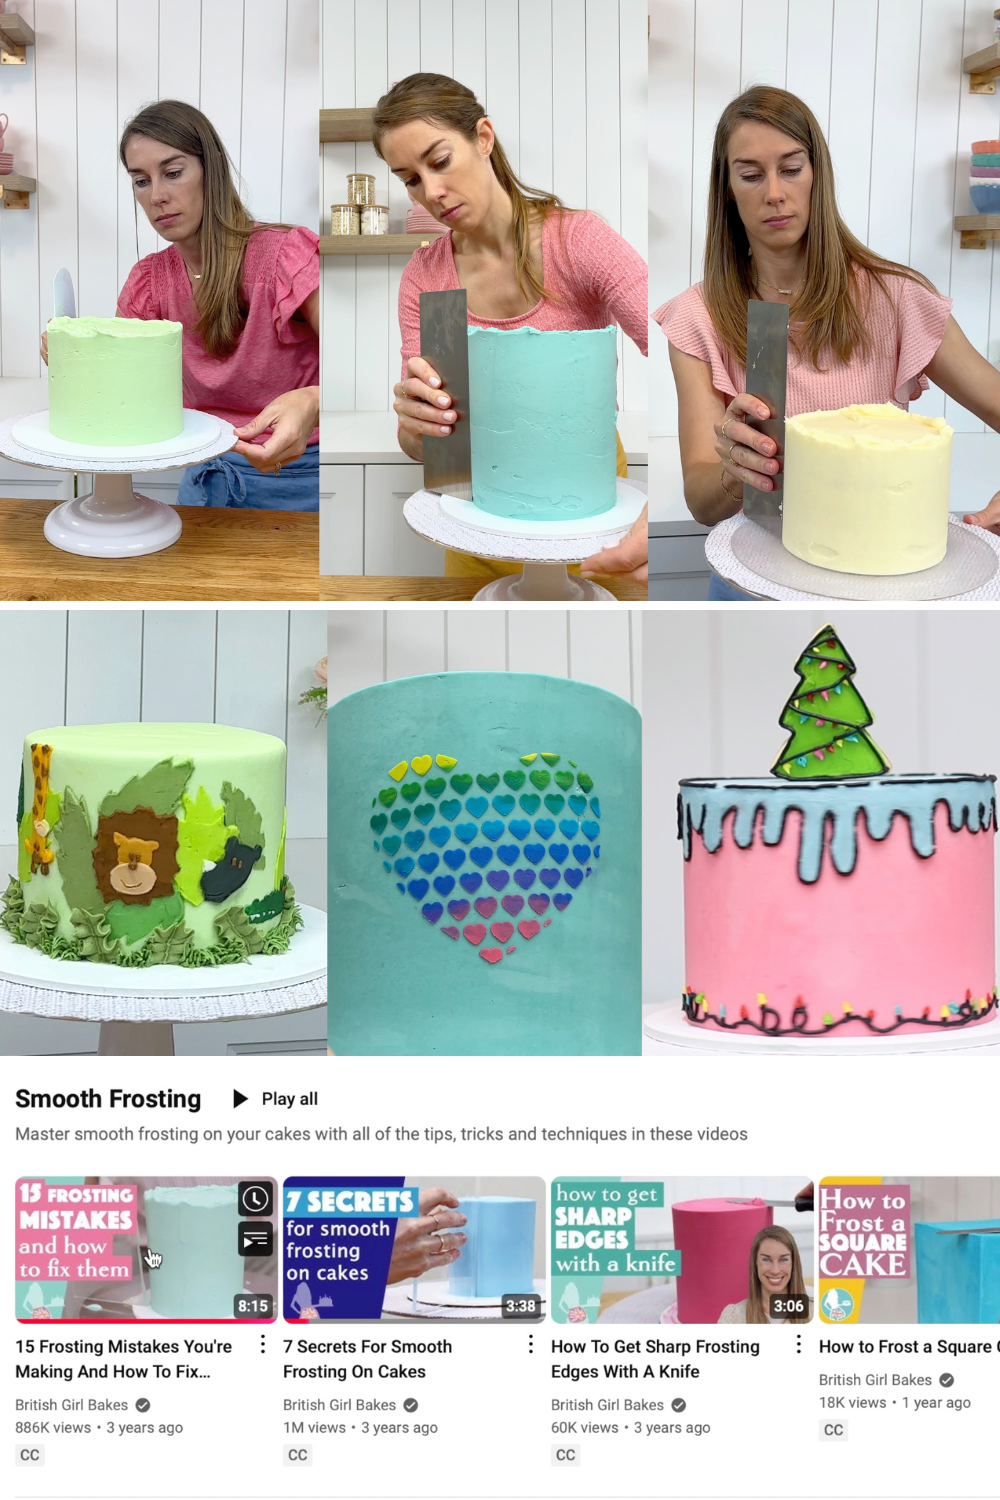
If you struggle with smooth frosting, get free tips and tricks in the 'Smooth Frosting' section of my YouTube channel. My favorites are 7 Secrets for Smooth Frosting and 15 Frosting Mistakes and How to Fix them.
Take your cake decorating skills from beginner to professional by progressing through three Layers in my Layer Up program. You’ll learns hundreds of skills and techniques and ways to improve your cake business, like scheduling and taking custom cake orders, making cakes in bulk and transporting and serving cakes and making cake videos for social media. Instead of learning everything over 12 years, like I have, learn it all in 3-6 months with this program.

Don’t serve your cakes on an ugly cake board! Choose a greaseproof board so you don’t get greasy butter stains on the board. Ideally choose one without these corrugated cardboard edges on the top cake photo:
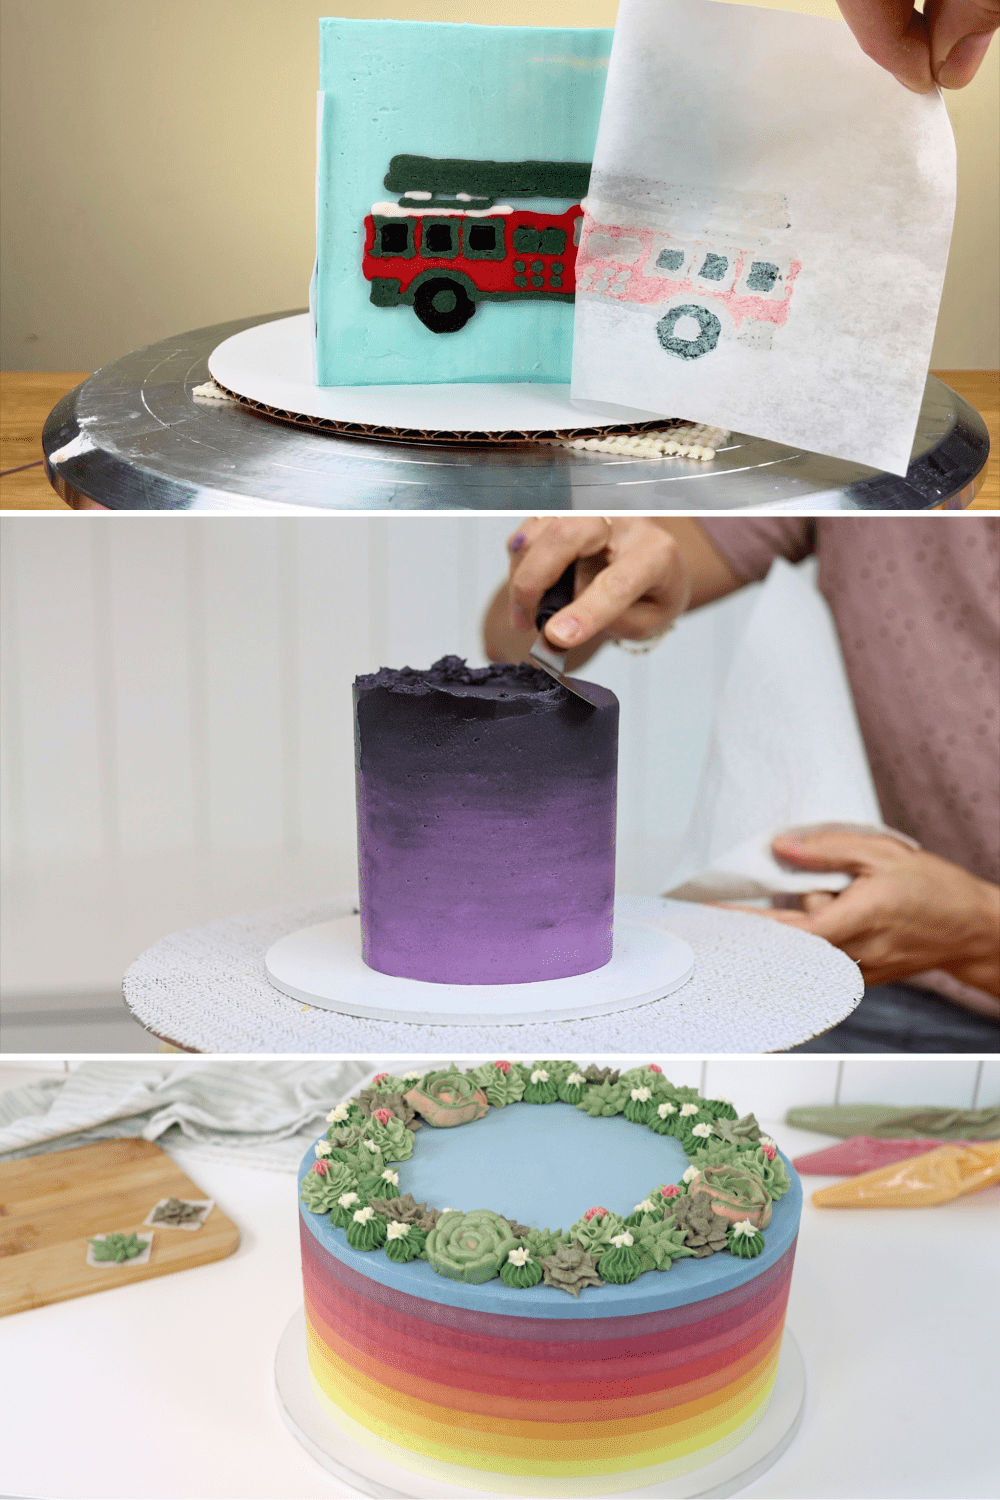
Foam core cake boards like on the purple ombre cake have nicer white edges. Or use a cake drum, which is thicker and greta for heavy or tier cakes.
To transfer the cake to a cake stand for a display, chill the cake in the fridge for a few hours first. Then sliding an offset spatula underneath it to loosen it from the board. Pick it up and attach it to a cake stand with a dot of fresh buttercream. If your cakeboard gets messy as you decorate, use the same method to transfer the cake to a new cakeboard.
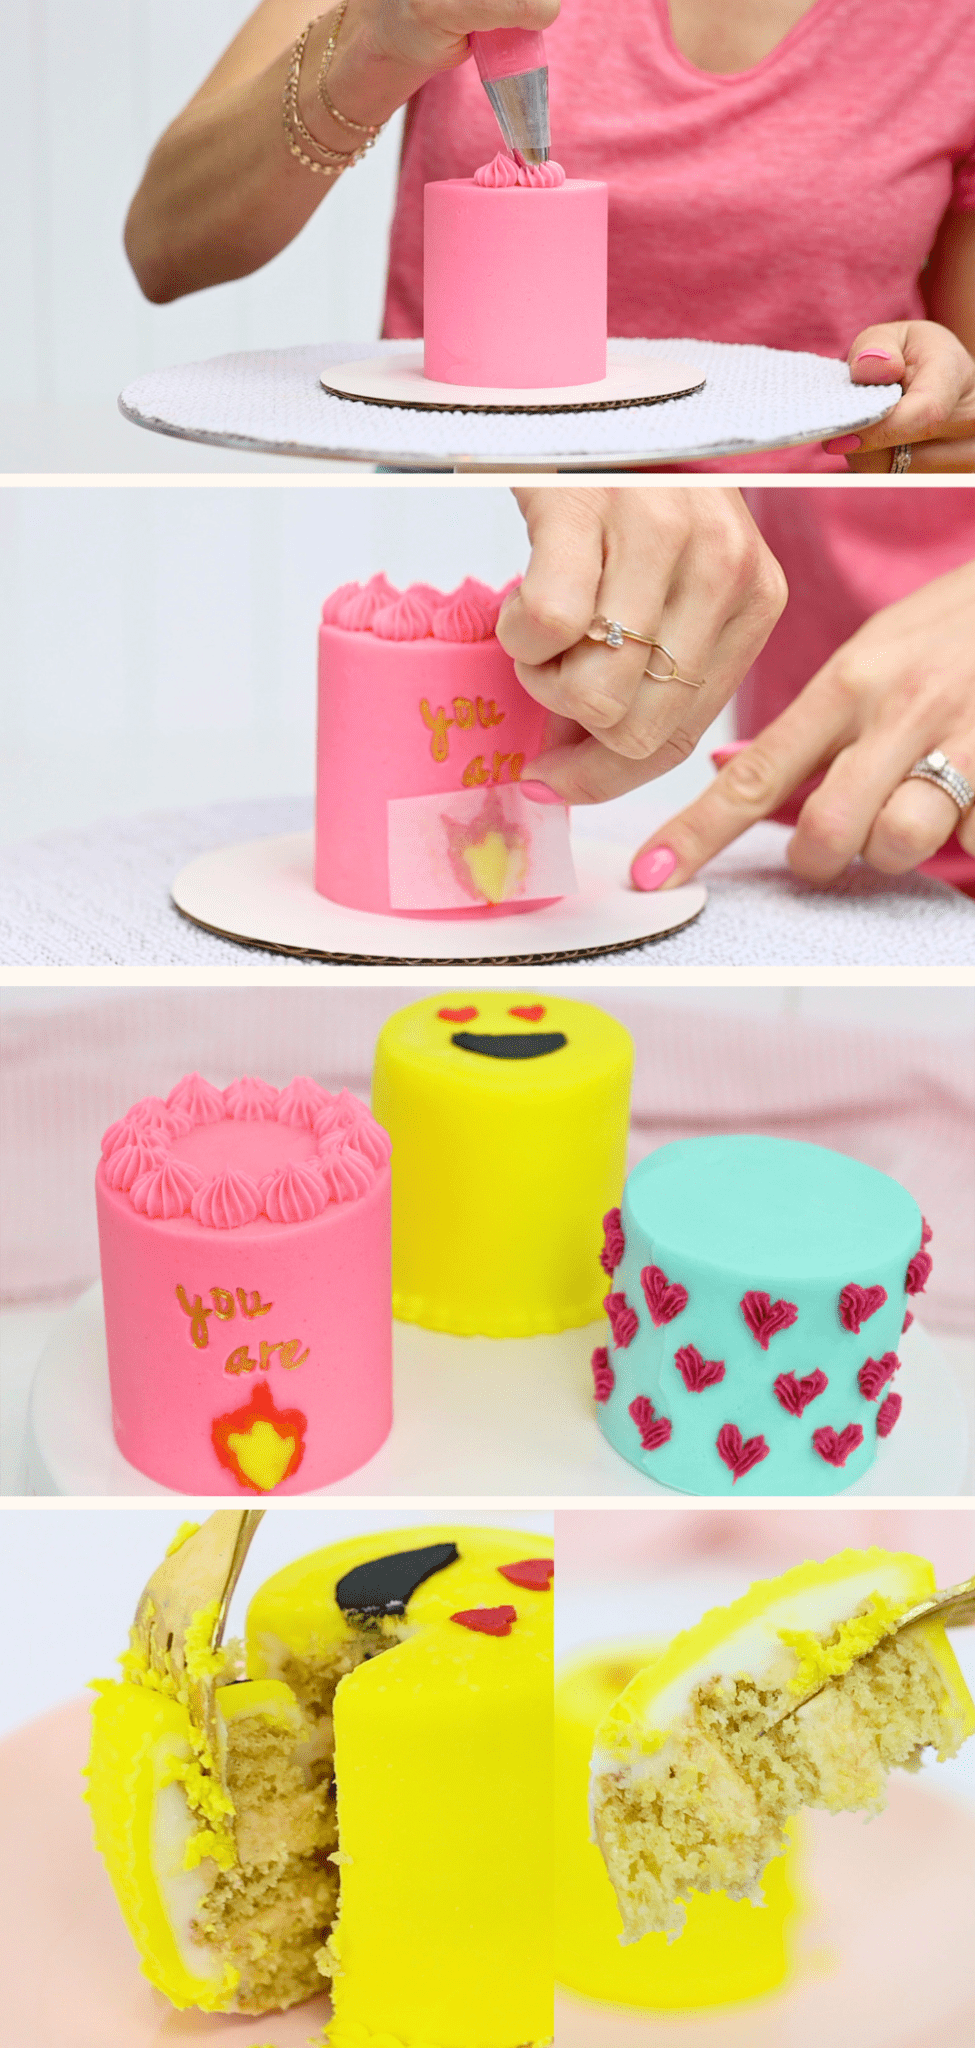
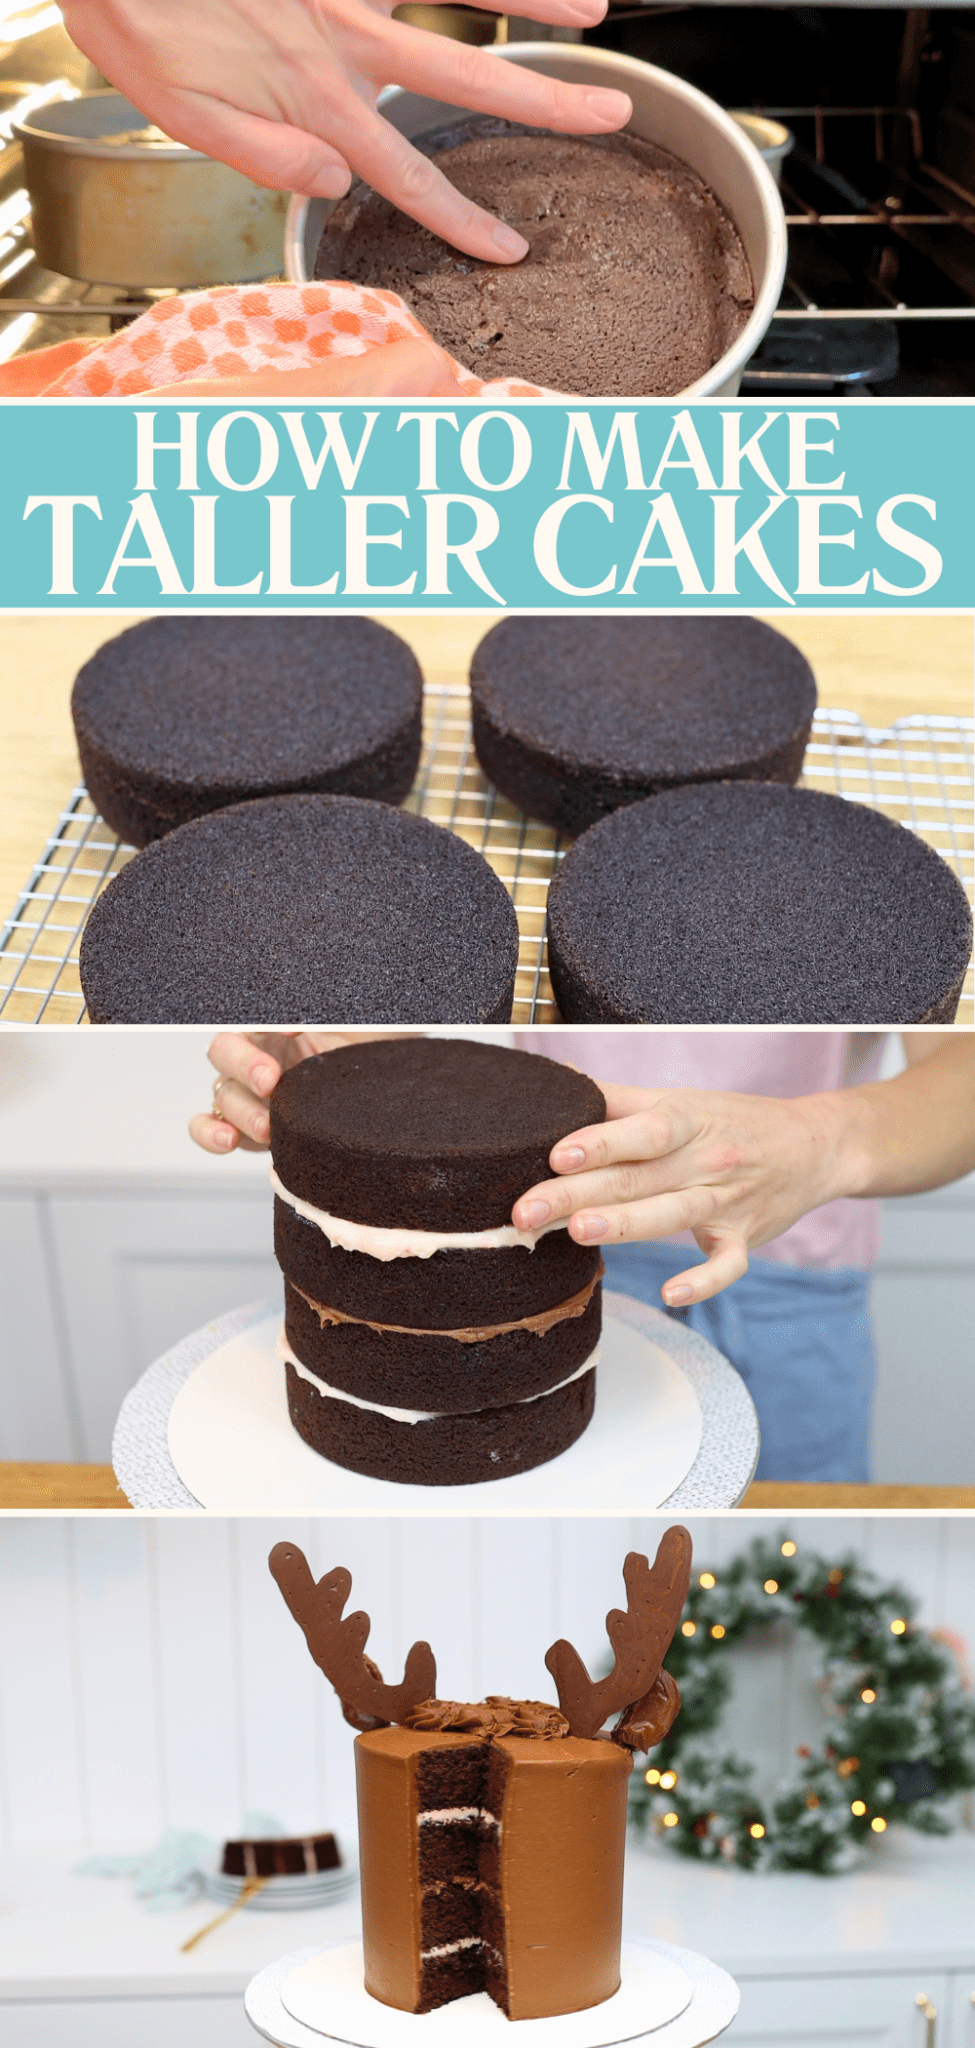
Maybe the easiest of my cake decorating tips is to consider making your cakes taller. This leaves more space on the sides for decorations, and it’s here that they’ll be the most visible. What do you see on a dessert table or while singing happy birthday or blowing out candles? The side of the cake!
The easiest way to make a cake taller is to use a recipe for a wider cake. For example, this is my 3 layer 8 inch Perfect Chocolate Cake recipe, baked into four 6 inch pans instead.
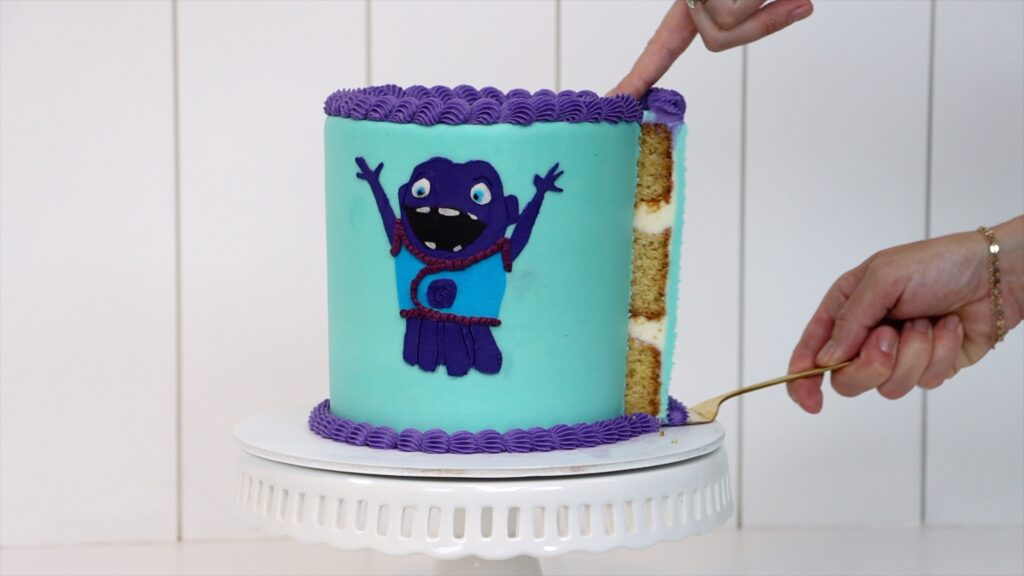
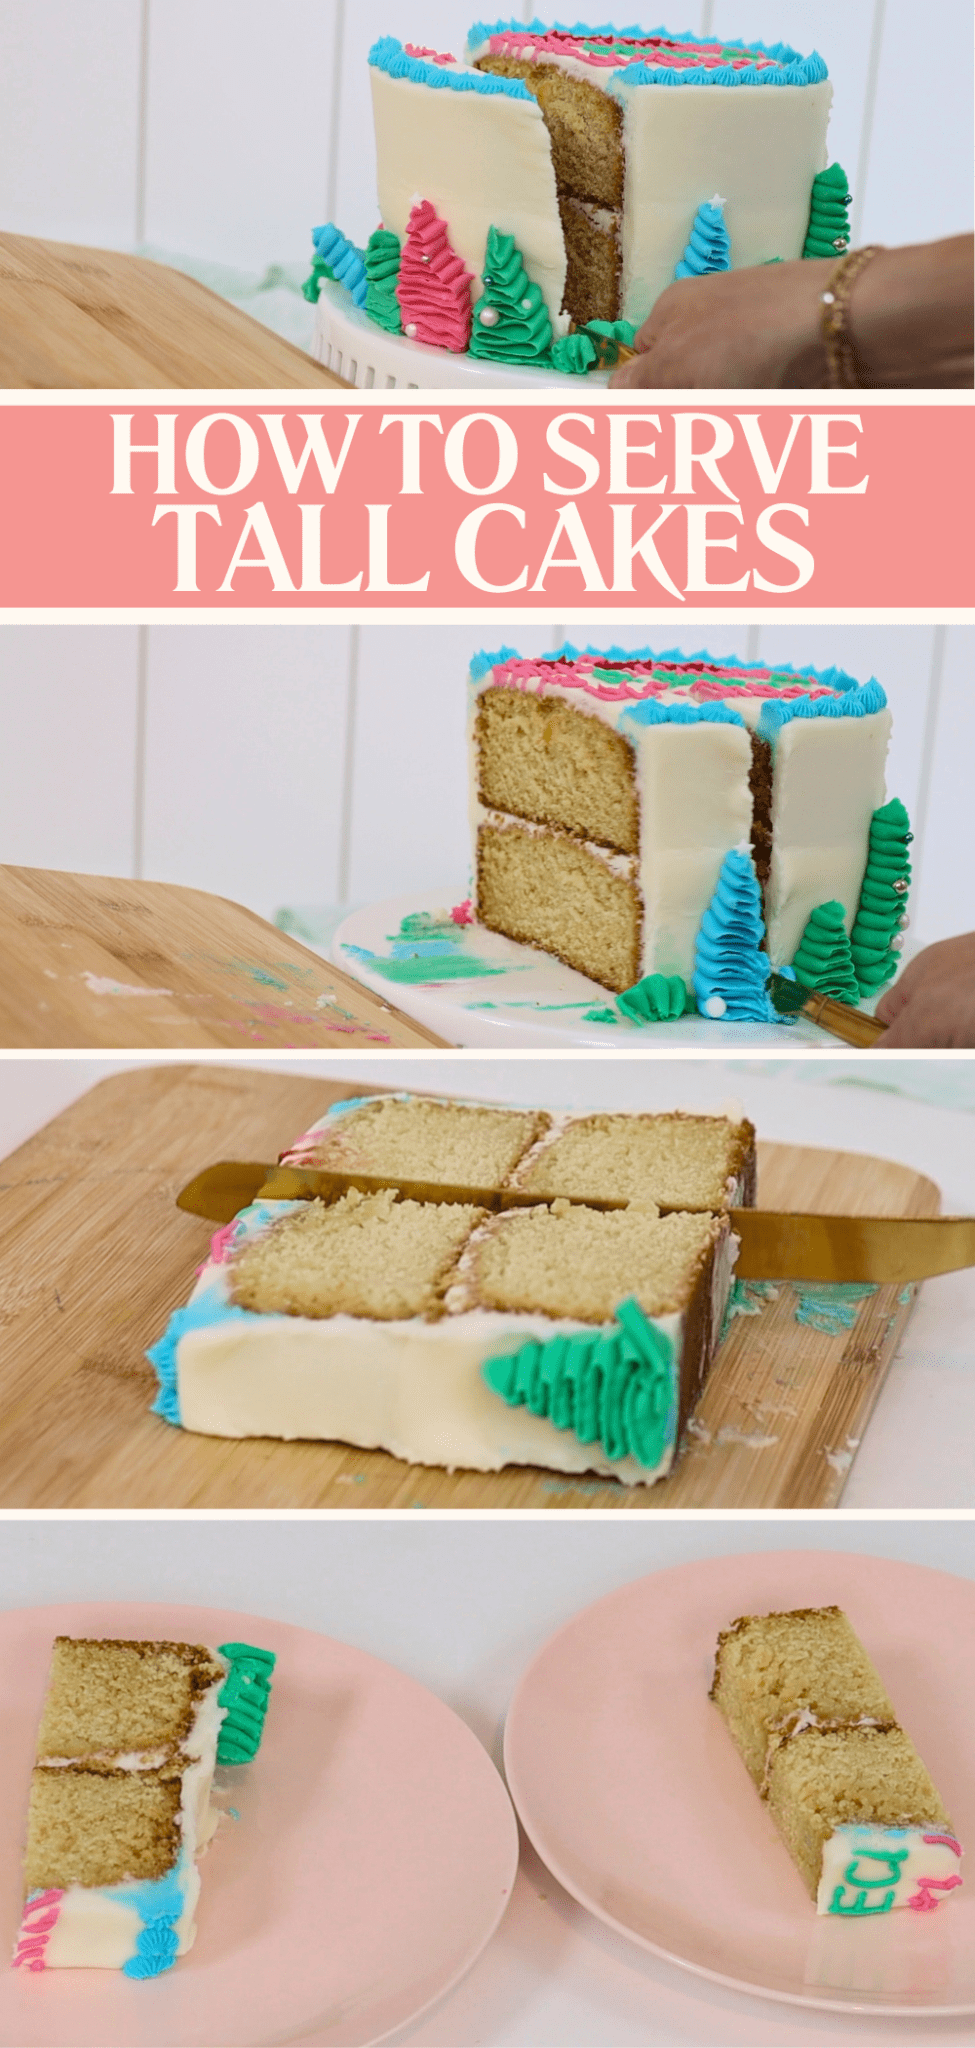
But when you make a tall cake for someone, tell them how to serve it! Or even better, show them a video. I have a few saved in my instagram highlights that you can send them.
It’s much easier to cut tall cakes into strips than cutting traditional wedge shaped slices. Slice across the cake about an inch from the edge, tipping the slice onto a cutting board. Then divide it into three or four tall pieces. Repeat across the cake, cutting each slice the same thickness and then tipping and dividing.
People who love frosting cake can choose an edge piece, which has frosting all the way down one side. People who like less sweetness can choose a middle piece with frosting on top but not on the sides.
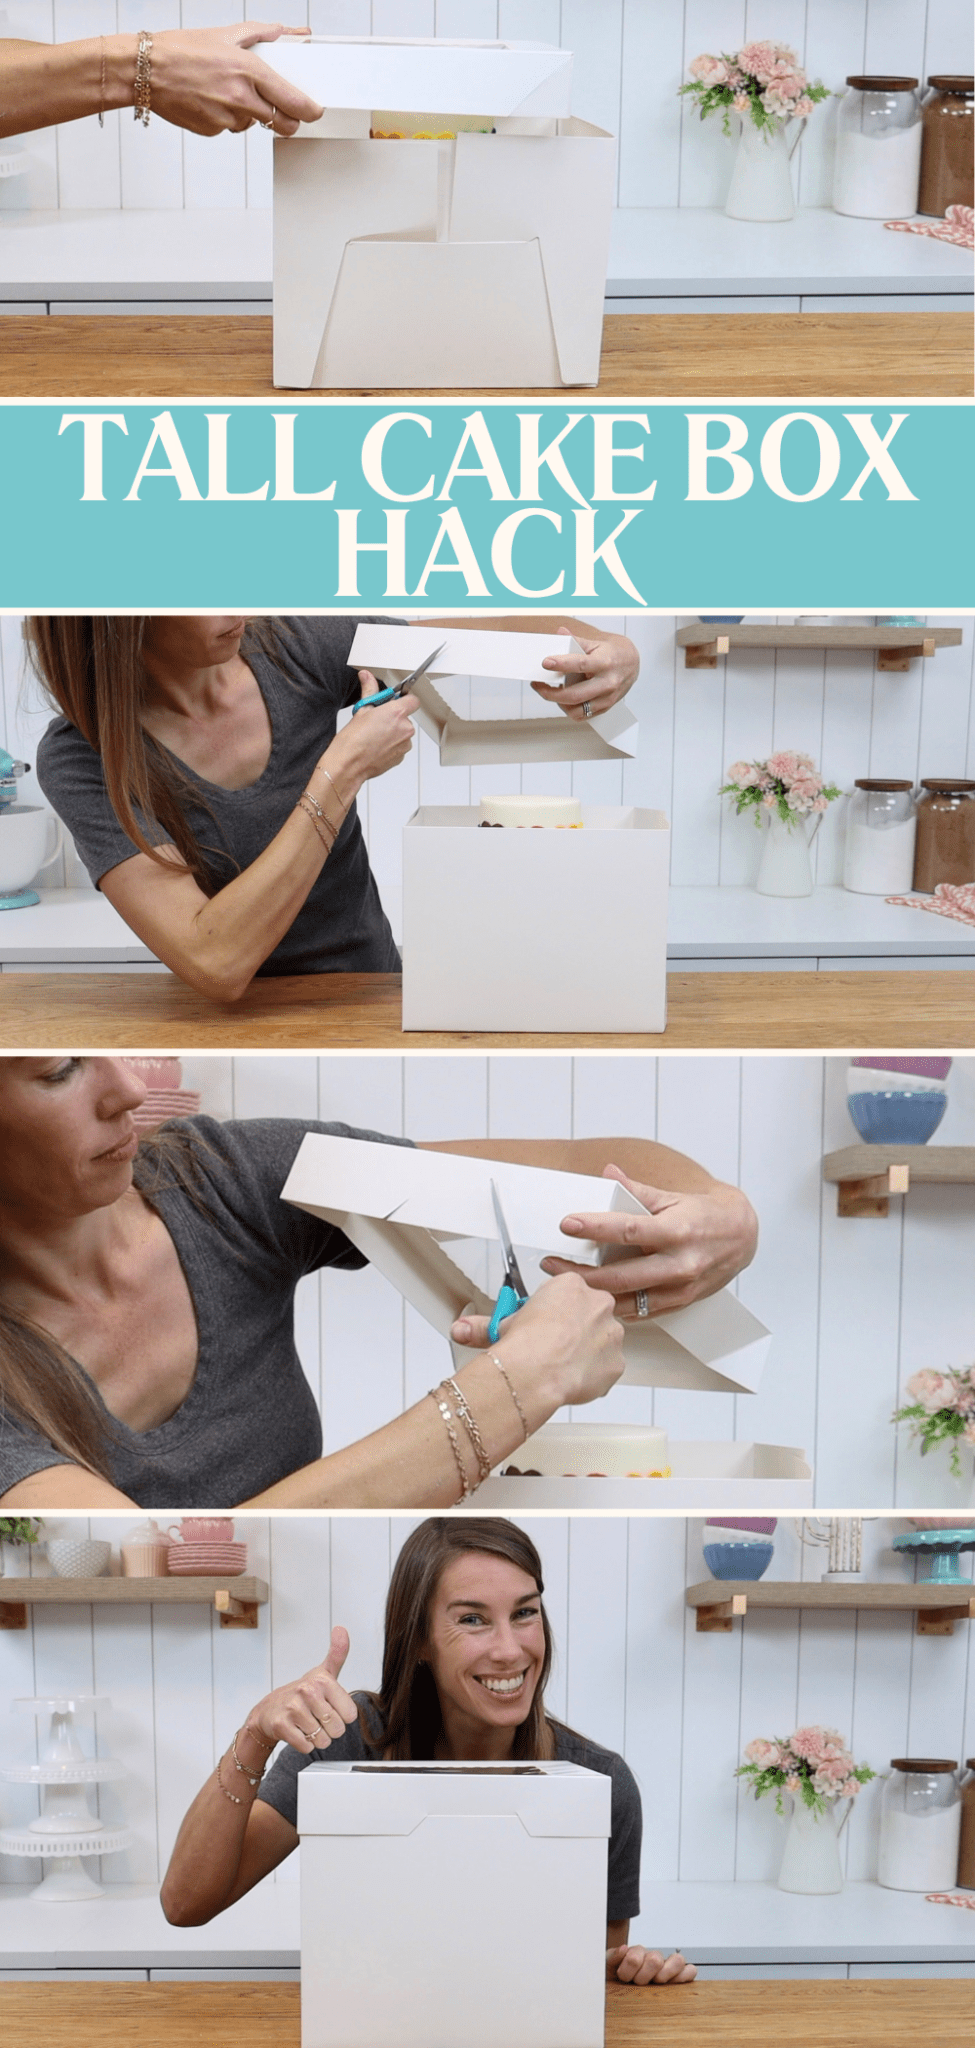
Instead of using cake caddies or just handing cakes out on cake boards, choose cake boxes. They're only a few dollars each when you buy 10 or 20 at a time on Amazon or other websites. And they make your cakes look so much better!
If your cake is too tall for the box, use this hack for homemade height! Cut diagonal slits in opposite sides of the lid, which will raise the box a few inches. You'll be able to fit the lid on and keep your packaging looking professional.
I hope these cake decorating tips will help you improve your cakes and sell more cakes for more money. Visit my cake school and choose an online course or membership to learn new cake decorating skills, techniques and designs!
You can also watch a video of this tutorial on 10 Cake Decorating Tips to Improve Your Cakes:
Save this tutorial to Pinterest for later: