Here are 7 easy Easter cake ideas and Easter cupcake ideas, too! You don’t need any decorating experience for these and you can even do them with kids!
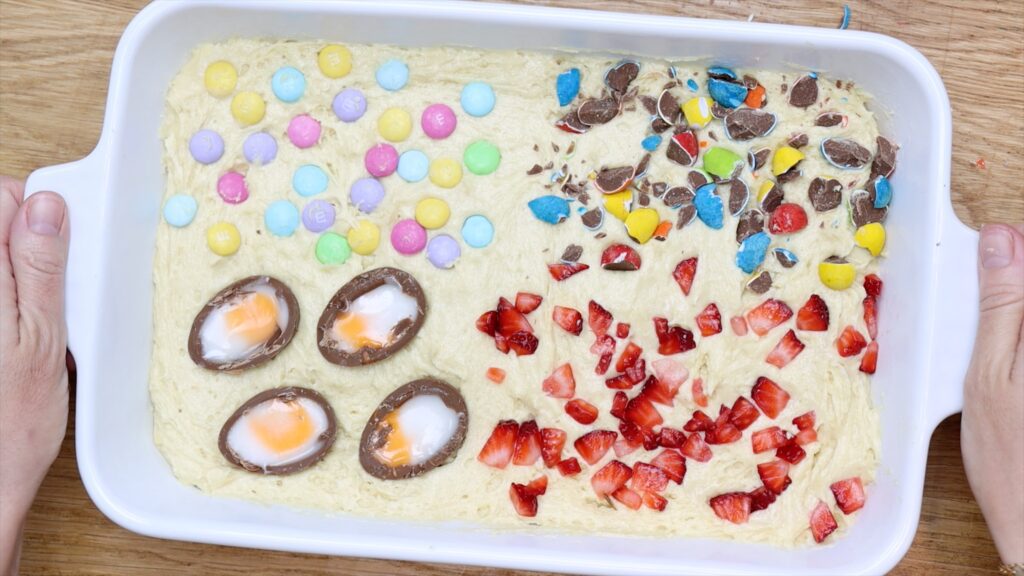
You can do the first of these Easter cake ideas even if you don’t have any cake pans. Pour your batter into a baking dish or casserole dish. Add your favourite Easter treats like mini eggs, Easter coloured M&Ms, chopped up strawberries, and creme eggs.
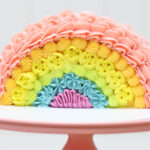
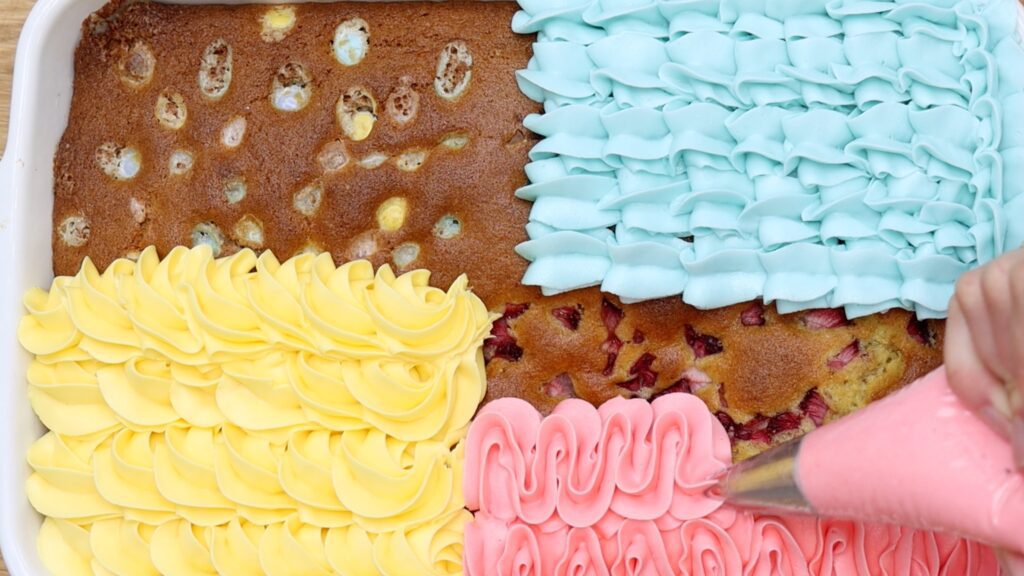
Bake your cake and don’t worry if the treats look a bit funky when they come out of the oven! After the cake cools, spread or pipe frosting on top. I’m using a different colour for each section of the cake, piping different techniques with a 1M star tip.
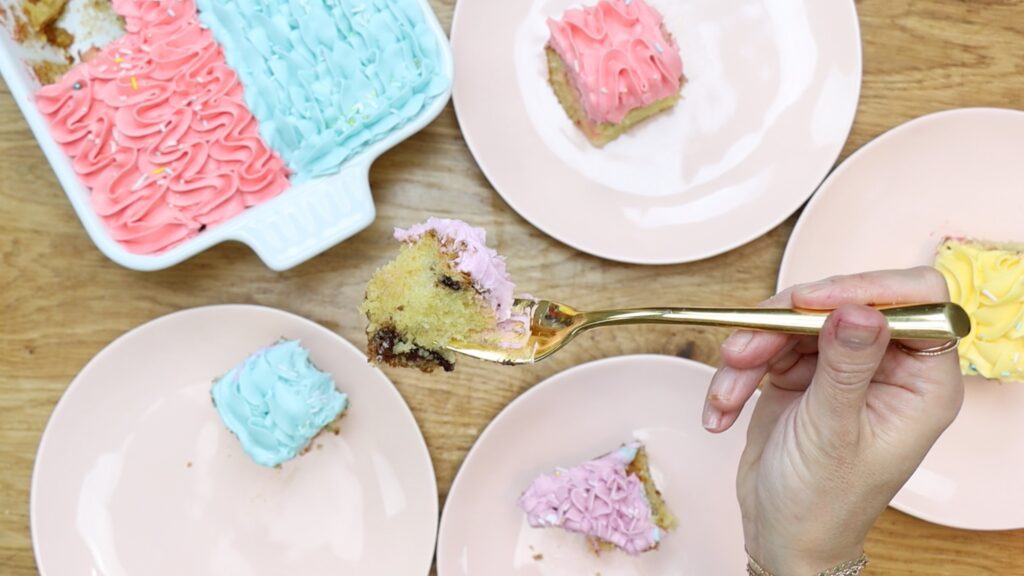
The final result is colourful and textured and fun! Of course, the best part is cutting into the cake and tasting each of the ingredients. Which one would you choose first?
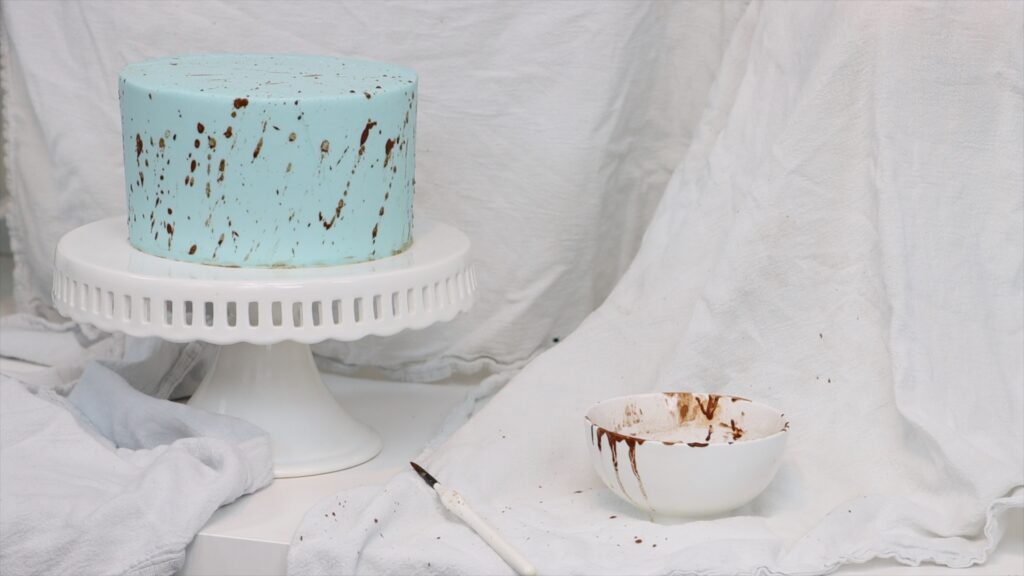
Turn a simple frosted cake into an Easter egg cake with this tehcnique. Mix a spoonful of cocoa powder and a few drops of water to make a chocolate liquid. You won't be able to splatter a paste so make sure you use enough water. Dip a paintbrush into it and then flick it all over your cake to make speckled frosting. I definitely recommend covering the countertop and the wall behind the cake while you do this!
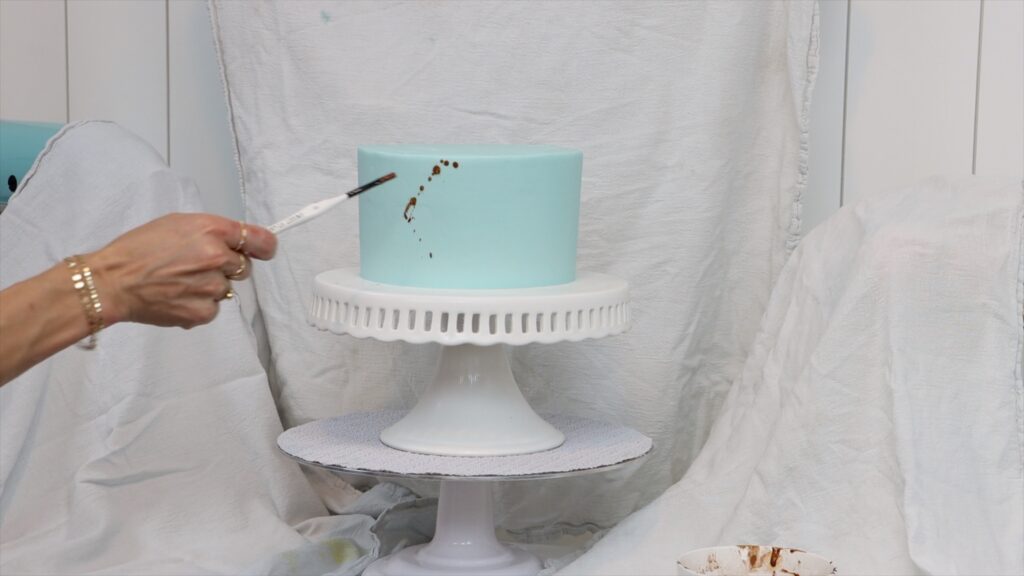
You can use striking motions or tap the paintbrush against your other hand to create a spray.
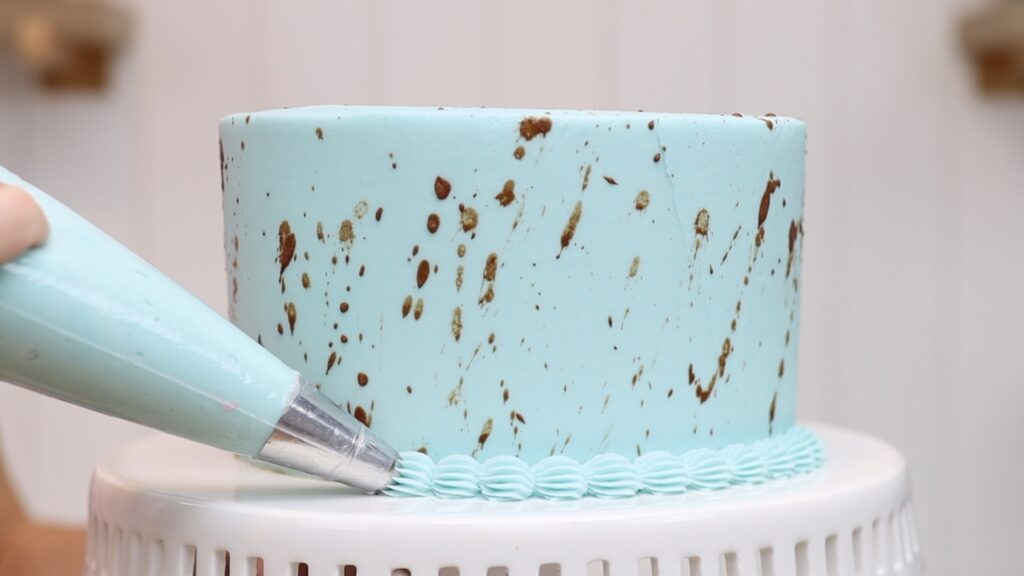
Wipe any splatters off the cake board or cake stand and then add a border if you like. This is a 4B piping tip:
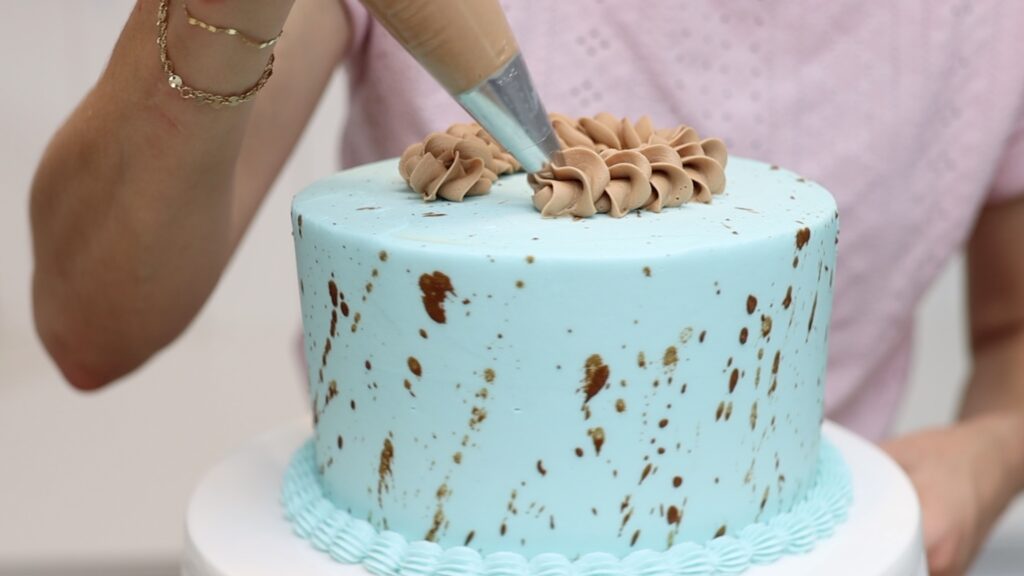
The cake looks stunning just like this but you can also add any of the other decorations in this tutorial. I’m piping a nest using a rope border technique with my Best Chocolate Buttercream.
Cadbury's Mini Eggs are the perfect size for this and you can dust them with edible glitter to add sparkle!

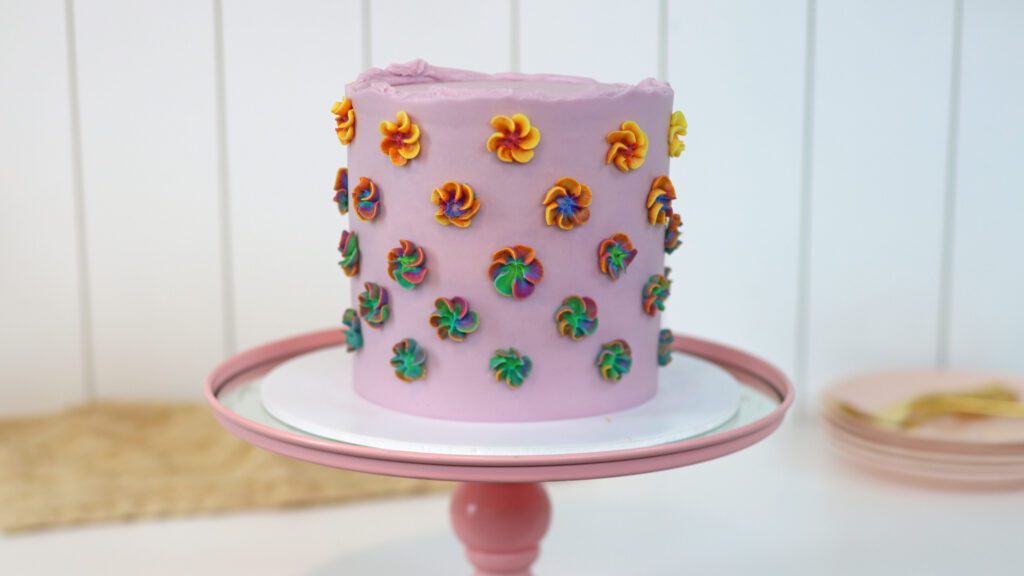
There are two easy techniques on this next cake. The first is one bag frosting, where you layer different colours of frosting within a piping bag. You only need a small amount of each. Next, as you pipe, you'll create a gradient of colour on your cake.
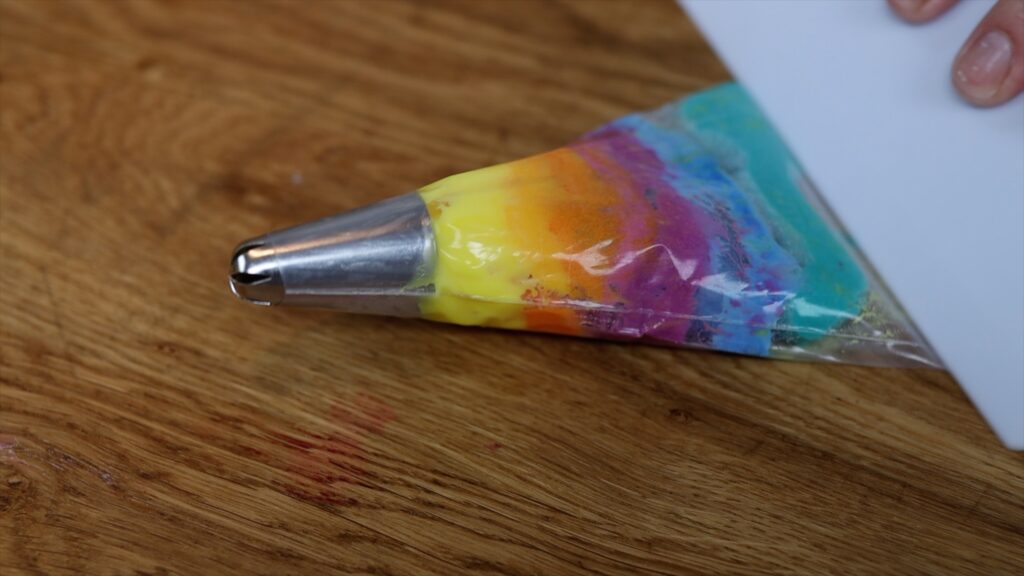
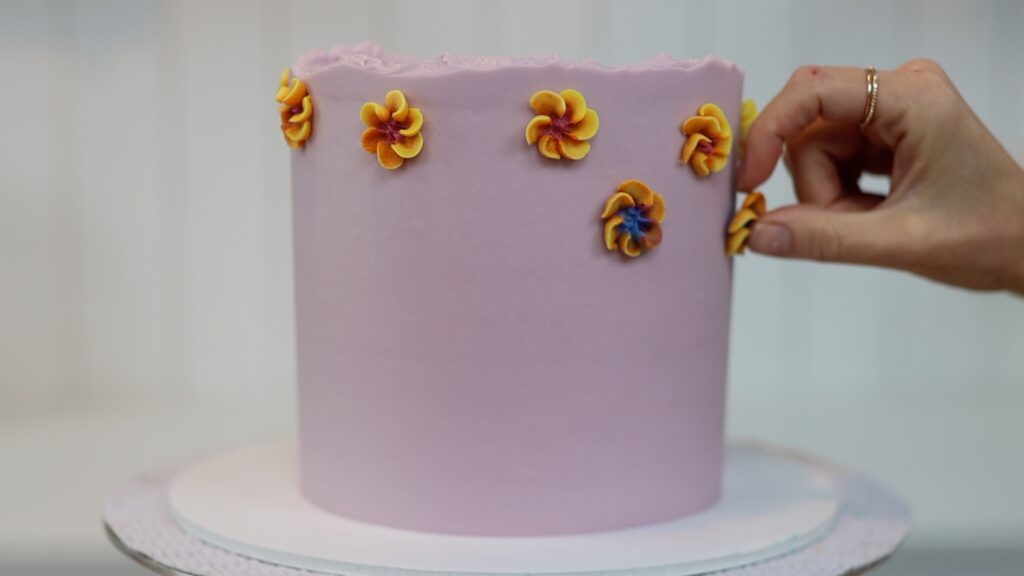
The second technique is piping drop flowers, which you can do with any rounded star tip like a 2D tip.
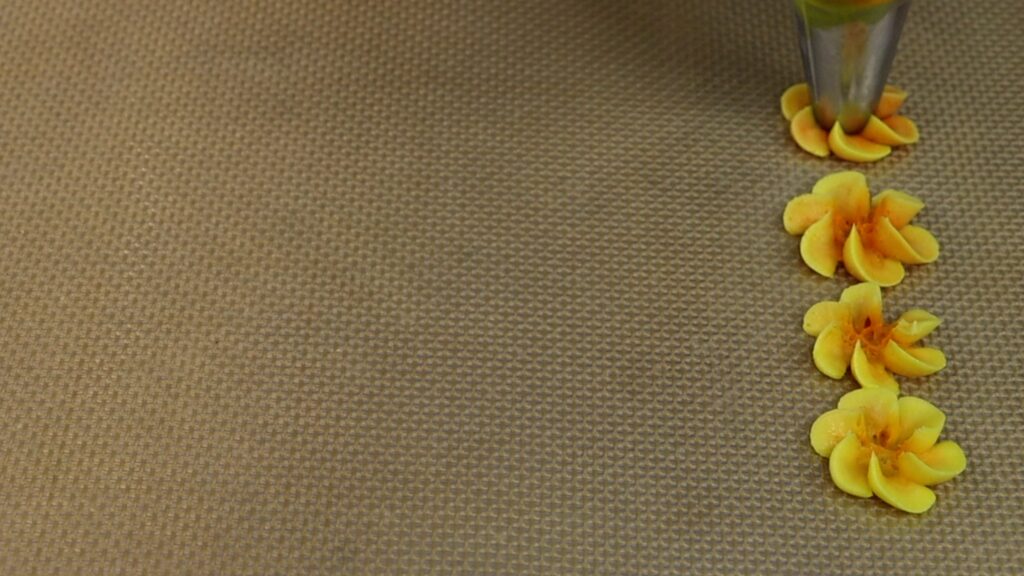
Hold the bag vertically and rest the piping tip on a silicon mat or a piece of parchment paper. Squeeze the bag and twist it to let the petals fan out sideways. You’ll freeze these to set them and then place them on your cake later.
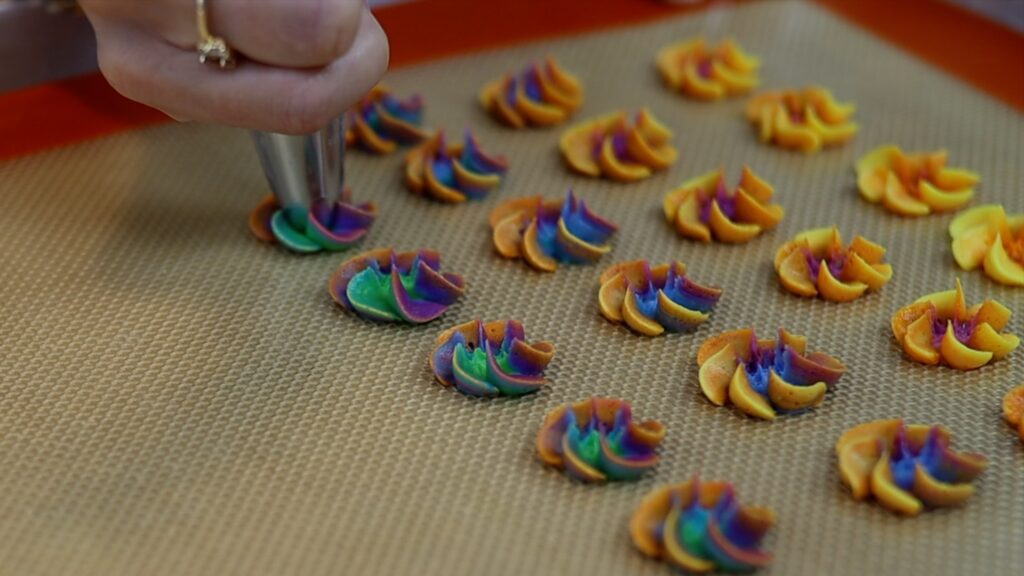
As you pipe flower after flower, you’ll see the different colours as they push down through the piping bag. You’ll see the previous colours on the outer edges of the petals and the new colours will come through in the center.
Put the piped flowers into the freezer for about 10 minutes to chill and harden. Then you can lift them up and press them onto a frosted cake.
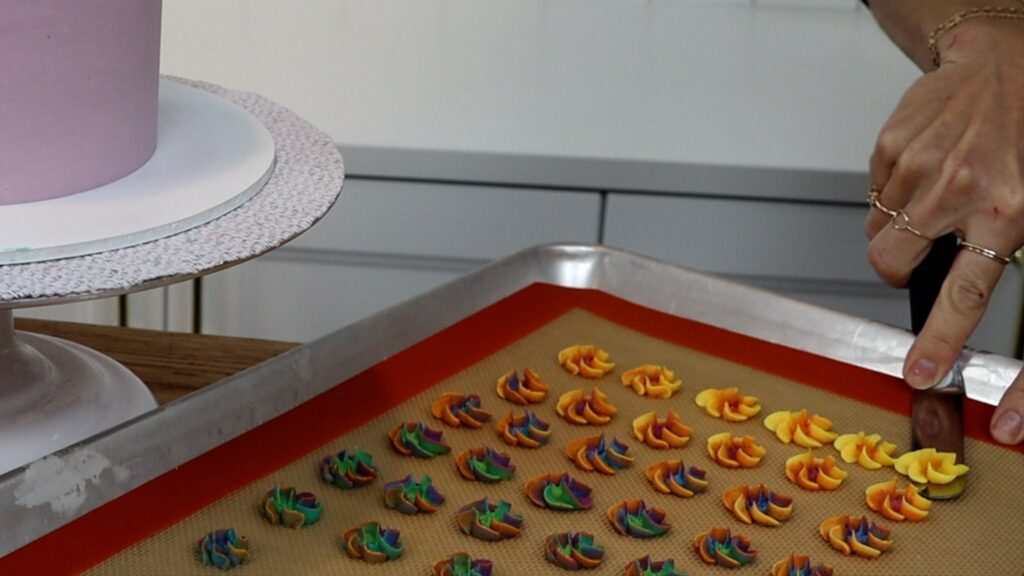
They’ll only stay cold for about a minute and when they start to soften, they'll break when you move them. At this point, put them back into the freezer for a few minutes to chill and firm up again.
This design uses just one piping bag and piping tip but the result is gorgeous! You could cover a cake completely with these, or add a single row around the cake.
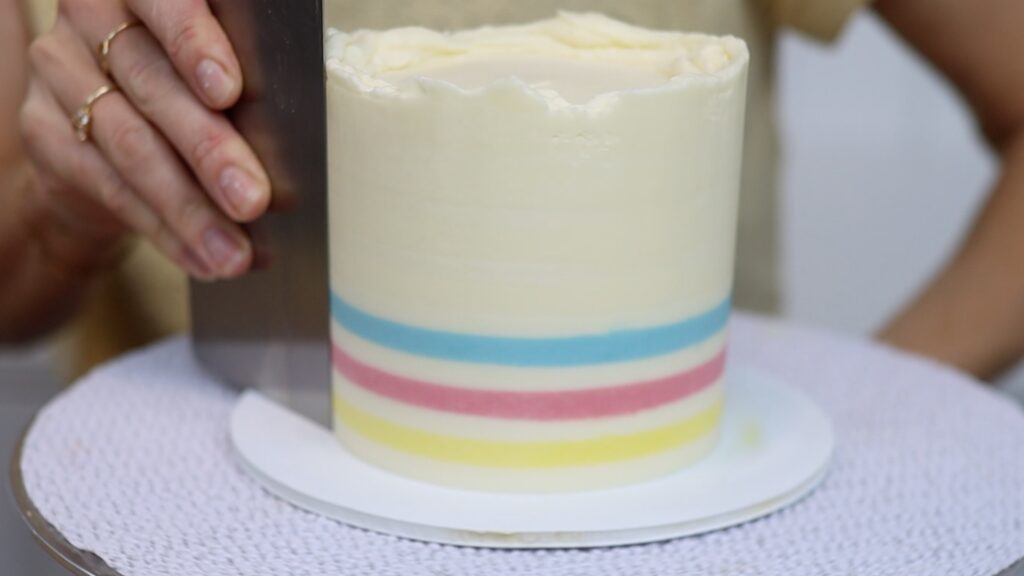
To incorporate Easter colours in your cake, use a striped cake comb. Scrape around a frosted cake a few times until the grooves are neat. Then put the cake into the freezer for 15 minutes.
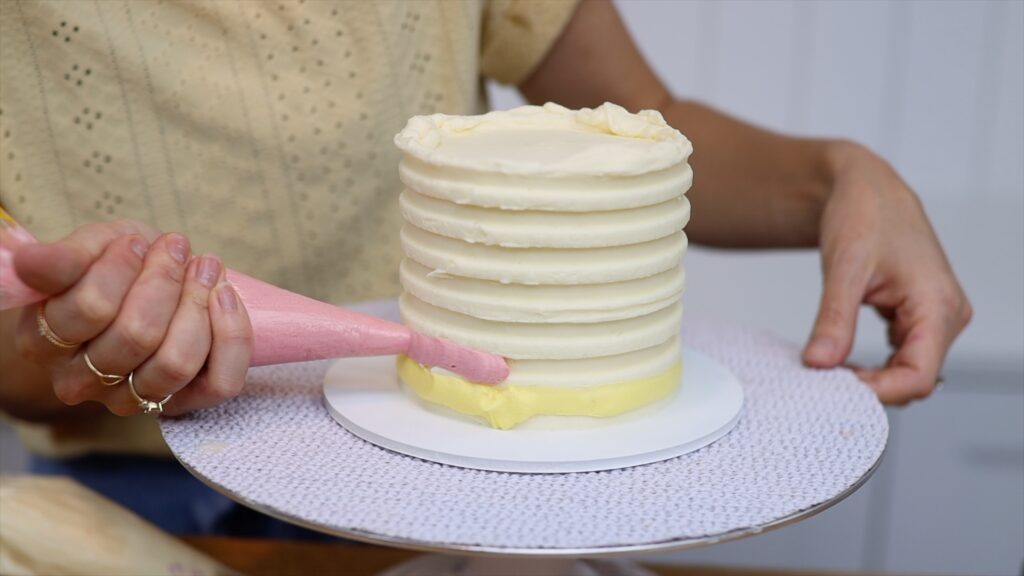
Next, pipe coloured buttercream into the grooves. You can fill all of the grooves or only create a few stripes as an accent. To do this, pipe coloured buttercrema into a few grooves and the background colour into the rest of the grooves.
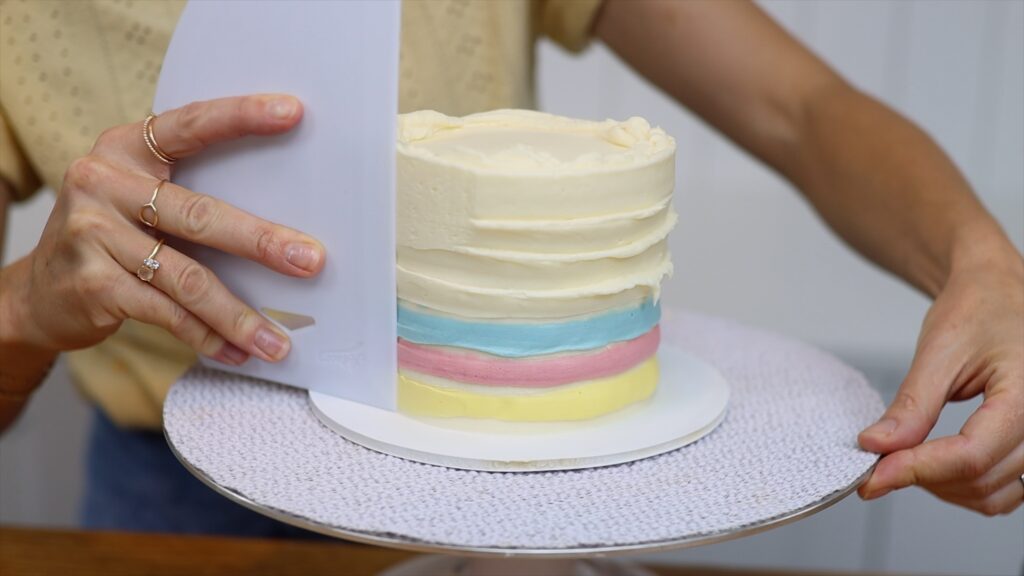
As you smooth the frosting, the colourful stripes will get neater and neater. Wherever you've filled grooves with the background colour, the piped frosting will blend into the background frosting. Those stripes will disappear to create a plain, smooth surface instead.
To use your leftover colours to pipe some swirls on top of the cake, lay out a piece of plastic wrap. Squeeze the leftover colours into rows along it and then roll it up into a log.
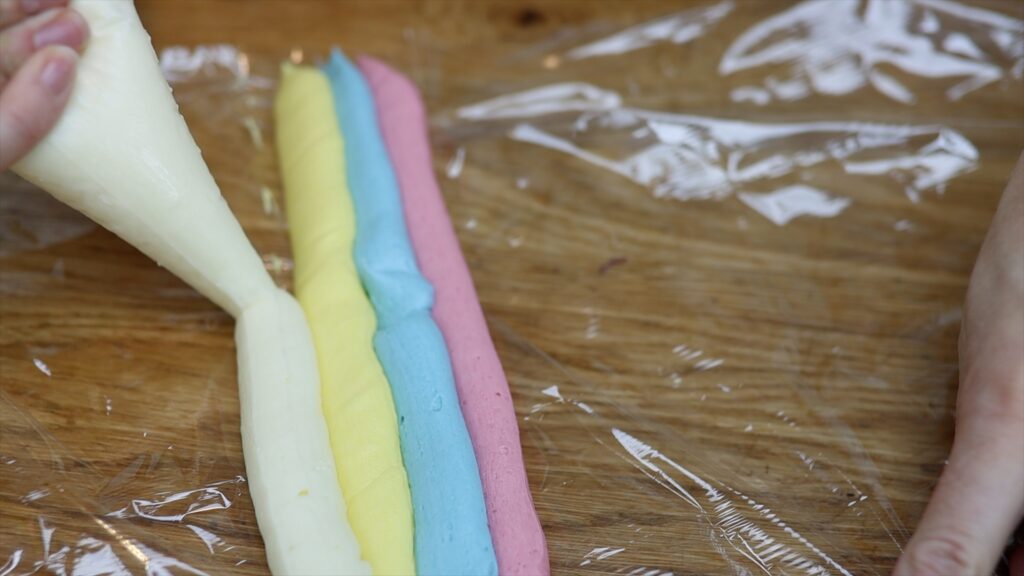
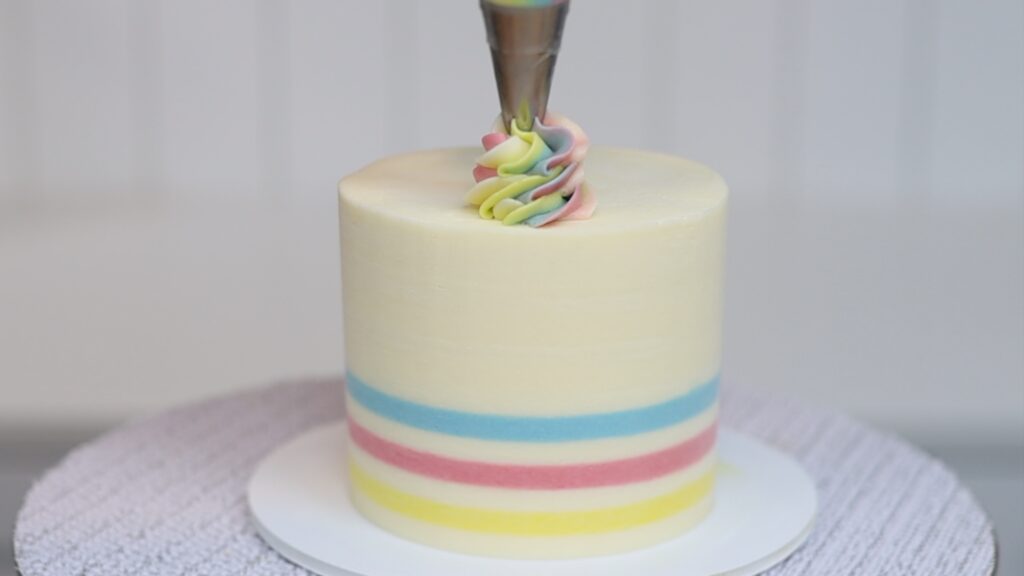
Cut off one end and drop that end down into a piping bag fitted with a star shaped piping tip. Twist the top of the bag and then pipe swirls onto the top of the cake. All of the colours will come through the piping tip, matching the colours of the stripes on the cake.
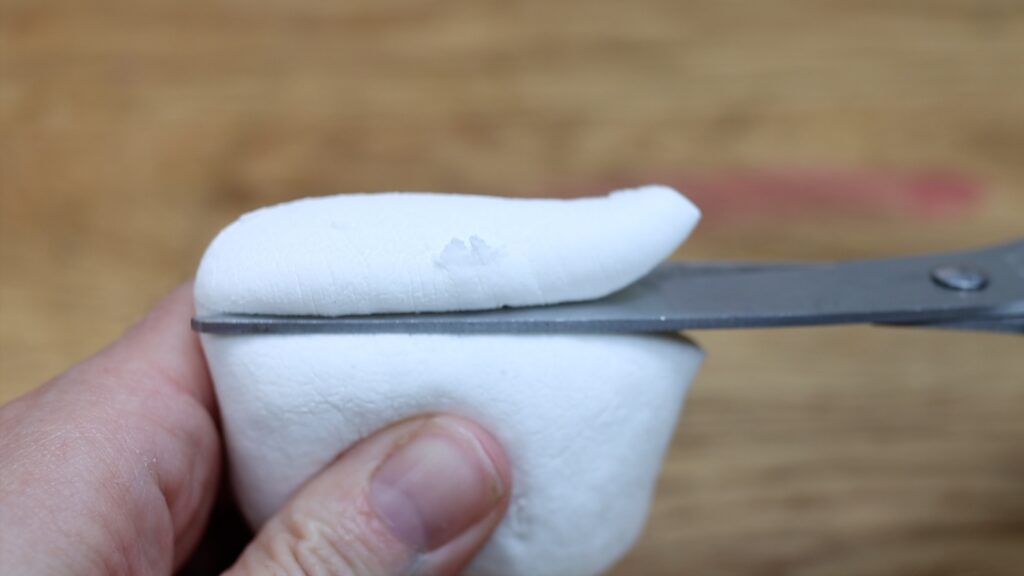
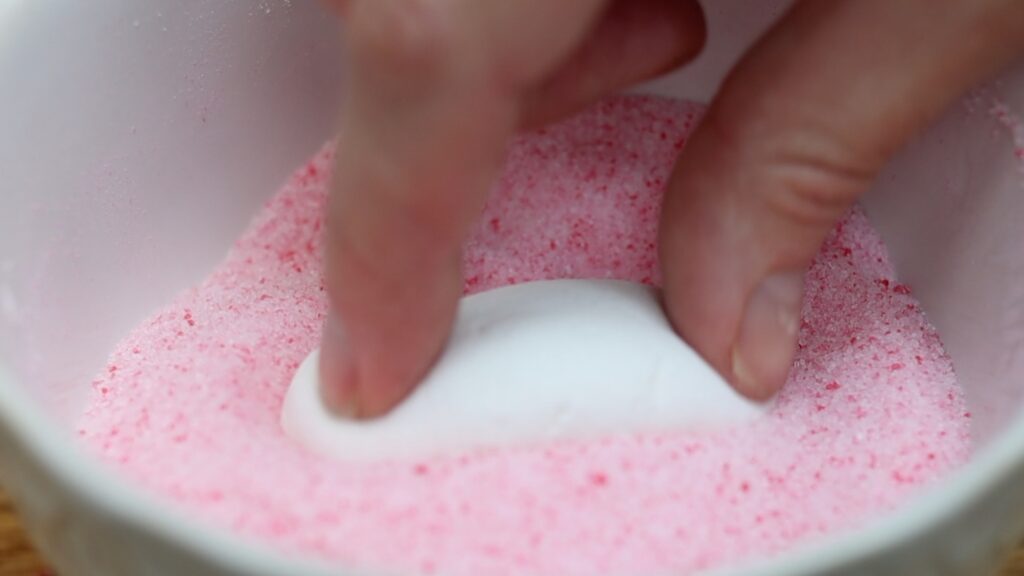
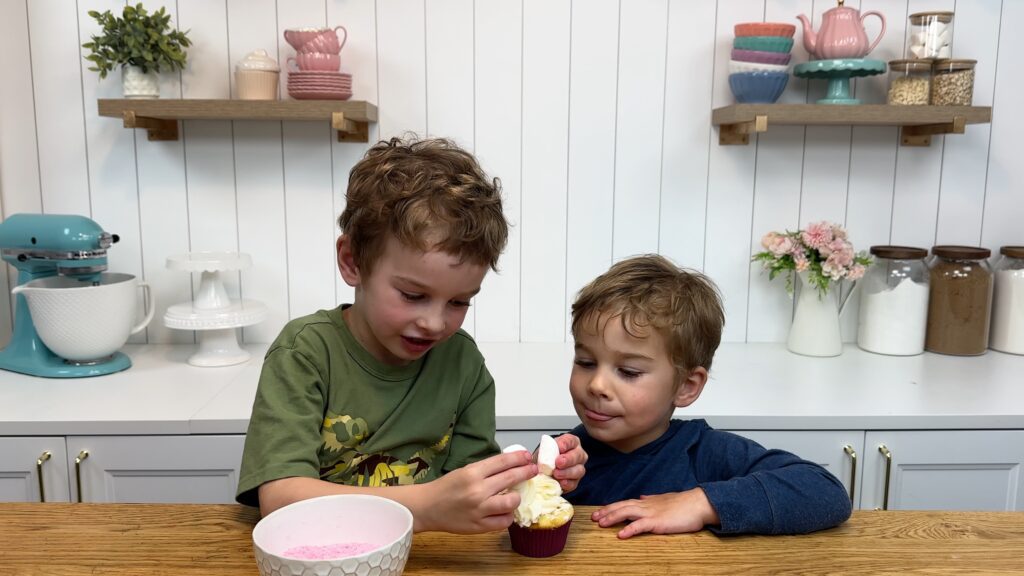
Now for some cupcake cake ideas. The easiest Easter cupcake to make is a simple bunny. Swirl buttercream or any other frosting onto a cupcake using a star tip like a 1M. Then cut a marshmallow in half diagonally for diamond shaped ears or cut straight across it for oval shaped ears. It’s important to use a freshly opened bag of marshmallows for this! They need to be soft with a sticky middle.
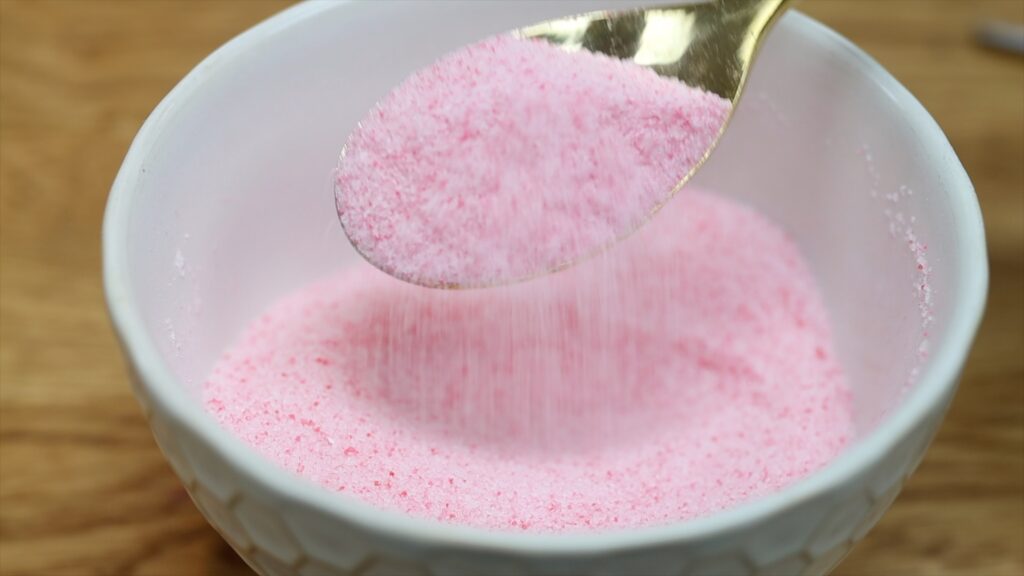
Pour some sugar into a bowl and add a drop of pink food coloruing. Stir it around until it’s the colour mixes into the sigar and makes it all pink.
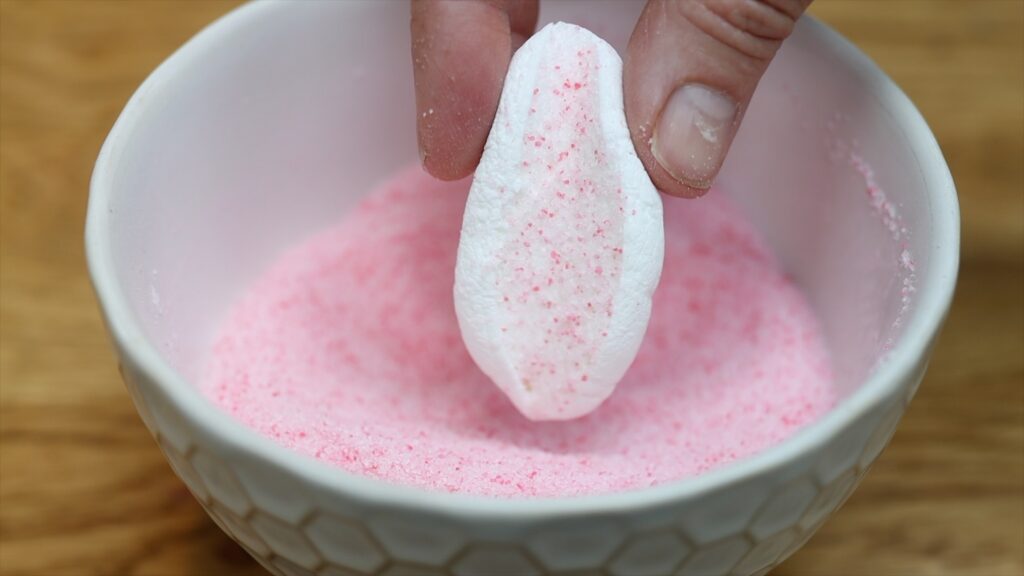
Next, press the cut side of each piece of marshmallow into the bowl. The pink sugar will stick to it and it will look like the inside of the bunny's ear.
Then poke two pieces into the frosted cupcake to make an Easter bunny!
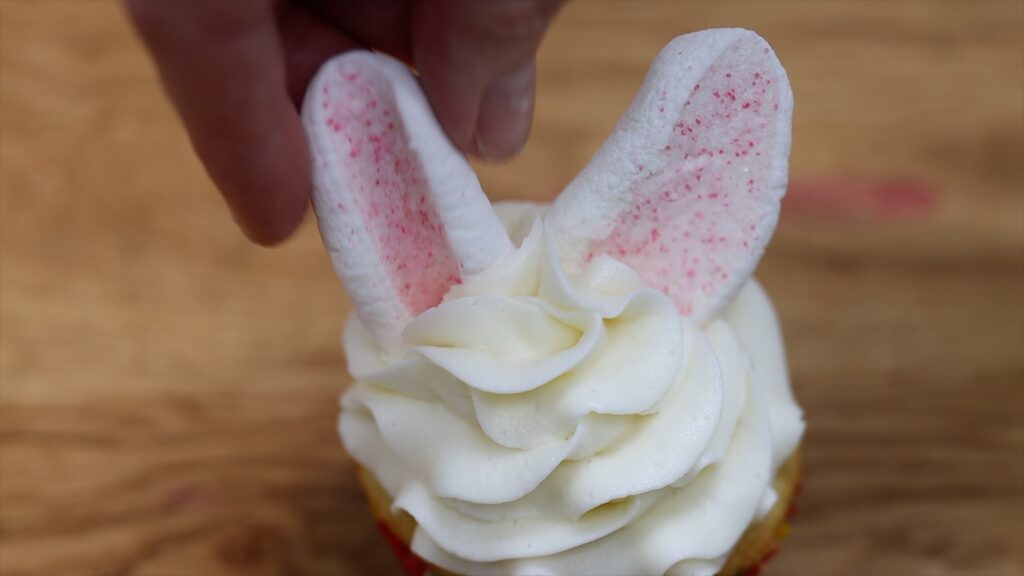
This is a fun Easter cupcake idea to do with kids and they'll love being able to do it all themselves! These are simple but adorable and delicious!
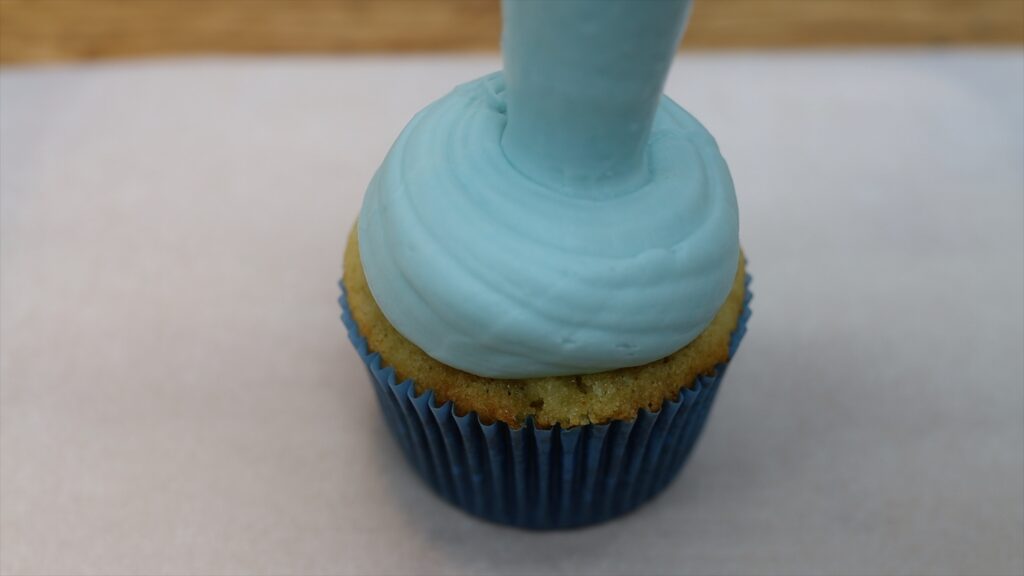
For a more sophisticated Easter bunny design, make a flat top cupcake. Pipe a blob of buttercream onto a cupcake, letting it bulge out to almost cover the cupcake.
Then flip it over onto a tray or cutting board lined with parchment paper or wax paper or baking paper.
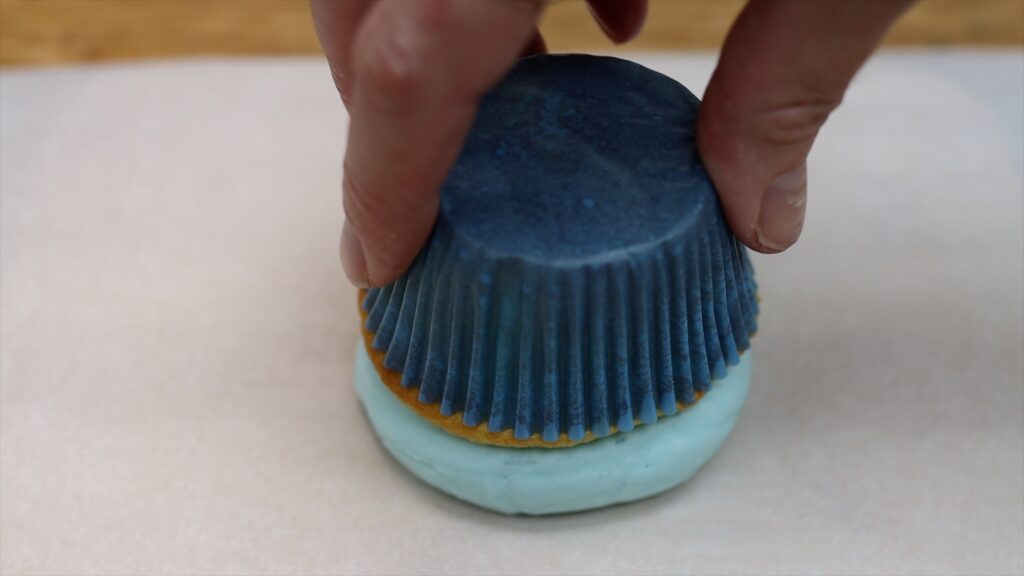
Put it into the freezer for 30 minutes and then peel the cupcake away from the paper. You’ll have a beautifully flat, smooth surface to decorate!
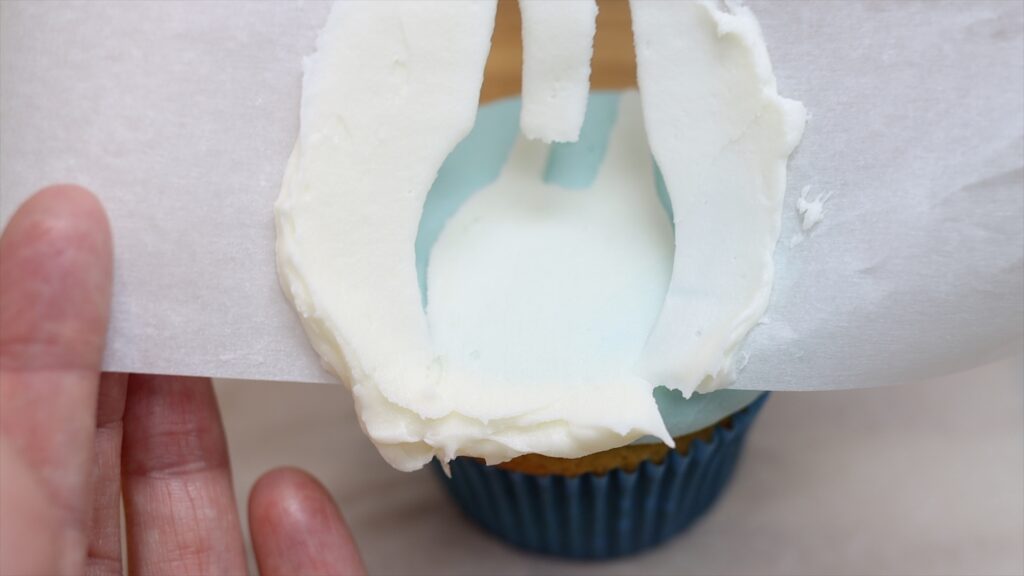
Cut an Easter bunny out of another piece of parchment paper and as you cut, leave the surrounding paper intact. Press this down onto the cupcake and you have a homemade stencil! Spread some frosting over it and scrape off the excess to leave a thin layer behind.
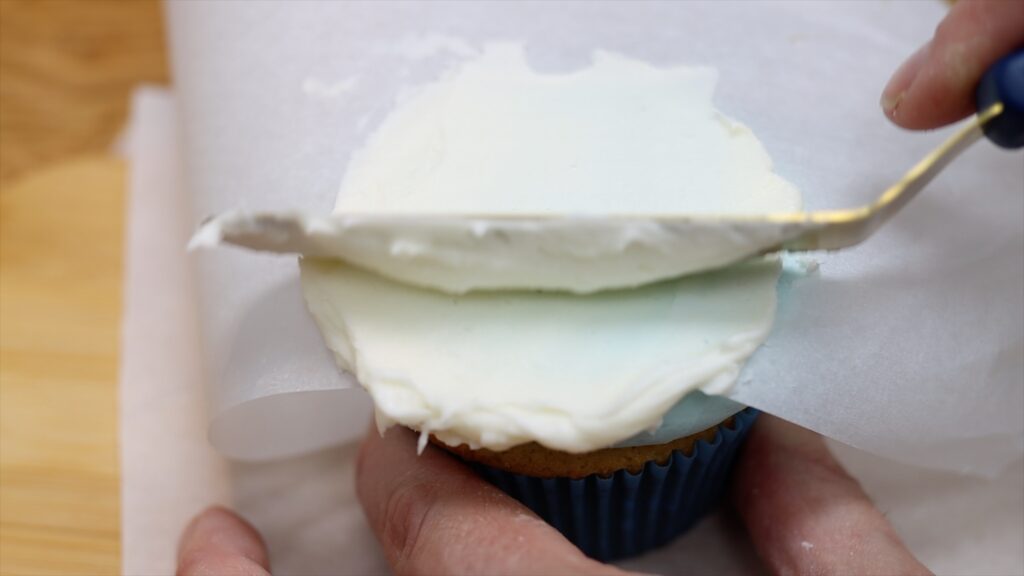
Peel the stencil off and voila!
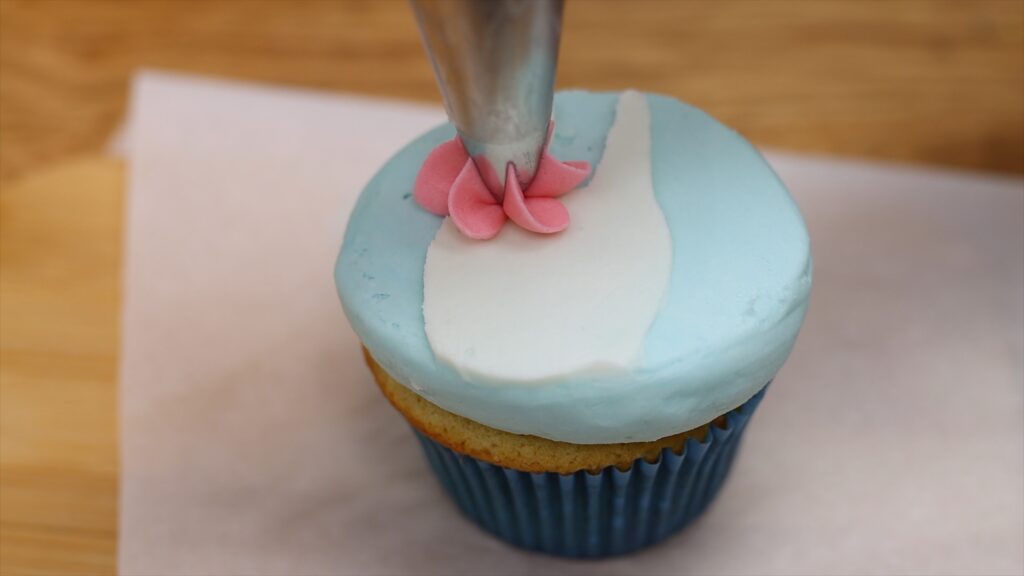
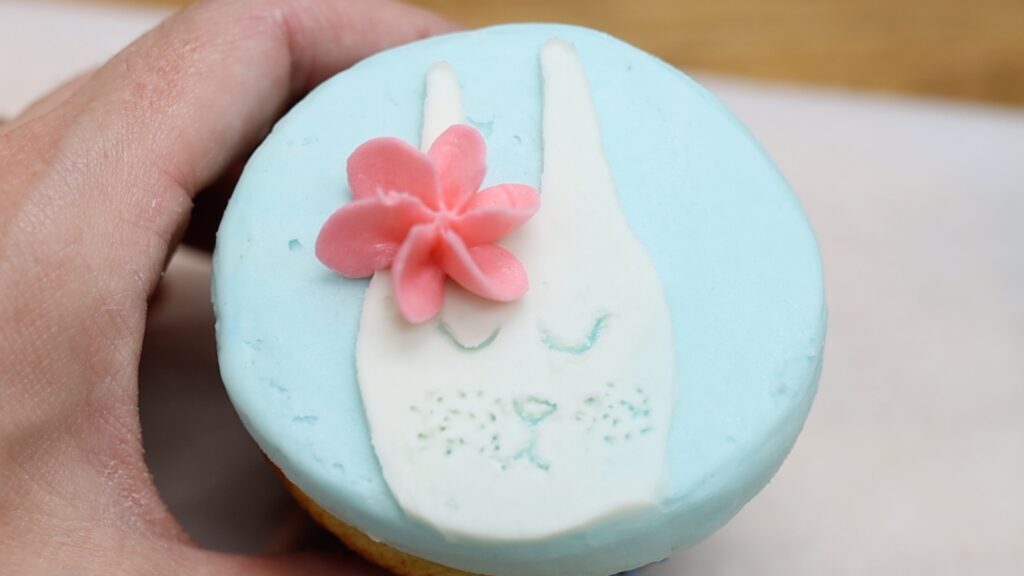
To make this a bit fancier you can pipe on a flower using any star shaped tip, like this 1M. Twist as you squeeze to make the petals fan out sideways.
Add some details to the face with a toothpick or paint them on with a very thin paintbrush. This design is almost too pretty to eat!
You can use this technique on cakes too! Chill the cake after frosting it for at least hour in the fridge and then press a homemade stencil against it. Spread buttercream over the top and peel it off!
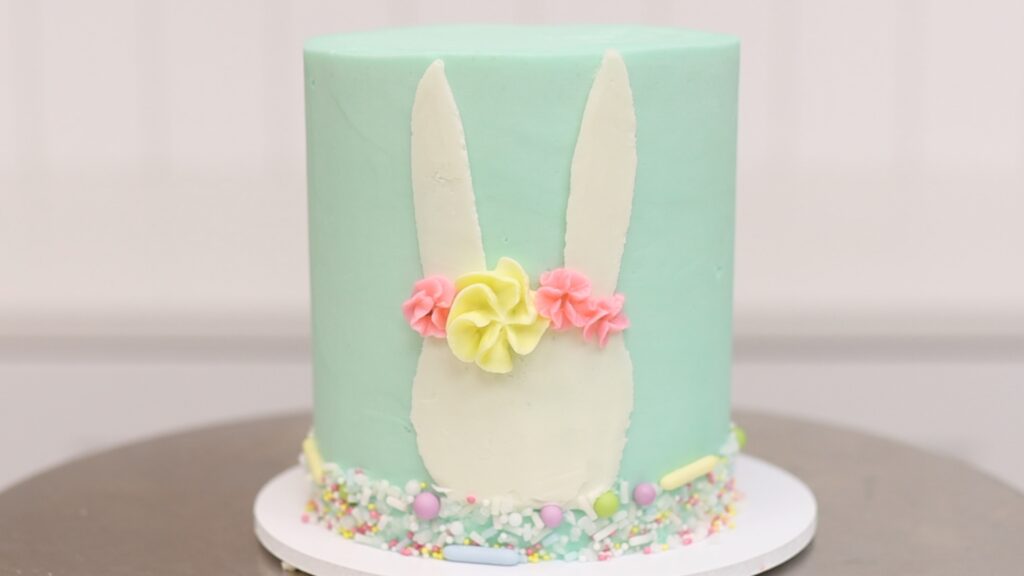
You can add flowers and sprinkles to make it more colourful. See the step by step tutorial for this cake in my tutorial on 4 easy Easter cake ideas.
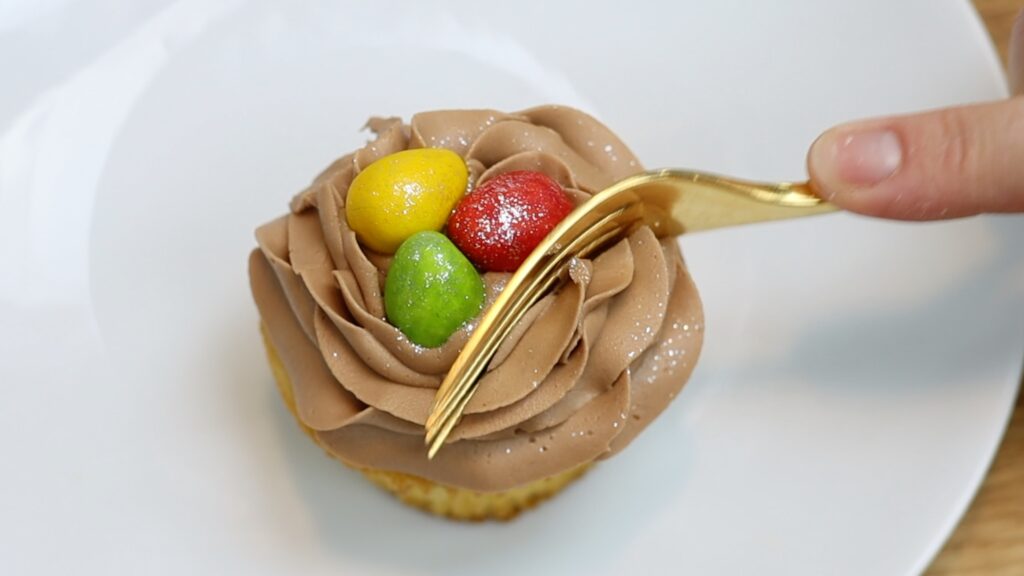
To pipe a nest, use a star shaped piping tip to pipe a ring or a tall swirl. Add some chocolate or candy Easter eggs in the middle. You don’t have to press hard to attach these if the buttercream is still soft and sticky.
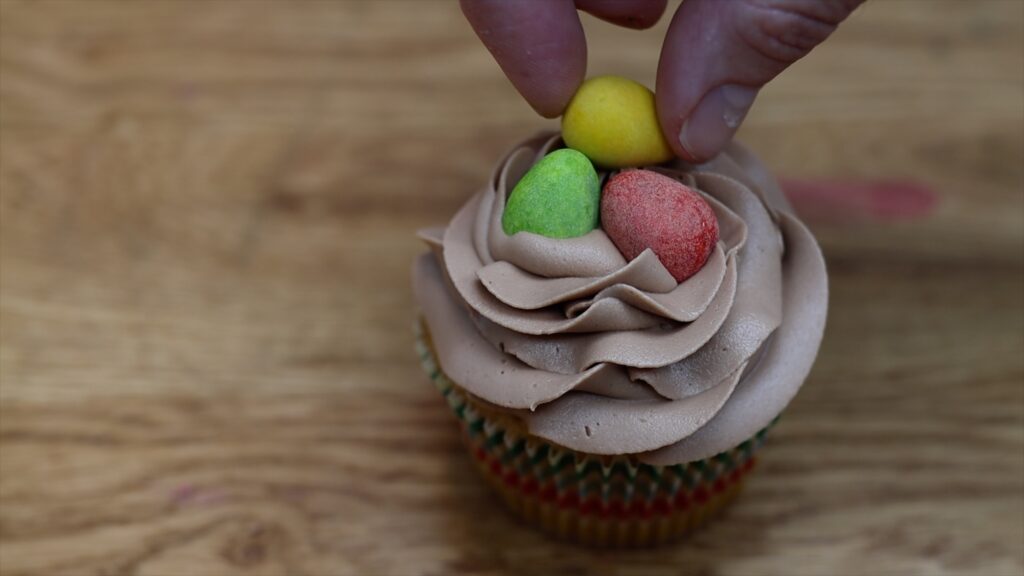
The Easter coloured Mini Eggs were sold out so I’m using rainbow Mini Eggs instead. Brushing them with edible glitter makes the colours a bit lighter and more festive. I tapped the glitter paintbrush over the frosting nest, too.
I hope you’ve seen some ideas you’d like to try! Learn hundreds of cake decorating techniques and designs on my cake school, where you can choose an online course or a membership for access to everything!
You can also watch a video of this tutorial on 7 Easter cake ideas and Easter cupcake ideas: