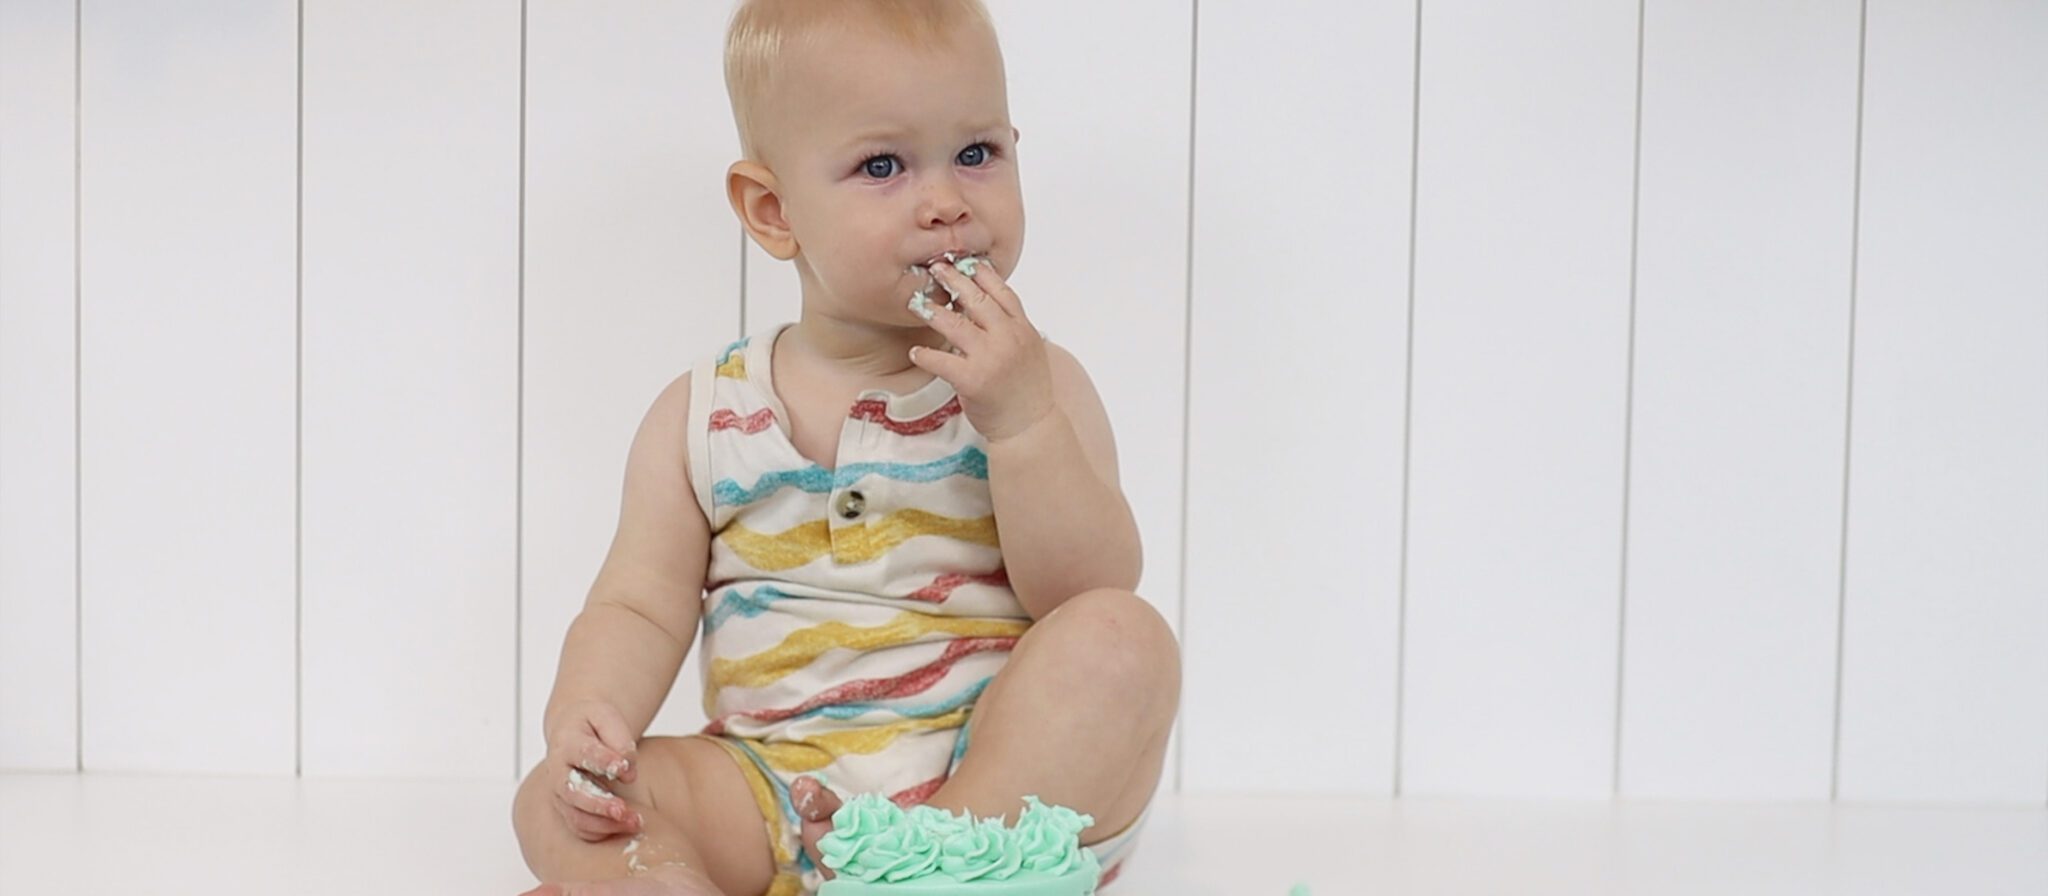
Smash cakes are popular for first birthday celebrations and these little cakes are perfect for small gatherings, too! They're easier than you think to make. I'll show you how to make them with and without tools like a
First, bake your smash cake layers. These are typically four or six inches but you can use the techniques in this tutorial for any size cake. I'm using my Small Batch Chocolate Cake recipe to make 4" layers:
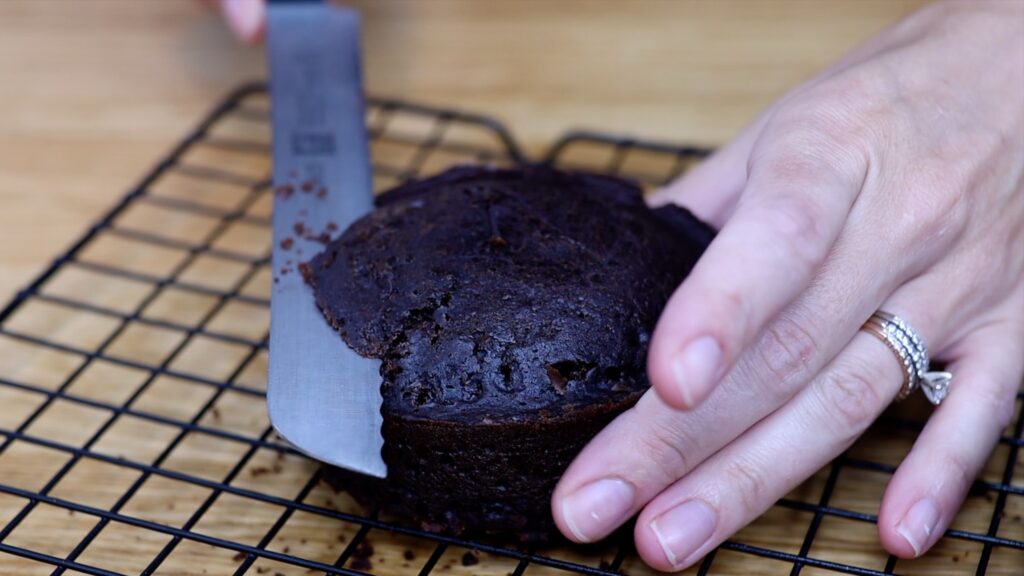
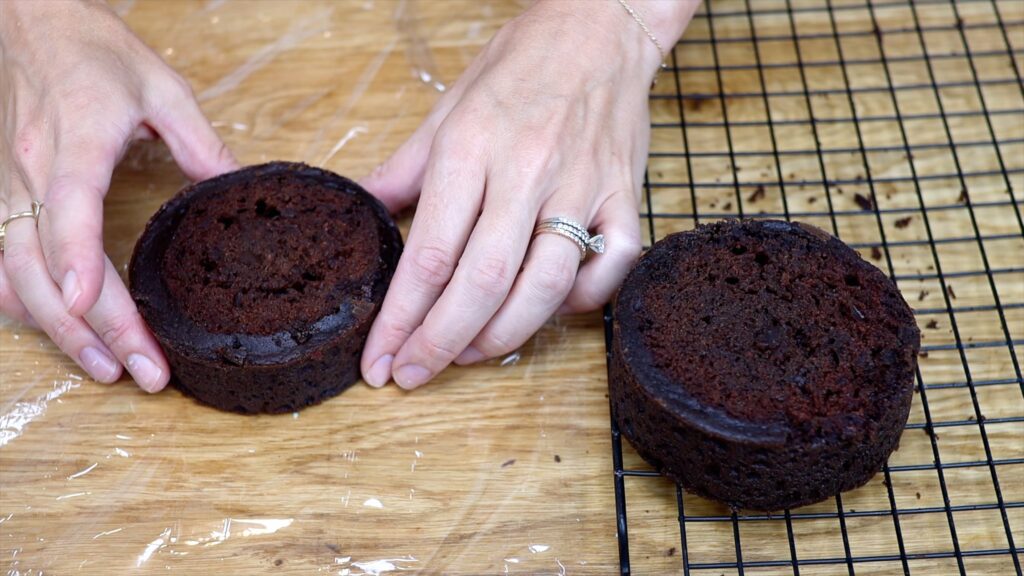
Prepare your smash cake layers by letting them cool completely, which takes about two hours. Then if the tops are domed you can level them with a serrated knife like a bread knife.
For the easiest assembly and neatest frosting, wrap these in cling film or plastic wrap. Then put them in the fridge for about an hour so that they chill.
If you don't have a cake board you can assemble a smash cake on a plate. I'll show you how to do it on a cake board next. Always start with a dot of buttercream in the middle of your plate or cake board. Push your first cake layer down onto it and it acts like glue to hold the cake in place. This way it won't slide around while you decorate it.
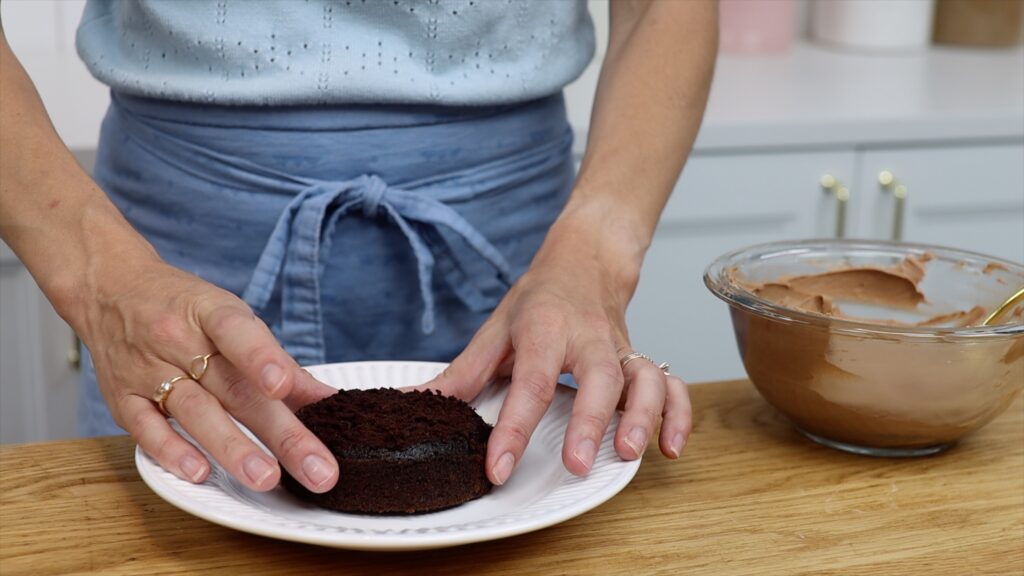
For the filling on this cake I'm using my 4 Minute Buttercream, adding melted chocolate chips to make it chocolate. You can use jam, caramel, Nutella, lemon curd… whatever you like. Using the back of a spoon, spread it so that it covers the cake up to the edges.
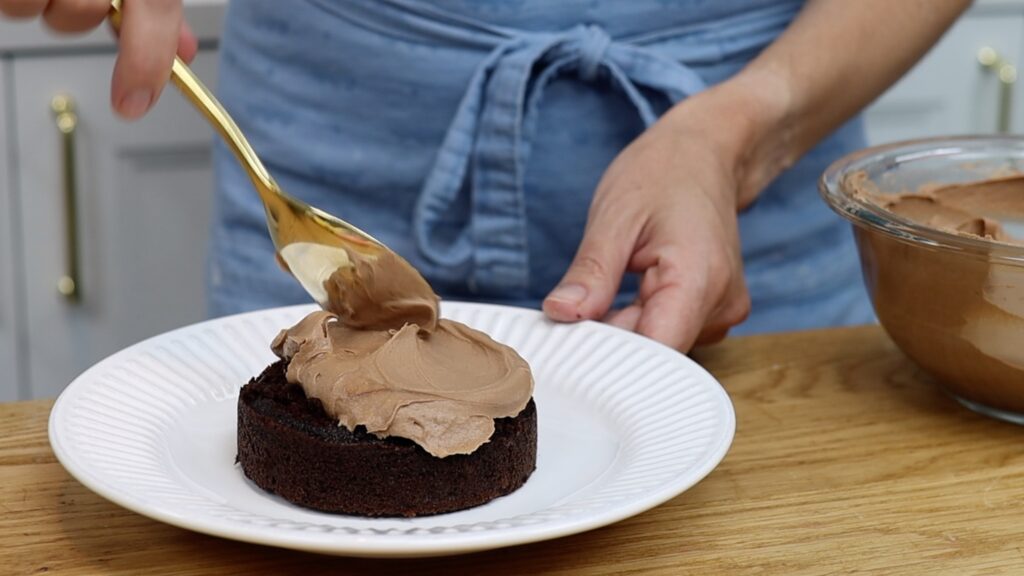
Flip your top layer upside down so that the part that was on the bottom of the cake pan faces upwards. This will give you the flattest top on your cake.
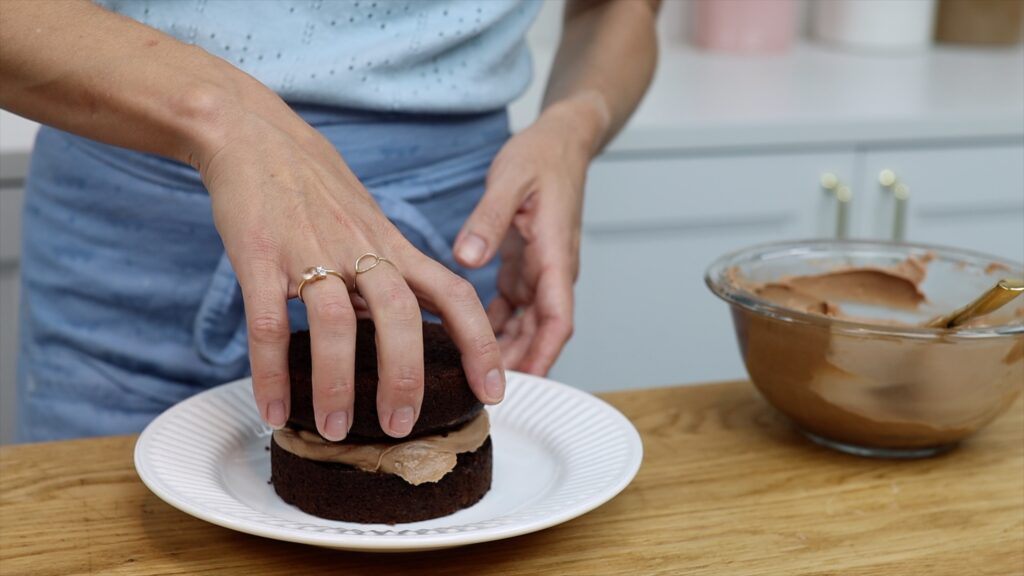
Making your cake on a cake board is the best option if you want smooth frosting. You'll also need a dot of buttercream to attach that first cake layer.
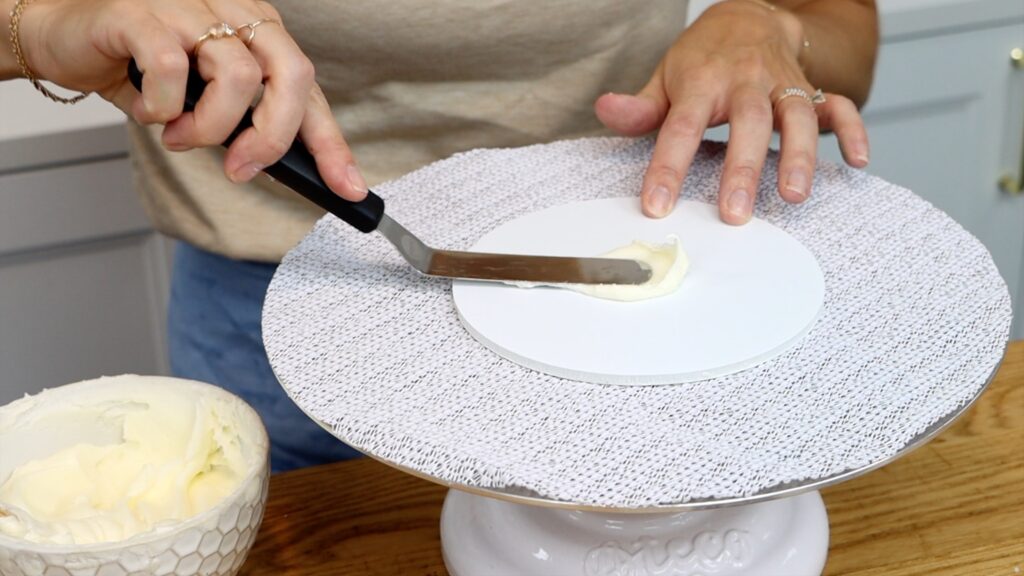
You can apply filling with a spoon or with an
After assembling your cake it's best to chill it in the fridge for about 30 minutes. This will mean fewer crumbs and less wobbling when you frost it.
To prevent crumbs in your frosting, start with a thin layer called a crumb coat. This will trap any crumbs that come off the cake so that they don't get into your final layer. Use an
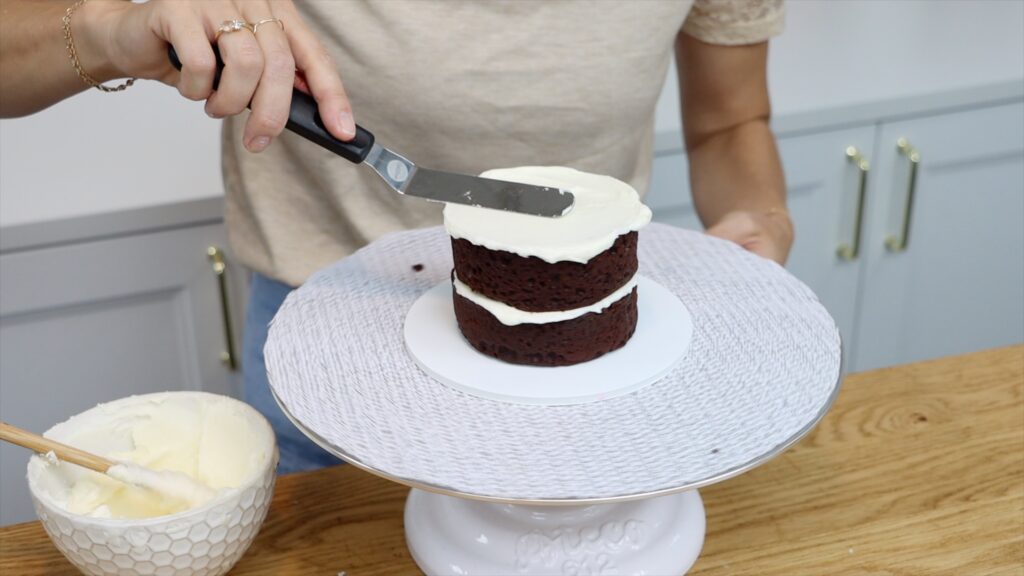
Then spread the frosting from side to side all the way from the top of the cake down to the bottom of the cake. The aim is to cover the whole cake so there is no cake (and no crumbs!) exposed. Hold your
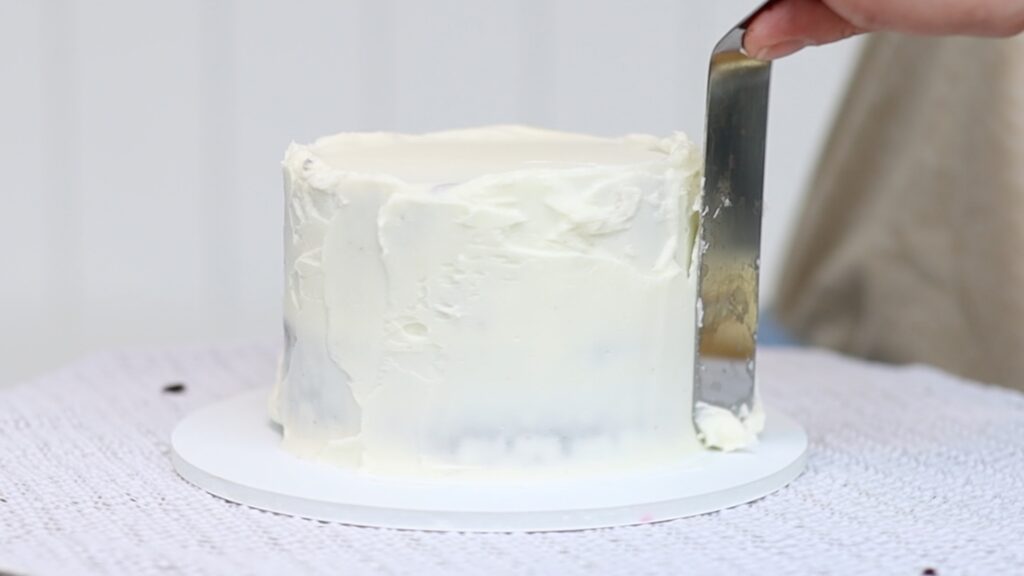
Swipe sideways with your
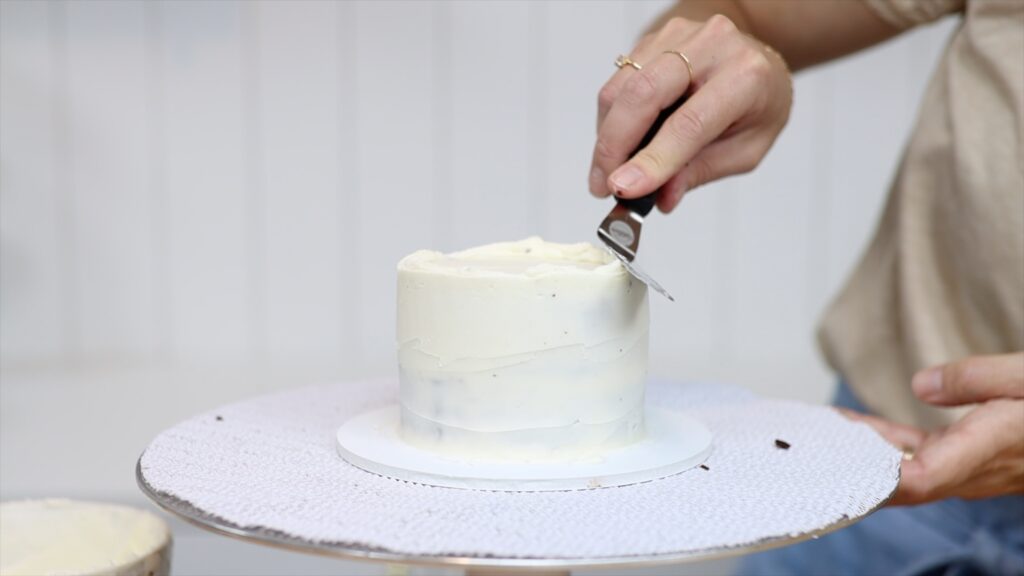
After being in the fridge for about 30 minutes, the crumb coat will have set. This means it's firm instead of sticky. Now it's time for the final layer of frosting.
For the final layer of frosting I like to put frosting on the top of the cake first. Spread it all over the cake so that it sticks out over the sides, which will give you nice sharp angles later.
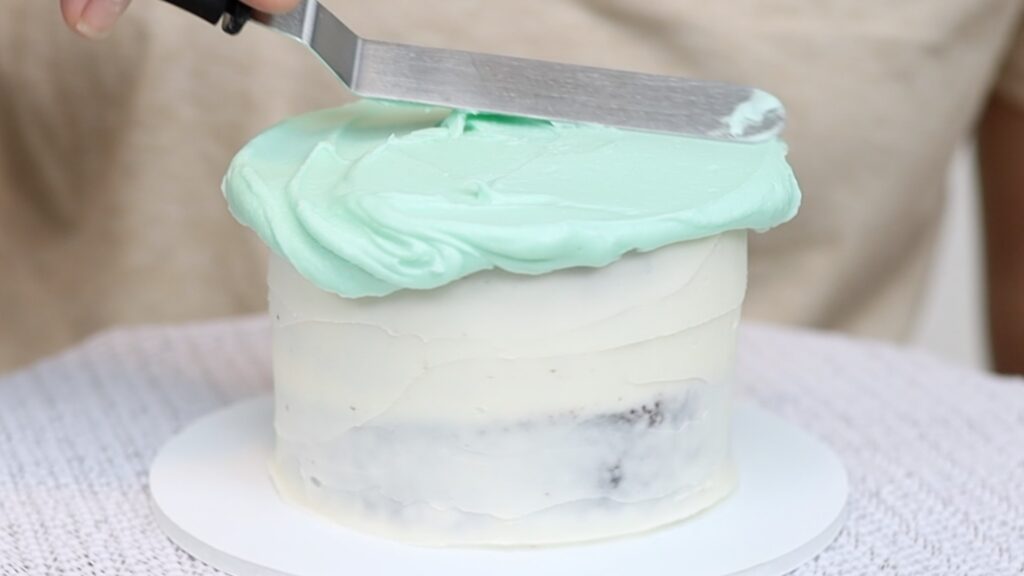
Spin the cake with your
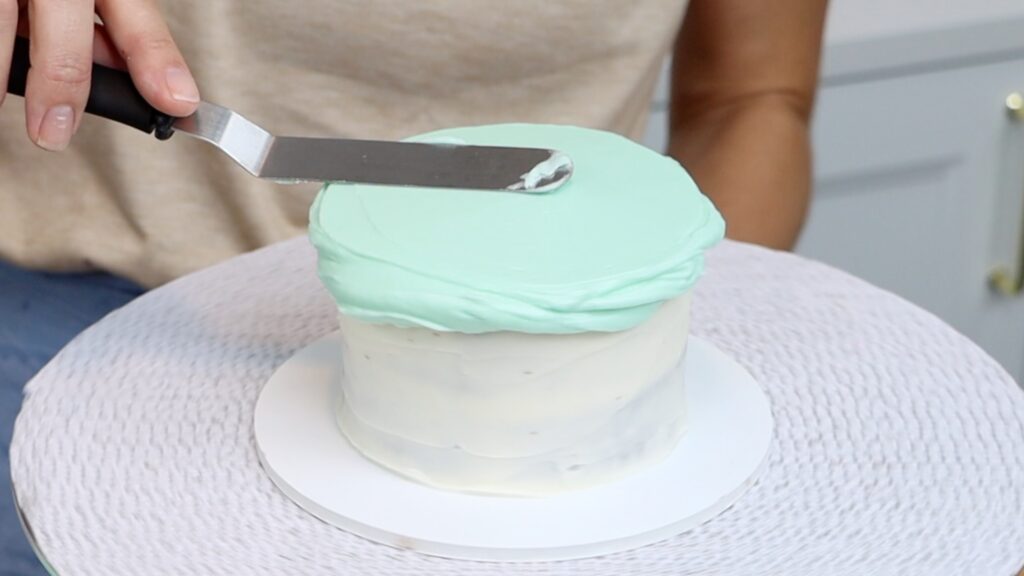
Then do the sides of the cake. You're aiming for two things here. First, you want to completely cover up the crumb coat so you don't see any of it. Secondly, you want to spread the frosting so that it's all about the same thickness. After covering the whole cake, if any of the frosting looks shallower or thinner, spread more over those areas.
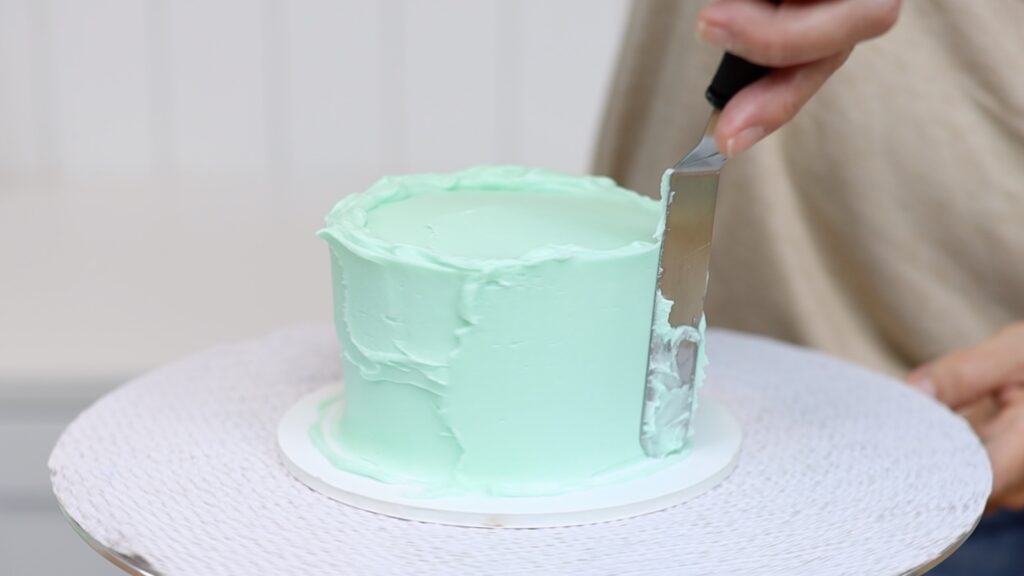
Next you would typically use a cake comb to smooth the frosting. If you don't have one you can use a ruler! Press the base of the ruler down on the cake board to line it up straight against the cake. Then with your left hand or your non-dominant hand, start spinning the
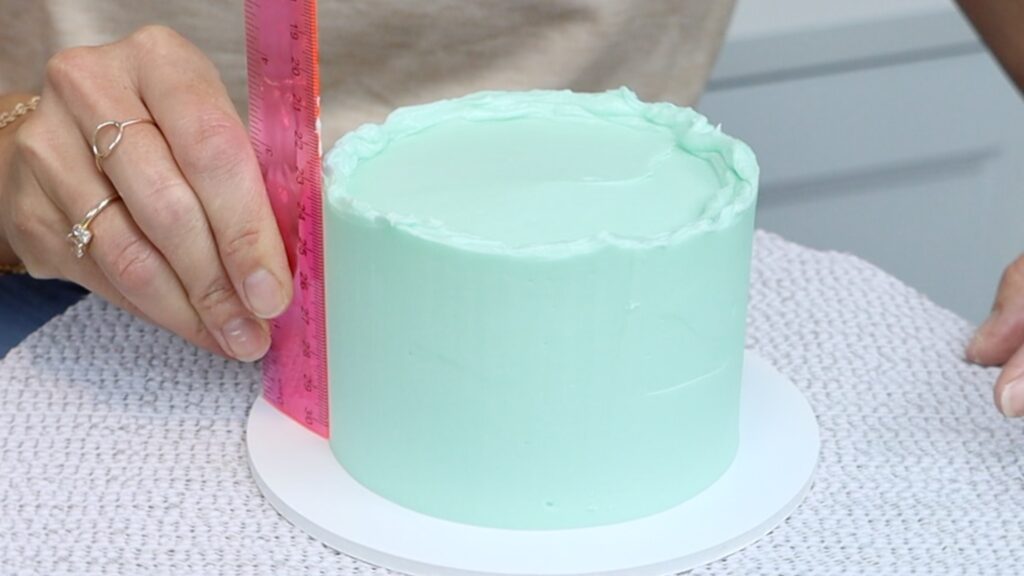
After scraping around the cake a few times you'll notice some indents or air pockets or gaps in the frosting. Use your
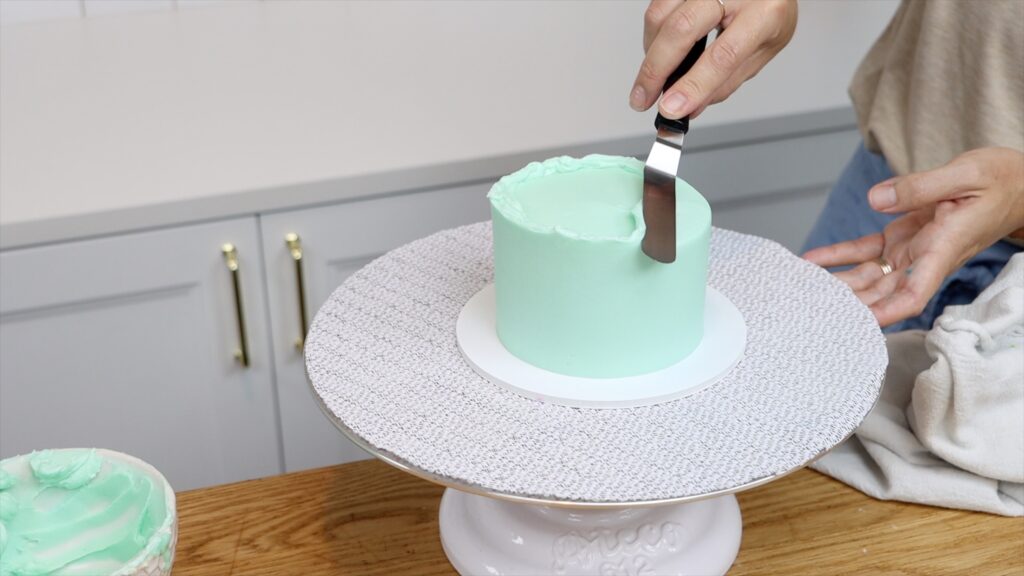
After each swipe, scrape the frosting back into your bowl and wipe your
Now I want to show you how to smooth the frosting using a cake comb. Just like for the previous cake, I'm spreading the frosting to cover my cake. Then, instead of using a ruler I'm using a cake comb. Press the base of the cake comb down on the cake board and start spinning the
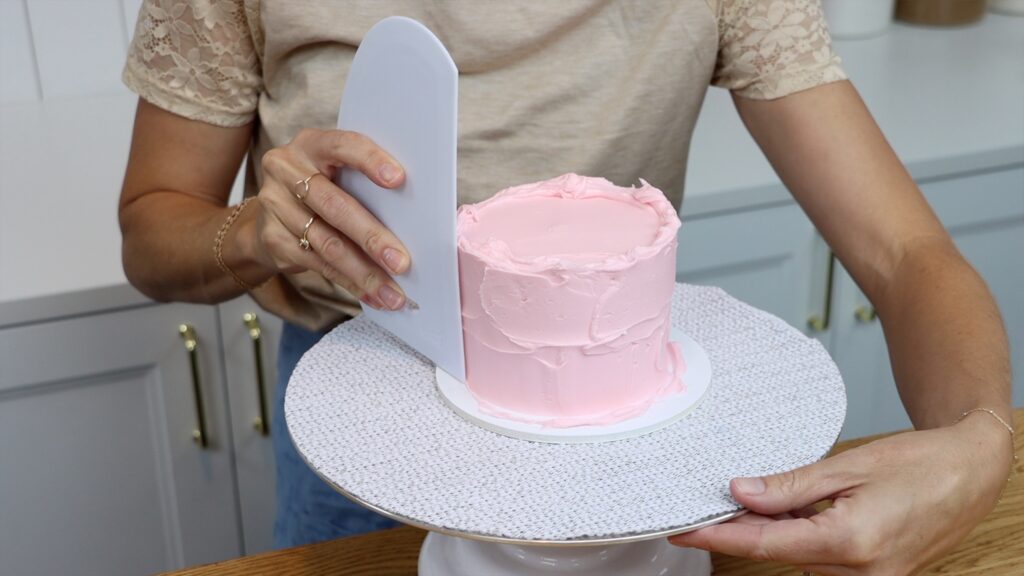
After a few scrapes, touch up any imperfections by spreading more frosting onto those areas. Then scrape again and again until the frosting is smooth.
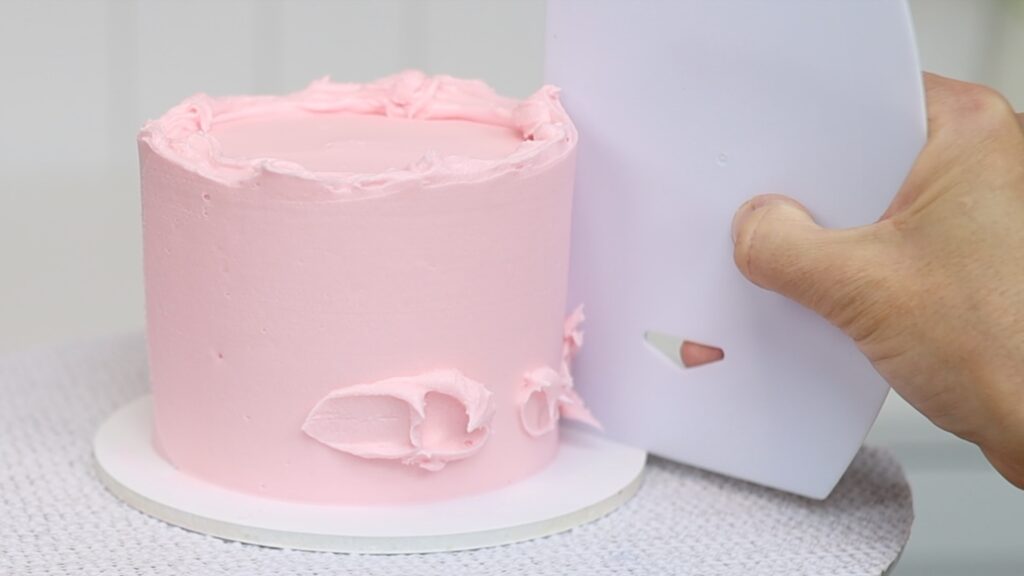
Side note: I used a tiny drop of gel colour to make this shade of pink. Gel colours are very concentrated so you only need a tiny amount to get really bright and bold colours.
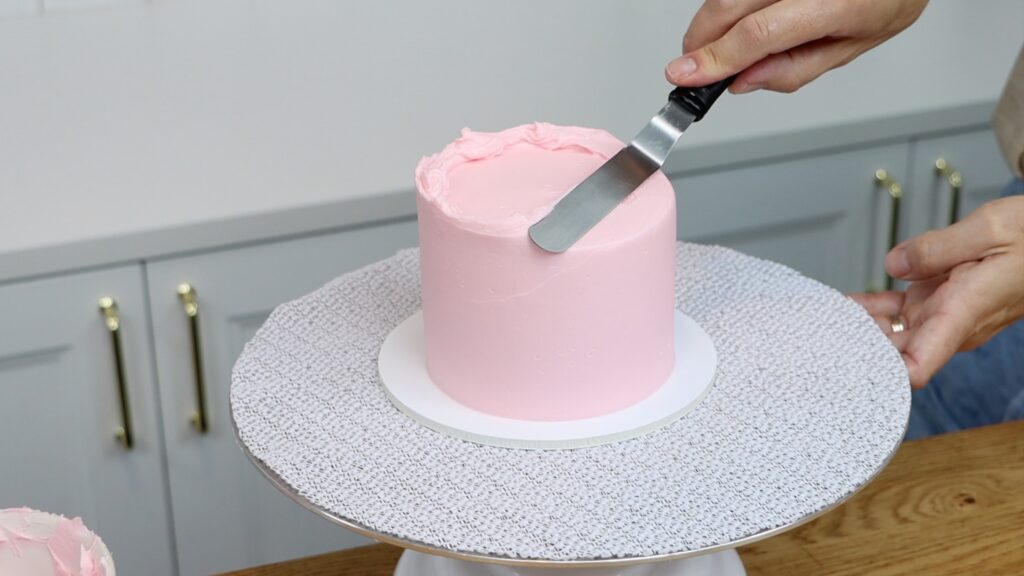
Use your
If you don't have a cake comb, cake board or
Then scoop up more frosting and spread it around the sides of the cake. Don't worry about getting this neat at all at the moment. The only goal is to completely cover the cake with frosting.
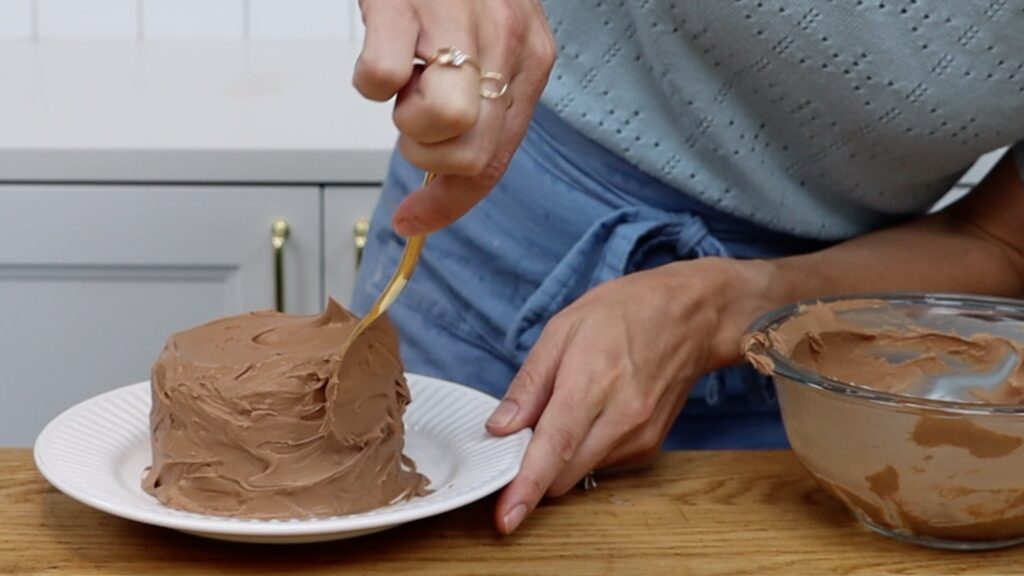
The best way to get the frosting onto the cake is with little circular motions, which pushes the frosting onto the cake so it sticks without pulling off crumbs or chunks of cake with it when you swipe the spoon away.
When the cake is totally covered with frosting, use a paper towel or a towel wrapped around your finger to wipe around the edge of the cake. This takes any frosting smudges off the plate.
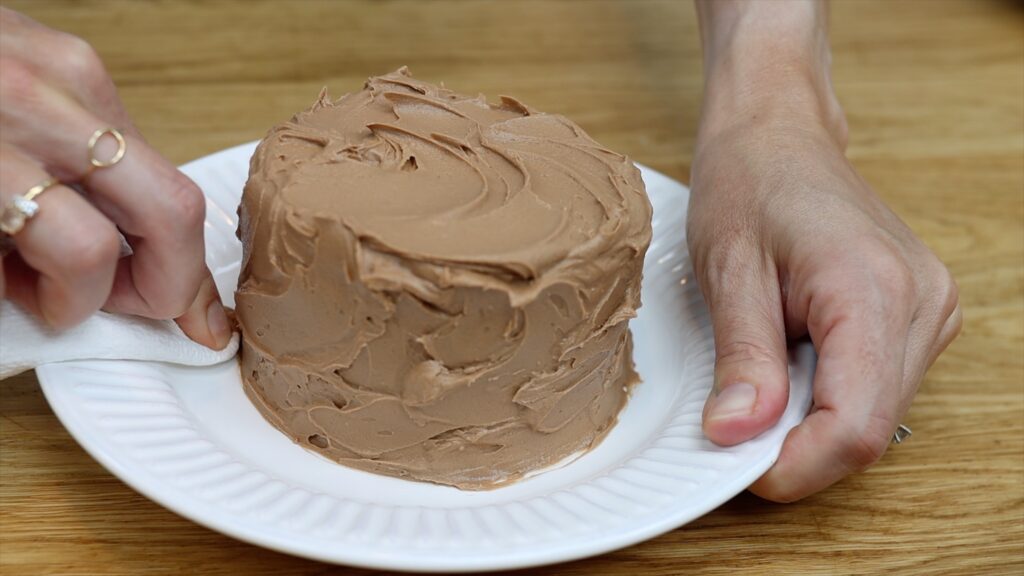
Now to tidy up this frosting dip your spoon into a cup of hot water, which will heat the metal. Create neat texture on the cake by moving your spoon in little arcs around the frosting. Because the metal of the spoon is hot it will smooth out the frosting as you do this, getting rid of any air pockets and leaving it silky and beautiful.
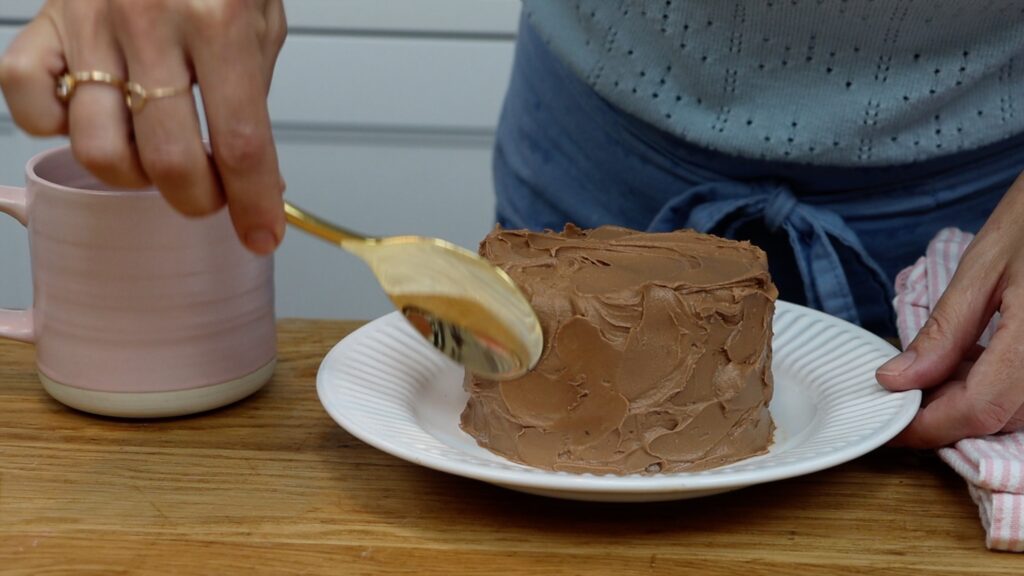
This frosting is definitely not smooth but the texture adds lots of detail and interest to the cake. If you want to make the frosting smooth without a
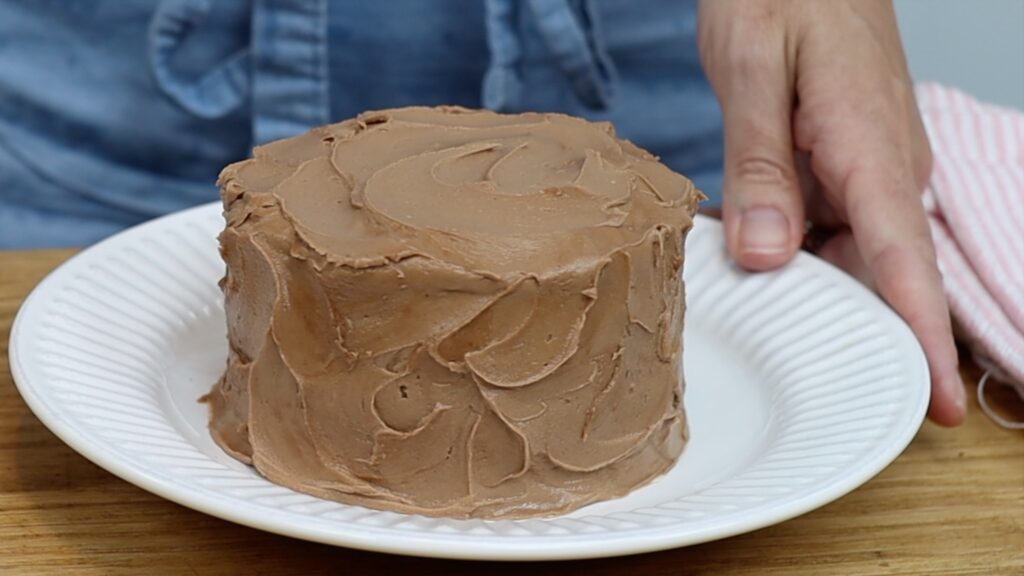
You can create gorgeous rustic texture with your
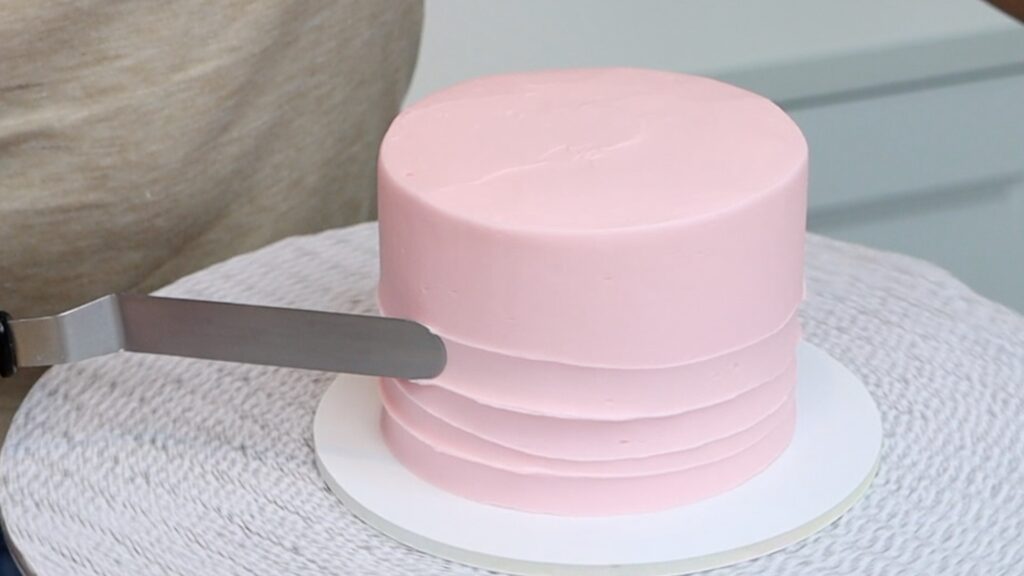
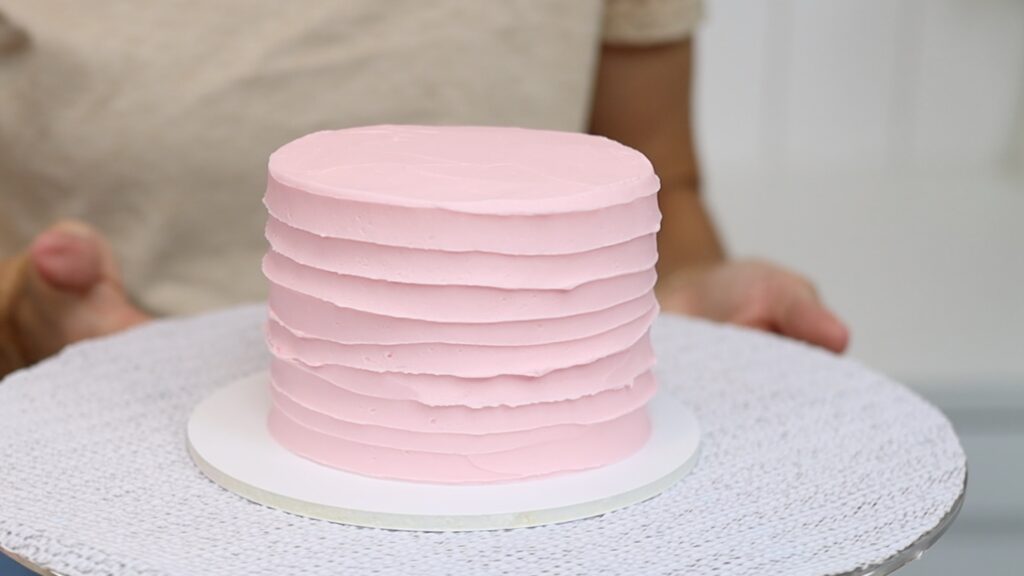
Whenever you notice frosting building up on your
To add height to your cake, pipe some swirls on top. All you need for this is a star-shaped tip like a 1M tip.
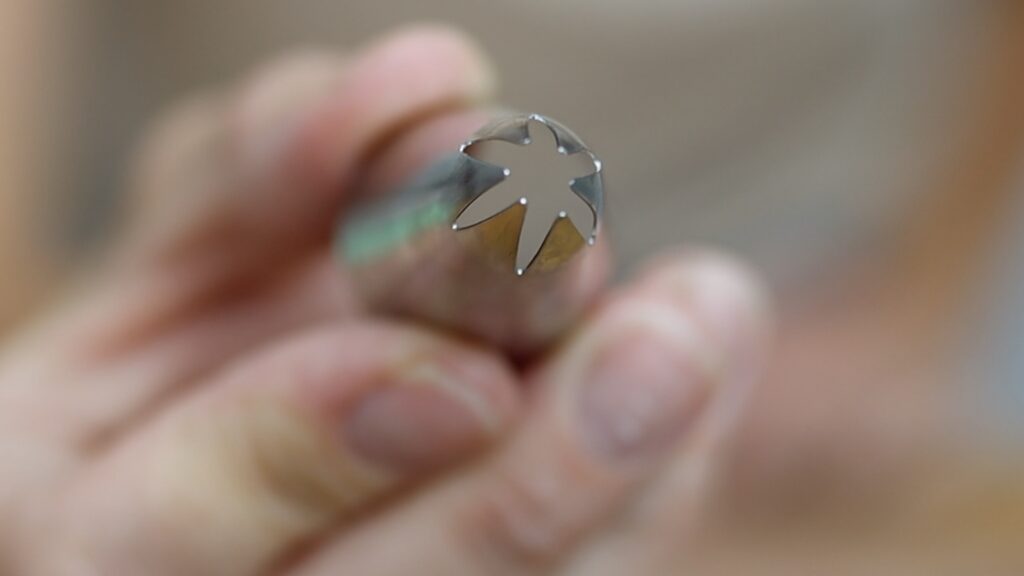
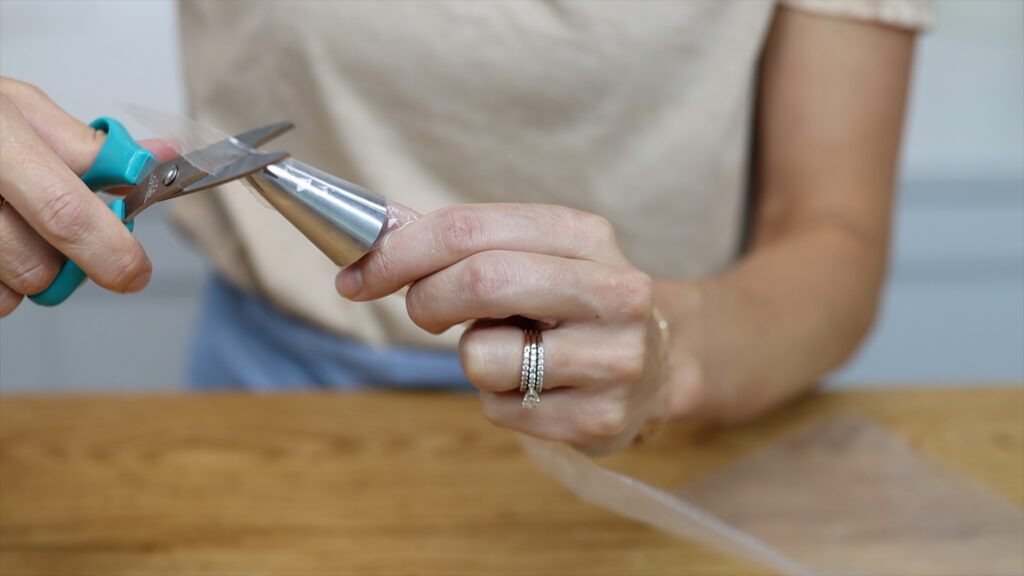
Drop the piping tip into a piping bag. If you haven't used this piping bag before you'll need to cut it. Push the tip back a little bit, cut about halfway up where the tip was, and then push the tip back down.
Spoon a little bit of frosting into the piping bag. You don't need much so whatever is left in your bowl after frosting the cake is probably perfect! Squeeze the piping bag to push the frosting all the way down to the bottom. Twist the piping bag to push the buttercream down against the piping tip. This will mean you need hardly any pressure to squeeze the frosting out of the piping bag.
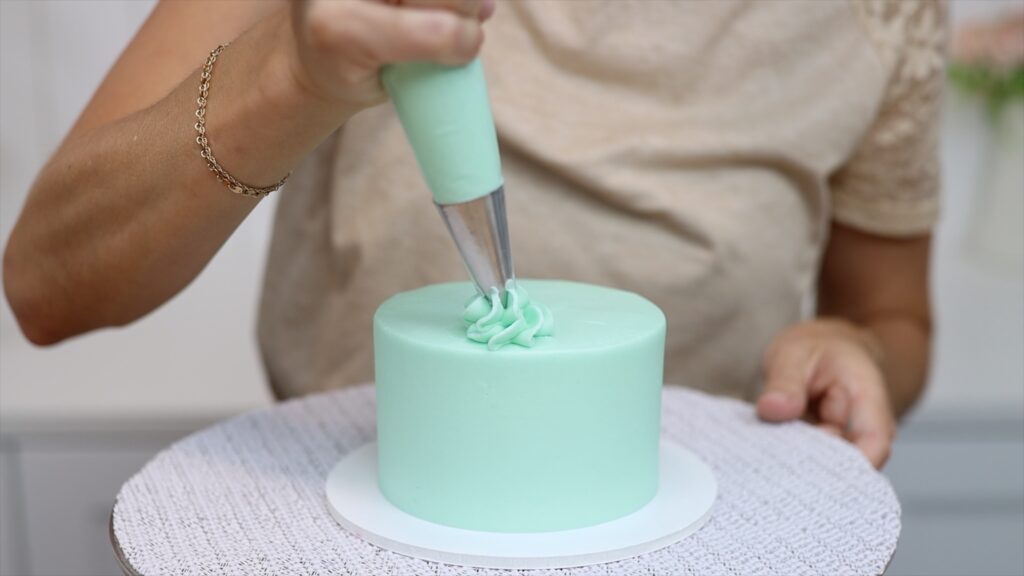
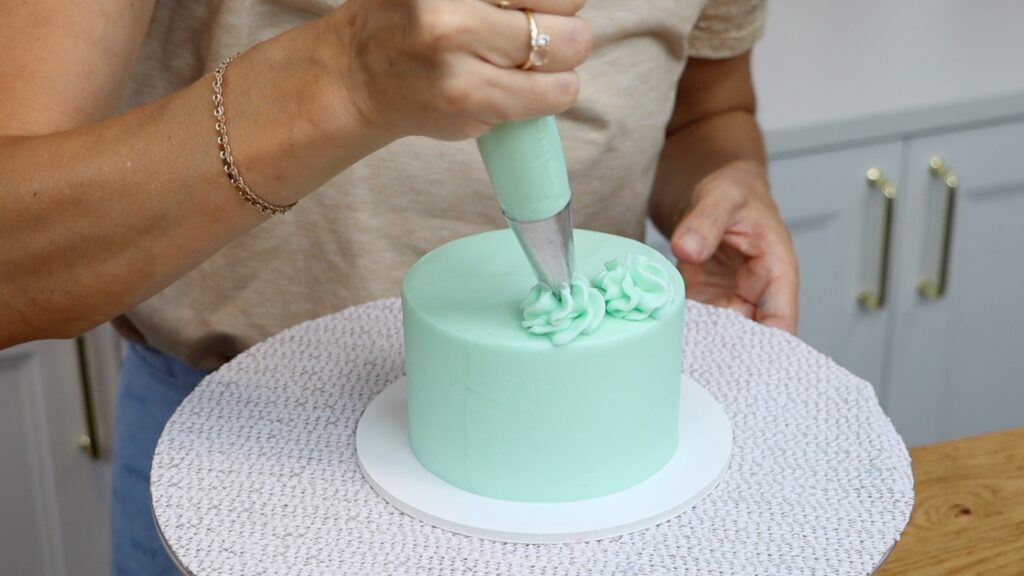
Hold the piping tip above your cake, squeeze the bag and pipe in circular motions. At the top of each swirl I like to push down slightly before releasing my pressure and then lift the bag up, which leaves a neat peak on the top of each swirl.
Finally, the easiest way to decorate a cake is with some sprinkles. It's best to do this just after frosting your cake, while the frosting is still soft and sticky so that the sprinkles stick to it. If you wait until the frosting sets, the sprinkles will bounce straight off the cake.
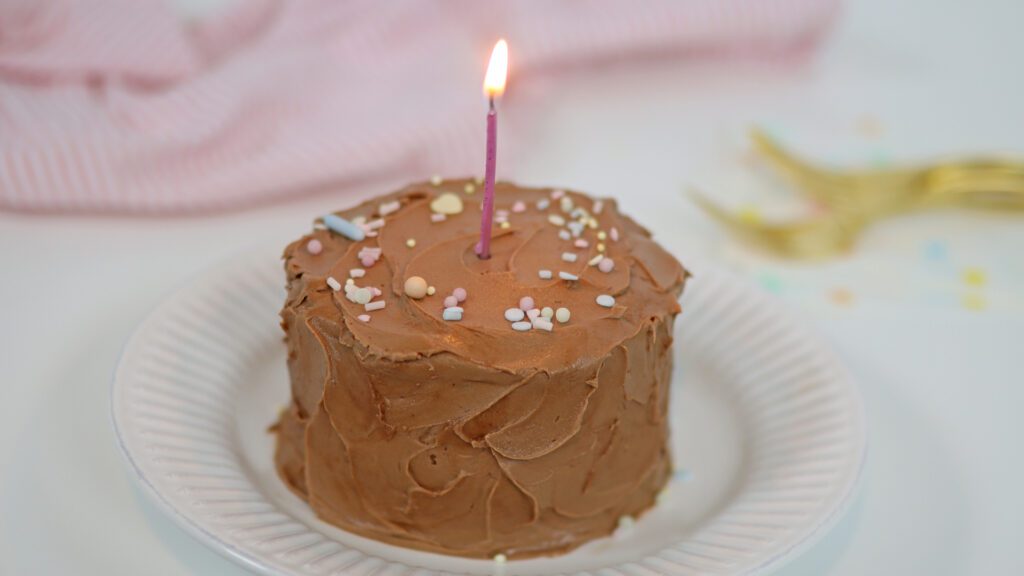
Now it's time to serve your smash cake! You can slice these like any other cake for small portions, which is perfect for a small gathering.
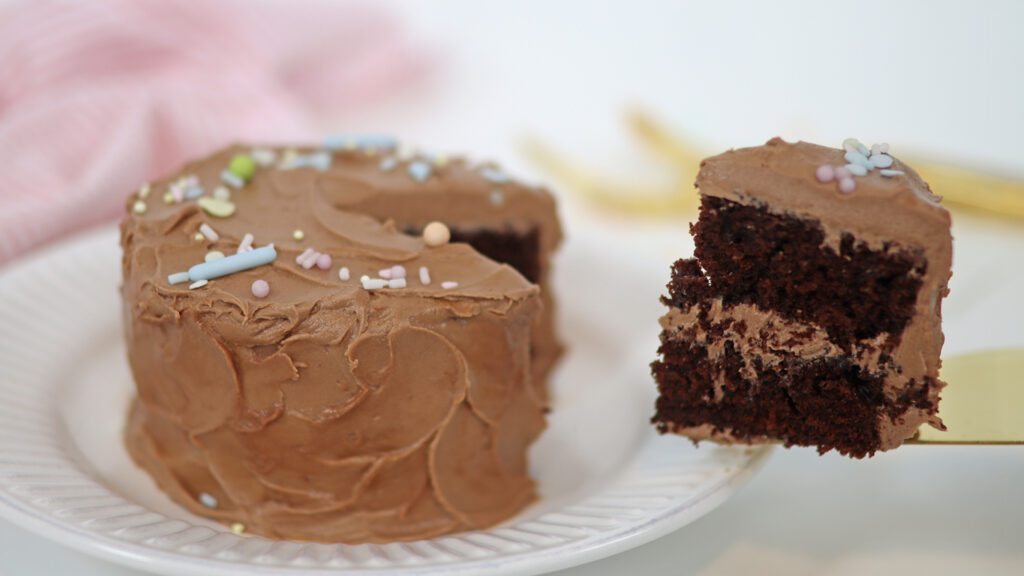
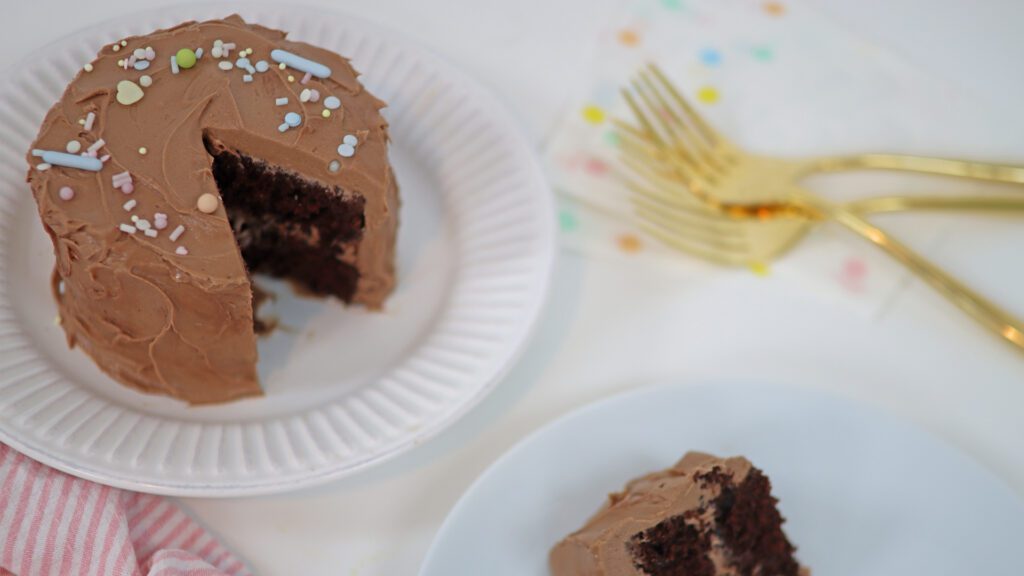
Or dig into them with a fork, maybe for a couple's anniversary celebration. Or if you're following the smash cake trend, you give the cake to a baby on their first birthday and let them… smash it!
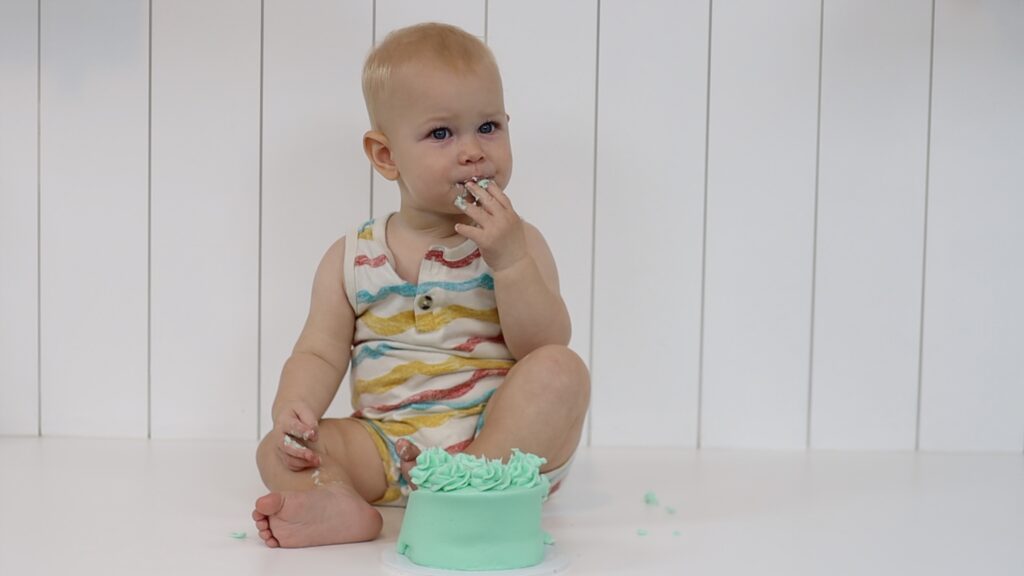
I hope this tutorial has been useful. Please ask me any questions you have in the comments and visit my cake school to learn hundreds of cake decorating techniques and designs.
You can watch a video of this tutorial on smash cakes here:
