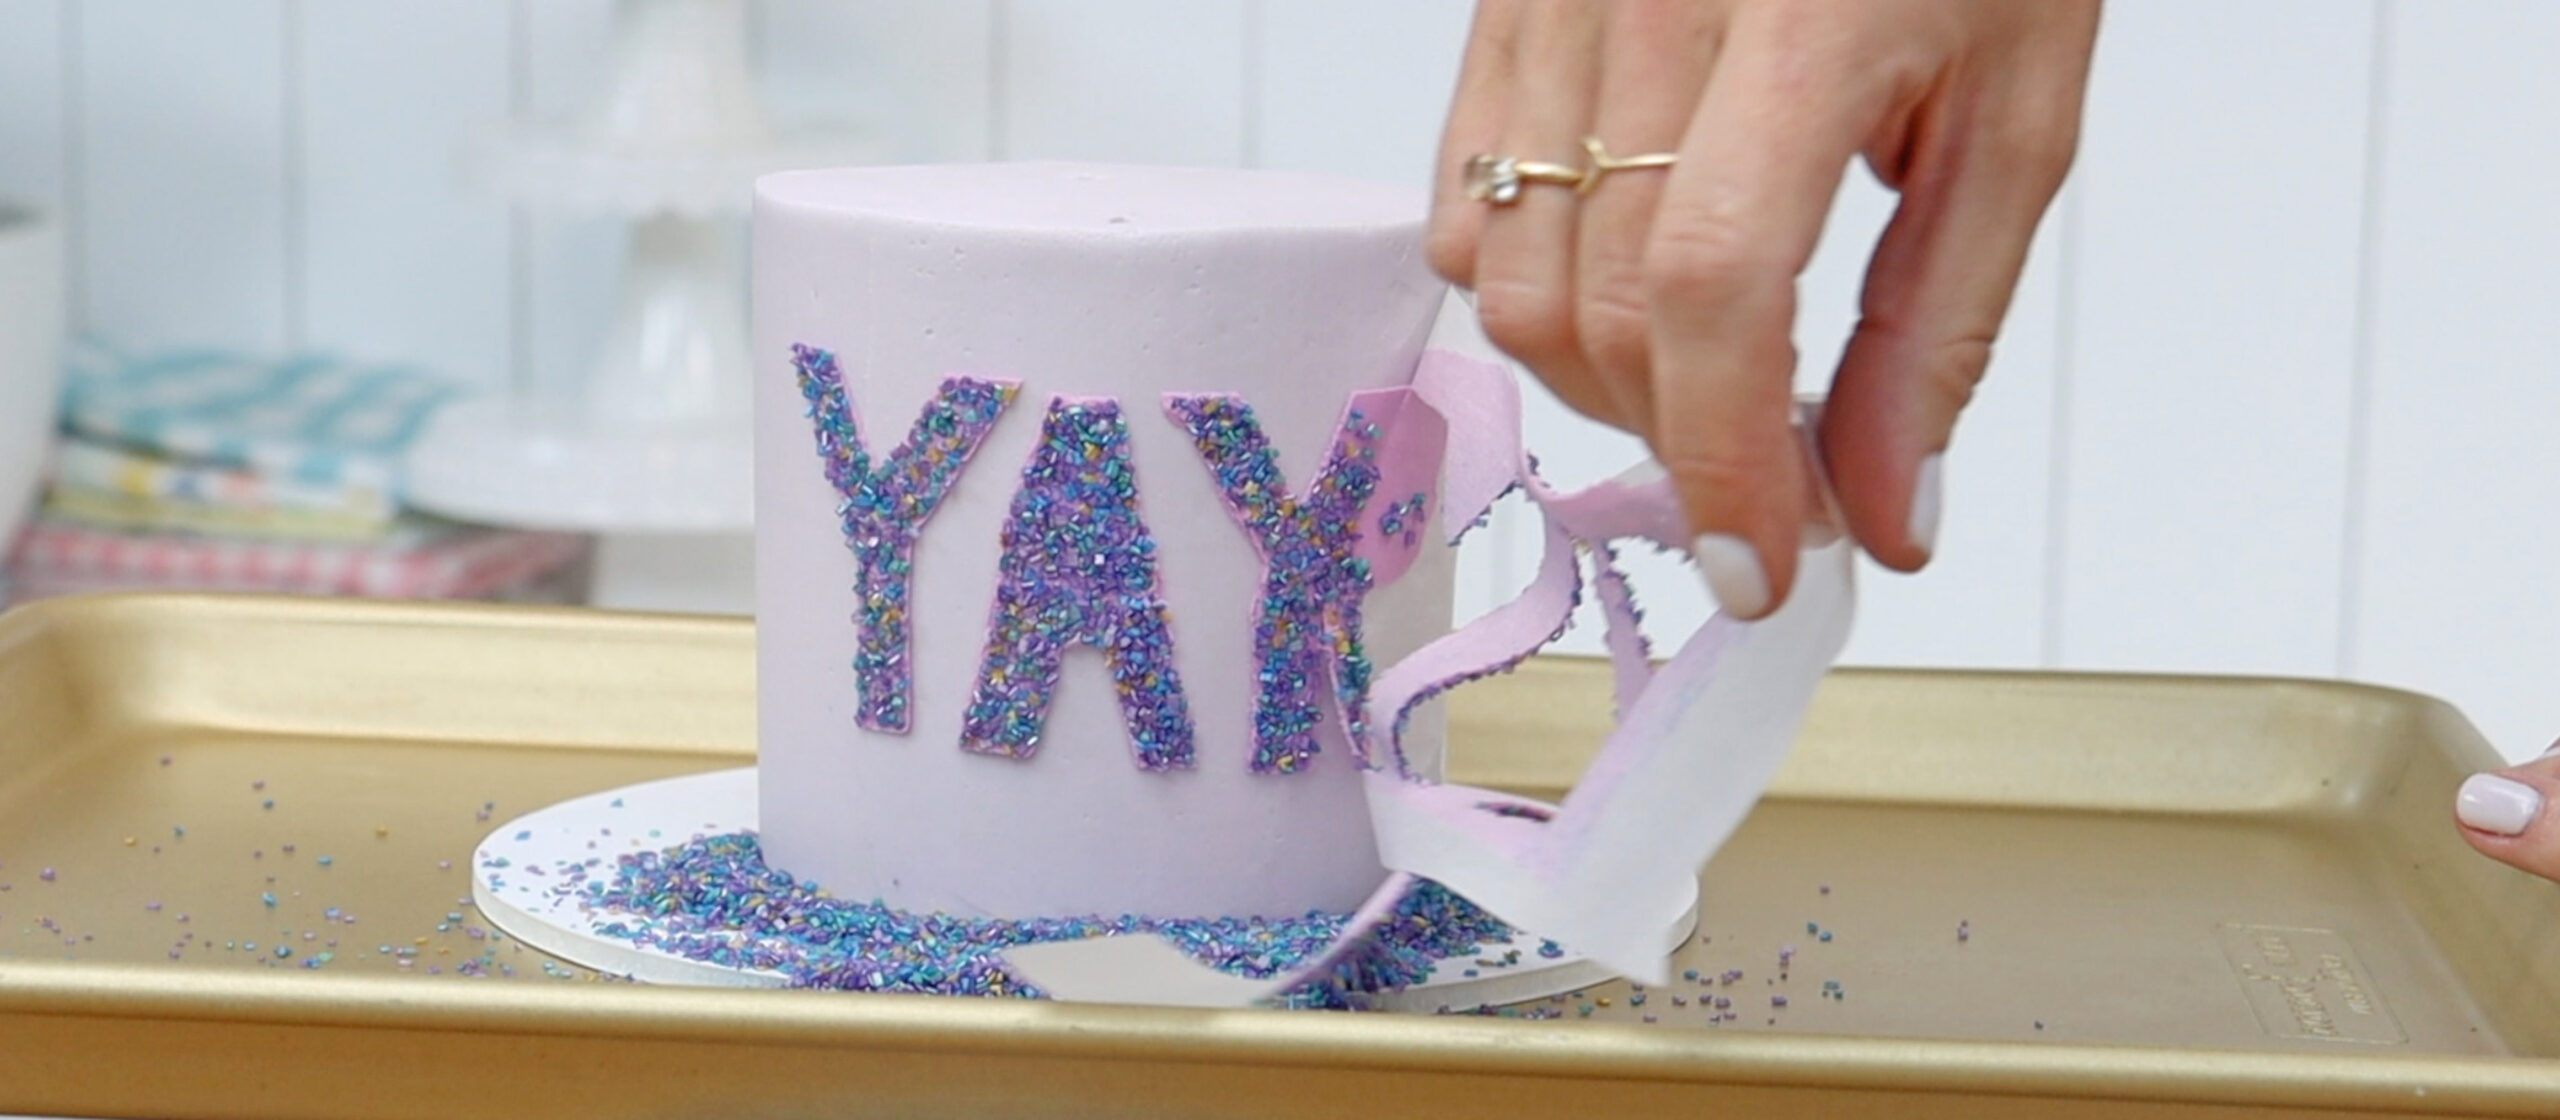
Cake stencils are one of the easiest ways to add intricate designs to cakes, transforming a simple frosted cake into a professional-looking masterpiece. However, if you don't know the right techniques, stenciling can quickly lead to smudges, uneven edges, and disappointing results. In this tutorial you'll learn exactly how to use cake stencils, including how to make your own stencils, advanced decorating techniques, and solutions for common stencil mistakes.
The first step in learning how to use cake stencils is preparing your cake correctly. Straight sides are essential because a stencil needs to sit flat against the cake. If the cake leans or has uneven sides, the stencil can shift and distort the design.
To prevent leaning, chill your cake before frosting it. After frosting, smooth the sides thoroughly and chill the cake again until the buttercream is firm. This step is crucial because a soft cake will cause the stencil to stick and pull away frosting when removed.
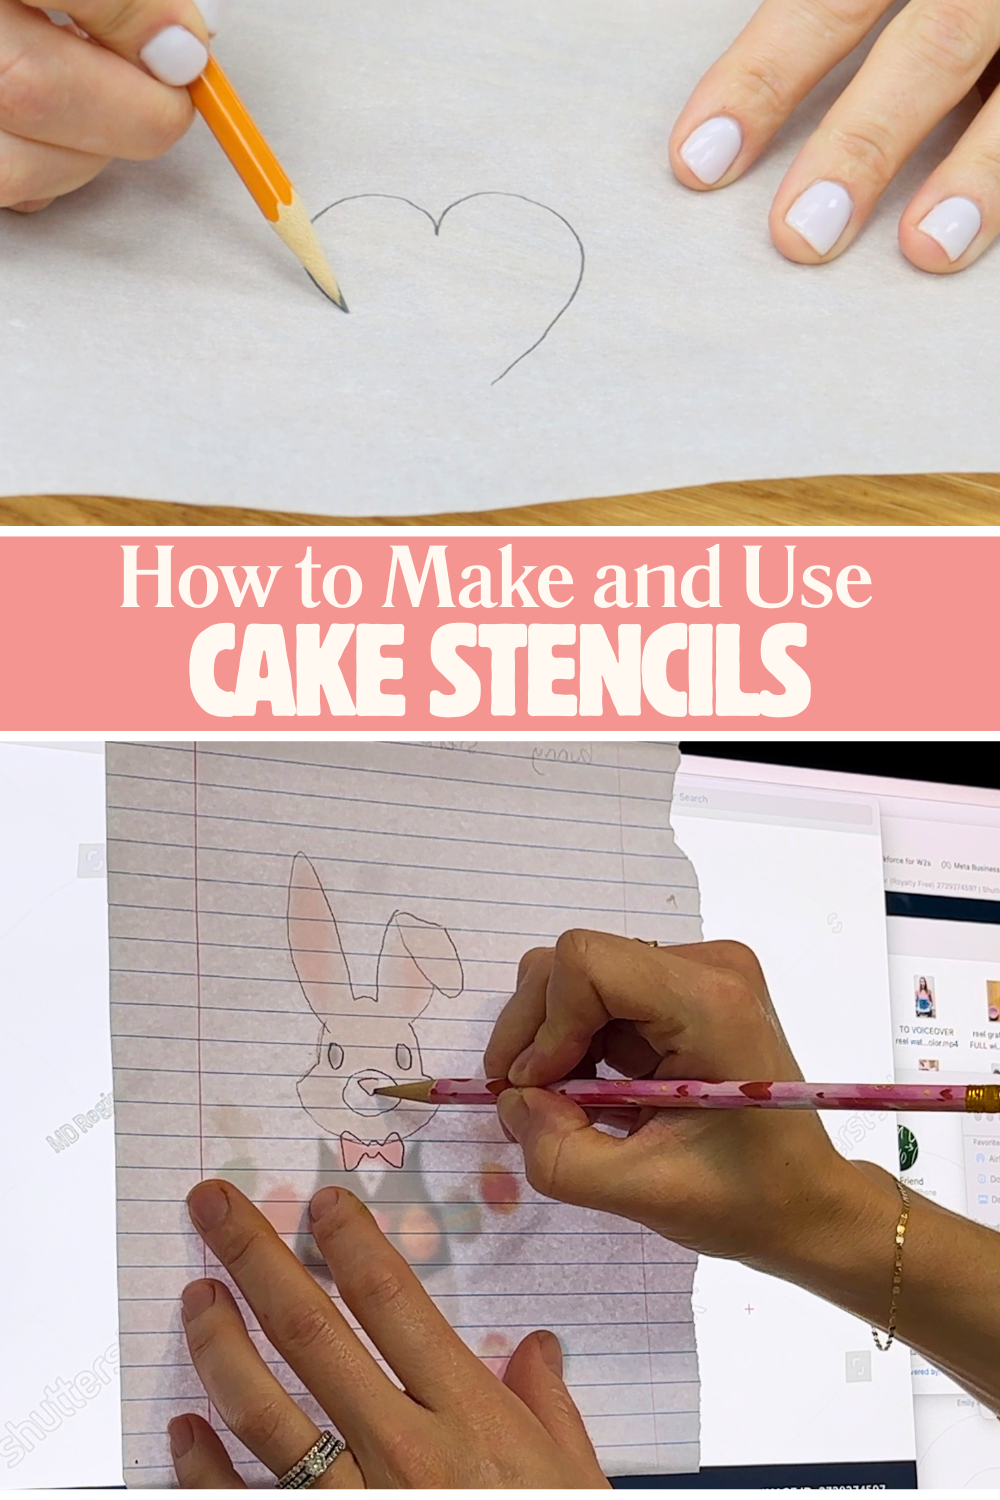
You can easily make your own cake stencils using parchment paper. Draw your design directly onto the parchment and carefully cut it out with scissors or a craft knife. If you'd like to trace an image, place the parchment over a phone, tablet, or computer screen displaying your design.
Take your time cutting neat edges, as any imperfections in the stencil will be visible on the finished cake.
Once your cake is chilled and your stencil is ready, hold the stencil flat against the cake. Spread buttercream over the stencil, working from the edges inward rather than outward. This helps prevent buttercream from being pushed underneath the stencil.
Next, use a scraper to smooth the buttercream into a thin, even layer. Thin layers generally produce the neatest results.
When removing the stencil, peel it away carefully. You can peel from both sides toward the center or press one side of the stencil against the cake while pulling the opposite side toward it. Both methods help prevent the stencil from shifting and smudging the design.
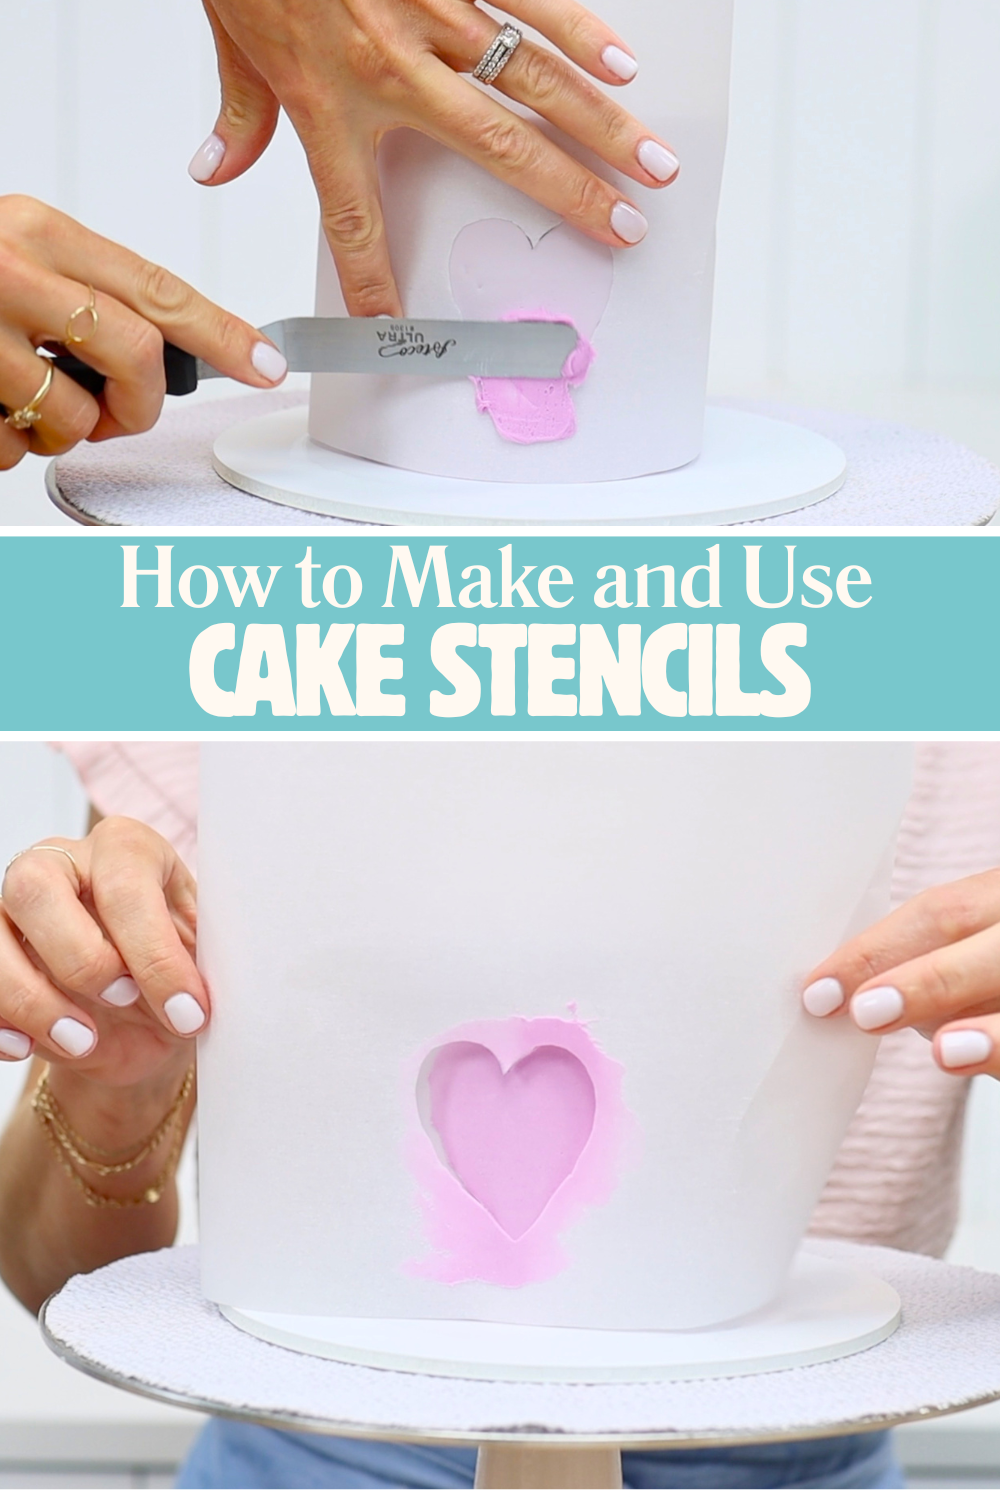
If needed, use a toothpick to tidy any rough edges. You can also disguise messy edges by adding a border around the outline with piping, sprinkles, or coloured sugar.
Once you've mastered the basics of how to use cake stencils, you can experiment with more advanced decorating techniques.
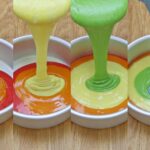
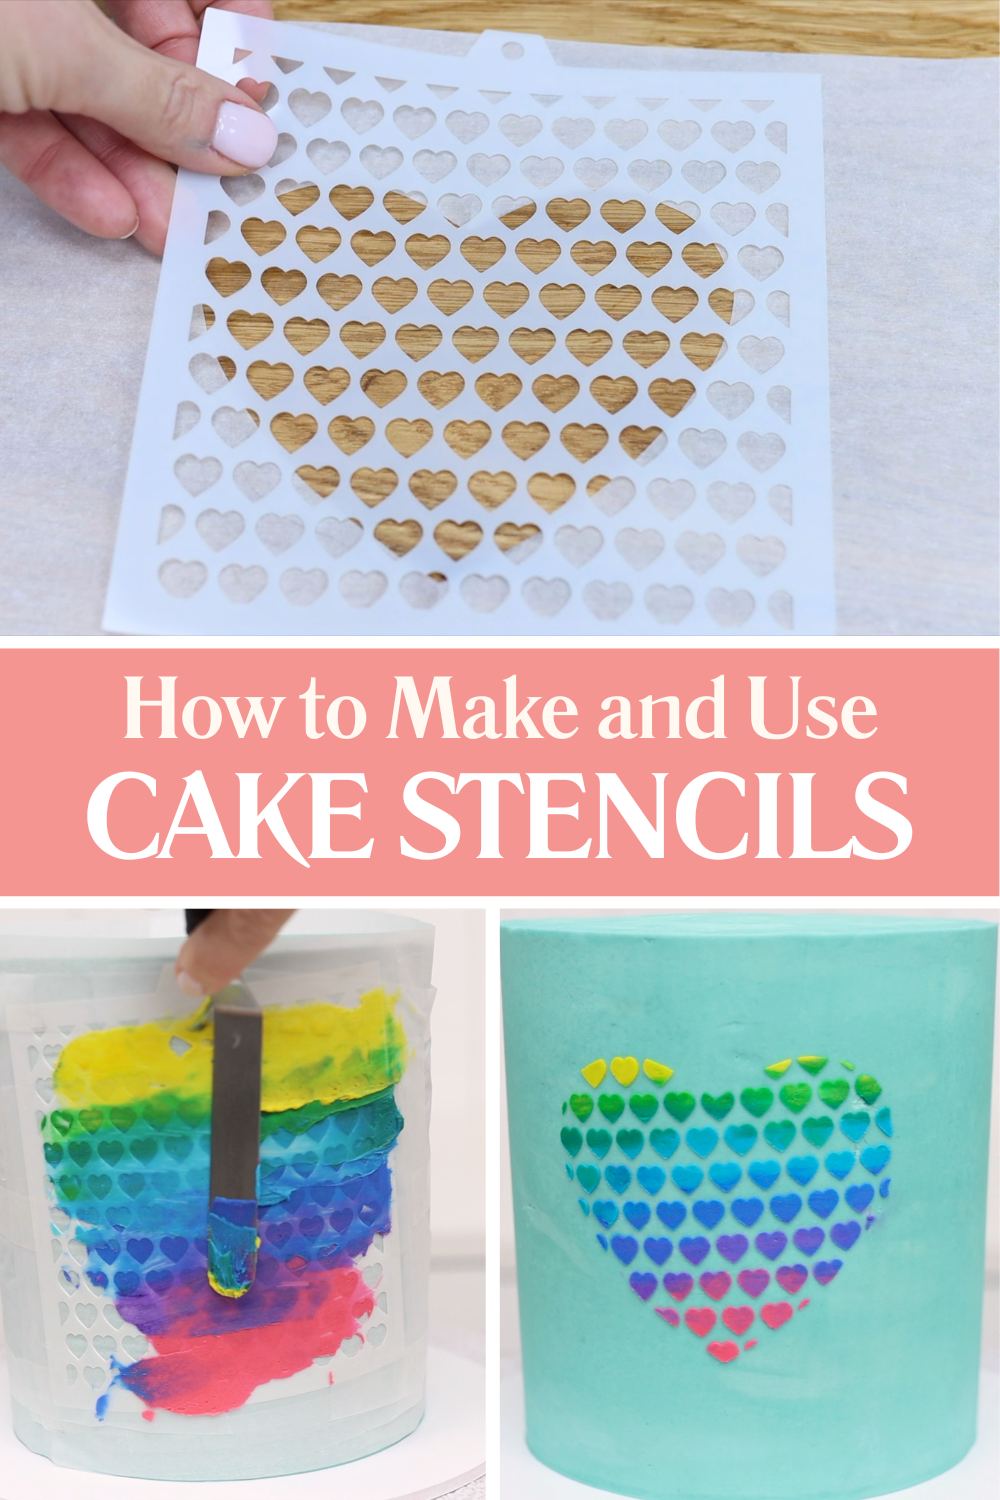
For a beautiful blended look, apply multiple colours of buttercream side by side over the stencil. As you scrape and smooth the buttercream, the colours will naturally blend together, creating a soft gradient effect.
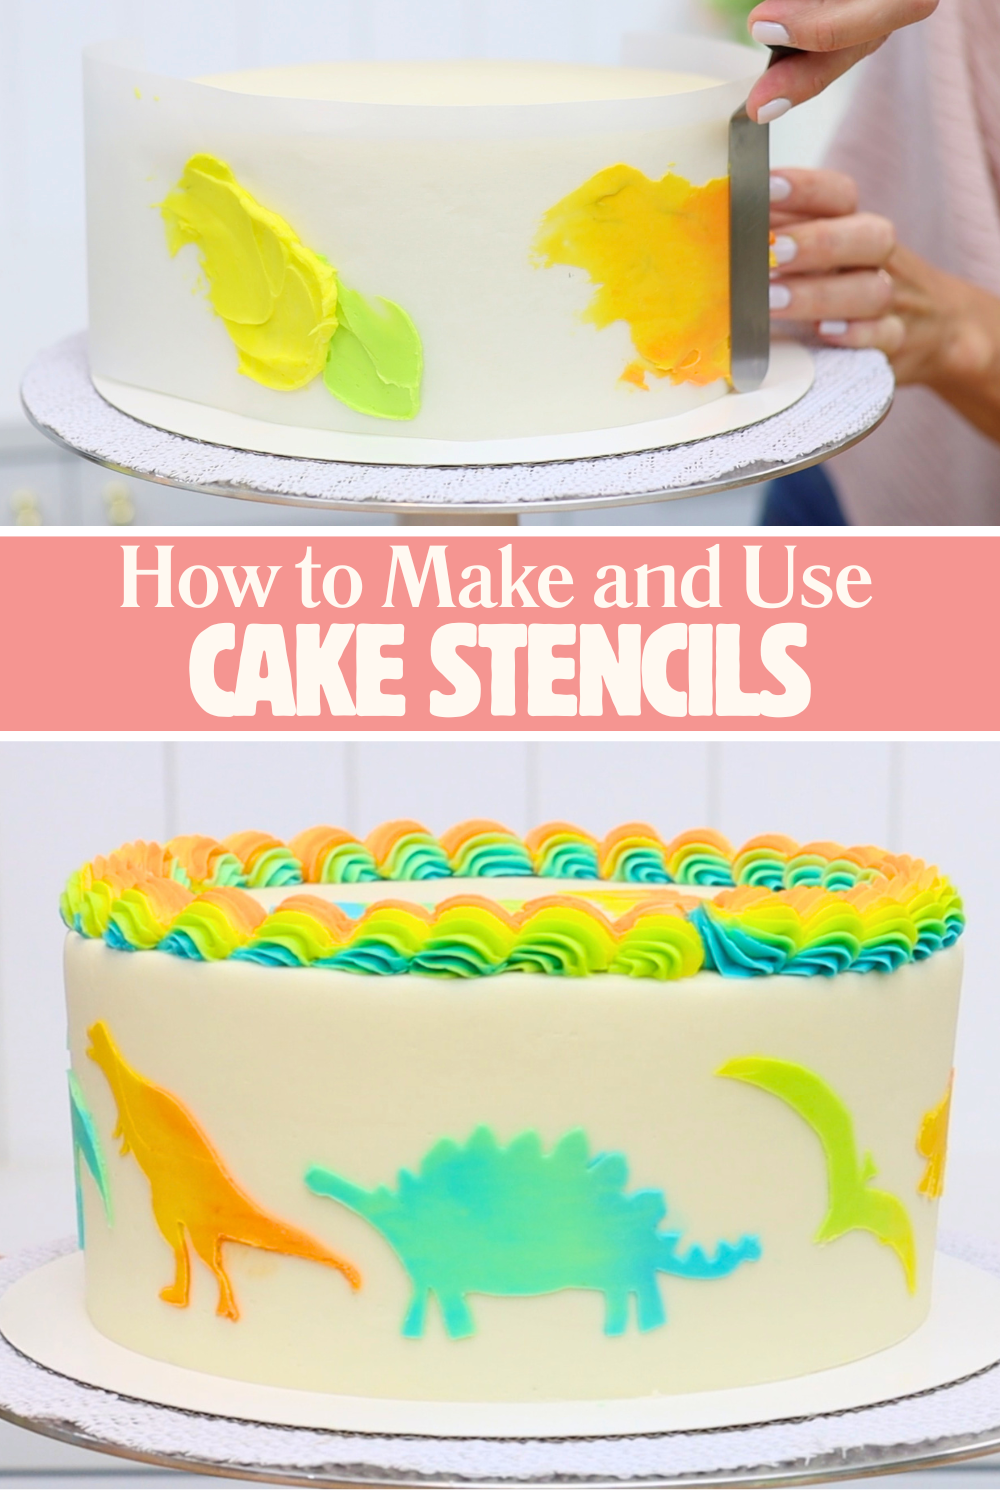
For more elaborate decorations, combine two stencils. For example, use a simple shape stencil layered over a patterned stencil. After applying buttercream and removing the stencils, you'll reveal a design that contains a pattern within the shape itself.
Affiliate disclosure: Some links on this page are affiliate links. If you purchase something through one of these links, British Girl Bakes may earn a small commission at no additional cost to you.
Layering stencils allows you to create complex images and detailed scenes. Apply the first stencil and then chill the cake until the design is firm. Add the next stencil and repeat the process, moving from the background towards to the foreground with each stencil.
Always chill the cake between layers so you don't damage previous details while adding new ones.
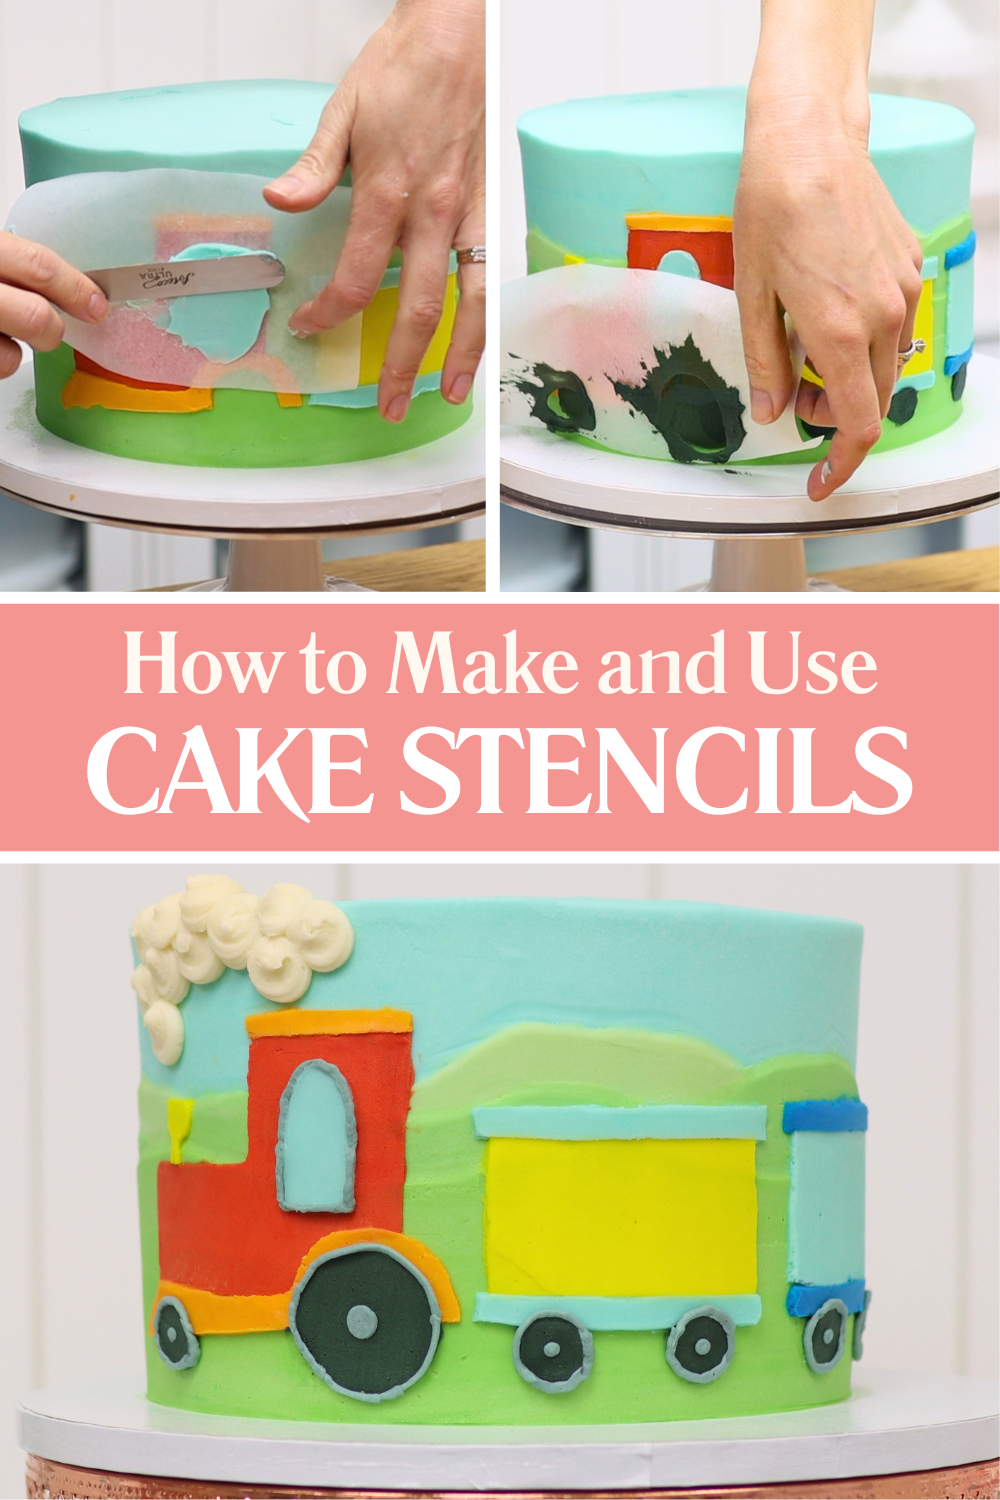
Outlining different sections of a stencil design can make colours stand out and create neater, more professional-looking edges. This technique is especially helpful for detailed images with multiple colours. Use a small round piping tip like a #2 or #3.
Texture can make stencil designs even more interesting. Apply textured buttercream techniques over a stencil to create dimension, spreading buttercream on thickly or scoring it with a toothpick or even a textured cake comb.
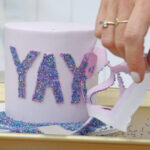
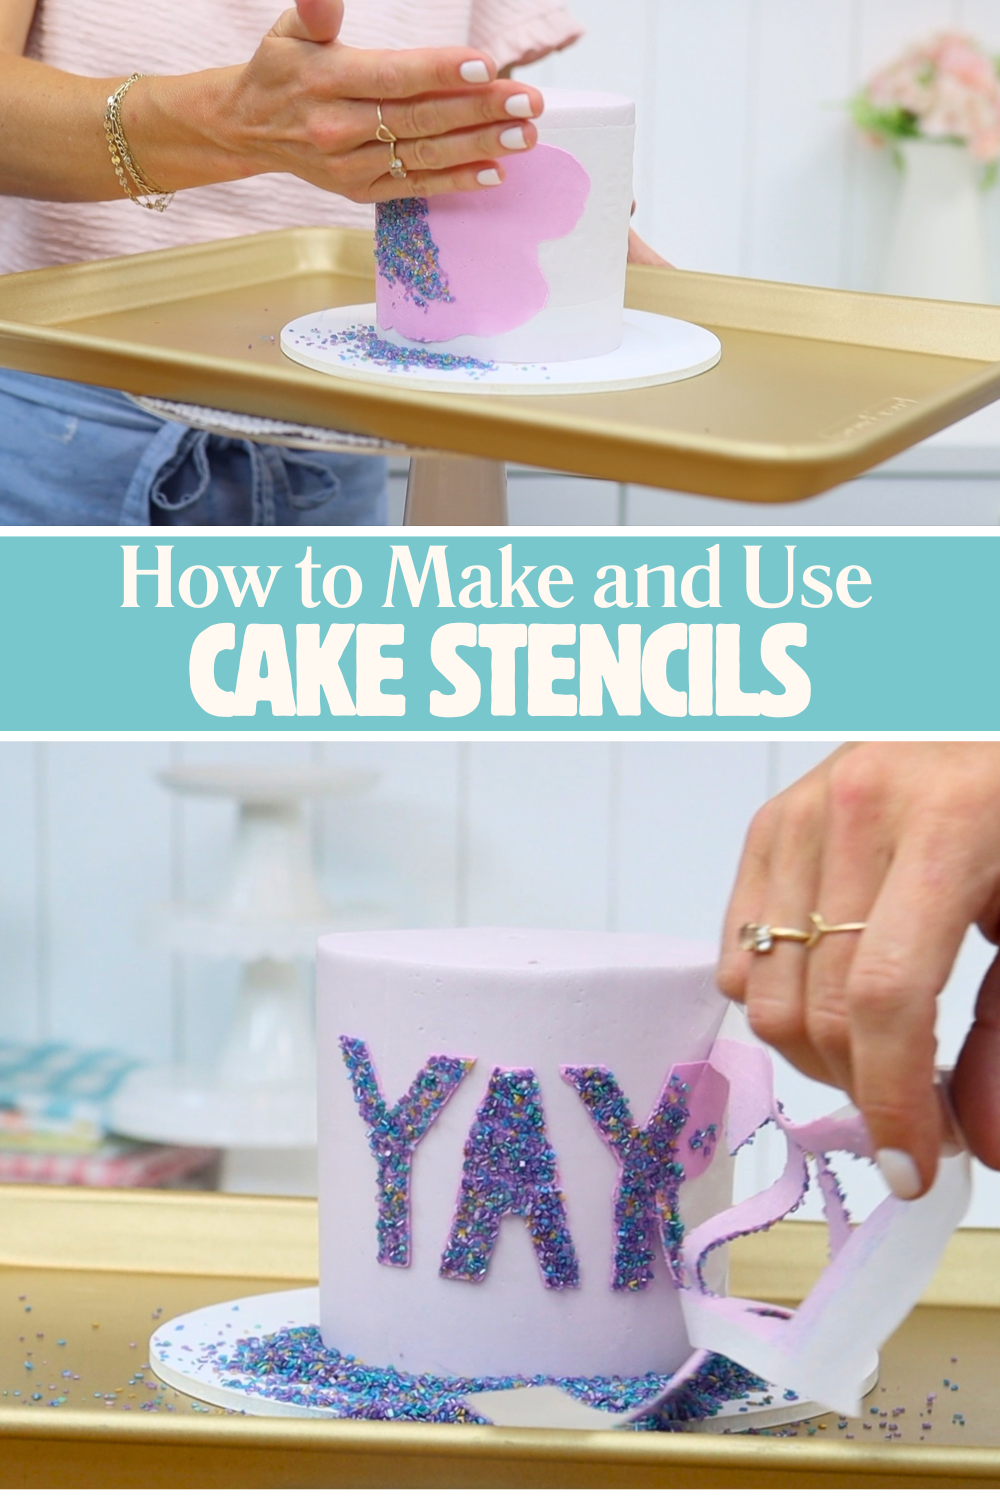
Sprinkles and coloured sugar can add another layer of creativity to stencil designs. Before decorating, wrap parchment paper or wax paper around the base of your cake to prevent stray decorations from sticking where they aren't wanted.
You can press coloured sugar or sprinkles around the edges of a stencil design to create an outline. Dip your finger into water and dab it on a towel so it's damp, not wet. Press your finger into the sprinkles or coloured sugar and they'll stick to your finger. Then press them against the outline of your stencil design. Alternatively, press sprinkles into the buttercream you spread over your stencil before removing the stencil to completely fill the shape.
Small sprinkles, such as nonpareils, work best because larger sprinkles tend to stick out beyond the edges of a shape and make the outline less clear.
Cake stencils are easy to make and use but small tweaks to your technique will make your designs even more stunning! Here's how to solve the most common problems.
If the design looks messy or blurred, the stencil likely moved during application or removal. Use a toothpick to gently scrape away smudges. As long as the cake is well chilled, you won't damage the surrounding buttercream.
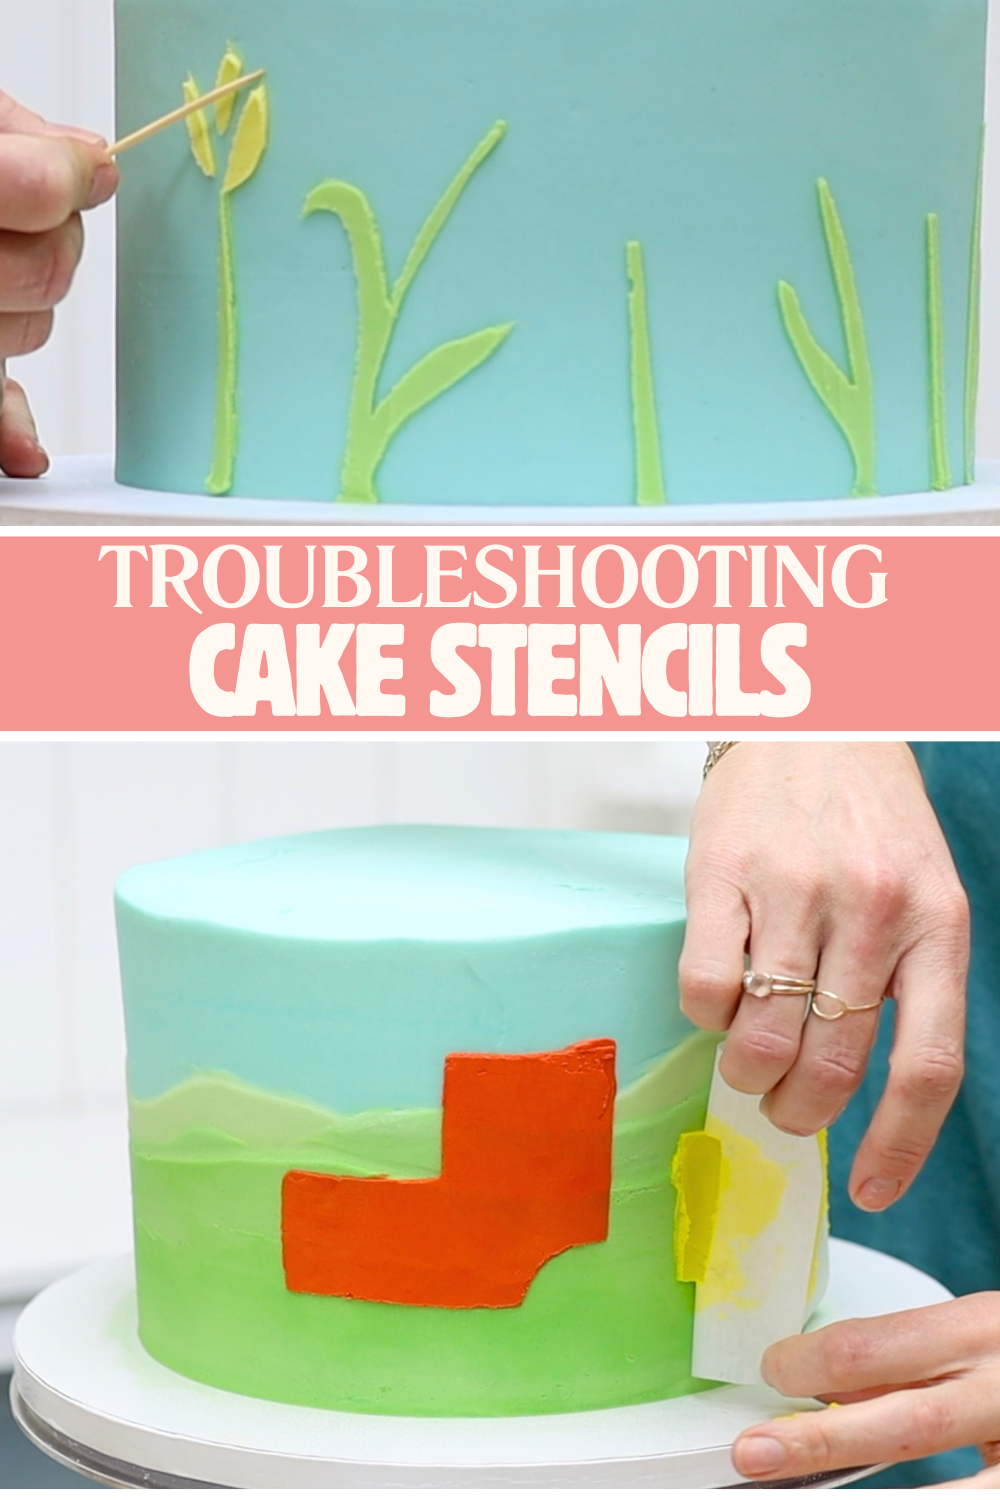
Applying buttercream too thickly often results in rough or uneven edges when the stencil is removed. For neater results, use a thinner layer of buttercream.
Sometimes thicker buttercream is necessary, such as covering dark colours with lighter colours or stenciling over textured frosting. In these cases, use a toothpick to tidy up the edges after removing the stencil.
Holding a stencil in place for too long can warm the frosting underneath and leave fingerprints on the cake.
If you're new to stenciling or your stencil is large, use this trick. Push pins into all of the corners of your stencil to hold it in place while you work. This allows you to take your time without pressing your fingers against the cake.
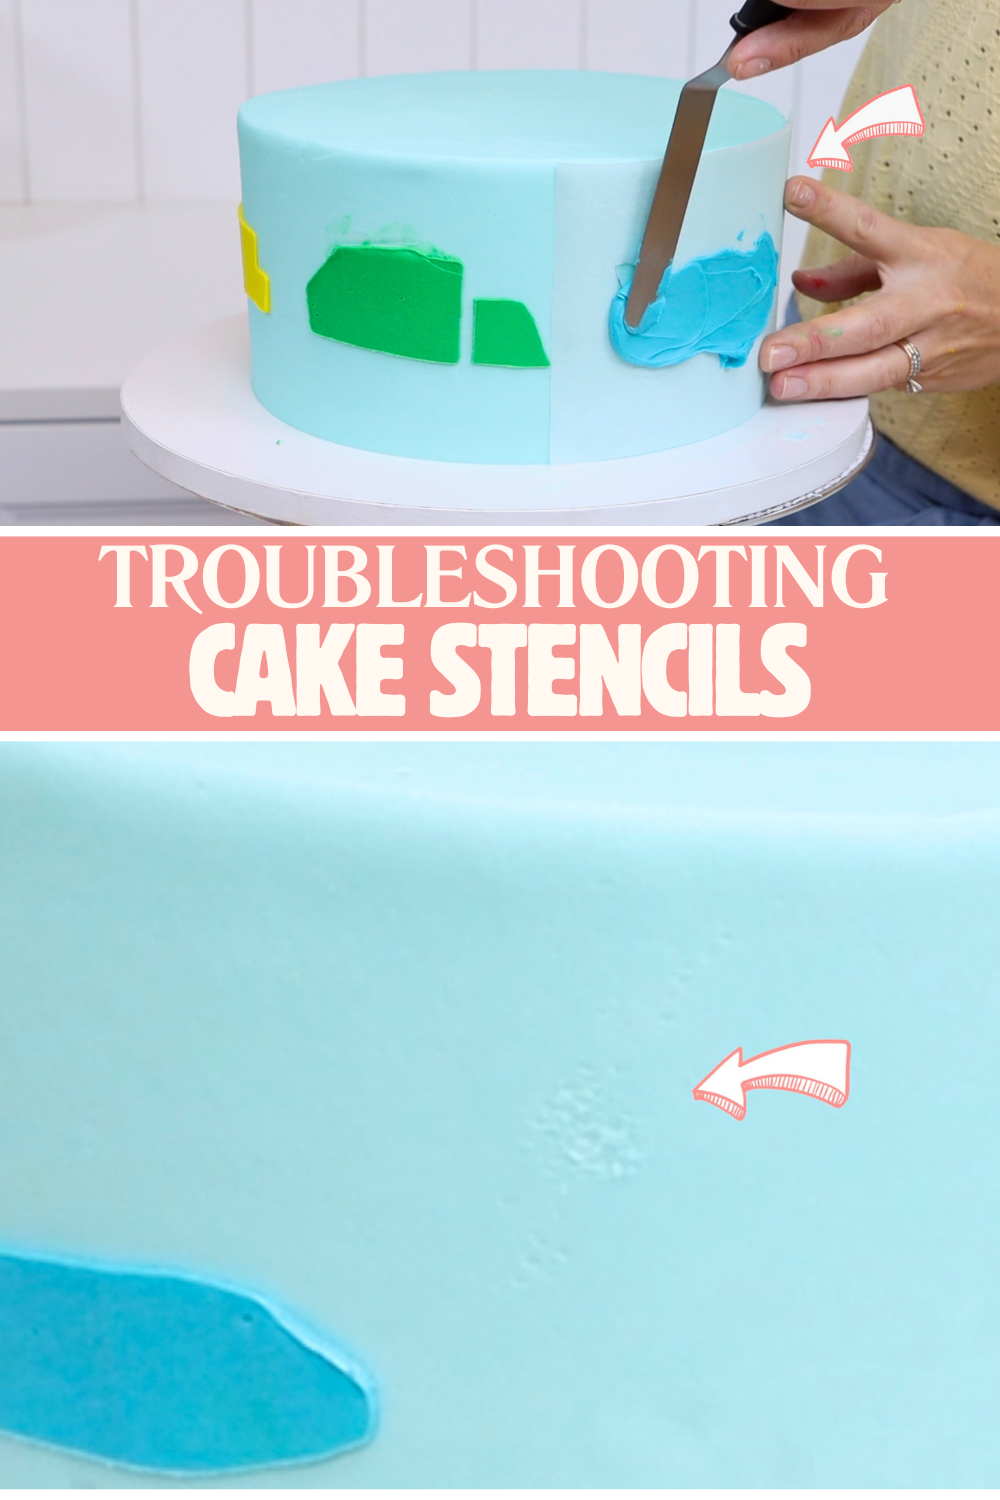
When wrapping a stencil around an entire cake, straight sides are absolutely essential. Uneven sides prevent the stencil from sitting flat and will distort the finished design.
If you're reusing stencils, clean them thoroughly between applications by scraping buttercream off with your
If you're creating a layered stencil design, make sure each layer is completely chilled and firm before applying the next one. Working too soon can ruin previous details.
For consistently beautiful stencil designs, keep these tips in mind:
Learning how to use cake stencils opens up endless decorating possibilities. From simple shapes and elegant patterns to detailed characters and textured designs, stencils make it easy to create professional-looking cakes at home. By starting with a properly chilled cake, applying buttercream carefully, and following the troubleshooting tips in this guide, you'll be able to achieve neat stencil designs every time.
What design are you planning to stencil onto your next cake?
You can also watch a video of this tutorial on how to use cake stencils: