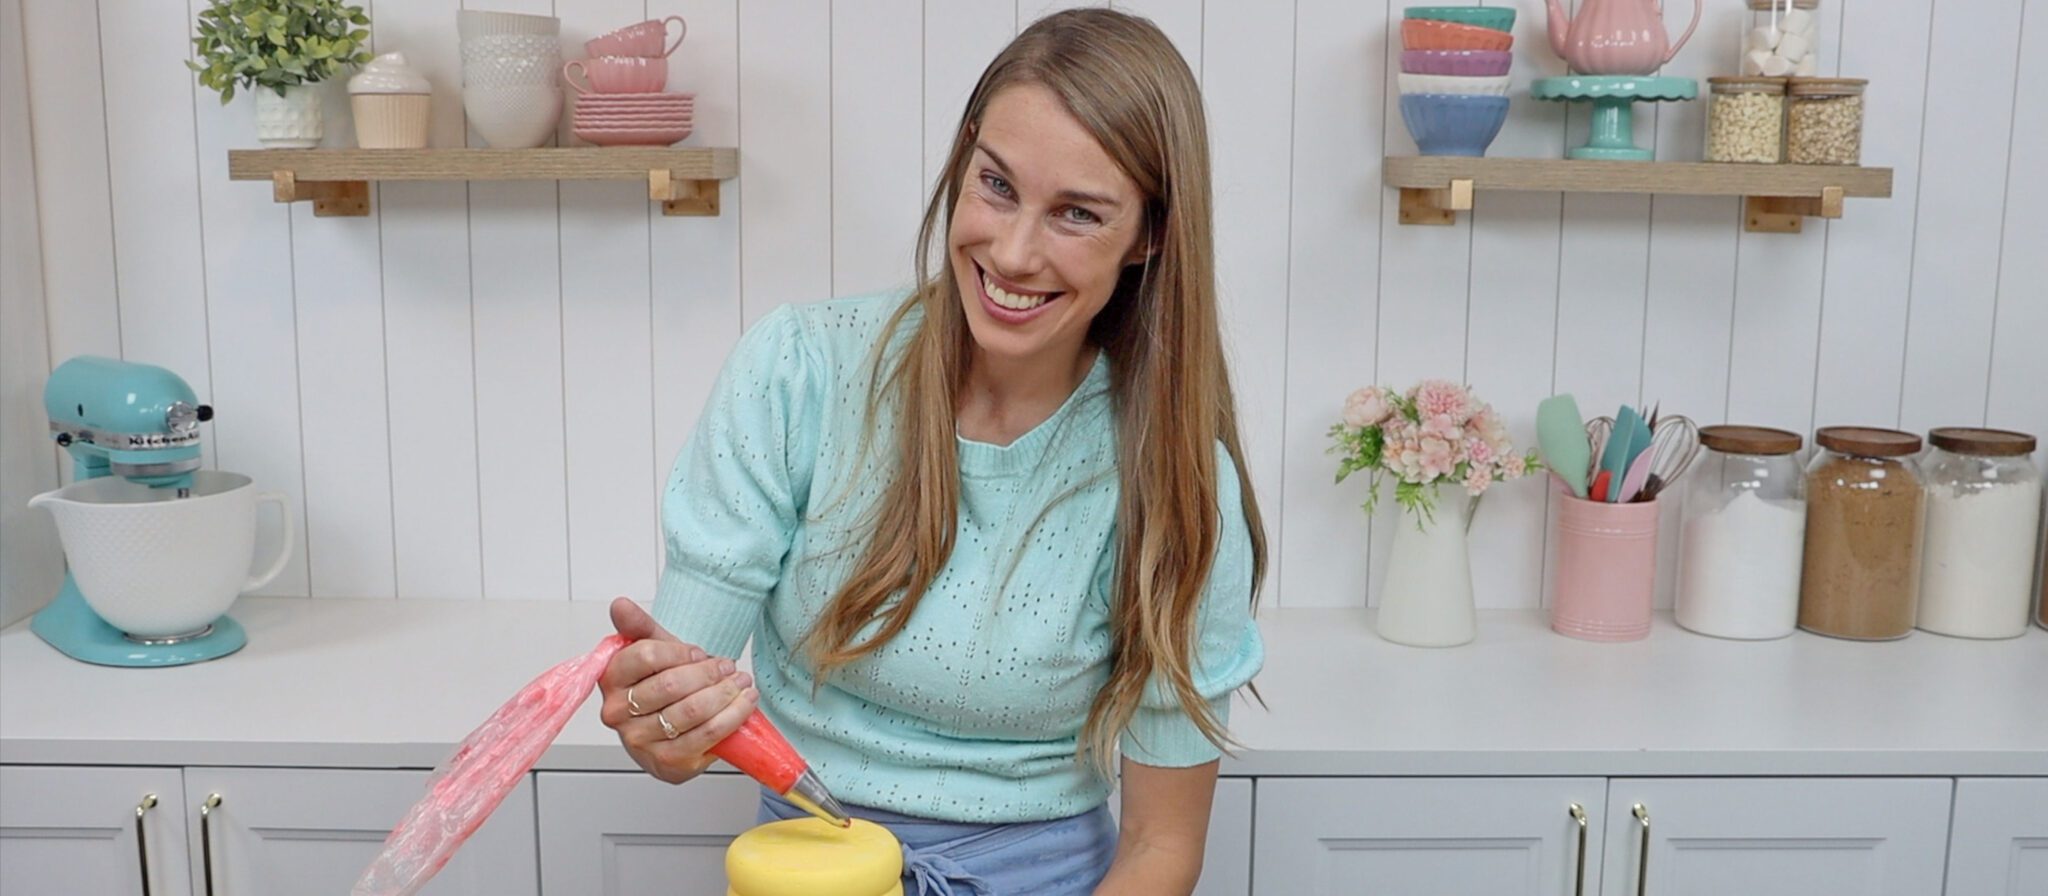
In this tutorial I'll show you how to write HAPPY BIRTHDAY on a cake with neat, gorgeous lettering. I’ll share my tips on how to position your message, various materials to write with, and different lettering techniques.
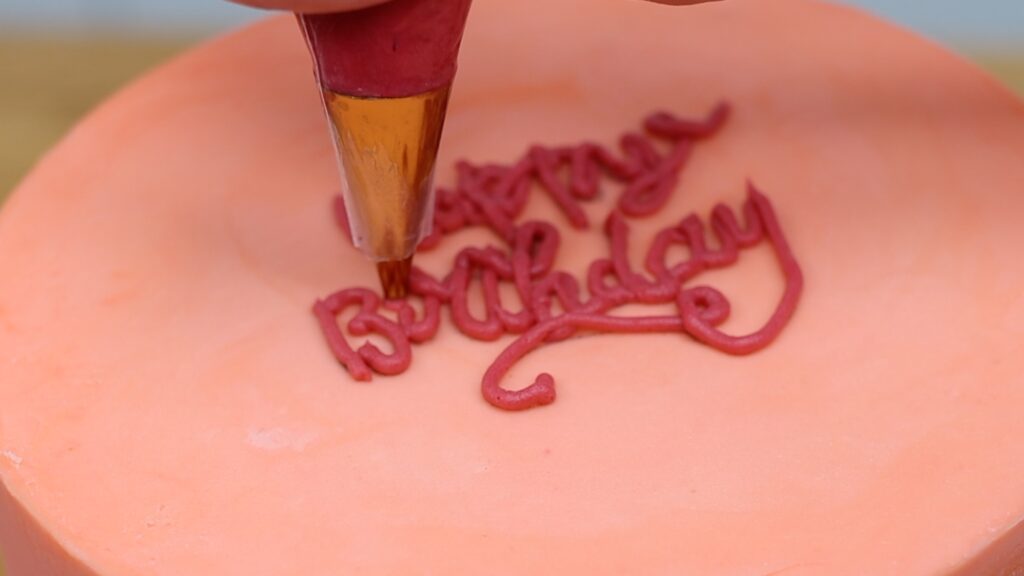
The most convenient option is buttercream because you can use the leftovers after frosting your cake. My 4 Minute Buttercream is my favourite type of buttercream! Spoon a little bit into a piping bag fitted with small round tip. If you don’t have one, you can use a ziplock bag instead. After spooning the buttercream in, cut a tiny piece off one corner to pipe through.
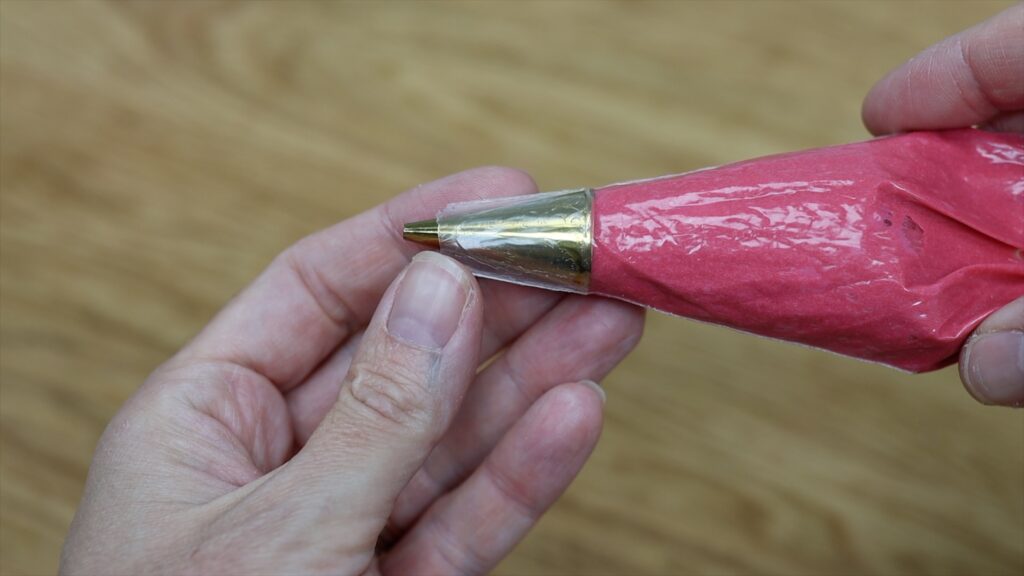
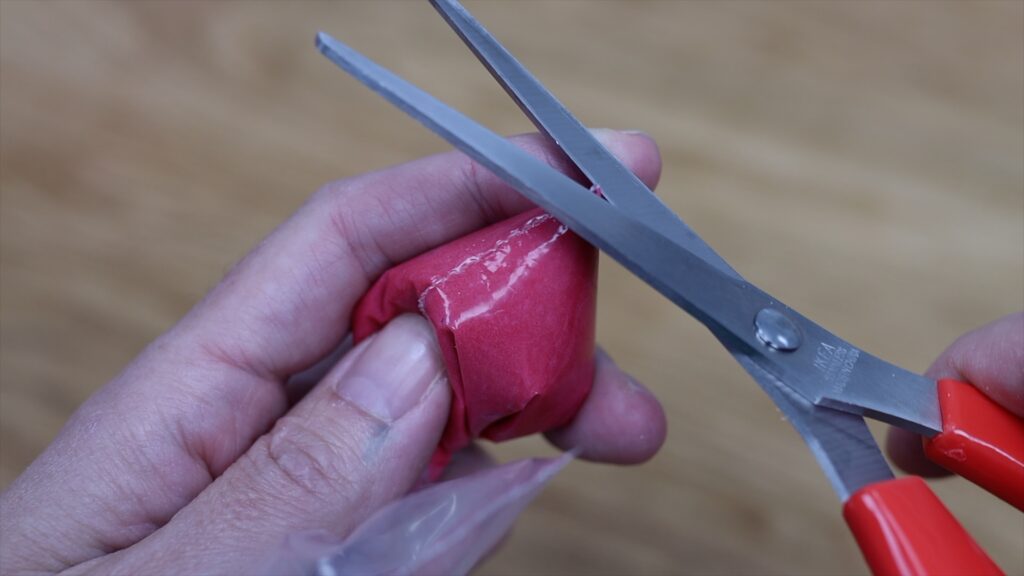
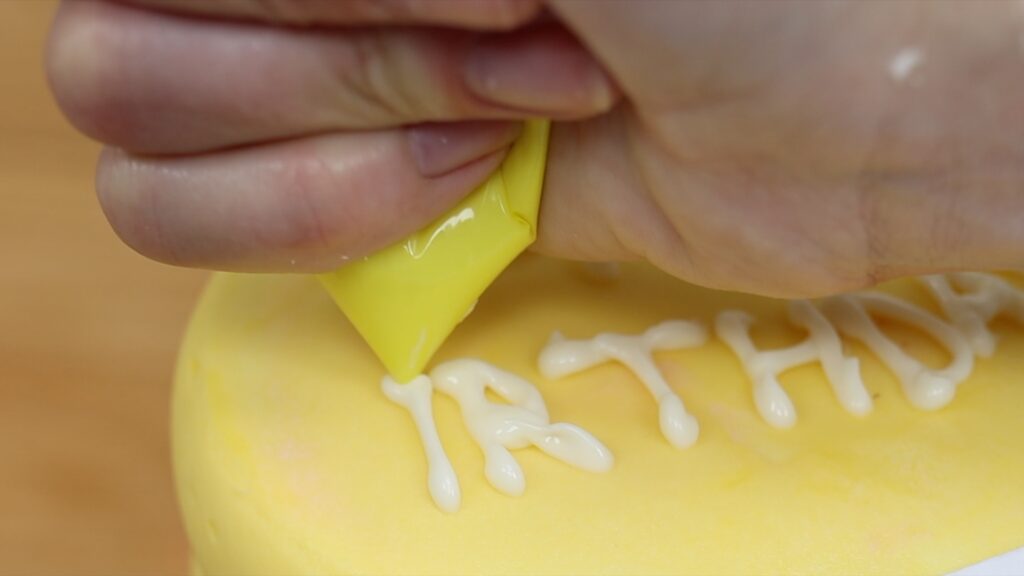
Another delicious option is melted chocolate. You can use white, milk, semi-sweet or dark chocolate. Spoon the melted chocolate into a ziplock bag and cut a corner off. Make a tiny hole for thin lettering or a larger hole for thick lettering.
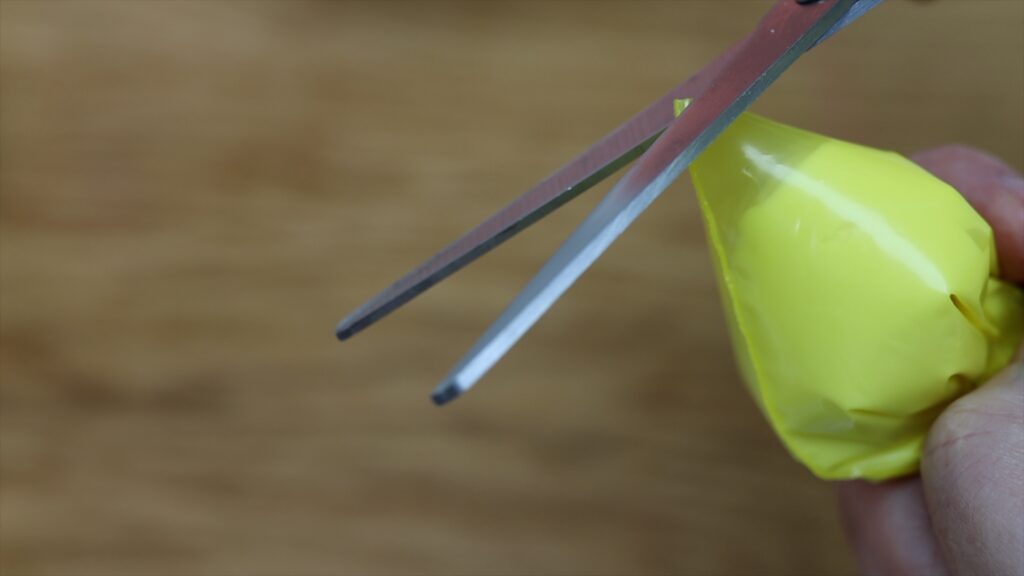
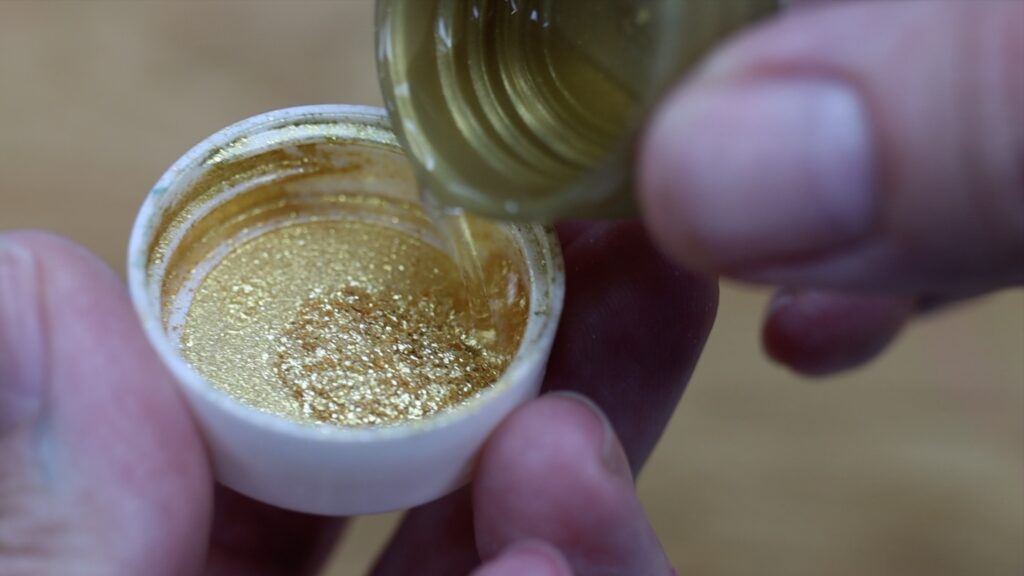
Edible paints are a third option. You can buy them already mixed or make your own by mixing metallic luster dust with a few drops of clear alcohol. You'll need a thin paste rather than a runny liquid. If it’s too runny you won’t get bold coloured letters. You’ll need a tiny paintbrush and I’ll show you how to paint neat letters later in this tutorial.
There are lots of ways to write HAPPY BIRTHDAY and I'll show you the techniques for all of these next:
Let’s dive into the techniques for writing Happy Birthday on cakes.
To pipe a line, squeeze the piping bag to push the buttercream out and pull slowly. At the end of the line, release your pressure on the bag as you pull it away. Doing these two things at the same time will finish the line neatly.
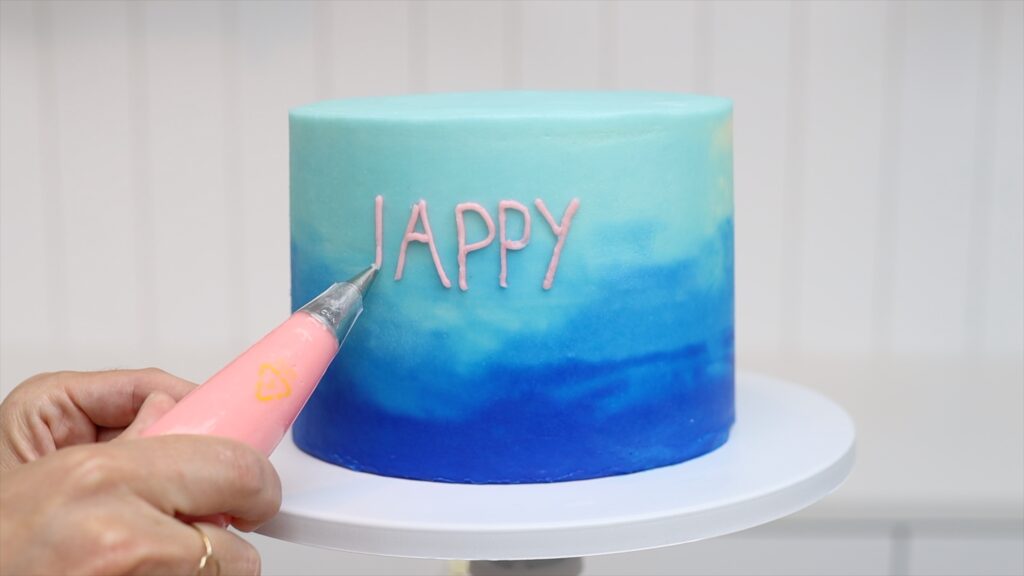
Like I mentioned, you can use a ziplock bag instead of piping bag. Your letters won't be as neat because the metal of a piping tip is much more solid than the plastic of the ziplock bag. Your lines will be straighter with a piping tip but if you don't have one, this is another option.
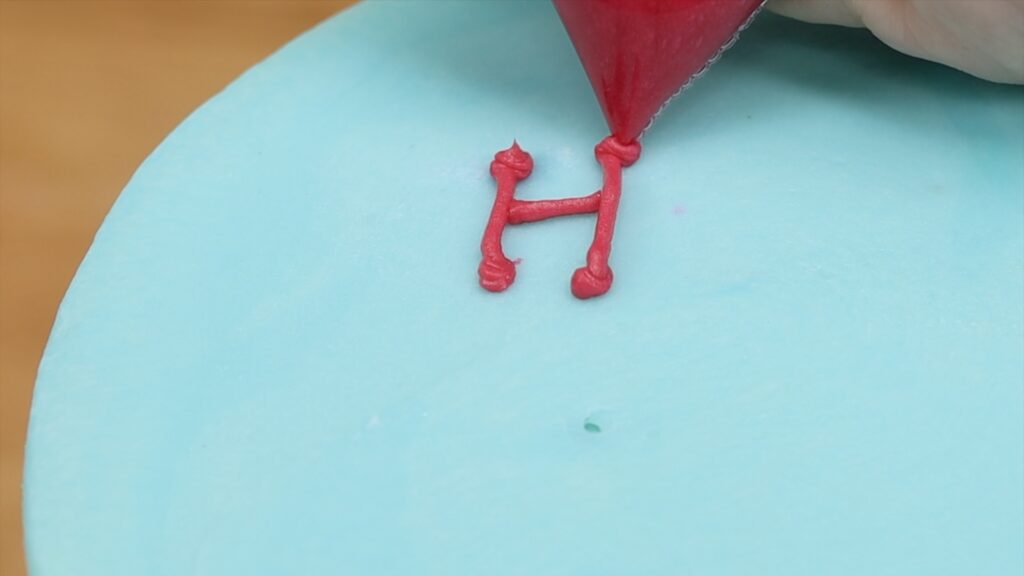
To pipe a dot, squeeze the piping bag to let the buttercream bulge out into a circle. Stop squeezing the bag as you push the tip slightly into the dot of buttercream and then pull away. This will leave a neat peak on the dot. You can do this for the dot on the 'i' in 'birthday' or for pointillism like in the cake below. For a line of dots, hold the piping tip at the same angle for each dot for neatest results.
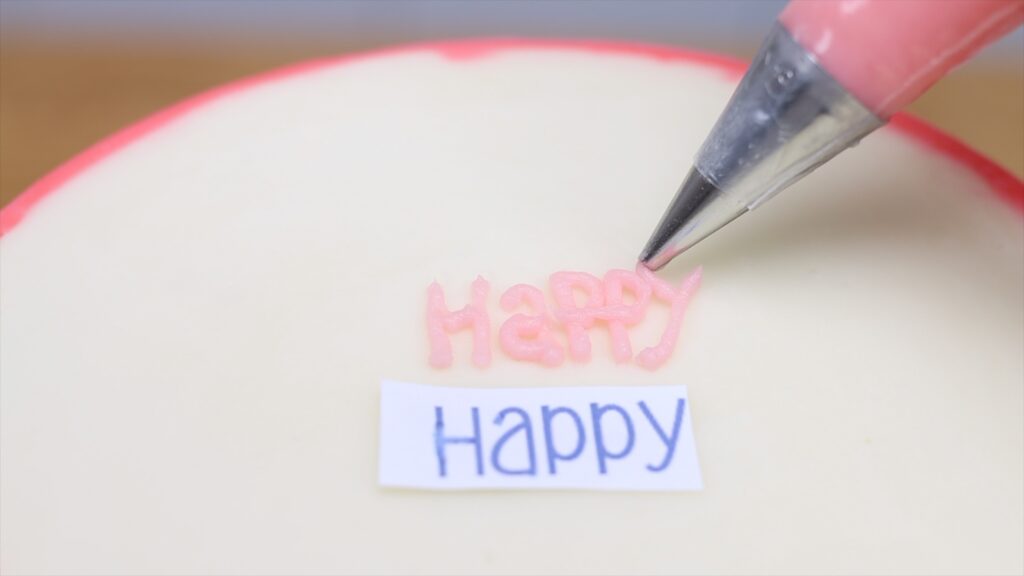
If you want to write happy birthday on a cake in a specific font, print out your message in that font and refer to it as you pipe. I like to place the word immediately below where I’m piping. This way, you can look at each printed letter as you’re piping to mimic the font most accurately. Keep in mind that if your piping is thicker than the printed letters, your word will be wider than the printed word.
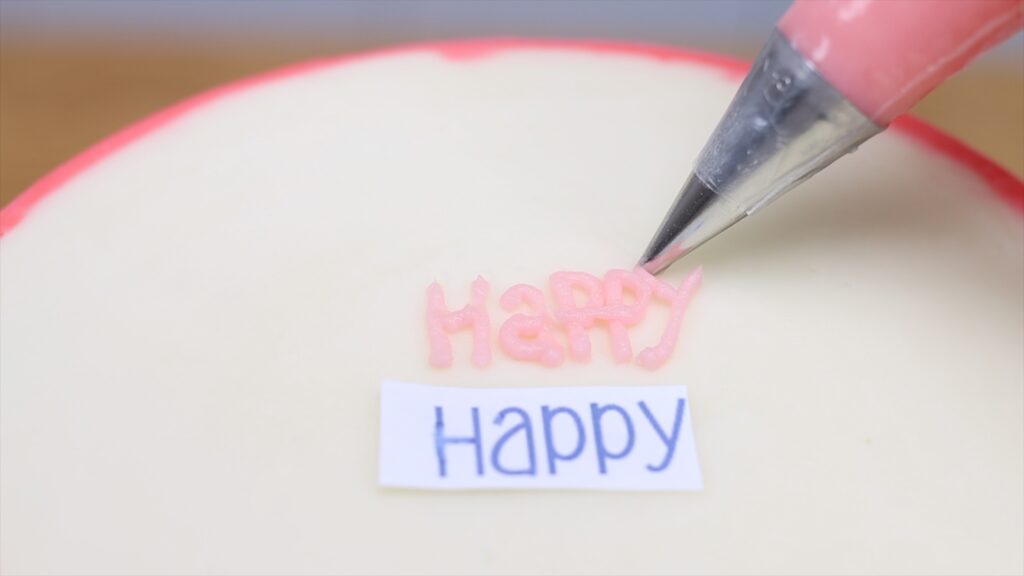
For cursive I recommend piping one letter or one part of a letter at a time. Then pause to look at the printed message to check what the next letter looks like and how it connects to the previous letter. Now pipe the next letter. This is the neatest method, compared to trying to pipe the entire word at once.
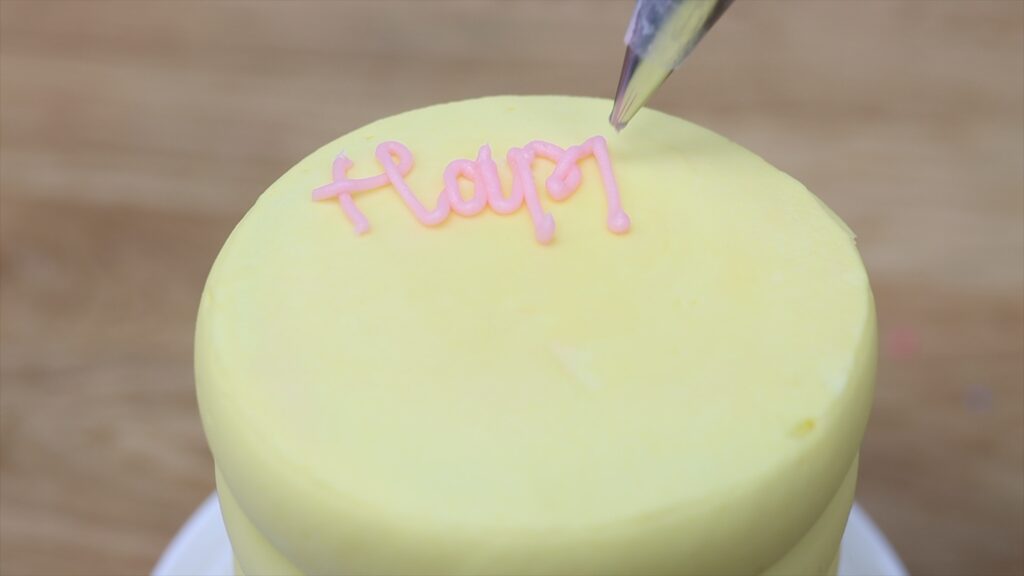
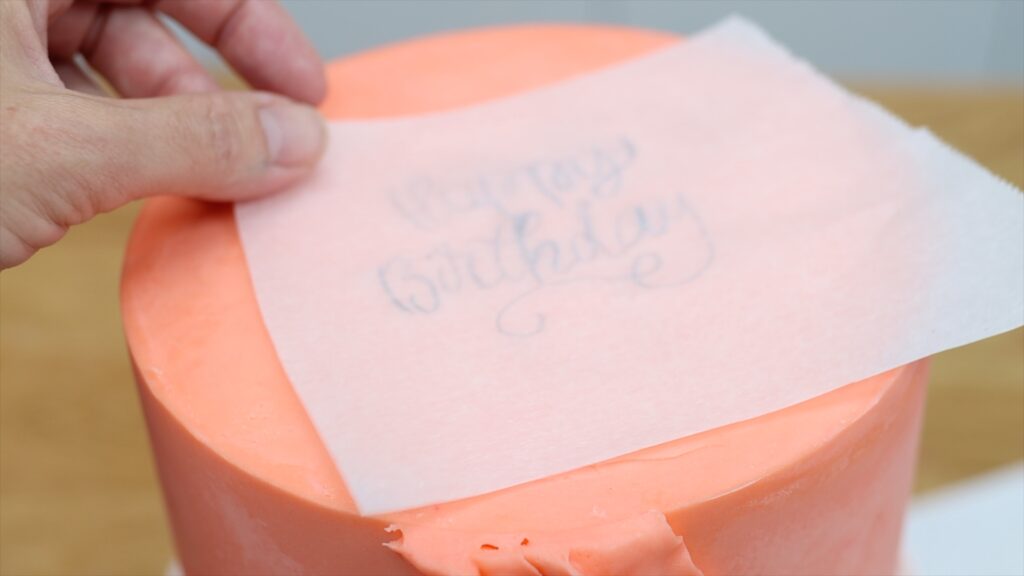
To copy a font that you don’t feel confident replicating onto a blank cake, try this technique! Print your message, flip it over, and trace the reverse side onto parchment paper.
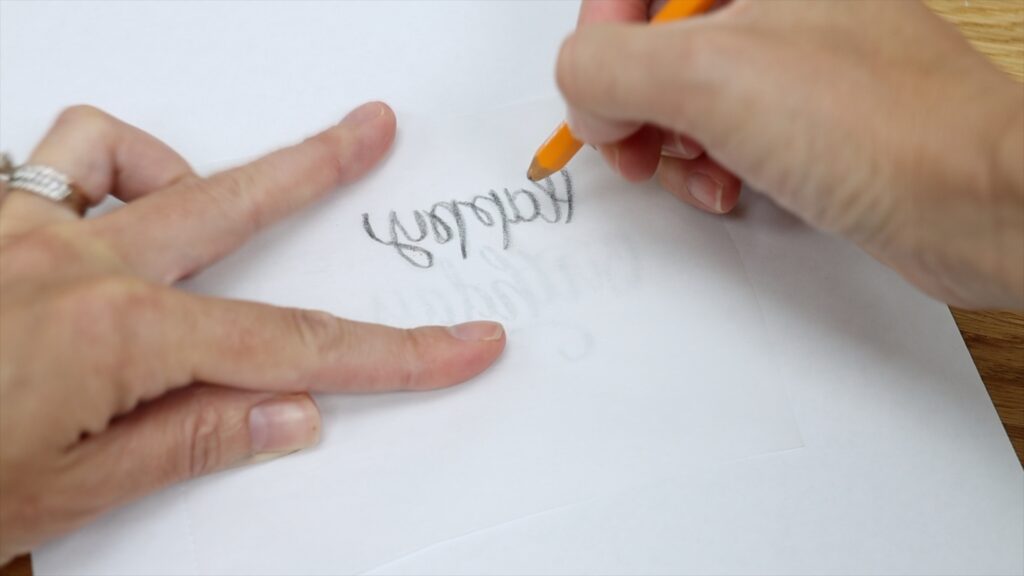
Now press the pencil side against the cake and re-trace over the message. Your pressure will transfer the pencil from the underside of the parchment paper onto the cake.
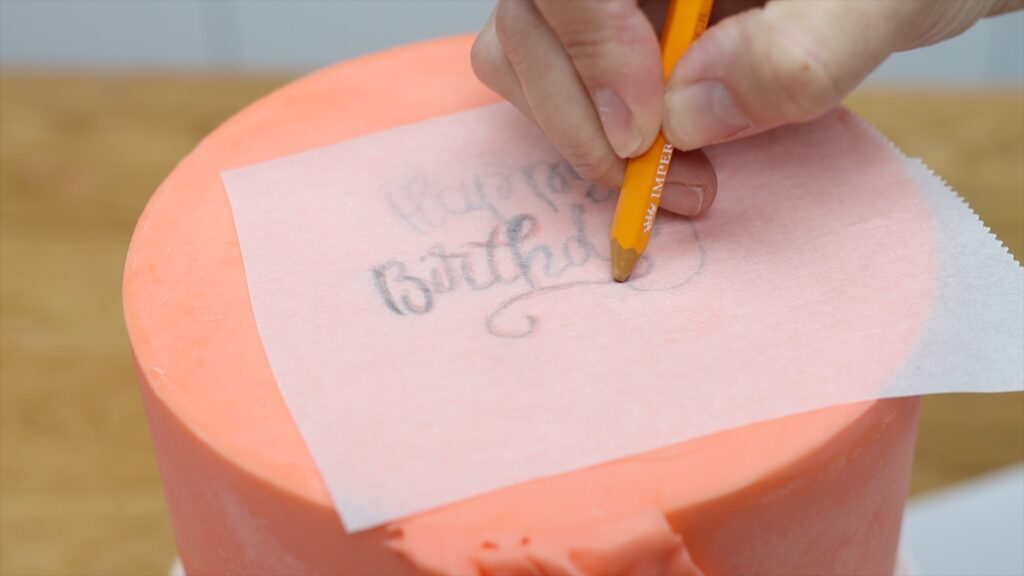
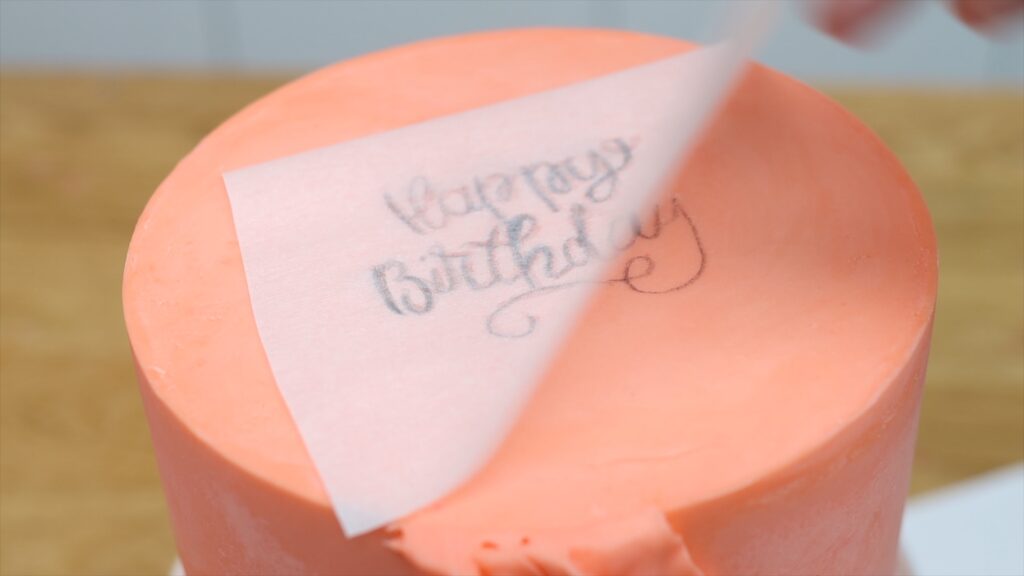
Note that pencils are no longer made with lead. These days they're graphite, which is not toxic, but if this faint trace bothers you, don’t use this technique. If you’re comfortable with it, pipe over the pencil lines with buttercream and voila!
To write with chocolate you'll need a sandwich bag like a ziplock bag. I find writing with melted chocolate trickier than buttercream because it flows continuously out of the bag, compared to buttercream which only comes through the tip when you squeeze the bag. You have a lot more control when piping with buttercream than you do with chocolate. With chocolate, as you finish each line if you pull the bag away you’ll leave a drizzle or tail or peak of chocolate at the end of the letter. You can minimize this by pushing down slightly before pulling the bag away. Then use a toothpick to flatten any peaks. It’s not as neat as buttercream but it’s another way to write Happy Birthday on a cake.
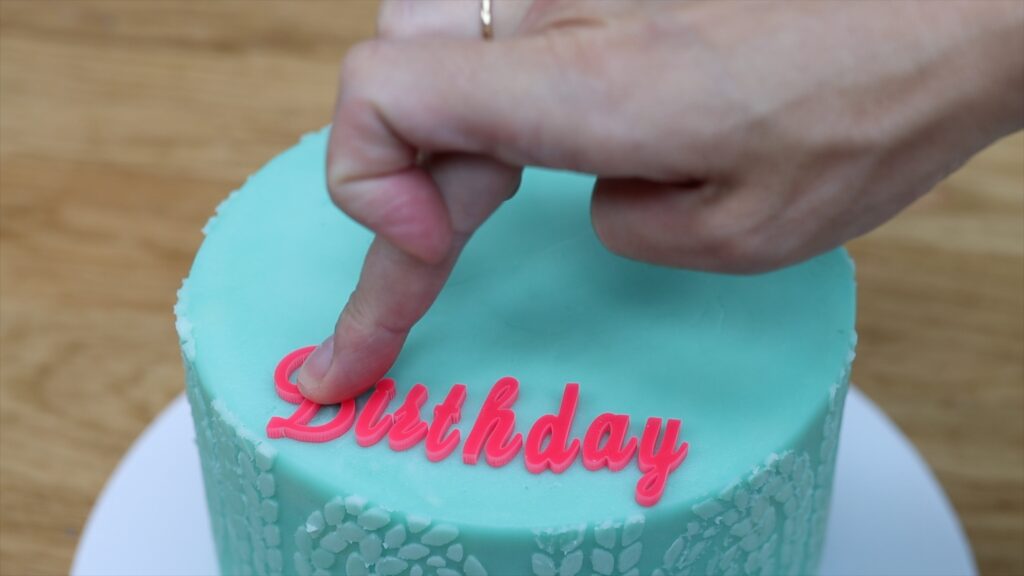
Try letter embossers for gorgeous, perfect fonts. These are made by Sweet Stamp and you can use my code BGB10 for a discount! After chilling the cake to set the frosting, arrange the letters on the cake wherever you want them to go. Press each one gently into the frosting. You’re aiming for a shallow indent, just enough to see the whole letter, so don’t press too hard.
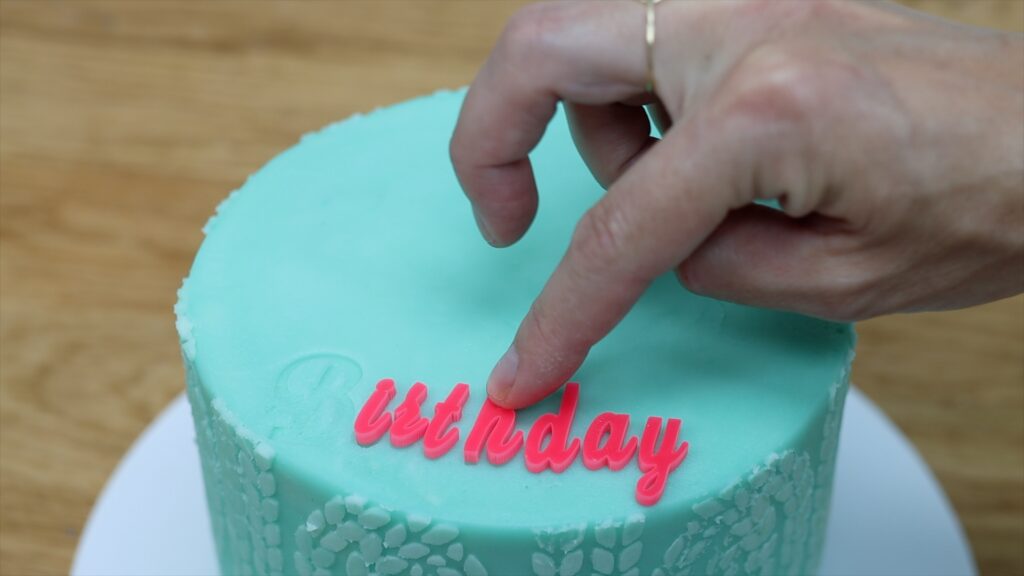
Then use edible paints and a tiny paintbrush, the smaller the better! Fill the letters in by painting with dabbing motions and the imprints will guide your paintbrush to fill each one neatly.
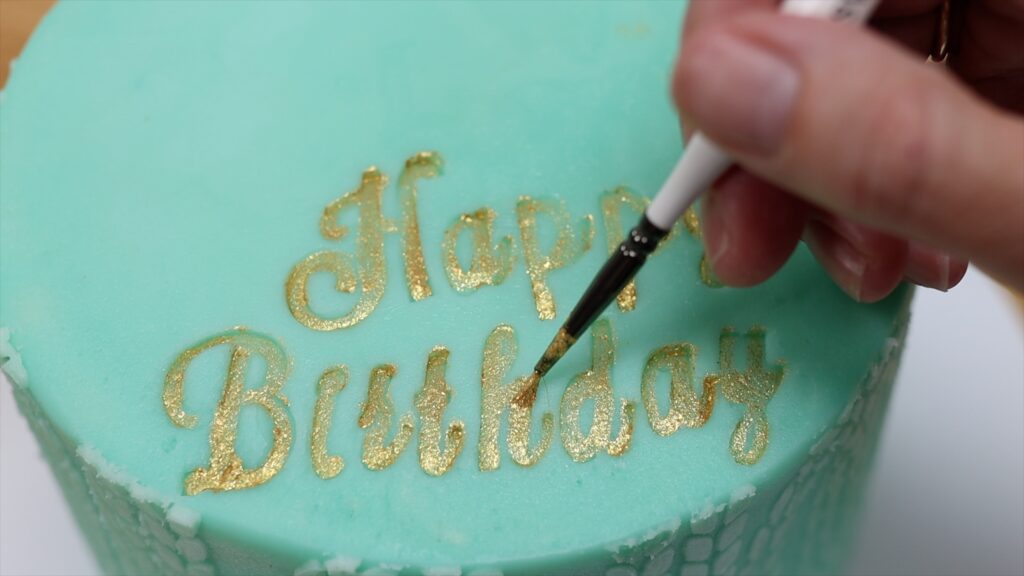
Whichever style of writing you choose to write Happy Birthday on a cake, the neatness of your message really depends on how well you space it. Let’s look at what NOT to do. If you start writing without planning the position of the letters, your words can end up off-center. Even worse, they'll be crammed in tightly to fit onto the cake like this:
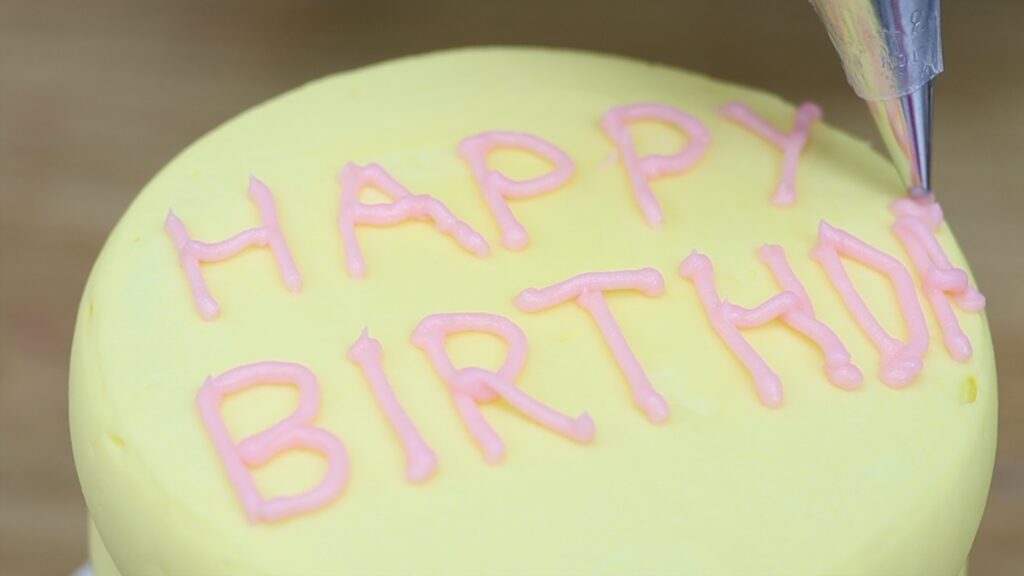
So, how do you space your message? Here are six options:
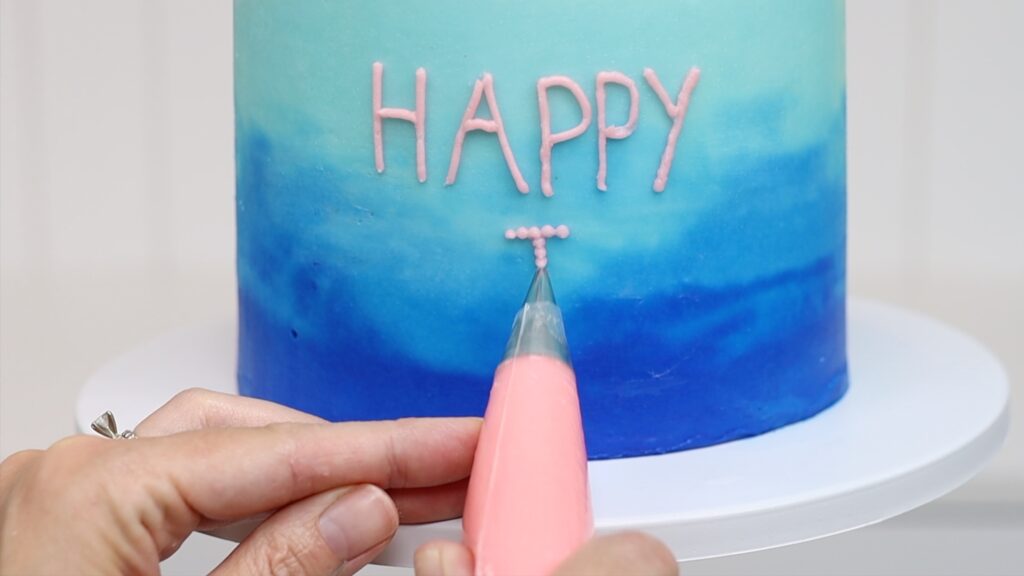
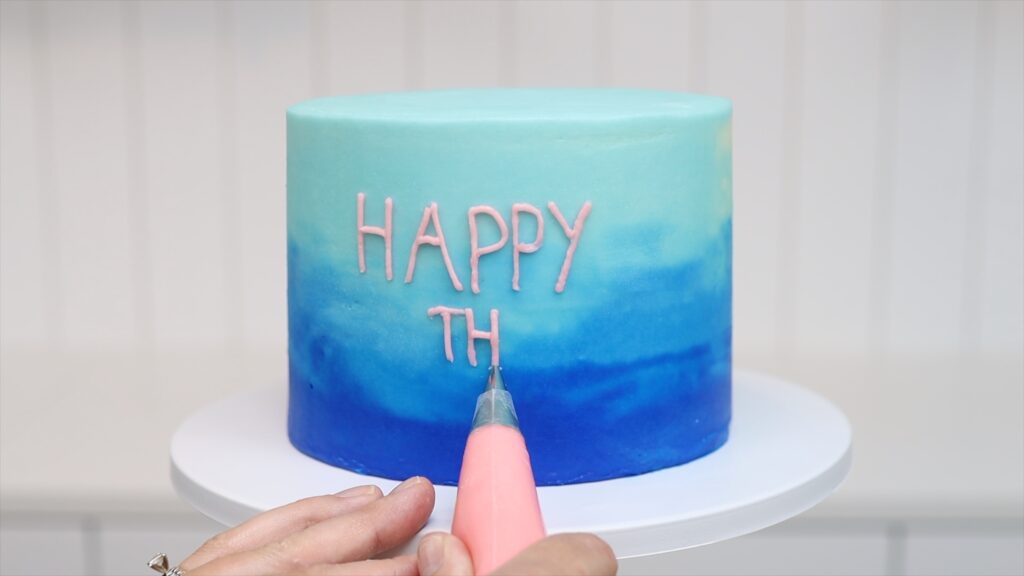
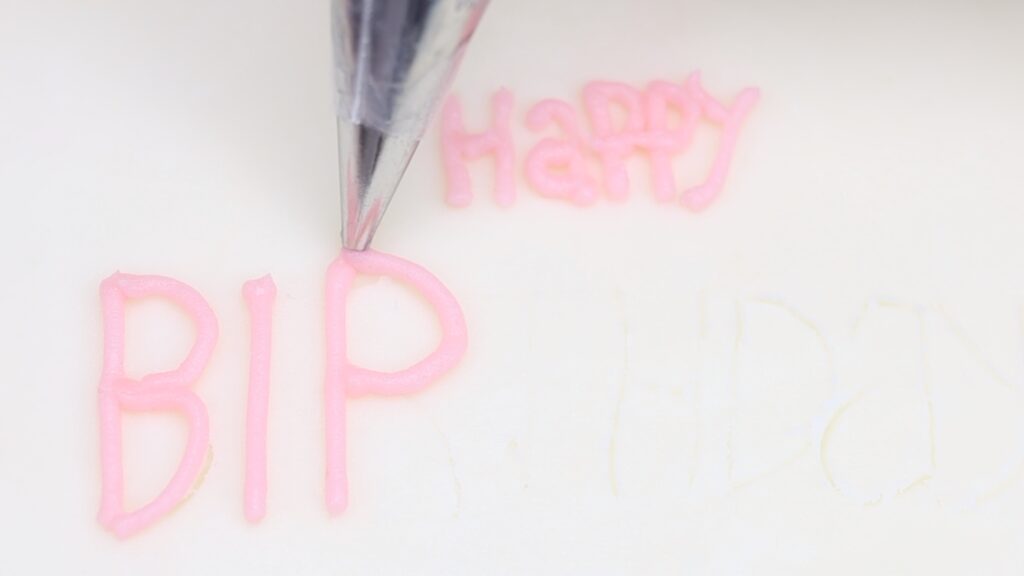
You can freehand your letters, meaning that you pipe them before planning where each one is going to go. This is most successful if you start with the middle letter. This centers the word, and then you can pipe the letters before and after. So for BIRTHDAY, there are 8 letters and the middle two are T and H so I'm piping those underneath the middle letter of HAPPY, which is the first P.
If you print your message in a certain font to copy, place the printed word above or below where you’re going to pipe. If you center the printed word on the cake and then copy the spacing of the printed letters, your piped word will be centered, too.
Even if you don't want to copy a specific font, it can still be a good idea to write your message on a piece of paper first. Hold that up on the cake to use as a guide, centering the word you wrote and then piping below or above it so that the piped word is centered, too. This way, when you write happy birthday on a cake you can be confident that both words will fit on the cake!
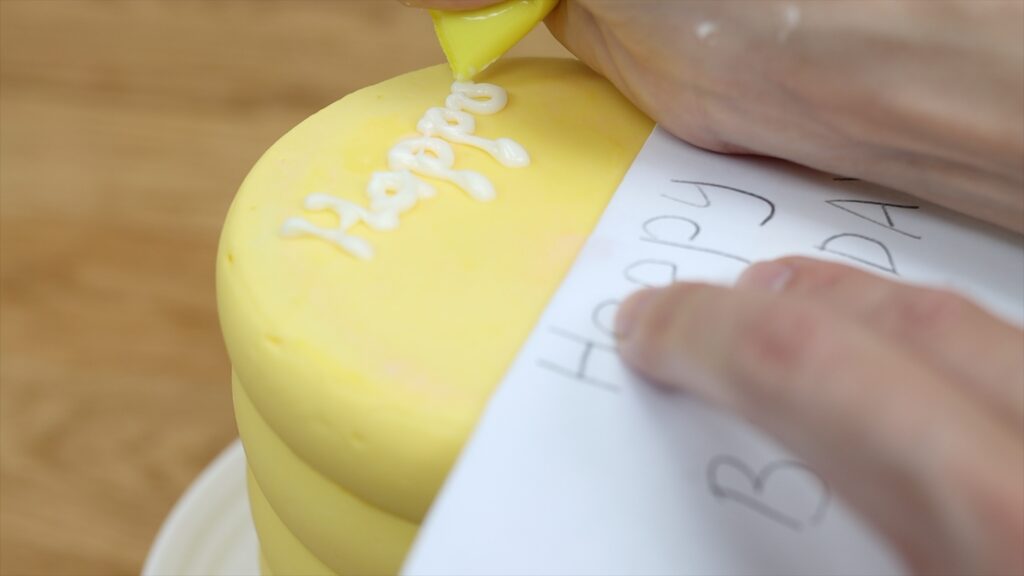
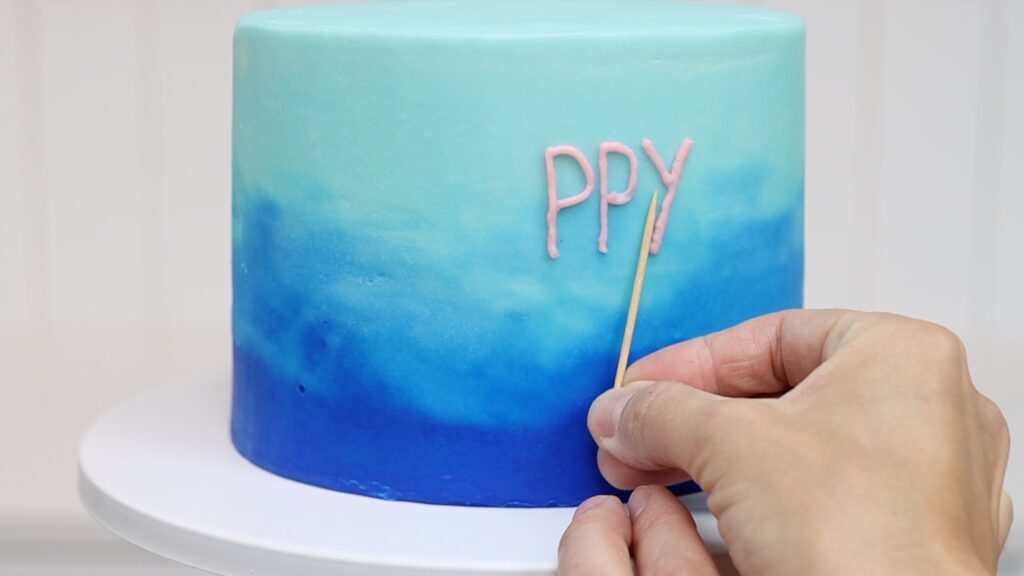
Another option is to outline your word with a toothpick before piping, starting with the middle letter to make sure the word is centered on the cake, and then pipe over the letters. This way you can take your time with the toothpick to make sure each letter is the same height and check that you like the shape of each letter, and then when it comes time to pipe, all you’re focusing on is squeezing the piping bag with constant pressure and holding your wrist still and steady to pipe straight lines, rather than focusing on the little details of the lettering.
If you’re using the pencil tracing method, spacing is very easy. Just center the message on the cake before you start tracing.
If you’re using letter embossers, arrange and rearrange them until they’re in the exact spot you want them to be. When you're happy with their position, press them into the frosting on the cake.
You only need a tiny amount of buttercream to write Happy Birthday. Look at how much there is if I scrape a message off a cake - it’s just a tablespoon or so:
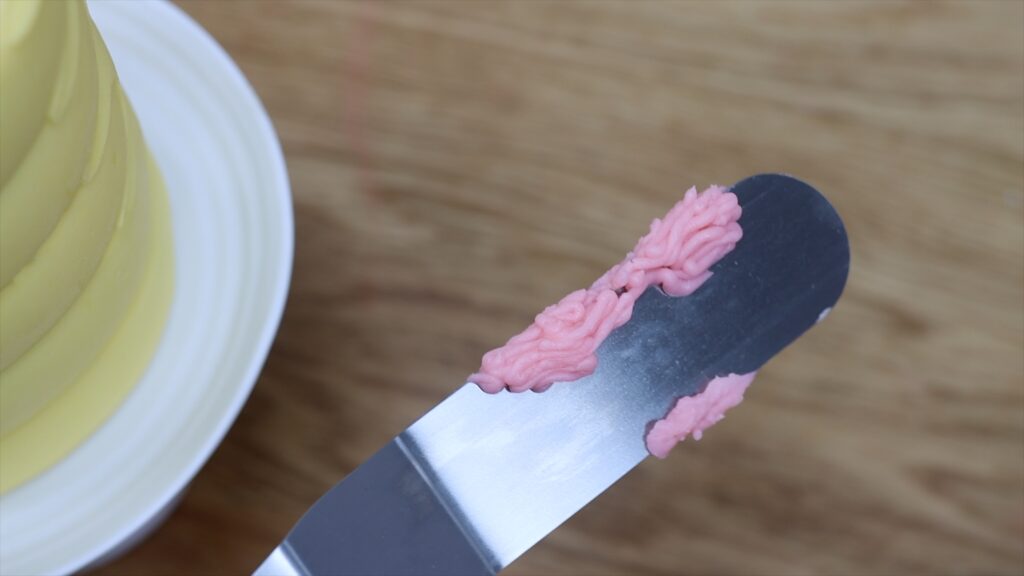
But it’s easier to pipe with the bag about half full, than an almost empty bag, so I suggest using more than you’ll actually need. I have another tutorial on 9 ways to use leftover frosting for ideas on what to do with the extra buttercream.
I recommend writing on a cake BEFORE piping borders or other details on top of the cake, so you have the biggest space available to move your wrist, without having to navigate around piping or other decorations.
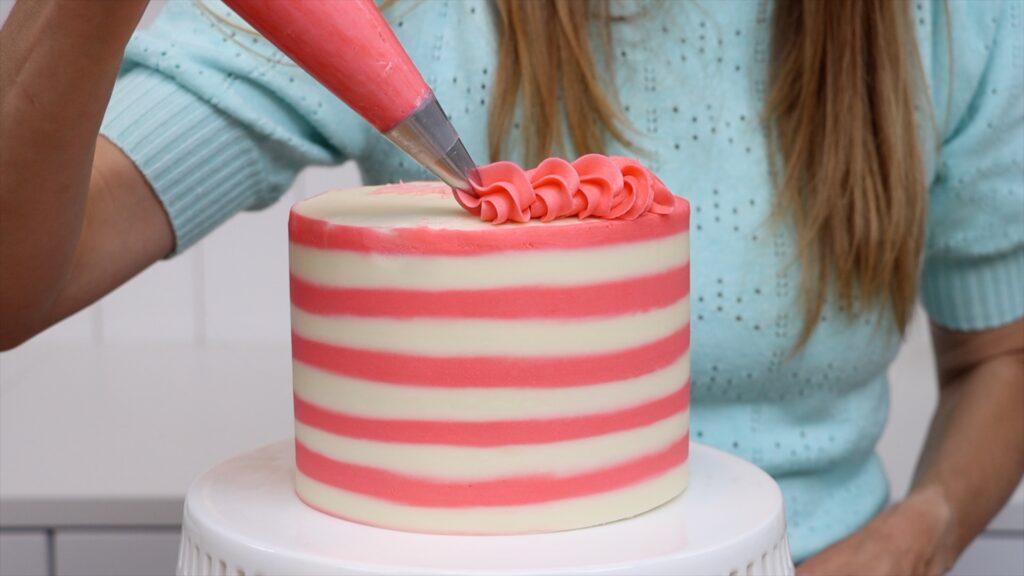
While you’re piping. Keep a toothpick handy and use it to adjust your letters to make the lines smoother or to manipulate them to make the hole in a P bigger, for example.
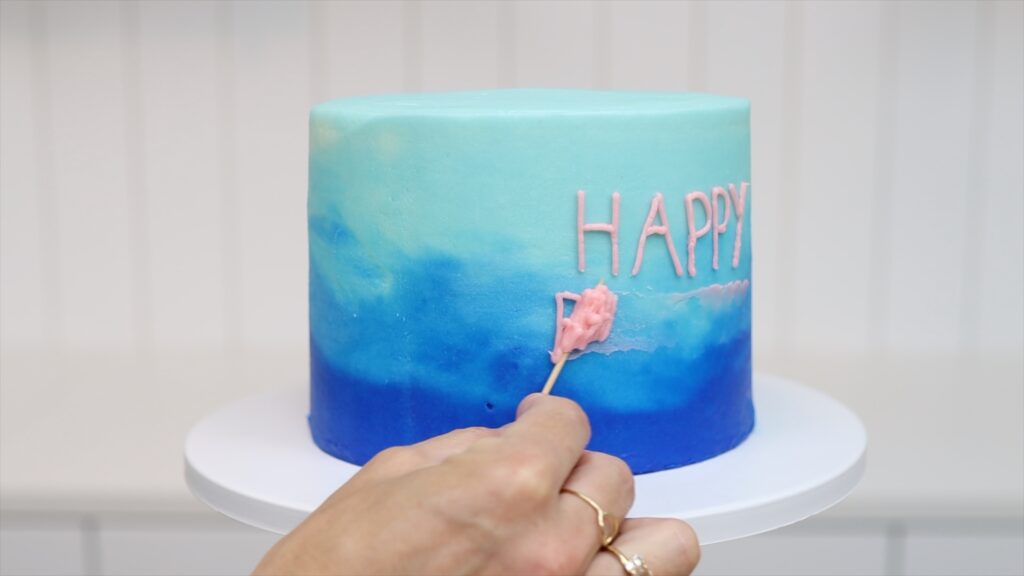
I always chill my cakes before writing on them because when the frosting on the cake is cold, it’s firm, so if you pipe a message you don’t like you can scrape it off straight away with toothpick or
I hope this tutorial has been useful! Visit my cake school to learn hundreds of cake decorating techniques and designs and join my ClubPLUS for access to every MasterCourse, MiniCourse, Live Workshop, and 5 Minute Fridays, where I teach a tip or technique or demonstrate a frequently asked question like how to choose the best turntable, different ways to store leftover buttercream, and how to freeze a fully decorated cake.
You can also watch a video of this tutorial on how to write happy birthday on cakes:
