How to write Happy Birthday on a cake neatly can feel surprisingly difficult once you actually try it. Letters often come out shaky, off-center, sloping up or down, or with the last few letters squished so that they fit. But with the right techniques it becomes much easier to control your piping and get beautiful results.
One of the easiest ways to start is by printing your letters using straight lines and all capital letters. This gives you much more control as you pipe one line at a time. To center your message, begin with the letter in the middle of the cake and work your way outwards, adding letters on each side.
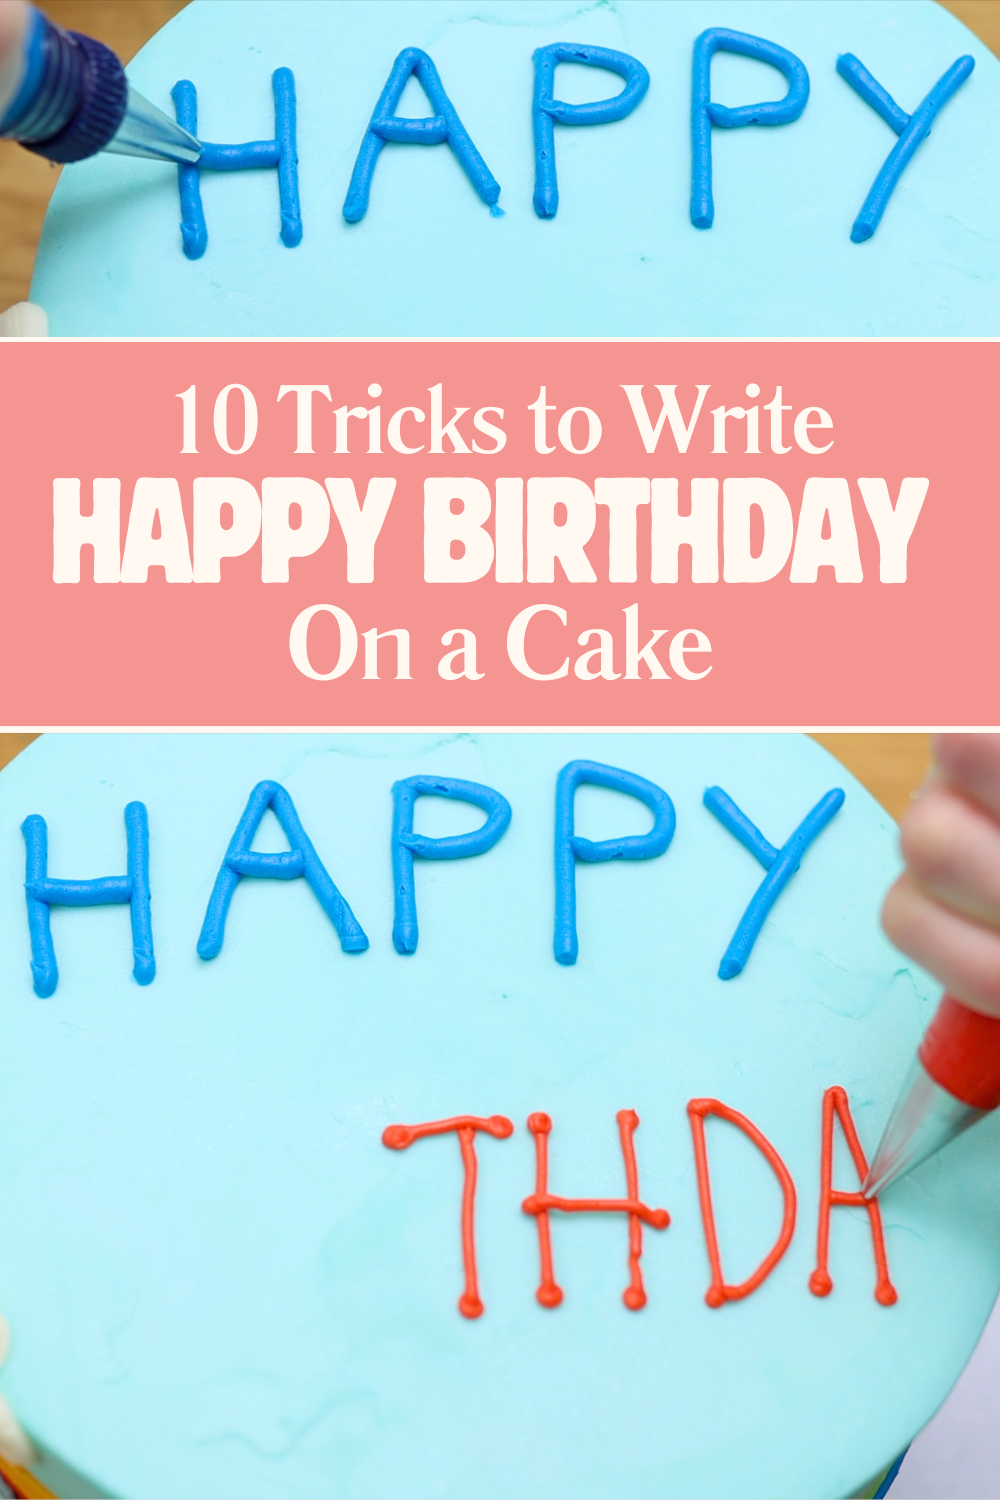
The piping tip you use makes a big difference when learning how to write Happy Birthday on a cake. For an 8 inch cake, a number 8 round piping tip works well, like I used for 'HAPPY' on the cake above. For smaller cakes, choose a smaller tip so the letters don’t look crammed together.
Larger tips are generally easier to use because the thicker lines absorb small, jerky wrist movements, while smaller tips show every tiny movement and require much steadier hands.
A great beginner technique is to print your letters using dots at the beginning and end of each line. Piping dots helps you position where each line starts and finishes so your letters look neater, even with a small piping tip. See the cake photo above for an example of this font, used to write 'BIRTHDAY'.
One of the most important tips for how to write happy birthday on a cake is to chill your cake before adding your message. When the cake is cold, the buttercream is firm, which means you can scrape off mistakes with a toothpick, knife, or
Buttercream consistency is crucial for writing. If it’s too stiff, the lines will break apart as you pipe. If it’s too soft, it will flow out of the piping bag without you squeezing, making it very difficult to control. I love using my 4 Minute Buttercream because it's easy to adjust the consistency by simple adding more or less milk and sugar. Since buttercream can vary slightly each time depending on temperature, humidity, and ingredient quantities, it’s always worth checking before you start with some test piping.
A simple way to practice is by using the cake pan you baked your cake in. This allows you to test the size and spacing of your letters and get used to your buttercream consistency. You can also use a toothpick to lightly score your message onto the cake first, which helps you check spacing and placement before piping.
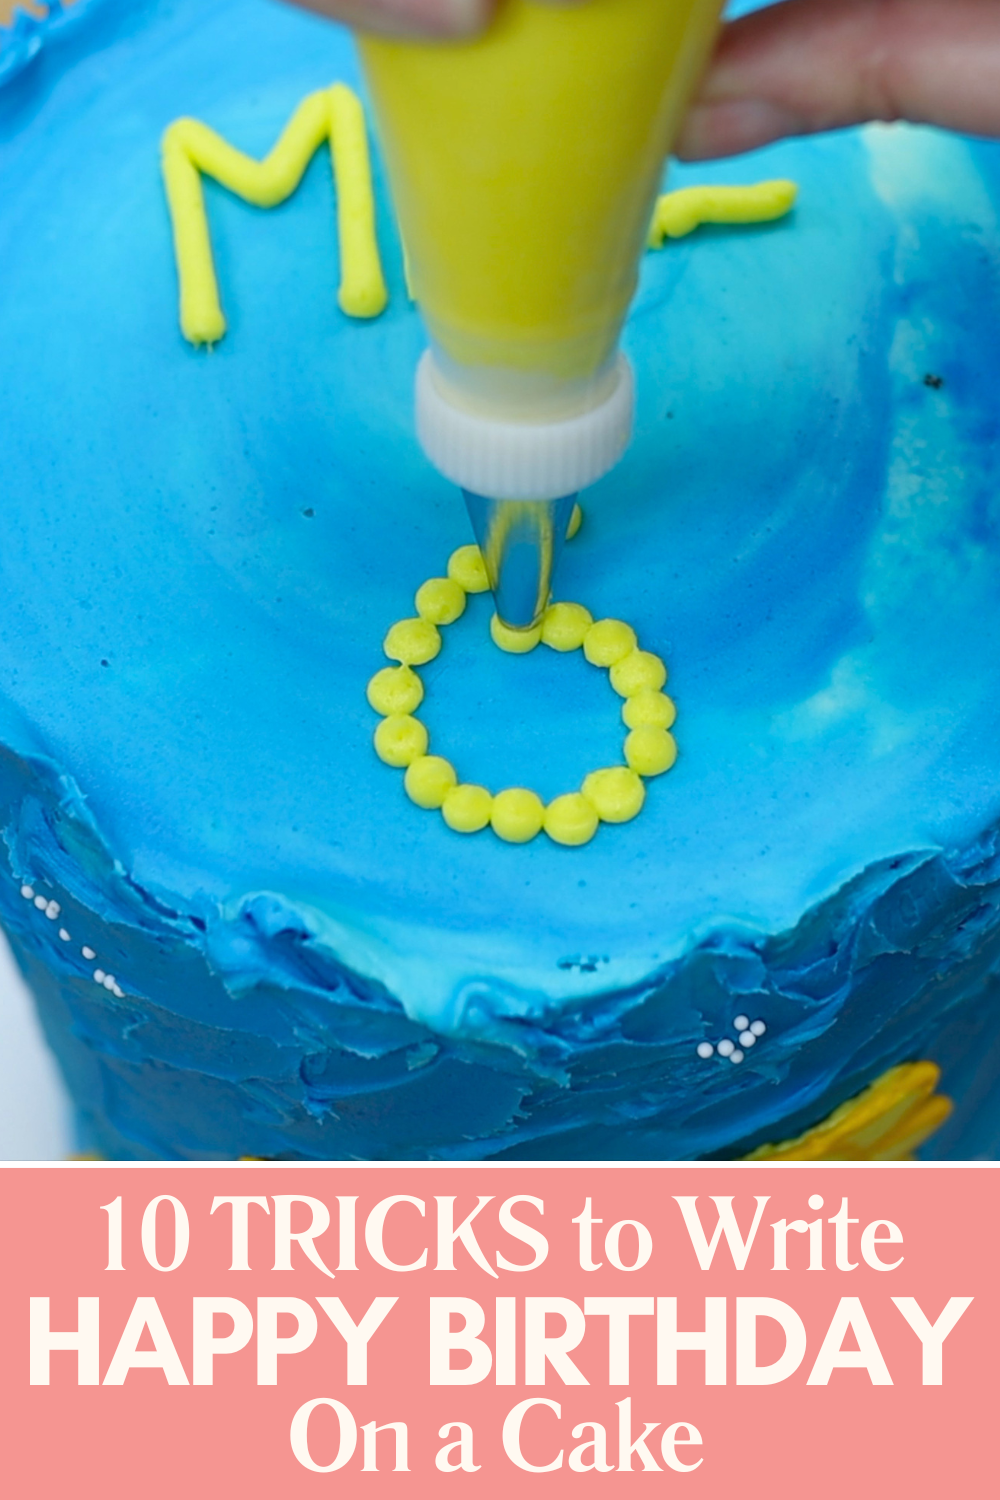
If you find it difficult to pipe continuous lines, try the pointillism technique. This involves piping lots of small dots in the shape of each letter or number. Just like with lines, using a larger tip like a number 8 makes it easier to pipe neatly than using a smaller tip.
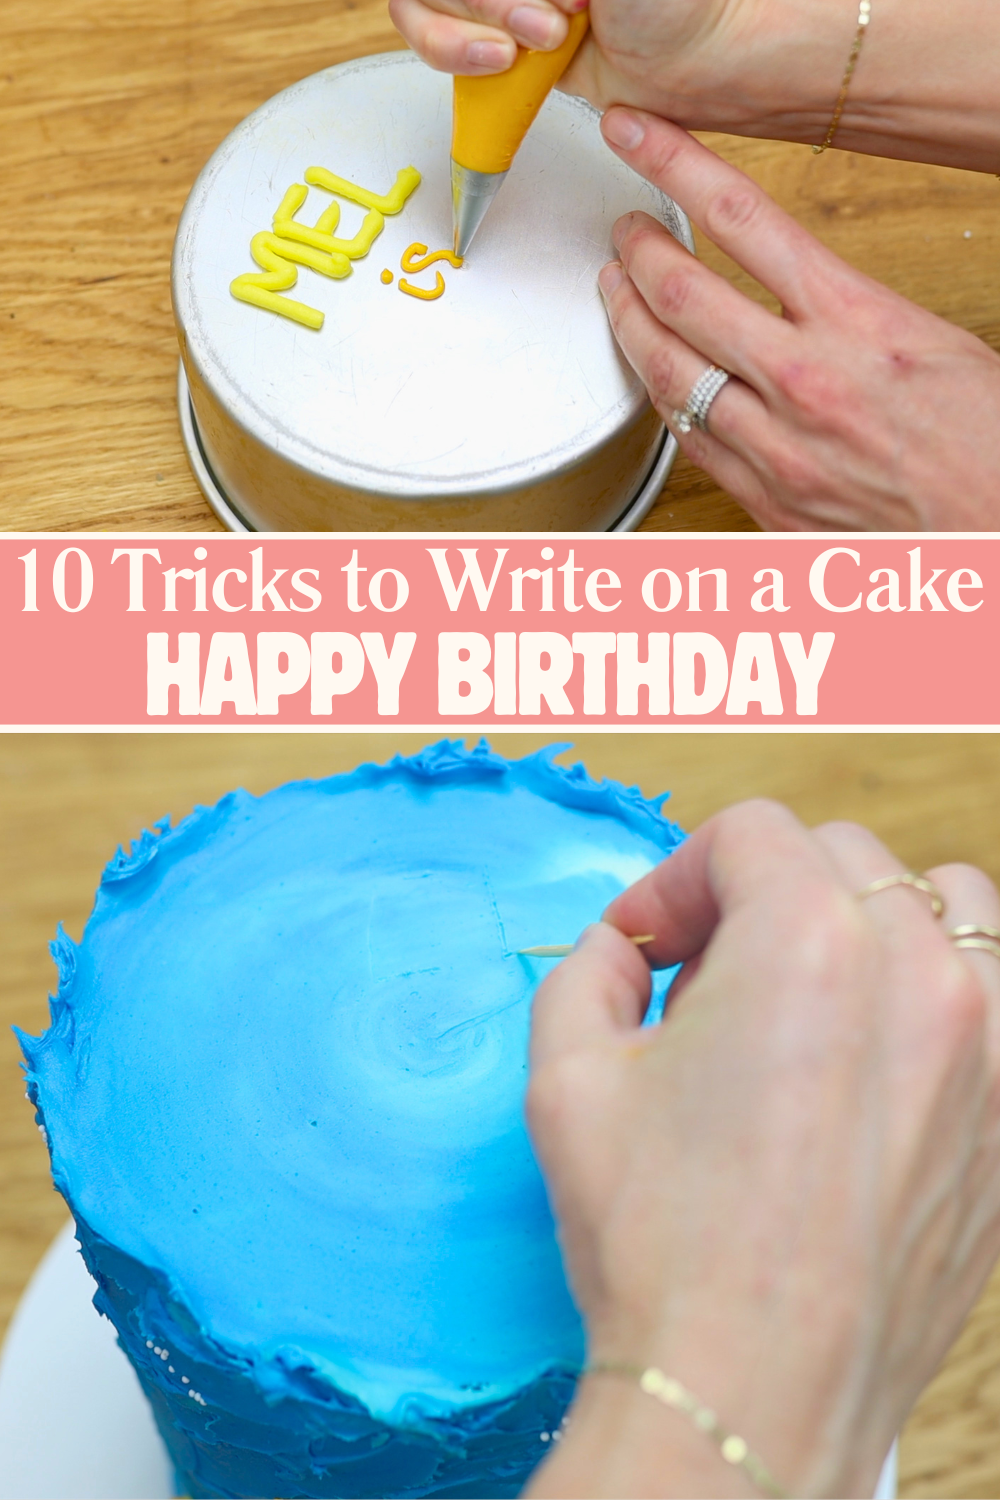
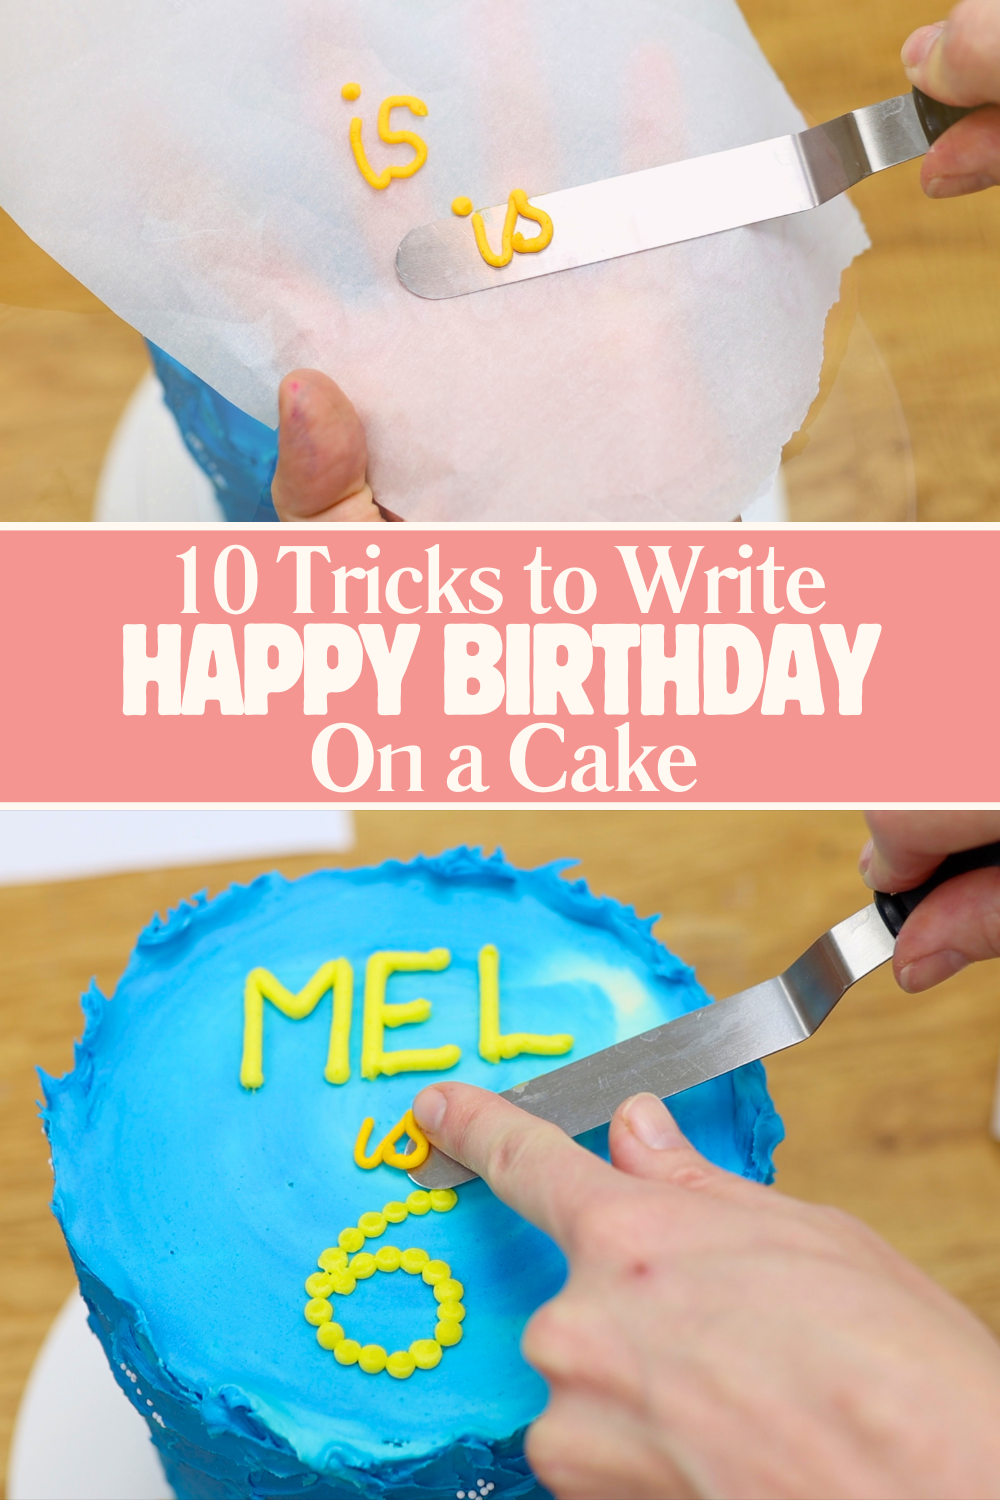
If your hands are shaky or you want more control, pipe your message onto parchment or wax paper instead of directly onto the cake. You can rest your hand on the work surface while piping, which makes it much easier to keep your lines steady. Pipe your message a few times so that you can choose your favorite version.
Freeze the message on the paper for about 10 minutes. Once it’s firm, slide an
For even more guidance, you can trace your message. Write your text in a font you like on paper or trace it from an image on your phone or computer. Then flip the paper over and trace from the back to create a mirror image.
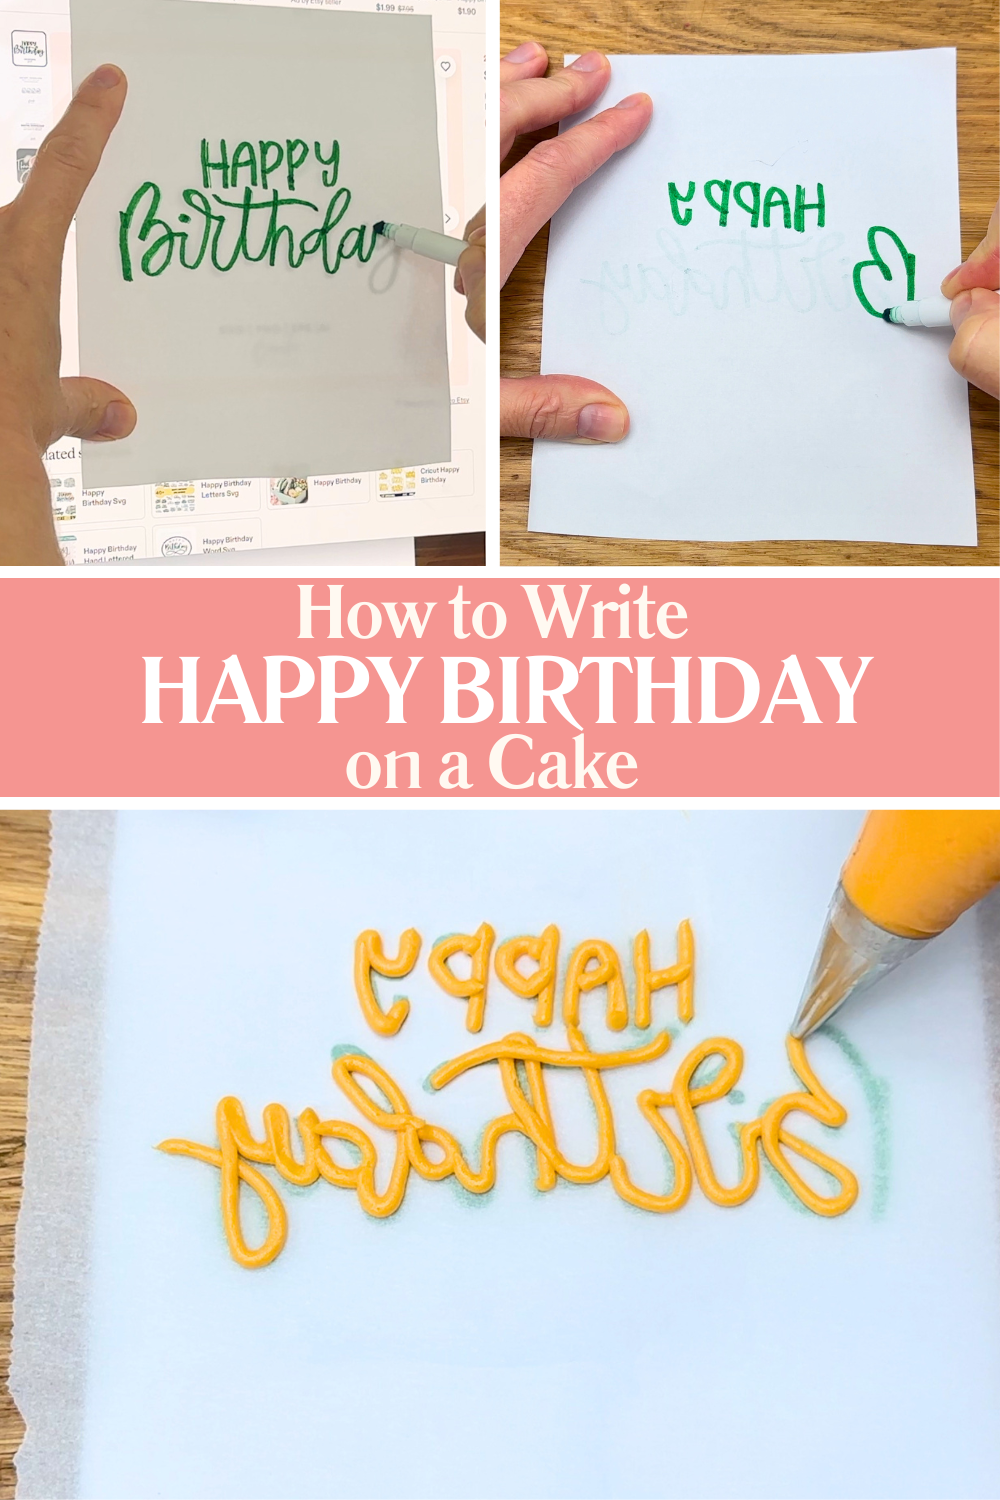
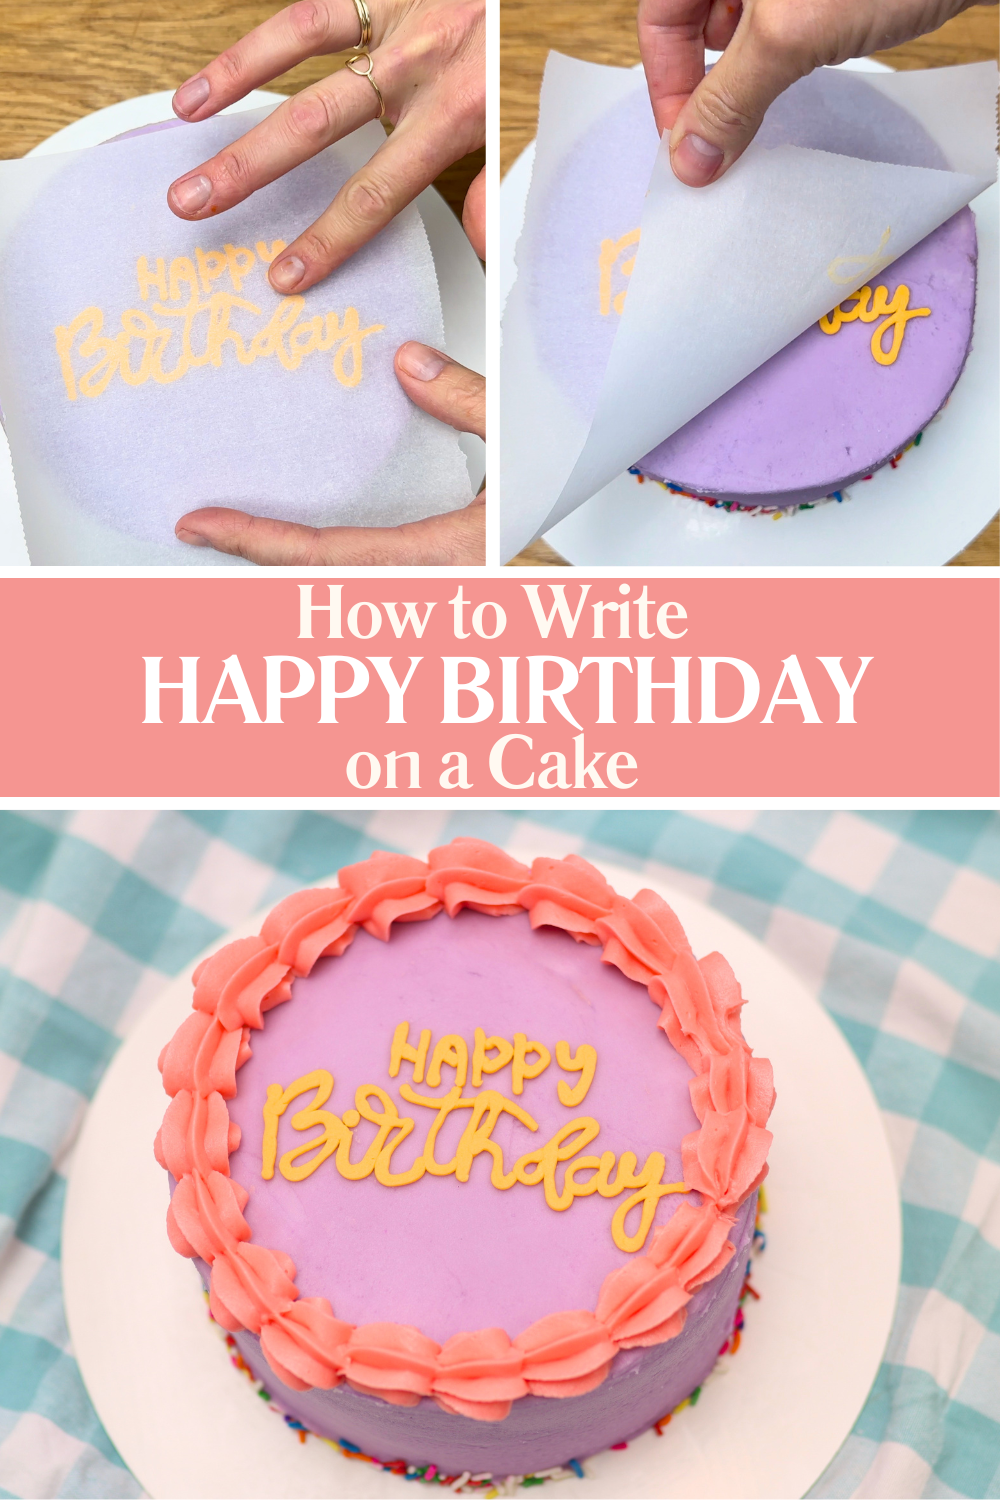
Place parchment or wax paper on top and pipe over the mirrored letters using buttercream and a small round tip like a number 4. It can feel slightly awkward writing in reverse but having a guide makes it much easier to get neat, consistent letters. Once piped, lift the parchment, flip it over, and press it buttercream side down onto your cake. Chill the cake in the freezer for about 10 minutes before peeling off the parchment to reveal the message.
If you’d rather avoid piping altogether, you can use letter stamps to imprint your message into the buttercream. Chill your cake until the frosting is firm, then let it sit at room temperature for about an hour so the buttercream softens slightly. This prevents cracking when you press in the letters. Arrange the letters, press gently to imprint them, and lift them off. You can leave the imprint as it is or paint over it using edible paint or a mixture of luster dust with a clear liquid like vodka or a clear extract such as lemon, vanilla, or almond.

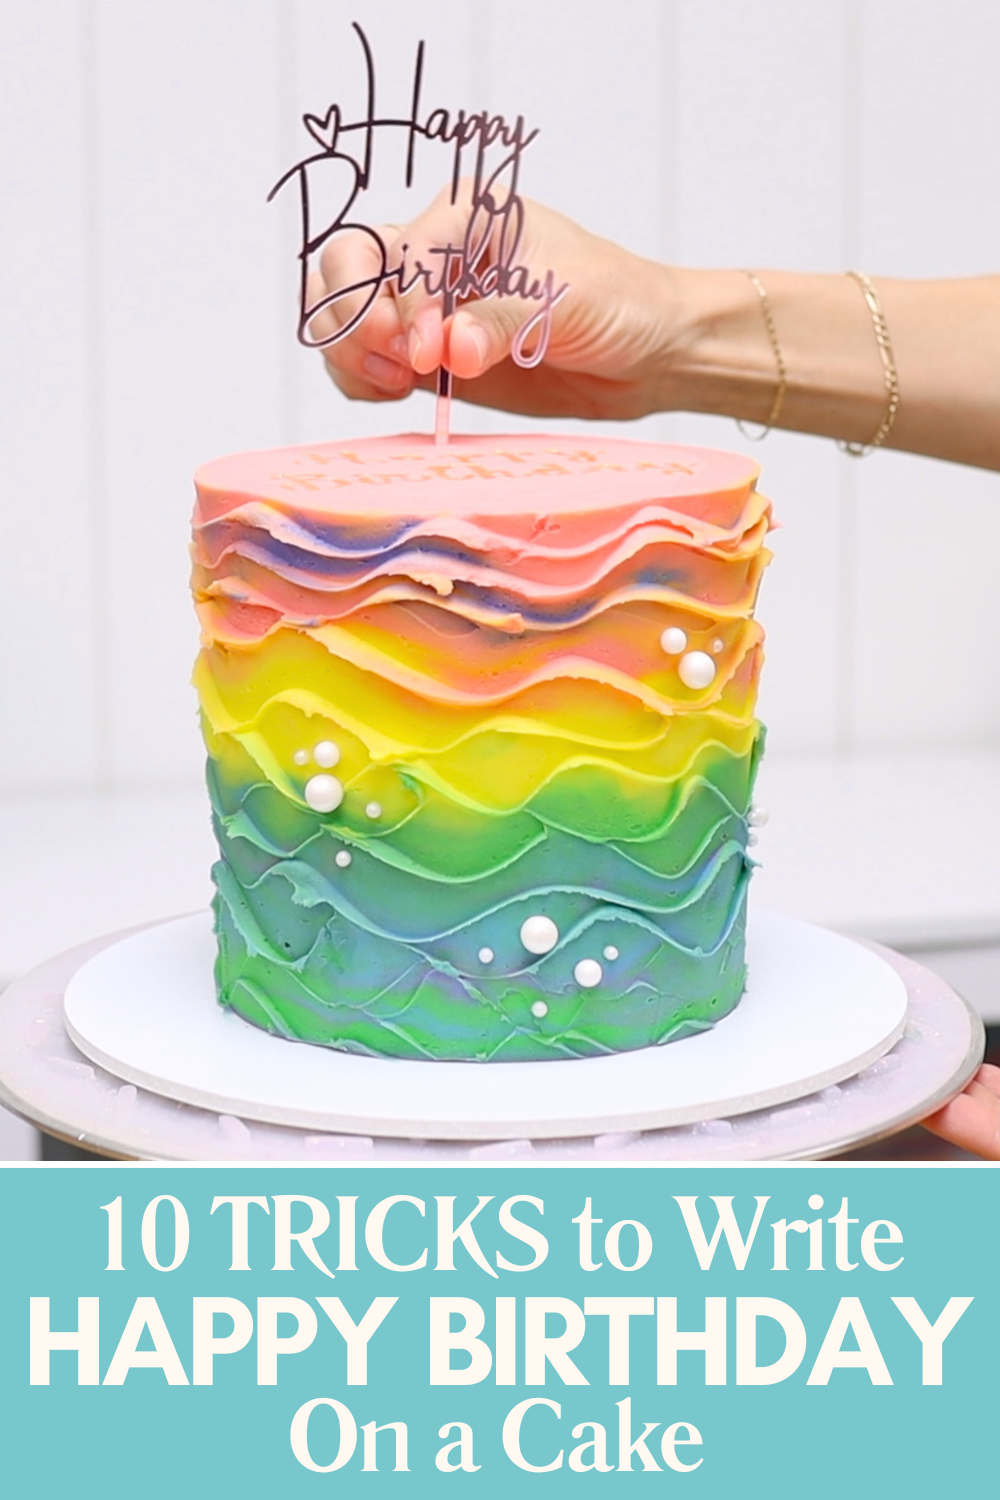
Learning how to write happy birthday on a cake takes practice. I hope these techniques make it easy to find a method that works for you and you'll get neat, professional-looking results every time. And if you're not ready to try any of these yet, or need more time to practice, use a cake topper for now instead!
Visit my cake school to learn hundreds more cake decorating techniques and designs! You can also watch a video of this tutorial on how to write Happy Birthday on a cake: