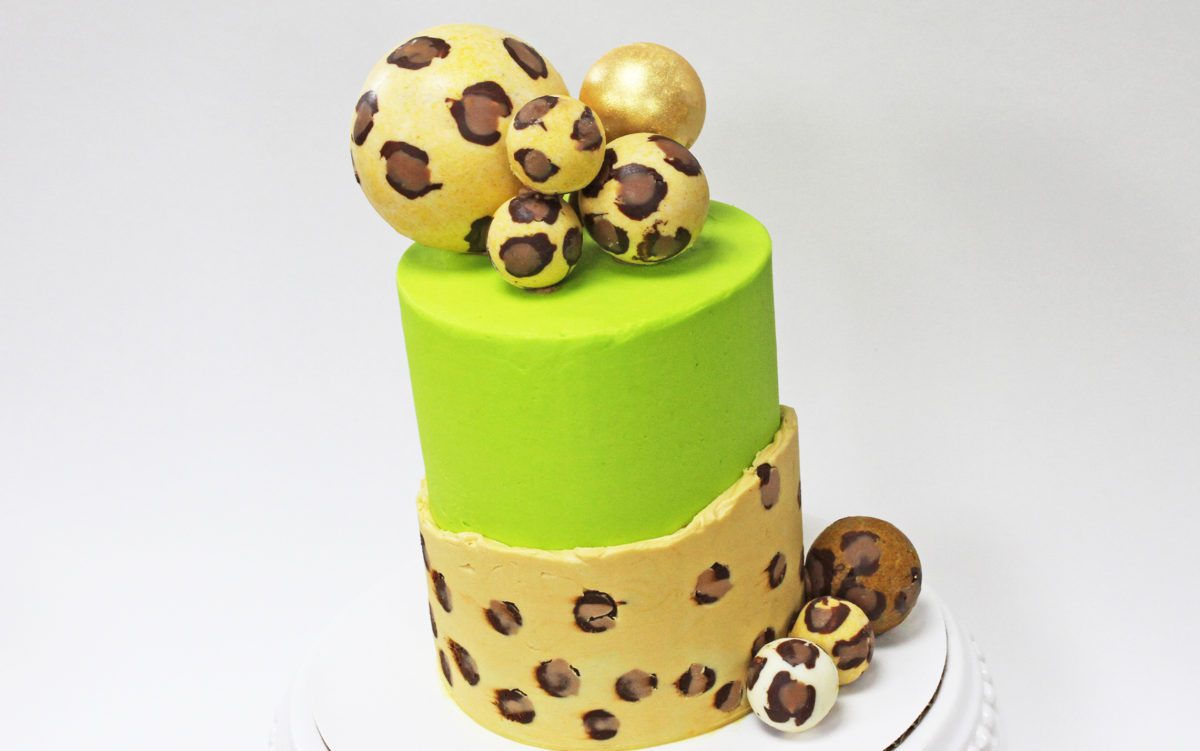
Leopard print is trending and in this tutorial I’m going to show you step by step how to create this trendy neon leopard print cake with leopard print frosting AND how to decorate it with homemade leopard print chocolates. If you prefer to watch a video of this tutorial, scroll to the bottom of the page.
Start by assembling your cake. This design will work best on quite a tall cake, so ideally use at least 3 layers of cake. Give it a crumb coat and let it set for 30 minutes in the fridge or an hour at room temperature.
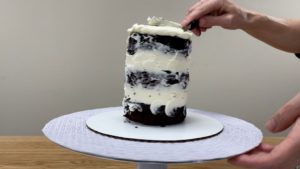
For the final coat of frosting I used neon green by mixing leaf green and yellow gel colours. The yellow is a brightener and makes the green really pop. I have an online course on the Basics of Buttercream and one of the modules teaches how to create any colour of buttercream.
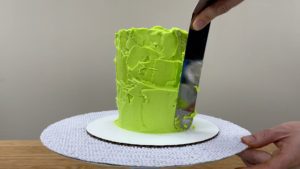
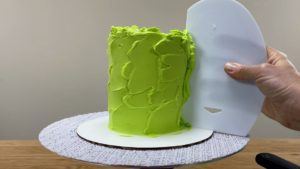
When you’re frosting’s nice and smooth, put the cake it the fridge for at least an hour to set the frosting. When it’s firm, you’re ready for the next step.
For the leopard print part of the frosting you’ll need three colours of buttercream. We’ll start with two shades of brown for the spots. I’m using my 4 Minute Buttercream, adding melted chocolate to make brown buttercream.
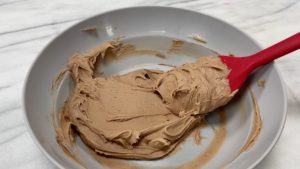
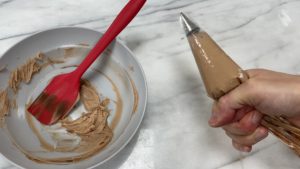
To make some of the brown buttercream even darker you can add more chocolate or some brown gel. You’ll need a small round tip for this next part, ideally a #2, #3 or #4, and we’ll start with the lighter colour of brown.
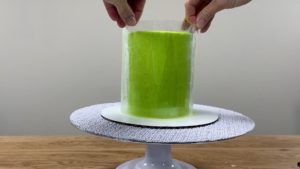
Wrap a piece of acetate around the cake to measure it and cut it so that it’s an inch or two longer, so that you’ll be able to wrap it even when there’s extra frosting in between the acetate and the cake. Acetate is sold in sheets or rolls and this acetate is from a roll, which means it will curve easily around the cake when we wrap it. Put your cake back in the fridge to keep the frosting firm for later.
Lay the acetate out on the counter so that it’s curving upwards towards you, weighing it down with some objects like a pair of scissors or a bowl, and pipe little squiggles of the light brown buttercream all over the acetate.
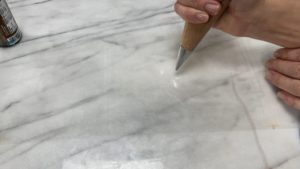
Go all the way down to one of the long sides, which will be the bottom of the cake, and from one short side to the other but don’t pipe all the way across to the other long side – only go as far up as you want the leopard print frosting on the cake to go.
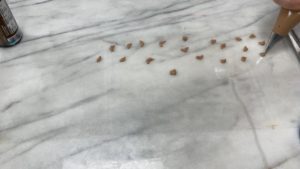
This side you’re piping on will eventually be pressed against the cake and that’s why this side should curve upwards, so it will eventually wrap around the cake easily.
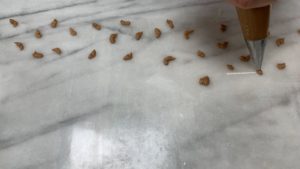
Then use the darker brown buttercream to pipe around the light brown squiggles. You can use the same small round tip to manually trace around each squiggle or use a larger round piping tip like this one to pipe a dot over the top of each squiggle, not completely covering ups he squiggle, which will create the irregular darker brown markings around the lighter brown centers or the spots.
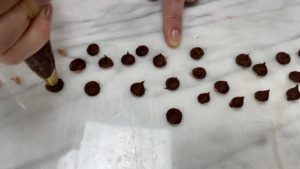
Put the acetate in the fridge for 30 minutes so that the buttercream spots set and mix your frosting colour. I’m using my leftover light brown buttercream mixed together with plan buttercream and some yellow gel and then adding a drop of orange to make the colour a bit warmer.
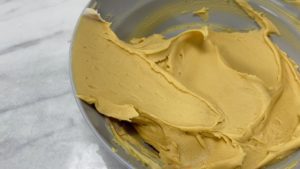
Spread the yellow buttercream all over the spots once they’ve set, going all the way down to the long sides of acetate which will be the bottom of the cake, and all the way to both of the short sides.
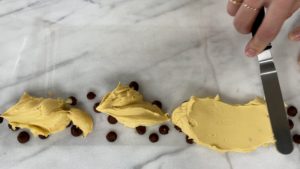
Stop where your spots stop, which will be the uneven top edge of the leopard print frosting. The spots will be hard from the fridge but be gentle as you spread so that you don’t knock and damage any of them.
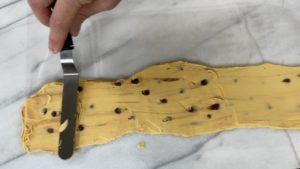
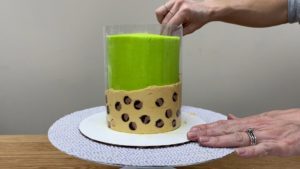
Now straight away, while the buttercream is still sticky, take your cake out of the fridge. Lift the acetate up, lowering the bottom side down so that it rests on the cake board.
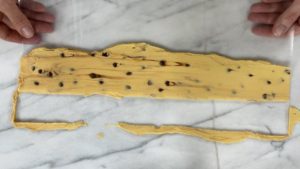
Wrap the acetate around the cake, always making sure that the bottom of the acetate is resting down on the cake board so that this leopard print frosting goes all the way down to the bottom of the cake.
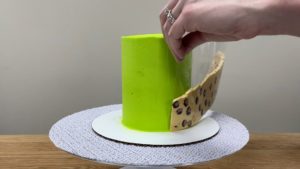
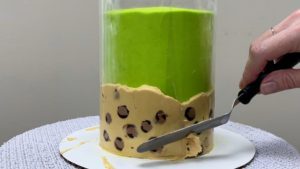
Press the acetate firmly against the cake to stick the frosting to it, using your hand or a fondant smoother. For more trendy cake decorating ideas and instructions on how to achieve them, check out my tutorial on 10 cake decorating trends to try in 2021.
Where one end of the acetate overlaps the other, press on the overlap to squeeze out any excess buttercream and scrape it off with an
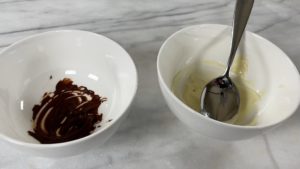
While the frosting is chilling we’re going to make leopard print chocolates to decorate the cake! Melt some white chocolate and some semisweet or dark chocolate at 80% power in the microwave for 30 seconds at a time so you don’t overheat the chocolate. Mix them together to make a light brown to match the light brown of the buttercream spots.
Use a paintbrush to brush little random spots into a sphere mold. I have a set of three different sizes of sphere molds, the same ones used to make hot chocolate bombs, and I’m using all three to make different sized chocolates. You can make however many you like, but remember you’ll need 2 of these hemispheres to make each sphere so you’ll need an even number, or you can make an extra half in case one breaks.
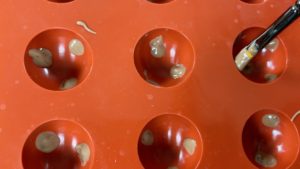
Put the molds in the fridge for about 10 minutes to set the light brown spots and then use melted semi-sweet or dark chocolate to paint around the spots to make the darker markings. Don’t paint complete circles around each spot, keep it random and irregular by painting two little curved lines around each spot, not connecting the lines so there is part of each dot that isn’t surrounded by dark brown.
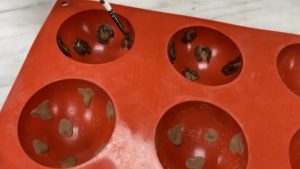
Put the molds back in the fridge for another 10 minutes and melt some more white chocolate, again, using 80% power and 30 second intervals in the microwave so the chocolate doesn’t burn or seize and separate.
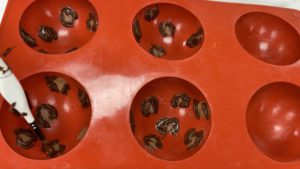
You can make snow leopard chocolates with plain white chocolate, or add yellow gel and a drop of orange and brown will make a more natural leopard print yellow colour. Candy colours which are oil based are ideal for this but you can use the gels you use to colour buttercream, just don’t add a lot of colour because that can cause the chocolate to seize.
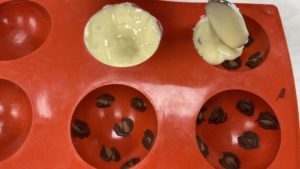
Use the back of a spoon to spread the chocolate into the larger hemispheres, covering the spots and pushing the chocolate all the way up to the top edge of the mold so it’s nice and thick at the top, which is where the two halves will join so you want a solid rim for that.
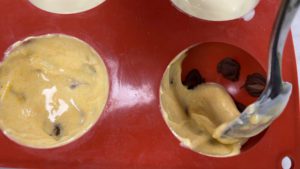
For smaller spheres it will be easier to fill the mold instead of just painting the surface, but this would make the large chocolates REALLY heavy so I don’t recommend filling those.
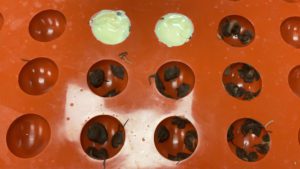
If you fill the molds with melted chocolate, fill them all the way to the top and then scrape over the mold with the edge of the blade of your
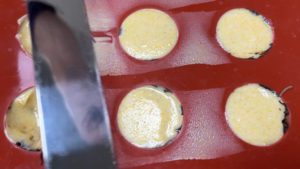
Put the chocolates back into the fridge for about 30 minutes and then pop them out of the molds, gripping the mold on each side of a chocolate and pulling the mold apart with your thumbs while pushing up from the bottom with your fingers and the chocolates will pop out easily.
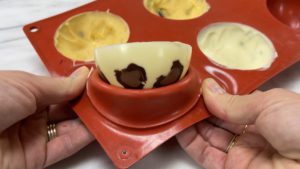
I tried to match the shade of yellow chocolate to the yellow of the leopard print frosting by using the same gel colours to tint both (mostly yellow with a tiny bit of brown and orange) and I’m really happy with how well they match.
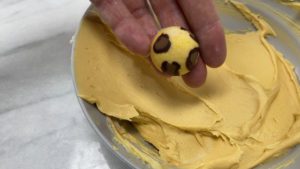
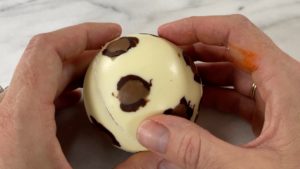
To attach the halves, drop one half into a pan that’s been heated on the stove. Only leave it there for a second or two, until you see melted chocolate around the base of the chocolate.
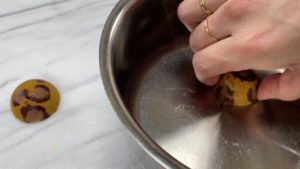
Quickly lift the chocolate up and press it against another half. Don’t leave it in the pan for any longer when you see the chocolate starting to melt because you’ll melt too much of it and you’ll end up with a misshapen ball.
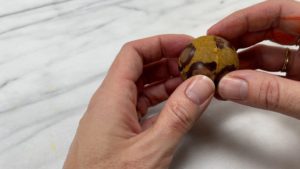
I love the combination of different colours of leopard print: white, yellow, and I also made some brown chocolates to experiment, and some plain white ones to make a gold chocolate ball. These are going to look fantastic on the leopard print cake! I made a few extras and I’ll show you another way to use them at the end of this tutorial.
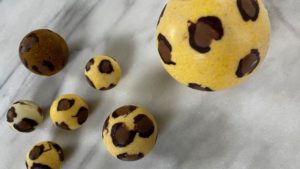
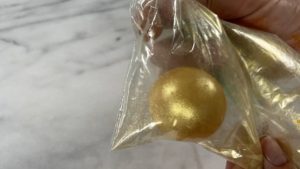
For a gold ball, attach the two halves of a plain white chocolate sphere. Put a very small amount of gold luster dust in a ziplock bag and then drop the ball in and shake it around to coat it in gold powder. Don’t touch it until you place it on the cake so that you don’t wipe off the gold.
Now the exciting part – revealing the leopard print frosting! Take the cake out of the fridge and pinch the top corner of the acetate and peel it off the cake, leaving the leopard print frosting behind, attached to the cake.
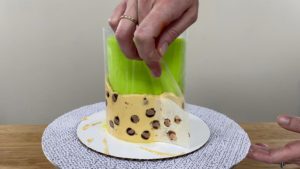
I love my 4 Minute Buttercream because it firms up and sets well and makes SO many cake decorating techniques possible, like this one! For more cake ideas and inspiration, join my Club for access to ALL of the classes on my online cake school, both current and future classes, as well as exclusive members-only live demonstrations and Q&A sessions!
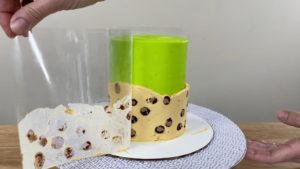
When you’ve peeled the acetate off, use a frosting smoother to scrape around the cake a few times, paying particular attention to the join where the two ends of acetate met, where you’ll have a ridge in the buttercream but you can flatten it with a bit of pressure on your frosting smoother.
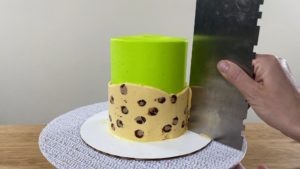
Wipe any smudges of buttercream off the cake board and now it’s time to attach the leopard print chocolates! You can do this with leftover buttercream or with melted chocolate. Put a dot of either on the cake board wherever you want to place a chocolate.
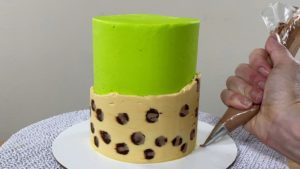
Press the chocolate down onto the dot and also against the frosting on the cake. The melted chocolate or buttercream will set in a few minutes and will secure the chocolate in place. Use buttercream or chocolate dots to attach leopard print chocolates to the top of the cake, too.
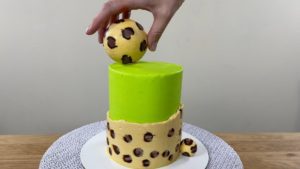
For melted chocolate, spoon it into a ziplock bag and cut off a corner to squeeze the chocolate out. You can stack the balls on top of each other using a few dots of buttercream or melted chocolate to keep them in place.
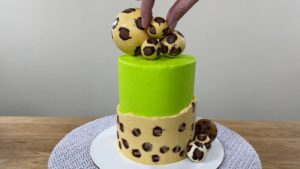
Combine different shapes and colours of the leopard print chocolate to make a fascinating sculpture on top of the cake with a few balls down on the cake board to match! To raise the gold ball up I used an extra half I had of a brown ball, piping some melted chocolate around the rim to act as glue to attach the chocolate to the top of the cake.
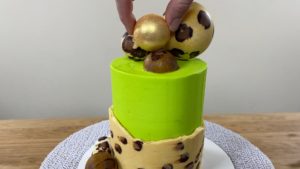
I’m placing a final chocolate on top and there’s our stunning, classy neon leopard print cake! If you have any leftover chocolates you can make hot chocolate bombs with them and I’ll show you how next.

I have a very detailed tutorial showing how to make hot chocolate bombs but the gist of it is to fill half a chocolate with hot chocolate powder and mini marshmallows and whatever other fillings you like – I added Baileys to mine!
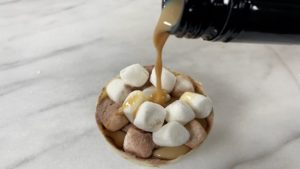
Then melt the rim of the other half by placing it in a hot pan for a second and attach the two halves to make a sphere. This makes a beautiful, unique gift – put it in a cellophane bag inside a mug for easy and secure packaging!
I hope this tutorial has give you some ideas and tips for cake decorating featuring leopard print frosting and chocolates! I’d love to see your versions of this cake – please tag @britishgirlbakes in your photos on Instagram to show me!
Here’s the video version of this tutorial:
