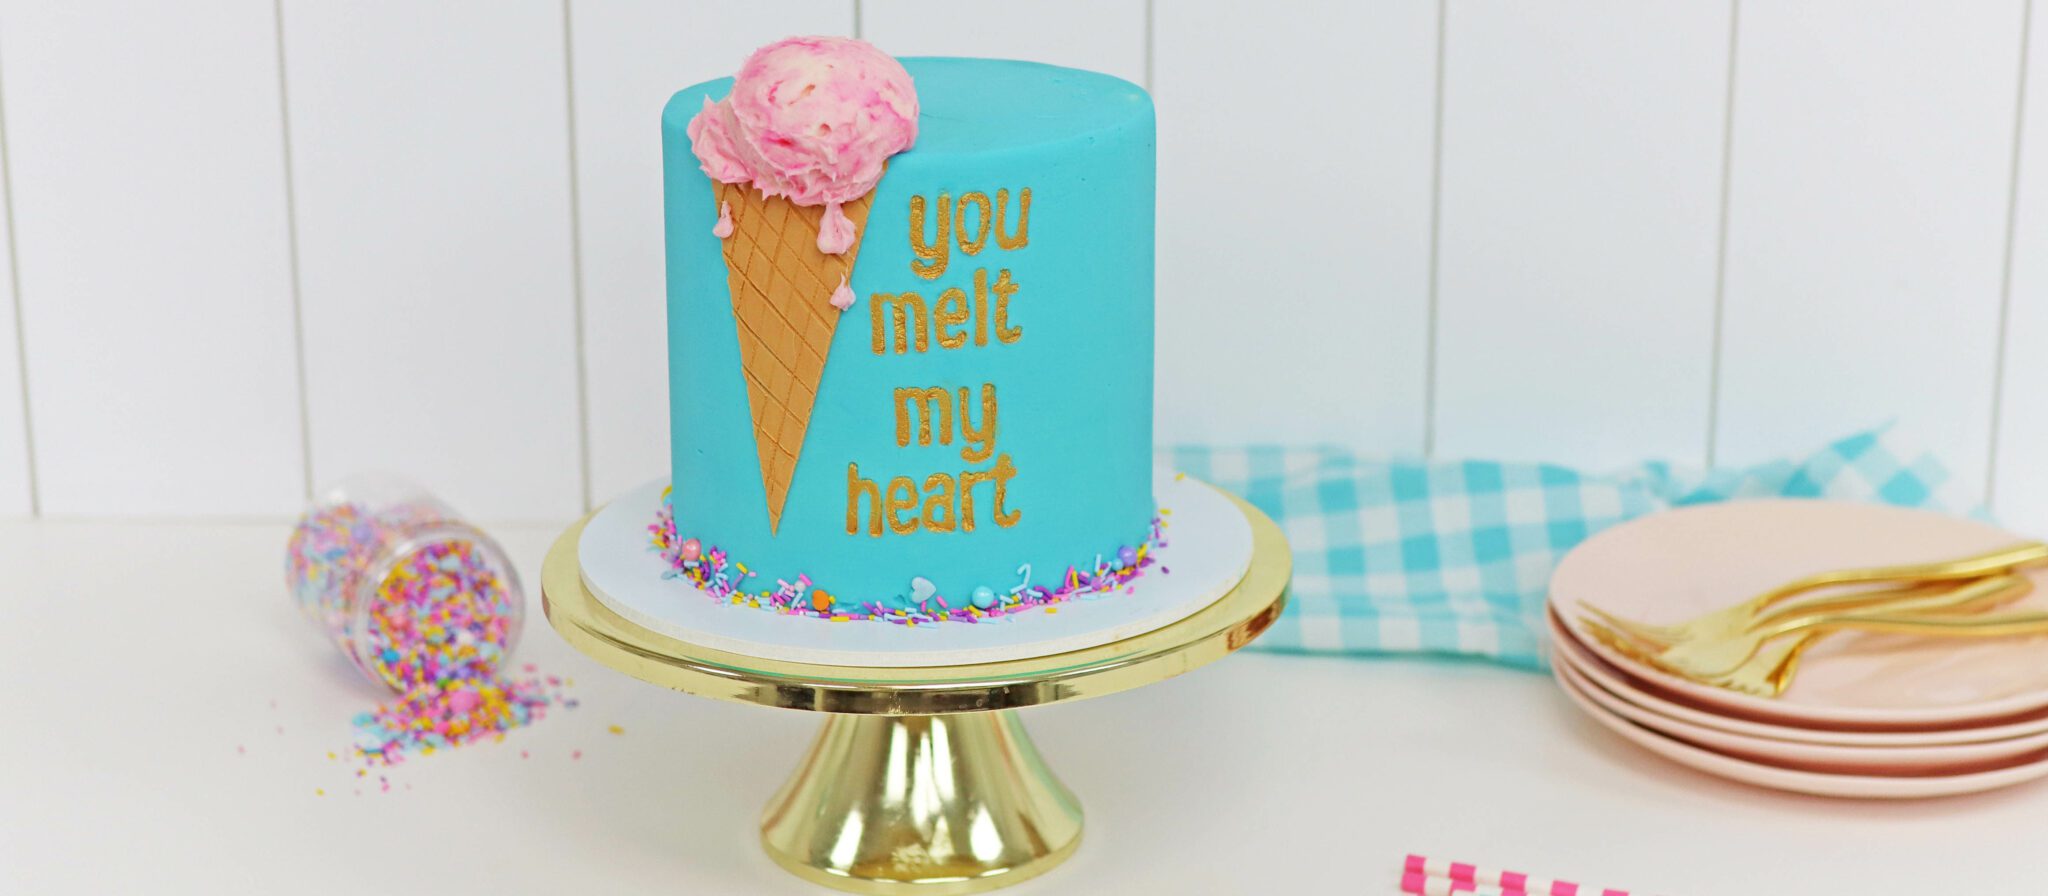
Decorating show-stopping cakes on a budget with these ten techniques that won't break the bank.
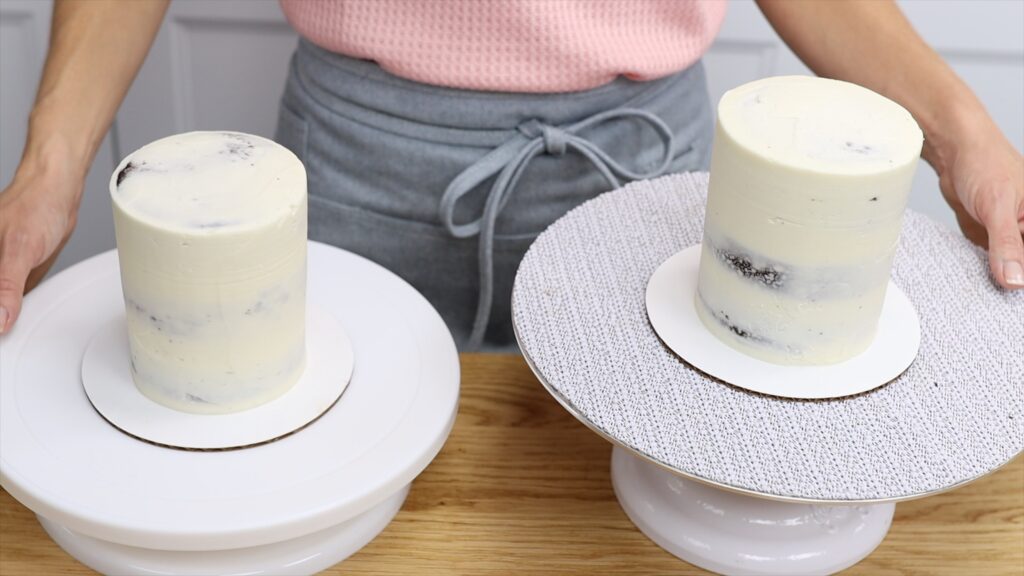
When you first start decorating cakes, the number of tools available can be overwhelming! You don't need every single at the beginning. For example, if you make cakes professionally I think it’s worth investing in metal turntables and cake scrapers to get super smooth frosting. However, if it’s a hobby or while you’re in the early stages of practicing getting your frosting smooth, a plastic cake scraper and plastic turntable work just fine.
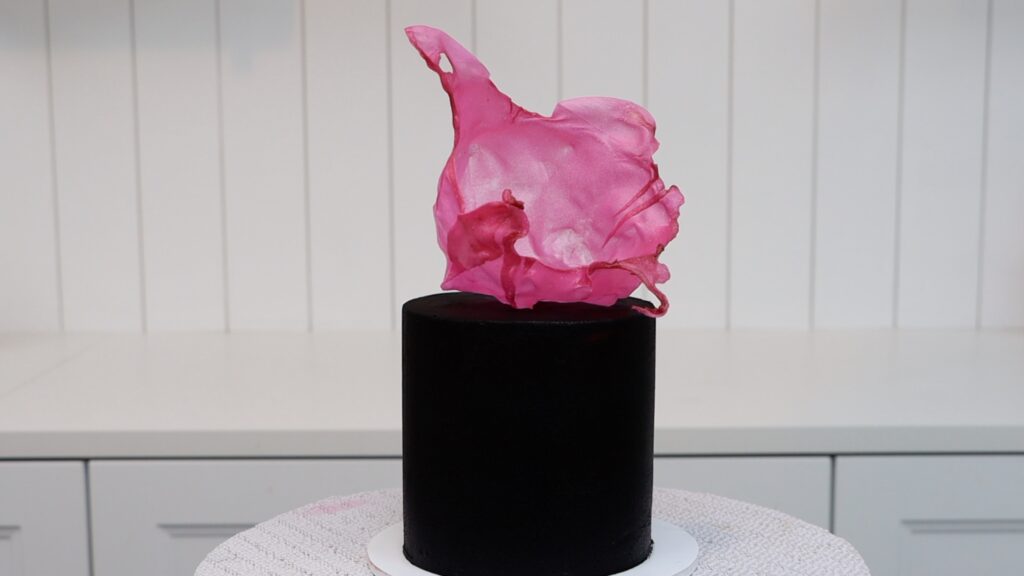
Textured cakes are one of the trending styles of this year. Creating texture with wafer paper is an eye-catching option but it's also expensive. Wafer paper comes in packets of 50 or 100 sheets, which is a big investment for just one cake.
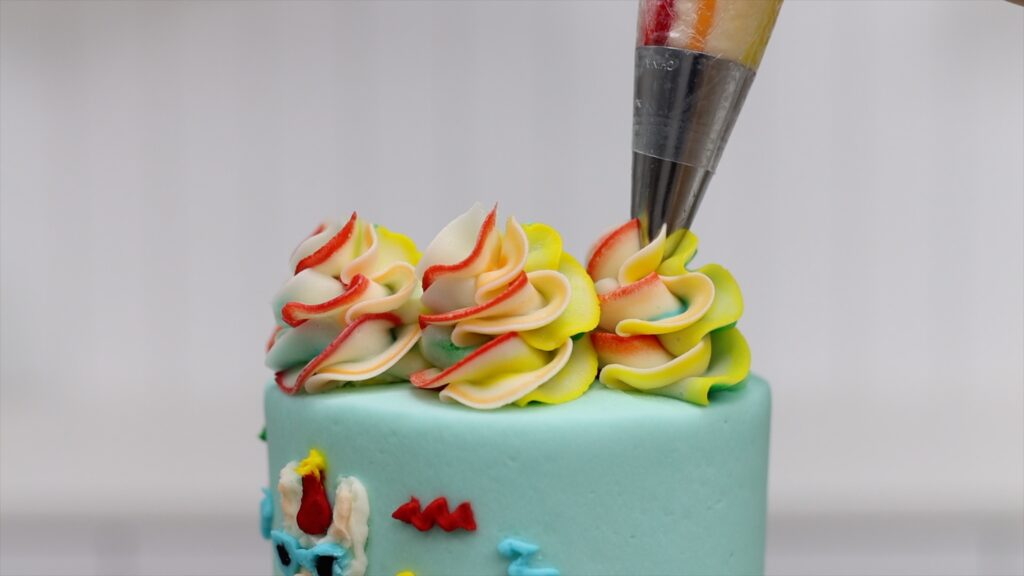
A much more affordable alternative is to buy a few piping tips and piping bags and create texture that way. You can reuse the piping tips and the piping bags for different piping styles to create endless textured designs on cakes on a budget.
I think fancy sprinkle mixes will always be popular but they’re expensive too. Good news: you can make your own mixes for a fraction of the price! Buy packets of jimmies, nonpareils, or whatever affordable packets you can find and then combine them, choosing different colours and sizes for the most dramatic results.
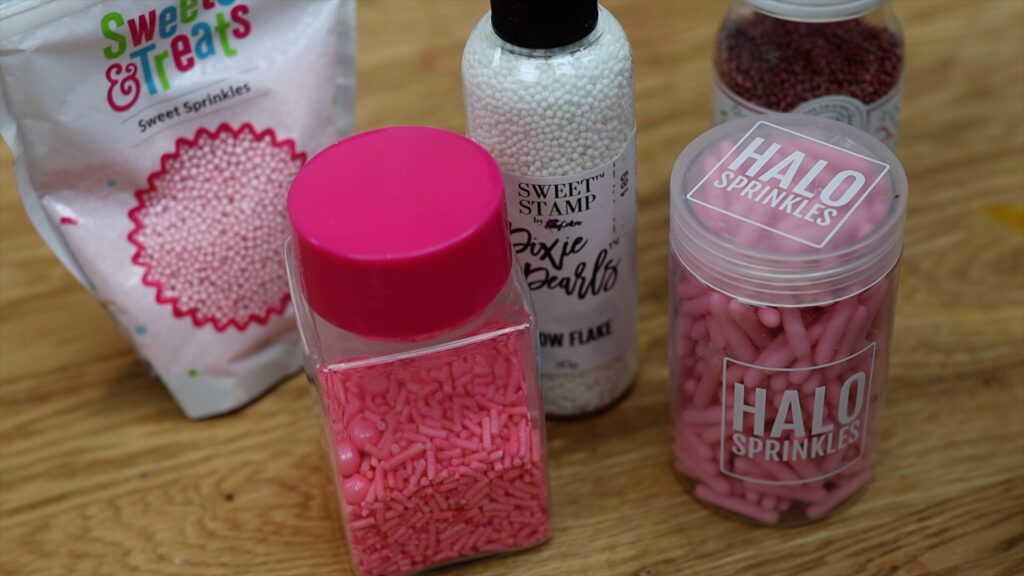
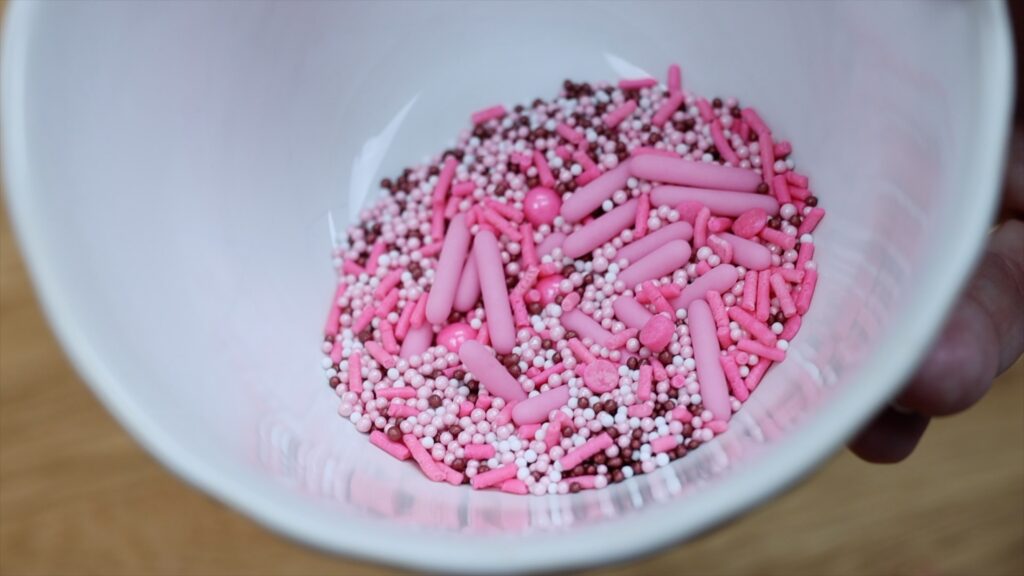
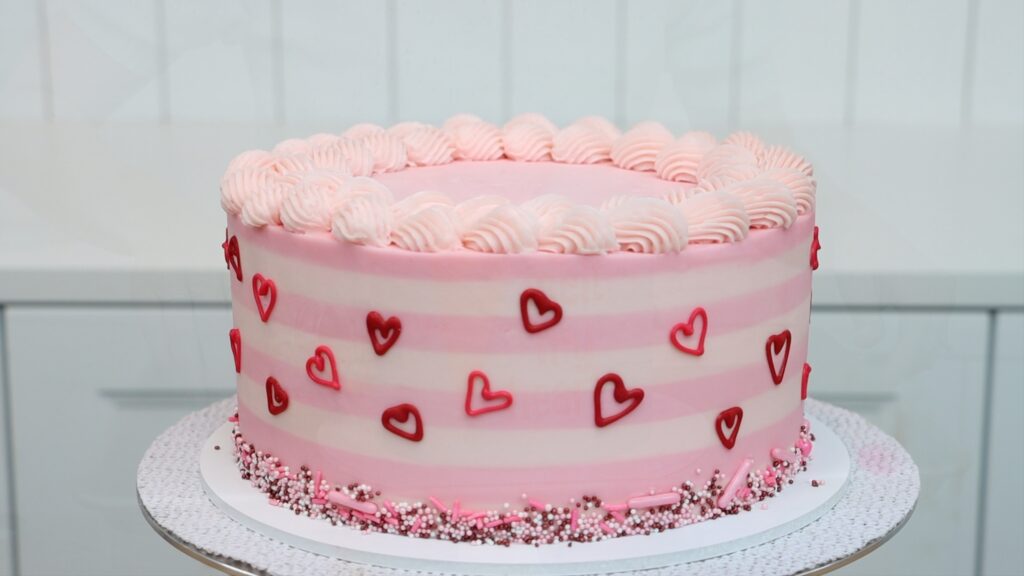
Use sprinkles for borders around cakes, to create shapes or patterns, or just sprinkle them on top of a cake. With homemade sprinkle mixes you can still make your cakes look fancy!
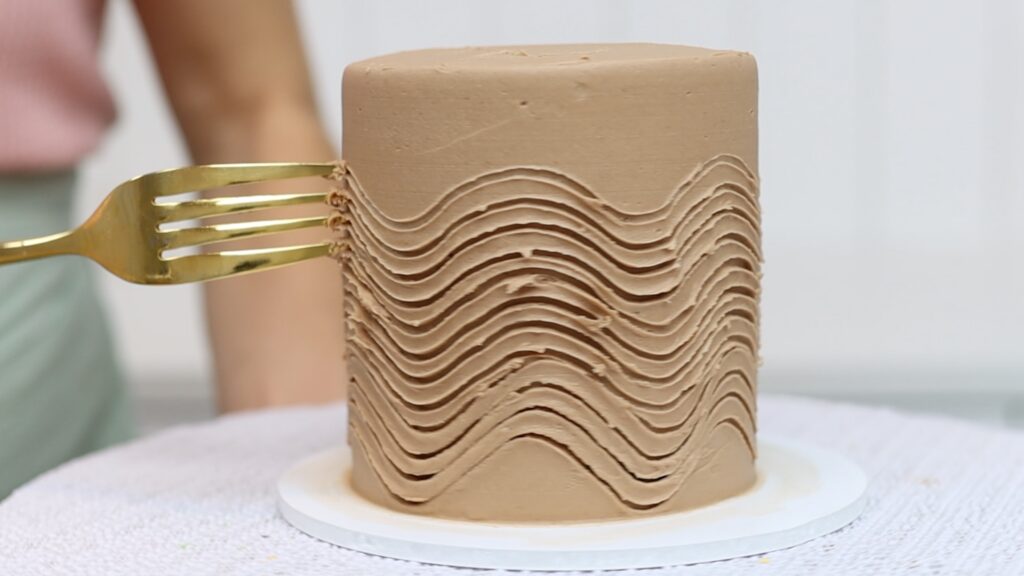
Another way to save money on cake decorating tools is to use household objects instead. Make fun cake toppers with bubble wrap or texture your frosting a spoon or a fork! If you're interested in decorating cakes with tools you already have, check out this tutorial on 12 secret tools for cake decorating.
Did you know that you can make your own cake stencils with parchment paper? They’re cheap and infinite designs are possible. To make a cake stencil, draw or trace your design and cut it out, leaving the surrounding paper intact.
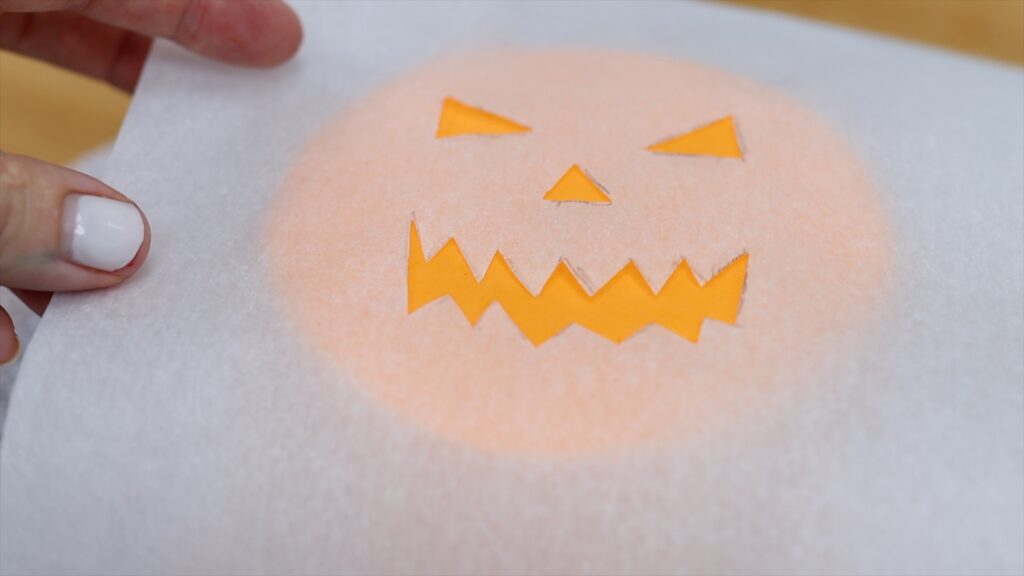
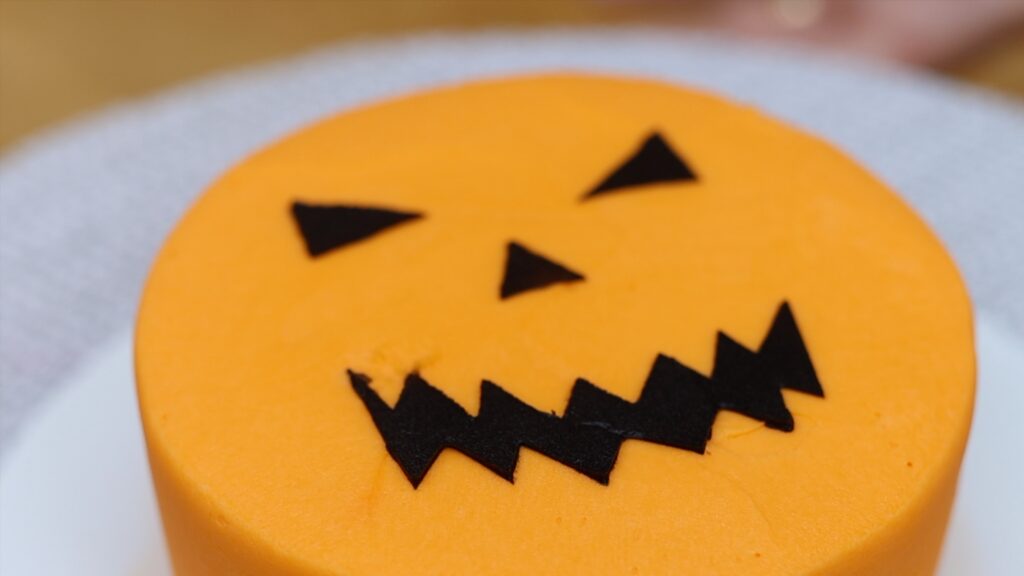
Press it onto a cake after chilling it in the fridge for at least an hour, so the frosting is cold and firm. Spread frosting over the top and scrape off the excess to leave a smooth, thin layer. When you peel the parchment off you’ll leave a neat design on the cake.
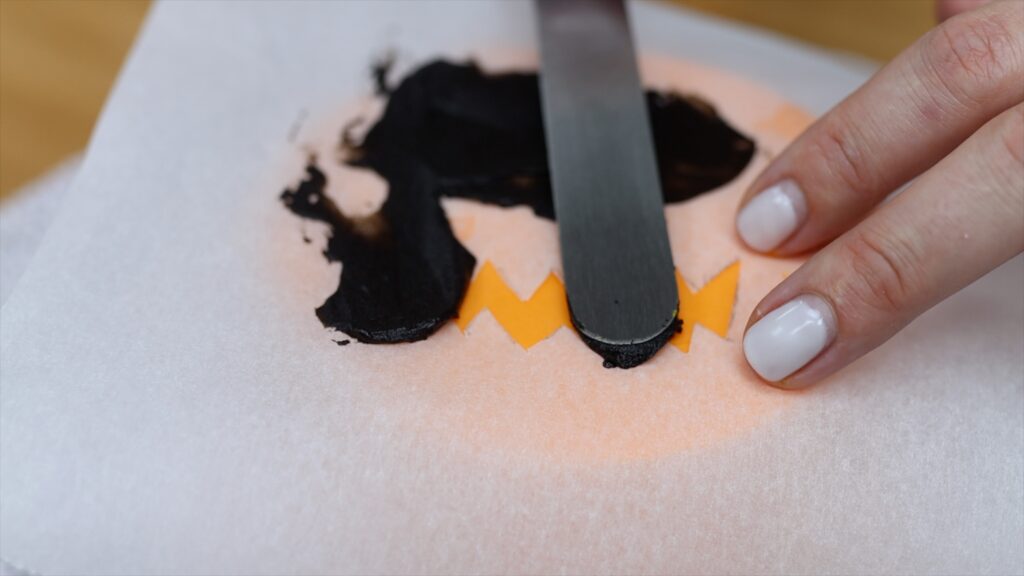
Homemade parchment paper stencils are an excellent way to create elaborate designs on cakes on a budget.
Save time and money by baking cakes in bulk. Make the biggest batch of cake that your mixer can hold and bake several cake layers. For any that you won’t use immediately, wrap them in two layers of plastic like cling film or Saran Wrap. Then freeze the wrapped layers for up to 2 months.
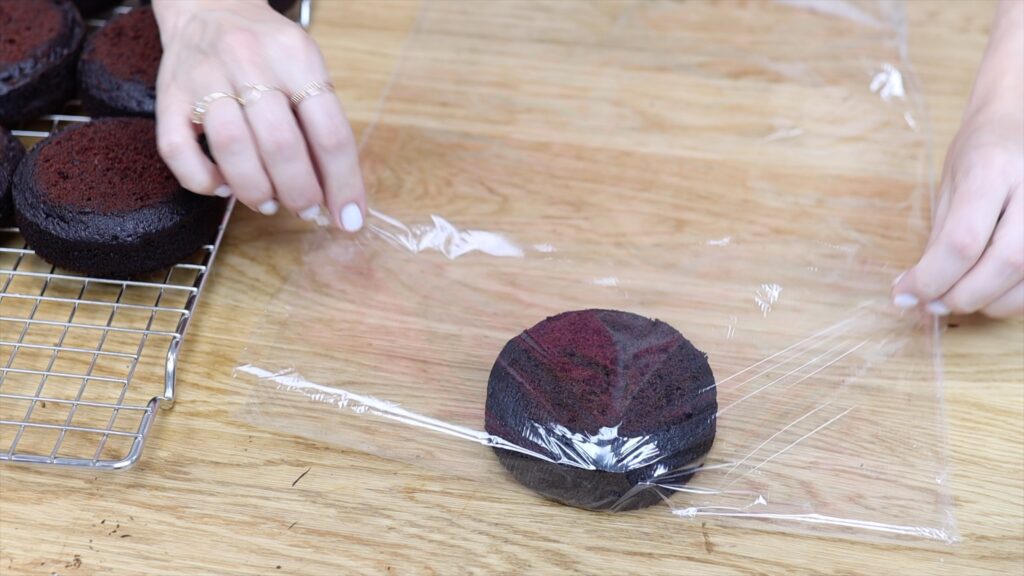
Move the layers to the fridge 24 hours before you use them to assemble and frost your next cake! This way you’ll lower your costs by buying ingredients in bulk. You'll also use less energy or power for mixing and baking, and save a LOT of time!
Candy melts are coloured confectionary chocolate that are great for drips, decorations, and cake toppers. They’re expensive though, and with white chocolate you can make your own. The tricks to melting chocolate without it overheating and seizing are simple. Use a microwave safe bowl, use 70% power and only heat at 30 second intervals.
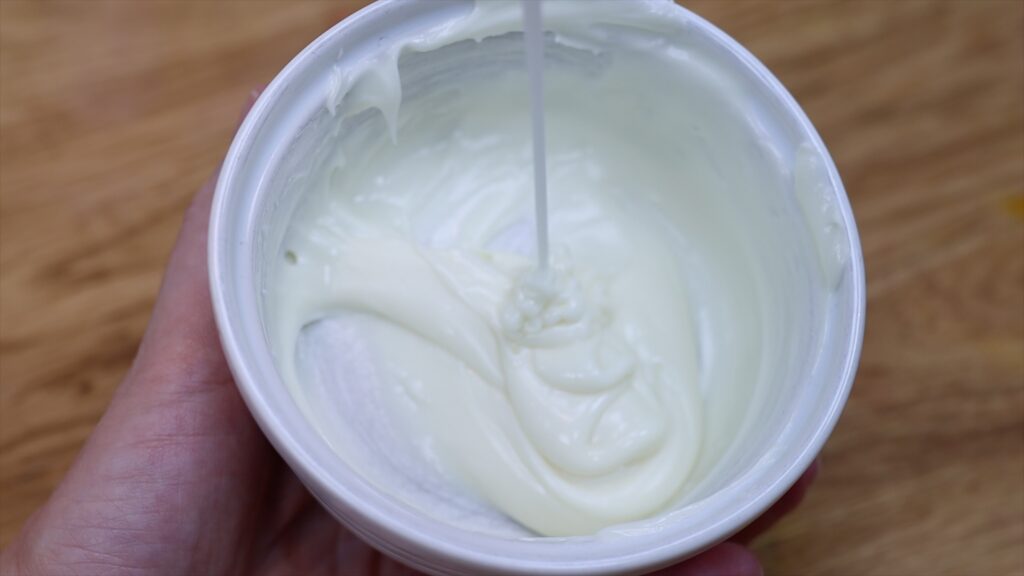
If you want to colour it you’ll need oil based colours, and a tiny amount goes a looooong way. By using oil baes colors you can add as much colour as you like, to make really bold and bright colours without causing the chocolate to seize. Use the coloured chocolate for drips, decorations or cake toppers just as you’d use candy melts, but for a fraction of the price!
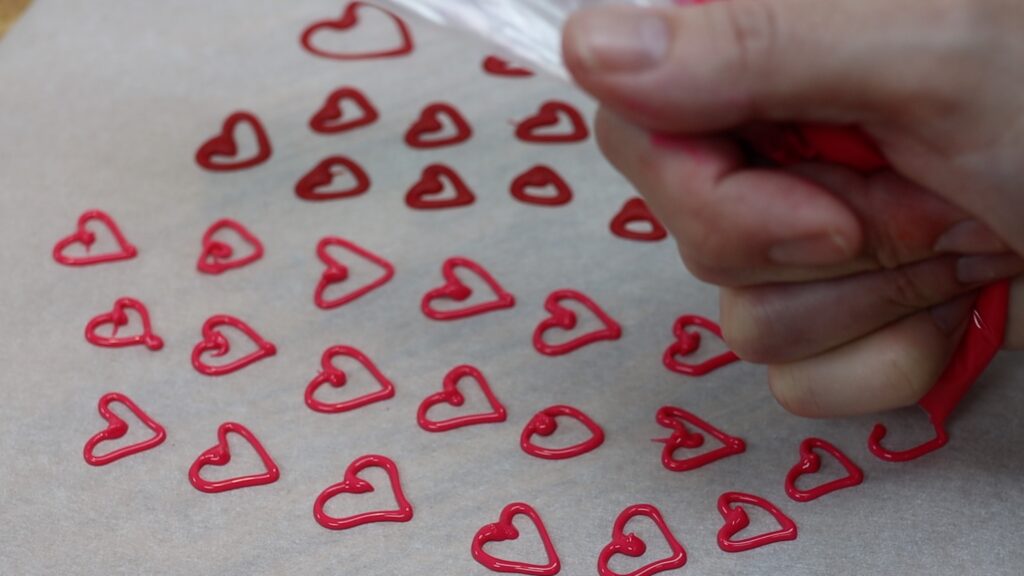
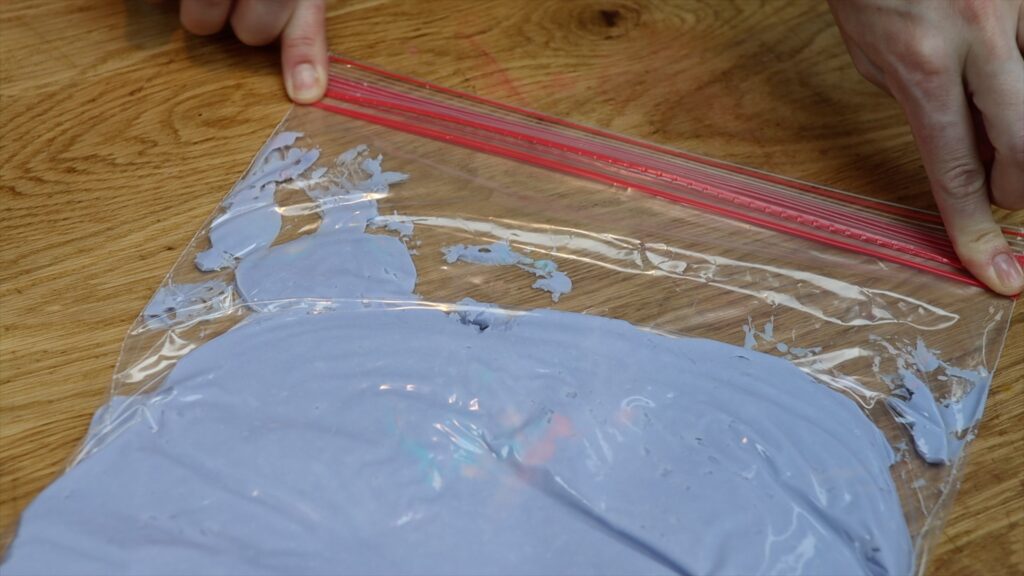
It’s almost impossible to make exactly the right amount of frosting for a cake. It doesn't really matter though because leftover frosting doesn't have to go to waste. Stretch your budget by re-using leftover frosting to frost or decorate your next cake. For example, add plain white buttercream to lighten a colour or mix colours to make new colours. You can store buttercream in a ziplock bag in the fridge for 2 weeks or in the freezer for 2 months until you’re ready to use it.
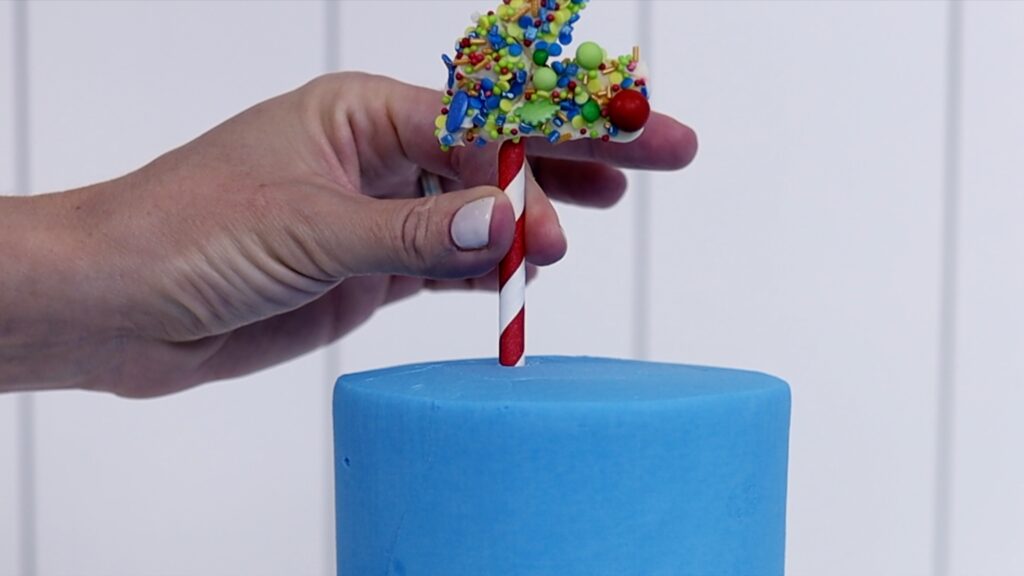
Cut the cost of decorating a cake by making your own cake toppers instead of buying them. For number toppers for birthday cakes, outline a number and place a piece of parchment paper on top.
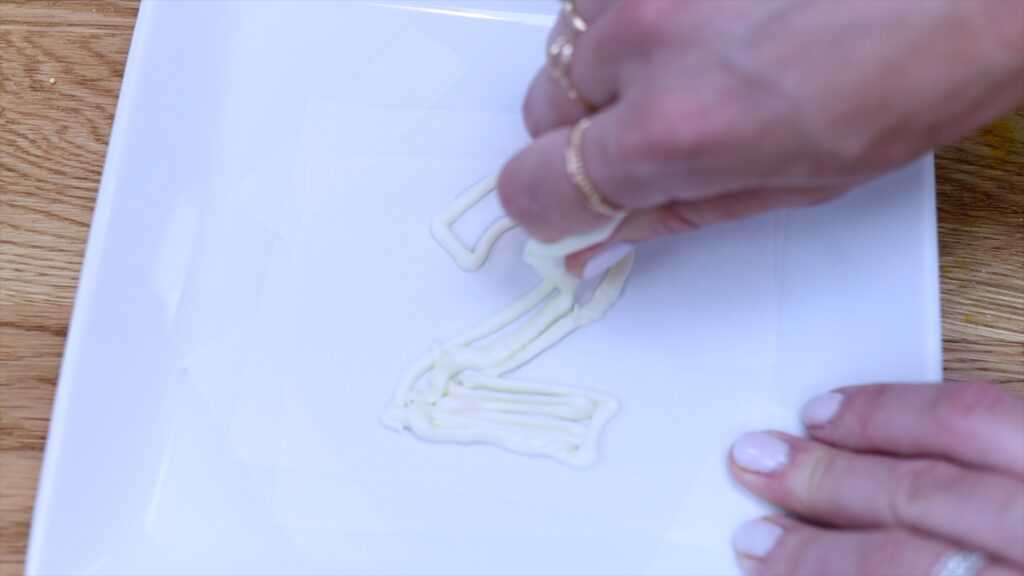
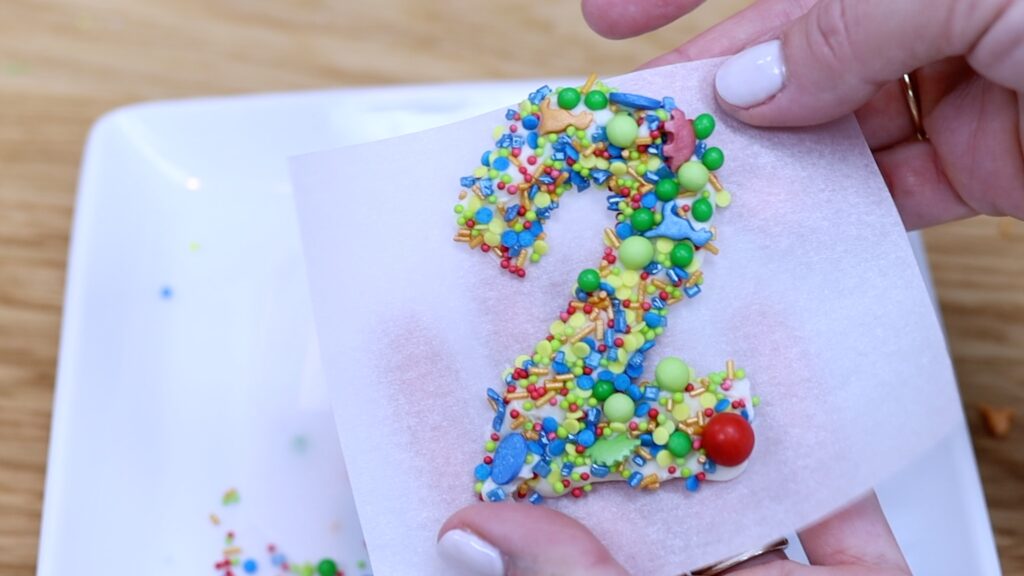
Trace the number with melted chocolate, fill it in, and pour sprinkles on top. When it sets you can stick a straw to it for with more melted chocolate and voila! A fun, colourful number topper for a cake!
If you’re trying to lower costs for your cakes, try making smaller cakes! Did you know a 6” cake can serve 10 people with huge slices or 20 people with thinner slices? And that a 6” cake uses half the batter and frosting of an 8” cake?
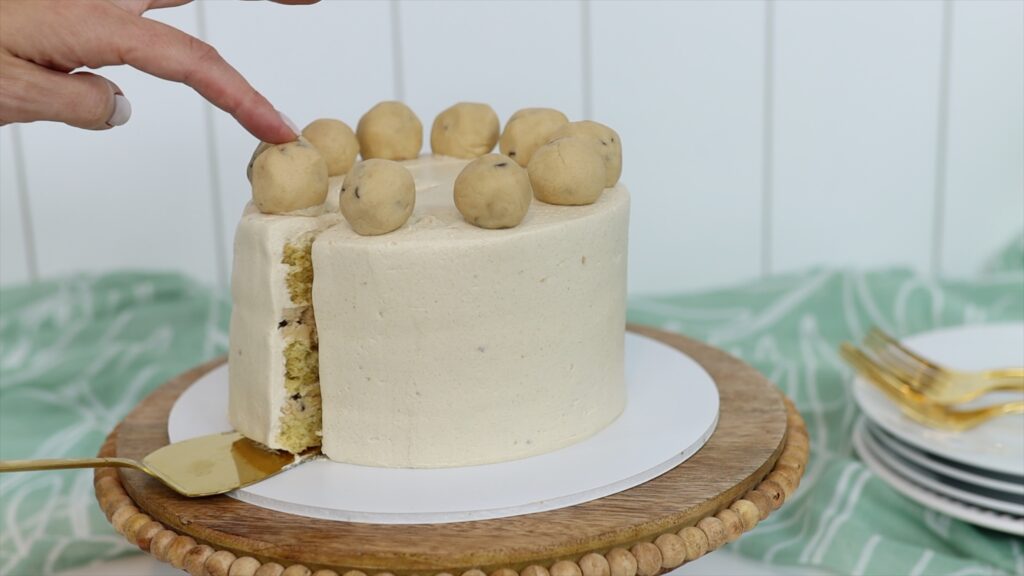
I teach how to cut and serve tall cakes on my online cake school, as part of my 5 minute Friday series, where I share a new cake tip or technique every Friday which you can watch and learn in just 5 minutes! Join my ClubPLUS membership for access to 5 Minute Fridays and EVERY MiniCourse, MasterCourse and Live Workshop on my cake school.

You can watch a video of this tutorial on 10 ways to decorate cakes on a budget here:
