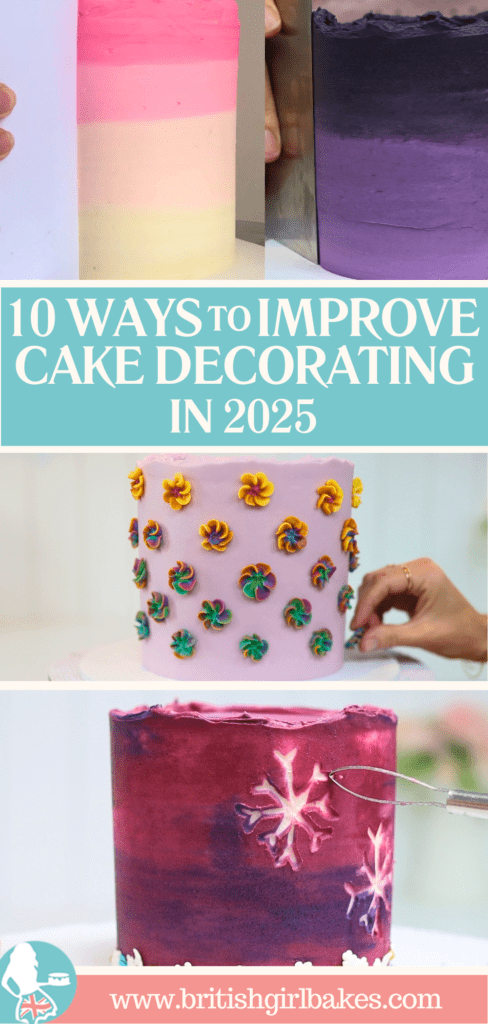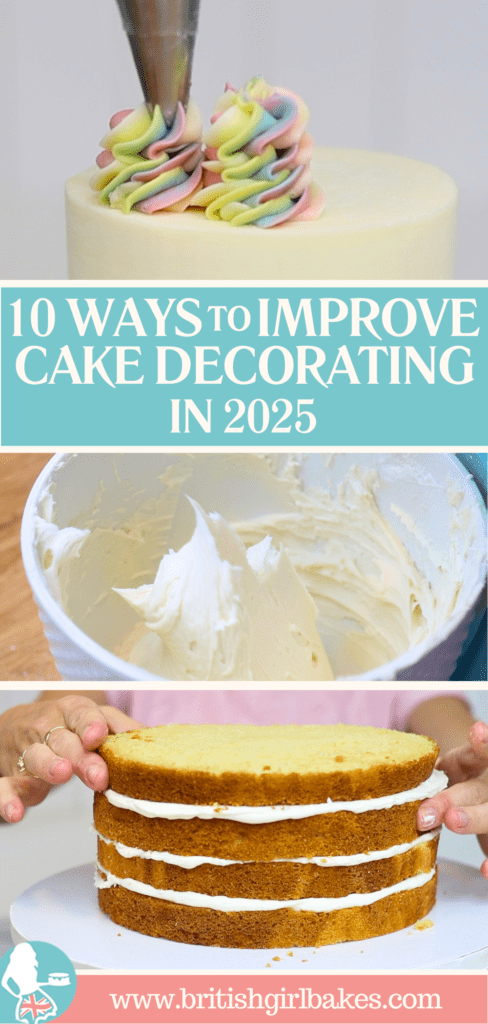
Improve cake decorating skills and take your cakes to the next level in 2025 with these 10 cake decorating tips!
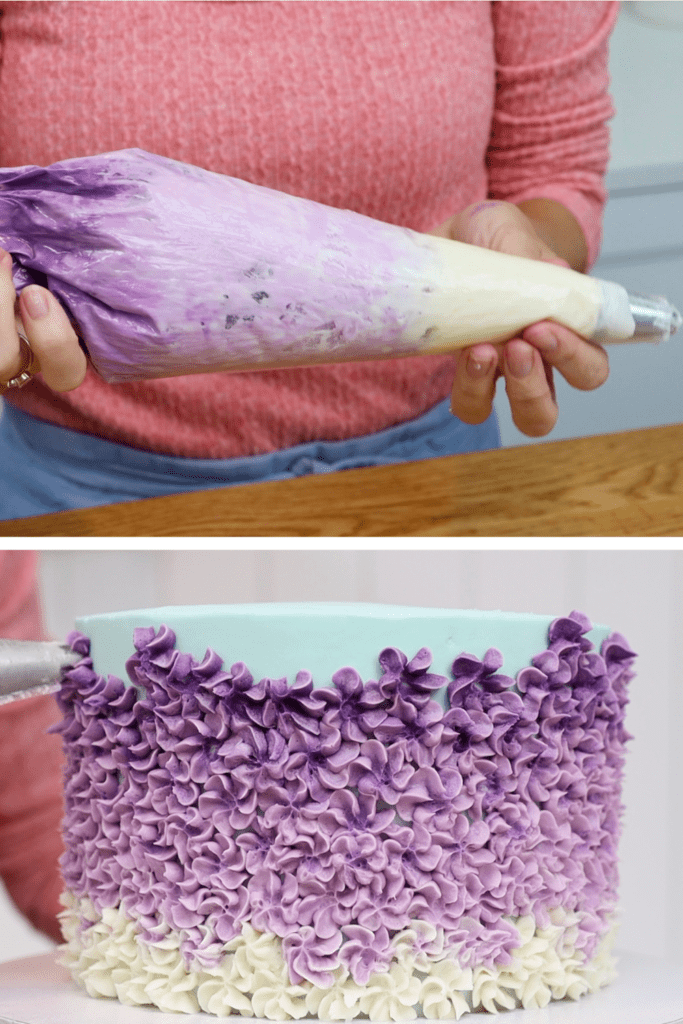
You know the expression: practice makes perfect. With every cake you make you’ll improve cake decorating basics like smoothing frosting, but also cake decorating techniques. For example, look at the district bands of colour on the ombre cake on the left. Now compare those to the gradual blending on the cake on the right. The difference is five years of practice!
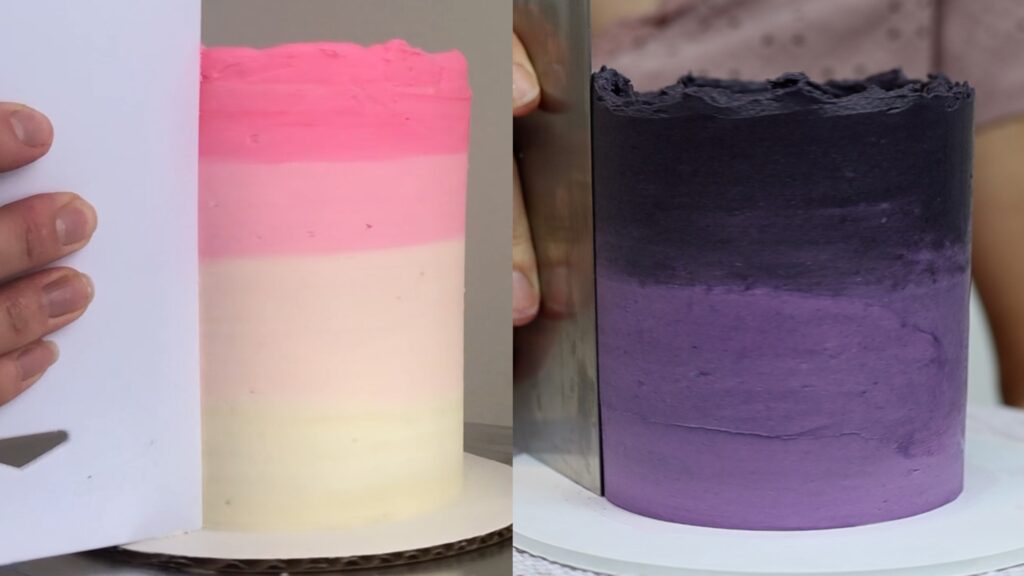
You’ll get better at every technique with practice, from smooth frosting to elaborate cake decorating techniques. So take every opportunity to make a cake for get togethers, events and occasions. Each time, practice a skill or technique you’d like to improve.
Experimenting is another way to improve cake decorating skills. Instead of practicing the same technique over and over again, try different ways to do something. For example, instead of filling different piping bags with different colours for a design, layer those colours within the same piping bag. This creates the easiest ombre effect!
And instead of piping flowers straight onto a cake like above, pipe them down. Line a tray or baking sheet with parchment paper or a non-stick mat. This is a much easier angle than piping onto the side of a cake. (This is my 4 Minute Buttercream, by the way!) After freezing them you can choose only your favourites to pick up and press onto your cake. By tweaking the method you create a very different cake design!

If you’ve tried carving buttercream, you might have found the result messy with little crumbs of buttercream along the edges. Experiment with different temperatures and yo'll be pleasantly surprised! You’ll find that dipping your tool into warm water before carving will give you much neater results.

Experiment with different tools like a metal or acrylic cake comb instead a plastic one. You'll see which tool works best for you for smoother frosting and for other techniques, too. Small changes in the way you do things can cause big improvements on your cake!

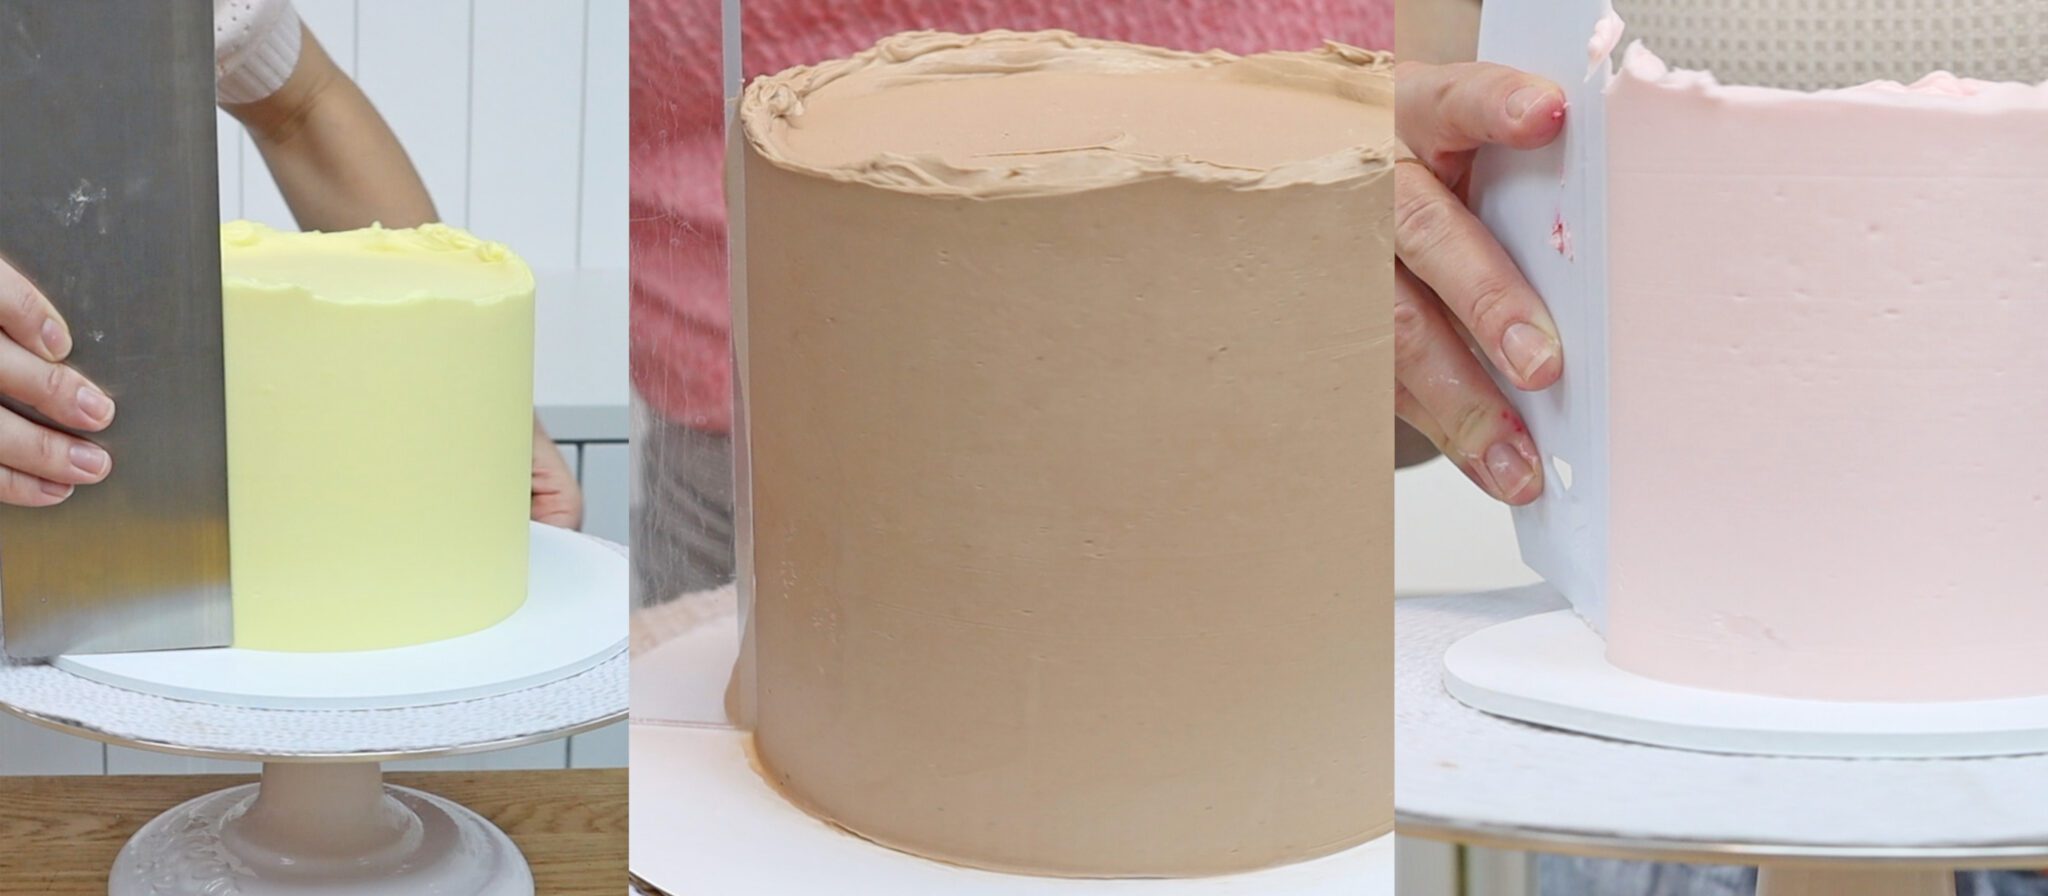
As far as WHICH techniques to improve, to improve your cakes the most, I would definitely choose smooth frosting. It’s the foundation of almost every cake design, so it’s worth really focussing on until you’re happy with the results. I have lots of tutorials to help with smooth frosting but also, here are 2 hacks to help you.
The first is the microwave hack. Scoop up a third of the buttercream and microwave it for 10 seconds. Then pour this melted buttercream back into the bowl. Stir it together and you’ll have silky smooth frosting without air bubbles, perfect for frosting a cake!
The second hack is to use a warm metal cake comb. Run it under hot water or dip it into a pan of hot water and dry it with a towel. Or use a hairdryer or blowtorch to heat it and wait a moment so that it’s warm, not hot. Scrape around the cake and the warm metal will glide over it, filling in shallow indents or air bubbles, leaving it super smooth!
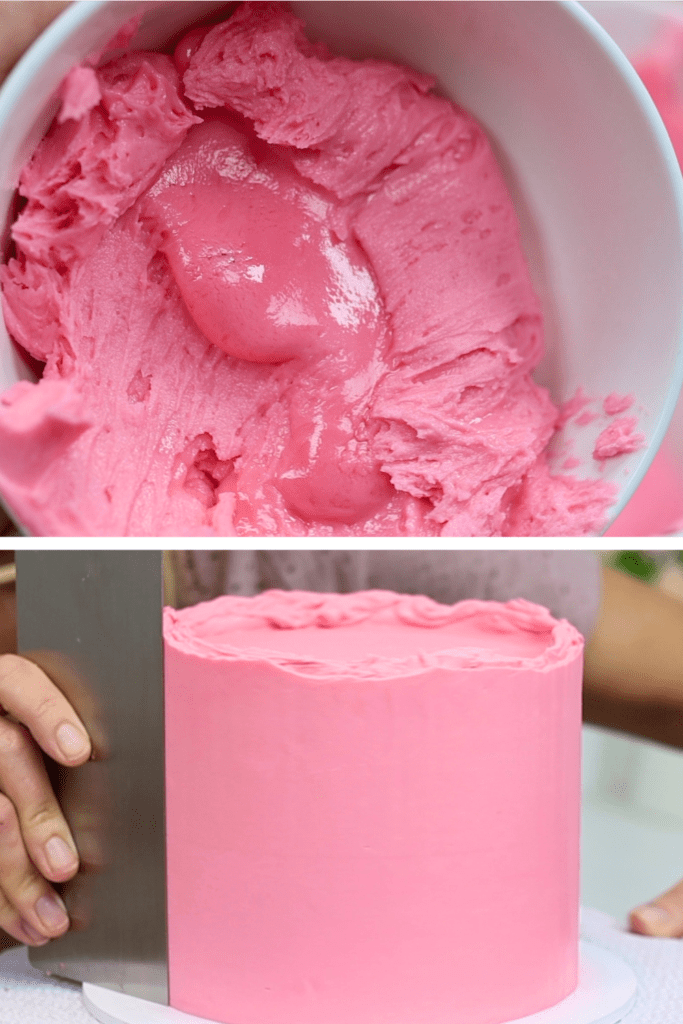
To improve your frosting but also your piping you’ll need the right buttercream consistency. Use room temperature butter to see the true consistency of your buttercream because temperature will change it. If your butter is cold, your buttercream will seem stiffer than it really is!
When you stir the buttercream, stiff peaks and lots of texture within the buttercream mean your buttercream is stiff. With this consistency it will hold its shape, which is perfect for piping.
To make buttercream less stiff, add some milk and stir it in. When the peaks droop over, the consistency is looser or softer. A loose consistency is perfect for frosting a cake.
To improve your cakes, try different piping tips. Almost everyone starts off with a 1M star tip, which is typically used for piping swirls on cakes and cupcakes. For variety try a 2D for softer, wavier ruffles.
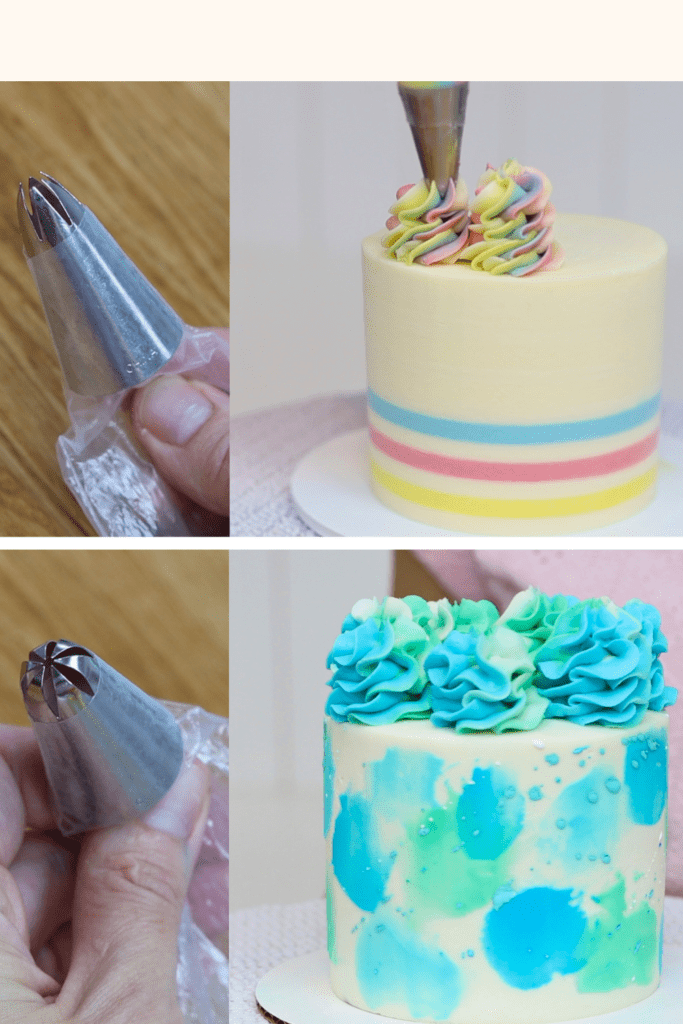
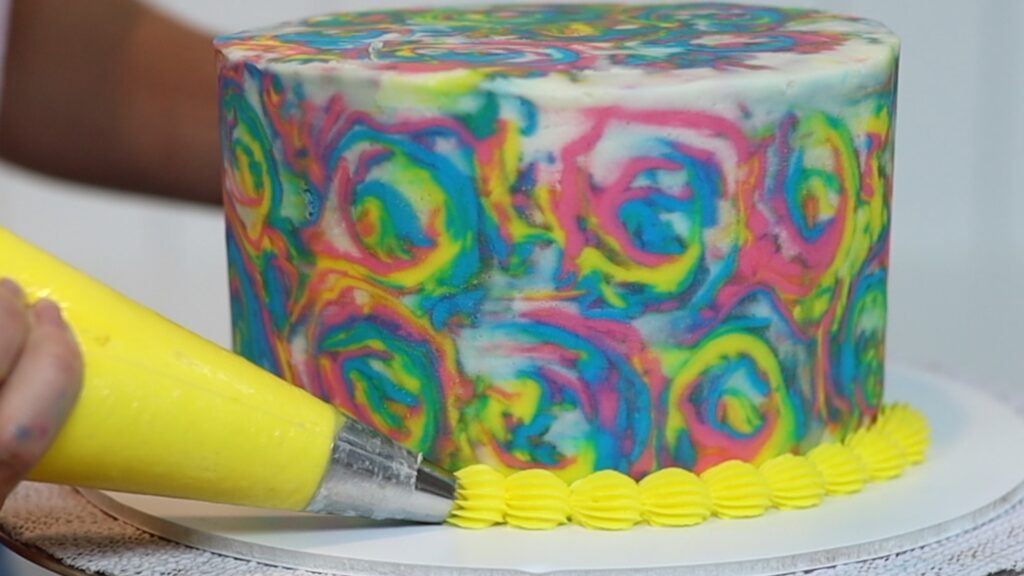
And a 1M is fine for borders but use different piping tips for difference effects. Try a star tip with more prongs, shorter and closer together, like the 4B in the tie die cake photo below. Switching up your piping tips will add more variety to your cakes.
Also, choosing a smaller or larger size to match the size of your cake will make a big difference to the overall design. A small size makes the border a subtle extra detail whereas a large size makes it an eye-catching attention-grabber.
For easy variety, use the same technique with a different tip. You'll create a different effect without needing to master a new skill.
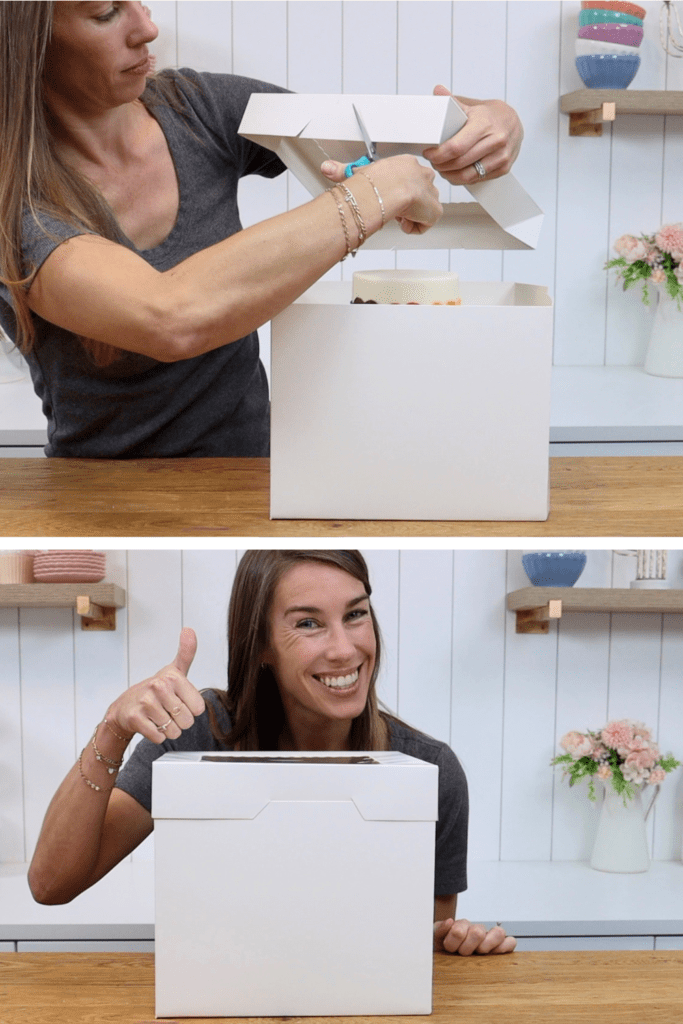
Make your cakes look more professional with pretty packaging. Buying in bulk is cheapest or on Amazon they're only a few dollars each when you buy 10 or 20. These make your cakes look SO much better!
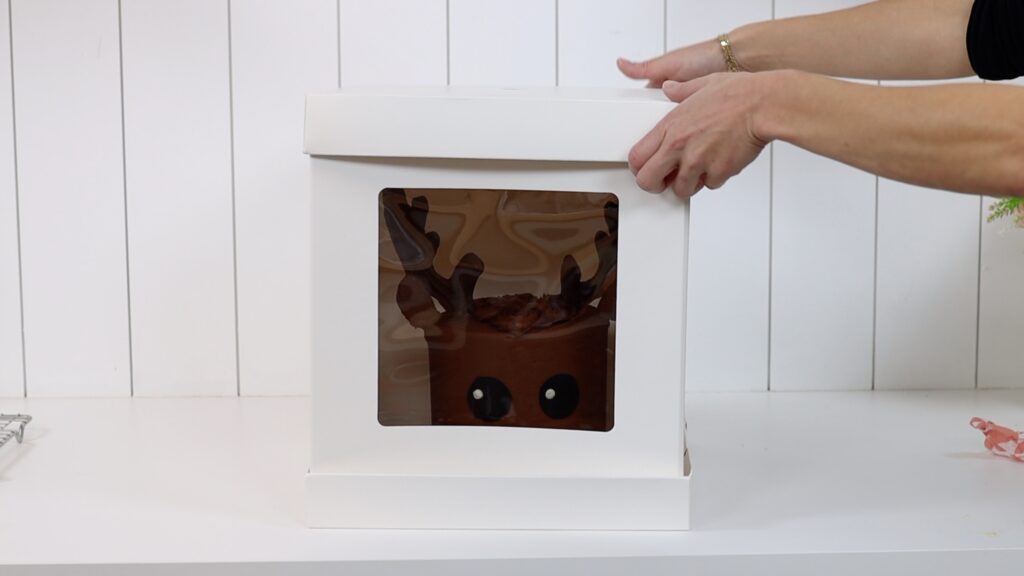
To use the same cake box for tier cakes, use this tall cake box hack! Cut two diagonal slits on opposite sides of the box lid. The shorter the slits, the higher the lid will sit. Then push the middle section (between the slits) into the box. You'll still be able to fit the lid on and keep your packaging looking professional.
To space out patterns evenly on your cakes, create your own easy guidelines. Draw around your cake pan and cut out the circle and then fold it in half or thirds. Look at the outer edge of the circle to choose however wide you want the sections of your pattern to be. Unfold the circle and place it on top of your cake after the frosting has set, so it doesn’t stick. Now use the creases on the paper circle as guidelines for your pattern. Optionally, can poke toothpicks into the cake below each crease to make the guidelines more visible.
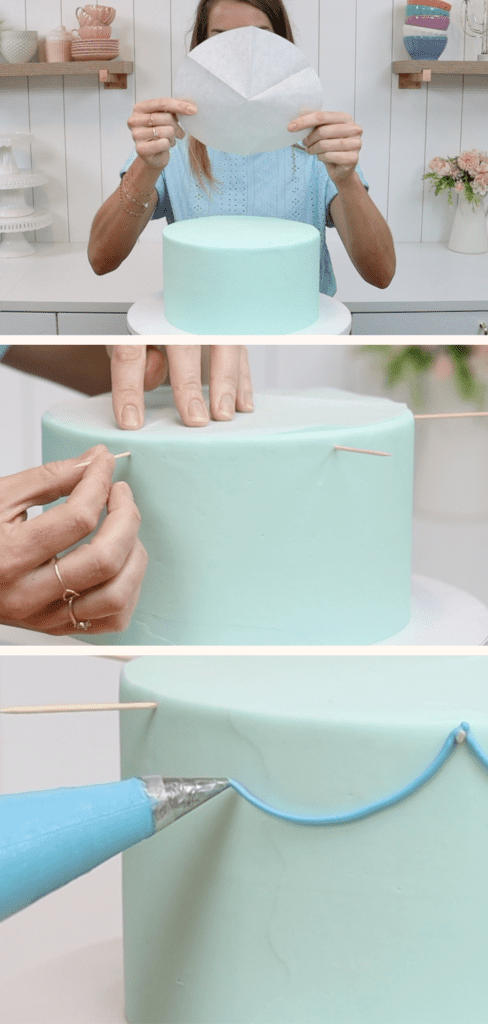
Now when you pipe you’ll have clear start and end points for each section of the design. This is especially useful for Lambeth or vintage cakes!
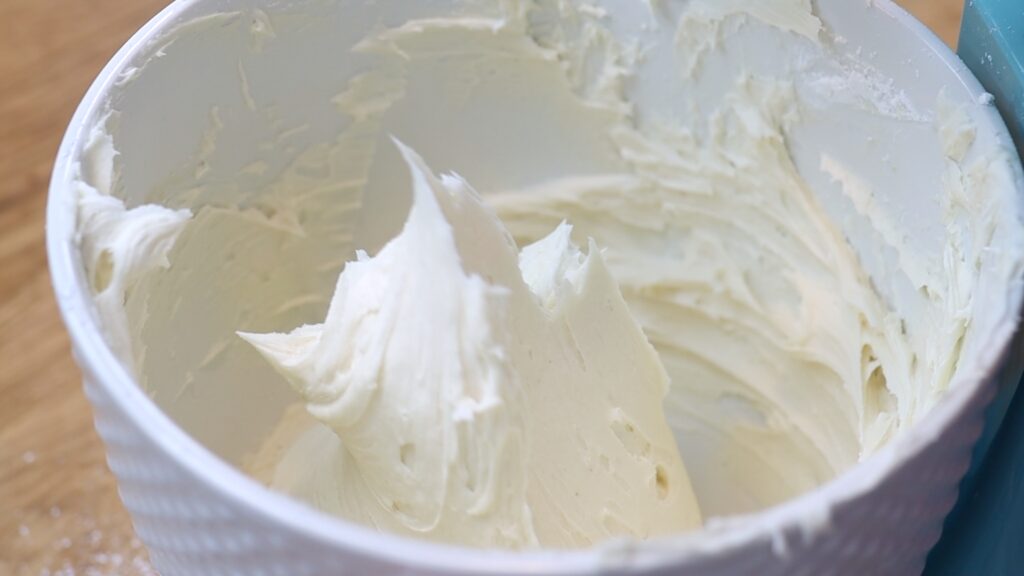
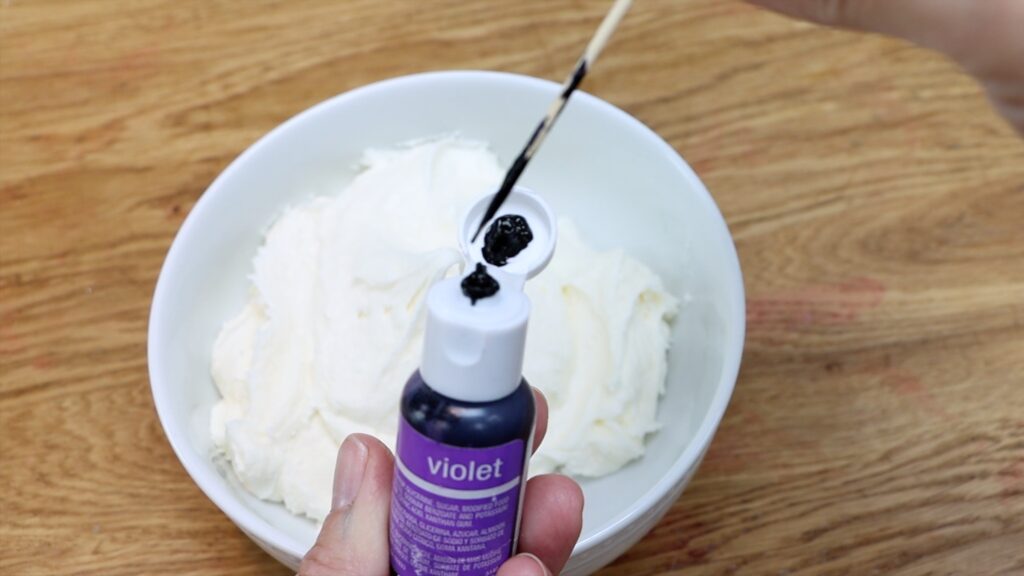
Make your white cakes really white with this trick. Make yellow butter much lighter by beating it for several minutes before adding any sugar. After mixing in the sugar, add a tiny amount of violet gel, which will cancel out the yellow. Dip a toothpick into the bottle to get just a tiny bit, rather than trying to squeeze a small drop and accidentally ending up with purple buttercream!
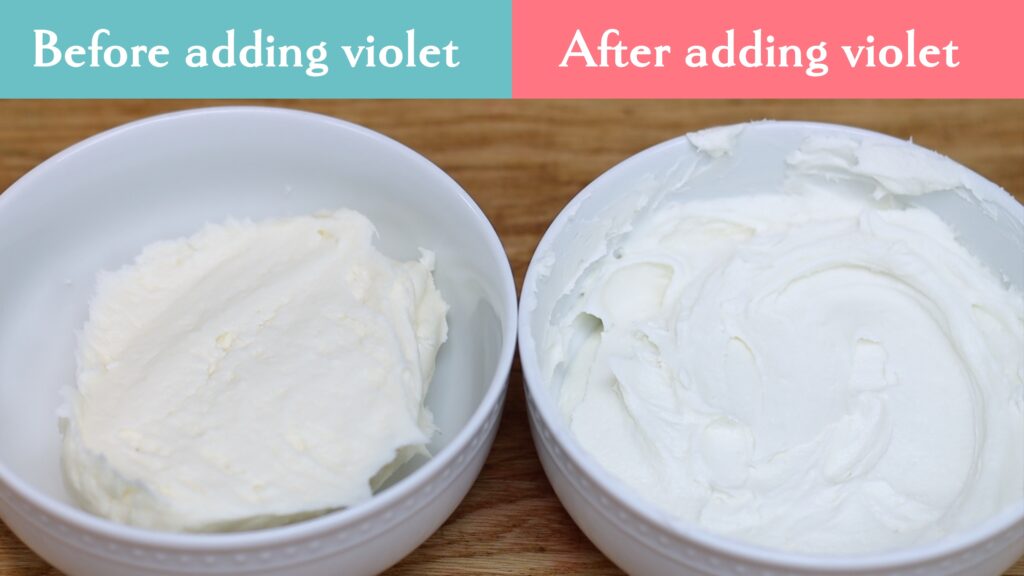
Look at the difference in this buttercream before adding violet and after - it gets so much whiter!
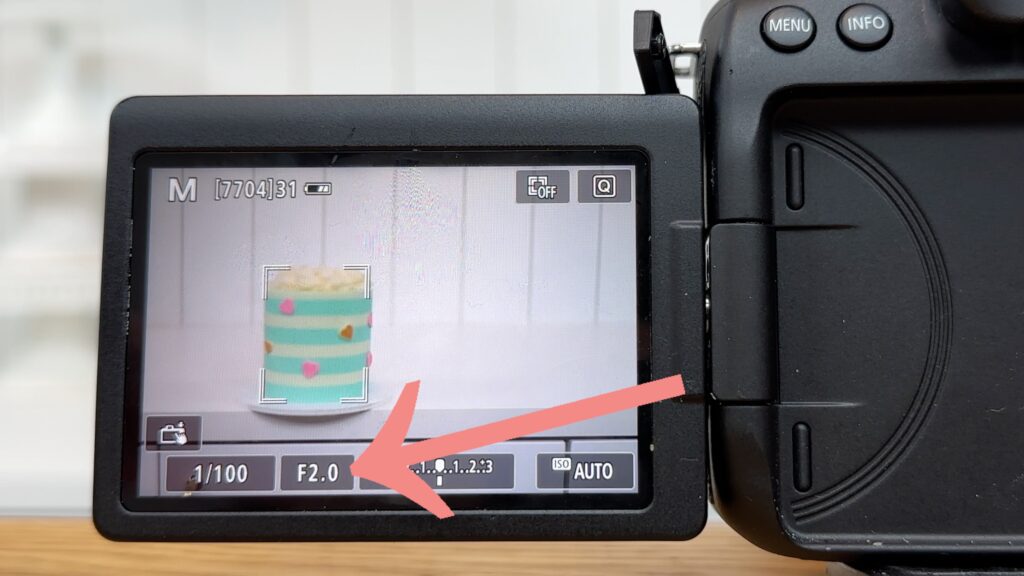
As you improve your cakes in 2025, document them by improving your cake photos. The easiest improvement to draw attention to the cake will minimize any distractions. To do this, adjust the focus. On an iPhone, choose Portrait mode and tap the F at the top left of the screen. Drag the bar up and down to make the background more and less blurry.

You can do this on a camera, too! Adjust the Fstop or F number to make the background more or less in focus.
I have an online course on Cake Photography Like a Pro which will show you EVERYTHING about lighting, backdrops, props, taking photos with a phone and a camera, and editing. And while we’re talking about my courses, move on to the final tip to improve cake decorating!
To really improve your cakes, start a FREE 7 day trial of my All You Can Cake membership. It gives you access to ALL of my online courses so you can take a deep dive into whatever you’re interested in: baking cakes, getting your frosting super smooth, piping flowers and borders, decorating with chocolate, colouring buttercream, growing your cake accounts on social media, designing custom cakes… And you can ask me any questions directly so I can answer them straight away! I hope to see you there!
Watch a video of this tutorial on how to improve cake decorating in 2025:
Save one of these pins to Pinterest for later!