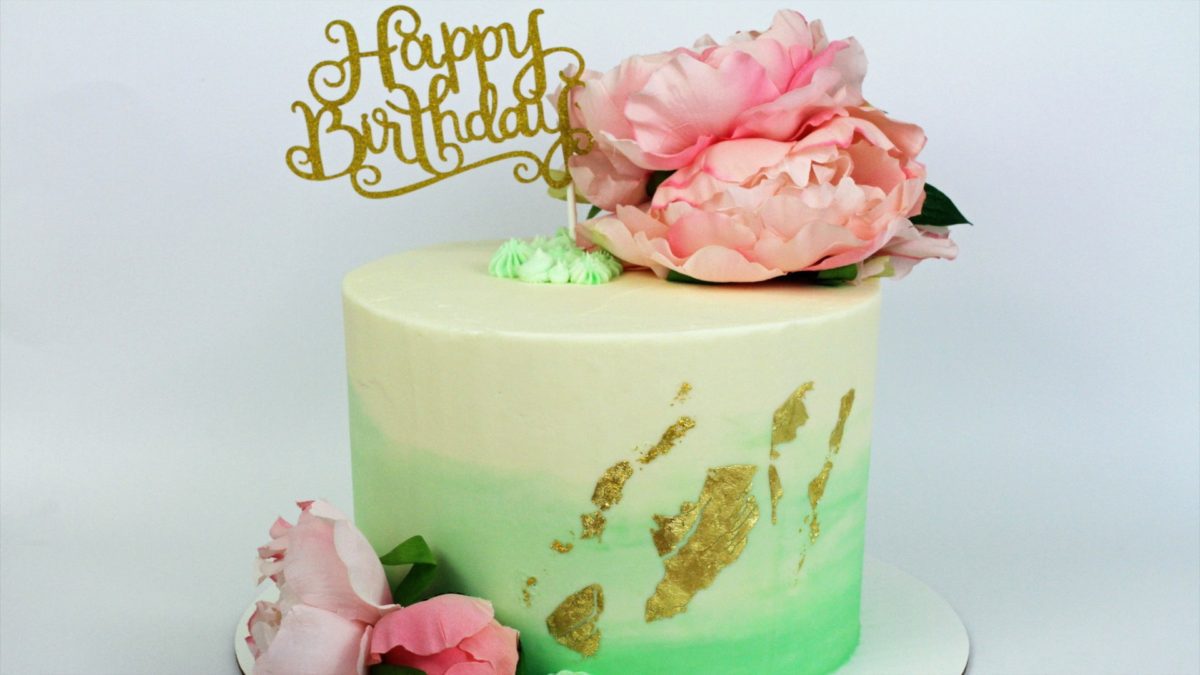
Gold cakes are eye-catching and elegant and in this tutorial I’m going to use three edible gold materials to show you 20 ways to decorate gold cakes! I’ll use 20 different cakes in this tutorial and I have a more detailed tutorial for each one so if you see something you like, click the photo to see that tutorial. If you prefer to watch a video of this tutorial, scroll to the bottom of the page.
I’ll start with some designs using gold luster dust, which is an edible powder that you can use alone or use it to make paint. To make paint, add a few drops of vodka to make quite a thick paint, almost a paste.
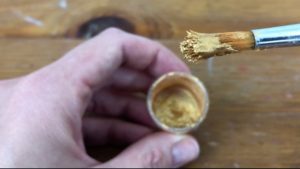
When you lift your paintbrush out of the gold paint you should leave some texture in the paint, otherwise it’s too thin and won’t give you a nice bold colour. You can use a clear extract like lemon extract if you don’t want to use vodka, but it won’t be quite as shiny.
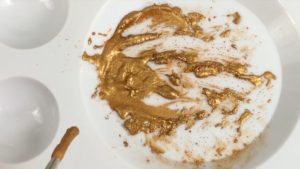
#1 Use gold paint on buttercream frosting by chilling the cake after frosting it, to set the frosting. For this cake I’ve carved a leaf design which I’m painting with a thin paintbrush dipped in edible gold paint made with luster dust and vodka.
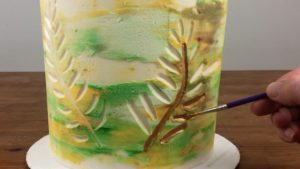
I love painting onto carved buttercream designs because the carved shapes guide your paintbrush so even if you have shaky hands (like me!) you’ll find it easy to stay within the lines.
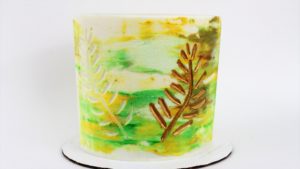
You can paint freestyle onto a cake or trace around a shape with a toothpick to guide you as you paint. I use my 4 Minute Buttercream to frost all of my cakes but for this technique you can use any frosting that set firm, like ganache.
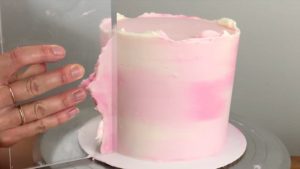
You can apply several coats of gold paint until you get the colour you want. Let each coat dry before you paint the next one so that you layer the gold for the boldest colour. Gold paint dries really quickly as the alcohol evaporates – usually in just a few minutes.
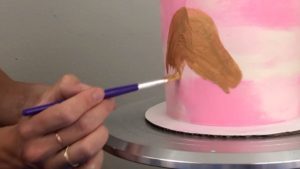
When the gold paint dries you can add whatever details you like, like these pretty flowers piped with Russian tips!
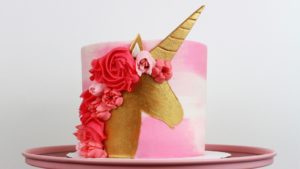
#2 As well as smooth frosting, gold paint works well on textured edges like these piped ruffles on an icing sheet cake. Chill the cake to set the buttercream, which takes about an hour in the fridge, and then use dabbing motions with a paintbrush to create a pretty gold edge. For delicate ruffles like this it’s best to use a thin paintbrush.
#3 You can also paint the uneven top edge of frosting on a cake. For a wider surface like this top edge, a thicker paintbrush will be much quicker to cover this larger area.
#4 With this technique, everyone will ask you how you made gold buttercream and the answer is surprisingly simple! All you need is a piping bag, a piping tip, and some parchment or wax paper.
Pipe whatever shape you want onto parchment or wax paper and then freeze it for a few minutes to set the buttercream.
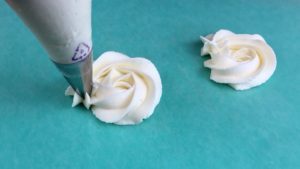
Paint it gold, checking it from every angle to make sure you’ve got into all of the nooks and crannies of the shape. This is quite a slow process but definitely worth it! Chill the buttercream again if it warms up while you’re painting because it needs to be very firm.
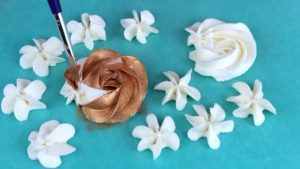
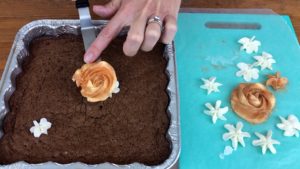
Now pipe a dot of fresh buttercream onto your cake to act as glue. Lift the frozen gold shape off the paper with an
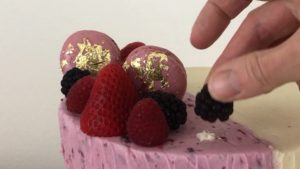
#5 Paint gold onto fresh fruit to add some bling to an otherwise simple cake topper! Dry the fruit completely with a paper towel for the boldest gold results. If the frosting on your cake has set, attach the fruit to your cake with dots of buttercream to act as glue.
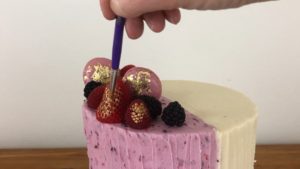
Brush the fruit with gold paint, painting the entire fruit or just parts of it. The gold looks especially nice on textured fruit like berries.
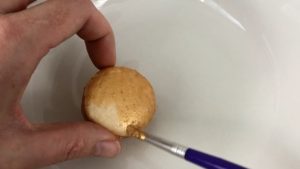
#6 Macarons have been trendy for a while and come in every colour imaginable but a gold macaron on your cake will grab everyone’s attention. Making one is easy – just spin the macaron between your fingers as you paint the sides and the tops of the shells.
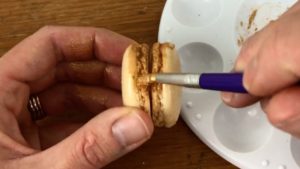
You can also do this before adding filling and pressing the two shells together, just wait until the gold paint dries before you touch it. Painting over a white, yellow or brown macaron is easier than a colour like fuschia or blue.
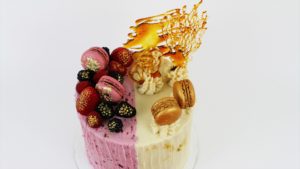
For this cake I combined painted gold with gold leaf, which I’ll cover later in this tutorial, and I think using both types of gold together works really well!
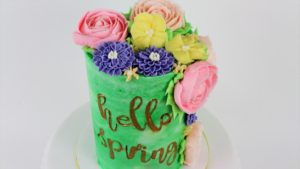
#7 For perfect gold writing on cakes, imprint letters into your cake to spell out your words. This is buttercream frosting, which I chilled for an hour in the fridge so that it was very firm it before doing this.
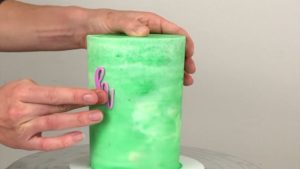
Then use a very thin paintbrush to paint the letters gold. The indented letters help guide your paintbrush to keep the gold within the letters but if you get any smudges outside of the letters, use a clean paintbrush dipped in vodka to brush the smudges off the cake.
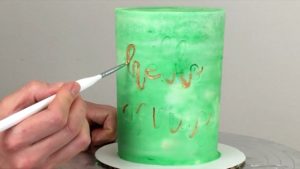
If you’re going to place any other decorations on the cake, like these piped buttercream flowers, I’d suggest doing your lettering first so that you know exactly how much space the writing will take up and then you can use the writing to center your decorations around.
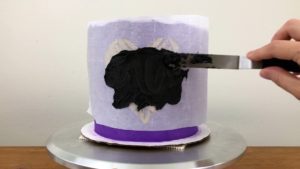
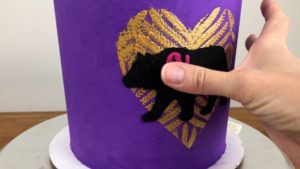
This lettering technique works on smooth frosting but also lightly textured frosting, like this bear which I stenciled onto the cake and then used a spatula to add some random grooves into the frosting like fur.
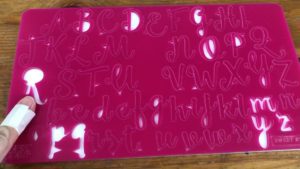
These are Sweet Stamp letters and I like to pick them up by wrapping a piece of tape around my fingers with the sticky side facing outwards.
You have to press the letters very firmly into buttercream for this to work. If the buttercream is soft you won’t get neat imprints of the letter so you’ll have to leave it to set for longer.
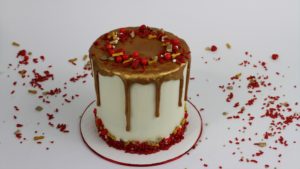
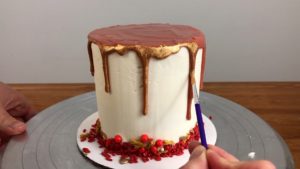
#8 Create gold drips by making ganache using any chocolate – white, milk, or semisweet. If I’m using white chocolate I like to add a tiny amount of brown gel colour to make the drip closer to gold before I start, because you need less gold paint to cover up brown than white.
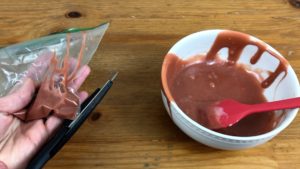
You can apply your drip with a spoon, a condiment bottle, or put it in a ziplock bag and cut off a corner like this.
Apply your drip to a cold cake that’s been in the fridge and the coldness will help the drips stop before they go all the way down to the bottom of the cake.
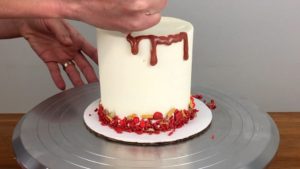
After applying the drip, put the cake back in the fridge to set the ganache drip and when it’s firm, paint it with gold paint. You might need to paint a few layers in some areas to cover the drip completely.When you’ve finished, it will look like you poured something gold straight over the cake!
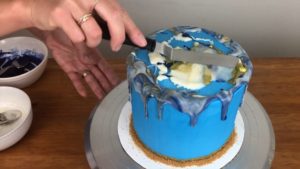
#9 For an unusual drip effect try a marble drip with different colours of ganache swirled with edible gold paint, stirring them together just once or twice so that they don’t blend together. Spoon the drip over the cake, letting it run down the sides.
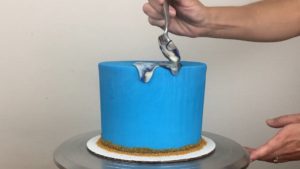
For the top of the cake, drizzle your colours on with a spoon and then spread them as little as possible to cover the top of the cake without blending them together a lot. You’ll be able to see all of the ganache colours in each drip with pretty gold veining from the gold paint.
#10 Gold paint works really well for stenciling as long as you secure your stencil to the cake, wrapping it tightly and pinning it in place. If you don’t do this, your design will smudge.
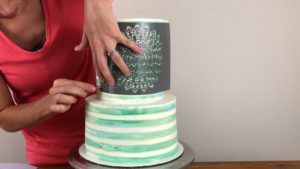
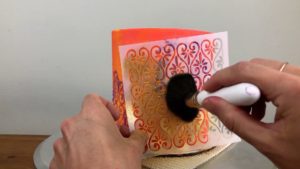
Dab gold paint into the stencil design with a paintbrush or a sponge. Your cake needs to be refrigerated before using a stencil so that the pressure from the stencil doesn’t damage the frosting.
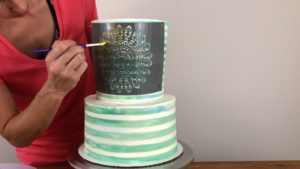
When you peel the stencil off, your gold design will make any frosting classier.
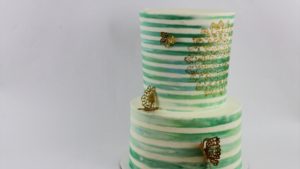
You can use stencils with just luster dust too, without mixing the powder with alcohol to make paint. Brush the dust onto your stencil with a wide powder brush for even coverage (and because it’s quicker than using a small paintbrush!)
The shimmery gold patterns you create with stencils using gold luster dust are more subtle than when you use edible gold paint but they’re just as eye-catching!
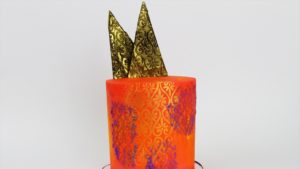
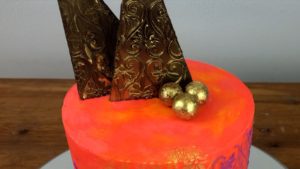
#11 With luster dust you can make golden chocolate spheres to use as toppers to decorate cakes.
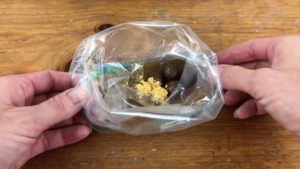
Pour some luster dust into a ziplock bag with any chocolates, like chocolate covered malt balls or truffles with a chocolate coating like Lindt balls, and then shake them around in the bag to coat them with the gold dust.
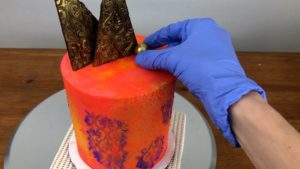
Pick the gold chocolate balls up with gloves to place on your cake so that you don’t wipe the gold dust off with the warmth and natural oiliness of your fingers.
Next, we’ll look at some cakes decorated with edible gold leaf. Gold leaf comes within backing sheets that you peel apart to reveal the edible gold. Make sure you buy edible gold leaf, since you can get gold leaf for decorating all sorts of non-edible art projects too.
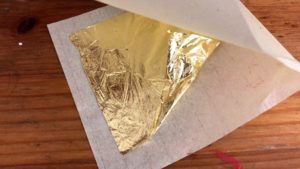
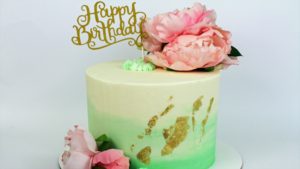
#12 To attach random shaped pieces of gold leaf onto a smooth cake, peel back one of the backing sheets and then press the gold leaf against the cake. It should stick easily but you can press against the other backing sheet to make sure it does.
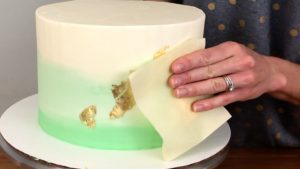
The frosting on your cake needs to have set to do this, because if it’s soft and sticky you’ll almost definitely damage the frosting when you press the gold leaf onto it. Gold leaf makes a simple frosted cake look instantly glamorous!
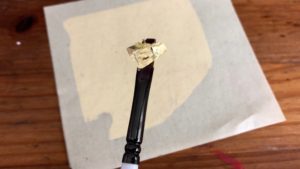
To apply gold leaf to textured frosting you need a bit more control over how much you apply and where you apply it. Instead of transferring it from the backing sheet straight onto the cake, it’s easier to use a paintbrush to pick it up. Because gold leaf is so thin, it’ll stick to your finger if you try to lift it up and then it will be almost impossible to get off your finger to transfer onto the cake.
#13 You can apply gold leaf to textured frosting immediately after piping it, touching the frosting gently with the tip of your paintbrush to transfer the gold leaf from the paintbrush onto the frosting. I piped these ruffles with a 1M tip and it’s part of my tutorial on 8 Ways To Use A 1M Piping Tip.
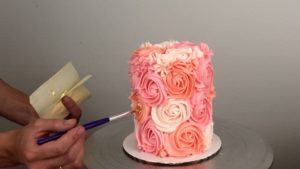
Because the frosting is still sticky, the gold leaf will stick to it easily. You won’t be able to apply any pressure to press it flat against the frosting because you’ll damage the piped frosting by smudging it or it will pull away with your paintbrush.
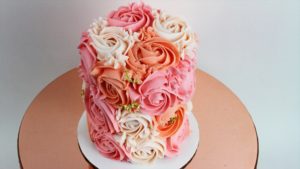
I like to let textured frosting set before adding gold leaf, leaving it in the fridge for about an hour, because when the frosting is hard I can press the gold leaf onto it quite firmly with my paintbrush so that it molds to the texture and lies flat against it.
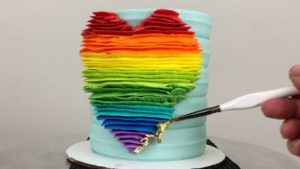
Gold leaf can accentuate or outline any textured frosting. I piped these rainbow ruffles with a petal tip and I share more ways to add texture in 8 Ways To Use A Petal Tip.

Now for some edible gold cakes decorated with gold sprinkles. Sprinkles add texture and detail to a cake and who doesn’t love a bit of gold bling?
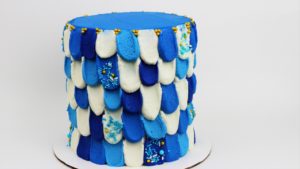
#14 You can press sprinkles into the frosting on a cake individually or in clusters. To attach several at a time, dip your finger into water and shake or tap off the excess so that your finger is damp. Pressing your finger into a bowl of sprinkles and the sprinkles will stick to your finger.
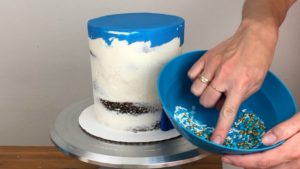
Now press your sprinkled finger into the frosting on your cake. You can do this straight after frosting the cake, while the frosting is still soft and sticky, but you have to be careful you don’t press too hard or knock the cake with a stray finger because you’ll damage the smooth finish.
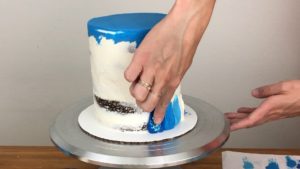
If the frosting has set, like on this cake where the design was made with wrapping paper and for that technique I had to chill the frosting, you can use the same technique with water.
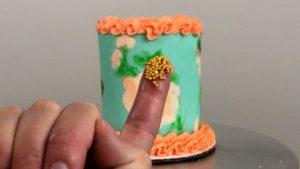
Because the frosting has set and isn’t sticky anymore, you’ll have to use quite a bit of pressure to push the sprinkles into the frosting.
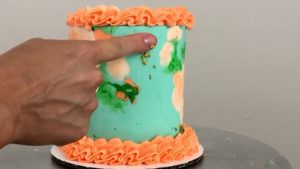
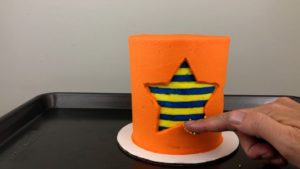
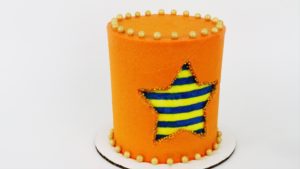
#15 Sprinkles are great for outlining shapes, like this star which I’ve carved out of buttercream frosting on this cake. The frosting has set so I’m brushing the edge of the star with some water to make it sticky.
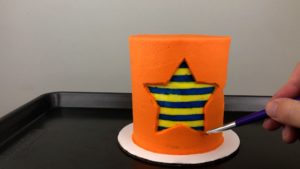
Then you can press some gold sprinkles onto it. You can use your finger after dipping it in water and shaking off the excess water or you can dip a damp paintbrush into sprinkles and then press them onto the cake.
Some larger gold sprinkles make a nice top and bottom border for this cake too!
#16 These fancy gold cookies are a unique topper for cakes and they’re so simple to make!
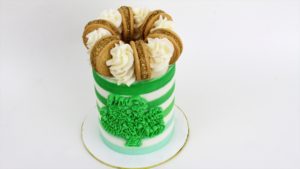
Pull apart cookie sandwiches like Oreos, leaving the filling wherever it ends up because you’re going to cover it up in a minute.
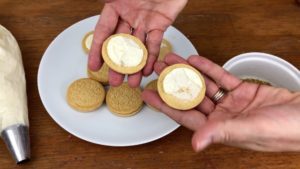
Use a piping bag with a round piping tip and pipe some buttercream onto one half, going around the edges of the filling to cover it up. This is a Wilton #1A but a smaller tip would work as well.
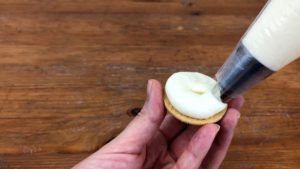
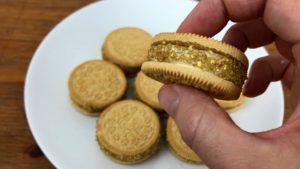
Reattach the cookies and then roll them in edible glitter. The glitter will stick to the frosting you’ve just piped on.
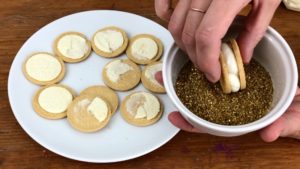
As well as being delicious toppers, the glitter makes these cookies look beautiful, too!
#17 Meringue pops are another delicious cake topper! Get my recipe for them here. Pipe the meringues onto parchment paper and immediately scatter some sprinkles or edible glitter over them, while the meringue is soft and sticky.
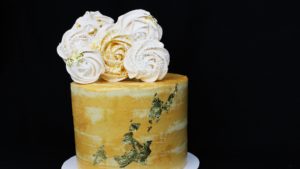
Push cookie sticks into the meringues before you bake them or you can pipe a dot of meringue onto the parchment paper and push a stick into it before piping your meringue swirls over the top of the stick.
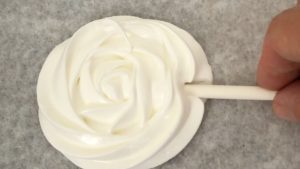
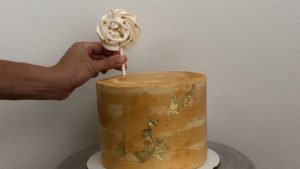
After the meringue pops have baked and cool, push the sticks into your cake! Adding gold leaf to these is a nice touch as well.
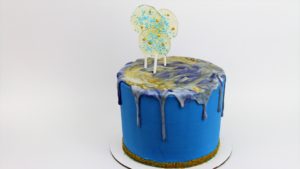
#18 Follow my recipe to make homemade sugar lollipops and pour the cooked sugar mixture onto parchment paper.
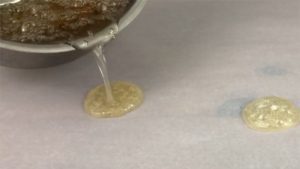
Straight away, before the sugar sets, pour sprinkles on top and push a cookie stick into the sugar.
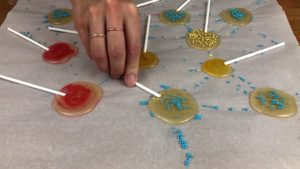
Leave the lollipops for about 30 minutes to cool and harden. Push the sticks into your cake to add height and metallic texture!
#19 To make gold sprinkled balls, start by coating a chocolate malt ball in melted chocolate to make it sticky.
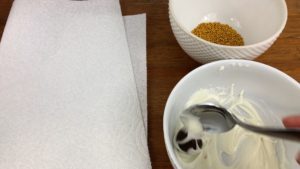
Roll the balls in a bowl of gold sprinkles, moving them around with a spoon to cover them completely. These are tiny nonpareil sprinkles.
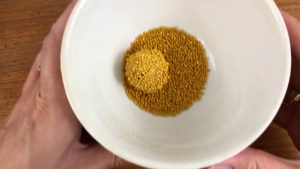
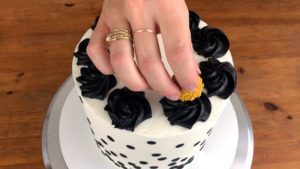
Place them on parchment or wax paper to set and then pipe some swirls of frosting onto your cake and push the sprinkle balls into them to attach them to the cake.
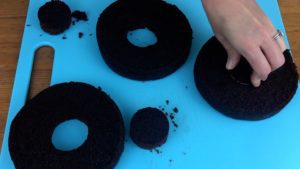
#20 Finally, a gold sprinkle explosion! When you assemble your cake, cut a circle out of the middle of every layer except the top layer. You can use these cut out circles to make mini cakes if you don’t want to waste them.
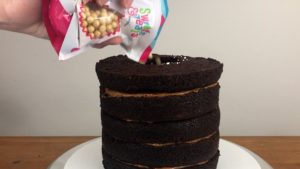
After building your cake except for the final layer, pour sprinkles into the hole in the middle, going right up to the top of the cake, and then place the final layer on top.
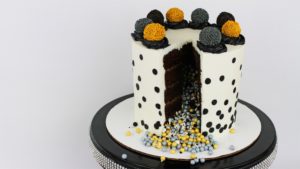
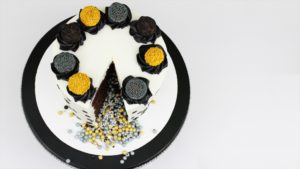
Frost and decorate your cake and when you cut into it, the sprinkles will explode out!
I hope I’ve given your some fun ideas for how to decorate gold cakes and if you try any of these, please tag me @britishgirlbakes in your photos on Instagram so I can see your creations!
If there are any other ways you’d like to see me use gold on cakes, please tell me in the comments below!
Here’s the video version of this tutorial:
