5 Cakes You Can Decorate In 5 Minutes
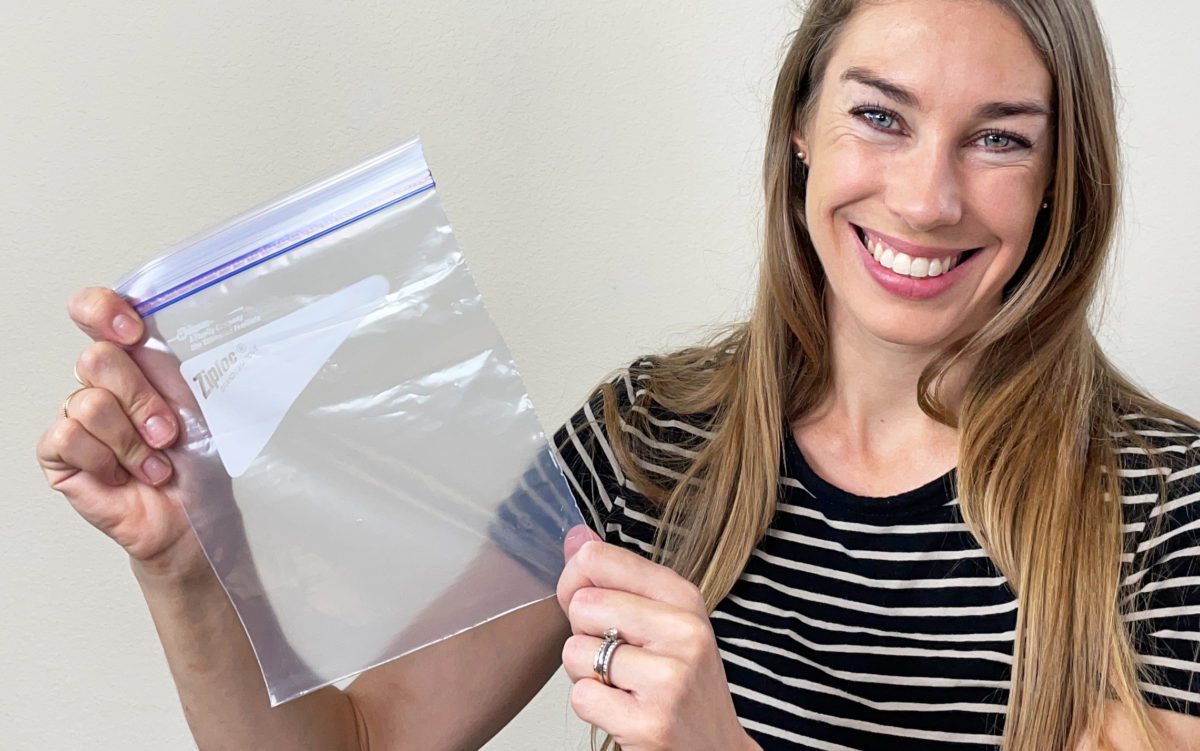
6 Ways To Decorate Cakes Using Ziploc Bags
5 Borders You Can Pipe With a 1M Tip
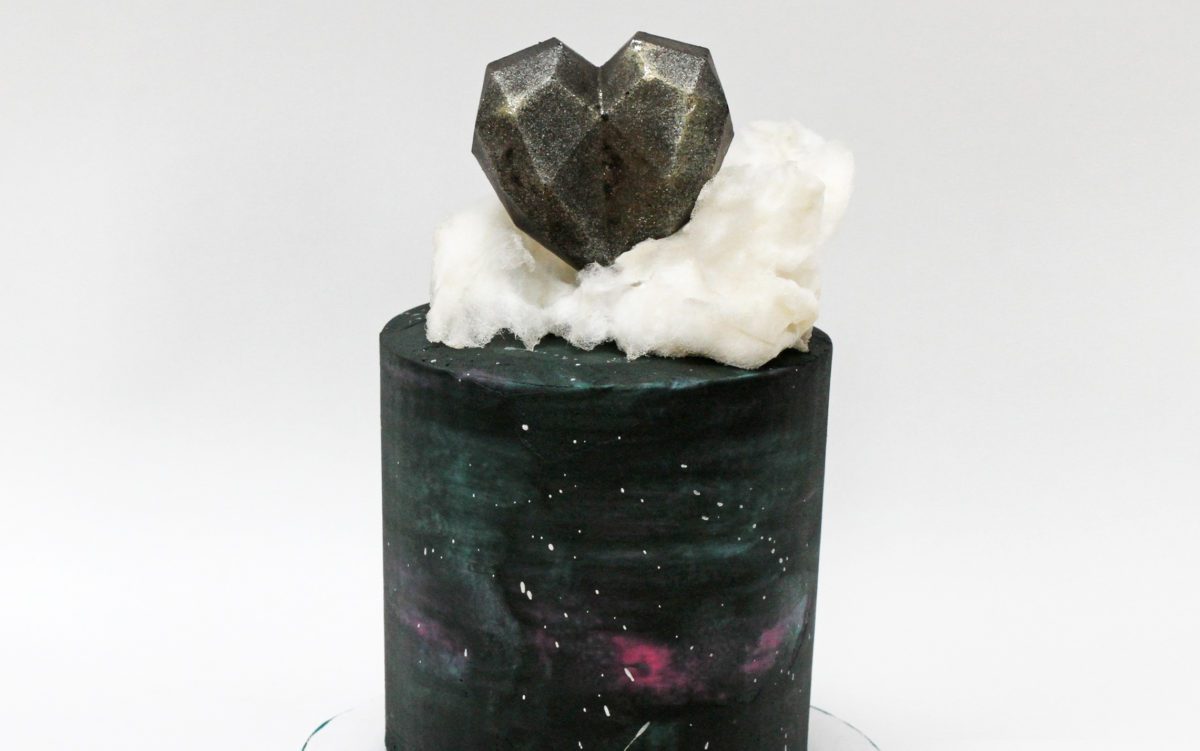
How to Make a Galaxy Cake
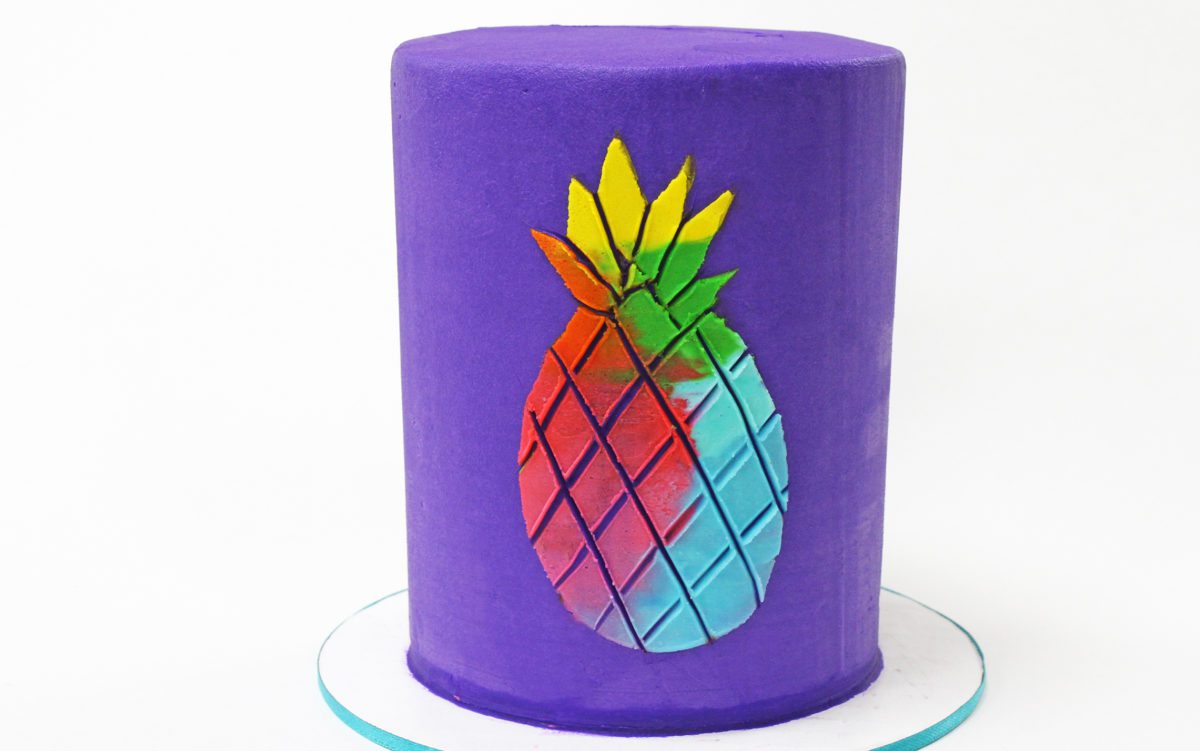
How To Make Your Own Cake Stencils
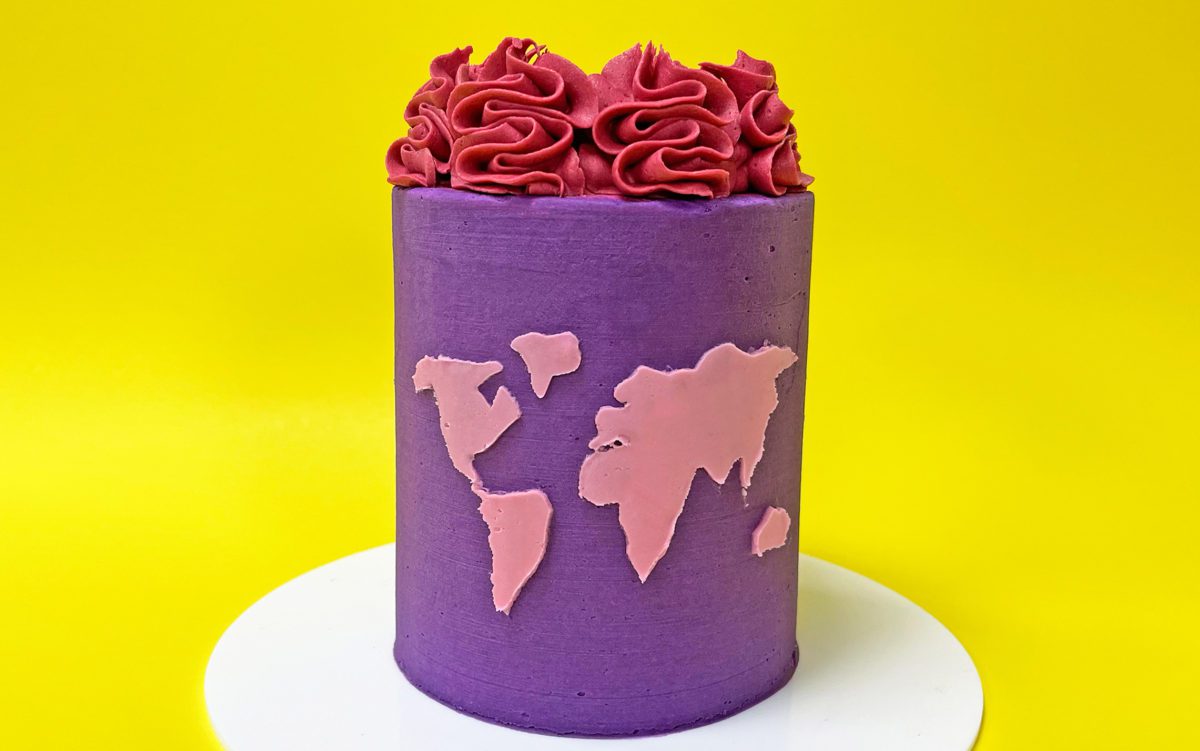
How To Transfer Any Design Onto A Cake
6 Easy Piping Techniques for Frosting Cakes with NO Turntable
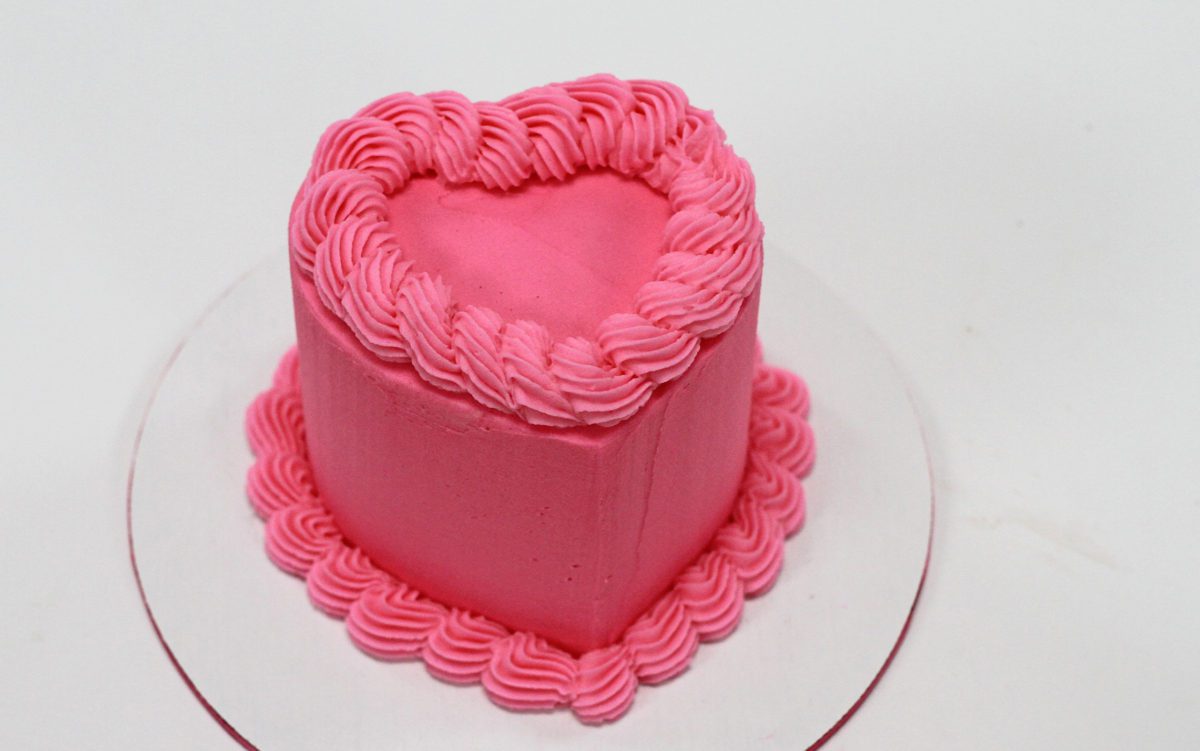
3 Mini Heart Cakes ANYONE Can Make
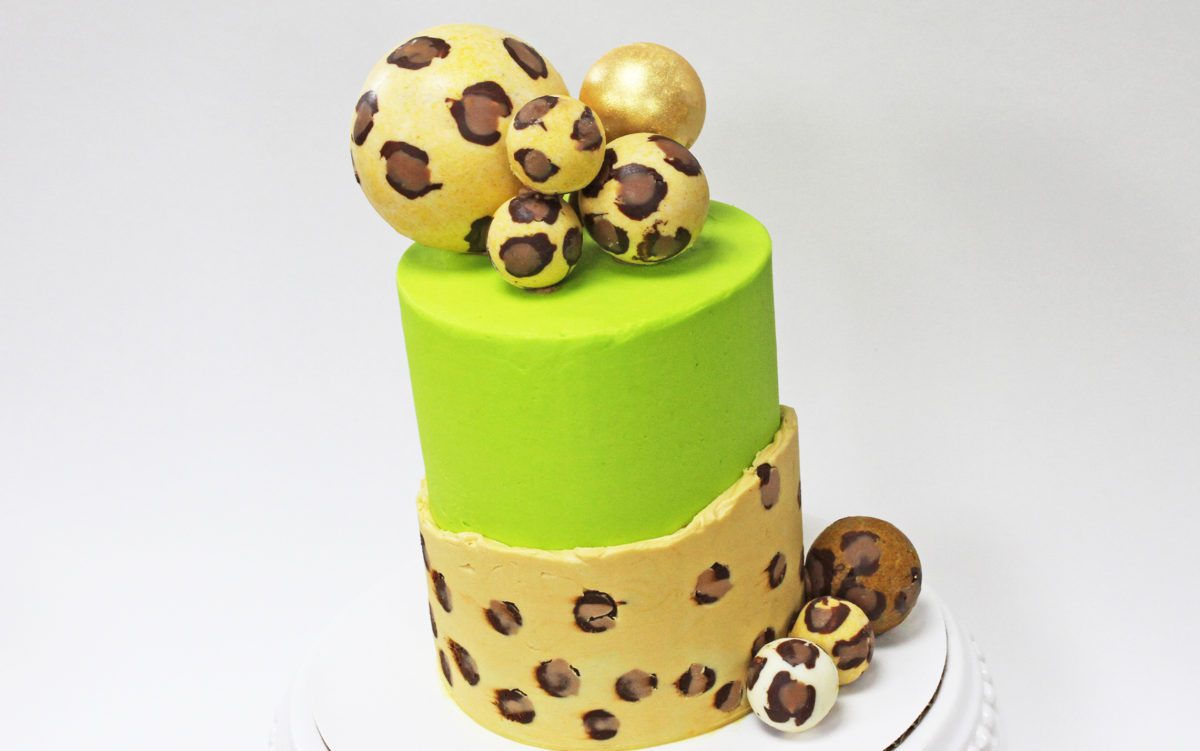
Trendy Neon Leopard Print Cake