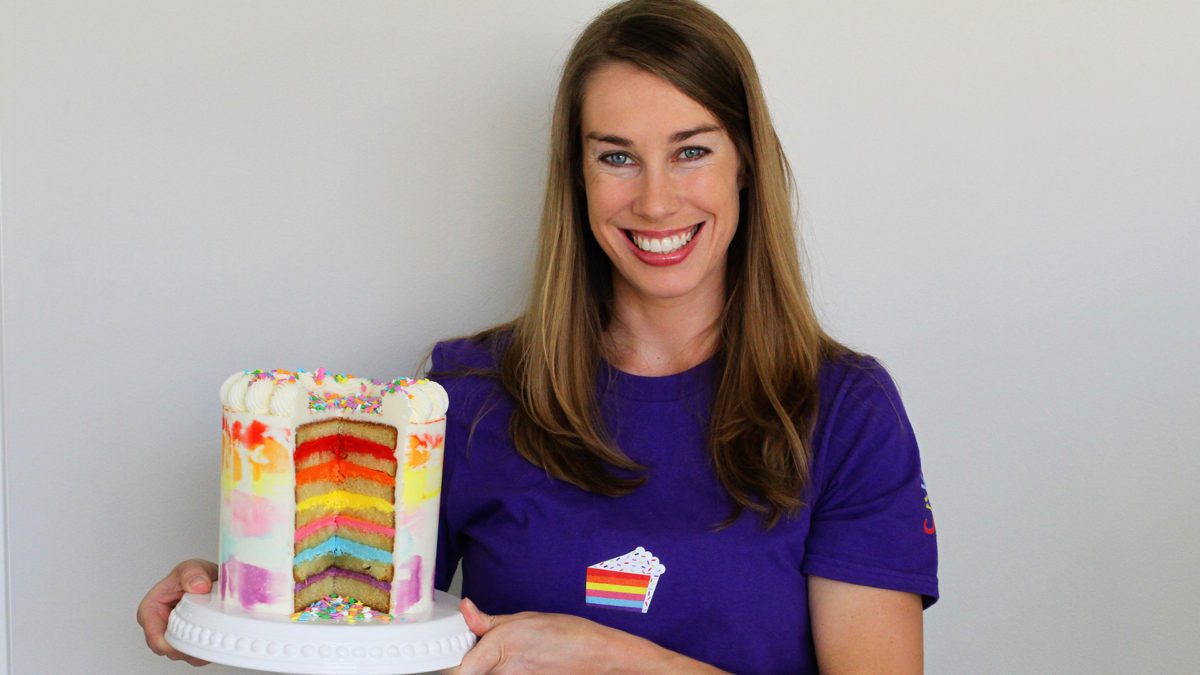
When you first start baking and decorating cakes, it seems like there are a LOT of things to buy and it can be difficult to decide where to start. In this tutorial I’m going to show you the essential tools you’ll need to get started for baking, frosting, and very basic decorating, with my recommendations on which tools you can buy cheaply and where it’s worth splurging for better quality. After the bare essentials, I’ll share my suggestions on the next tools you might want to buy to be able to expand your baking repertoire and to do more elaborate cake decorating. I have an Amazon storefront where you can see all of the tools I use. If you prefer to watch a video of this tutorial, scroll to the bottom of the page.
Tools for Baking a Cake
A mixer is definitely worth investing in, unless you have extreme patience and arm strength to mix with a spoon! You’ll use a mixer to mix cake batters and make frosting.
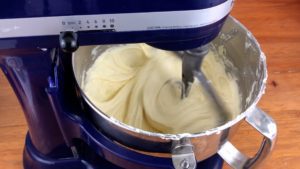
It can be a stand mixer or a hand mixer will work too, although it’s a bit messier and harder work to use. This is probably going to be your biggest single investment so take your time to research and choose your mixer.

If you’re planning on baking often, a stand mixer will save you time and if you’re a multitasker like me, it’s a dream because you can leave it to mix your ingredients while take out the ingredients for your next recipe or wash other tools or start prepping your cake decorations.
I’ve had my current Kitchen Aid mixer for six years and I had a smaller one for six years before that and I’ve loved both of them. Whether you choose a handheld mixer or a stand mixer, what’s important is that it has a beater or paddle attachment so that you don’t incorporate too much air into your cake or frosting.
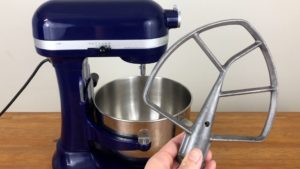
If it has a whisk attachment, great! You can use that to make meringue pops, macarons, or ganache.

You might already have lots of the other tools you’ll need for baking, like measuring cups and spoons, mixing bowls, spatulas, cake pans, a spray bottle of cooking oil, and a wire mesh cooling rack.
If you have any type of these things, I’d suggest working with what you’ve got and investing in the things you don’t have, but if you’re going to buy them, here are my favorites:
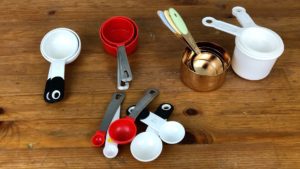
For measuring cups and spoons, I like to have two sets so that when I’m baking I can use one set for dry ingredients and one for wet ingredients, instead of having to wash and dry them between different ingredients. It’s useful to have measuring spoons all the way down to an 1/8 of a teaspoon for small batches, but you can always just use a 1/4 of a teaspoon and fill half of it.
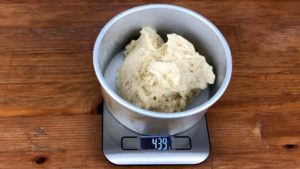
Some recipes list ingredients in weights and I like to weigh my cake batters so that I can divide it equally between my cake pans, so a scale is useful. If you’re baking anything bigger than a 6 inch cake and you want to weigh the batter in the pans, make sure the scale is big enough that you can see the screen with the weight.
For mixing bowls, some people prefer study bowls but I like lightweight plastic ones that I can move around easily and stack on a drying rack without worrying about them falling and breaking. I like to have large bowls and small bowls to choose between depending on how much of an ingredient I need to mix or how much buttercream I want to add colour to.
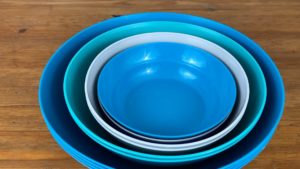
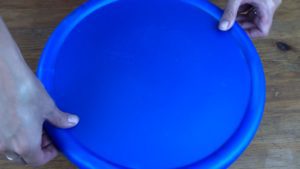
It’s helpful to have a bowl with a lid so you can store your prepared dry ingredients or a batch of buttercream in that same bowl.
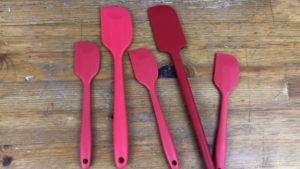
Rubber or siliconespatulas are great for getting all of your cake batter or frosting out of your mixing bowl, and for adding colour to buttercream. The advantage of silicone is that it’s heatproof so you can use it to stir very hot simple syrup or leave it in the pan for several minutes you’re cooking fillings like fruit purees.
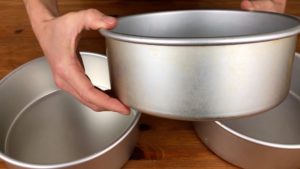
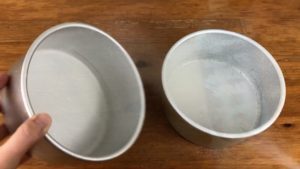
If you have to choose one size of cake pans, I’d choose 6” pans and I’d buy two of them, or three if you can. A 6 inch cake will serve 12 to 20 people, so it’s big enough for small gatherings and celebrations, but if you’re practicing baking or decorating you’re not using a huge amount of batter and frosting to practice with.
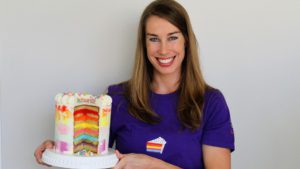
I divide my cake batters between two pans and when the cakes cool I cut them in half horizontally to make two layers, so I end up with 4 in total. If you don’t want to cut your layers in half you could buy 3 or even 4 pans and divide your batter between them so you can use the layers as they are.
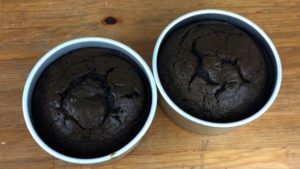
I don’t recommend re-using the same pan to bake your cakes one after the other because you’ll waste a lot of time waiting for the cake and pan to cool before washing and drying and re-using it, and if you leave some of your batter to sit out that long before baking it you might notice a change in the texture on the top of the cake and a difference in how it rises.
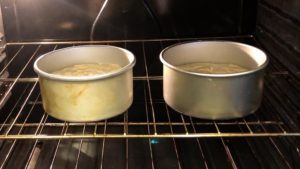
As far as the type of pans you buy, make sure the sides of the pans are straight, not angled, and the thicker the pans are, the less likely they are to dent or bend, which will make your cakes stick to the pan and difficult to turn out of the pan after baking. I go into this in much more detail in my online course on the Basics of Cake, as well as how to mix, bake, assemble, frost, decorate, store, transport and serve cakes. Use the code STARTCAKING for 25% off the course!
I spray my pans with oil before adding the batter and you don’t need special baking oil, any oil is fine or you can grease the pans with butter if you prefer.
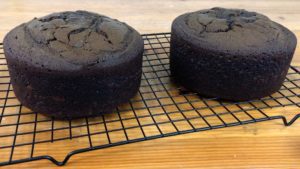
For a cooling rack, anything with a mesh design will allow an air flow for the cakes to cool but make sure the rack is big enough for your cakes, for example if you’re planning on baking 8 inch cakes of two layers each, you’ll either need a rack big enough to fit both layers side by side or you’ll need two cooling racks.
Tools for Frosting a Cake
The most important tool for frosting a cake is a turntable and this is where I definitely recommend paying a little bit more for a metal turntable over a plastic one. They’re about double the price but the smoothness of the spin is far superior to the jerky movements of a plastic
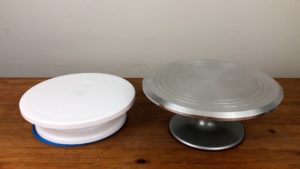
The smoothness of the spin of your
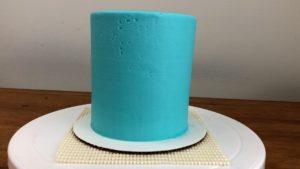
To stop your cake board from sliding around on your
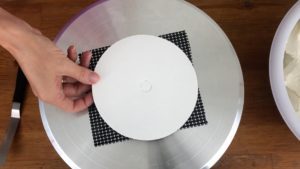
You’ll need a cake board for your cake and I like to use a board 2 inches bigger than my cake to leave space for frosting and any decorations, as well as leaving some of the board empty around the cake to hold onto when you pick the cake up. So if you’re baking 6 inch cakes you’ll need 8 inch cake boards.
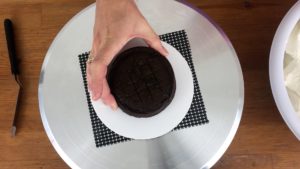
I like thin cardboard rounds with a greaseproof lining, which prevents ugly grease stains from spreading out across the board. You can buy much thicker boards called cake drums for larger, heavier cakes but for 6 or 8” cakes, thin cardboard cake boards will be fine.
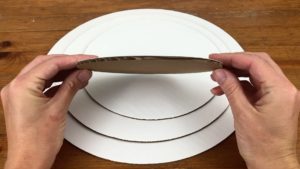
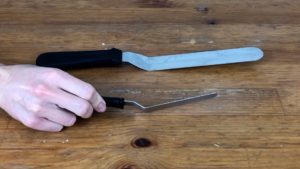
To apply your filling and frosting to the cake you’ll need an
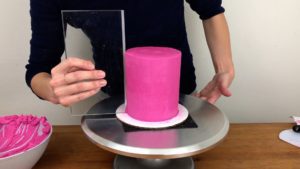
Then you’ll need a frosting smoother to scrape around your frosted cake to smooth the frosting. These come in plastic, metal or acrylic.
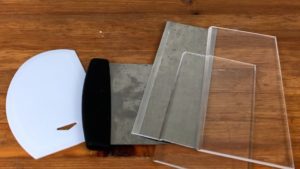
I’ve used every material and I like them all but my favourite is this acrylic smoother because it’s thick and heavy which helps to line it up straight against the cake and it has a slanted, sharp edge for really smooth sides and sharp edges at the top of the cake. I use this one and you can use the code BRITISHGIRLBAKES to get 10% off yours!
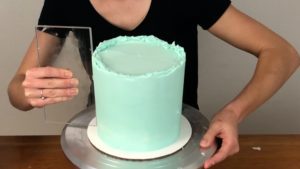
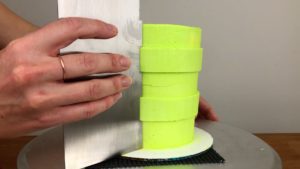
I like this plastic frosting smoother for crumb coats of frosting because it’s flexible and lightweight and quick to clean off between scrapes. Plastic smoothers dent easily though, which leaves grooves in your frosting, so they’re not ideal for the final coat.
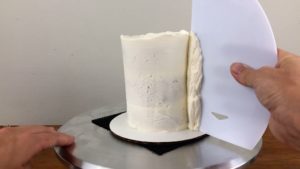
Whatever frosting smoother you choose, make sure it’s at least as tall as your cakes, otherwise you’ll have to go around twice as many times to smooth both the bottom and top of the sides of your cake. Practice makes perfect for smooth frosting so if you don’t love your results the first time you use a frosting smoother, I’d suggest give it another chance with another cake before buying a different one.
To tint your frosting different colors you can use liquid colours, the kind you can buy in the supermarket or grocery store, but you have to use a LOT to get a bright colour and you’ll water down your buttercream by adding so much liquid.
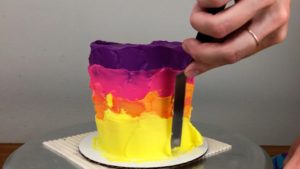
Gel colours are better because they’re much more concentrated so they’ll make really bold, bright colours without affecting the consistency of your buttercream.
Tools for Decorating a Cake
Now that I’ve explained the tools you need to mix, bake, assemble, and frost a cake, I’ll show you around my cake decorating cupboard and share my go-to tools for simple decorations on cakes.
Piping bags and piping tips are cheap to buy but very versatile – with a few piping bags and piping tips you can do all sorts of things, like piping lace flowers, piping pretty petals and other shapes as filling between layers on a naked cake, creating buttercream dams for fillings like caramel or fruit purees, or piping intricate flowers.
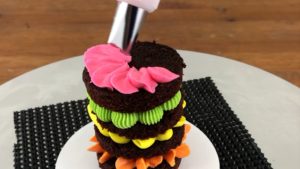
My favourite piping tip is a star tip like this one made by Wilton, called a 1M tip. With just this one piping tip you can pipe swirls on cupcakes or on top of cakes, or ruffles, rosettes, or this rope style border.
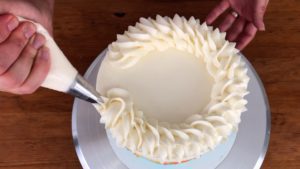
A star tip is also great for piping meringues for meringue pops, which you can use to decorate cakes like number cakes.
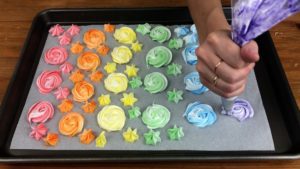
It you’re going to buy just a few tips I recommend a 1M star tip, a petal tip like a #125, an open star tip like a 4B or 8B or #199, and a large round tip like a #1A. I have a tutorial on 8 Ways to Use a 1M Piping Tip and another tutorial on 8 Ways to Use A Petal Tip if you’re looking for ideas of techniques to try with them. If you’re feeling adventurous, it’s fun to experiment with Russian tips as well.
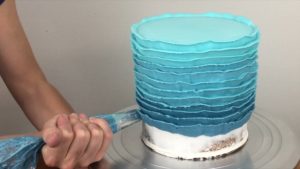
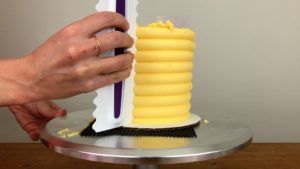
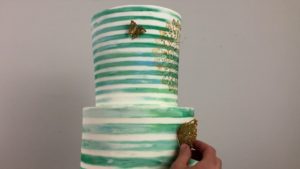
I’m a huge fan of texture on cakes and you can buy all kinds of textured cake combs to easily create patterns in your frosting. I like the double sided combs so you get two textures out of every comb you buy. Just as with frosting smoothers, any material will work as long as the comb is at least as tall as your cake.
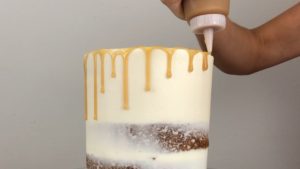
I use squeezy bottles (condiment bottles) to drizzle my cake layers with simple syrup to keep them moist and also to apply drips, which you can do with a spoon but I like the control and speed of a bottle.
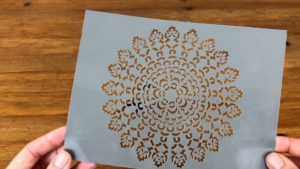
With stencils you can create all sorts of designs on cakes and cake toppers. I have probably close to a hundred stencils, mostly very cheap ones from amazon that work fantastically, just as well as fancy expensive ones. With stencils you can do much more than just covering frosting and to help you get the most out of your stencils I have a tutorial on 16 Ways To Use Stencils On Cakes.
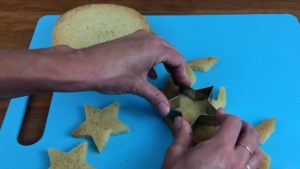
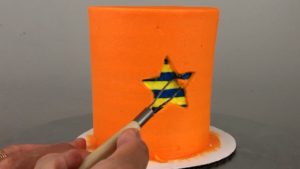
Cookie cutters are another versatile tool and, you guessed it, I have a tutorial on 6 Ways to Decorate Cakes with Cookie Cutters! I love re-purposing tools for different techniques instead of having to invest in new tools that you can only use for one thing.
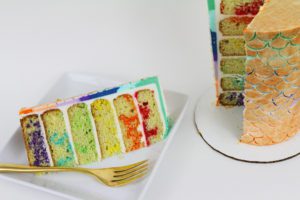
I think sprinkles can be overused and I don’t love the crunch they add to frosting but they’re an interesting way to add colour to your cake layers for a fun surprise when you cut into the cake, and for piñata or sprinkle explosion cakes. Sprinkles are great if you’re looking for a quick and easy way to decorate cakes. I like the detail they add to techniques like stenciling and piping.
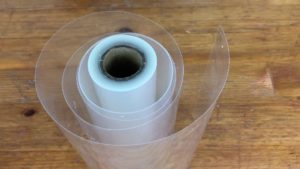
I love decorating with acetate to create unique designs like transferring a design from wrapping paper onto a cake or creating vertical stripes. If you can find it, buy acetate in a roll so it curves naturally and that makes it much easier to apply the design onto the curved sides of a round cake.
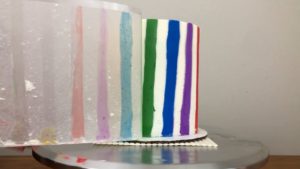
Look for a roll that’s taller than the height of your cake so you can cover the whole cake with just one transfer. This one is my favourite.
If you’re interested in buttercream carving, these carving tools are a very cheap investment with huge potential for experimenting with different techniques to carve designs into buttercream.
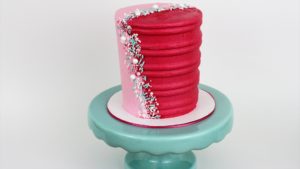
Cake stands are nice to have if you want to take pretty photos of your cakes or display them for events or gatherings. If you can buy more than one, choose a few different sizes and colors and materials so that you have one to fit your cake’s theme.
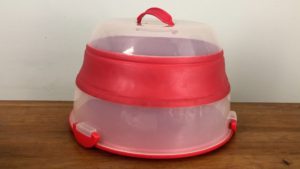
If you’re going to transport your cakes you’ll need a cake caddy. Make sure the one you buy is wide and tall enough for your cakes – I like this cupcake caddy with a removable shelf because it’s extra tall so cakes with toppers will fit inside it.
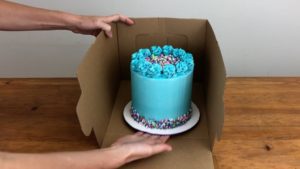
Instead of a cake caddy, you can buy cardboard boxes for a more professional appearance. Buy a box at least as tall as your cakes and as wide as your cake boards. If the box is bigger than your cake, use a ring of masking tape to secure your cake board in place so that it doesn’t slide around within the box.
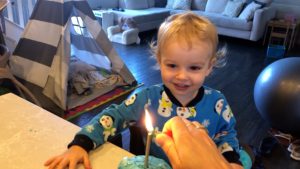
I always have a stash of paper plates and candles since I try to give my cakes away to anyone who comes over so that I don’t eat them all myself, and I also make sure I keep cards to give with my cakes when someone asks me to make a cake for a party, so that they know the cake was a gift.
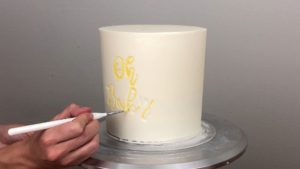
If you want to write on your cakes, Sweet Stamp make beautiful lettering sets in different fonts and also fun themed sets of shapes for occasions like baby showers or Christmas. You can use the code BGB10 to get 10% off your order here!
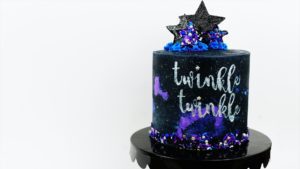
You can get good quality edible paints by Sweet Sticks to paint your letters and these are also great for painting designs onto the frosting on your cakes. You’ll need some very fine paintbrushes too. I have a discount code for sweet stamp letter sets and I’ve put the code below in the video description.
There are endless baking and cake decorating supplies that you can buy, but I think those are the most versatile and useful ones. If you choose to sell your cakes, you can buy these as you need them and your orders will end up paying for the tools and materials in time.
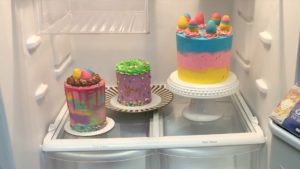
As a side note, if you start selling your cakes, you’ll probably need to invest in a separate cake fridge to fit all of your cakes. I recommend getting one with a freezer section so you can bake your cake layers in bulk in advance and freeze them, and it’s also useful if you need to chill cake decorations quickly, like chocolate sails or piped buttercream flowers or buttercream cut-outs. Anyway, selling your cakes is a whole separate topic for a tutorial!
I hope this tutorial has been helpful in outlining the essential tools you need for baking and frosting cakes and some useful cake decorating tools to start out with. When you’re ready to take your cake decorating to the next level, check out my online course on 10 Cake Decorating Techniques!
Here’s the video version of this tutorial:

Thanks so much for sharing with us God may reachly bless you
I really enjoyed the lesson on those tools and where each tools will be needed