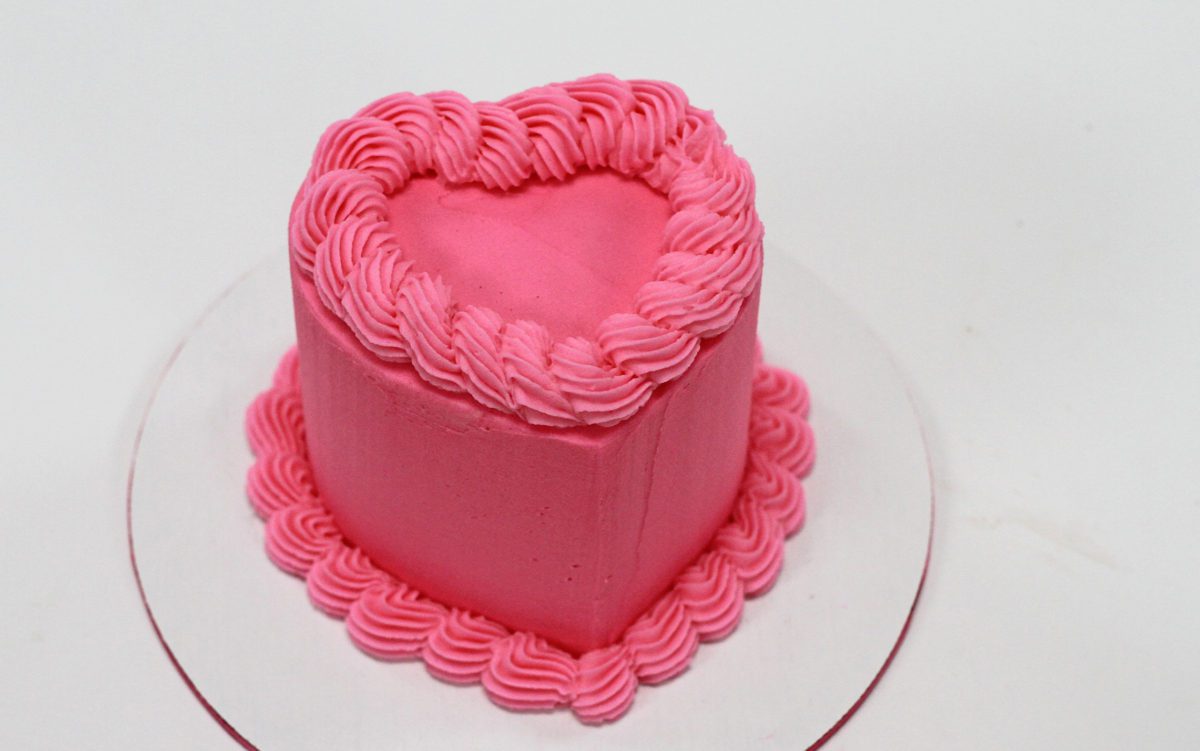
In this tutorial I show how to make 3 different mini heart cakes so that whatever tools and cake decorating experience and time you have, there will be a style that works for you! These mini cakes are just the right size for a single person or to share with someone special on Valentine’s Day, an anniversary, or just because! If you prefer to watch a video of this tutorial, scroll to the bottom of the page.
For all three styles you’ll need heart shaped cake layers, which you can cut out of any shaped cake using a cookie cutter. This is my Perfect Chocolate Cake baked in a 9 x 13” rectangular sheet pan but round cake layers will work just as well.
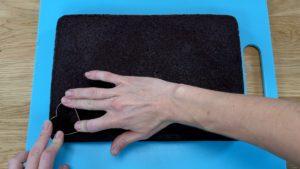
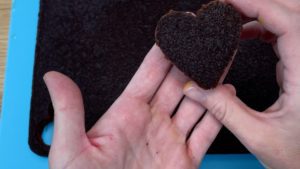
It’s easiest to cut cakes when they’re cold so after this cake cooled I put it in the fridge for an hour and now it’s sturdier and less crumbly. After pushing your cookie cutter all the way through the cake, lift it up and push the cake out of the cookie cutter.
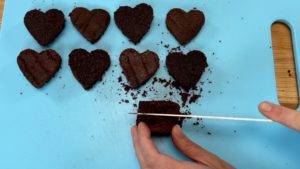
If the large cake layer you cut your hearts out of is quite thick, like mine is, you can flip the hearts on their sides and cut through them with a serrated knife to make two cake layers out of each one. You’ll need two or three heart shaped cake layers for each mini cake so you won’t need this many if you’re only making one cake!
To assemble your cake, pipe or spread a dot of frosting onto the middle of a plate or platter or cake board. Place your cake layer on the frosting, pressing down to attach it.
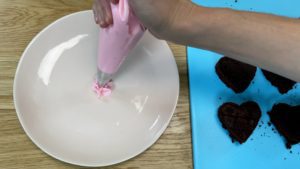
This first style of cake is a naked cake and it’s the easiest and quickest to make. You can use any piping tip and I’m going to show you a few ways to use a star shaped piping tip like this 1M tip.
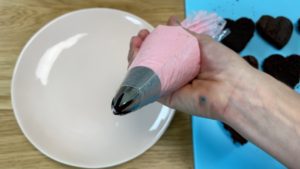
For this first naked mini heart cake I’m piping little star shapes as the filling in between the cake layers. I’ll demonstrate some other textures on the next cakes.
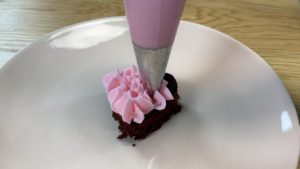
After each layer of filling, line the next layer of cake up to make sure it’s directly above the previous layer, before pressing down gently to secure it to the frosting below. I’m using my 4 Minute Buttercream for all of these cakes but any frosting will work, like whipped cream or meringue buttercream or ganache.
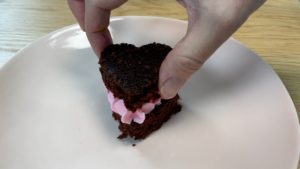
Assemble your cake by continuing to layer cake and piped filling, finishing with your final layer of cake. You can pipe another layer of frosting on the very top of the cake but I like to leave it plain so the heart shape is really clear.
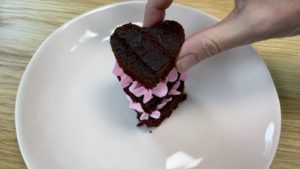
An even quicker way to pipe filling onto a naked cake with a 1M tip is to pipe the shape of the heart like this. The piping tip gives the filling some nice texture without adding any time at all to the decorating process!
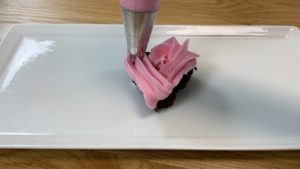
After assembling the cake, the texture of the piped filling add an interesting detail to the cake.
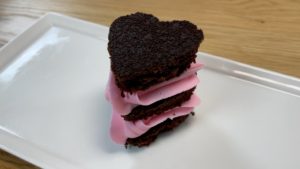
These little waves of frosting are another pretty way to use a 1M piping tip for the filling between the layers of a naked cake. I’ll explain this technique in detail for the final cake in this tutorial.
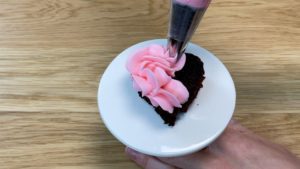
When you pipe the filling, start with the outer edge of the heart because that’s the part you want to be the neatest, since it’s the only part that will be visible once the cake is assembled. Then fill in the part in the middle and place the next layer of cake on top.
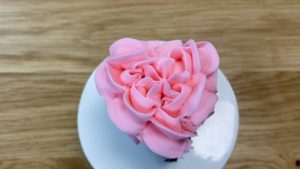
If you’re going to make several cakes, it’s easiest to pipe the filling for each cake on it’s own plate so that you won’t risk knocking into another cake. To place them all on the same plate or platter after piping, secure each one with a little dot of buttercream. Place these in a Tupperware (or any box with a tight fitting lid) in the fridge until an hour before serving.
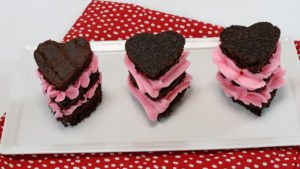
If you want to frost your mini heart cake, here’s a way to do that without a turntable or a frosting smoother. Attach your first layer of cake to a plate with a dot of buttercream and then spread or pipe on your filling. This isn’t going to be visible so it doesn’t need to be neat.
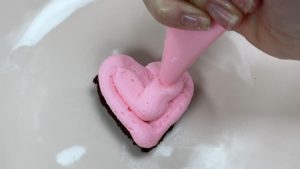
Assemble your cake so the layers are straight above each other and it’s not leaning to one side. Now put this in the freezer for 15 minutes to firm up and then it will be MUCH easier to frost.
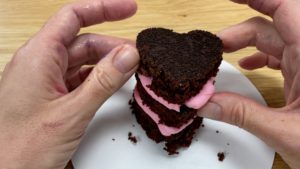
Meanwhile, prepare your frosting for the outside of the cake. If you’re using buttercream, having a loose consistency is essential to your success with mini cakes. You can see this is very easy to stir and has soft peaks. I’ve added more milk than usual to this batch.
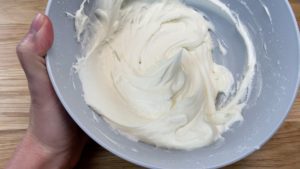
Once your cake is chilled, spoon a dollop of frosting onto the top and spread it all the way over the edges to prevent air pockets later. Smooth it with an offset spatula or you can use the back edge of a knife, or even the back of a spoon. Spread the frosting around the sides of the cake too.
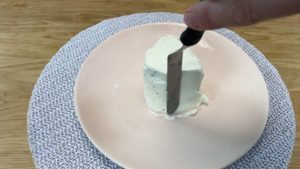
This frosting doesn’t have to be perfectly smooth and neat but it does need to completely cover the cake to trap any crumbs that might come off the cake, so that those stay in this coat of frosting, which is called a crumb coat, and they don’t get into your final coat of frosting. Smooth the frosting as well as you can and follow the shape of the heart, indenting the dip between the two bulges of the heart and making a sharp point at the bottom of the heart.
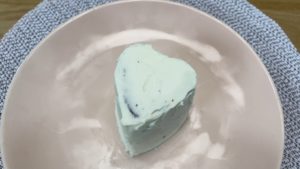
Put the cake in the fridge or freezer while you tint your final coat of frosting. The crumb coat will only need about 5 minutes to set if you chilled the cake before frosting it, and once it’s firm to the touch you can spread on your final coat of frosting.
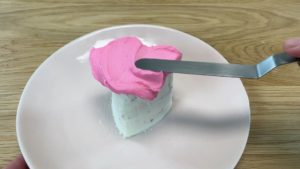
Completely cover the top of the cake and the sides so that there’s no crumb coat exposed. Get it as smooth as you can with your offset spatula or the back edge of a knife but don’t worry about getting it perfect because we’re going to add texture next.
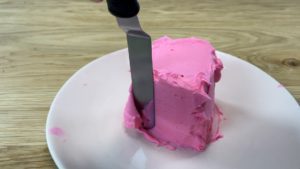
Immediately after smoothing the frosting, while it’s still sticky and hasn’t set yet, use an offset spatula or knife or the back of a spoon to indent the cake with swooshes up the sides of the cake.
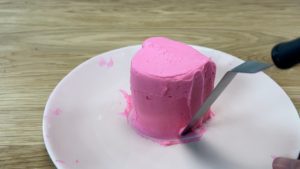
Start with the tip of your offset spatula at the bottom of the cake, apply a bit of pressure into the side of the cake and then drag it up the side of the cake and continue up above the cake so that the texture goes all the way to the top of the cake.I love this technique because it covers up any imperfections in the frosting AND it’s totally random so you can’t really go wrong!
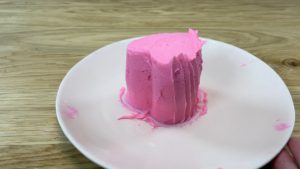
You can leave the rugged texture at the top of the cake or tidy it up by scraping sideways with your offset spatula or knife, swiping it off the cake to take any excess frosting with it.
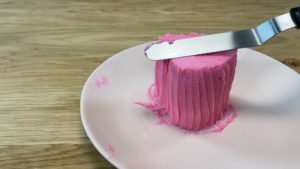
You can add some sprinkles on top to outline the shape if you like – these are made by Fancy Sprinkles and you can get 15% off your order with the code BRITISHGIRL15. Tidy up any frosting smudges on the plate by wrapping a finger in a paper towel and gently wiping around the cake.
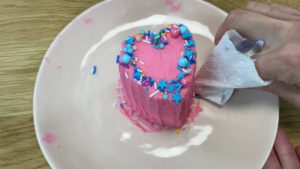
You can add sprinkles around the bottom of the cake as well to make a border, pouring them onto the plate around the cake and then pressing them against the frosting with an offset spatula or spoon or knife or even your hands.
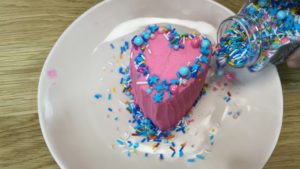
This cake is so quick and easy to decorate, it doesn’t break my heart that you can eat the entire thing in one minute flat!
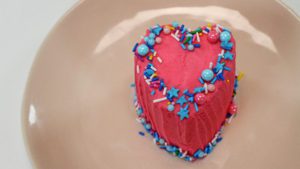
For super smooth frosting you’ll need a cake board, a turntable, and a frosting smoother. A cake board is completely flat whereas a plate has a curved surface which makes it tricky to use a frosting smoother because you can’t reach all the way down to the bottom fo the cake.
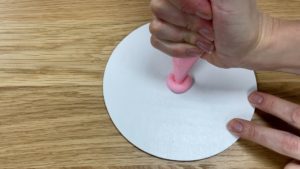
Attach your first layer of cake to the cake board with a dot of buttercream, pipe or spread your filling between the layers, and then chill the cake in the freezer for 15 minutes.
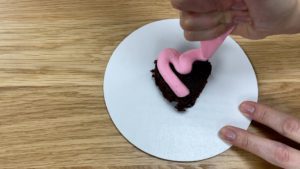
The next step is identical to the previous cake: check the consistency of your frosting to make sure it’s not too stiff and spread the frosting all over the cake to give it a crumb coat to trap any crumbs that come off the cake so that your final coat of frosting doesn’t have any crumbs in it.
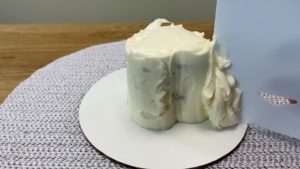
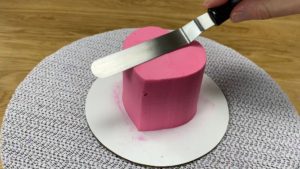
Let the crumb coat set for a few minutes in the fridge and then cover the top of the cake with frosting. Hold your offset spatula at a 45 dgree angle and spin the cake to smooth the frosting on the top of the cake.
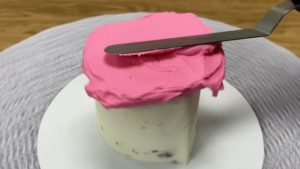
Now move down to the sides. Being generous with how much frosting you use makes it easier to smooth it next, using an offset spatula or a frosting smoother. I like to do half of the heart at a time, otherwise the cake can turn into a blob of frosting and it’s impossible to tell where the pointed tip of the heart is and where the rounded parts are.
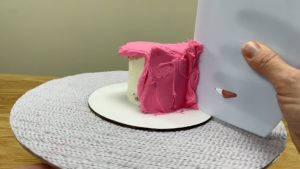
As you smooth, spread more frosting over any air pockets and scrape around the cake again with your frosting smoother until the sides are smooth.
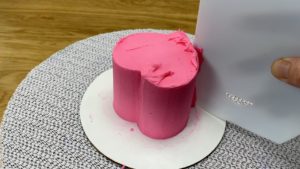
Tidy up the top edge by swiping from the outside of the cake towards the middle with your offset spatula. Wipe any smudges of frosting off the cake board with a paper towel wrapped around a finger.
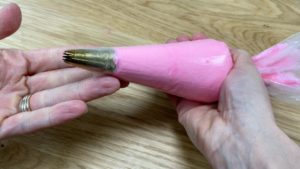
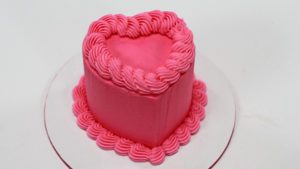
If you want to add some quick extra details, fit a piping bag with a small star shaped tip like this #32 open star tip. There are lots of things you can do with a star tip and I’m going to use it to pipe two different borders onto this cake.
For the bottom of the cake I’m piping little waves of frosting, squeezing the piping bag and letting the buttercream fold over itself before pulling the piping bag backwards to form the peak of the wave and then overlapping that part slightly with my next wave. This makes a simple cake suddenly look intricately detailed and it covers up any imperfections at the bottom of the cake.
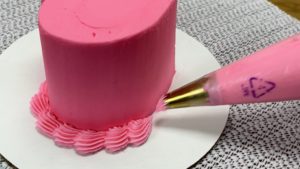
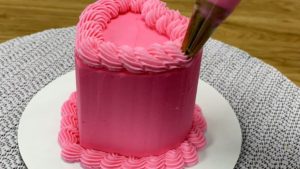
You can do the same thing on top of the cake or try a rope style border. To do this, pipe circles frosting that overlap each other to make a border around the top edge of the cake. I cover buttercream borders in lots of detail in one of the modules in my online course on 10 Cake Decorating Techniques.
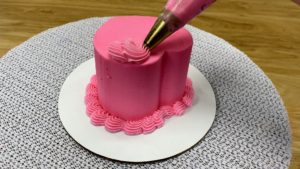
Spin the turntable as you pipe so that you can pipe the entire border at once or pull the piping bag away to adjust it and continue piping at the same point. Try to keep the same distance from the edge of the cake all the way around.
Whatever cake decorating tools you have and however much time, patience, and experience you have, I hope you’ll incorporate one of these cake styles into your next Valentine’s Day or anniversary or make one for a friend or family member to show them how much you appreciate them!
Here’s the video version of this tutorial:

You always inspire me with your creative works I would also want to have your cake recipes both vanilla and chocolate