
Stencils are a quick way to decorate cakes for any occasion but with this 5 minute cake decorating technique you don’t need to buy fancy stencils for every cake - you can make them yourself with what you already have and create eyecatching, unique designs.
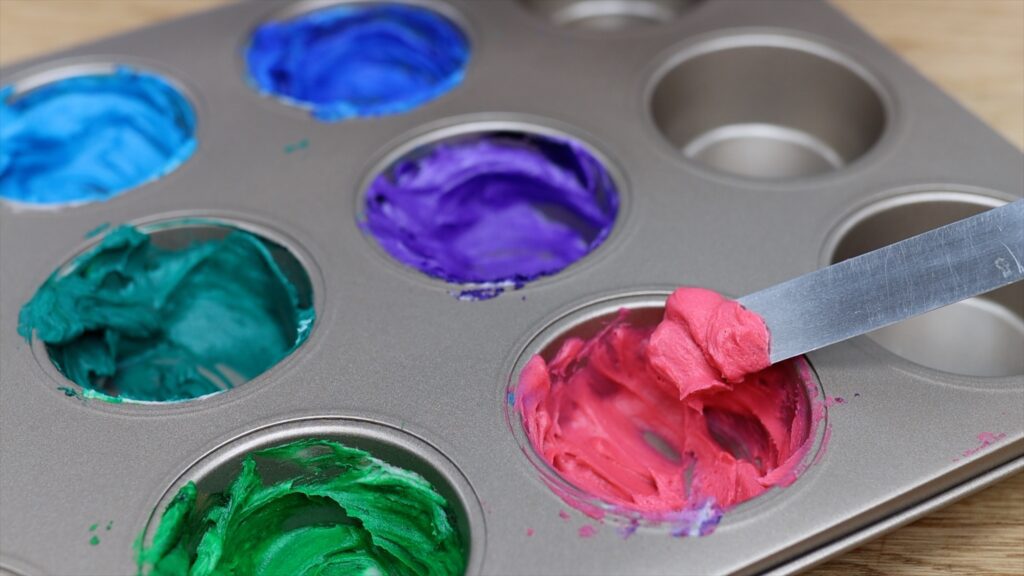
Step 1: Prepare your colours
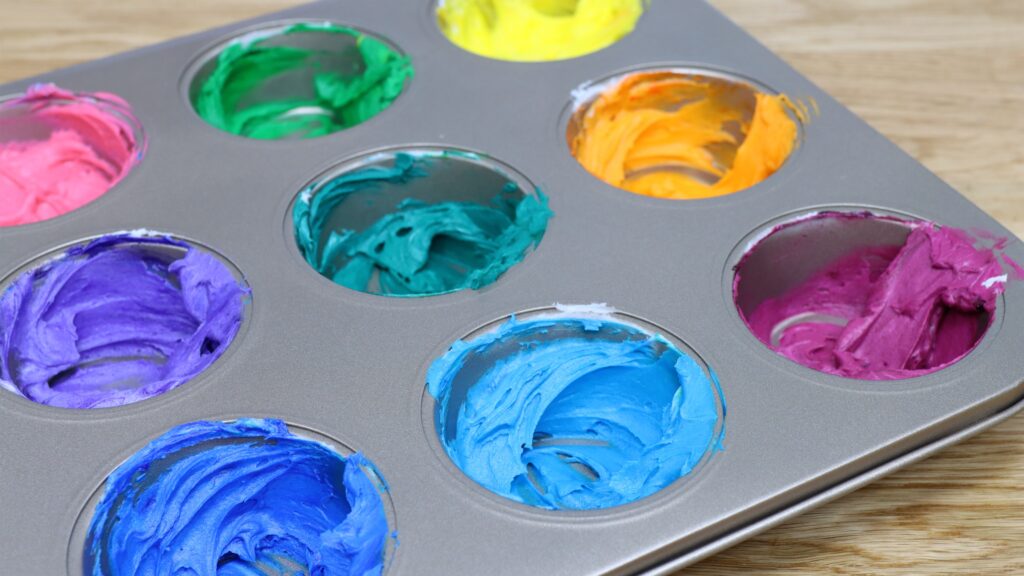
Let’s start by making a colour palette for the stencil design. This is my 4 Minute Buttercream but you can use any kind of frosting. These are gel colours, which I love because they’re so concentrated so you only need a drop to make a really bright colour. If you choose to make several colours, using a cupcake pan is a great trick to save yourself a lot of time when you clean up because it’s much quicker to wash one of these than to wash lots of little bowls.
You really don’t need a lot of buttercream for a stencil, just a few spoonfuls. If you’re not going to use this buttercream straight away, cover it with cling film or Saran Wrap so the buttercream doesn’t dry out and crust.

Step 2: Make a stencil
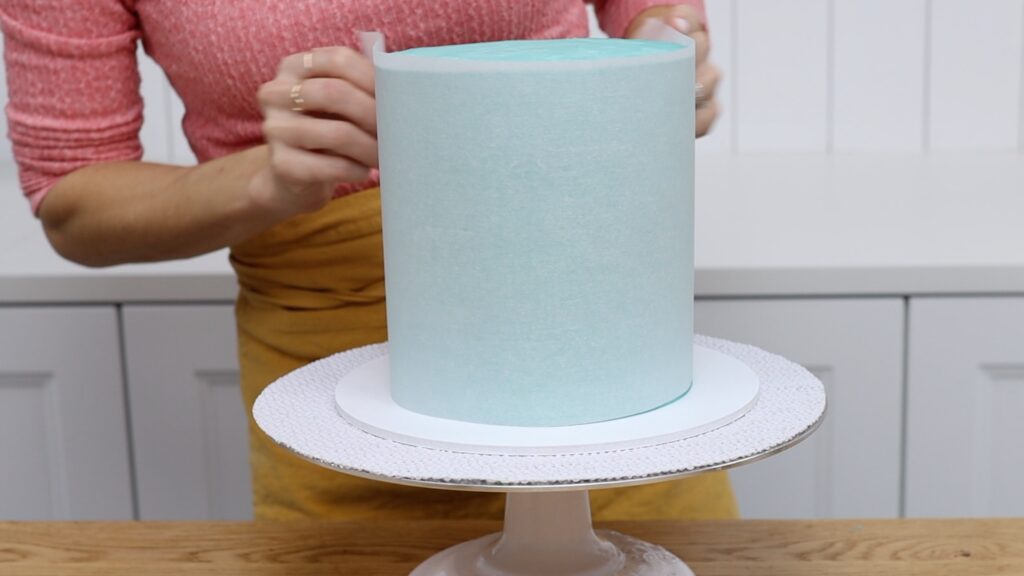
It’s useful to do this after assembling and frosting your cake so you can choose the right size of your stencil. Cut a piece or parchment or wax paper or baking paper long enough to wrap all the way around your cake and trim it so that it’s only as tall as your cake, and then mark the edges of where you want your design to be. Now put the cake back in fridge to keep the frosting chilled.
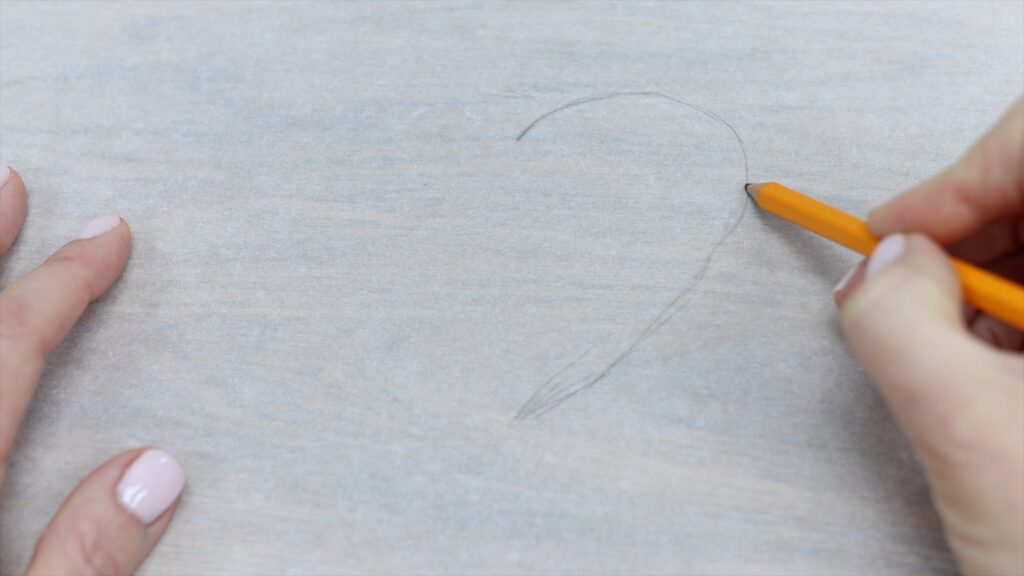
Draw a shape in the middle or you can trace an image that you’ve printed or a design you like from a notebook cover or wherever, but simple shapes are the most successful for this technique. We’re going to add more detail in a minute. Cut the shape out, keeping the area around the shape intact.
This next part is optional but if you want to add more detail to your design, choose any stencil you have and place it over the parchment stencil you just made, taping it to secure it if you like or you can do this in a moment.
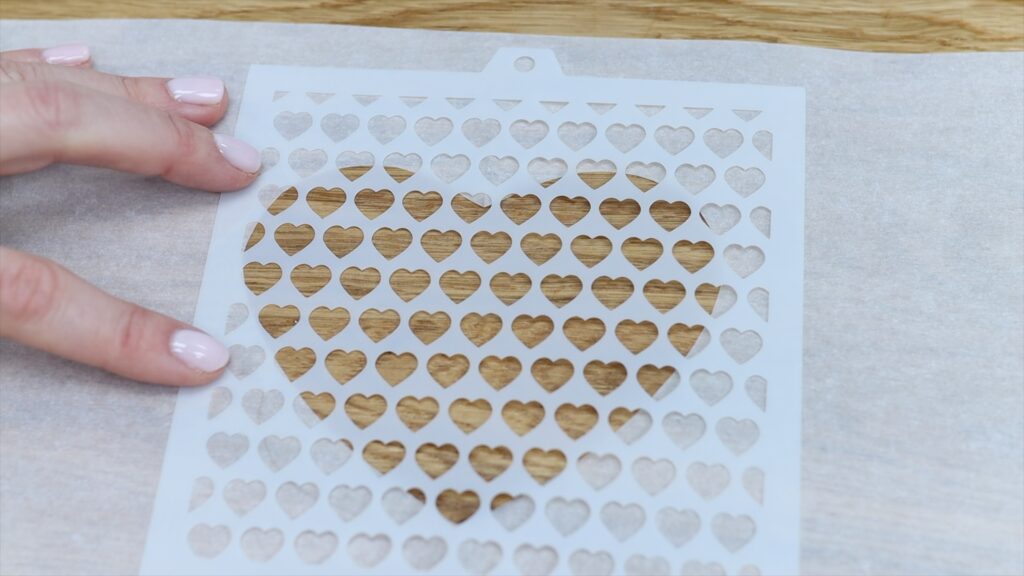
This is a great way to re-use the stencils you buy, creating new designs by making parchment stencils to use with them to give them different shapes, and now none of your stencilled cakes will look the same!
Step 3: Attach the stencil to your cake
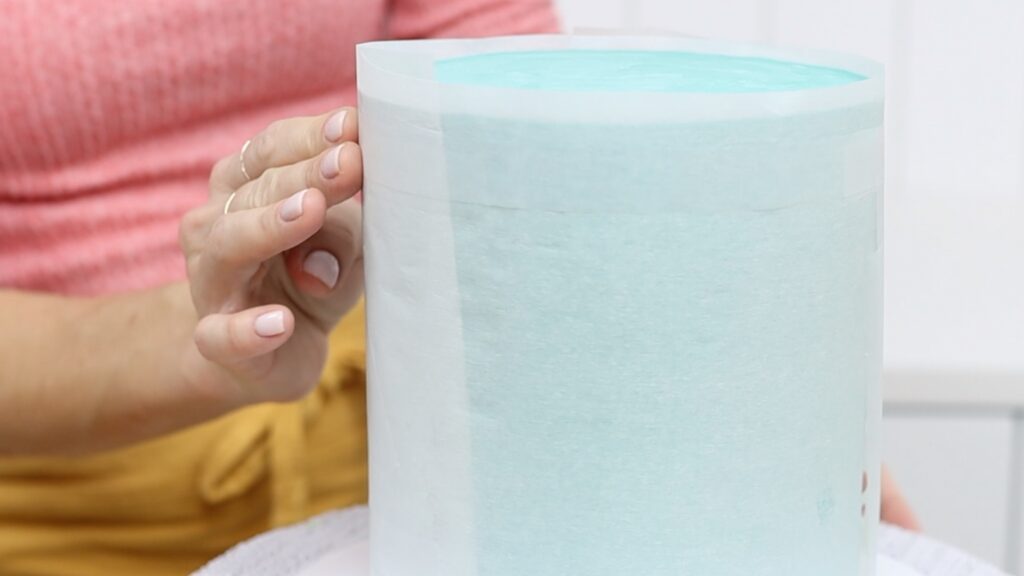
Take your cake out of the fridge and wrap the parchment around it. This paper is intended to be non-stick, so tape doesn’t work very well on it. Luckily, tape does stick to itself, so cut a long piece and wrap it all the way around the parchment so that it overlaps and sticks to itself.
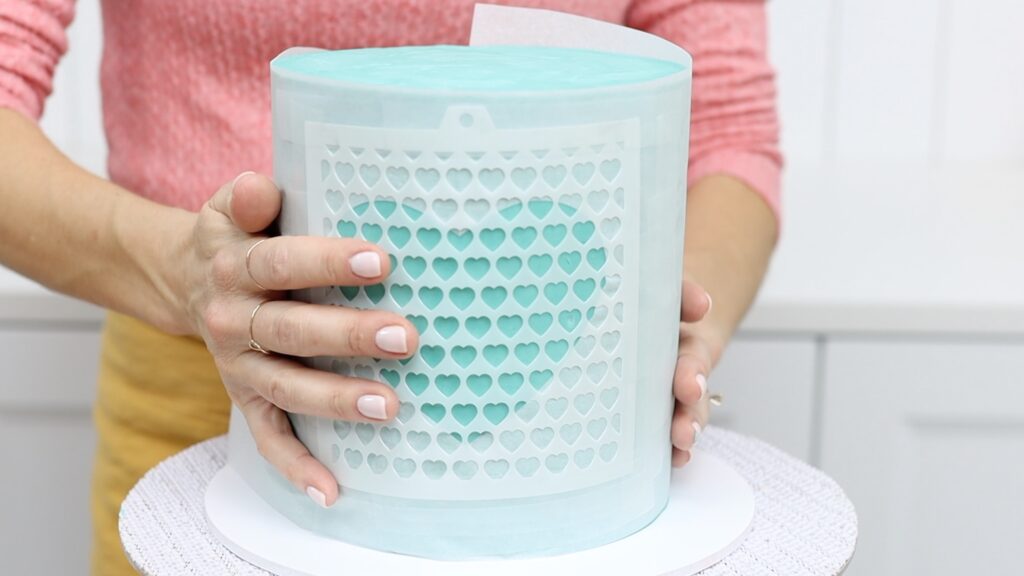
Do this around the top and bottom of the parchment so that the parchment and the stencil are wrapped tightly around the cake.
Step 4: Create a stencil design on the cake
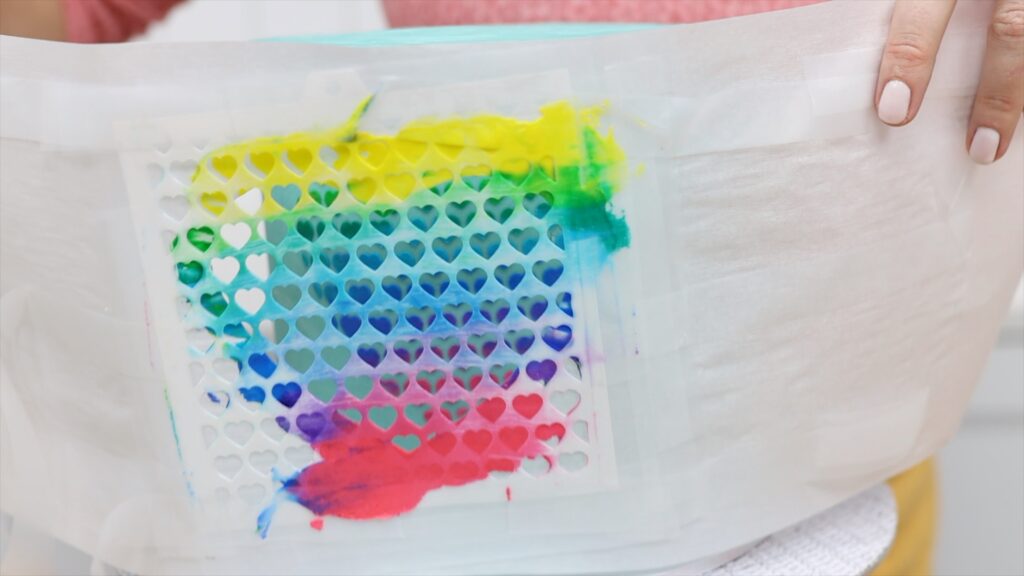
Scoop up your first colour with an
Spread from the outer edge of the stencil towards the middle of the shape, in both directions, so you’re pushing the buttercream into the shape and that way you won’t accidentally push it underneath the stencil, under the outline of the shape. Switch between colours until you've covered up the whole stencil.

The reason you can wrap the stencil around the cake without damaging the frosting is that buttercream crusts, which means if you chill it in the fridge for at least an hour or ideally overnight, the frosting gets really firm, so you can touch it without leaving an indent or any texture on the cake.
The rainbow buttercream on the stencil looks quite messy and to flatten it you can use your

Cut the tape to release the parchment and peel the stencil off straight away because if you wait for the coloured buttercream to set you’ll get jagged, uneven texture along the outline of your shape but by peeling it off now, the results will be much neater. If the stencil smudges anywhere along the outline you can tidy it up with a toothpick.
If you’re enjoying this step by step tutorial you’ll love my MiniCourses, where I teach fun and unique cake designs in easy-to-follow steps with close up video instruction and detailed but concise explanations! Join the Club for access to all of my MiniCourses or join the ClubPLUS for all of my MiniCourses and MasterCourses and Live Workshops!
Step 5: Add a rainbow border
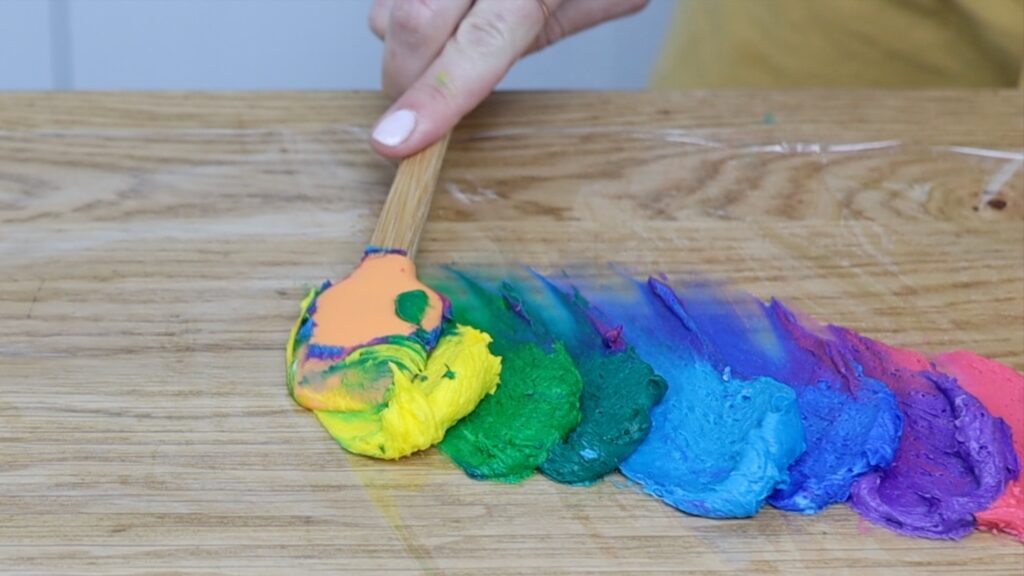
If you have leftover coloured buttercream you can use it for a border on the cake. My favourite way to use lots of colours is to lay out a piece of cling film or Saran Wrap and then spread each colour onto it in a line. This works best with rainbow colours or colours that blend nicely into each other.
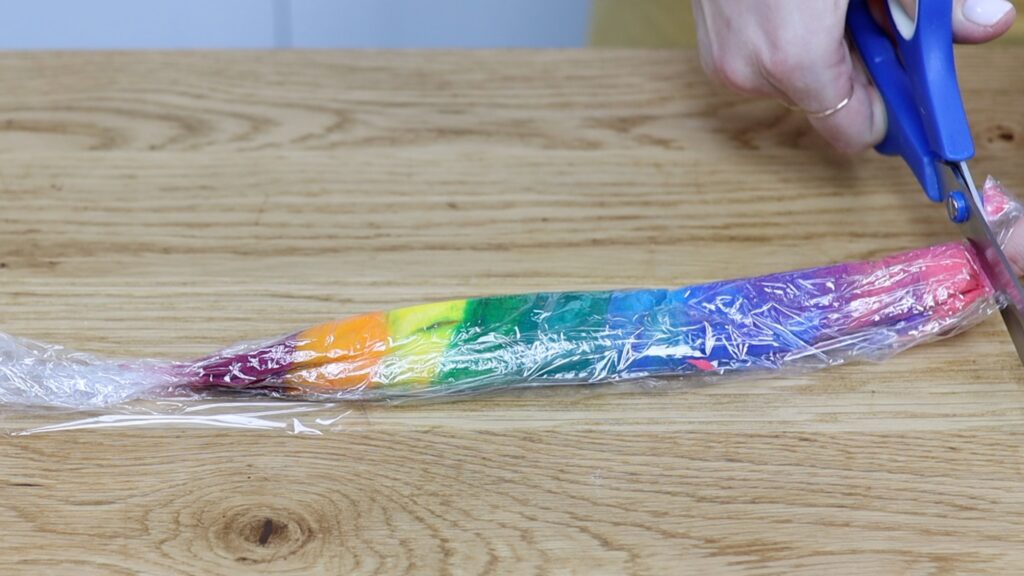
Roll the plastic wrap into a log and cut off one end. Drop the cut end down into a piping bag with a star shaped piping tip and you can pipe swirls onto the top of the cake.
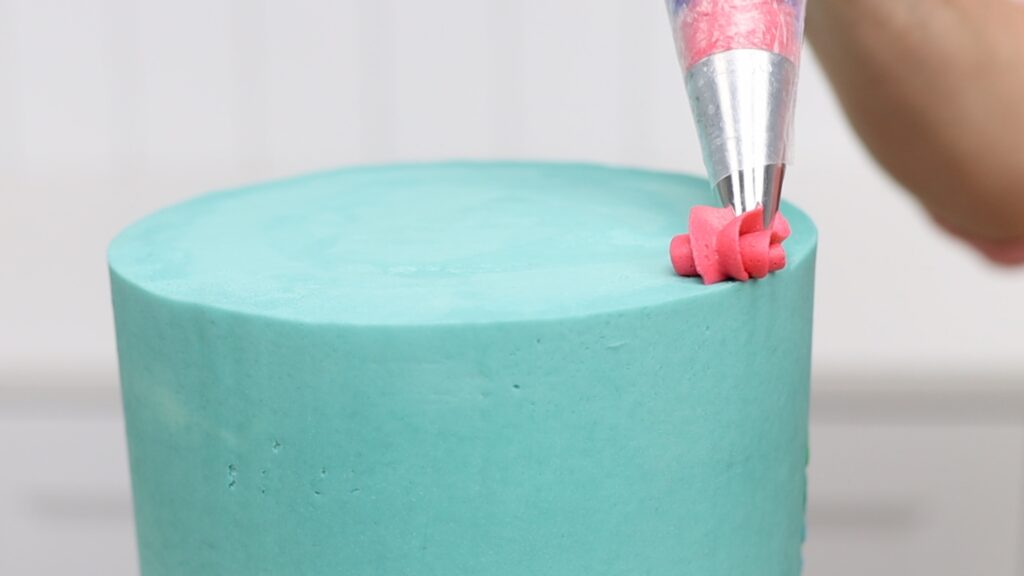
If you don’t have a lot of buttercream, this is a great option: pipe these waves or shells around the cake by squeezing the bag and letting the buttercream bulge out forwards and ten slowly pull the bag away to leave a tail on the wave.
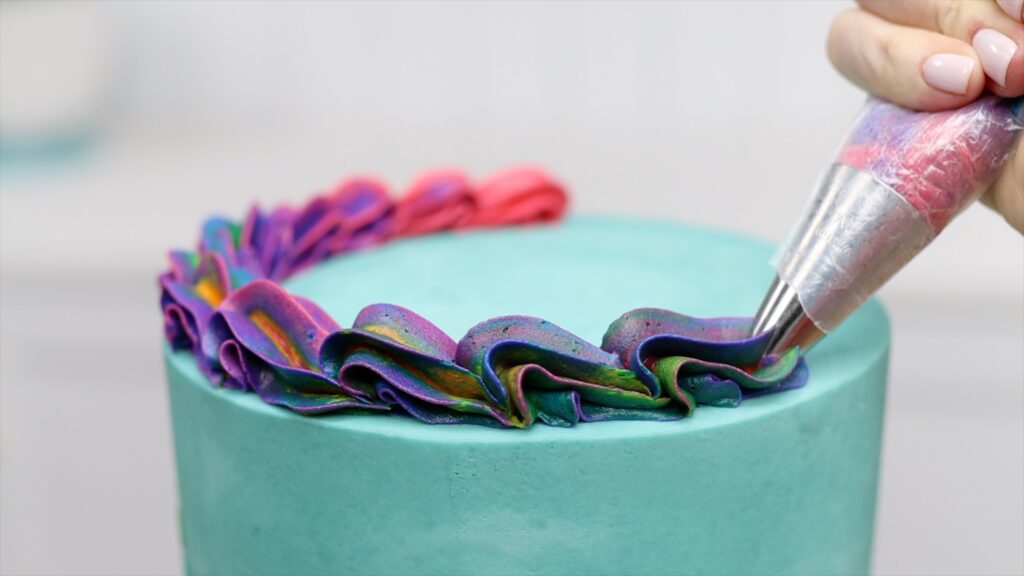
Pipe the next one so that it overlaps and and you pipe these one after the other, the colours at the end of the bag will push through the other colours closer to the piping tip and you’ll create a gradient of colours to match the colours on your stencil design!
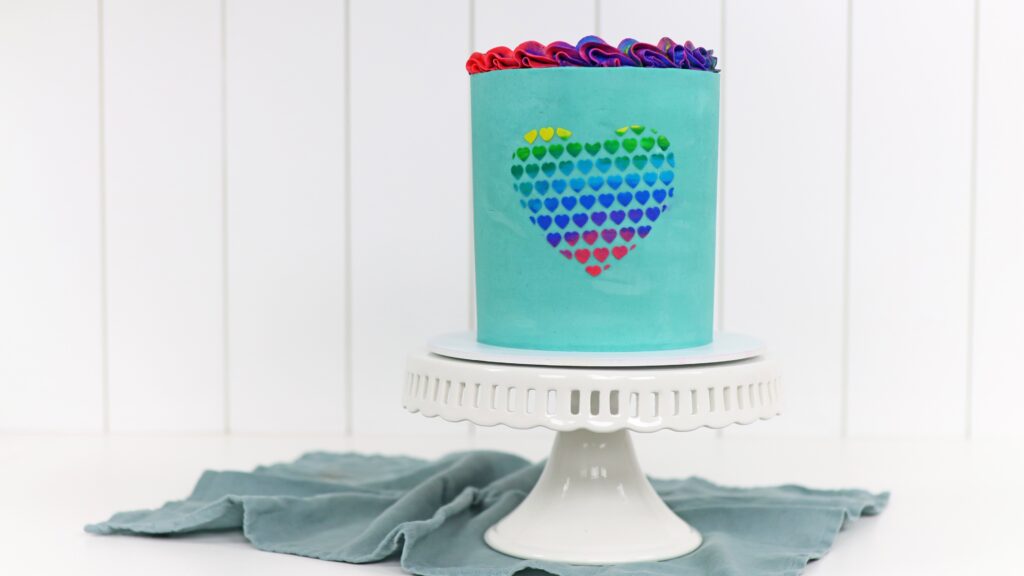
So colourful and it’s a totally unique design since the stencil is homemade! What shape will you use on your homemade stencil? Tell me in the comments!
If you prefer, you can watch a video of this 5 minute cake decorating tutorial:


